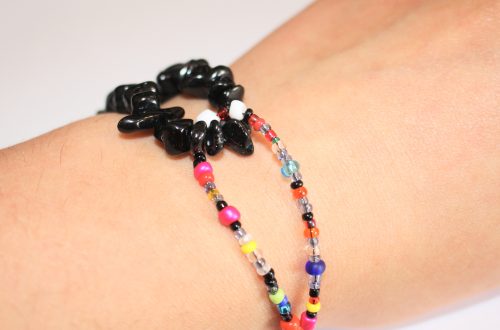
Fling this stunner around your wrist. Here’s how to make a ladder bracelet!

Remember our beaded ladder necklace tutorial? Here the ladder technique gets used to make a stunning gemstone bracelet. Using some delicate chain, some eye pins and the gemstones of your choice you’ll be sporting a bracelet that everyone will envy.
You will need the following tools and materials to make this bracelet:
1: Pliers. You will need all your pliers on hand to make this bracelet. The round nose pliers, flat nose pliers and cutting pliers.

2: Two pieces of chain that fit comfortably around your wrist.

3: Three eye pins.
https://flic.kr/p/NYhza3
4: Two jump rings.

5: A toggle clasp.

6: Three gemstone beads. I used these Dalmatian jasper beads.

Follow these steps to make your own incredible ladder bracelet:
1: Attach the end of both chains to one of the jump rings and add one side of the toggle clasp. Close the jump ring to secure the ends in place.

2: Repeat step one for the other side of the bracelet adding the other part of the toggle clasp.


3: Once both ends are secure you can move on to the eye pins. Add a bead to each of the eye pins.

4: Bend each of the pins at a right angle to the bead using the round nose pliers.

5: Create a loop using the round nose pliers to secure the beads in place.


6: Find the middle of both the chains. This is where your first pin will be added. Open one of the pin loops and attach the pin to the middle of one of the chains.

7: Close the loop to secure the pin in place.

8: Repeat steps 6 and 7 for the other side of the pin, making sure you line up the middle of the chain again.

9: Count chain links to determine how far away you want to place your next pin from the one in the middle. Add the second pin in the same way as the first one.


10: Add the remaining pin to the other side of the center pin, counting out the same number of links as you did in step 9. Add the final pin using the same method as the first two.


Once all your beads are in place your bracelet is finished! Wear it out and watch the compliments fly in!


DIY Jewelry Hub
Welcome to DIY Jewelry Hub. If you’ve ever wanted to learn how to make your own jewelry this is the place to start! Jewelry is a great way to show off your individuality and style. You’ll be surprised at how easy it is to create your own unique pieces! DIY Jewelry Hub will equip you with all the knowledge and inspiration you need to make your own jewelry.
You May Also Like
Want to give some edge to your wrist-wear? Make this leather beaded bracelet

Add to your wrist stack, construct some charm connector bangles today!