

Want a Cute Way to Show Your Festive Side? Make This Cute Bi-color Velvet Bracelet

This bracelet is a variation on the velvet ribbon tutorial from a few weeks ago, however this design makes use of a longer crimp end to secure two ribbons together side by side.
You will need the following tools and materials to make this fun festive bracelet:
1: Pliers. You will need all your pliers for this tutorial. I used my cutting pliers to trim the ribbon but I recommend using scissors instead.

2: Scissors. For cutting the ribbon.

3: Two long ribbon crimp ends (these are approximately 2cm long).
3: Two pieces of ribbon, I used red and green velvet ribbon for a festive look.

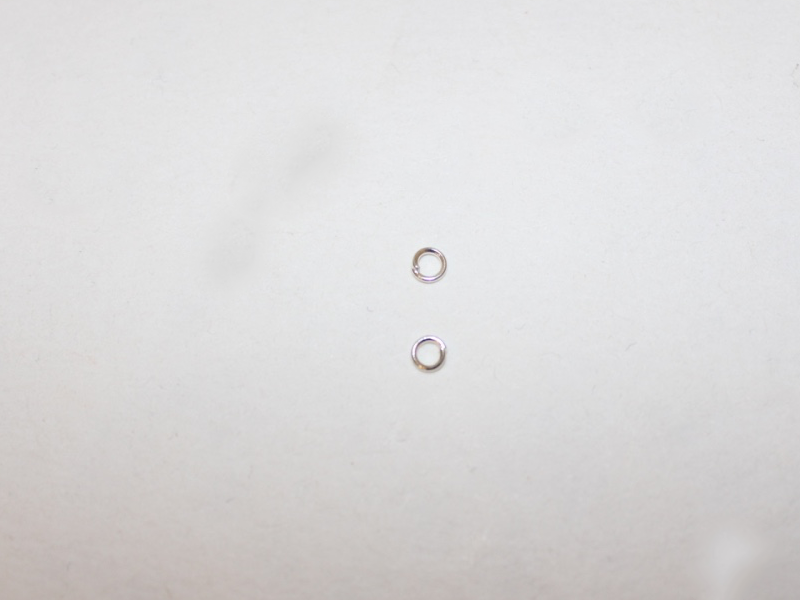
4: Two jump rings.
5: A toggle clasp.

Follow these instructions to make this cute and stylish festive bracelet:
1: Place the end of both ribbons in one of the crimp ends.

2: Use your flat nose pliers to close the crimp end and secure the ribbons. Make sure your ribbons don’t slip out of place. Make sure you squeeze the crimp down tight so that your ribbons don’t fall out when you are wearing your bracelet.


3: Trim both ribbons to the right length to fit your wrist. I recommend using your scissors here rather than cutting pliers like I did.


4: Once your ribbons are at the correct length add the remaining crimp to the other end of the bracelet. Secure it in place like you did in step 2.


5: Take one of the jump rings and use it to secure one part of the toggle clasp one end of the bracelet.

6: Repeat step 5 for the other side of the bracelet to secure the second part of the toggle clasp in place.

Once your toggle clasp is in place your bracelet is finished. Wear it with pride and get into the festive spirit!


DIY Jewelry Hub
Welcome to DIY Jewelry Hub. If you’ve ever wanted to learn how to make your own jewelry this is the place to start! Jewelry is a great way to show off your individuality and style. You’ll be surprised at how easy it is to create your own unique pieces! DIY Jewelry Hub will equip you with all the knowledge and inspiration you need to make your own jewelry.
You May Also Like

Do You Have Some Mismatched Buttons Lying Around? Why Not Make These Button Bracelets?
This Cluster Bracelet Design is so Fun and Pretty to Boot!
