Step-By-Step Tutorials
-
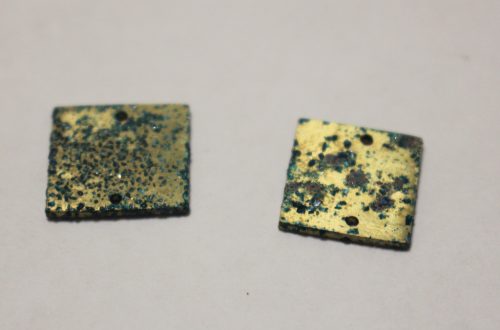
Here’s how to patina brass charms using salt and vinegar…
I’ve already shown you how to turn copper green using salt and vinegar, and the same process can be used on brass! Brass has a high copper content, so it can develop a nice patina when you put it in a container with salt and vinegar, simple ingredients that you can find easily at the supermarket. This is a fun way to add some character and interesting patterns to your metal jewelry designs! Please note that this tutorial contains affiliate links.
You’ll need these tools and materials to do this patina process:
1: Brass charms. I used these brass charms that I made a while ago.
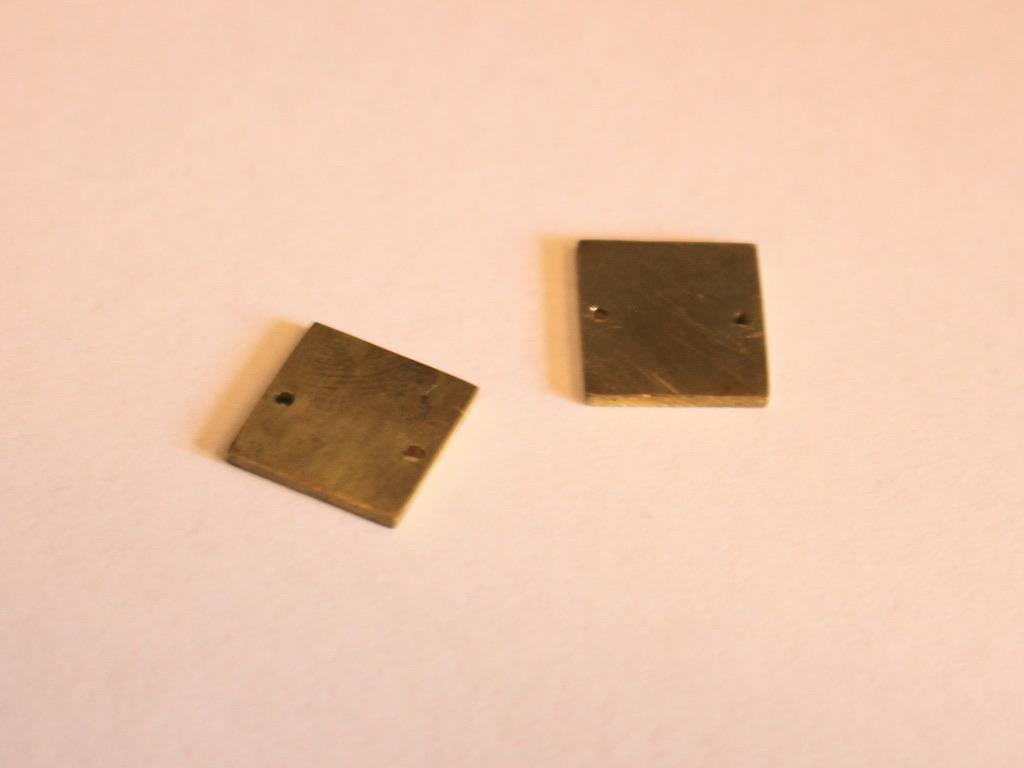
2: A plastic container. I used a recycled takeaway container with a lid.

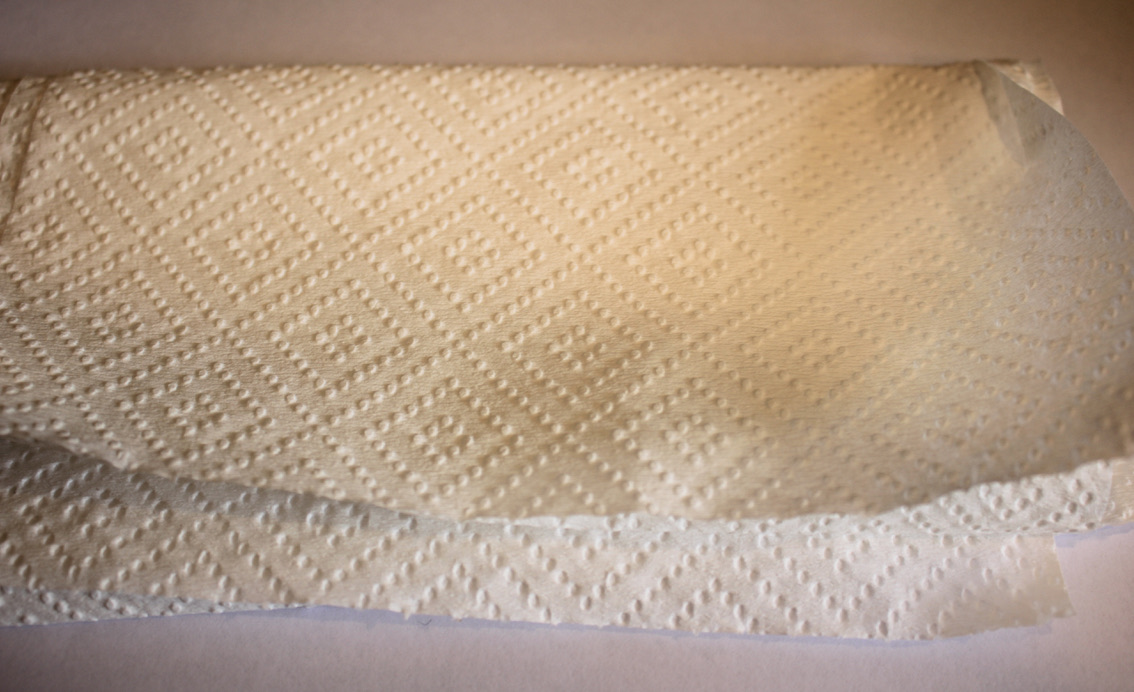
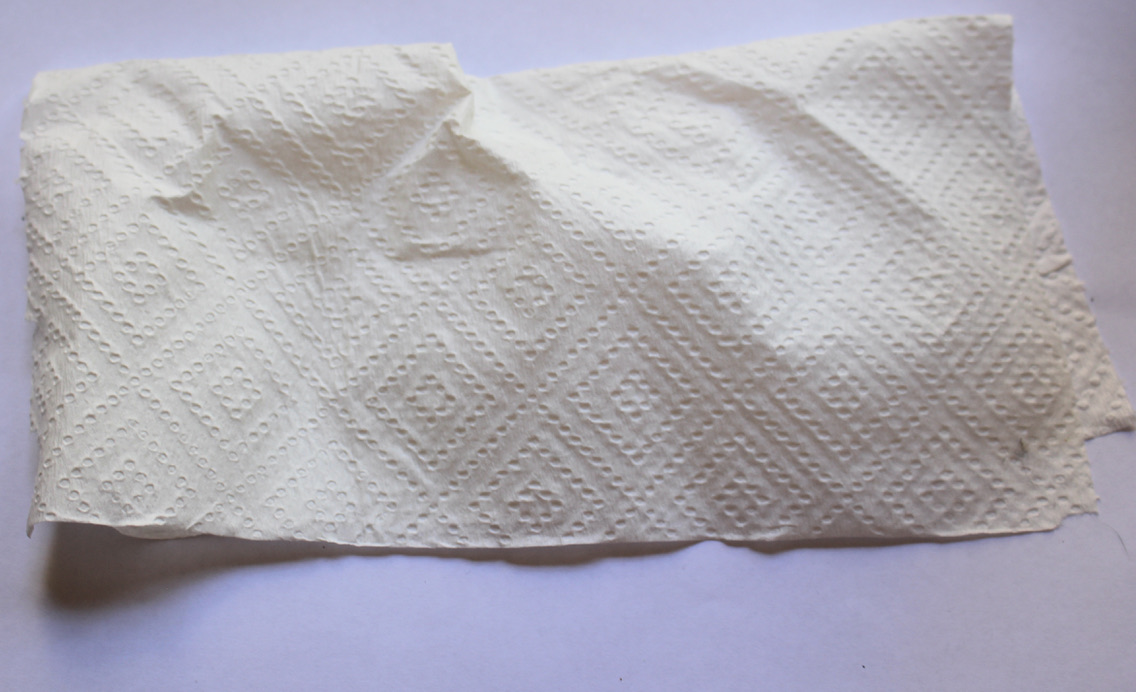
3: Paper towels. I haven’t tried it with reusable cloth, but I bet that would work too!

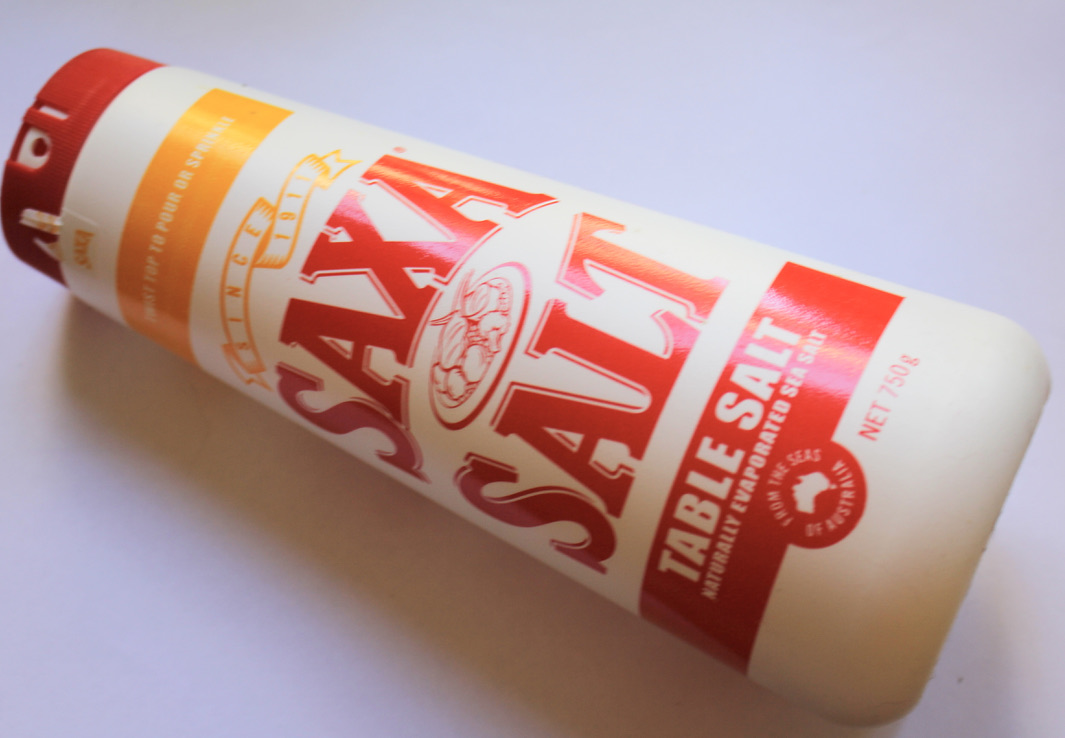
4: Salt.
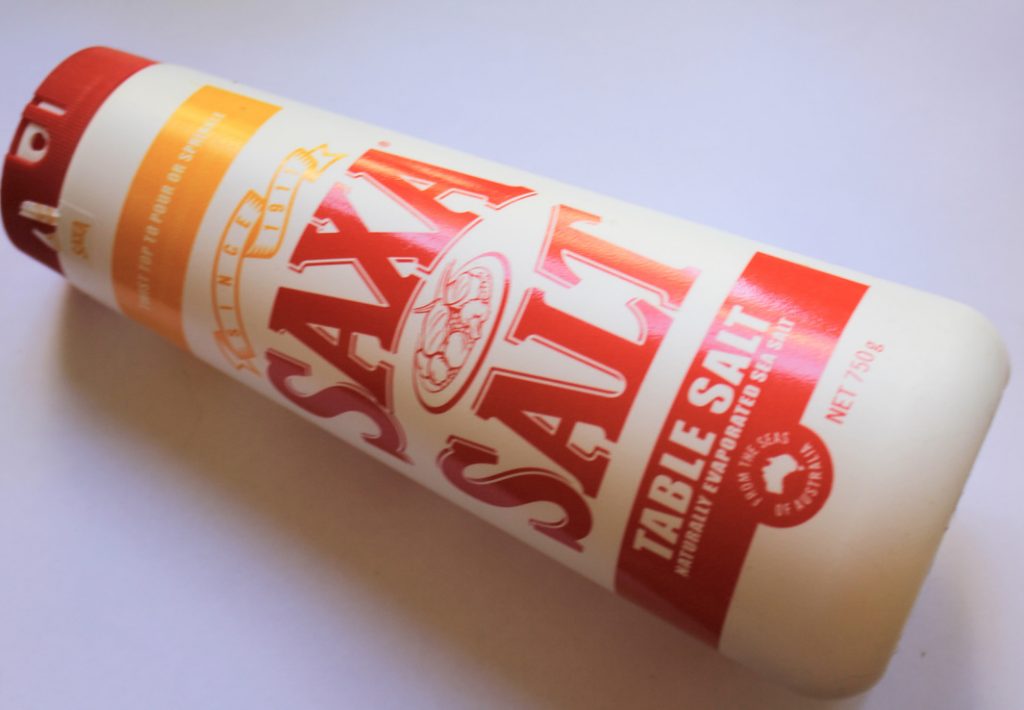
5: Vinegar. I used white vinegar for this process.

Follow these steps to add patina to your brass charms:
1: Put the paper towel in the container.
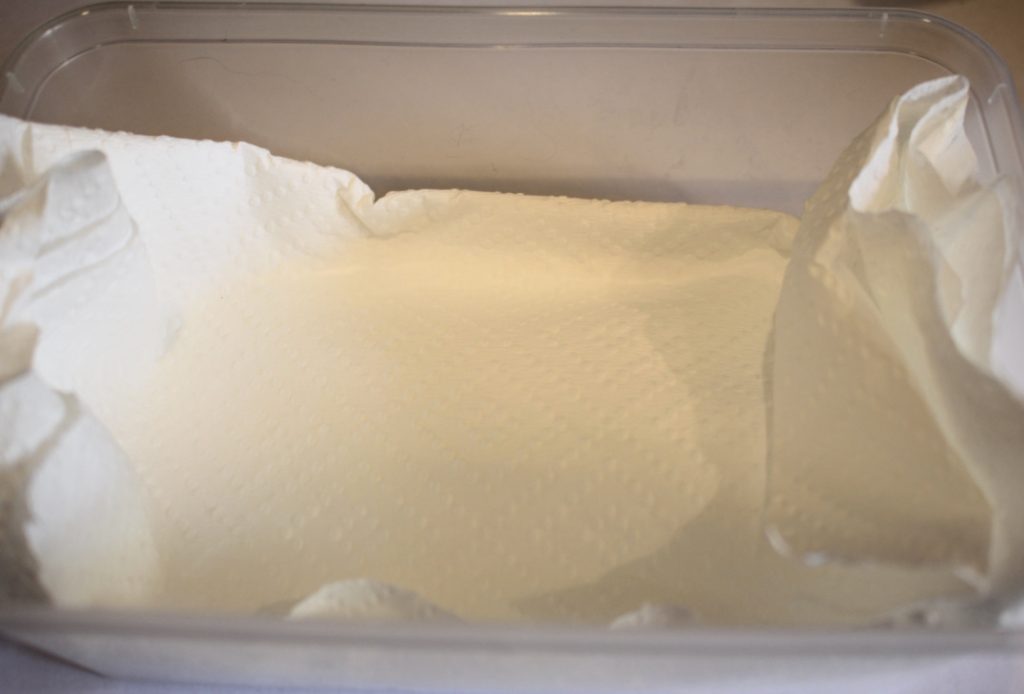
2: Add a dash of vinegar to the paper towel.

3: Sprinkle some salt over the top.

4: Put the charms in the container and put the lid on. Set this container aside for a while, maybe overnight, to allow the patina to develop.
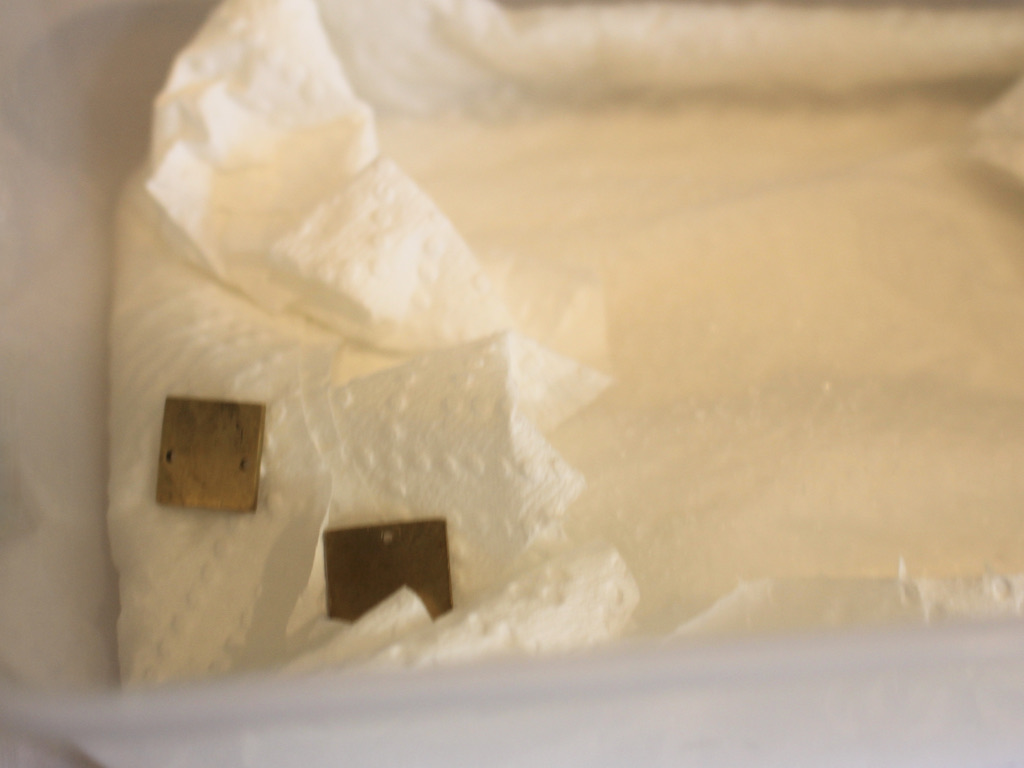
5: Once the charms have a patina you like, take them out of the container and wipe them down gently using more paper towel.


Isn’t it interesting to see how the patina will develop?! this one formed a lot around the grains of salt. Now you can use them in your jewelry designs! Please note that the patina can be delicate, so you can protect it using a product like renaissance wax.
-
Here’s how to make some fun jewelry for your shoes!
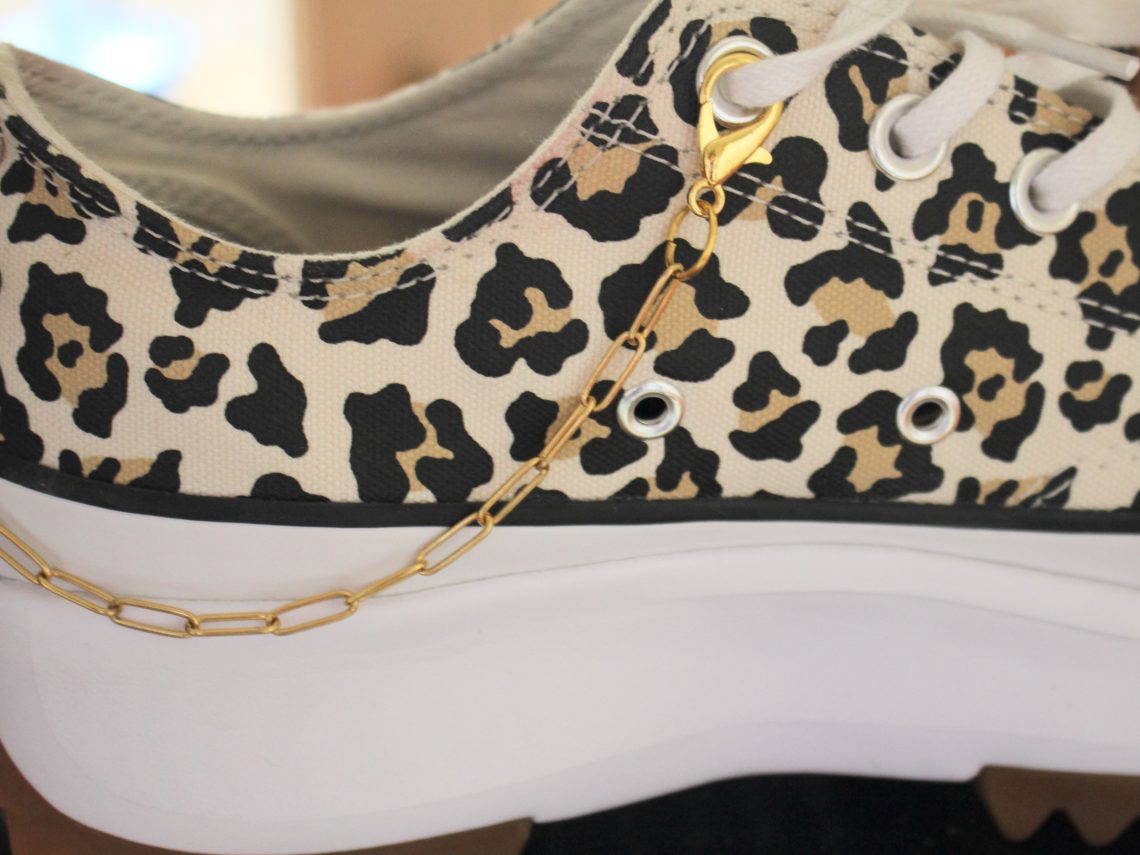
It can be fun to customise and add some flair to all your belongings, like adding gold chains to your fave pair of sneakers! This shoe chain can be clipped to a range of different shoes, the lobster clasps clip around your laces or shoe eyelets to add a personalised flair to your shoe game! Please note that this tutorial contains affiliate links.
You’ll need these tools and materials to make this shoe chain:
1: About 30-35cm of paperclip style chain.

2: Two large jump rings.

3: Two large lobster clasps.

4: Pliers. I used my flat nose, cutting and round nose pliers for this tutorial. I used my cutting pliers to cut the chain to the right length.

Follow these steps to make your own cool shoe chain:
1: Open one of the jump rings and slide it into one of the ends of the chain.

2: Add a clasp to the open jump ring.
3: Close the jump ring using your pliers.
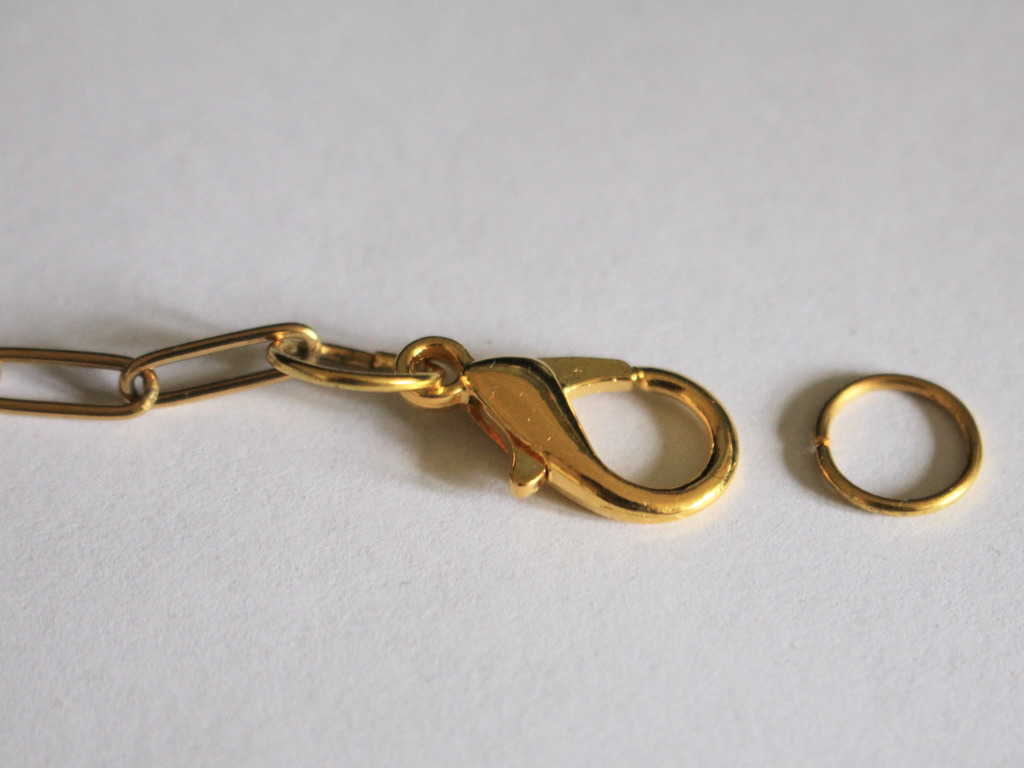
4: Repeat steps 1-3 for the other end of the chain.


And that’s it! Clip your shoe chain to your fave pair of sneakers and head out!


-
Here’s how to turn copper charms green using kitchen ingredients! I love this technique.
Copper is a really fun material to make jewellery with, it is reactive and oxidises easily, so you can make some great patterns and patina using simple household ingredients. In this tutorial I’m going to show you how to turn copper green using kitchen salt and balsamic vinegar! Please note that this tutorial contains affiliate links.
You’ll need these tools and materials to turn copper green:
1: A plastic container with a lid. I used a recycled takeaway container.

2: A couple of paper towels, one for turning the pieces green and another for wiping them off.

3: Some copper charms. I used these charms I made from some copper sheet a while ago.

4: Vinegar. I used balsamic vinegar for this tutorial, but you can try other vinegars such as white vinegar.

5: Salt.
Now, here are the steps to follow to turn your copper green:
1: Put the paper towel inside the plastic container.

2: Add a dash of vinegar to the container, it will soak into the paper towel.

3: Add the salt to the container, sprinkle it over the paper towel.

4: Place the copper pieces into the container, try to have them leaning against the side as having the pieces right against the vinegar-coated paper towel stops the patina from developing well (you can see this below with the copper arch charm, one side didn’t turn green because it was directly against the salt and vinegar mixture).

5: Put on the lid and leave the pieces overnight.
6: Once you have a patina you like, you can take the pieces out of the container and gently pat them dry with another paper towel, and that’s all! Now your pieces are ready to make with.
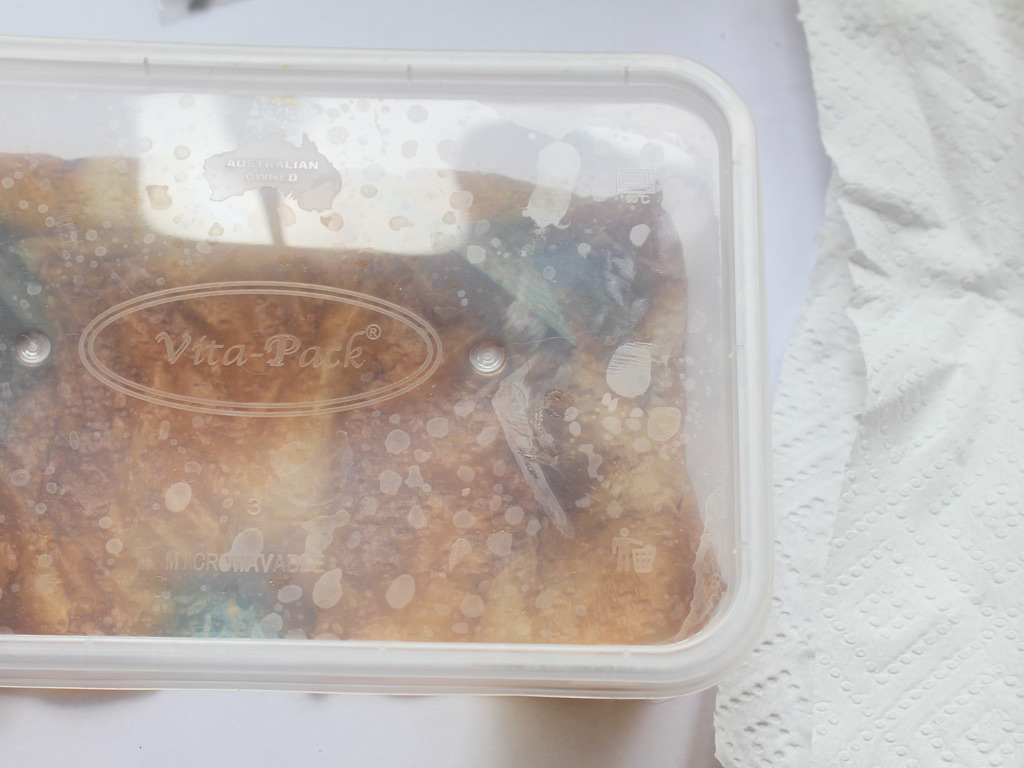


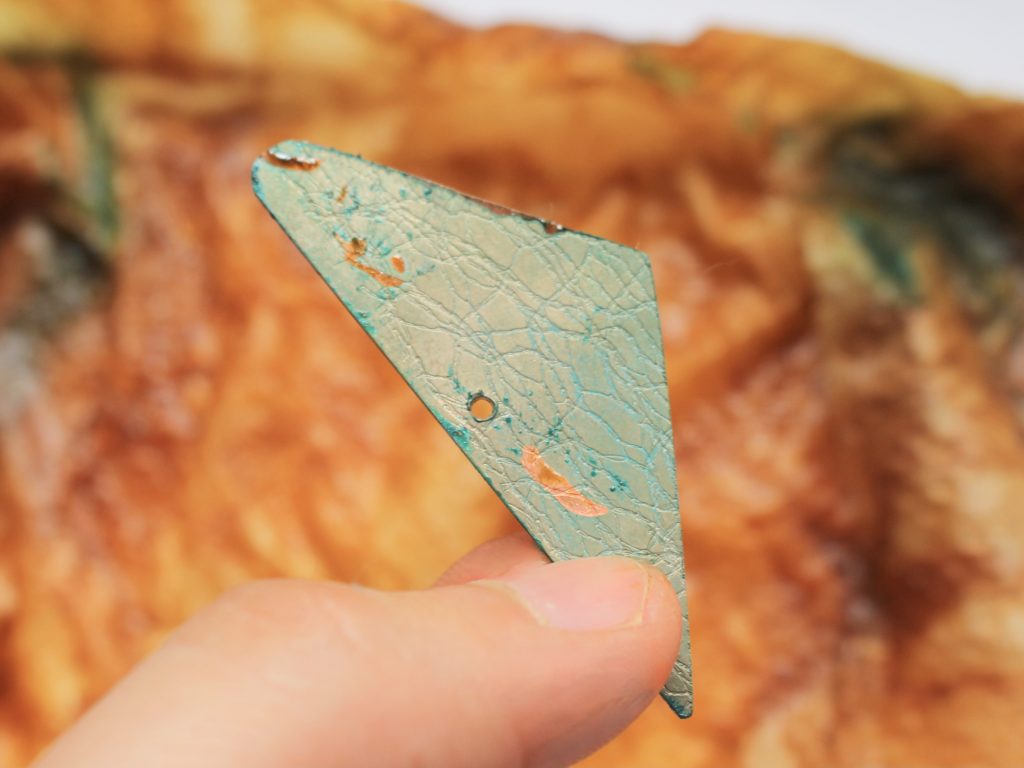


The final patina can be delicate when it is dry, so you can protect it with a substance called renaissance wax, which coats the piece and protects the green patina.
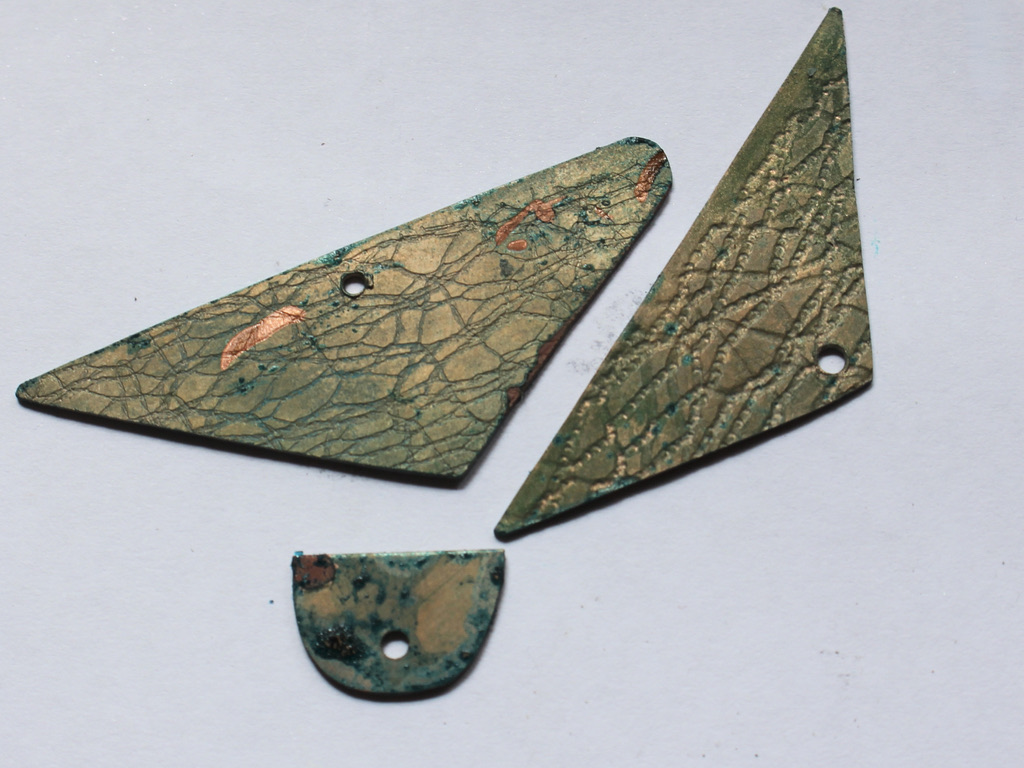
Here are some earrings I made using this technique, what do you think?

If you love this design, you can buy them here: https://www.etsy.com/au/listing/724963620/australian-made-earrings-copper-earrings?click_key=71fb4f1a5e946b8d959e969ff1a5137d17891322%3A724963620&click_sum=ee529605&ref=shop_home_active_27&frs=1

Here’s another pair you can purchase: https://www.etsy.com/au/listing/746942552/copper-and-silver-earrings-white-jade?click_key=42061fd44dcd2c519b427d32fdeaf45615238bcc%3A746942552&click_sum=3fb803a0&ref=shop_home_active_2&frs=1
And a third pair I made using copper wire and jasper beads, you can buy them here: https://www.etsy.com/au/listing/1130385893/textured-copper-earrings-copper-earrings?click_key=1fb520d80bb1c050717c9f98bc6c20c3f0260d48%3A1130385893&click_sum=deed90a6&ref=shop_home_active_8&frs=1

-
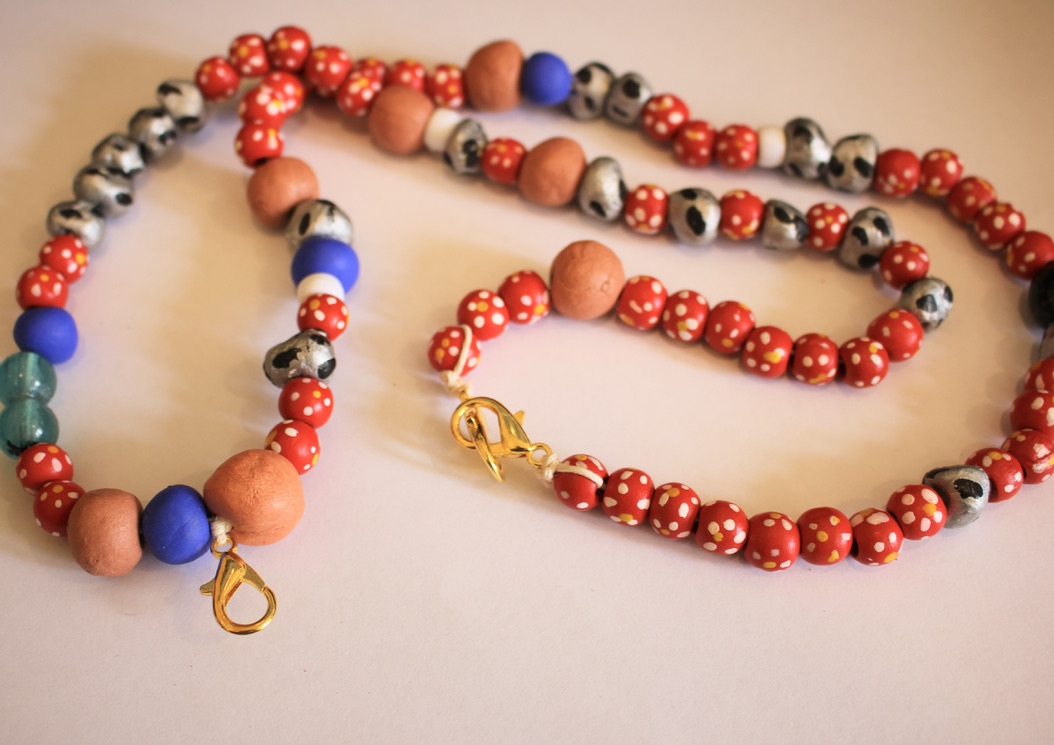
How to make a beaded lanyard using string and funky beads!
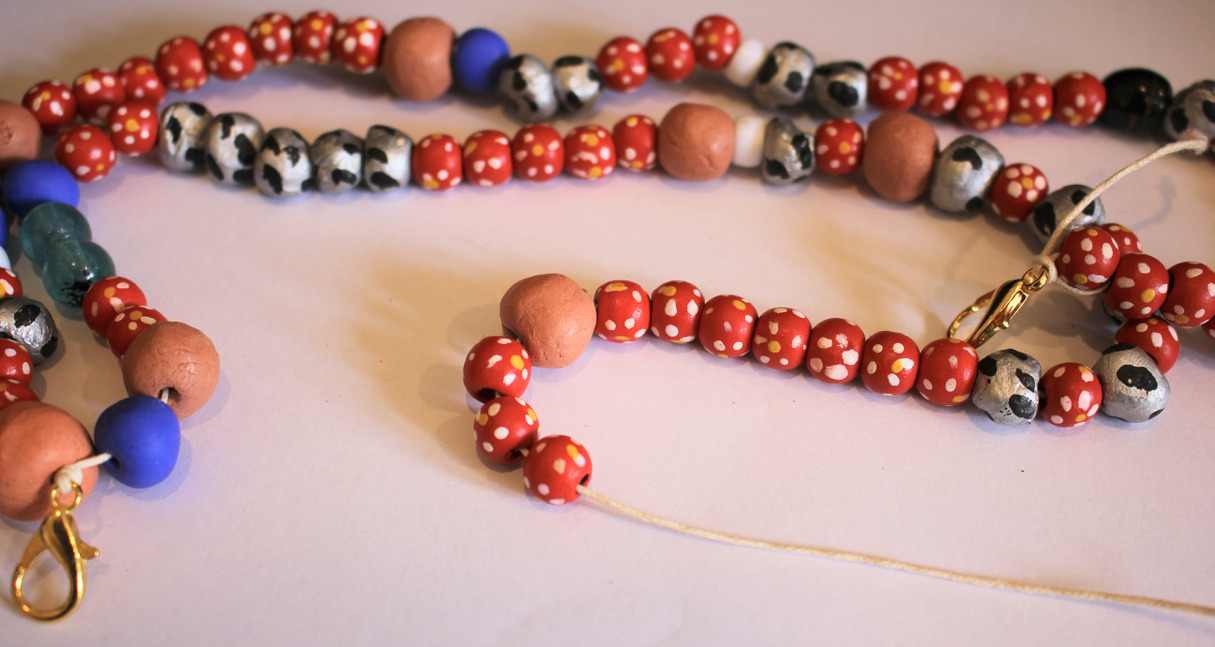
I recently caught up with a friend, she’s a teacher and she was really excited that she found some funky beaded lanyards, and it made me think… I could probably make one myself! So here’s the tutorial, here’s how to transform some string, clasps and funky beads into a useful lanyard! Please note that this tutorial contains affiliate links.
You’ll need these tools and materials to make your own beaded lanyard:
1: Scissors

2: Cotton twine, cut about 15cm longer than the length you want your lanyard.

3: Three large lobster clasps.

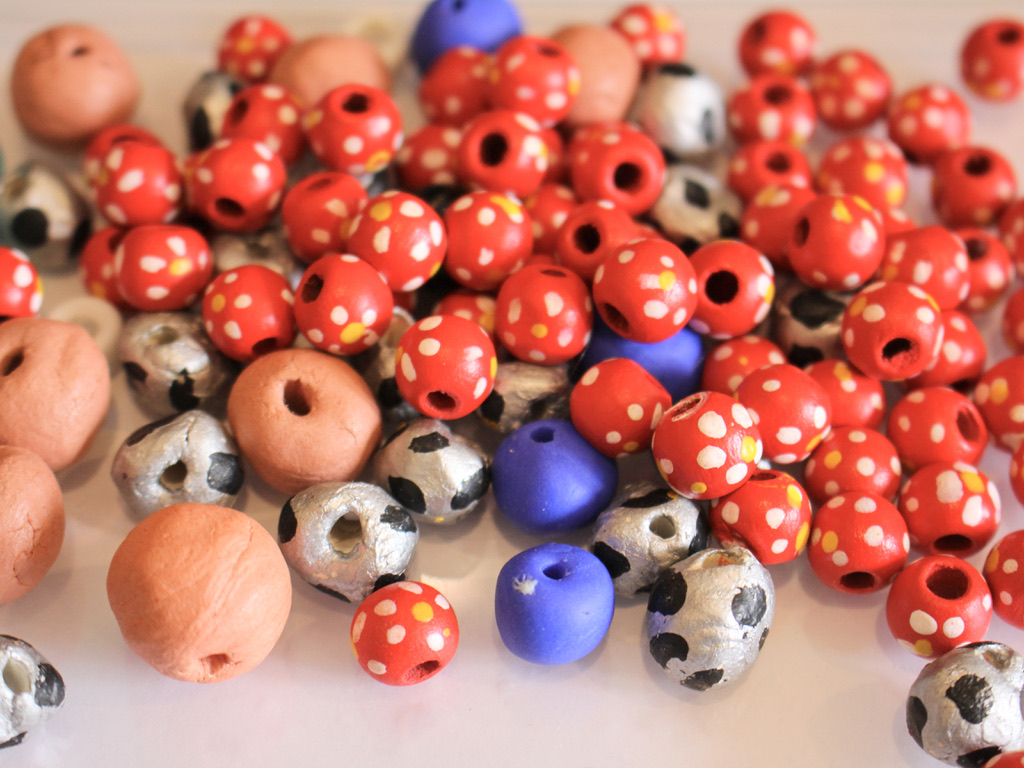
4: A selection of beads with holes large enough to fit on the string. I used some painted timber beads, glass beads, plastic beads, and some beads I made from polymer clay, resin and air dry clay.
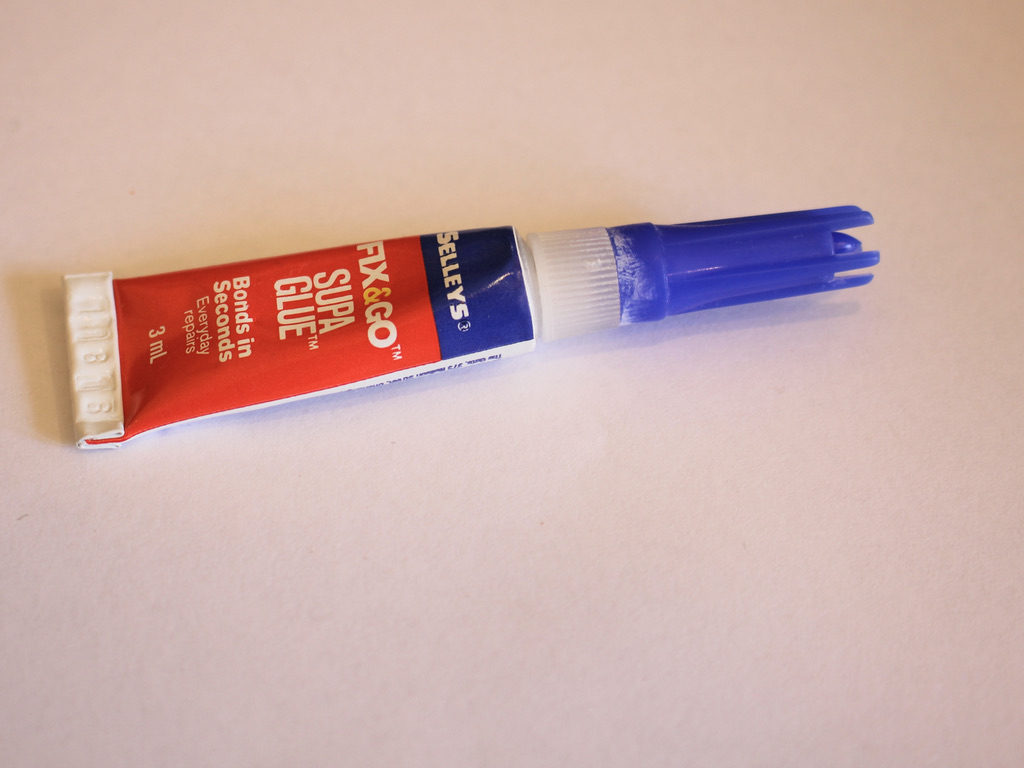
5: Superglue
Follow these steps to make your own beaded lanyard:
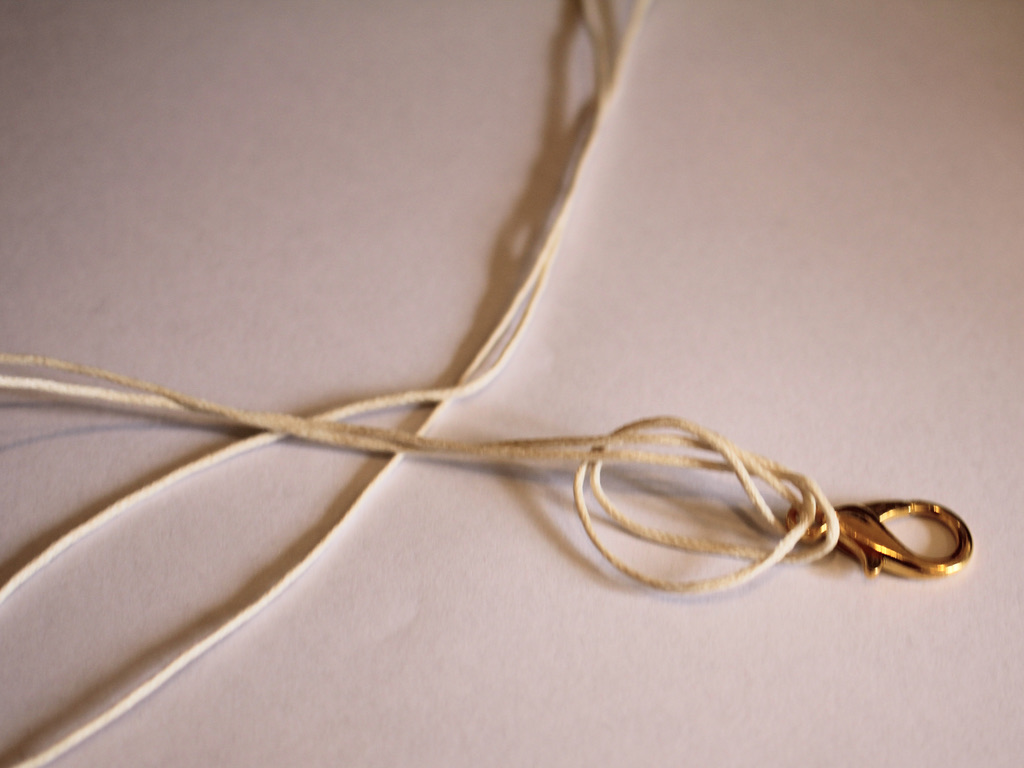
1: Take one of the clasps and add it to the middle of the piece of string.

2: Create a knot at the top of the clasp.

3: Add beads to one side of the lanyard until you get the length you like.


4: Add another clasp to the end of the lanyard and loop the end of the string back through the last bead and pull it tight.
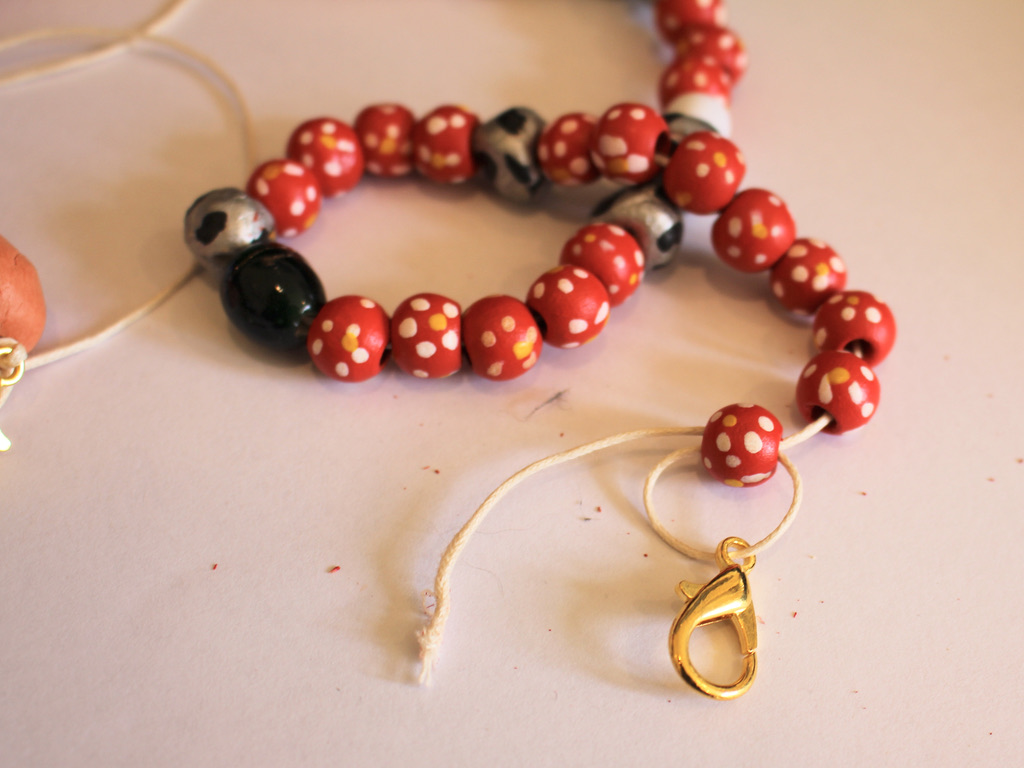

5: Tie a secure knot to the end of the string securing the clasp tightly to the last bead.


6: Repeat steps 3 to 5 for the other side of the lanyard.

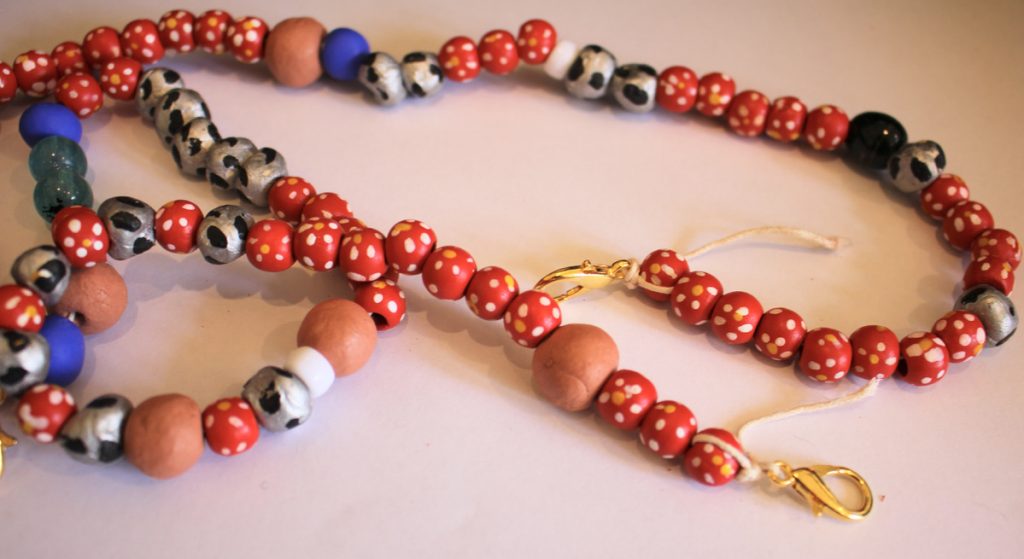
7: Trim the excess string on either end of the lanyard.


8: Add a dab of superglue to each of the knots at the end of the lanyard. Set it aside to dry.

Clip the ends of the lanyard together and now your beaded string lanyard is finished and ready to use!


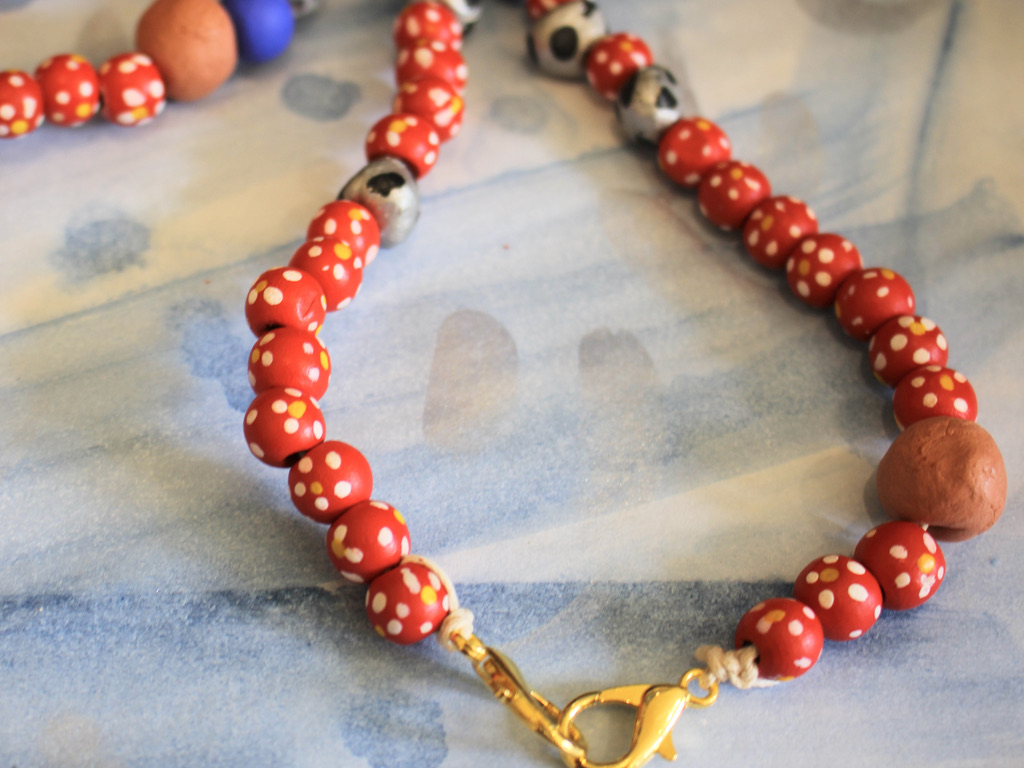
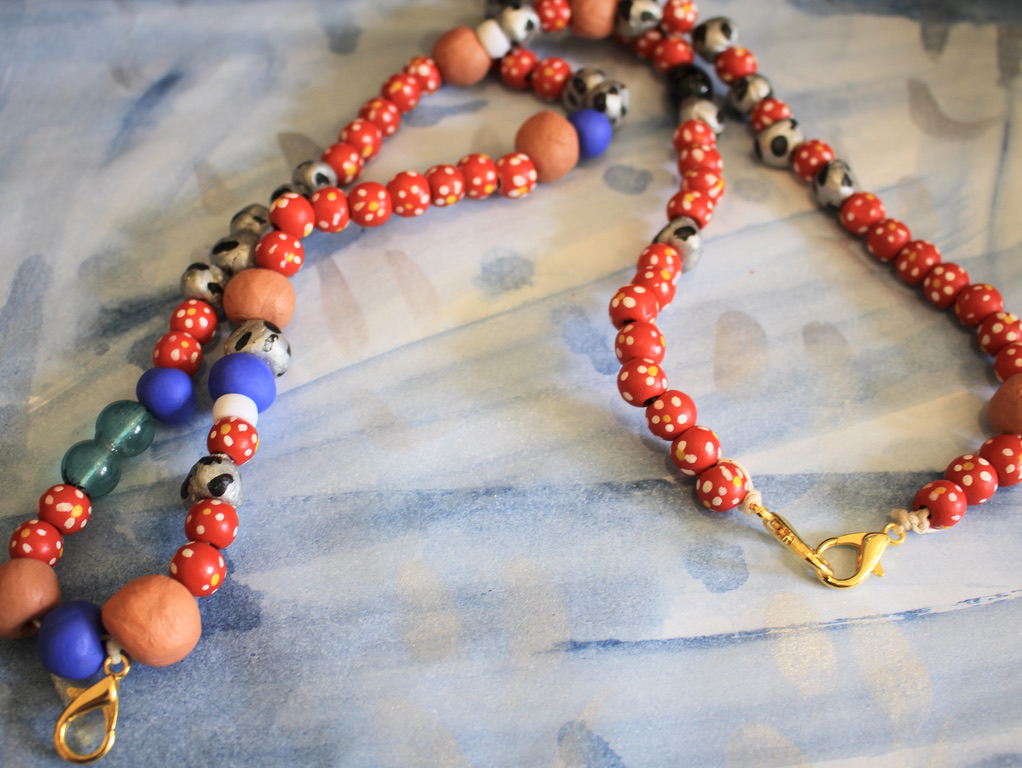
If you want to make your lanyard with handmade beads, here’s a tutorial you can follow to make your own.
-
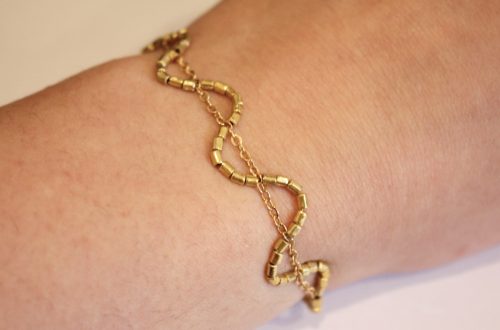
Here’s how to turn some silver chains into a braided choker that you can also wear as a bracelet!
I love jewelry you can wear multiple ways, so this design is a winner in my eyes! This necklace takes three delicate chains which are then braided together to create a unique choker necklace that you can also wrap around your wrist as a bracelet. Please note that this tutorial contains affiliate links.
You’ll need the following tools and materials to make your braided chain necklace:
1: Three delicate chain necklaces. I used chains that had different link types for a textured look.

2: Pliers. I used my round nose and flat nose pliers to open and close jump rings.


Follow these steps to make your braided necklace:
1: Open the jump ring on one end of the chains.


2: Open the jump ring on the other end of the chain and remove the clasp.

3: Remove the jump rings and clasps from the other two necklace chains.

4: Add the additional two necklace chains to the jump ring on the first chain you altered.


5: Close the jump ring to secure the chains together.

6: Braid the chain. It can help to tape the chains to a solid surface, this allows you to get better tension for braiding.

7: When your braid is finished, you might have some excess chain. This is okay, you can use it as a chain extender!

8: Attach the ends of the chain together using the jump ring you left at the other end of the necklace.

9: Add another couple of jump rings to the extender chain if you need it, this will allow you to adjust the length you wear the chains as a necklace or bracelet.


10: Attach a clasp to the first end that you secured together.

Now your braided necklace/bracelet is finished and ready to wear! How versatile and lovely?!


Here are some other braided designs you can make
-
Here’s how you can use a glasses chain to keep track of your wireless ear buds!
I love my wireless ear buds, but sometimes they fall out of my ears and onto the ground (yuck) when I’m out and about! Here’s how you can use a glasses chain to stop your ear buds from getting lost. Please note that this article contains affiliate links.
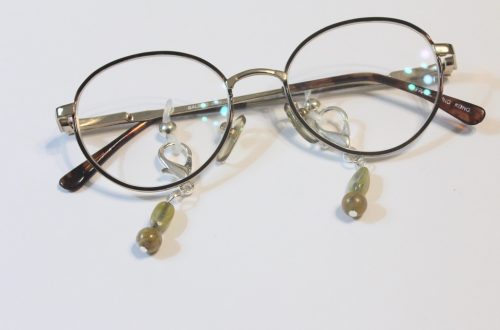
Grab your glasses chain and your headphones, you’ll want one with rubber loops at the ends.


Slide the rubber loop around each of the ear buds.

Then pop the ear buds in each ear, making sure to loop the chain around the back of your neck, so that if the ear buds fall out, they’ll just hang down around your chest instead of getting lost forever!

Here are some glasses chain tutorials you can follow if this trick tickles your fancy!
- Beads form the chain links in this glasses chain design.
- A glasses chain with dangling charms.
- Check out this sparkly rhinestone glasses chain!
- Transform a ball chain into a useful glasses chain.
- Use your old broken headphones to make a glasses chain (how ironic!)
- Bead up some wire to make a cool beaded glasses strap.
- Add bead accents to a chain for a cool look.
Alternatively, you can make a pair of earrings that attach your ear buds to your ear lobes to stop them getting lost!
-
Here’s how to string beads onto nylon beading thread!
I’ve been experimenting with different stringing materials lately for my beaded designs and I’ve come to like working with nylon beading thread, so I thought I’d make a tutorial to show you all how to use it! In this tutorial I am going to make a simple beaded necklace using glass seed beads and polymer clay fruit beads for a fun and tropical look. Please note that this tutorial contains affiliate links.
You’ll need these tools and materials to make your beaded necklace:
1: Some nylon beading thread. You’ll need to cut a bit over double the length you want your necklace to be.

2: A beading needle with a thin loop of thread tied to it.

3: A sterling silver lobster clasp.

4: A sterling silver jump ring.

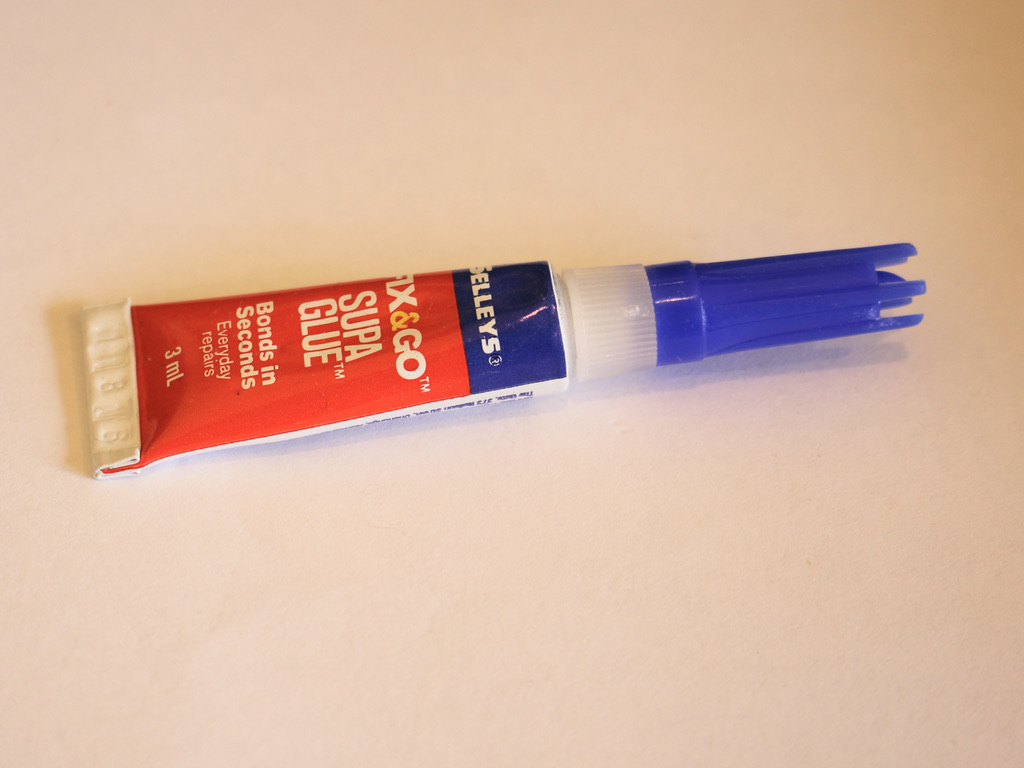
5: Superglue.
6: Beads. I used some polymer clay fruit beads and some clear silver lined glass seed beads.


7: Scissors to trim the thread.
Follow these steps to create your beaded necklace using nylon thread:
1: Fold the thread in half.

2: Loop the thread through the jump ring on the clasp and pull the ends back through.

3: Pull the loop tight.

4: Create another knot over the one you just made. If the knot is a little high, pull the strings apart carefully, making sure not to break the thread.


5: Loop the ends of the thread through the loop on the end of the needle.

6: Begin adding beads, pulling the beads gently over the thin thread and onto the necklace thread.


7: Add beads in the same manner in your chosen pattern until you have the length you want for your necklace.


8: Tie a knot at the end of the beaded section the same way you knotted the thread in step 4.

9: Slide the jump ring onto the thread.


10: Loop the thread through the ring again and then tie a knot below the jump ring. Do this one more time so that you have a secure knot.


11: Trim the excess thread.

12: If you feel like it, you can melt the extra thread using a lighter or match, but be careful not to break the thread or burn yourself.

13: Add a dab of superglue to the knots at each end of the necklace.


Now your necklace is finished and ready to wear!

If you don’t feel like making your own version of this necklace, you can purchase this one that I made here: https://www.etsy.com/au/listing/891450996/fruit-necklace-fruit-bead-necklace?ref=shop_home_active_30&frs=1
Here are some other polymer clay fruit designs you can make:
-
Like to keep track of your phone? Here’s how to make a handy chain phone strap.
This phone strap is minimalist in design and fairly easy to put together. Phone straps seem to be increasingly popular at the moment, so here’s how you can make one of your own. Please note that this tutorial contains affiliate links.
Grab these tools and materials to make your own chain phone strap:
1: Your jewellery pliers. I used my flat nose and round nose pliers.
2: Some chunky chain, I used about 42cm of chain but you could use less or more depending on the size you want your strap.

3: A sturdy jump ring.

4: A keychain with a phone loop.

Follow these steps to make your chunky chain phone strap:
1: Add both ends of the chain to the jump ring.

2: Add the keychain to the jump ring.

3: Close the jump ring using your pliers.

And that’s it, done in three steps! Now you can attach it to your phone case by looping the little loop around a hole in your phone case, pulling the strap through and then pulling it tight.


Here is another phone strap tutorial in case you like some variety when it comes to your phone accessories!
-
How to make a sweet fruity necklace with beads and some chain!
This necklace is super duper cute! Add some fruity polymer clay beads to eye pins and chain to create a fun beaded chain necklace perfect for adding some color and summer vibes to your wardrobe. Please note that this tutorial contains affiliate links.
You’ll need these tools and materials to make your fruity necklace:
1: A selection of polymer clay fruit beads.

2: The same number of eye pins.

3: Two pieces of chain slightly shorter than the necklace you want to make (The bead elements will make the necklace longer).

4: Two jump rings.

5: A lobster clasp.

6: Some pliers. I used my round nose and flat nose pliers for this piece.
Follow these steps to make your fruit necklace:
1: Add one of the beads to one of the eye pins.

2: Bend the pin to form an angle with the bead.
3: Loop the end of the pin using the round nose pliers. This will secure the bead onto the pin.


4: Repeat steps 1-3 for the rest of the fruit beads.

5: Attach all the fruit beads on their pins together to form a chain. Do this by slightly opening the loops with your pliers and then closing them again after sliding a charm onto the open loop.

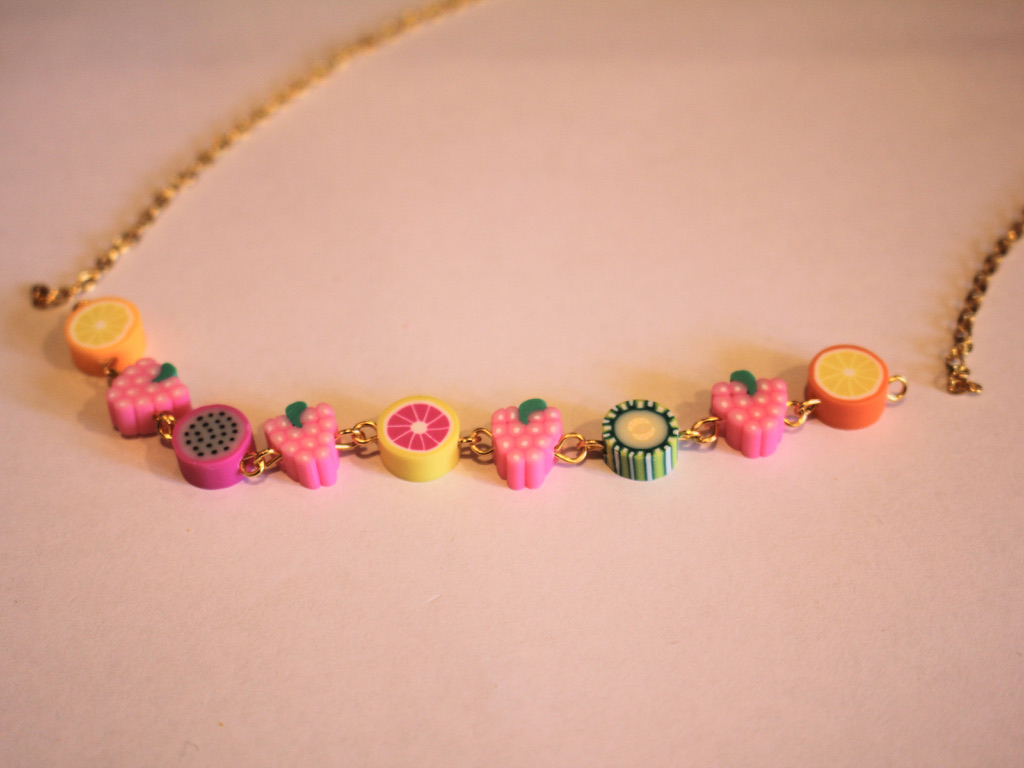
6: Add one side of the chain to one end of the fruit chain you have just made attaching it as you did the fruit links in step 5.


7: Add the other side of the chain to the other side of the fruit section as you did in step 6.

8: Add a jump ring to one end of the chain and add the lobster clasp before closing it.

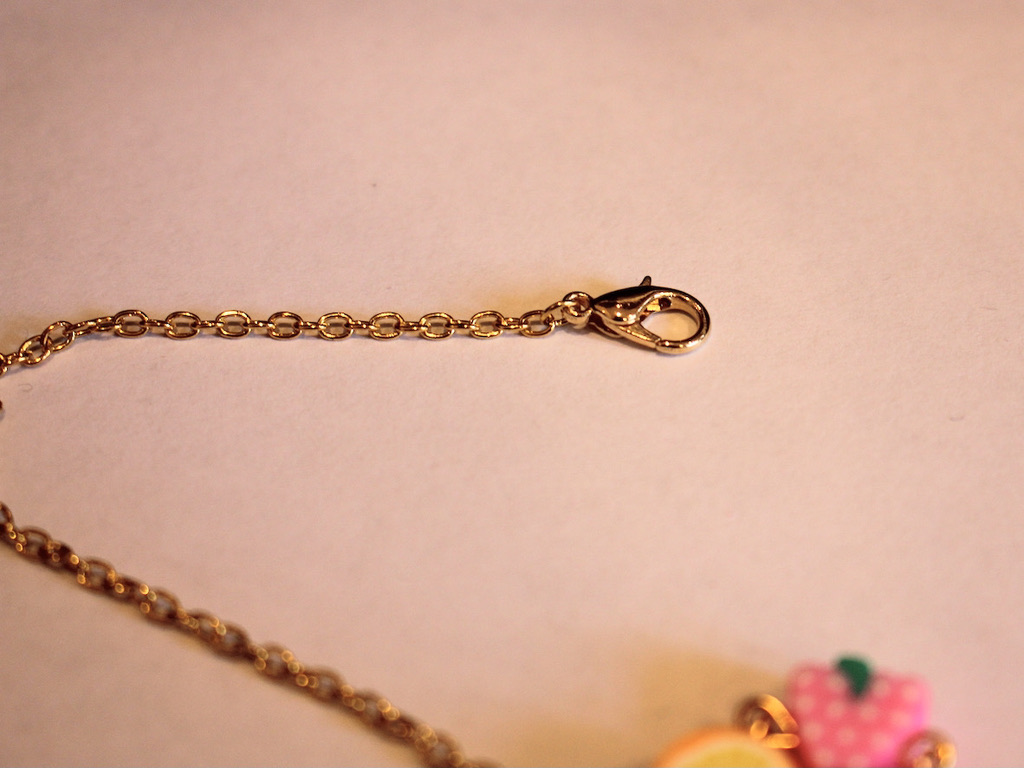
9: Add the other jump ring to the other side of the jump ring to finish it off.

Now your necklace is finished! How perfect and cheerful is this fruity design?!


Here are some other fruity jewelry tutorials you can make if you loved this one:
- A fruit themed waist chain
- Beaded hoops with glass fruit charms
- This perfectly simple apple bracelet
- This cute peachy anklet
- Strawberry dangle charm earrings
- Hot hot hot, a single chilli and pearl earring
- Orange threader earrings
- This yummy bell pepper necklace
- Fruit also features on this mixed bead necklace
- And on this simple strawberry necklace
- This letter bead bracelet has a happy banana on it
-
How to make earrings that are also holders for your wireless earbuds!
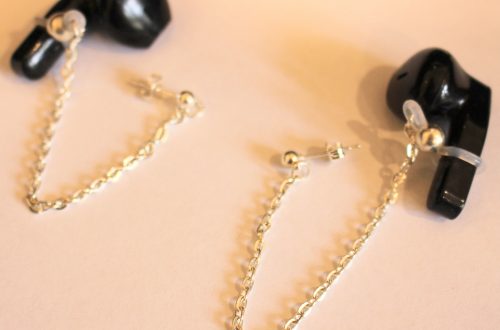
I love my wireless ear buds, but they do sometimes pop out of my ears and drop onto the ground, so here’s a design that will help prevent headphone loss, a pair of earrings that attach your earbuds to your earlobes. Please note that this tutorial contains affiliate links for which we might receive a commission.
You will need these tools and materials to make these earrings:
1: A pair of charm connector earrings and earring backs.


2: A couple of chains around 8-10cm long.

3: Two rubber glasses holders.

4: Four jump rings.

5: Your pliers, I used my flat nose pliers and round nose pliers to open and close the jump rings.
Once you’ve got your materials, you can follow these steps to make your headphone holder earrings:
1: Open one of the jump rings and then add to the bottom of one of the earrings.

2: Add one of the chains to the open jump ring.

3: Close the jump ring to secure the chain and earring together.

4: Repeat steps 1-3 for the other earring.

5: Add one of the rubber holders to the end of one of the chains using another jump ring. Close the jump ring to secure the holder to the chain.


6: Repeat step 5 for the second earring.

Now your earrings are finished and ready to wear out, no more lost ear buds!