googlea7fe66ce5e35c83b.html gtag('config', 'UA-139427764-1')
the finished looped gold chain necklace
How to Make a Necklace

I keep hearing that chunky chain necklaces are trendy right now… here’s how to make a gold chunky chain necklace that makes a statement.

the finished looped gold chain necklace

You might have seen our other tutorial that shows you how to make a chunky chain necklace. Well this one is a little different. It uses two gold chunky chains to make a cool statement. Please note that this tutorial contains affiliate links,

You’ll need these materials and tools to make your gold chunky chain necklace:

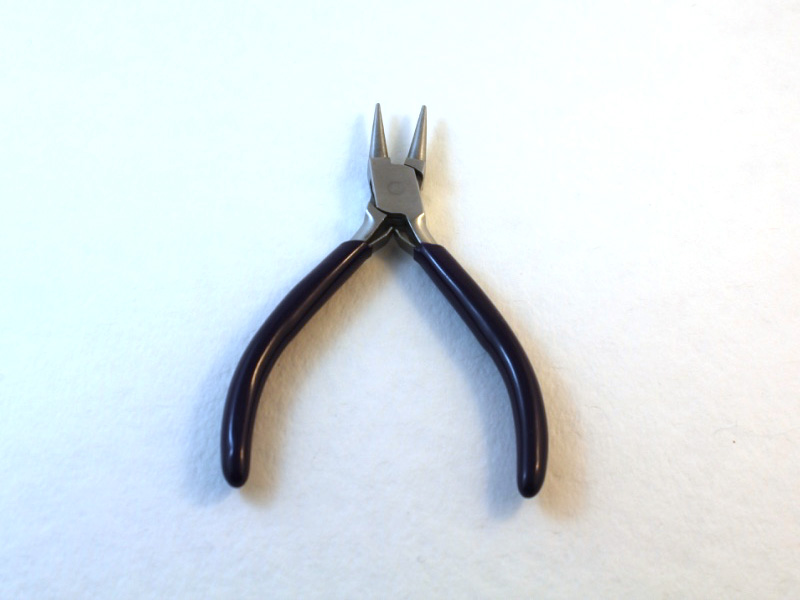
1: Pliers. Flat nose pliers and round nose pliers are the only tools you need to make your chunky gold chain statement necklace.
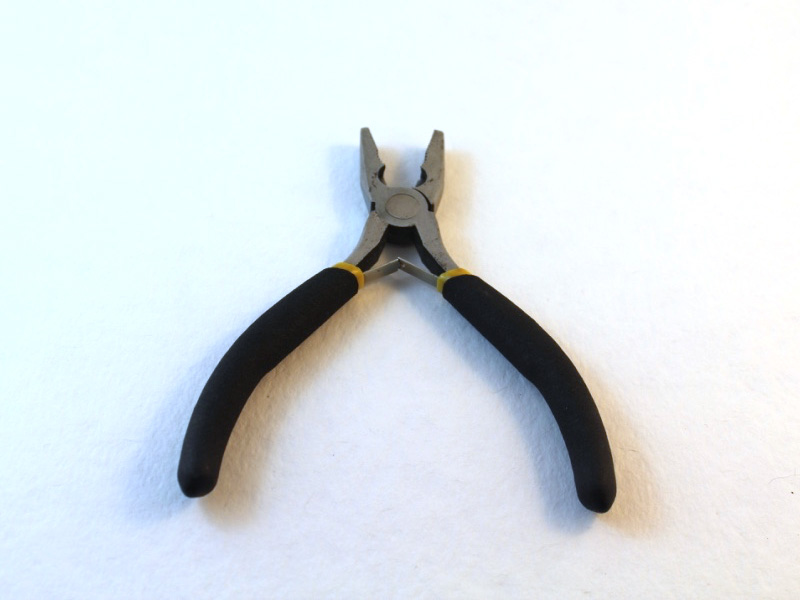
A pair of flat nose pliers
A pair of round nose pliers

http://rover.ebay.com/rover/1/705-53470-19255-0/1?ff3=4&pub=5575554392&toolid=10001&campid=5338626756&customid=5338626756&mpre=https%3A%2F%2Fwww.ebay.com.au%2Fitm%2F5pcs-Jewelers-Pliers-Set-Jewelry-Making-Beading-Craft-5-Mini-Plier-Kit%2F293055733514%3Fhash%3Ditem443b7b9f0a%3Ag%3AadEAAOSw9bFcmIIj

2: Two pieces of necklace length chunky gold chain.

two necklace length pieces of chunky gold chain

3: Two large gold jump rings.

two large gold jump rings

http://rover.ebay.com/rover/1/705-53470-19255-0/1?ff3=4&pub=5575554392&toolid=10001&campid=5338626756&customid=5338626756&mpre=https%3A%2F%2Fwww.ebay.com.au%2Fitm%2F250-pce-Brass-Gold-Tone-Open-Jump-Rings-5mm-Jewellery-Findings%2F173217759617%3Fhash%3Ditem2854954181%3Ag%3ACX0AAOSwYJNaqgxG

4: A gold toggle clasp.

a smooth gold tone toggle clasp

Here are the steps you need to make your gold chunky chain statement necklace:

1: Fold the first piece of chain in half.

one of the gold chains folded in half

2: Fold the second chain in half and loop it around the first chain so that they are looped together.

the other chain folded and looped around the first one
the two gold chunky chains looped around each other

3: Gather the matched chain ends together and secure them by attaching one of the jump rings.

a jump ring on one side of the necklace holding the chain ends together

4: Add one side of the toggle clasp and close the jump ring to secure one side of the necklace.

one side of the toggle clasp attached to the gold necklace

5: Repeat steps 3 and 4 for the other side of the necklace using the remaining jump ring and the other side of the toggle clasp.

the second jump ring attached to the other side of the necklace
the second part of the toggle clasp attached to the other side of the gold chain necklace

Now your statement chunky chain necklace is finished! I think this is such a cool version of the current chunky gold chain necklace trend happening right now.

the finished looped gold chain necklace

Here’s what it looks like on:

wearing the linked gold chain necklace

And here’s a sketch I did on my phone when I had the original idea… how cool is it that you can make sketches and write down your ideas when you’re on the go without any paper?!

a sketch of the linked chain necklace idea
the looped gold chain necklace on a resin trinket dish

Here are some other chunky chain tutorials:

Welcome to DIY Jewelry Hub. If you’ve ever wanted to learn how to make your own jewelry this is the place to start! Jewelry is a great way to show off your individuality and style. You’ll be surprised at how easy it is to create your own unique pieces! DIY Jewelry Hub will equip you with all the knowledge and inspiration you need to make your own jewelry.

One Comment

  • Gloria garza

    At first glance, I thought that it is a real gold but I really appreciate your creativity and artistic work for making such a wonderful piece of jewellery. Good jewellery to where at a very pocket-friendly rate.

Leave a Reply

Your email address will not be published. Required fields are marked *

This website uses Google Analytics software. You can opt out via this link. Click here to opt-out.