Jingle Jangle How to Make A Bangle!
In this tutorial you can learn how to make your own beaded bangle. This design is pretty easy to put together. All you need is some 18 gauge jewelry wire, your pliers and some beads. This pattern is a bit of a blank canvas… once you’ve made one you won’t be able to stop! Try making this bangle design with different beads and charms to make it your own. I’d also love to see your creations!
You will need the following tools and materials to make this bangle:
1: Pliers
You won’t need the flat nose pliers to make this bangle but do make sure you have your cutting pliers and round nose pliers handy!

2: Wire.
I used some 18 gauge gold colored wire for this bangle.

3: Two head pins.
I used some antique brass colored head pins for this design.

4: Beads for the bangle.
I used these yellow glass beads with some purple ceramic beads.


5: Beads for the charms.
I used this large pink(ish) glass bead and three yellow glass beads to create my charms.


The Steps:
1: Measure the wire before you trim it. I measured how much I need by wrapping my wire loosely around my wrist. Make sure your wire is long enough to allow your hand to fit over your hand. I cut my wire to approximately 24cm (9.5 inches)
2: Cut the wire to your desired length using the cutting pliers.


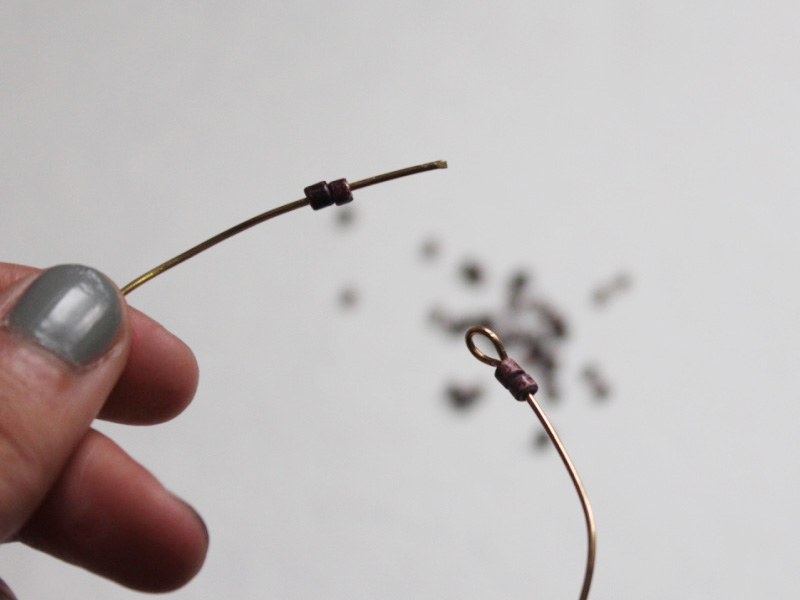
3: Once you have cut your wire, use the round nose pliers to make a loop at one end of the wire.


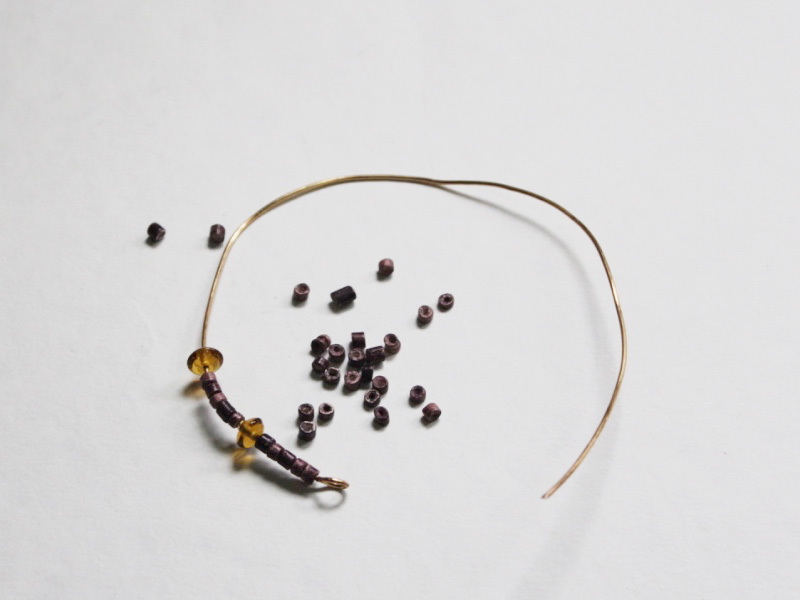
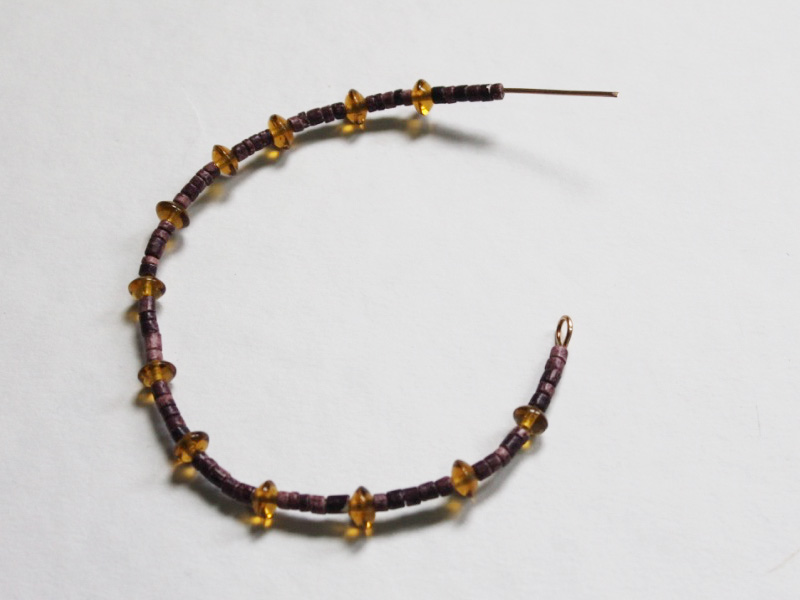
4: After the loop has been formed you can start adding your beads.
5: Once the beading is complete, use the round nose pliers and bend the end of the wire at a right angle to the beads.
6: After you have bent the wire, use the cutting pliers to trim the end so that it is approximately 1cm (0.4 inches) long.

7: Once the end of the wire has been trimmed, use the round nose pliers to form a loop, leaving it slightly open.
8: Slide the open end into the loop at the other end of the wire. Once the open loop is in place, close it using the round nose pliers.


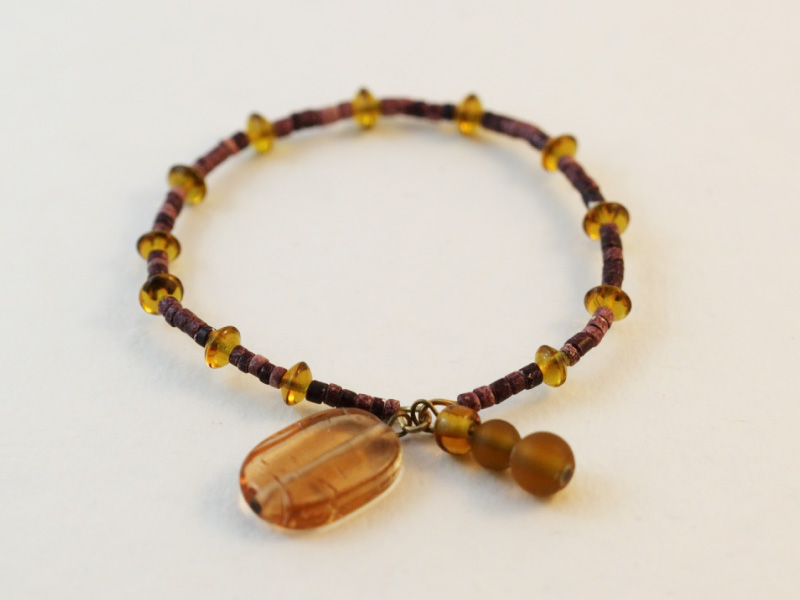
9: Now you’ve got a fully formed bangle! You can leave it here, but for this design I decided to add a couple of extra bead charms as well.

10: Add your chosen charm beads to the two head pins.

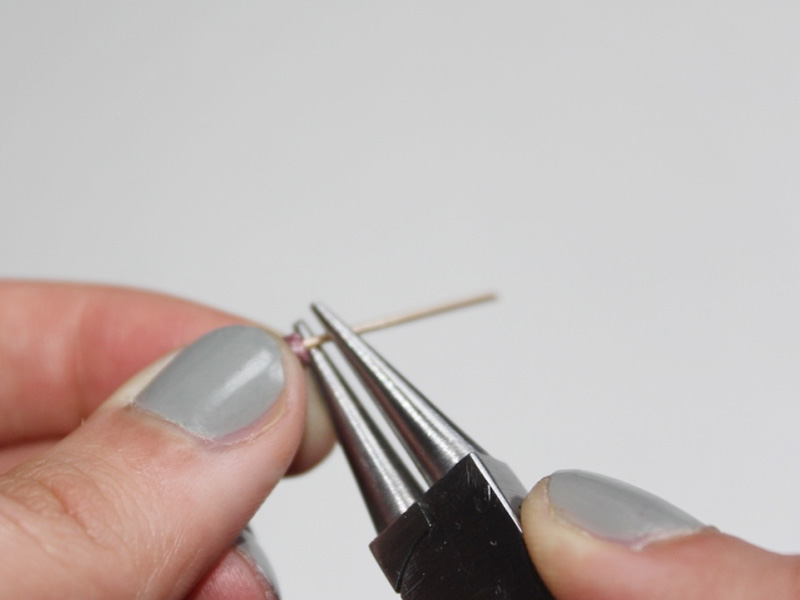
11. I used some shorter head pins in this design so there was no need to trim them before forming the loop. Bend the pin at a right angle to the beads using the round nose pliers. Make sure you repeat this for both charms.

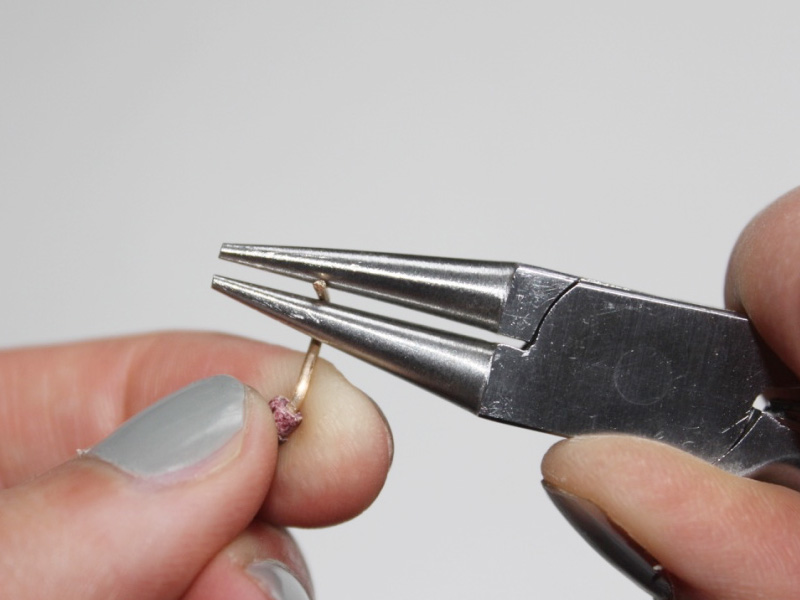
12: Use the round nose pliers again to form a loop on the end of each pin.


13: Open each loop slightly and then slide both charms onto one of the looped ends of the bangle.
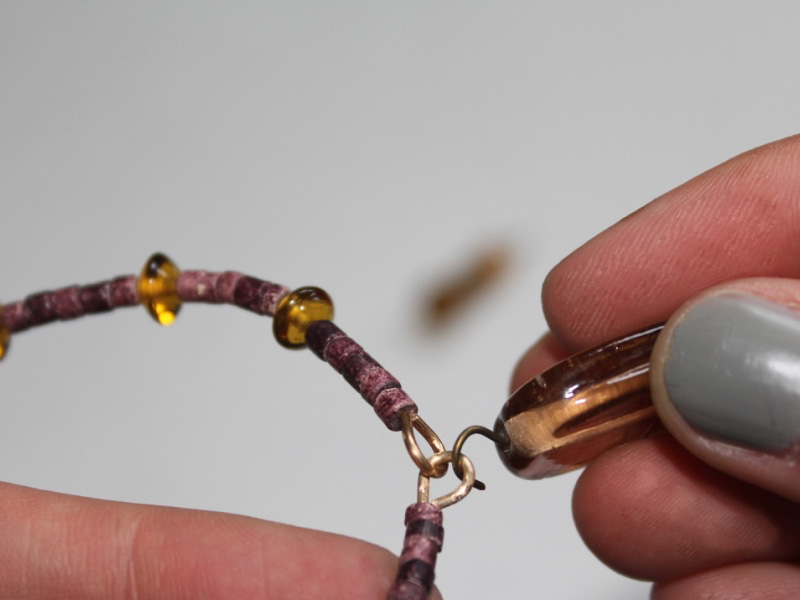
14: Use the pliers to close the charm loops again and secure them into place.

15: Once the charms are in place you’re finished! Pop it on and head out on your way. Imagine a stack of these beauties on your wrists… I think it would look pretty spectacular!
DIY Jewelry Hub
Welcome to DIY Jewelry Hub. If you’ve ever wanted to learn how to make your own jewelry this is the place to start! Jewelry is a great way to show off your individuality and style. You’ll be surprised at how easy it is to create your own unique pieces! DIY Jewelry Hub will equip you with all the knowledge and inspiration you need to make your own jewelry.


You May Also Like

Do you love the look of knit accessories? Why not try knitting your own bangle?
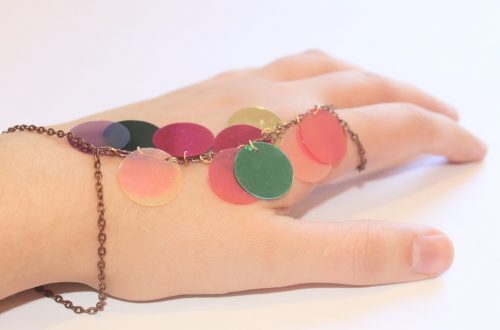
Sequins are giving me life lately! Here’s how to make a sequin hand harness.
