
How to Make a Double Strand Necklace, For When One Strand Just Isn’t Enough
This necklace doesn’t have just one beautiful beaded strand, it has two! But don’t let the extra strand fool you, this stunning accessory is super easy to put together. And if you need some inspiration for where to use the beads you made by following my handmade bead tutorial this incredible necklace is a great place to start.
You will need the following tools and materials to make this lovely double strand necklace:
1: Pliers. You will need your round nose pliers, flat nose pliers and cutting pliers to make this necklace.

2: Two jump rings.

If you find yourself fancying the antique brass finish make it a feature of your own designs:
3: One lobster clasp.

4: Tiger tail wire. I used this bronze colored tiger tail wire to make this double strand necklace.

5: Eight crimp beads.

4: Beads of your choice. I used a selection of glass beads in different sizes as well as five handmade clay beads as a feature beads on this necklace.


I love these evil eye beads, you can use them in your own jewelry designs too! Click the link to get your own:

If you are feeling particularly inspired to make your own beads you can order some air dry clay in white or terracotta… too easy!
The Steps:
1: Cut two pieces of tiger tail wire to your desired length. Make sure that one of the pieces is slightly longer than the other to ensure that each strand sits comfortably around your neck when you are wearing your necklace.


2: Add two crimp beads and a jump ring to one end of the first piece of tiger tail wire. (I started with the longest piece of tiger tail wire).

3: Bend the end of the tiger tail wire around the jump ring and through both crimp beads. Pull the wire tight and ensure that the crimp beads are sitting closely to the jump ring.


4: Use the flat nose pliers to squash the crimp beads and secure the jump ring and wire in place.


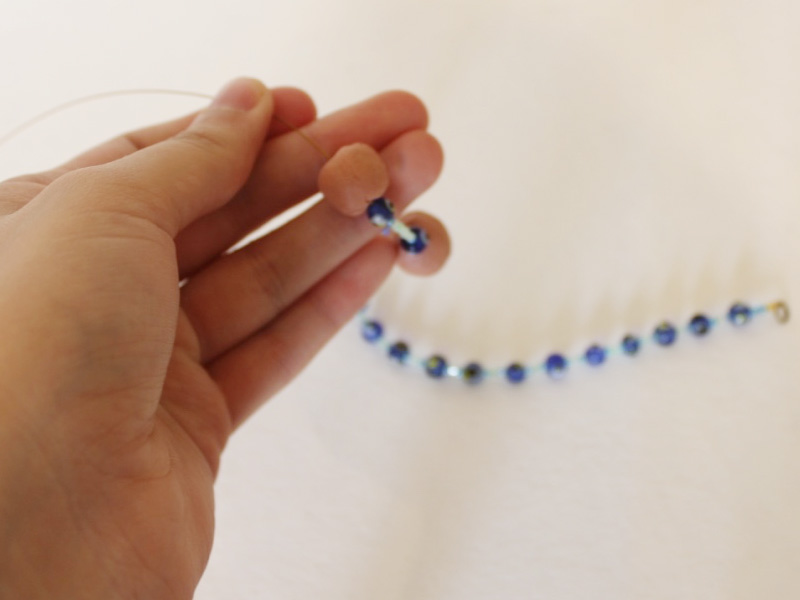
5: Once the crimp beads have been secured, begin adding beads to the strand of tiger tail wire.

6: Continue beading in your desired pattern. I added 5 large handmade clay beads towards the center of the longer beaded strand.

7: Once the beading has been completed, add two more crimp beads and loop the wire around the second jump ring back through the crimp beads.


8: Pull the wire tight and squash the crimp beads in place using the flat nose pliers.

9: Once the crimp beads have been squashed, use the cutting pliers to trim the excess wire.
10: Once the first strand has been secured, add the second strand to a jump ring at one end of the necklace. Add two crimp beads and loop the tiger tail wire around the jump ring.

11: Squash the crimp beads to secure the tiger tail wire in place using the flat nose pliers.


12: Begin adding beads to the second strand. Continue adding them in your desired pattern until you reach the end of the strand. This strand will be shorter than the first one.
13: Once the beading on the second strand has been completed, add two more crimp beads and loop the end of the tiger tail wire through the jump ring at the other end of the necklace.
14: Pull the wire tight and squash the crimps using the flat nose pliers.


15: Trim the excess tiger tail wire using the cutting pliers.


16: To complete the necklace, open one jump ring and slide on the lobster clasp. Secure the clasp in place by closing the jump ring again.

17: Now your necklace is finished. I bet that making this beauty was far more simple that you thought! How will you style your double stand necklace? You can make this design using lots of different materials and special gemstones, so get creative and make something unique and and special for you!
If you love double strand necklaces we have some more tutorials for you…
- How to make a double chain necklace with bead charms
- How to make a two-tone chain choker
- How to make a double strand necklace from broken headphones
- How to make a double strand string necklace
- How to make a mixed media double strand necklace
This tutorial contains affiliate links.
DIY Jewelry Hub
Welcome to DIY Jewelry Hub. If you’ve ever wanted to learn how to make your own jewelry this is the place to start! Jewelry is a great way to show off your individuality and style. You’ll be surprised at how easy it is to create your own unique pieces! DIY Jewelry Hub will equip you with all the knowledge and inspiration you need to make your own jewelry.

You May Also Like

Here’s another way to upcycle broken headphones… into a necklace!

How to make a smiley good vibes necklace!
