

How to Make a Friendship Bracelet to Celebrate Your Wonderful Pals
These bracelets are a classic. I used to make tonnes of these sweet friendship bracelets when I was a kid, and I think they still look cute and stylish now! All you need to make these cute and simple beaded friendship bracelets is some string and some colorful glass e-beads.
You will need the following tools and materials to make this friendship bracelet:
1: Scissors

2: String. I used some natural colored twine.

3: Glass e-beads in your choice of colors. I used some bronze colored beads for this design.

The Steps:
1: Cut three pieces of string. I cut my pieces to be approximately 40cm (15.5 inches) long but you might want to make your pieces a little longer.


2: Tie the three strands together at one end.


3: Once your strands are secure you can begin braiding.

4: Continue braiding until the braid reaches approximately a third of the way around your wrist.

5: Once you have reached this point it is time to begin adding beads. Slide one bead onto the strand that is currently in the center of the braid.

6: Push the bead up close to the braid, holding it tight, and then continue braiding around the bead to hold it in place.


7: Continue adding beads in the same manner, adding as many as you would like. For this design I used 5 beads.

8: Once you’ve added all your beads you can continue braiding normally.


9: Once your bracelet has reached your desired length, secure the braid with another knot.


10: Once your you have secured the end of your bracelet, use your scissors to trim the ends of the string so that they are all the same length.

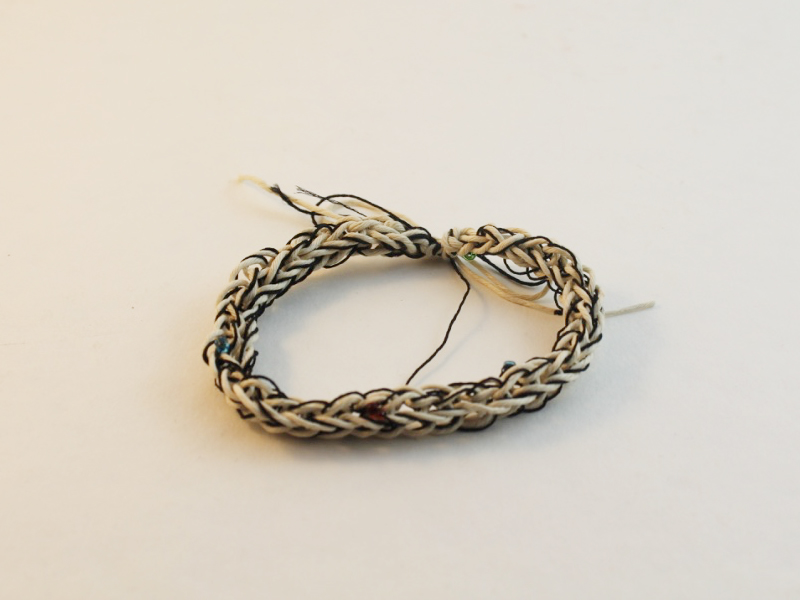
11: Now your friendship bracelet is complete! Make them for yourself and for your friends, better yet… make them with your friends! These stunning bracelets make for great gifts for all occasions.


You can experiment with the style of this bracelet by adding beads at different places throughout the braid.

DIY Jewelry Hub
Welcome to DIY Jewelry Hub. If you’ve ever wanted to learn how to make your own jewelry this is the place to start! Jewelry is a great way to show off your individuality and style. You’ll be surprised at how easy it is to create your own unique pieces! DIY Jewelry Hub will equip you with all the knowledge and inspiration you need to make your own jewelry.


You May Also Like
Knit Yourself A Bracelet… Because Knitting is Cool!

Add to your wrist stack, construct some charm connector bangles today!
