-
Here’s how to make a cool adjustable leather bracelet with gemstone beads on it.
This is so cool! No metal fixings required. All you need are some great gemstone beads and some leather cord. I love this because it is adjustable so it can fit different sized wrists. It could even double as an anklet!
Please note that this tutorial contains affiliate links for which we may receive a commission.
You’ll need the following tools and materials to make your bracelet:
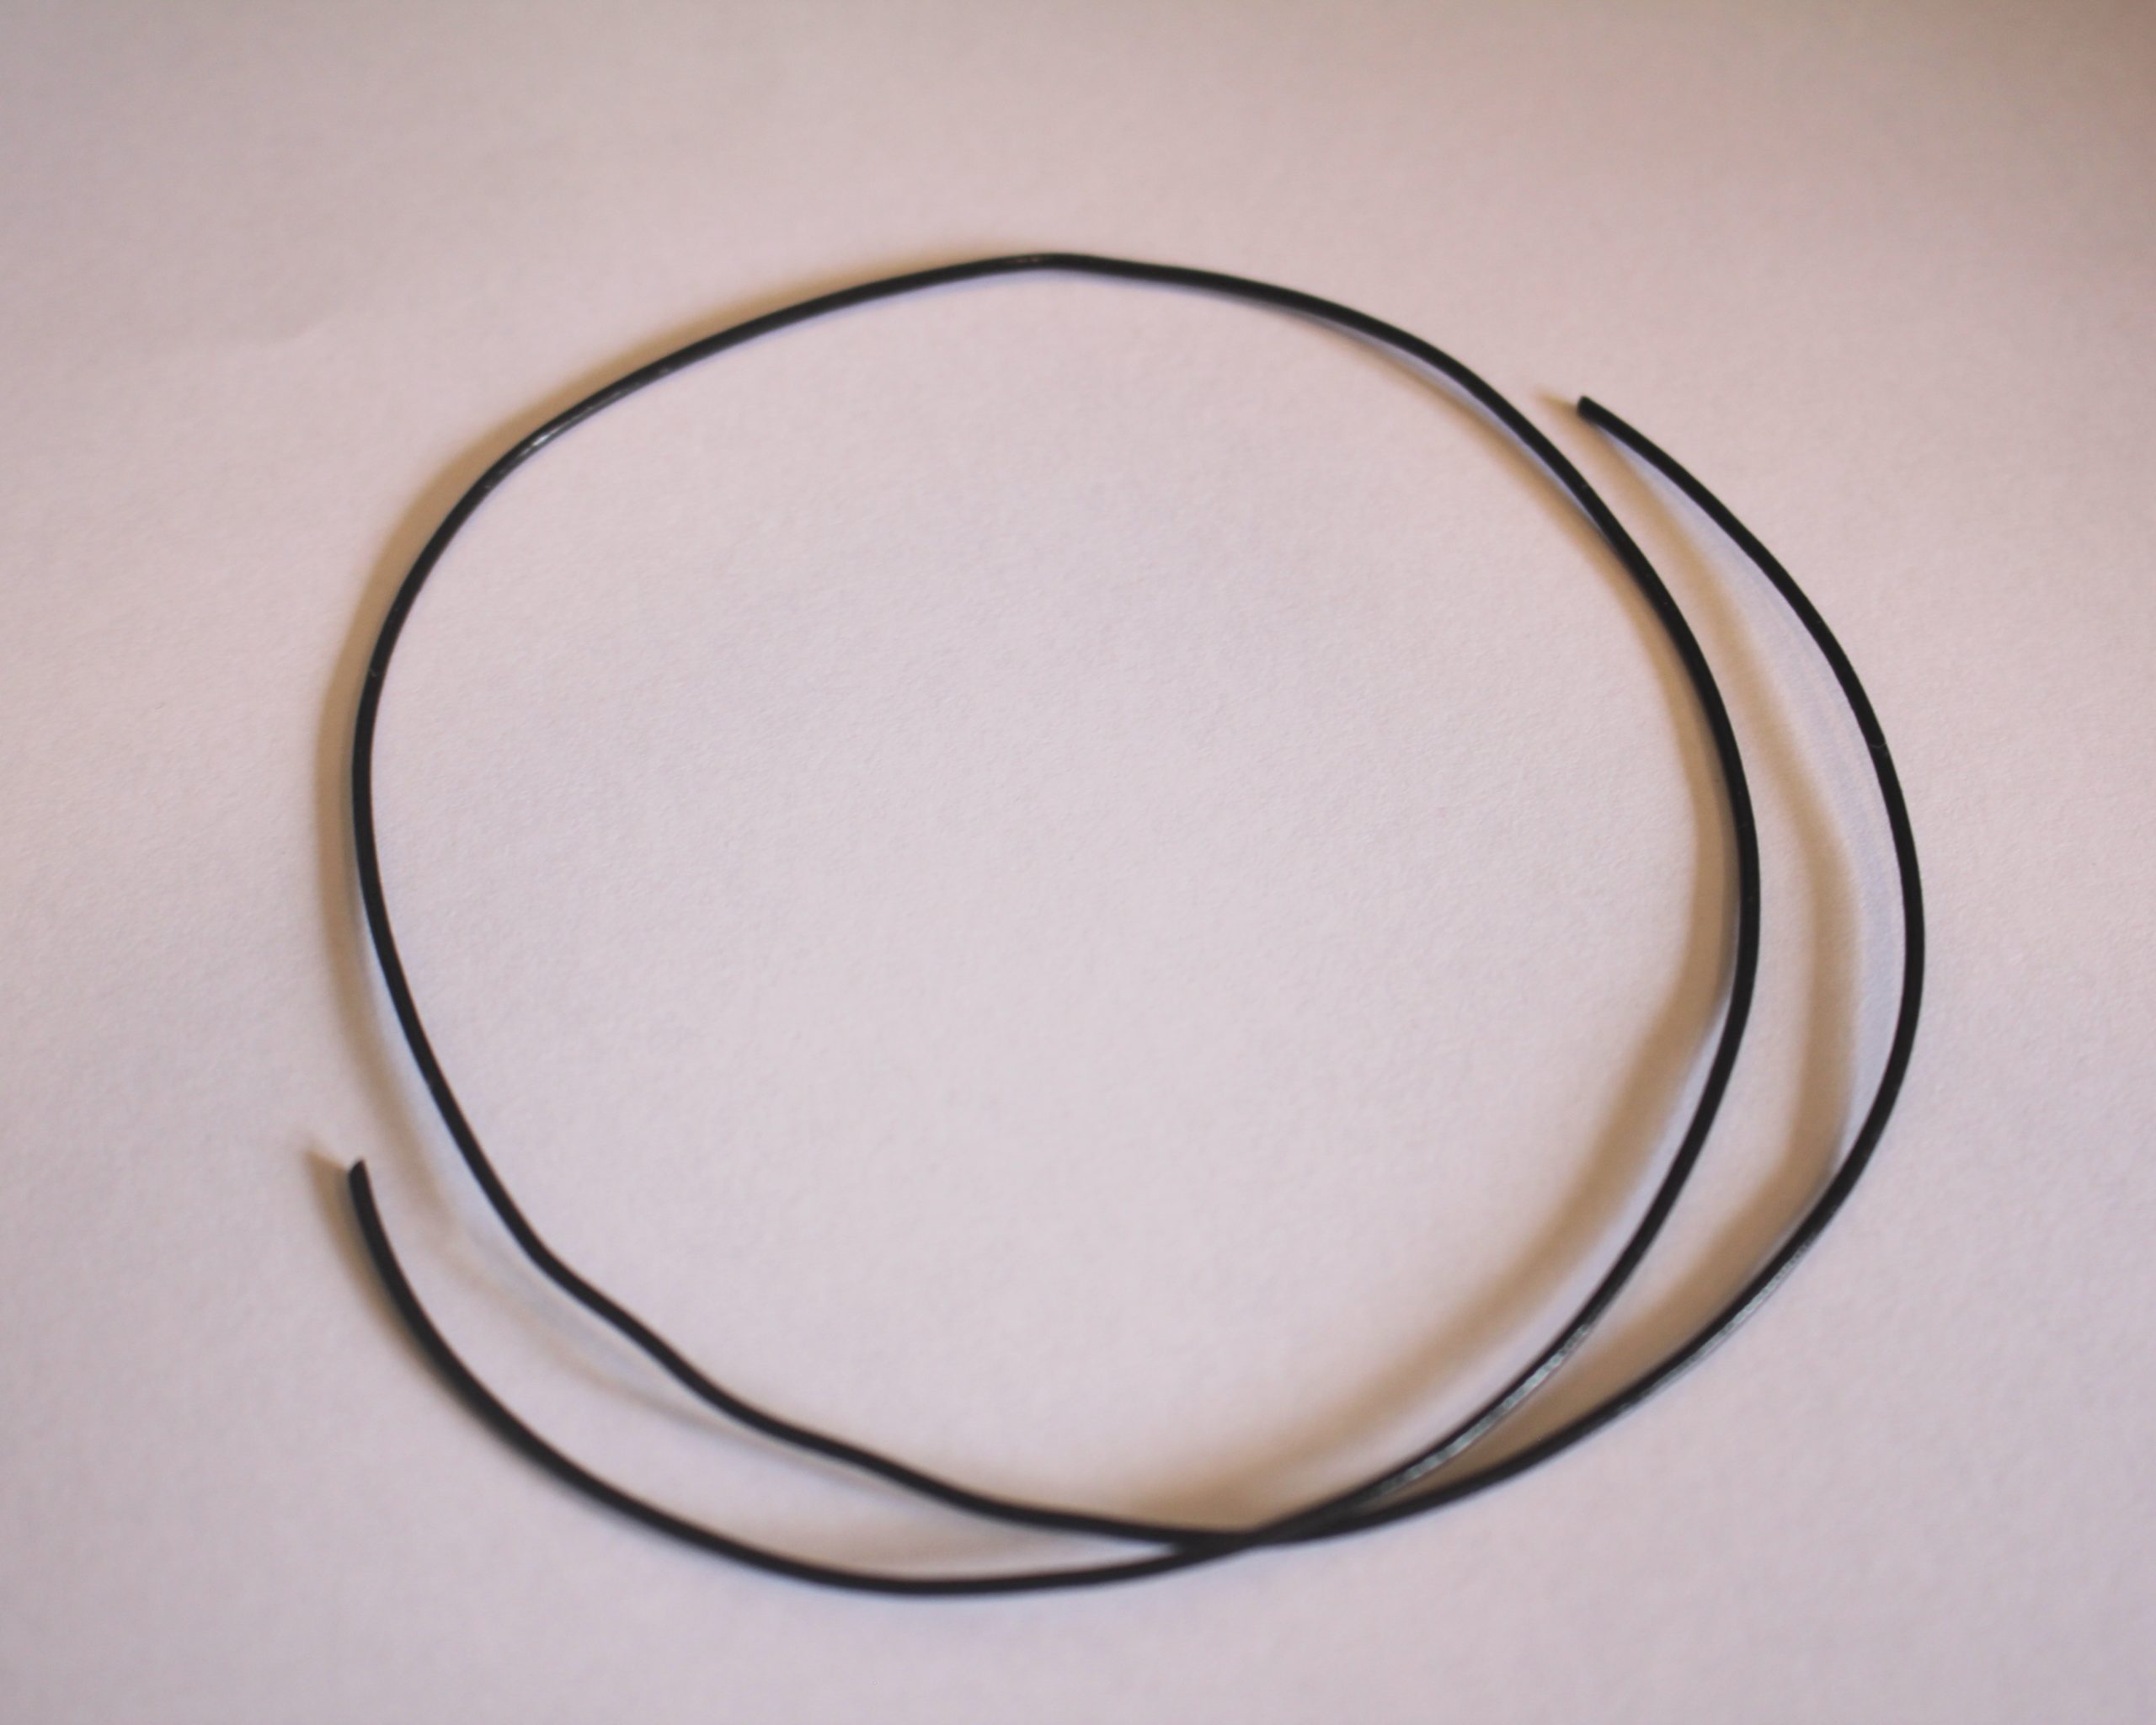
1: A length of 1.2mm thick leather cord. Approx 2.5x the length required to fit around your wrist.
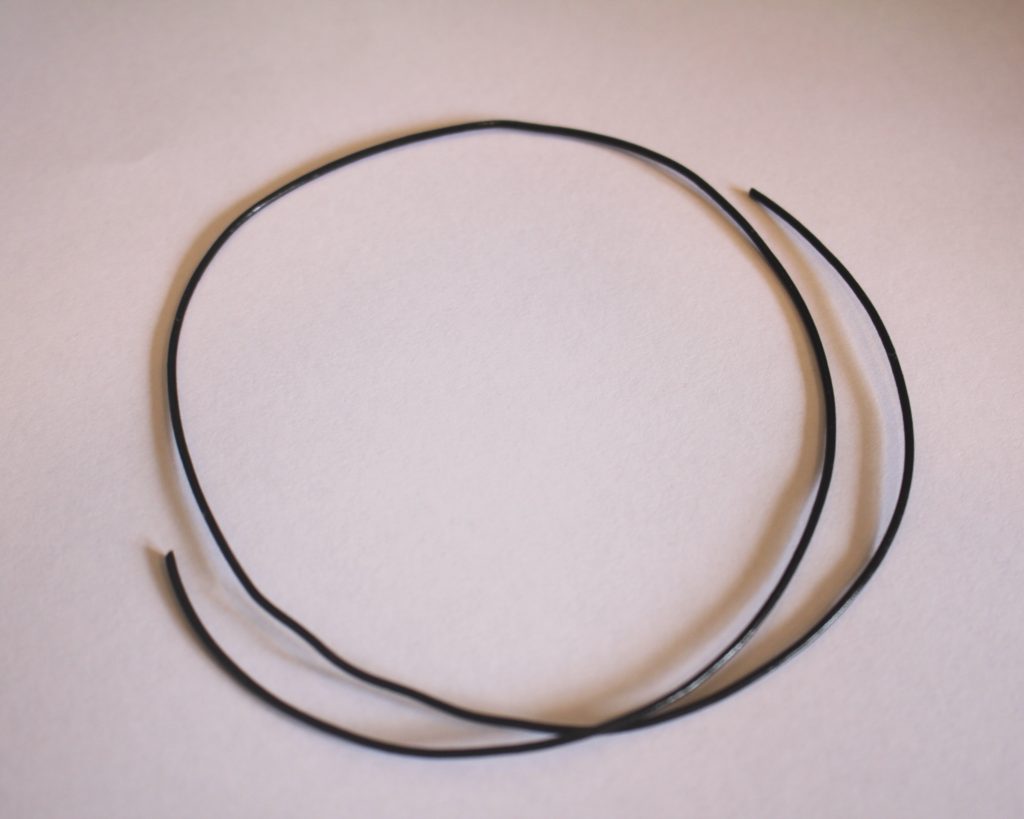
You can get some here:
2: Some cutting pliers or scissors for cutting the cord.

You can get a pair here:
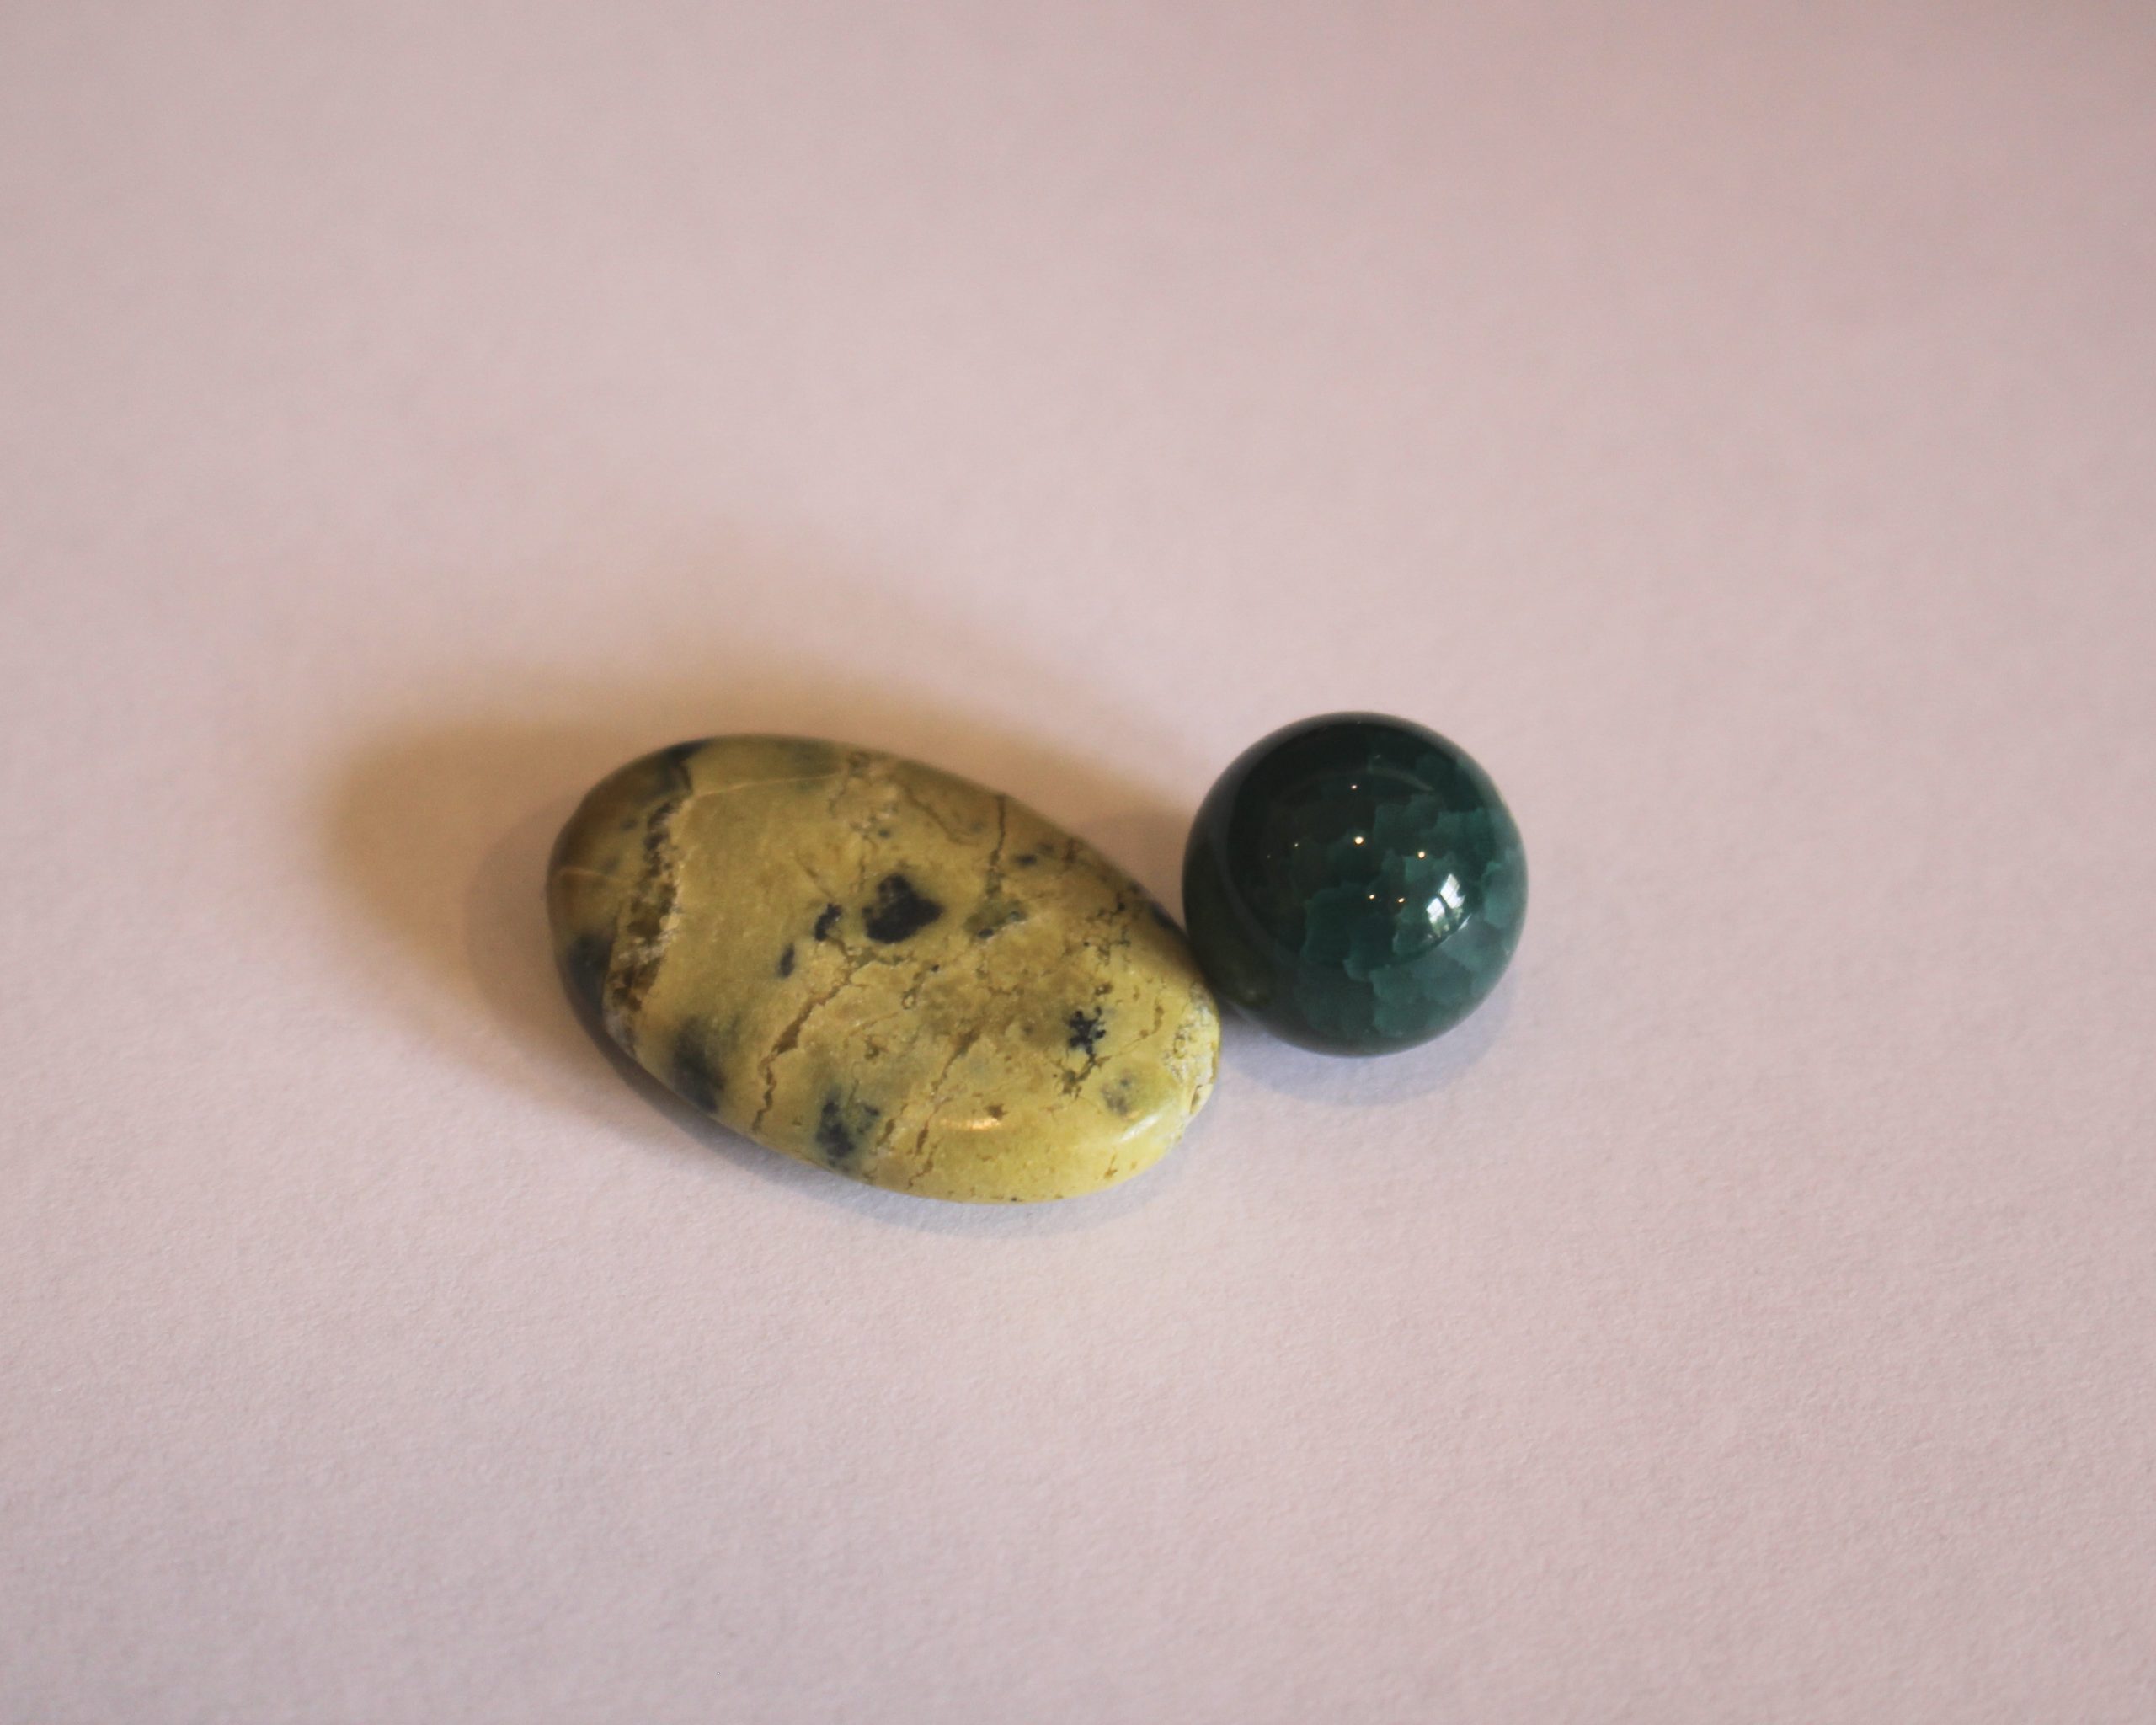
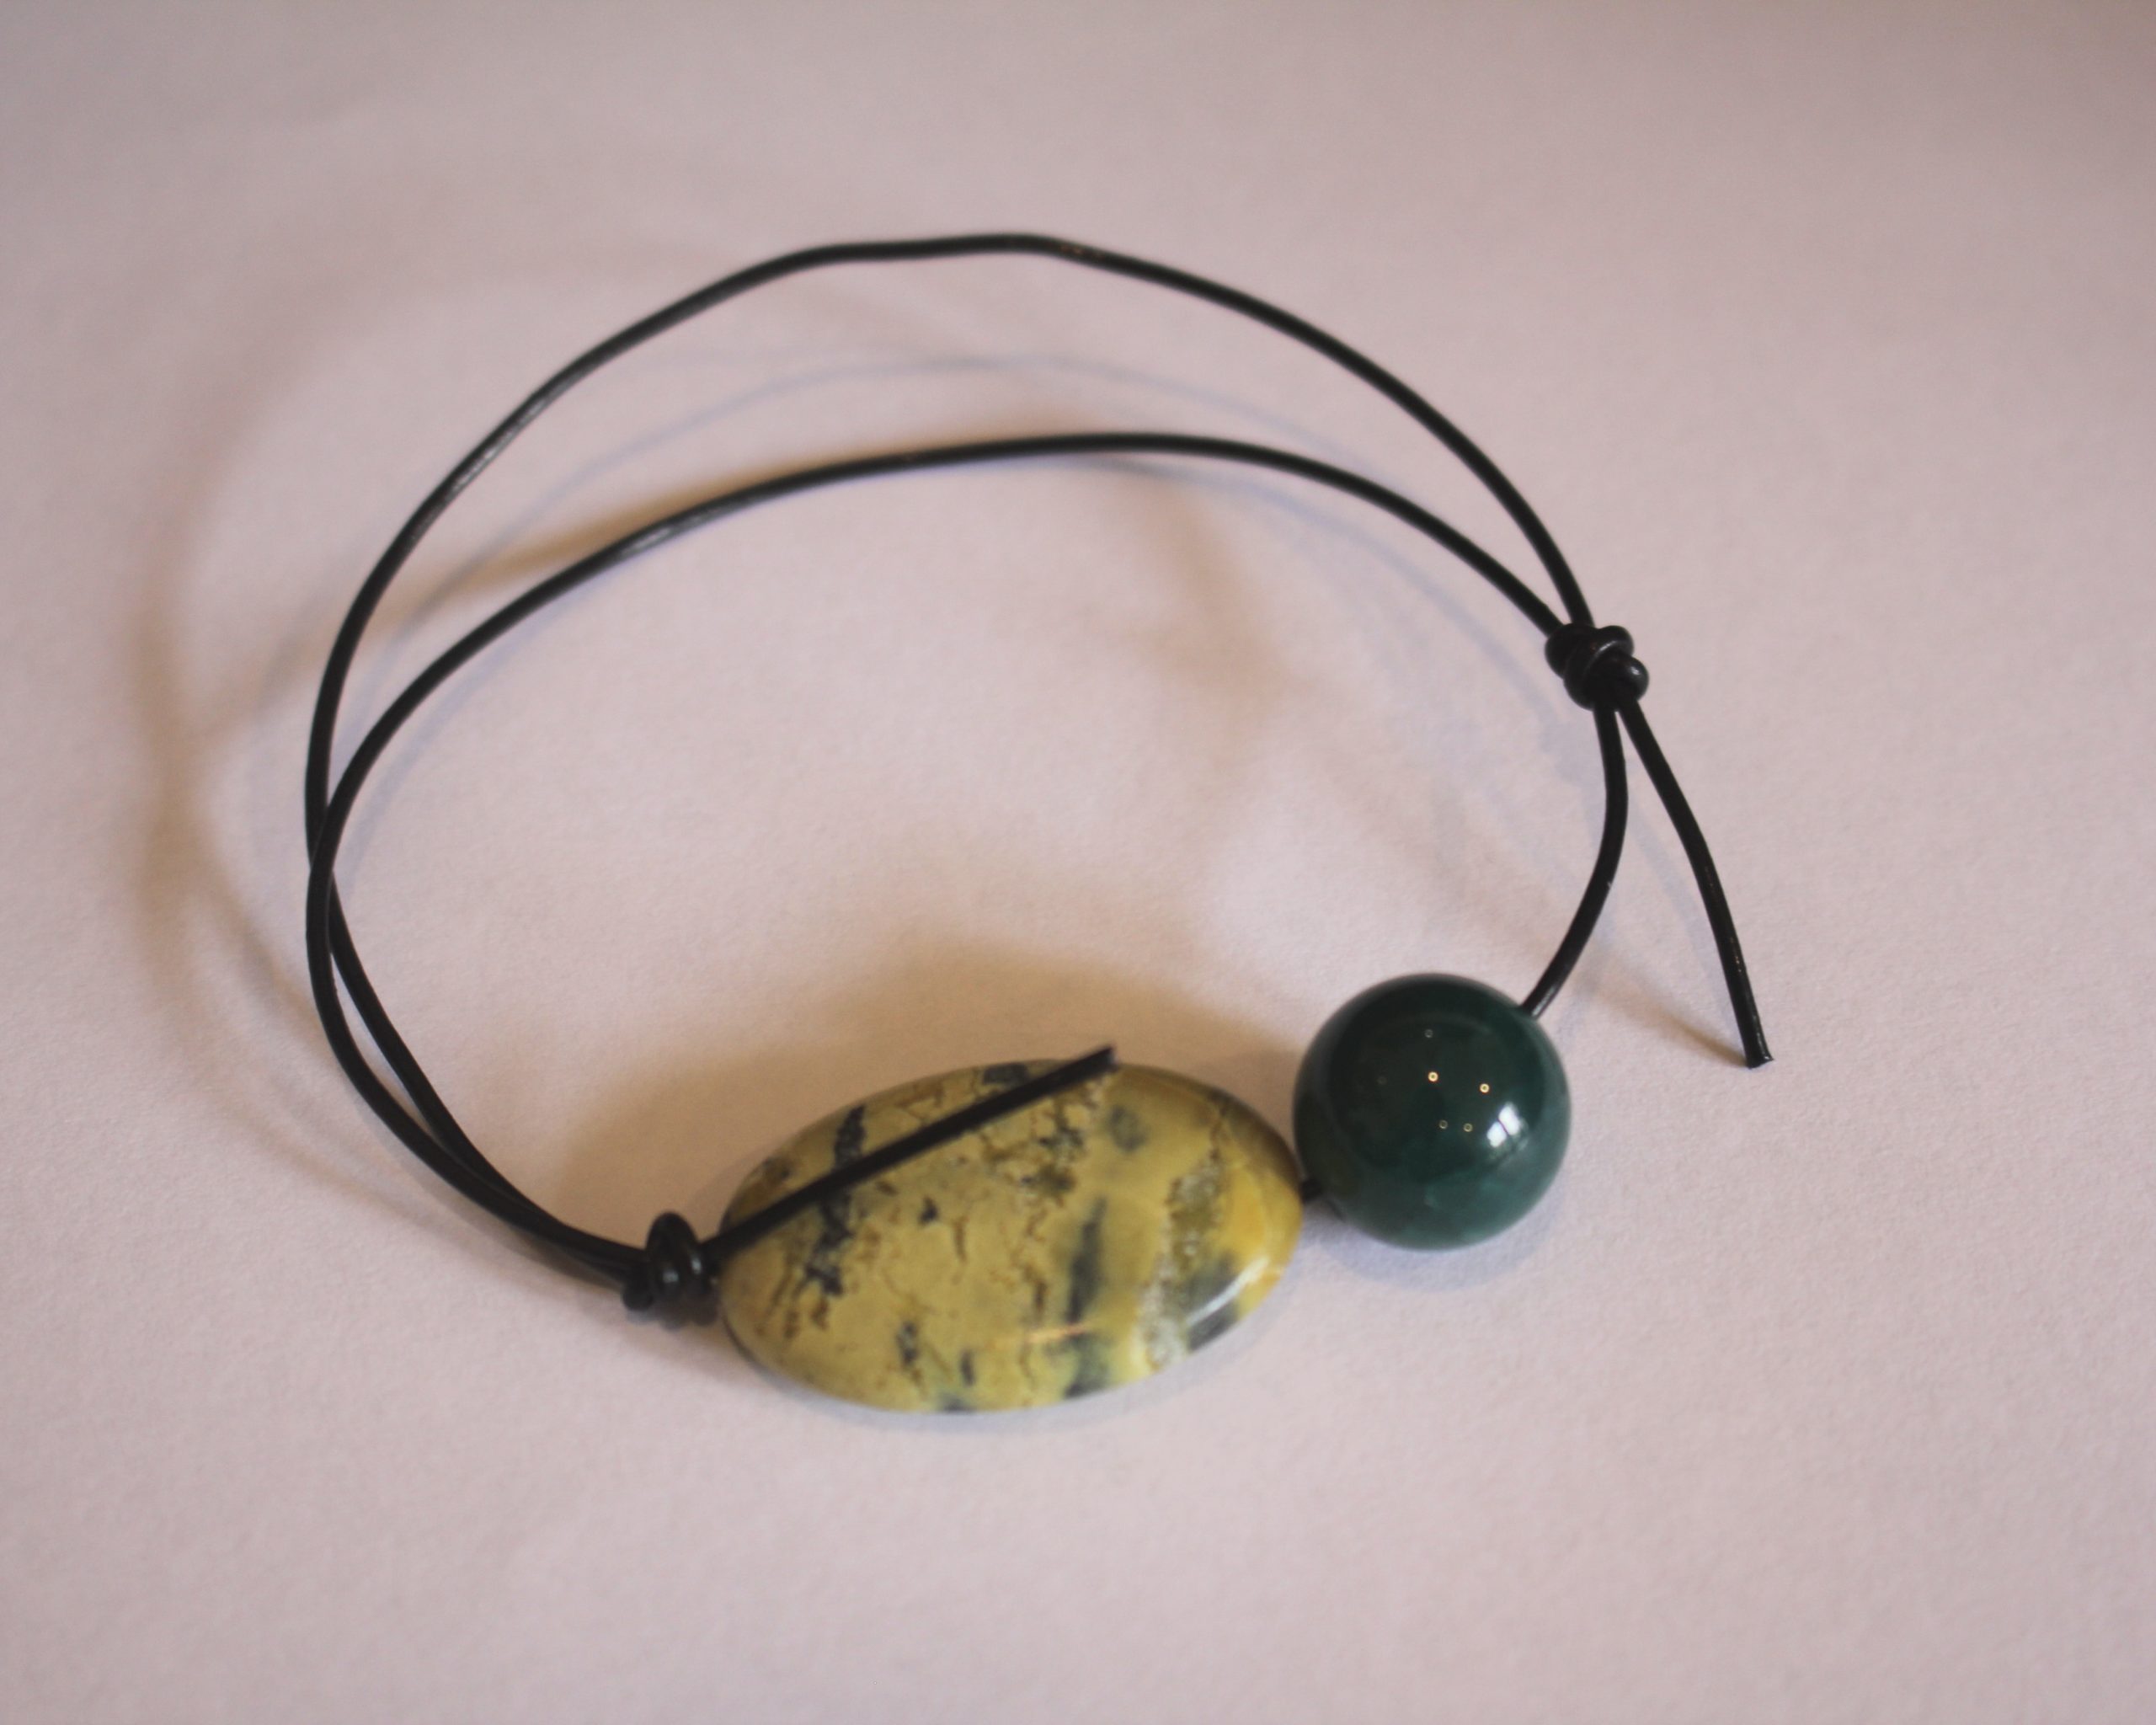
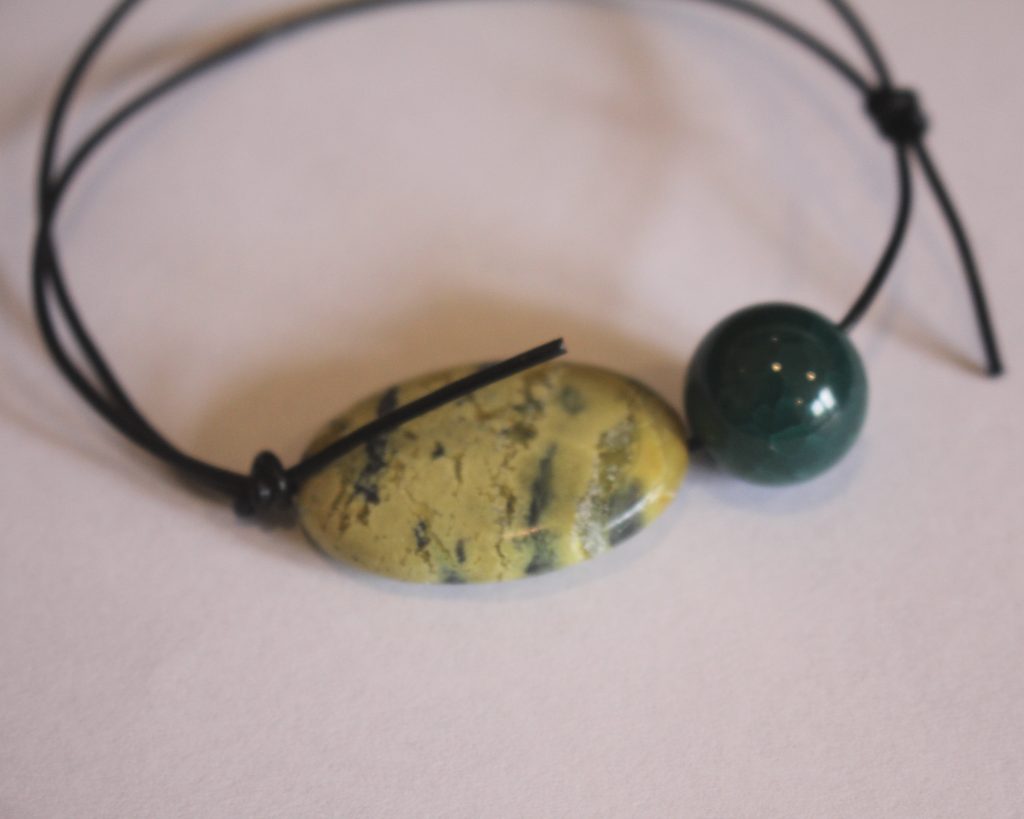
3: Beads with holes big enough to fit on your cord. I used a flat oval jasper bead and a round green agate bead.
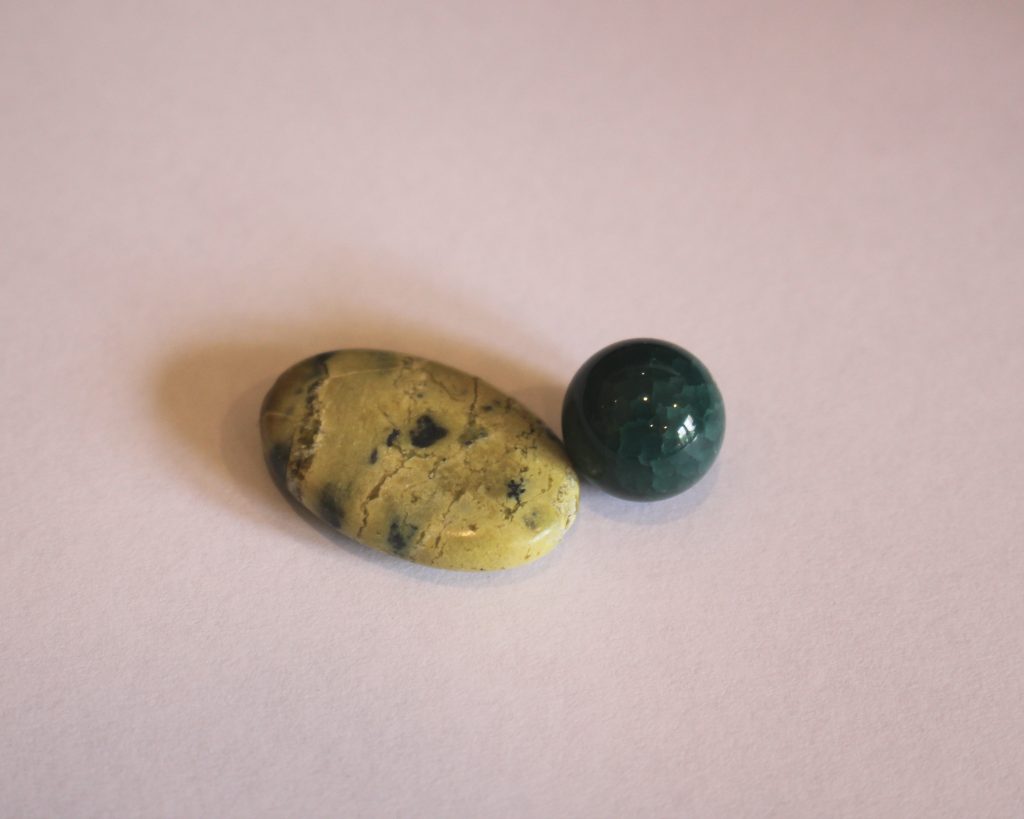
You can get some similar beads here:
Green agate beads:
Green jasper beads:
Follow these steps to make your bracelet:
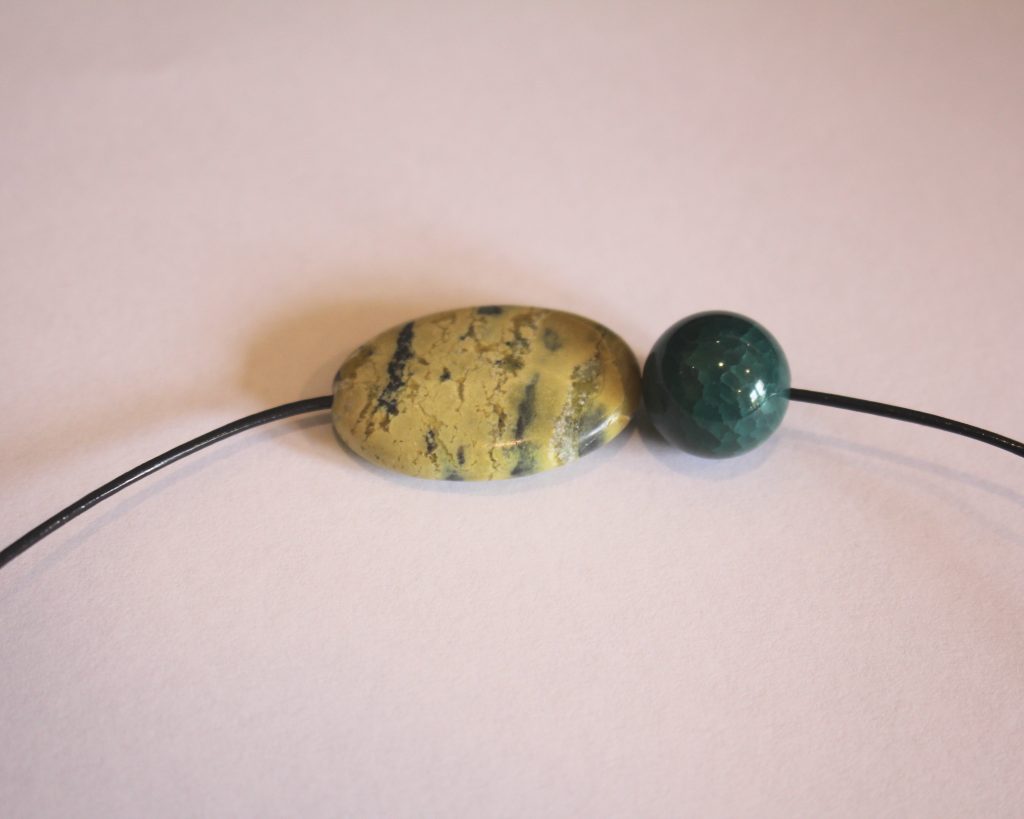
1: Add the beads to the cord.
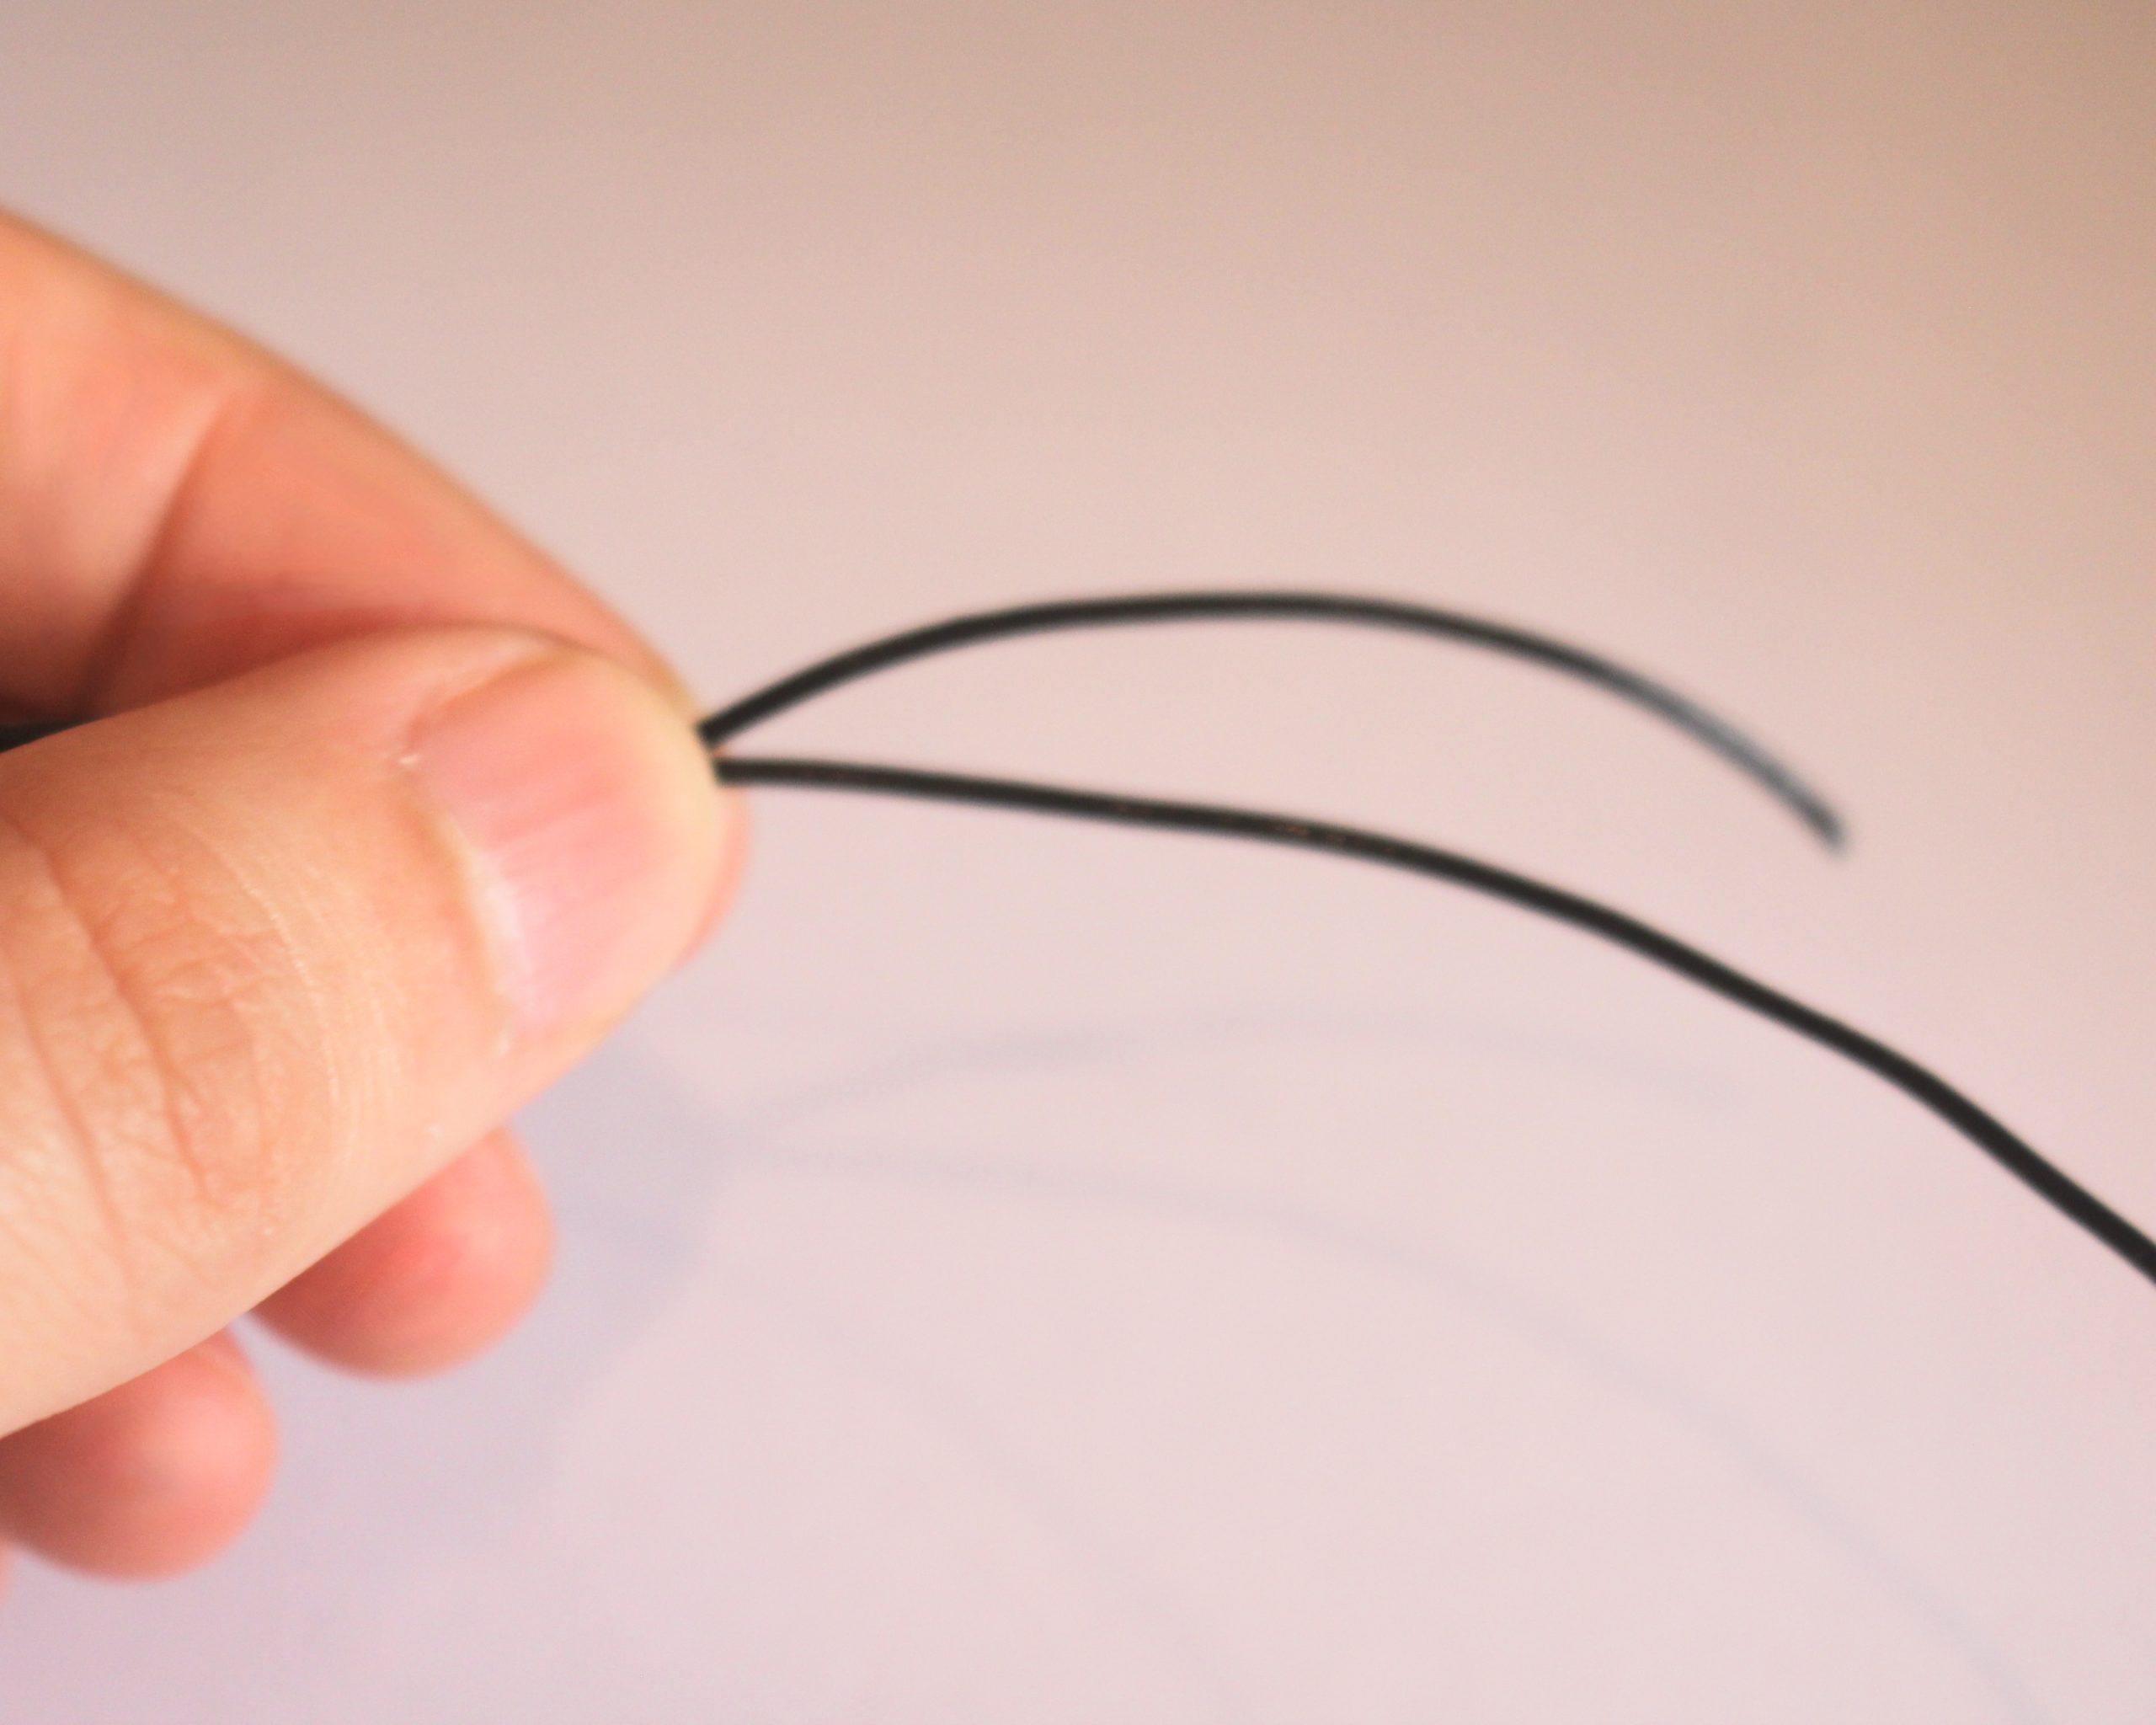
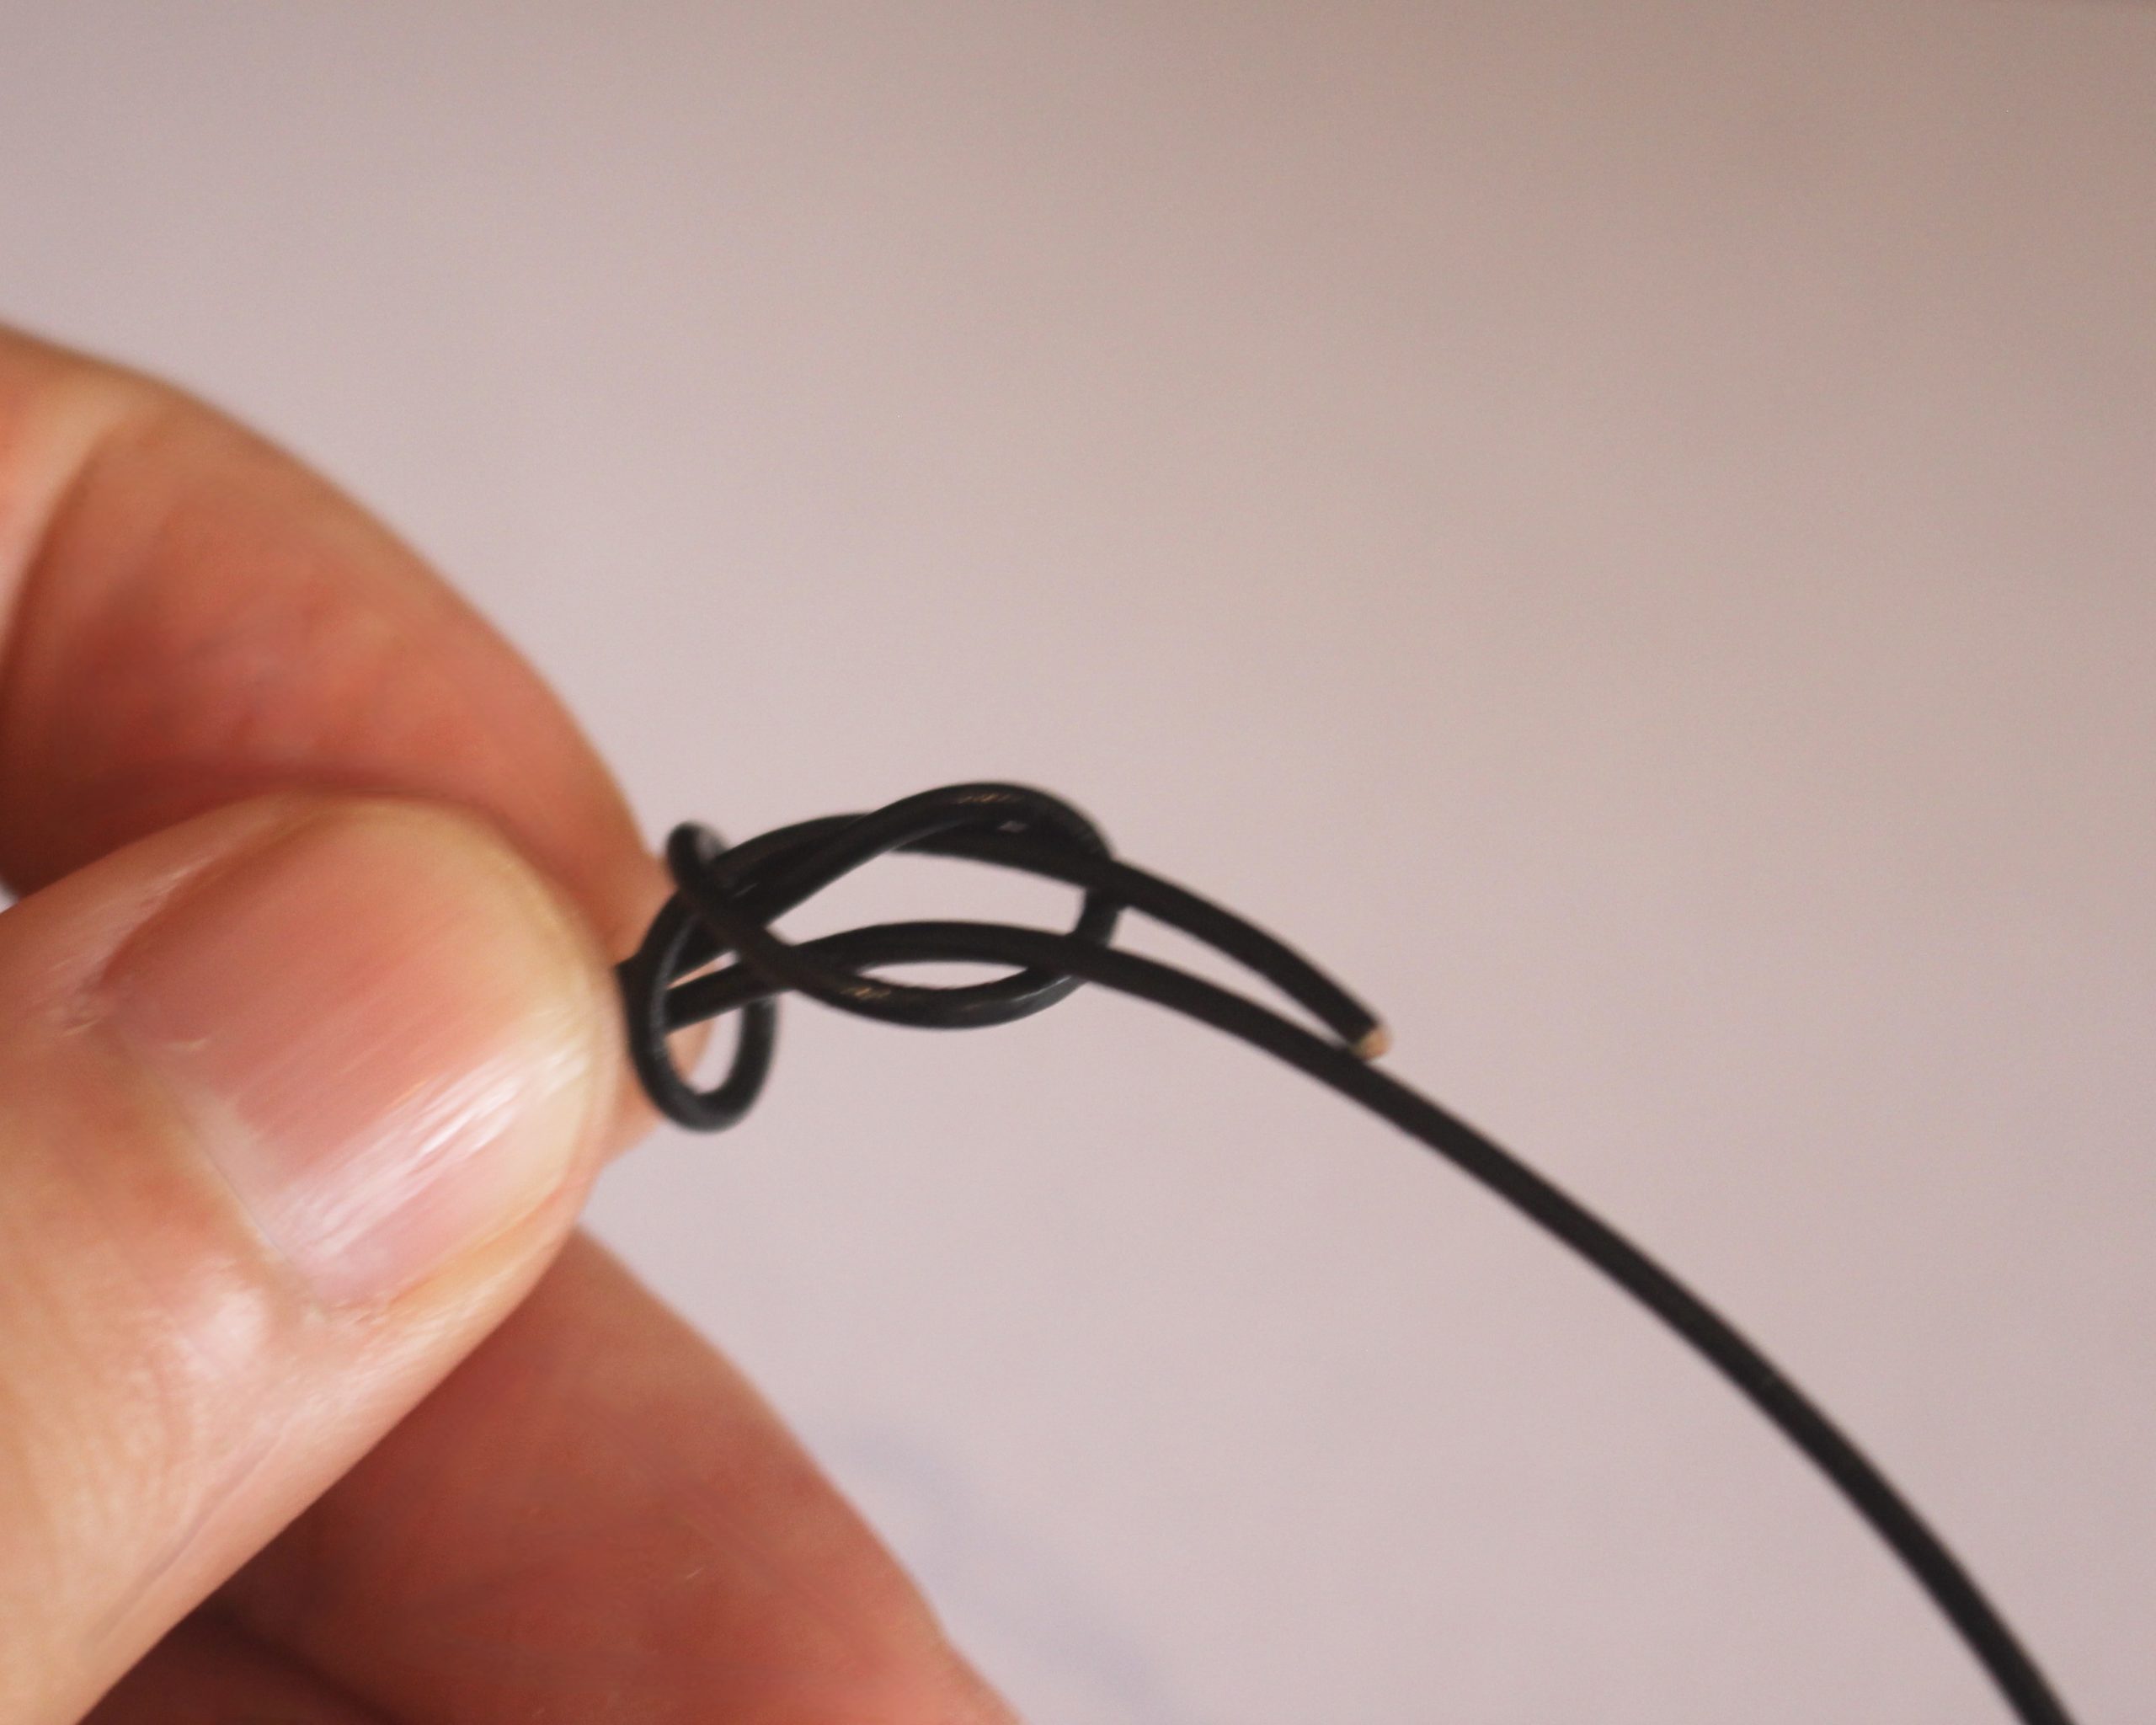
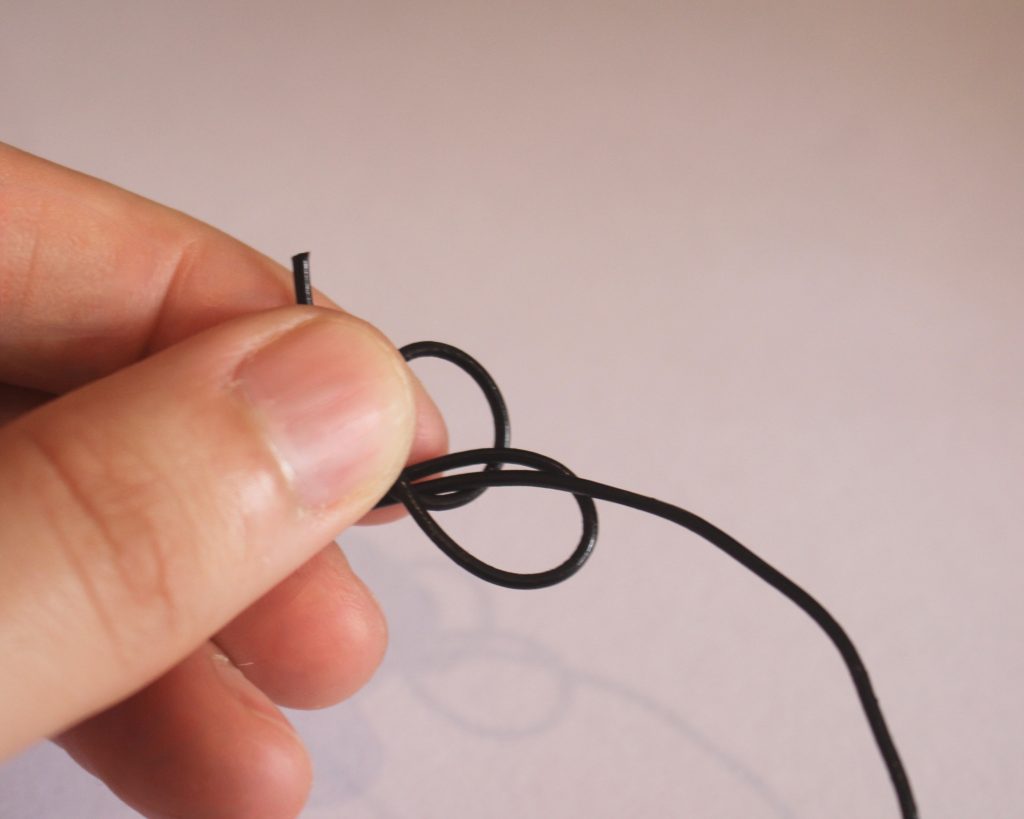
2: Now it is time to create the first sliding knot.
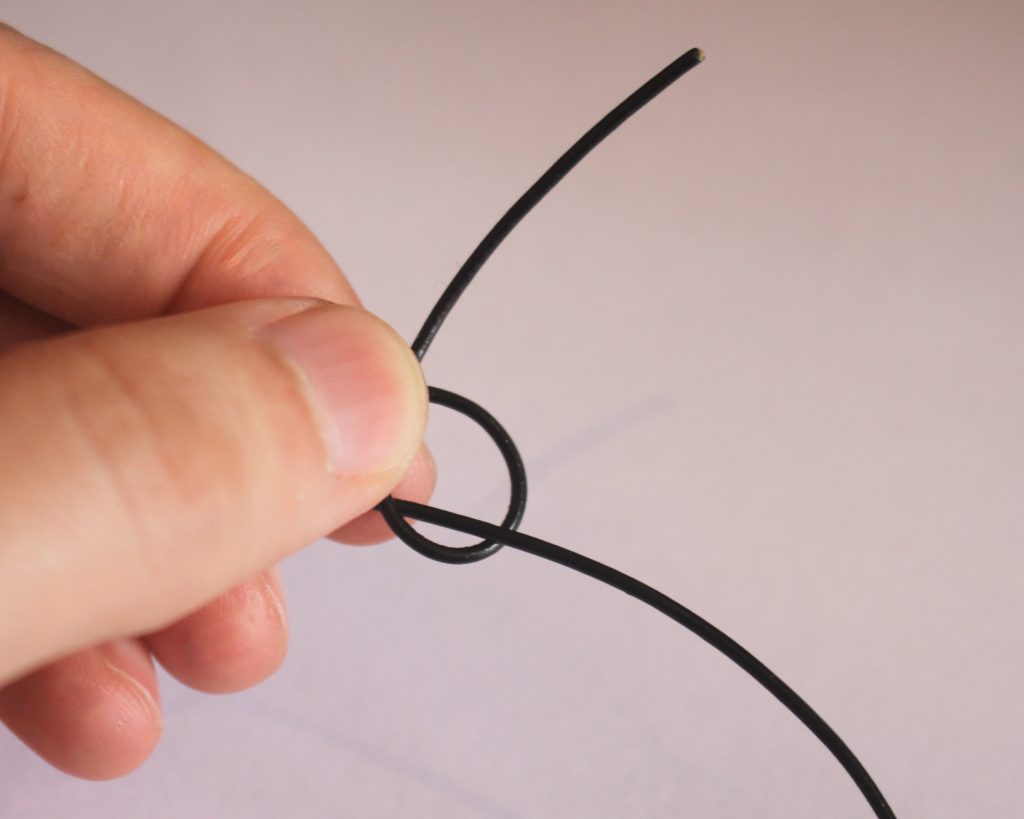
3: Take the left side of the cord and cross it over the right side.

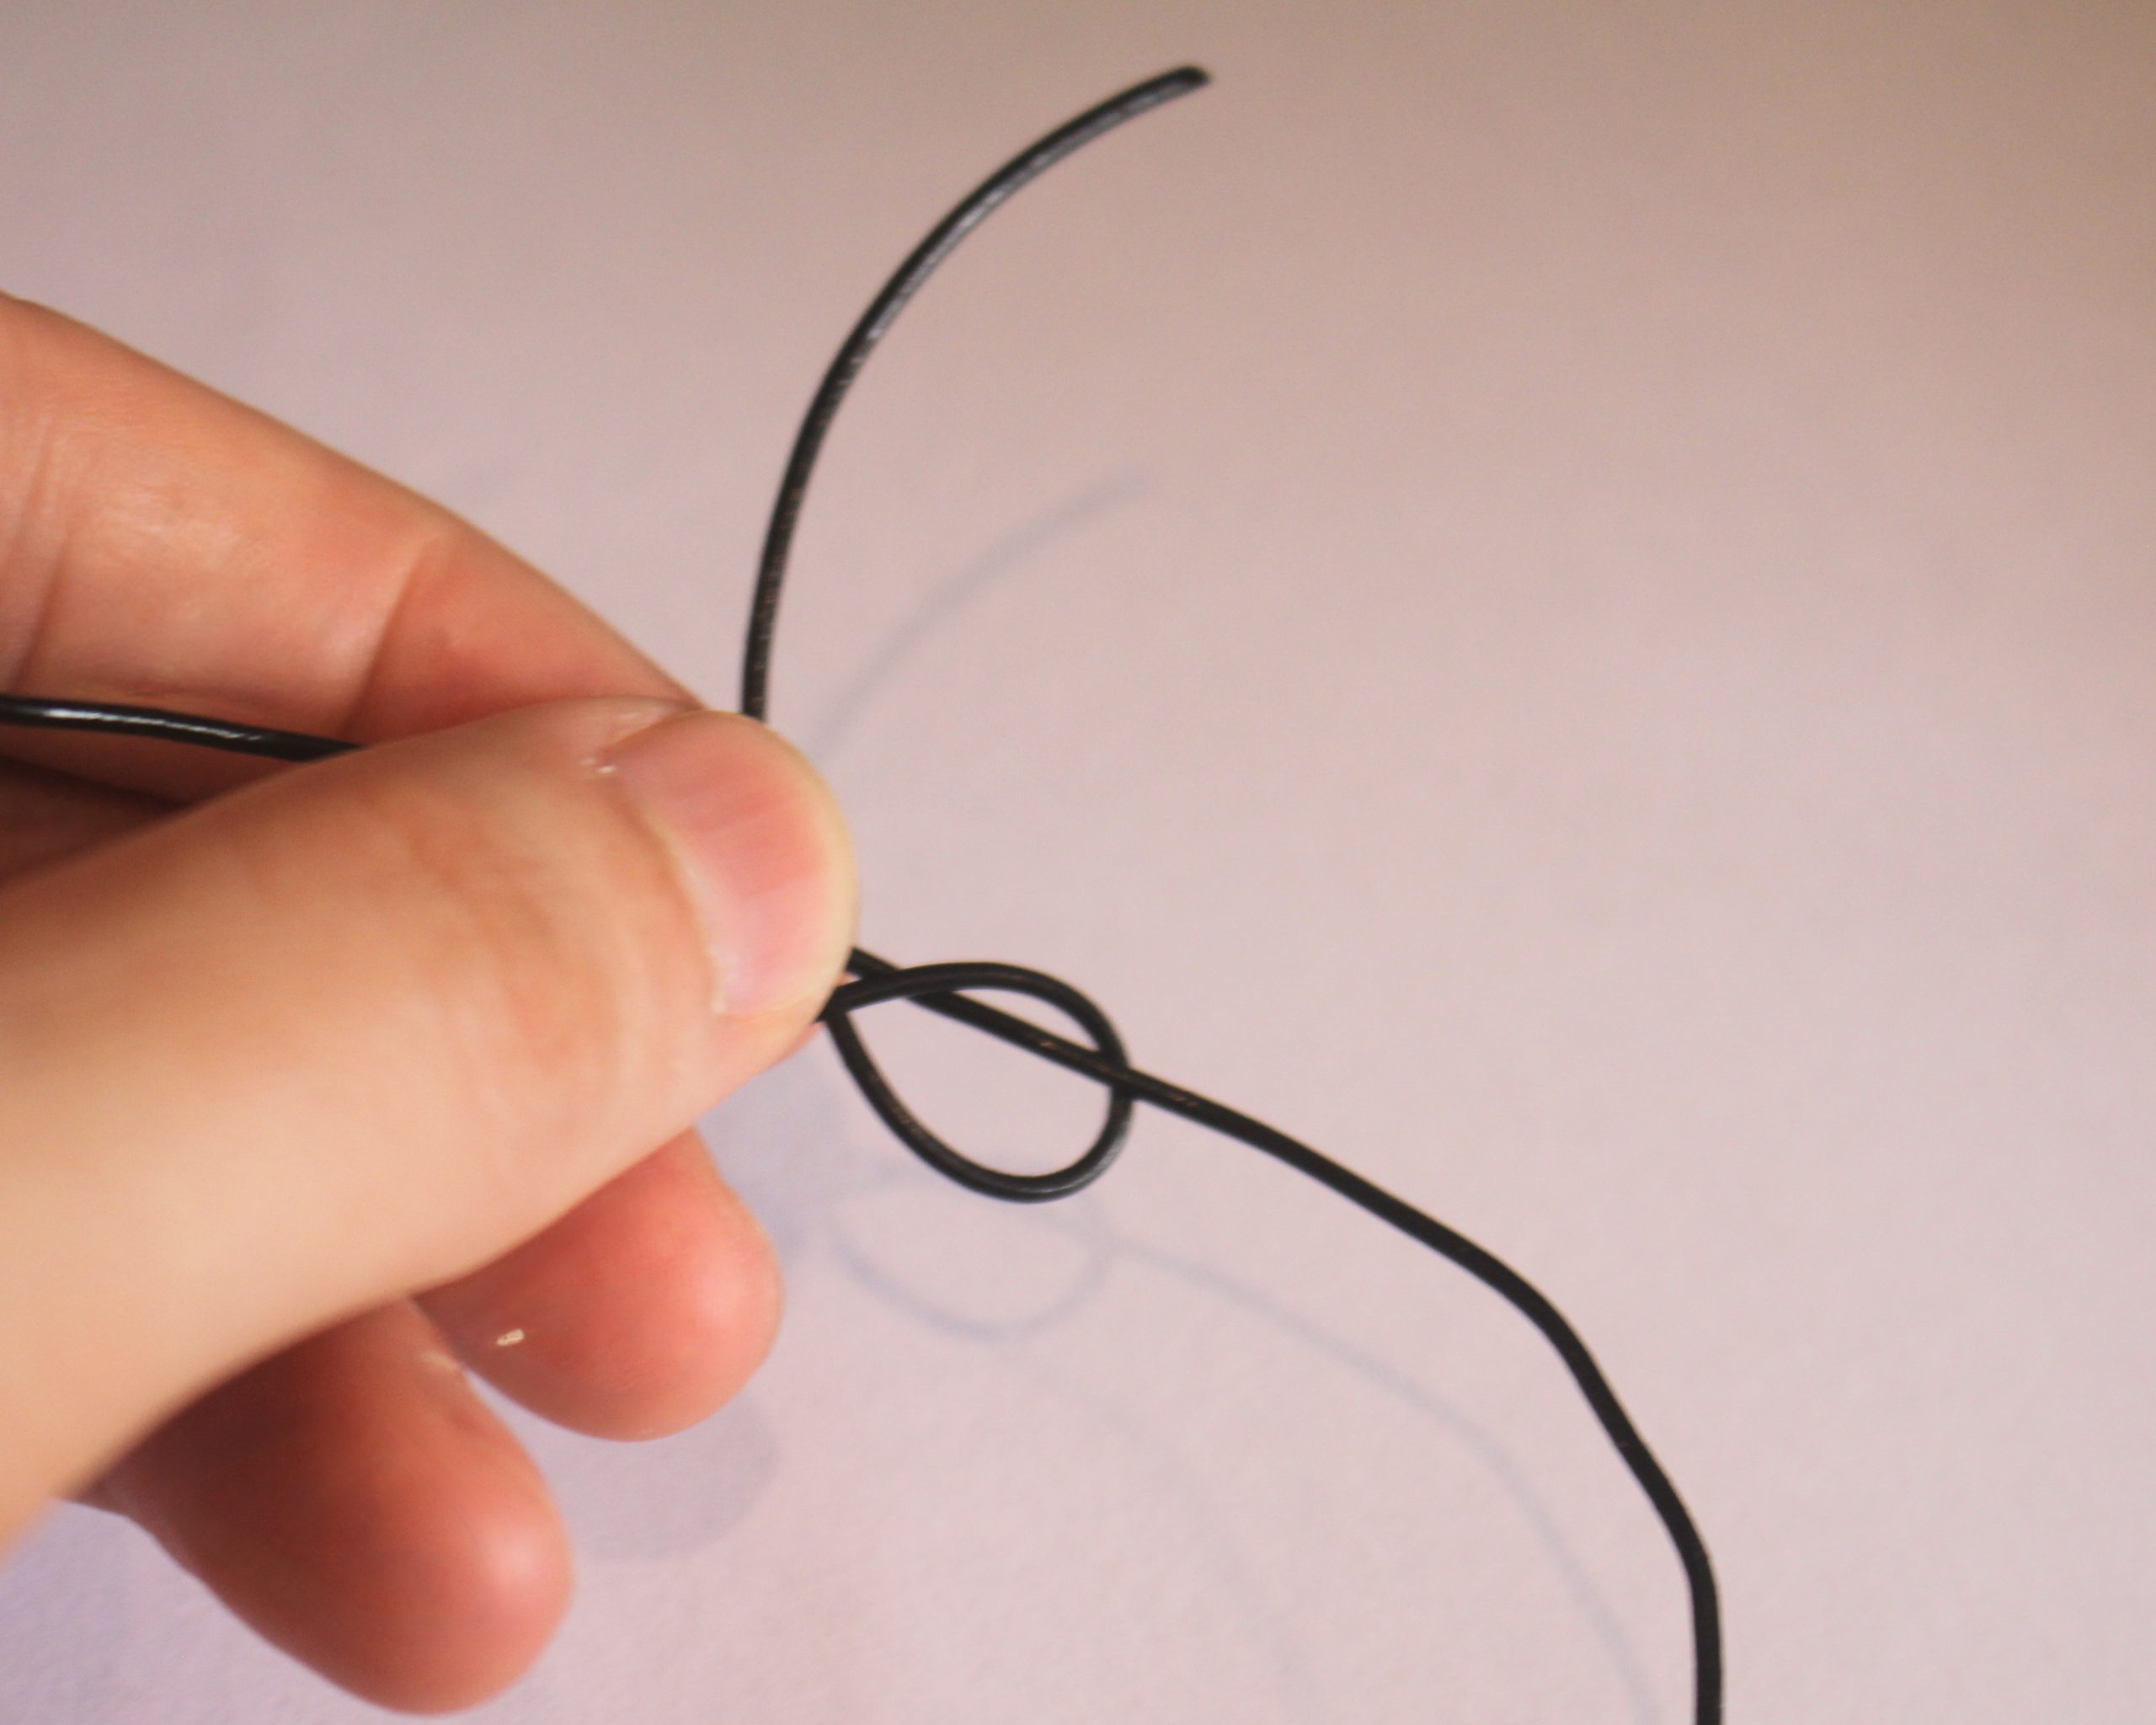
4: Loop the end over the cord and around it.

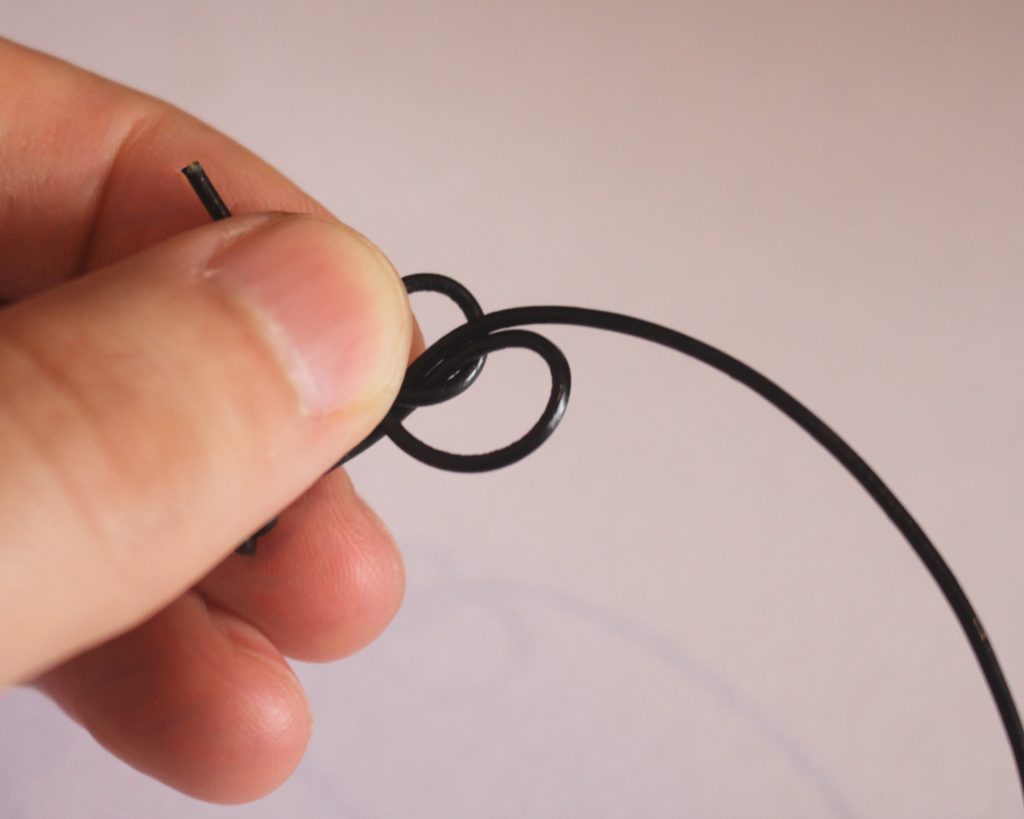
5: Create another loop to the left of the first one.
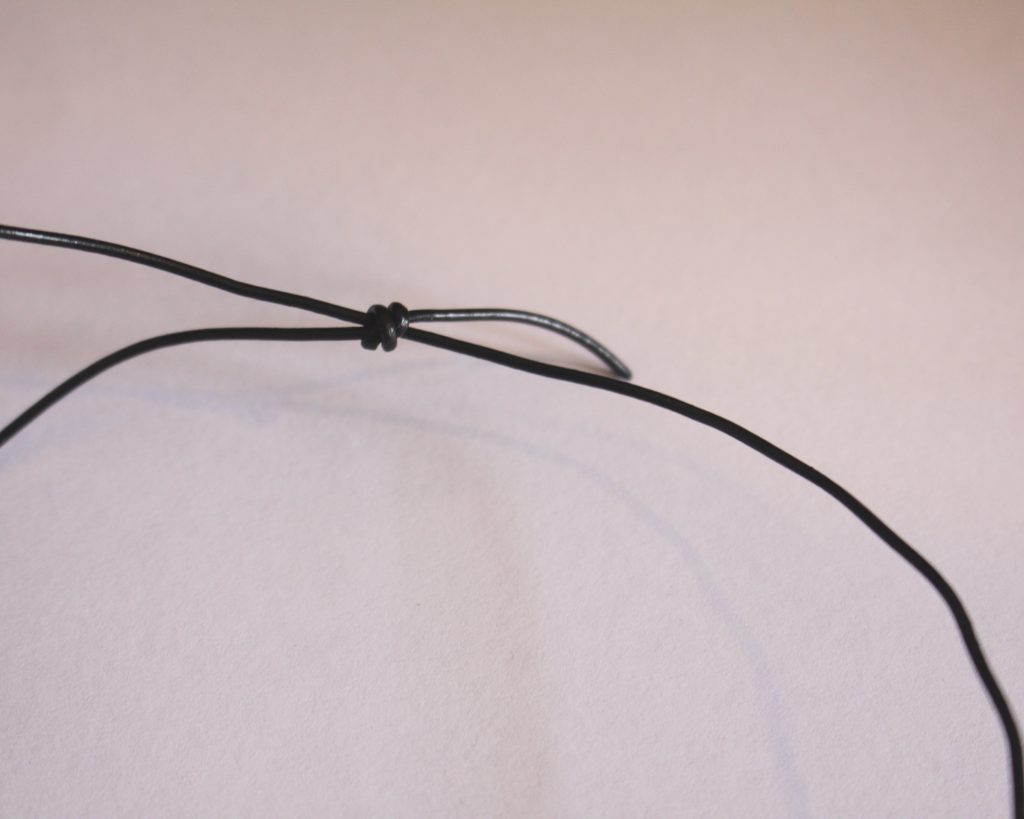
6: Poke the end of the cord through the loops and pull them tight.

7: Repeat steps 3-6 for the other side. If you’re finding it tricky, it can help to flip your work so that you are working on the same side as the first knot… that’s what I did 😉

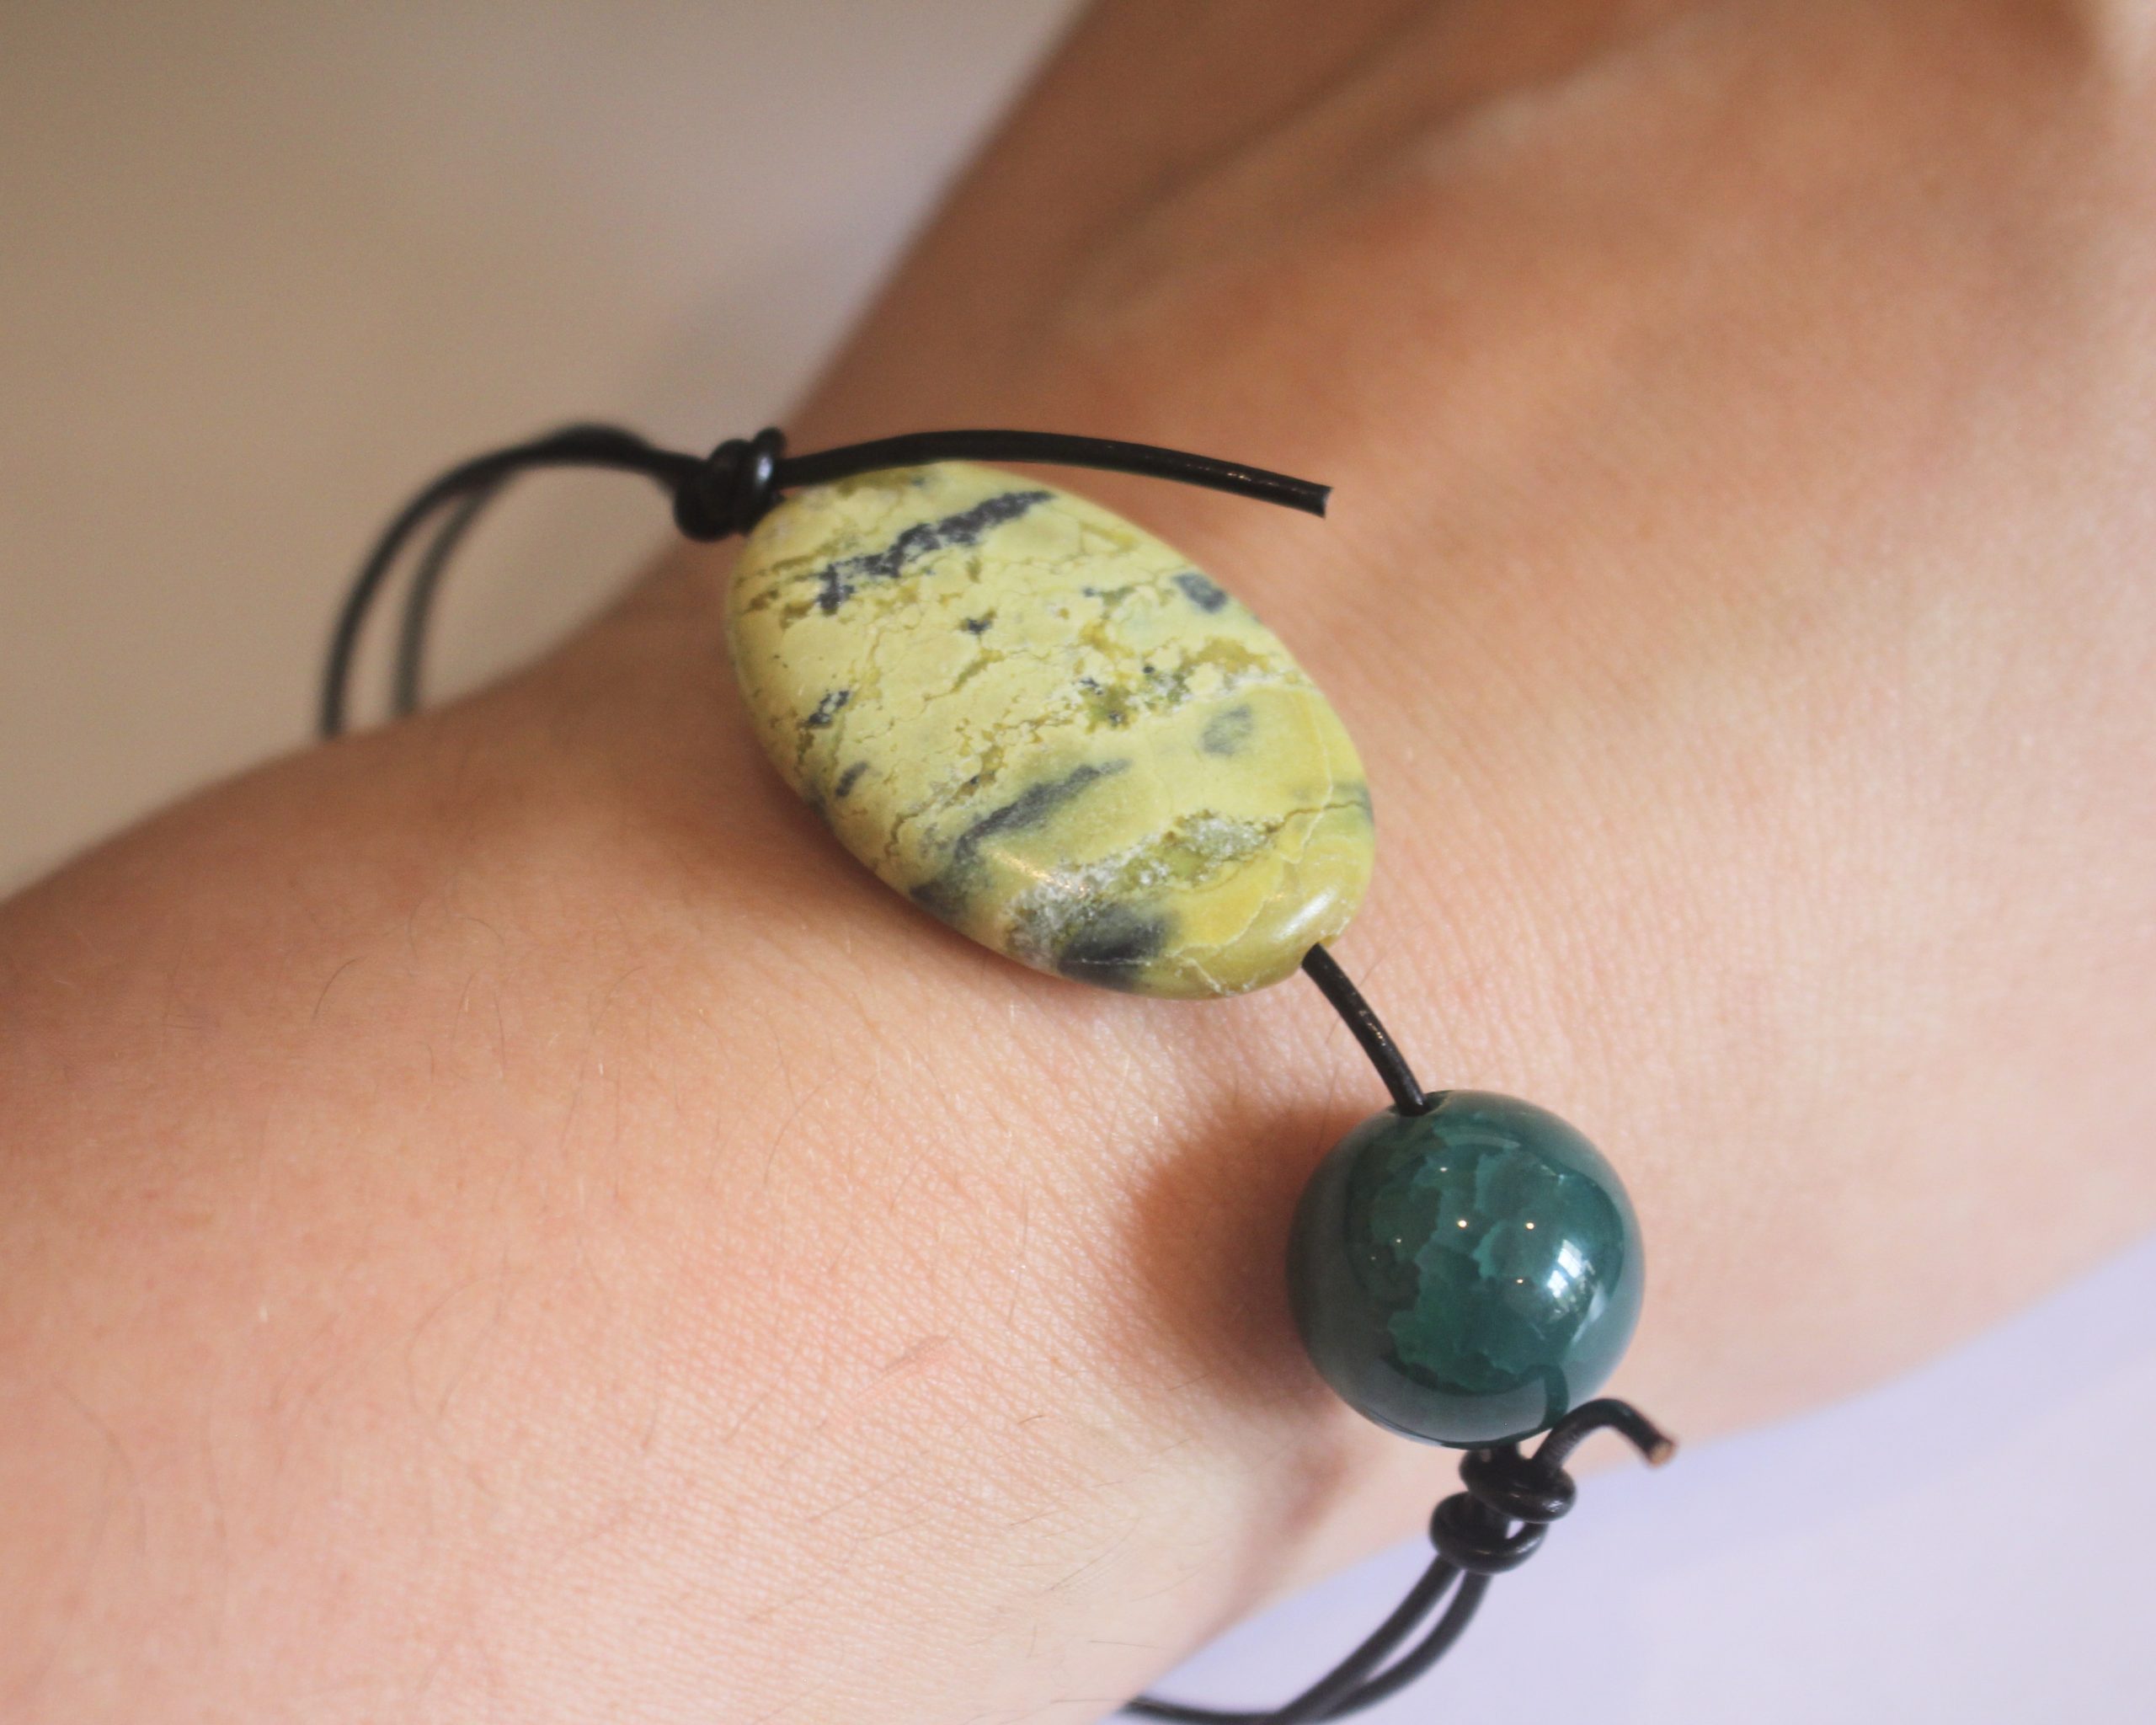
8: Once you have both knots in place, you can now adjust your bracelet to the desired size. I left the ends of my cord poking out, but you can trim them if you like.
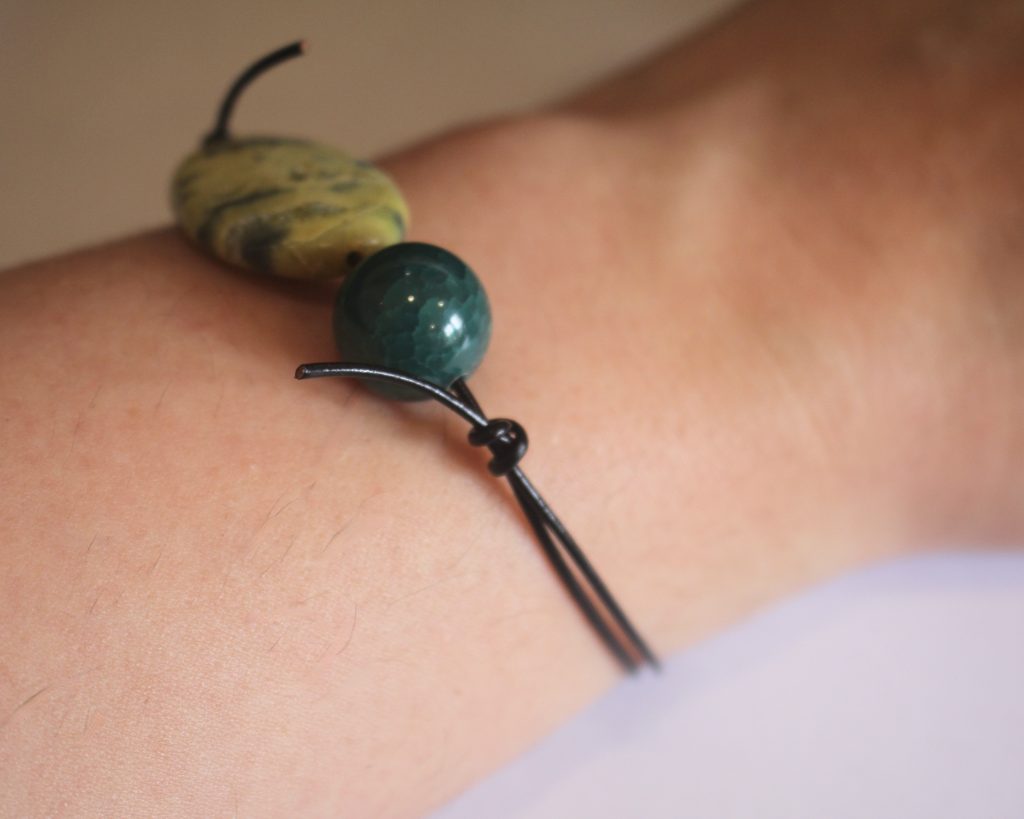

Now your bracelet is ready to wear! How simple but effective? I love it.


-
Tips to elevate your handmade pieces!
I love jewelry, I love looking at it, I love making it, and I love wearing it. But there are some parts of jewelry that I don’t love. I can’t stand it when a piece is uncomfortable and scratchy to wear, and I also can’t stand poorly constructed jewelry that looks like it will fall apart after two wears, so I thought it would be fun to share with you some things to look out for so that you always make strong, comfortable jewels that you will enjoy for years to come.
Here are my tips for making long-lasting, professional looking and comfortable jewelry:
1: Make sure you tuck away the ends of the tiger-tail wire. I usually achieve this by running the wire through a few of the beads at each end of my beaded designs so that it doesn’t poke out. You can also use a crimp cover which covers any sharp ends of the wire. You can see some examples below.

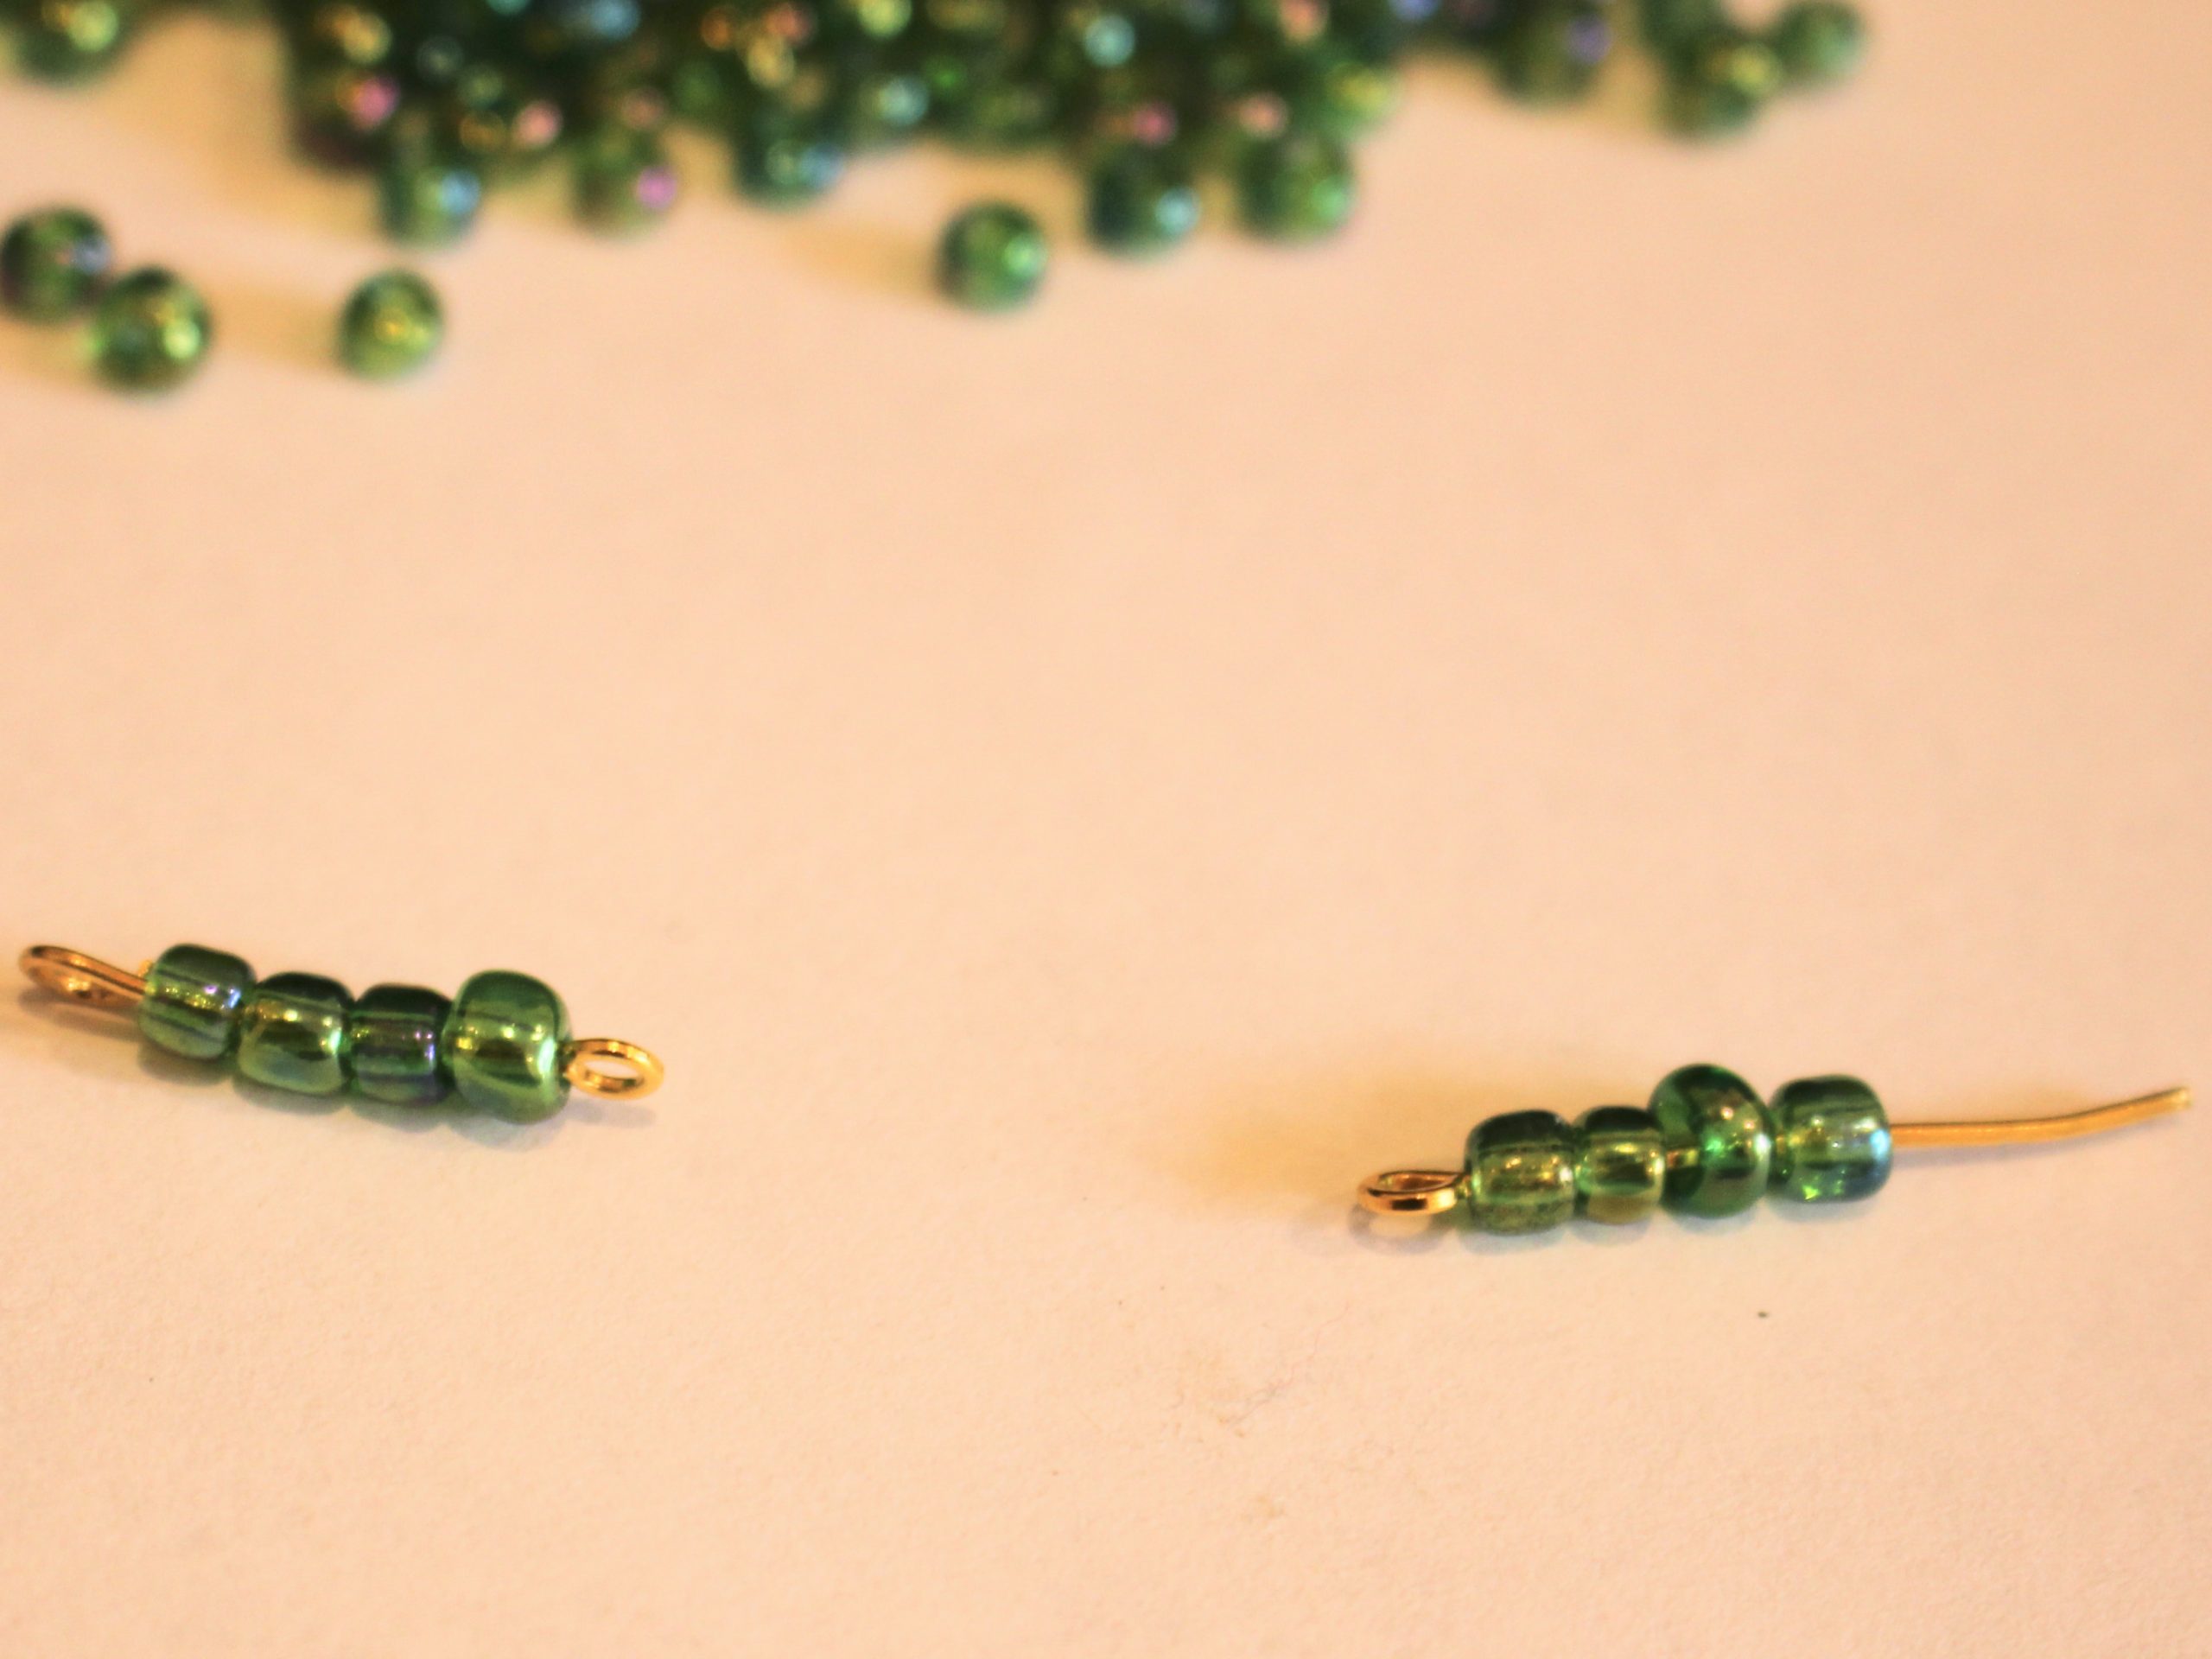
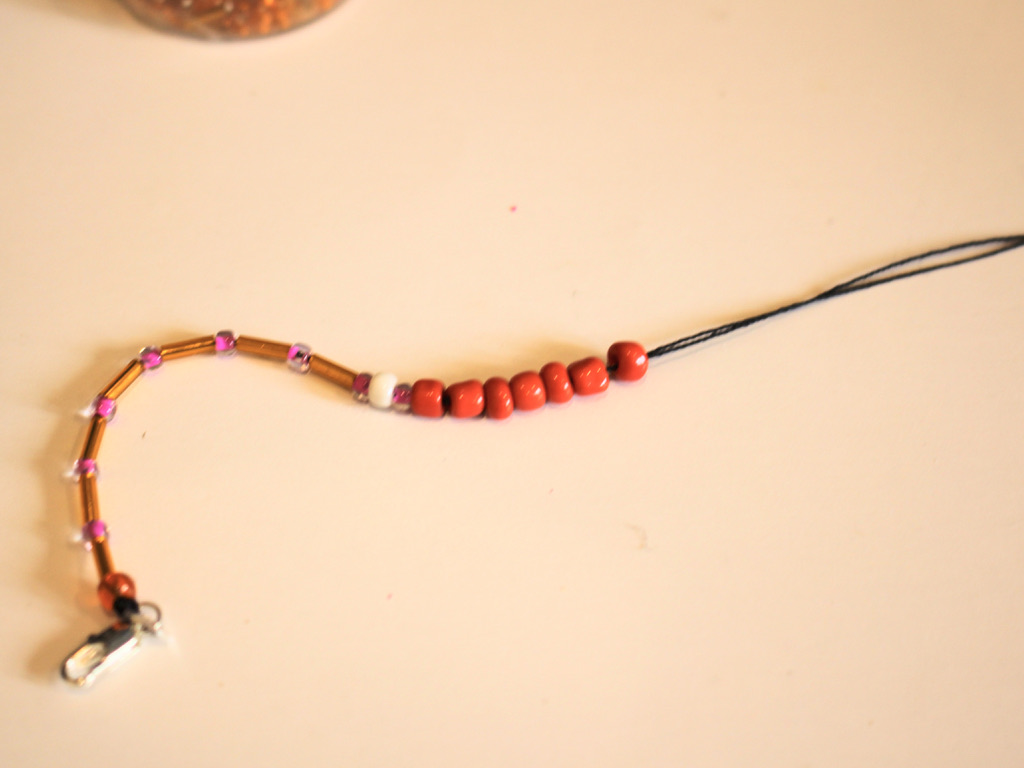
Look at the ends of this beaded strand, the ends of the wire are hidden under the beads. Follow the tutorial for this necklace here. 
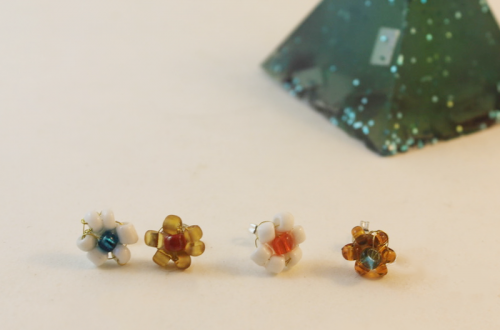
The crimp cover on this earring charm protects you from being scratched by the wire. Tutorial for these earrings here. 2: Avoid using elastic in your designs. Elastic might be easy to put on and take off (and in some cases, is the only appropriate option in terms of accessibility). Unfortunately, this accessibility comes with a trade off, elastic tends to wear out quickly, and you can find your beautiful bracelet scattered all over the floor at the most inopportune moment. I suggest making your beaded jewels with nylon beading thread or tiger-tail wire for a longer life span. I’ve got a post about the pros and cons of different beading materials here.

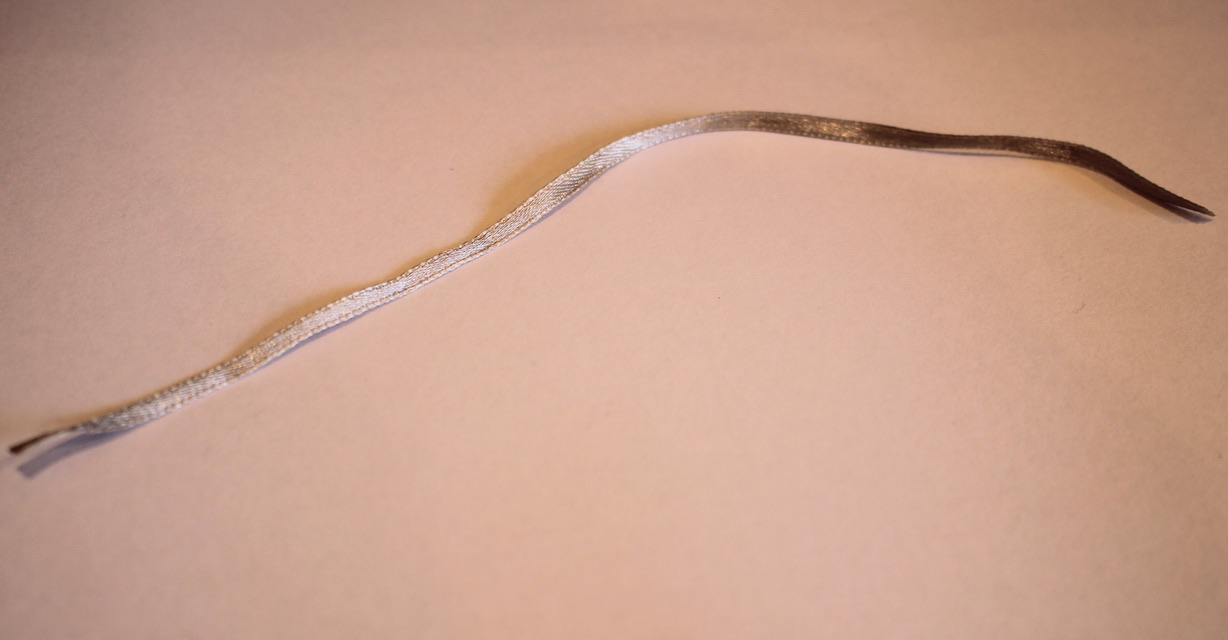
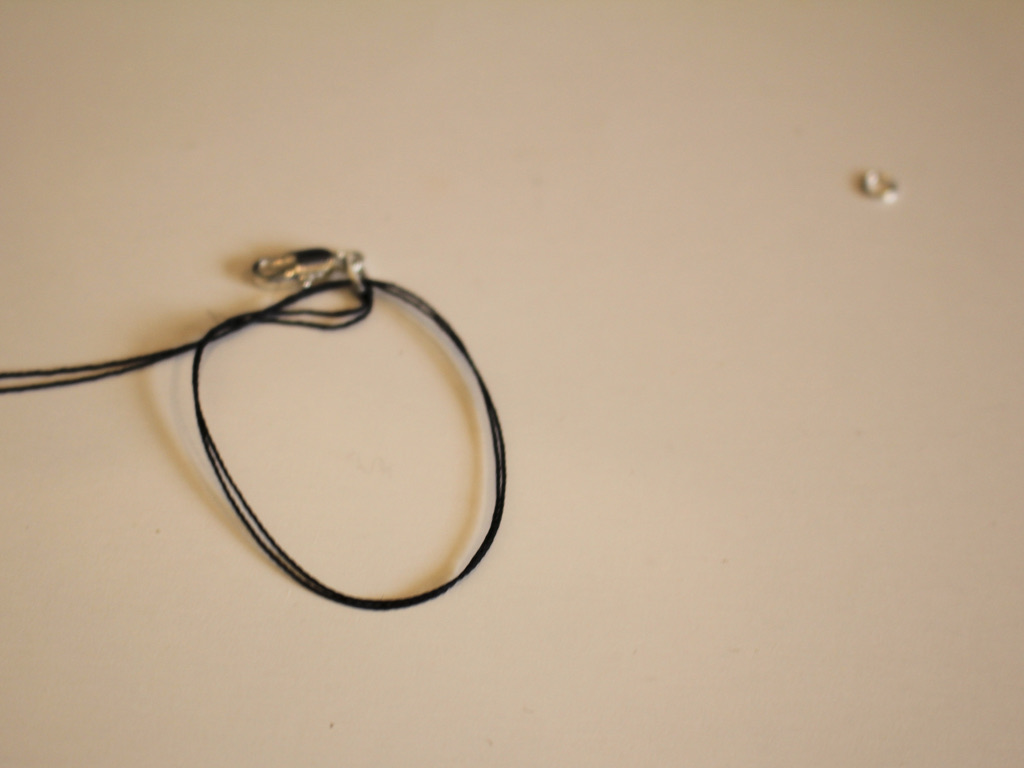
Here’s a bracelet I found a while ago that was made from elastic. Unfortunately it had broken and been lost to its original owner! 
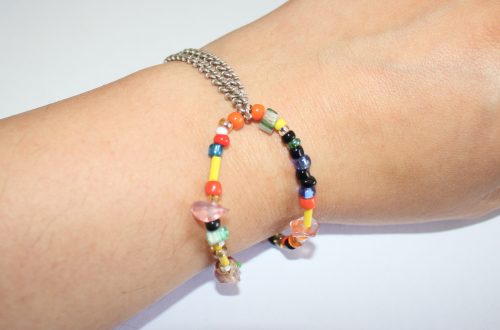
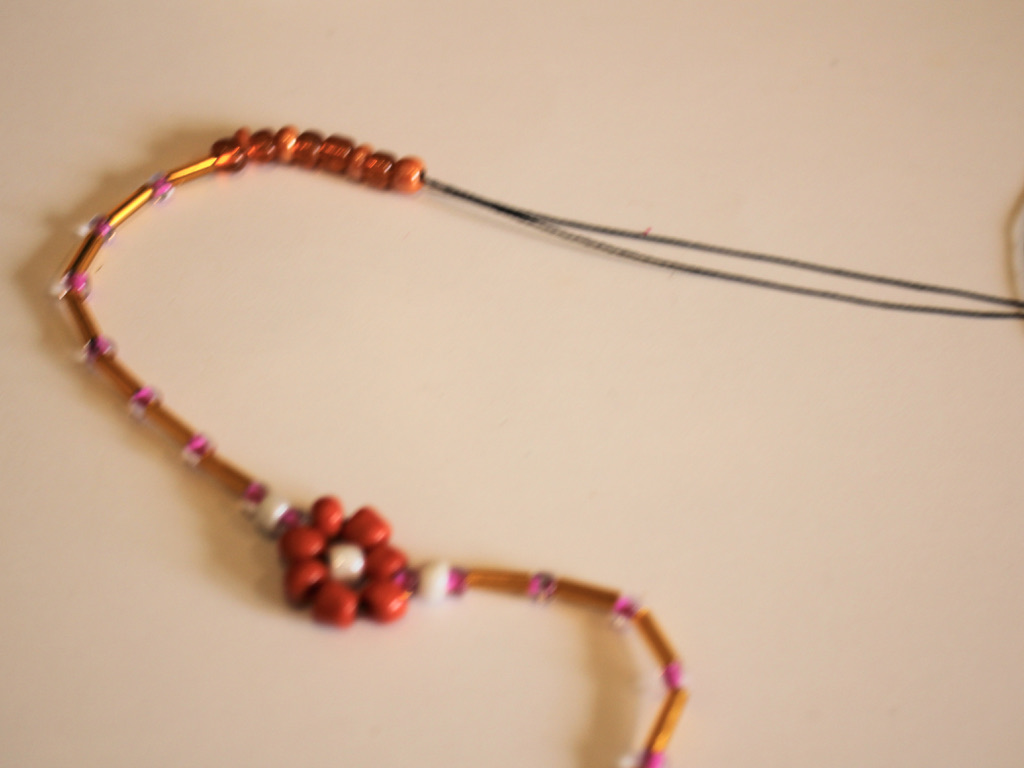
I’m yet to experience any of my tiger-tail beaded pieces breaking on me, I suggest choosing it if you are looking for durability in your designs. Full tutorial here. 3: Pull your wire tight at each end of your beaded pieces. I’ve noticed with the trend towards beaded jewelry in recent years, beaded tiger-tail necklaces are being sold with large loops at each end. This loose loop can catch on things and lead to breakages. I also personally think it looks sloppy and makes your work seem less polished.

I think this anklet with tightly finished ends looks a lot neater than a loosely looped wire. You can follow the steps to make your own anklet here. 
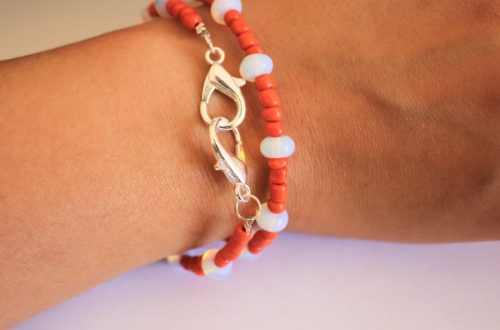
Don’t leave big loops like this on your jewelry pieces, they can catch on things and don’t look as polished. 4: Try to use precious metals! I spent a long time making jewelry using findings made from base metals. While these materials are cheaper and great for when you’re starting out, I think investing in fine metals such as sterling silver, is a great way to elevate your designs and make them seem more polished and professional.

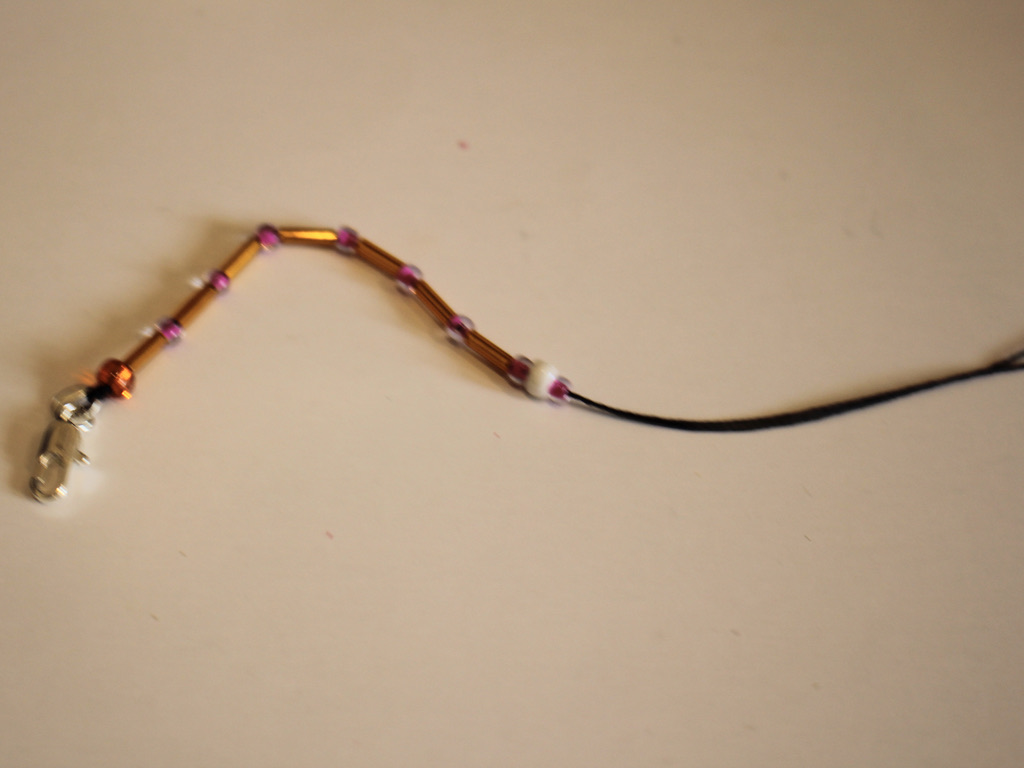
A sterling silver clasp elevates this beaded bracelet. You can see the tutorial for this bracelet here. 
Sterling silver wire goes a long way! Some silver wire can be transformed into many sleek, minimalist jewellery designs with minimal effort. Tutorial to make these here. Here are some sterling silver materials you can buy and use in your designs:
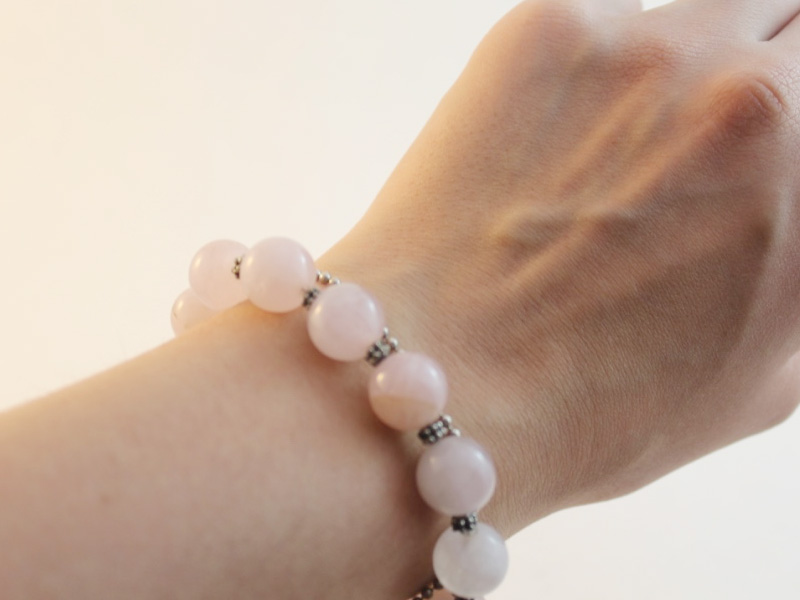
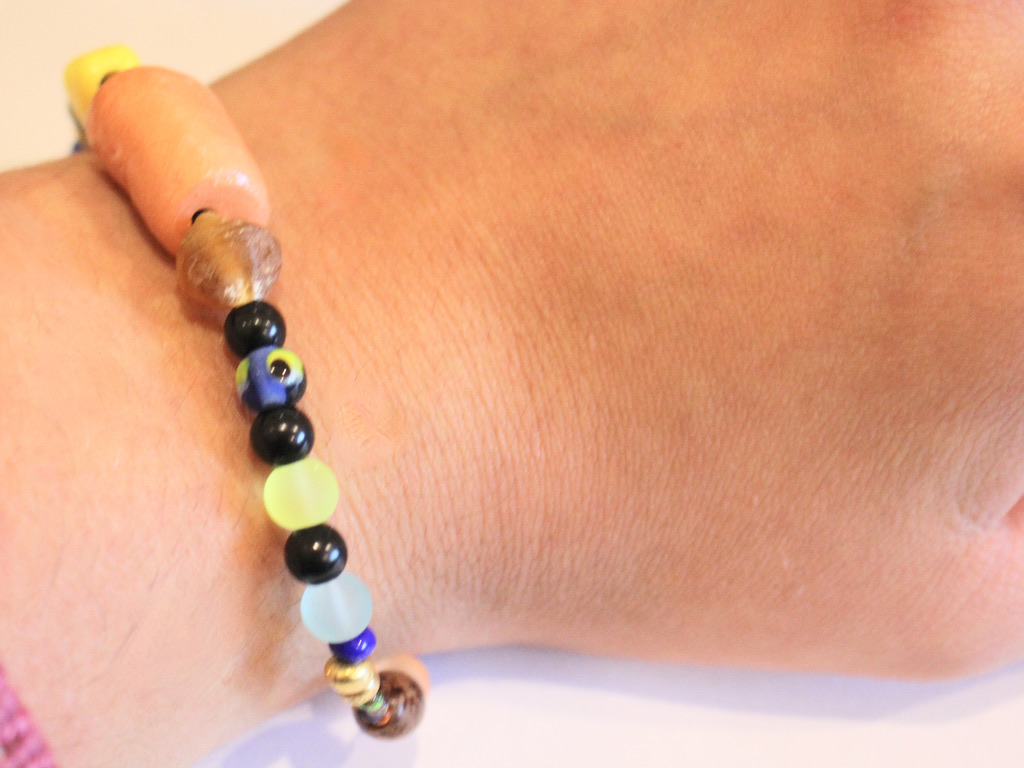
5: I don’t always follow my own advice, but when you are making beaded pieces with pearls, it can pay to spend some extra time knotting your beading thread between each pearl. This technique not only protects the pearls, it also stops you from losing them all in the case of a breakage! I have’t made a pearl knotting tutorial yet, but I think there will be one on the way soon so keep an eye out.

This pearl bracelet features individually knotted pearls. So there you have it, a few tips and tricks to elevate your jewelry making to that next level! Please note that this post contains affiliate links.
-
Here’s how you can make a fun mixed bead bracelet to show off your personality!
I love the trend towards the craft-core bead explosion designs in jewellery! I’ve shared a few other similar tutorials in the form of mixed bead anklets and necklaces, but this one is a bracelet! This bracelet features a mixture of handmade, recycled and new beads for a unique look! What beads will you use in yours? Please note that this tutorial contains affiliate links.
You’ll need these tools and materials to make your own mixed bead bracelet:
1: Some tiger tail wire cut to a length that will fit your wrist plus a few extra cm.

2: A selection of beads. I used a mix of plastic, clay and glass beads from different sources, recycled, new and handmade.

3: A clasp. I used this gold-tone parrot claw clasp.

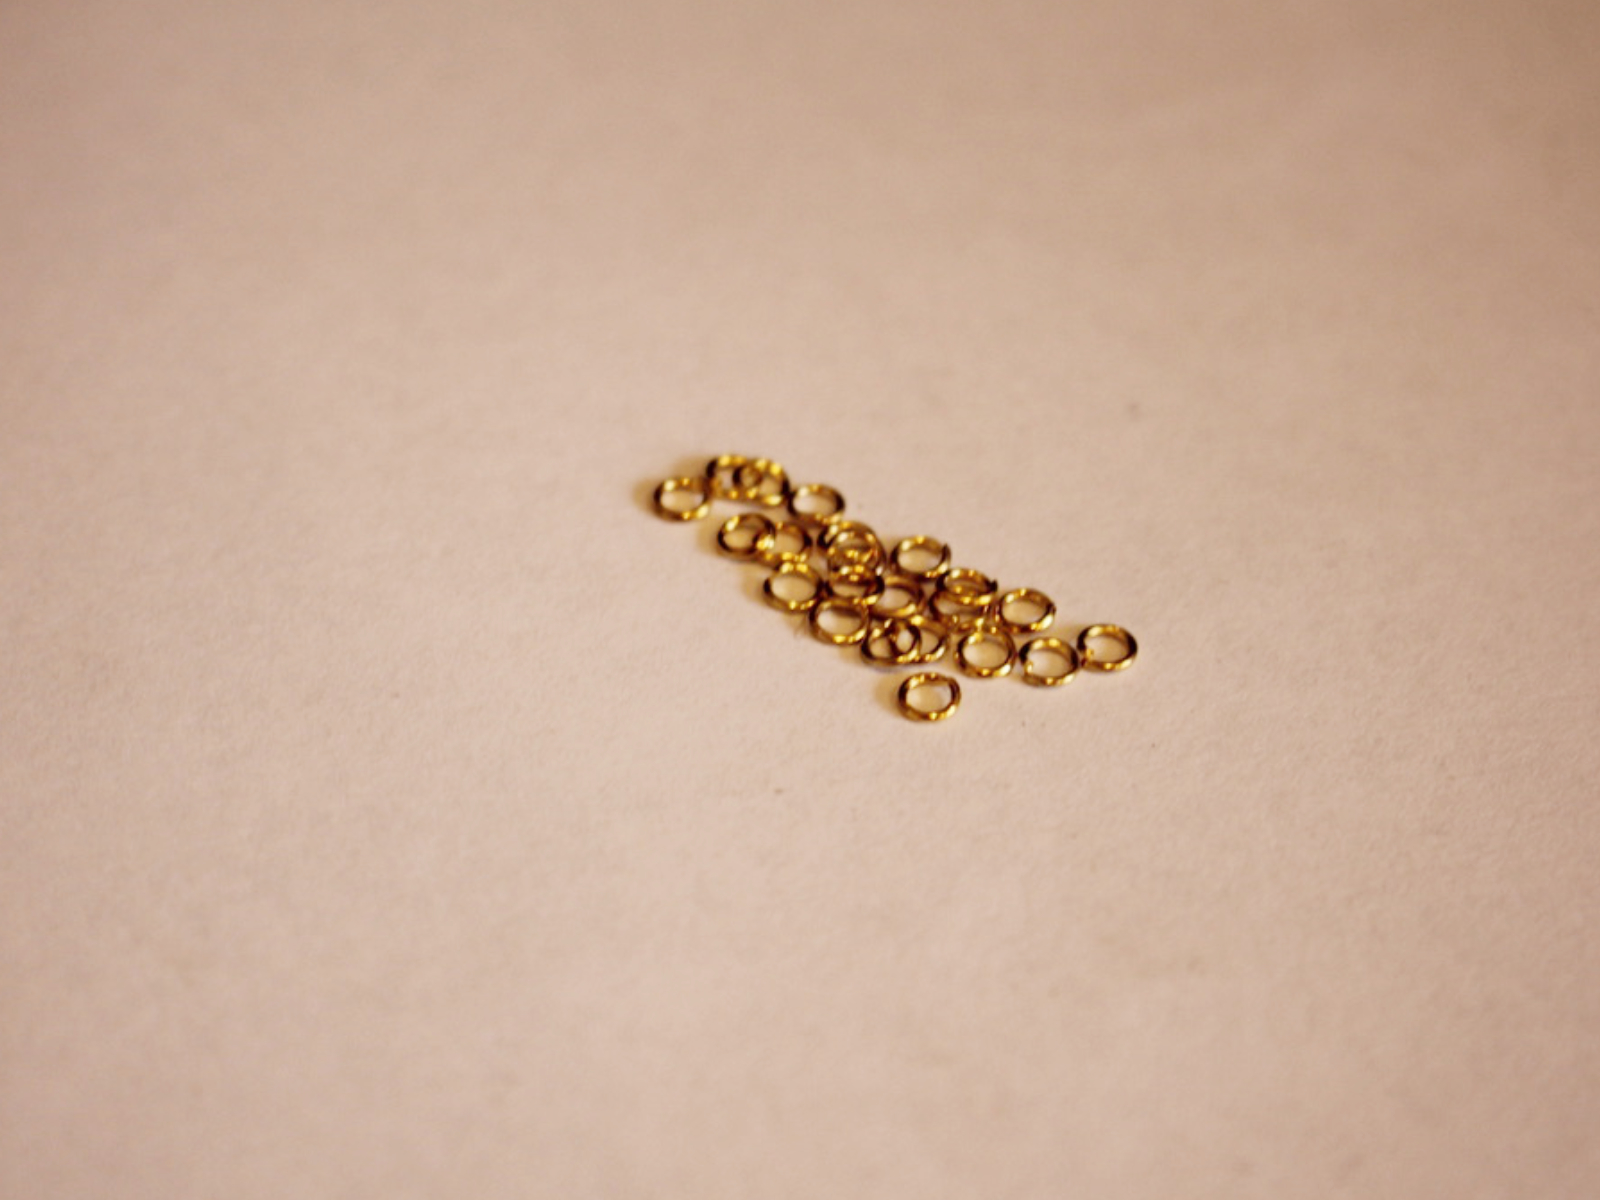
4: A jump ring.

5: Four crimp beads.

6: Pliers. I used cutting pliers to cut the wire, flat nose pliers and round nose pliers.

Cutting pliers, round nose pliers, flat nose pliers. Follow these steps to make your crazy mixed bead bracelet:
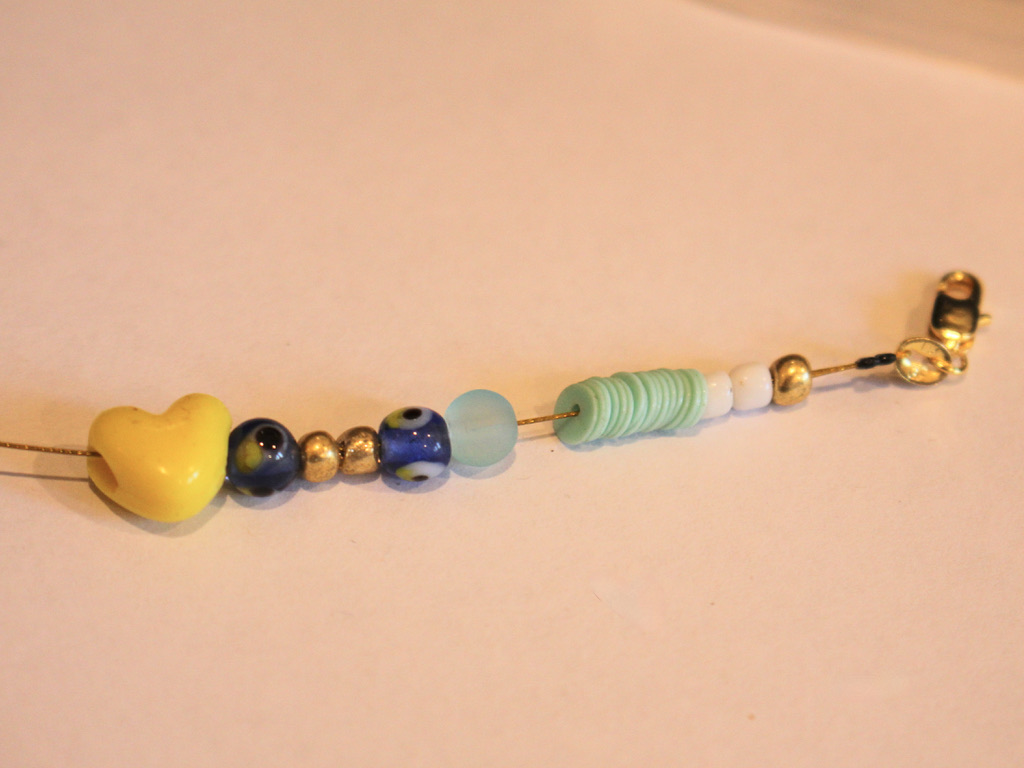
1: Take the tiger tail wire and add two of the crimp beads.

3: Add the clasp to the wire and loop the end of the wire back through the crimp beads.

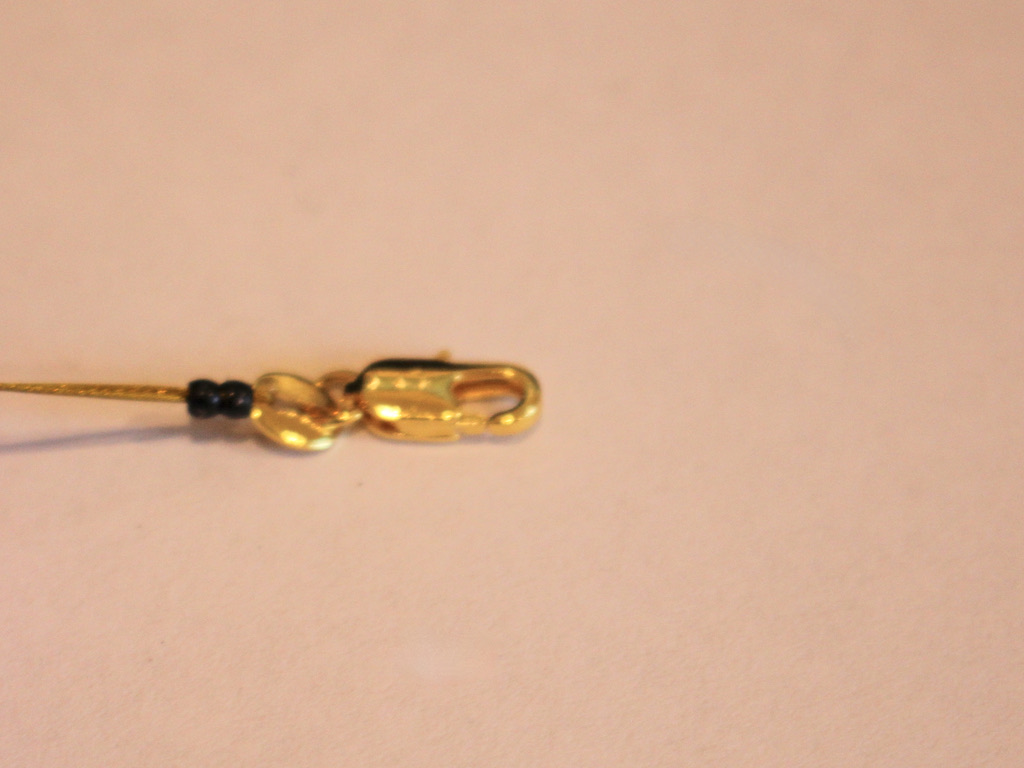
4: Squash the crimp beads using the flat nose pliers.

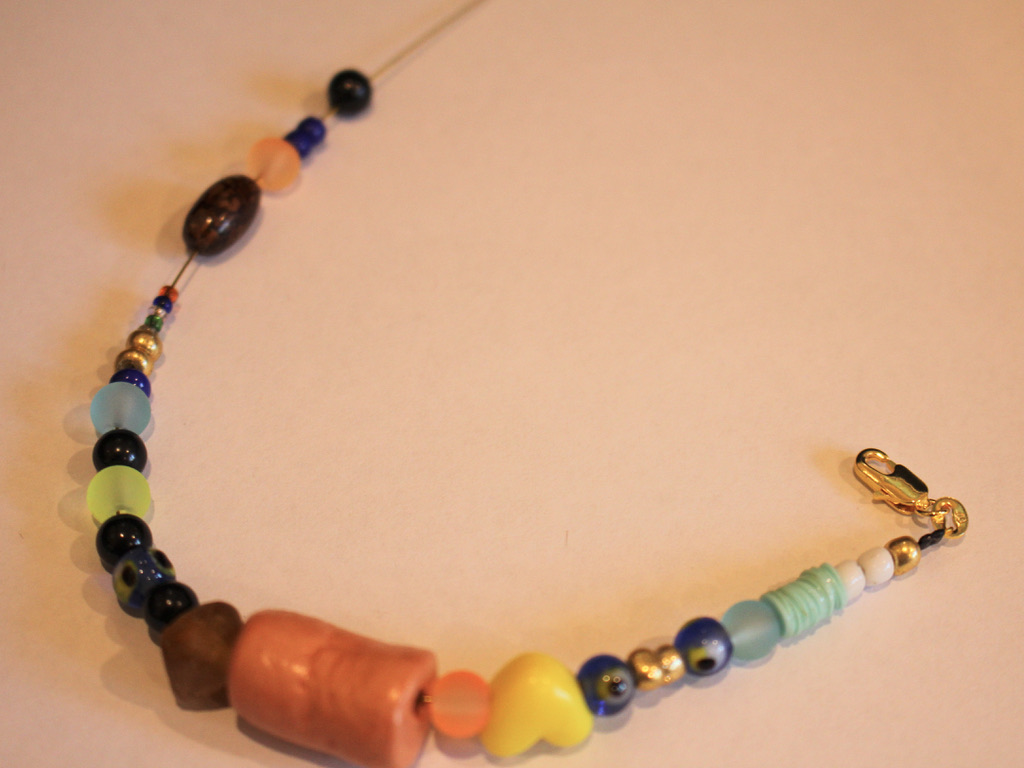
5: Begin adding beads to the wire in random order.
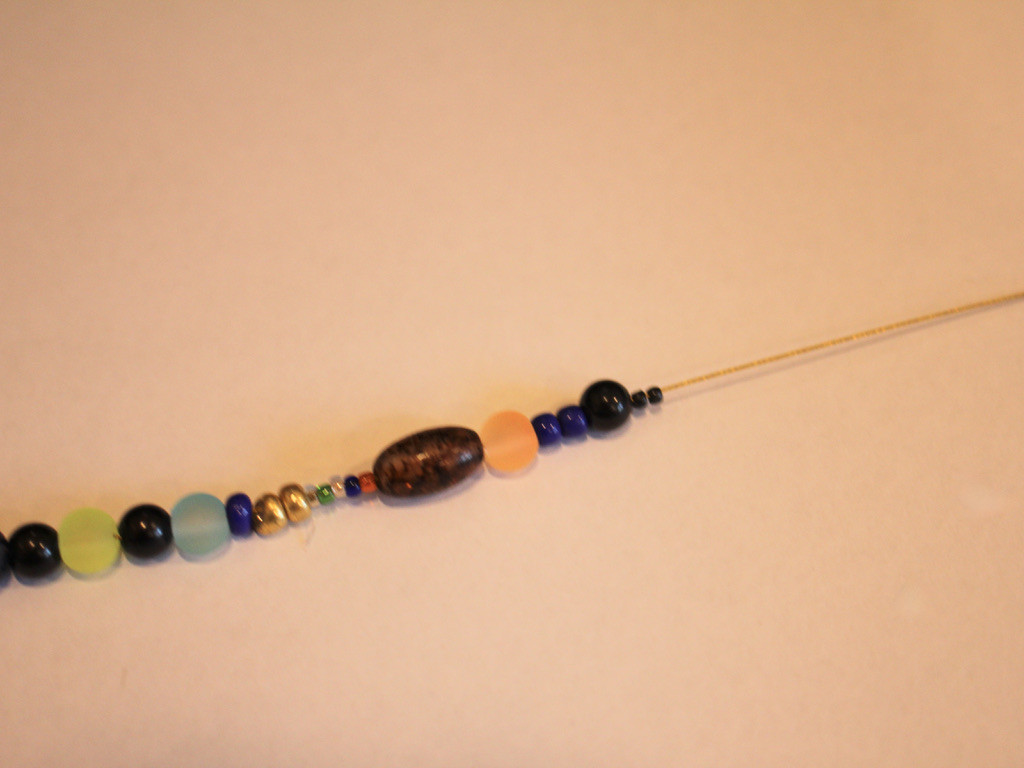
6: Continue adding beads until you get it to the length that feels comfortable around your wrist.
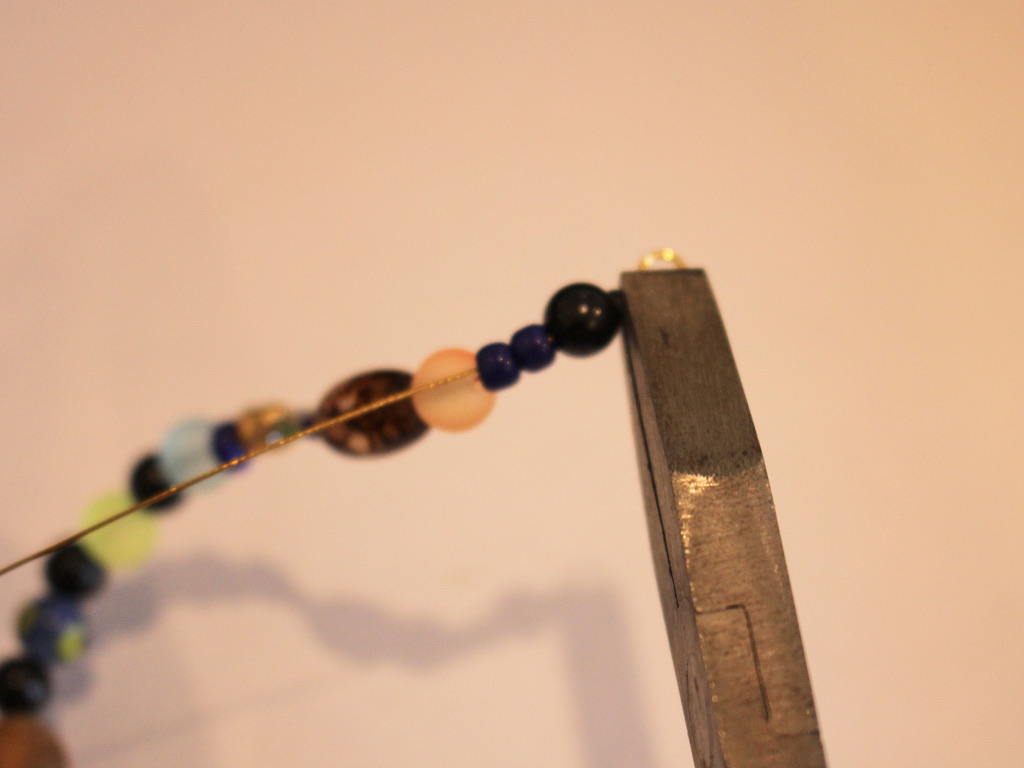
7: Add the second set of crimp beads to the wire.
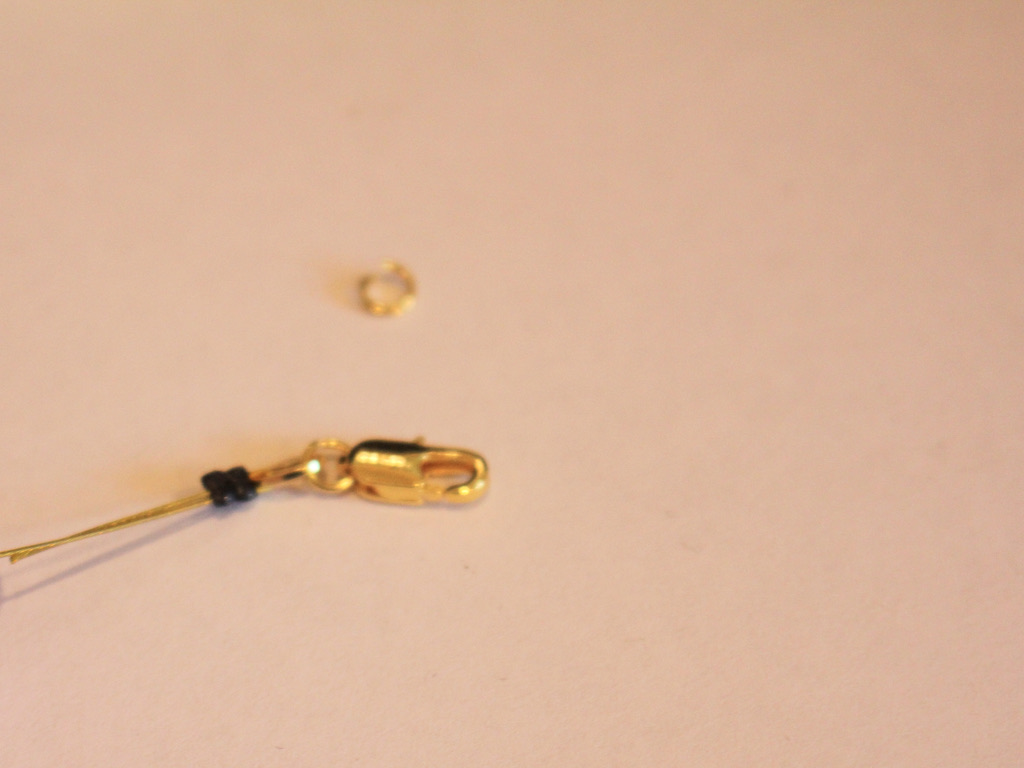
8: Add the jump ring to the wire.
9: Loop the wire around the jump ring and back through the crimp beads and the first few beads at the end of the bracelet.

10: Pull the wire tight.
11: Squash the crimp beads using the flat nose pliers.
12: Trim the excess wire using the cutting pliers.


13: Now your bracelet is finished and ready to wear!

Here are some other mixed bead, craft-core tutorials for you to follow:
- A crazy mixed bead necklace
- A mixed bead necklace with letter beads
- This special mixed bead shoe chain that can also be worn as an anklet
- A simple mixed bead anklet
If you love the clay bead featured on this bracelet, here’s a tutorial that you can follow to make your own.
-
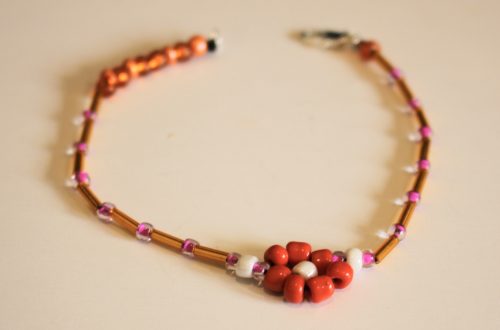
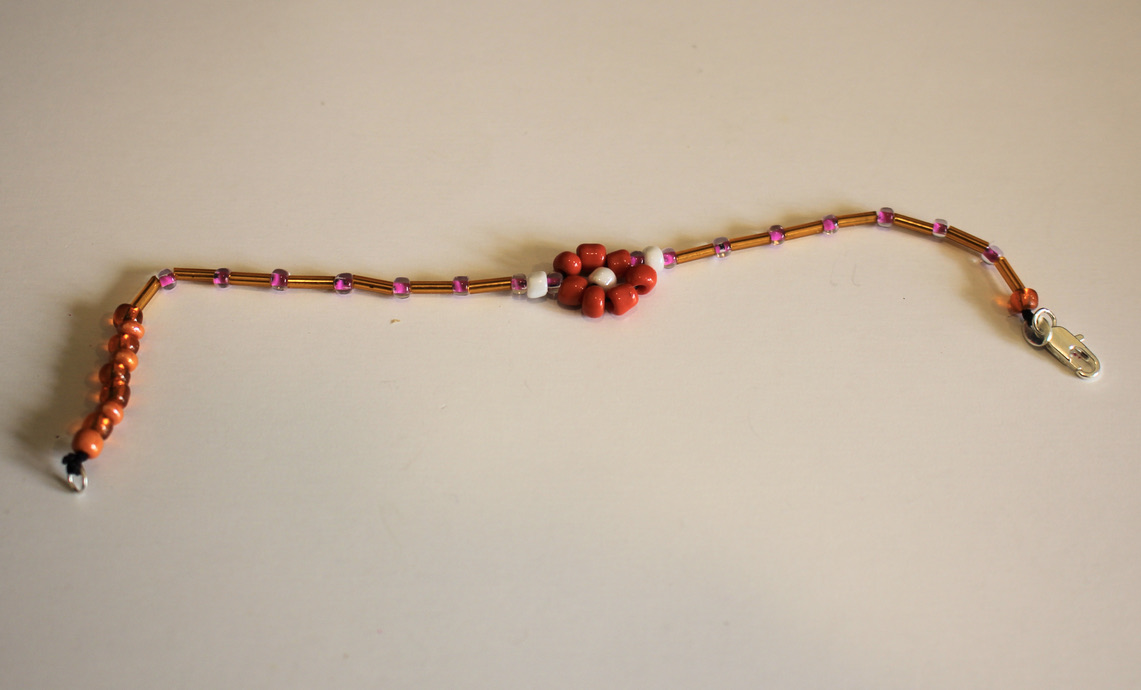
Flower beading is so fun! Here’s how to put together a flower beaded bracelet.
Flower beading was one of the first beading techniques I learned when I was a crafty kid! I still love beading and it is so fun to see this nostalgic style coming back! This bracelet makes a feature of a beaded flower, surrounded by a variety of glass beads. Please note that this tutorial contains affiliate links.
You’ll need these tools and materials to make your flower beaded bracelet:
1: Scissors.

2: Beading thread.

3: A selection of beads. I used some larger glass beads for the flower and some smaller ones for the base of the bracelet.

4: A parrot clasp and jump ring for the ends of the bracelet.


5: Some superglue.

6: A beading needle with a thin loop of thread tied to it.

Here are the steps to follow to make your flower beaded bracelet:
1: Cut a length of thread, about 50cm and fold it in half.

2: Slip the loop around the clasp end and pull the length of the thread back through that loop. Pull it tight to secure it to the clasp.

3: Tie a knot at the base of the clasp and put the thread back through the clasp end, tying one final knot for extra security.


4: Add the looped needle to the beading thread.
5: Begin adding beads, bead to about half of the preferred length of your bracelet. You can check this roughly by laying the bracelet across your wrist and measuring by eye how far it reaches around the wrist.

6: Once you have the length you like, add the seven beads for making the flower.
7: Take the needle and put it through the hole of the first of the flower beads. When you pull it tight you will have a circle shape.

8: Add another bead to the thread, this will be the centre of the flower.

9: Place the centre bead into the middle of the circle and then thread the needle through one of the beads opposite the one you used to form the circle.

10: Pull the thread tight, you will now have a flower with a centre.
11: Continue beading until you have the length you like. I didn’t quite make the first part of my bracelet long enough so I decided to add some extra feature beads at the end to make it long enough.


12: Once you have your desired bracelet length, tie a knot at the end of the beads to secure them.
13: Loop the thread around the jump ring and tie a knot. Repeat this to secure the jump ring well.


14: Trim the excess thread from the end of the bracelet, cutting closely. Then add a dab of superglue to the knots on both ends of the bracelet for extra security. Set the bracelet aside and wait for the glue to dry.


Once the glue is dry, your sweet and cheerful floral bracelet is finished and ready to wear!


Here are some more floral bead tutorials you can follow:
-
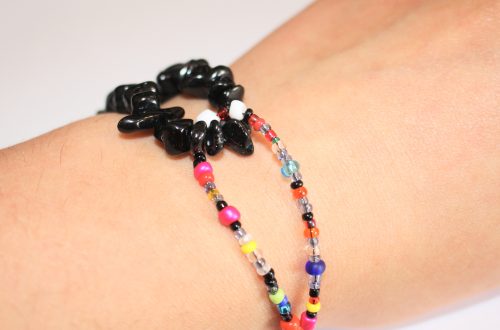
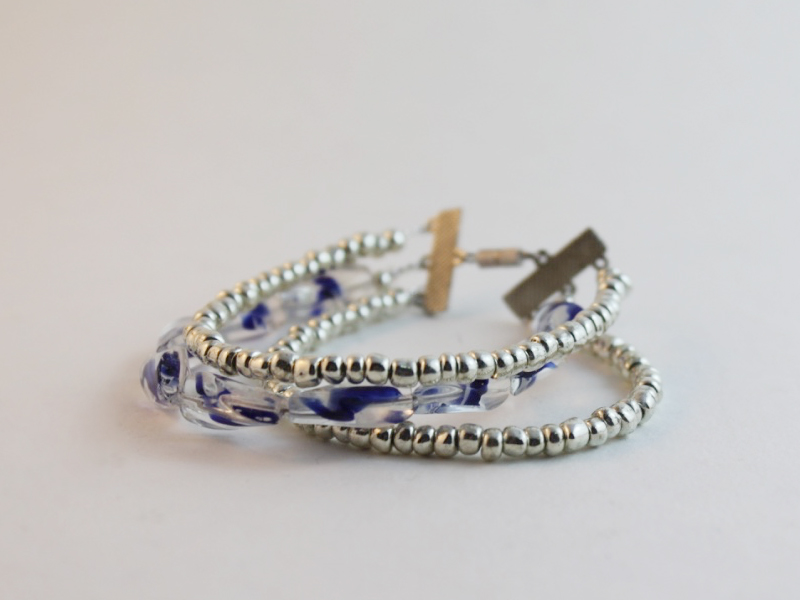
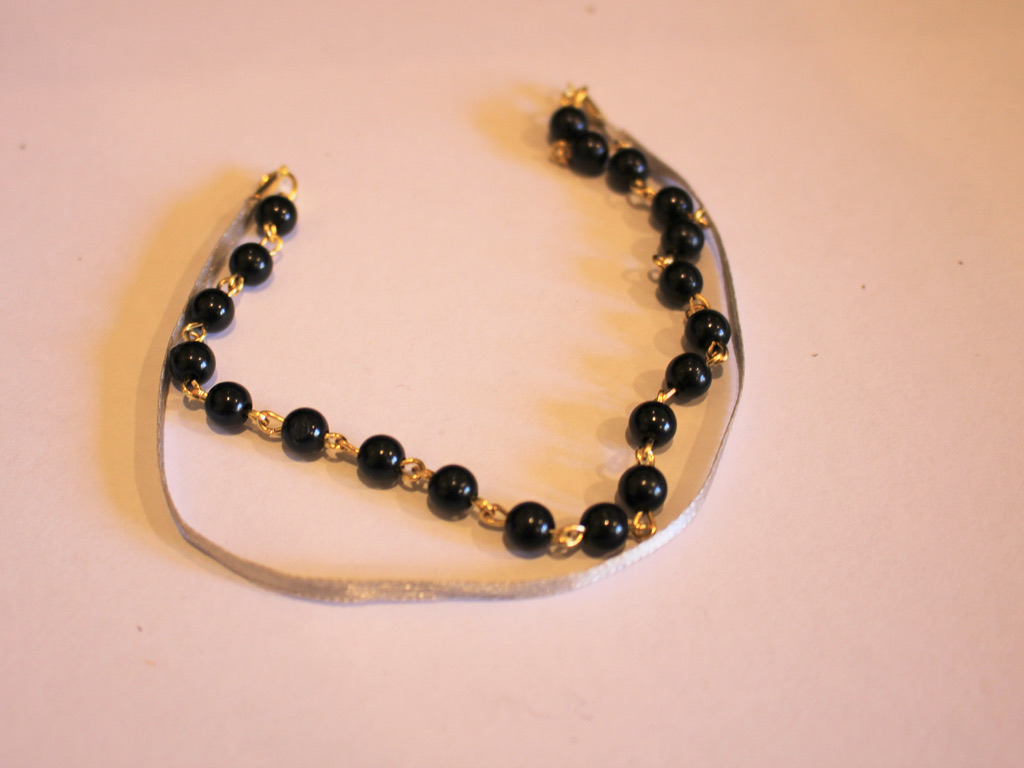
How to make a double strand bracelet with ribbon and beads!
This bracelet is another way that you can make a multi-strand bracelet. This bracelet makes use of ribbons and a beaded chain for an alternative look. I used some recycled materials in this design, it is a great way to reuse ribbons and cords from old packaging or gifts. Please note that this tutorial contains affiliate links.
You’ll need these tools and materials to make this double strand bracelet:
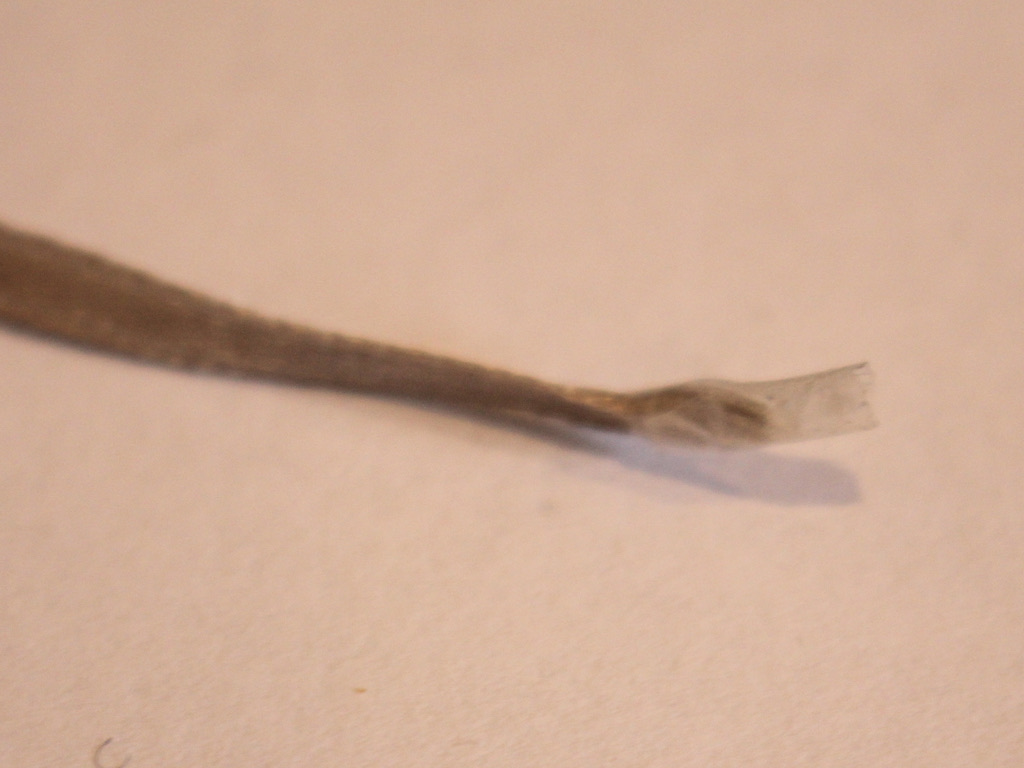
1: A piece of ribbon. I used this thin ribbon that I had recycled from a piece of clothing.

2: Scissors. I used my scissors to cut the ribbon to length.
3: Pliers. I used my flat nose and round nose pliers for this design.


4: Some sticky tape.
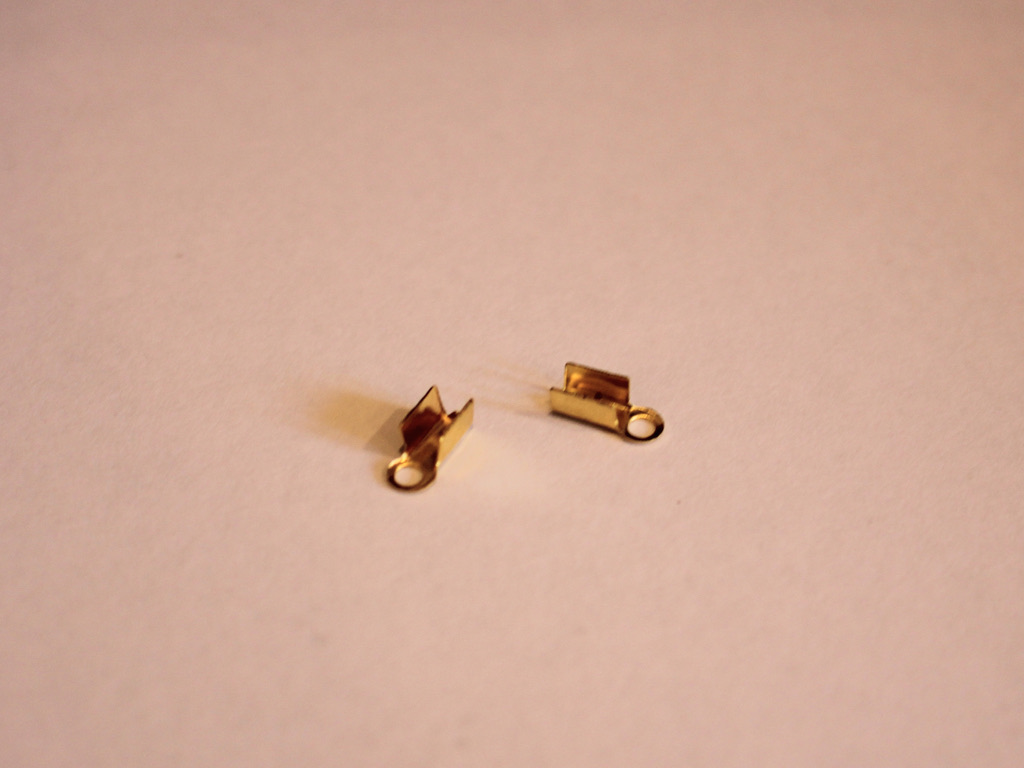
5: Two crimp ends.
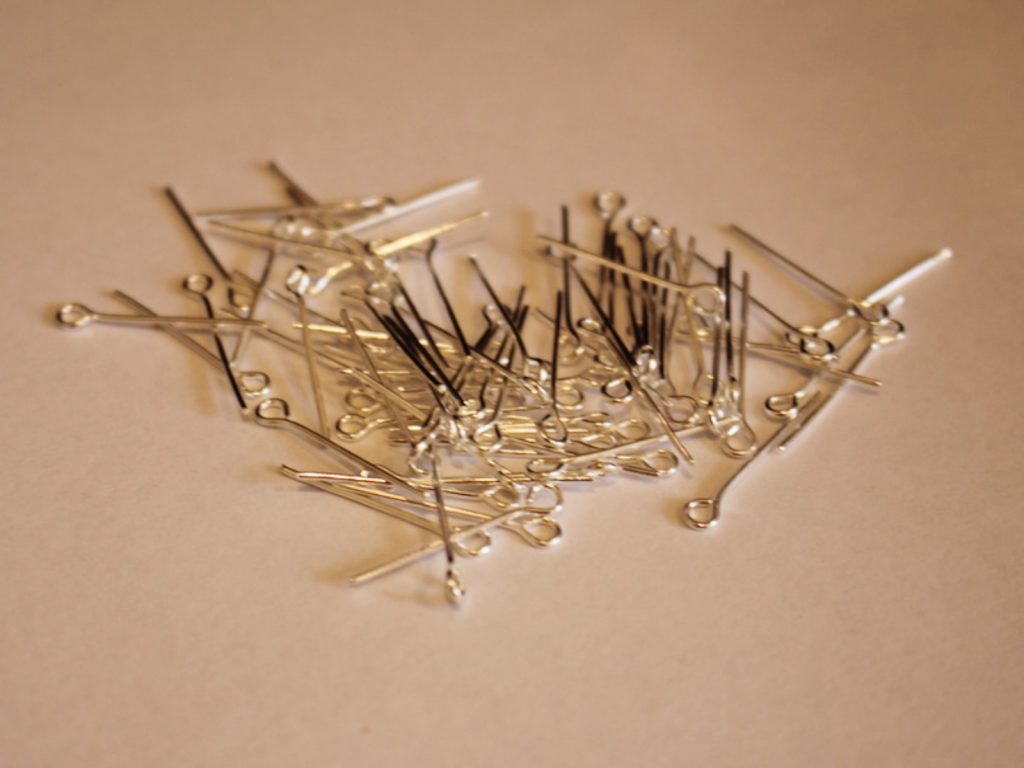
6: A bunch of eye pins. The number you will need depends on the length of your bracelet so it’s good to have a few extra on hand.

7: Beads. I used these black plastic beads that I recycled from an old piece of jewelry.

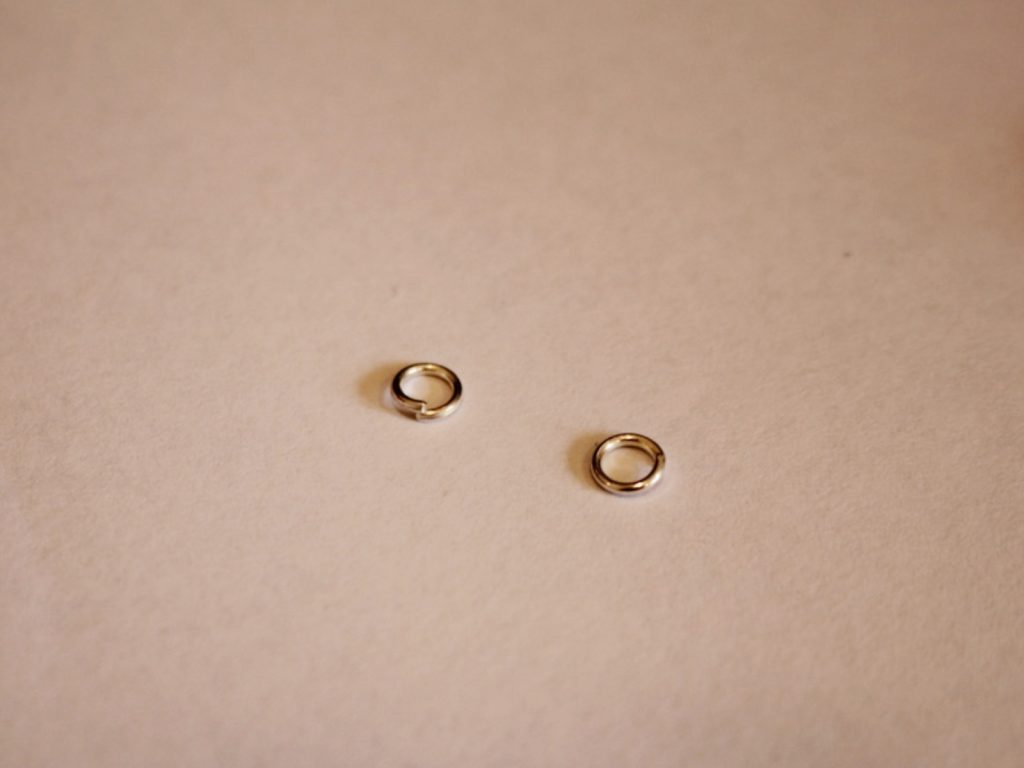
8: Two jump rings.

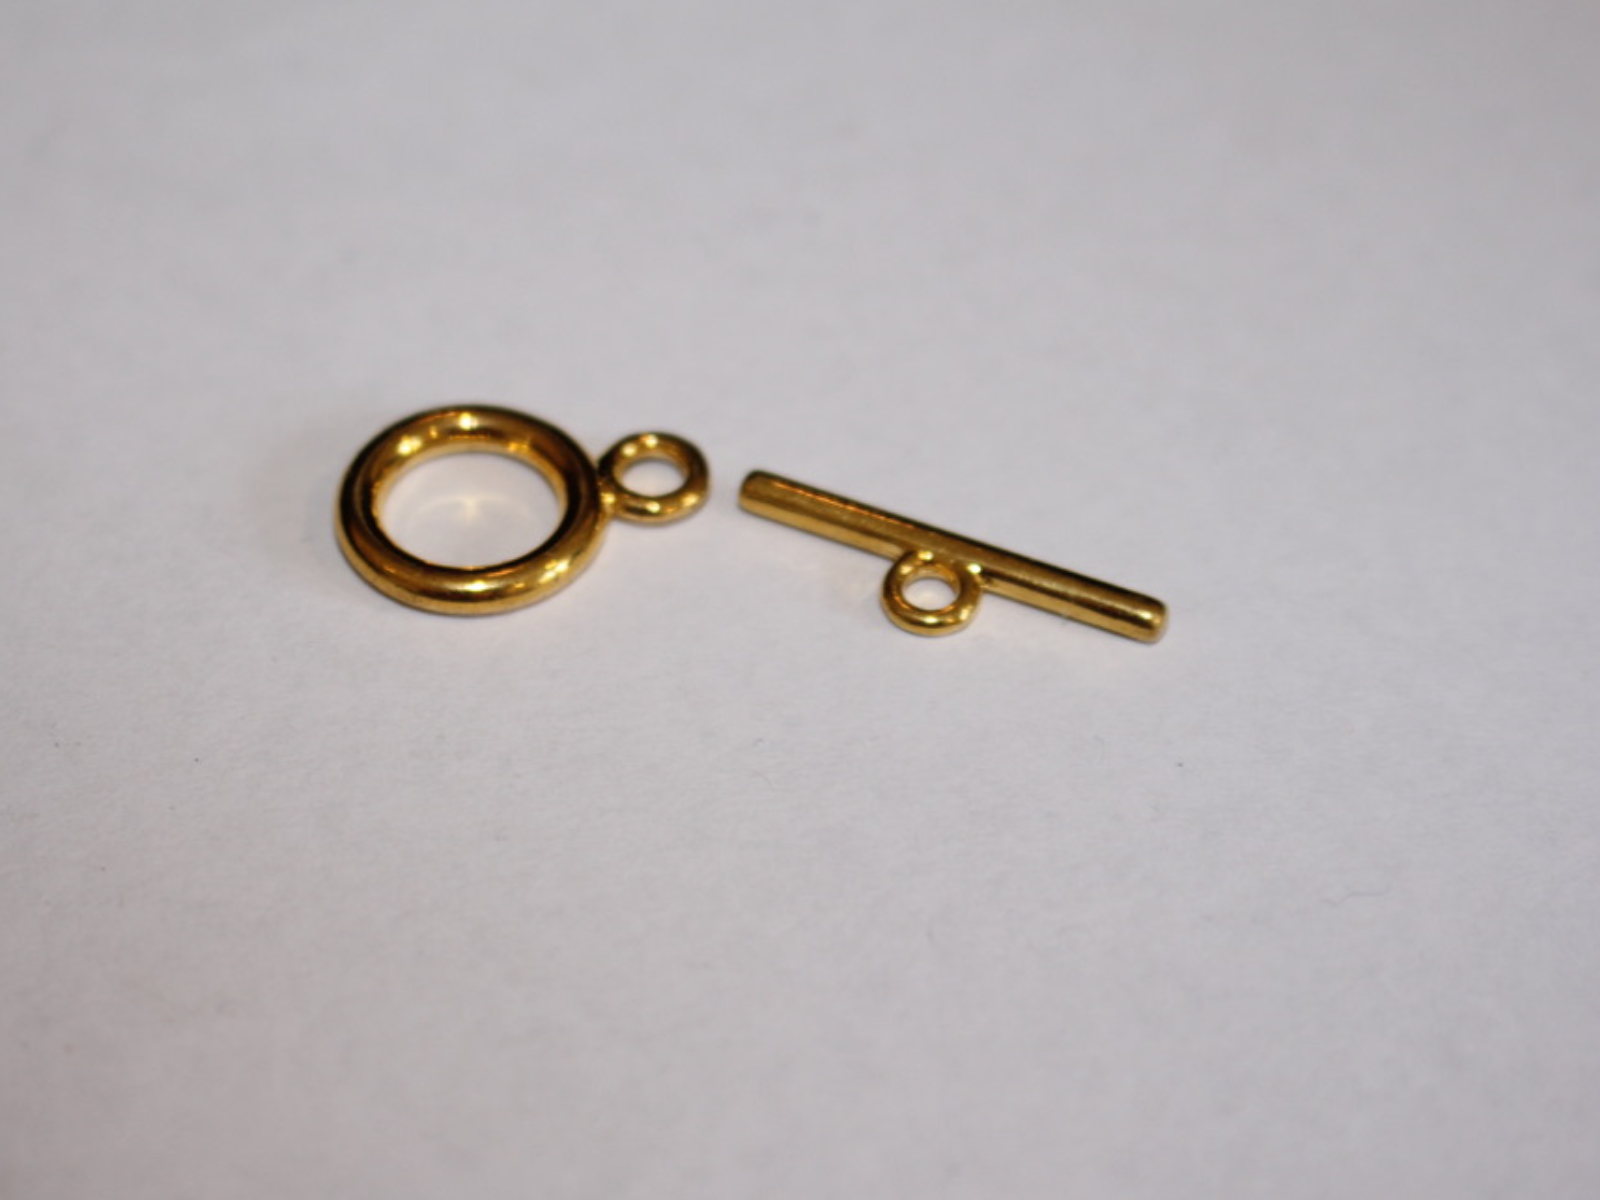
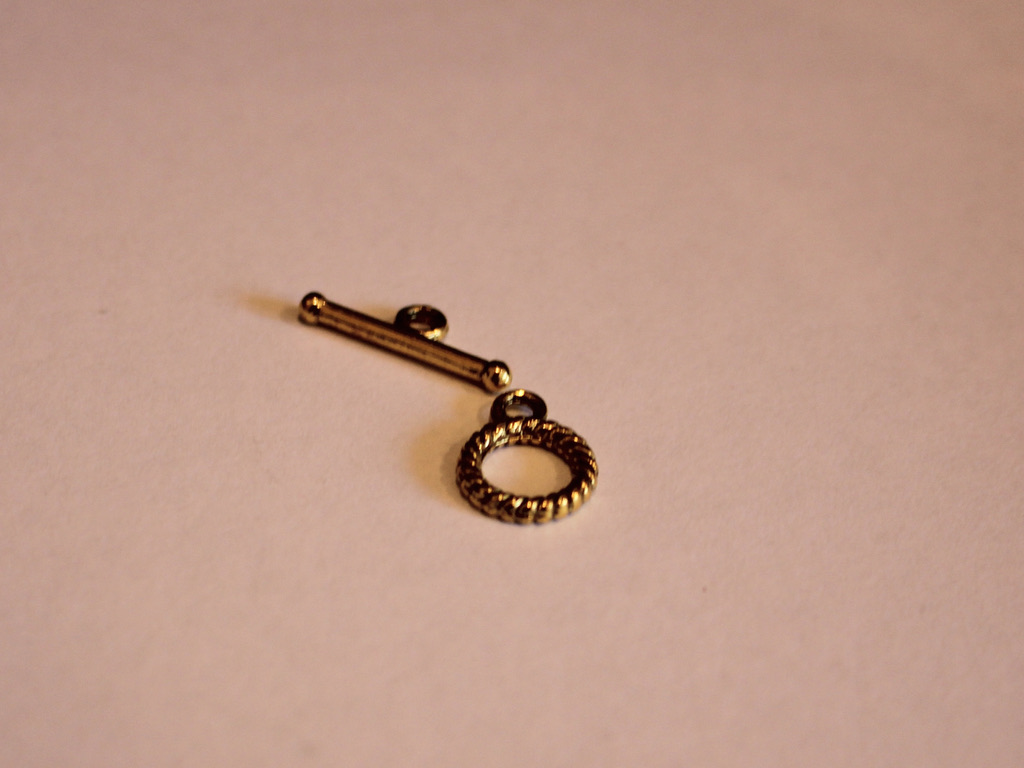
9: A toggle clasp.
Follow these steps to make your own double strand bracelet made with mixed materials:
1: Take the ribbon, cut it to a length that fits around your wrist.
2: Add some sticky tape to either end of the ribbon. This will give the crimps a bit more material to grip on to. You can skip this step if you have a thicker piece of ribbon.
3: Place the crimp around the end of the ribbon.

4: Squash one side of the crimp around the ribbon using the flat nose pliers.

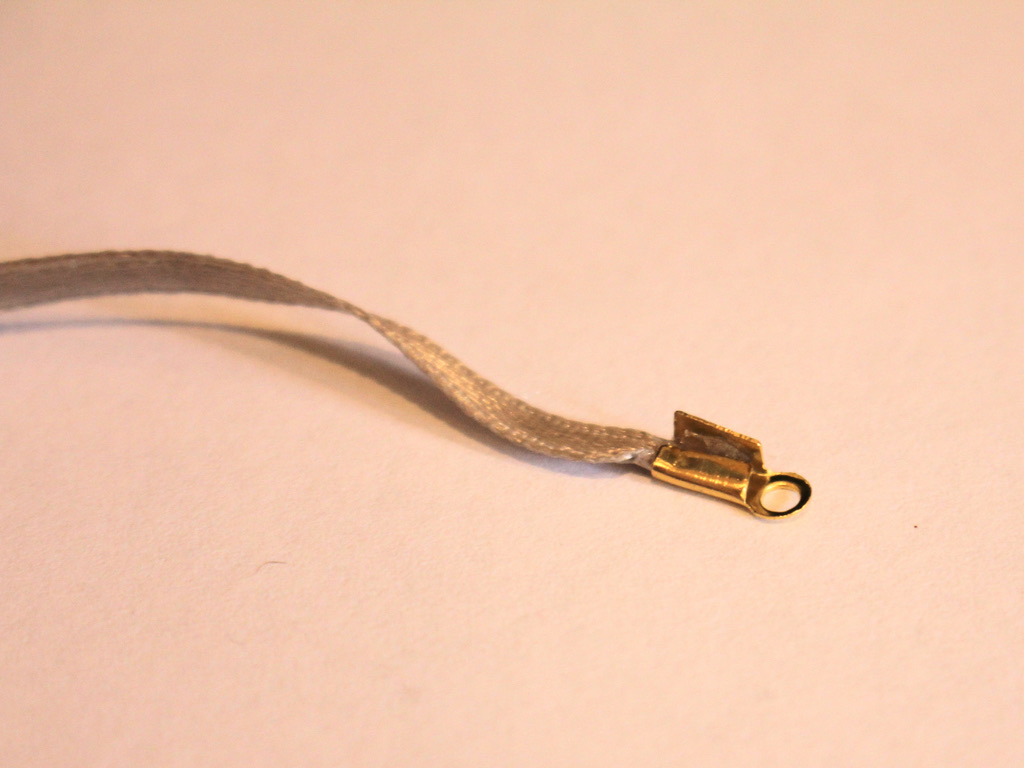
5: Squash the other side of the crimp around the ribbon using the flat nose pliers.

6: Repeat steps 3 to 5 for the other end of the ribbon, squashing the other crimp in place.

7: Set the ribbon aside.
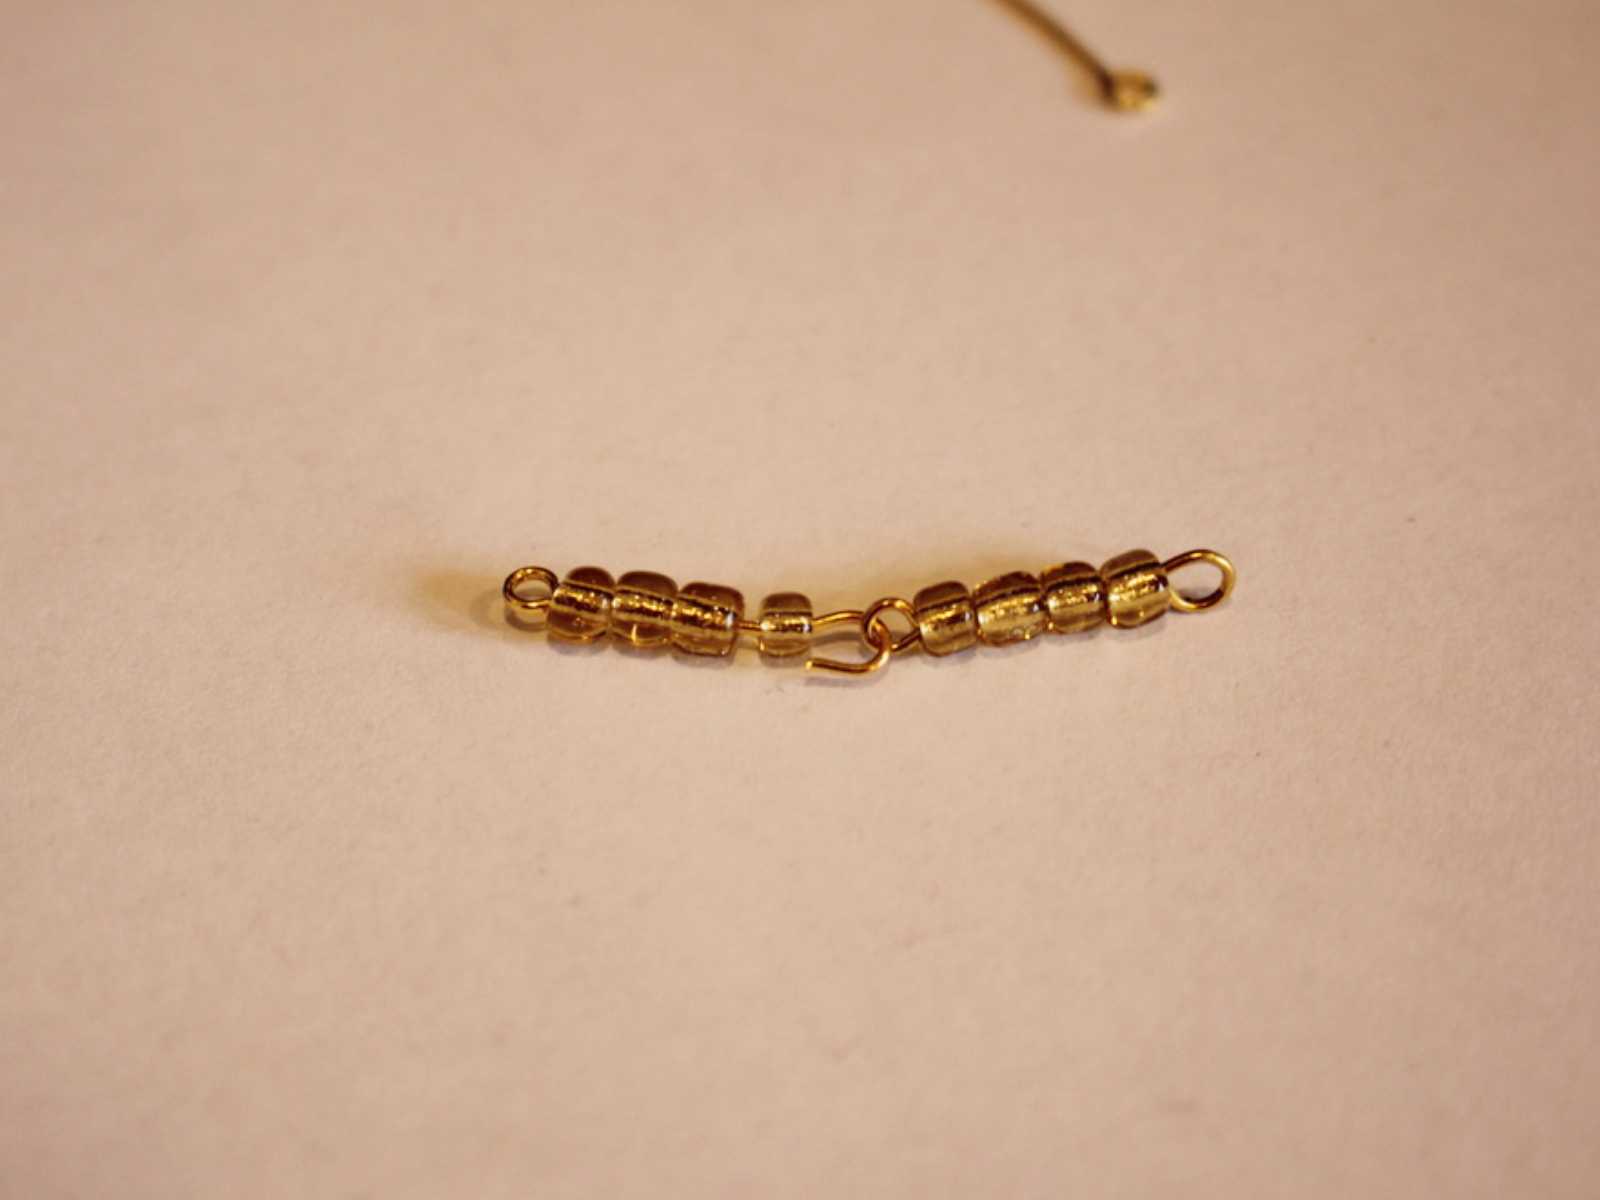
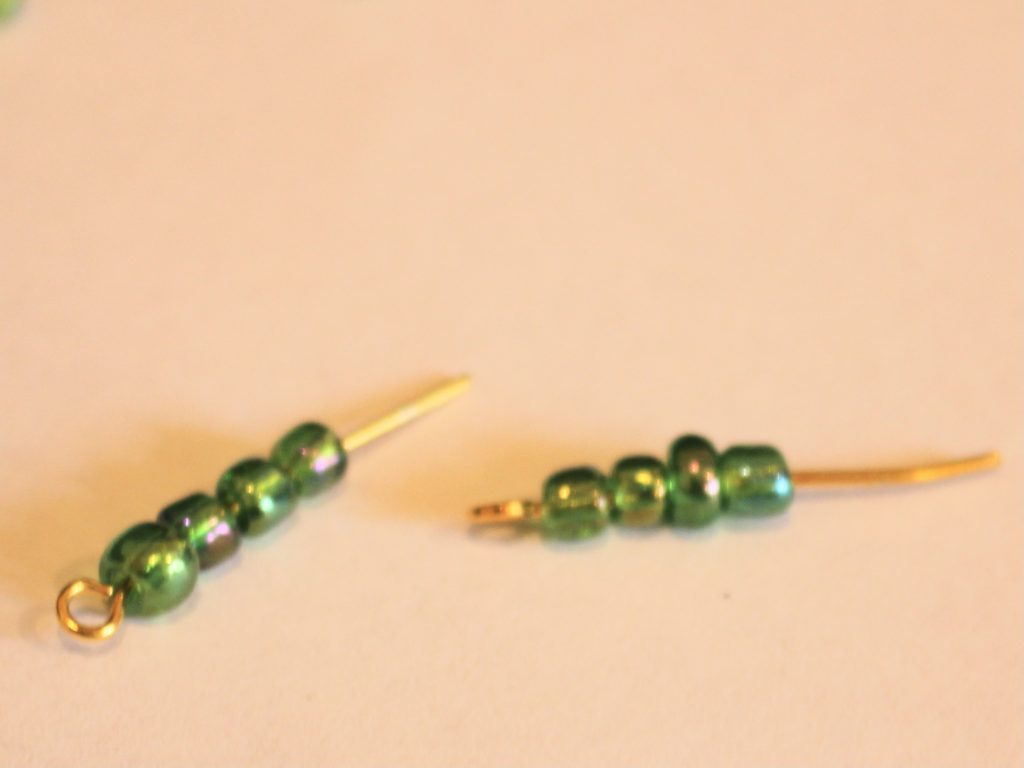
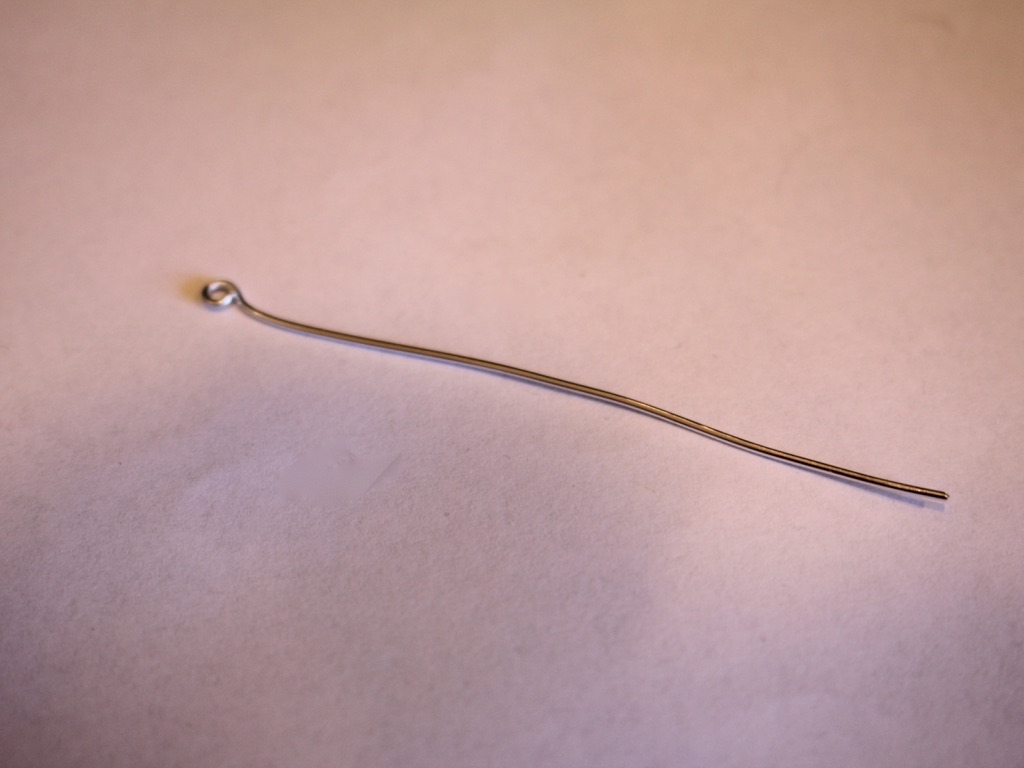
8: Take one of the eye pins and place a bead on it.

9: Bend the pin to form an angle with the bead.
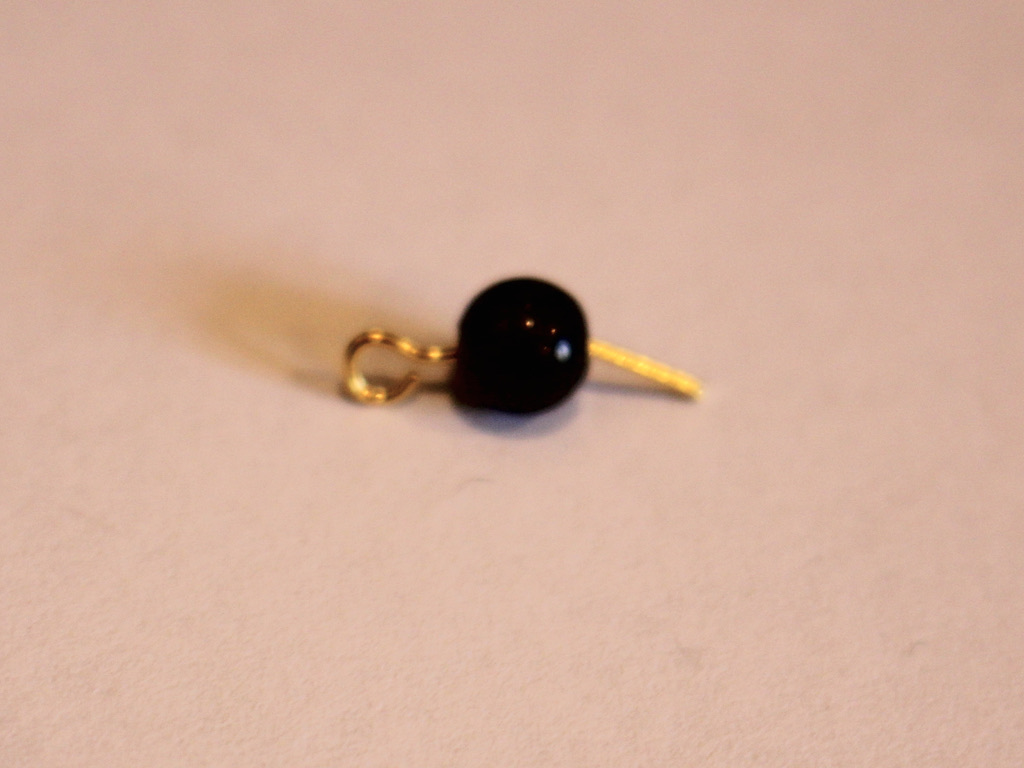
10: Loop the end of the pin around the round nose pliers to form a loop.


11: Repeat steps 8-10 for another pin and bead, now you will have two beaded pins that you can now attach together. Do this by slightly opening one of the loops and sliding the other charm on. Close the loop to secure the pieces together.

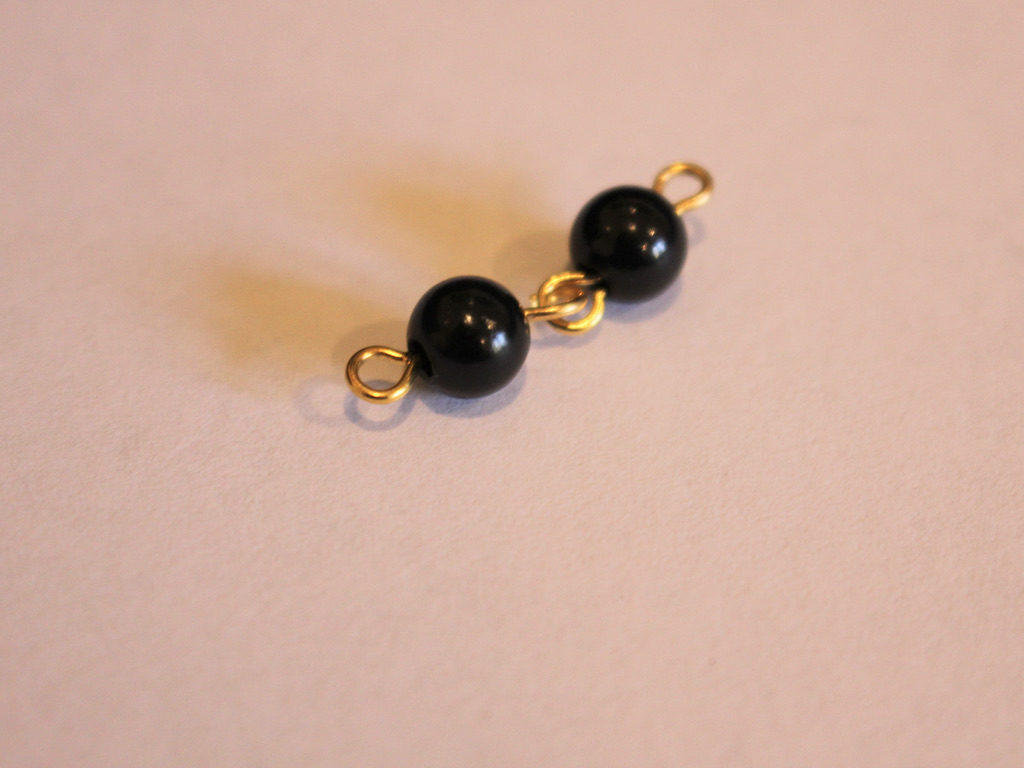
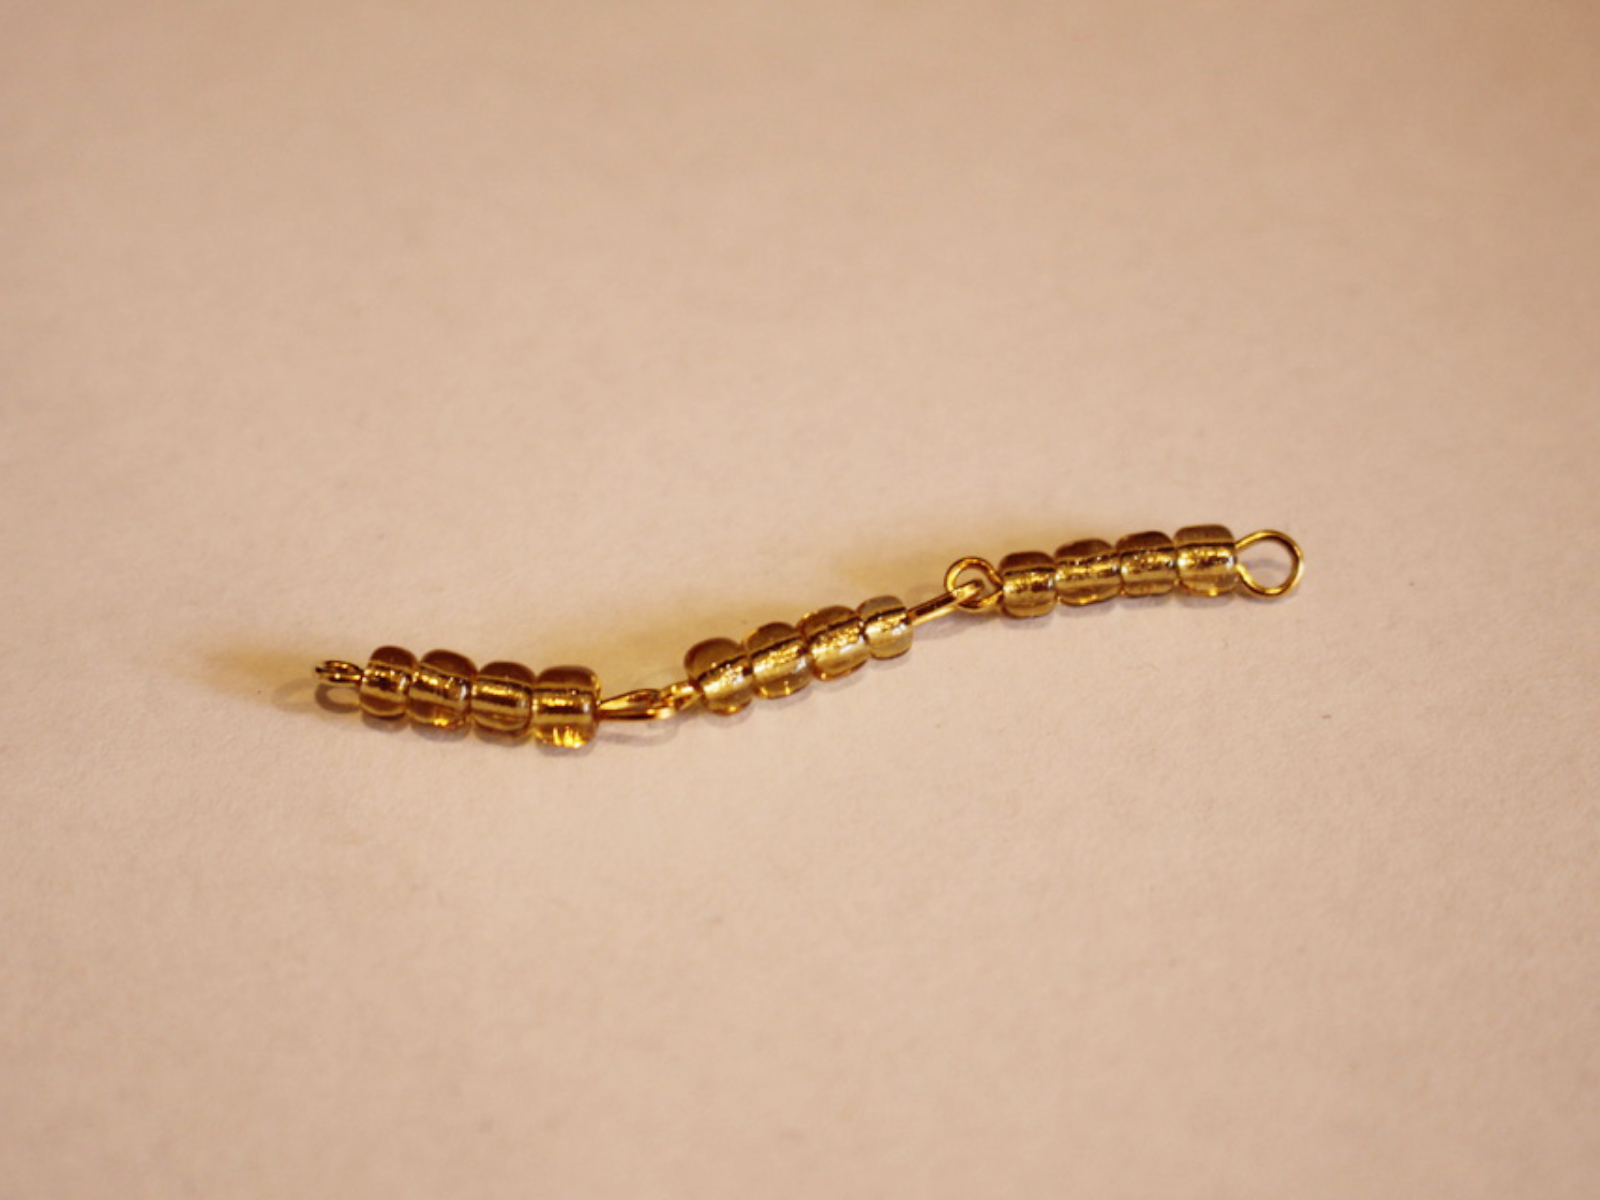
12: Repeat steps 1-11 until you have a chain that is the same length as the ribbon. It doesn’t matter if it is a tiny bit longer or shorter.


13: Take a jump ring and slide it through one end of each strand. Close the jump ring to secure the strands together.
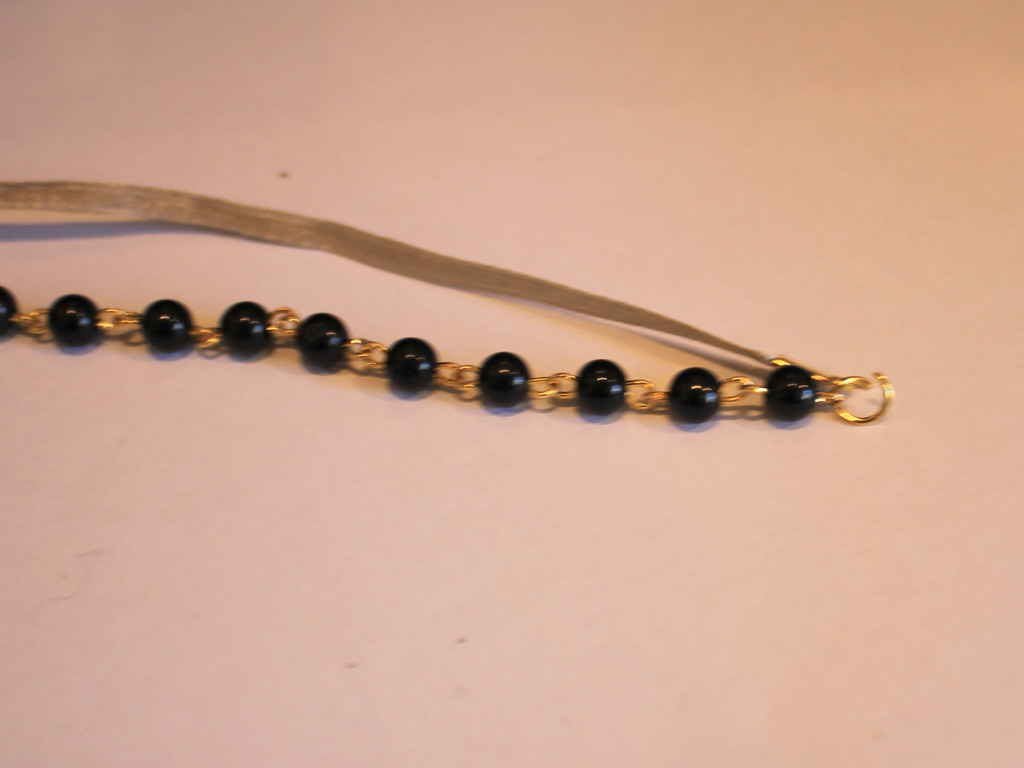

14: Repeat step 13 for the other end of the bracelet.
15: Attach one side of the toggle clasp to one side of the bracelet by slightly opening the jump ring, sliding the clasp on, then closing the jump ring again.

16: Repeat step 15 for the second part of the clasp.

Now your bracelet is finished and ready to wear! So cute.

-
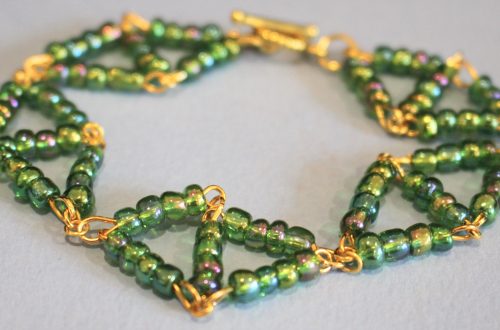
How to make a super cute bracelet with beaded diamond shapes!
This is a cute little bracelet that looks great! the beaded diamond bracelet design uses eye pins and beads to form a series of diamond shapes that link together to create a bracelet. This diamond shaped bracelet is eye-catching and fun to put together, perfect for constructing on a quiet afternoon at home.
You’ll need these tools and materials to make your beaded diamond bracelet:
1: Pliers. I used my round nose and flat nose pliers.
2: A bunch of eye pins. I ended up using about 25 pins. You may need more or less depending on your wrist size.

3: Some small jump rings. I used four, you may need more or less depending on the size of the bracelet.

4: Two larger jump rings.

5: A toggle clasp.

6: Beads of your choice. I used these green glass e-beads.

Follow these steps to make your beaded diamond bracelet:
1: Add beads to two of the eye pins.
2: Leave about 1cm without beads.
3: Bend the pins to form an angle with the beaded section.

4: Loop the end of the pins around the round nose pliers to create a loop that secures the beads onto the pins.


5: Link the two pins together.

6: Repeat steps 1-5 three more times so that you have 5 beaded pins.
7: Link two more pins to the first two, so you have a square shape.


8: Add the last pin to the middle of the four linked pins so that you have a diamond shape that doesn’t shift around.


9: Repeat steps 1-8 until you have enough diamond shapes to fit around your wrist. I ended up making 5 diamonds.


10: Attach each of the diamond shapes together with the small jump rings to form a chain.


11: Attach the clasp components to each end of the chain using the larger jump rings, this will finish the design off!


Now your beaded diamond bracelet is finished and ready to wear!


Here is another design you can make using this beaded diamond shape

-
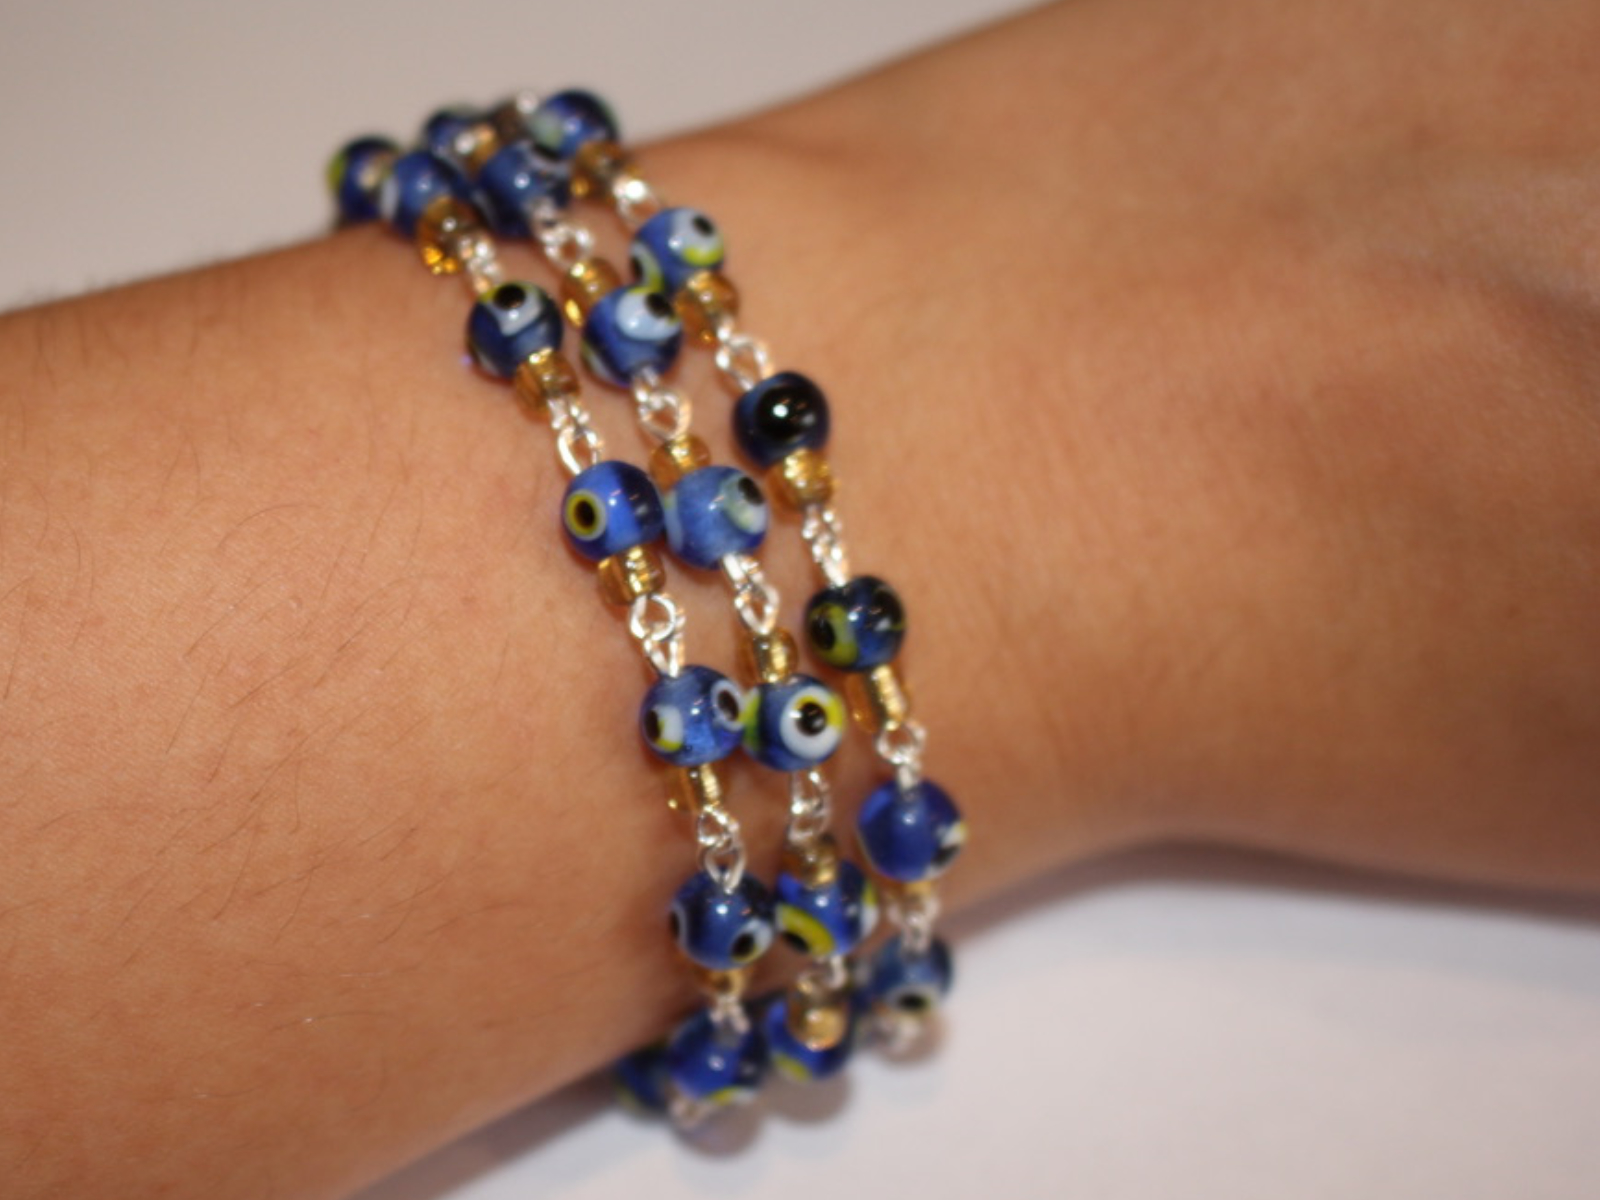
Love a bracelet stack? Here’s how to get the look with one bracelet!
For this bracelet design you need to construct three different beaded chains and attach them together using charm connectors for a stacked bracelet look. This design is really cute and the chain extender means that putting it on by yourself is easier! Please note that this tutorial contains affiliate links.
You’ll need these tools and materials to make your triple strand stack bracelet:
1: Pliers. I used my round nose and flat nose pliers. You might also need your cutting pliers depending on the length of your eye pins.
Here’s where you can buy some jewellery pliers to add to your tool kit:
2: Eye pins. You’ll need a bunch of small eye pins to make your beaded chain.
Here are eye pins in different lengths:
3: Charm connectors. I used these charm connectors that have three loops on one side and one on the other.

you can buy some charm connectors here:
4: Six small jump rings.

5: Two larger jump rings.
and here’s a link to differently sized jump rings to buy:
6: A small piece of chain. I used this spare piece of chain I had.

Get some here:
7: A small head pin.

A link to some small head pins:
8: A lobster clasp.
Here’s a link:
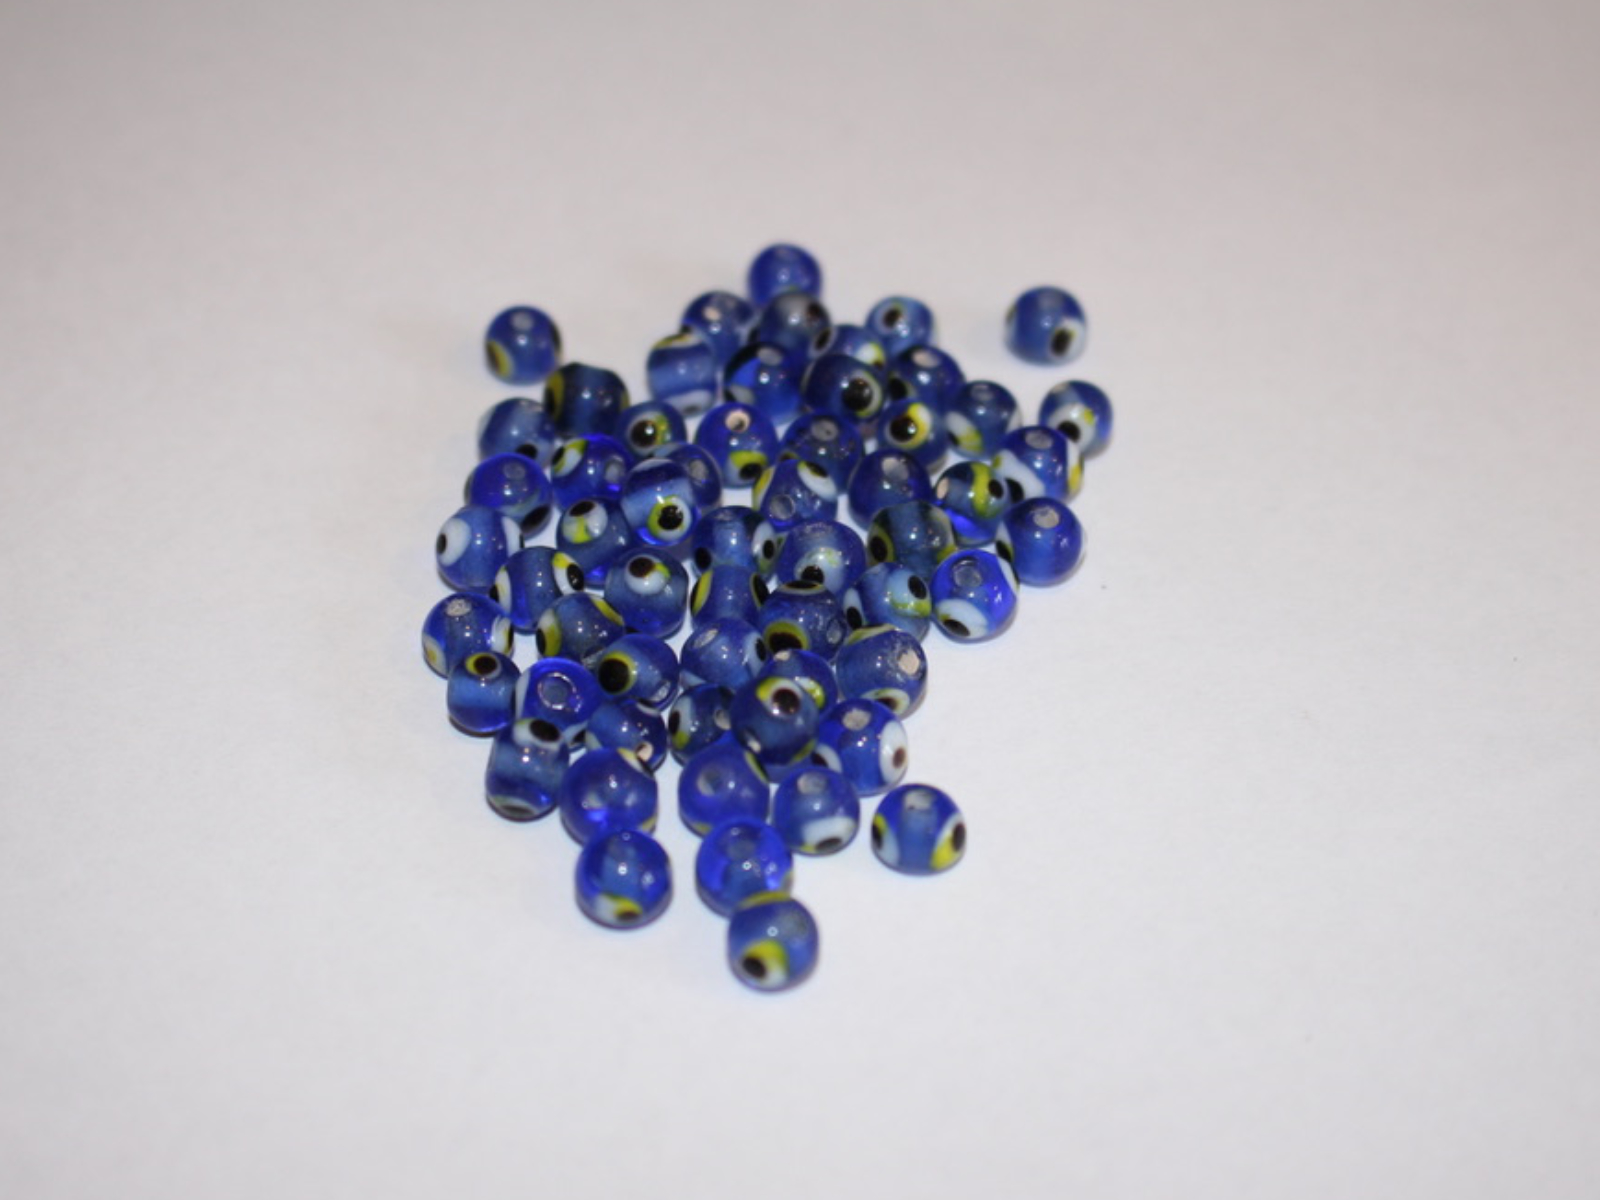
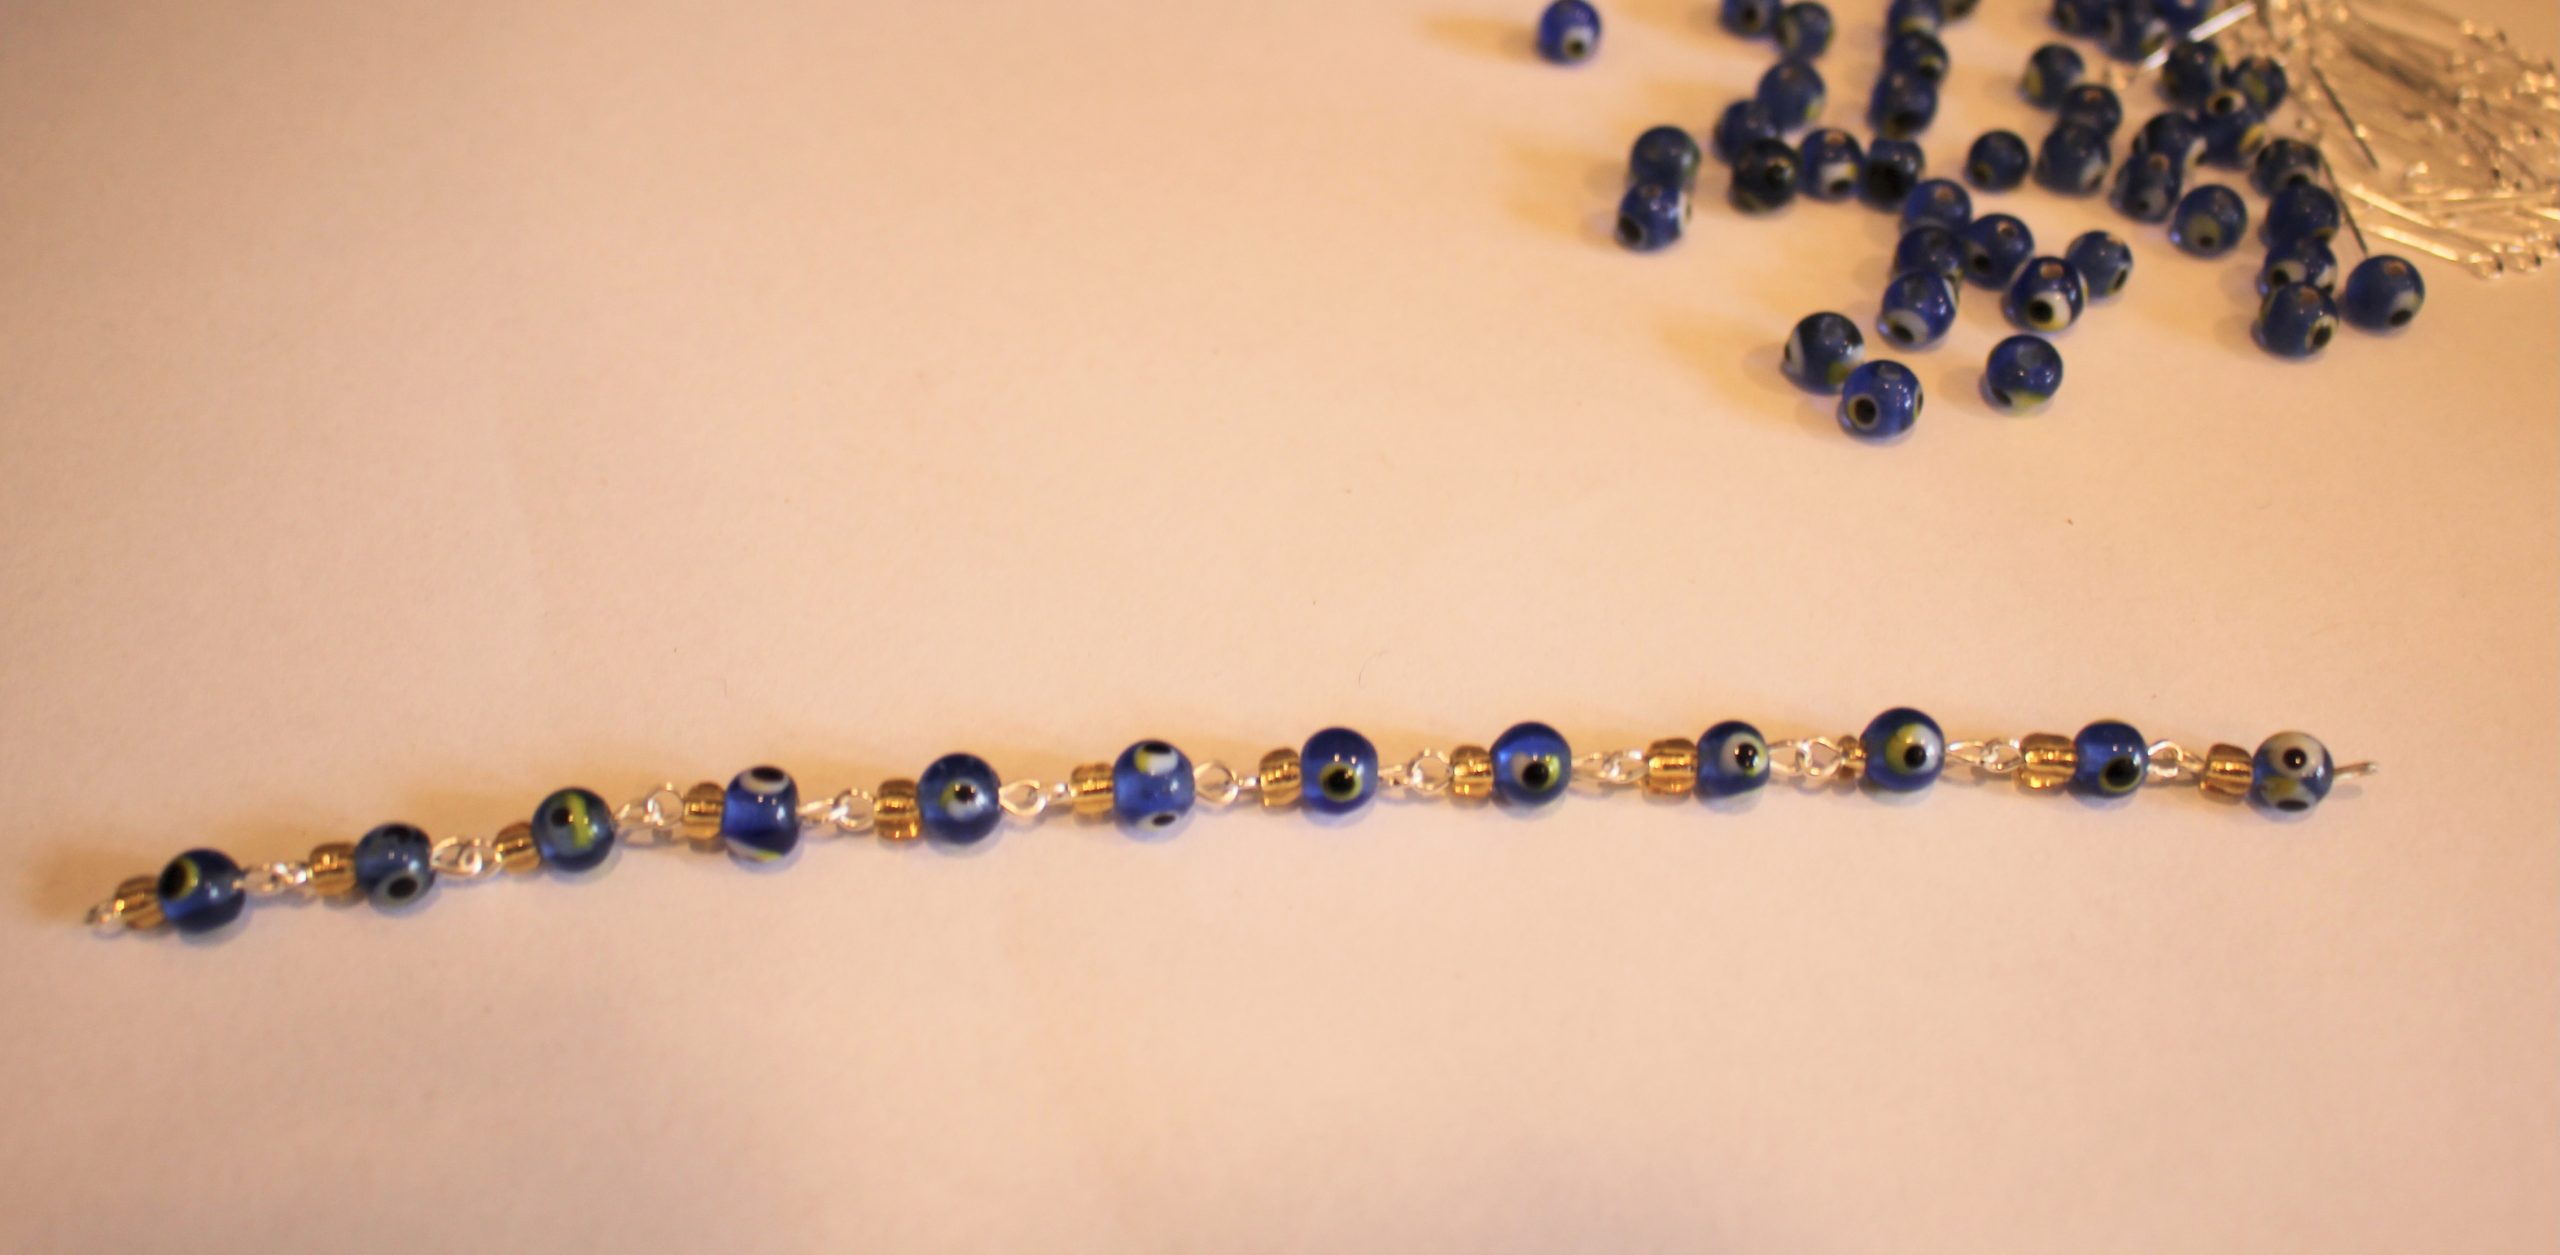
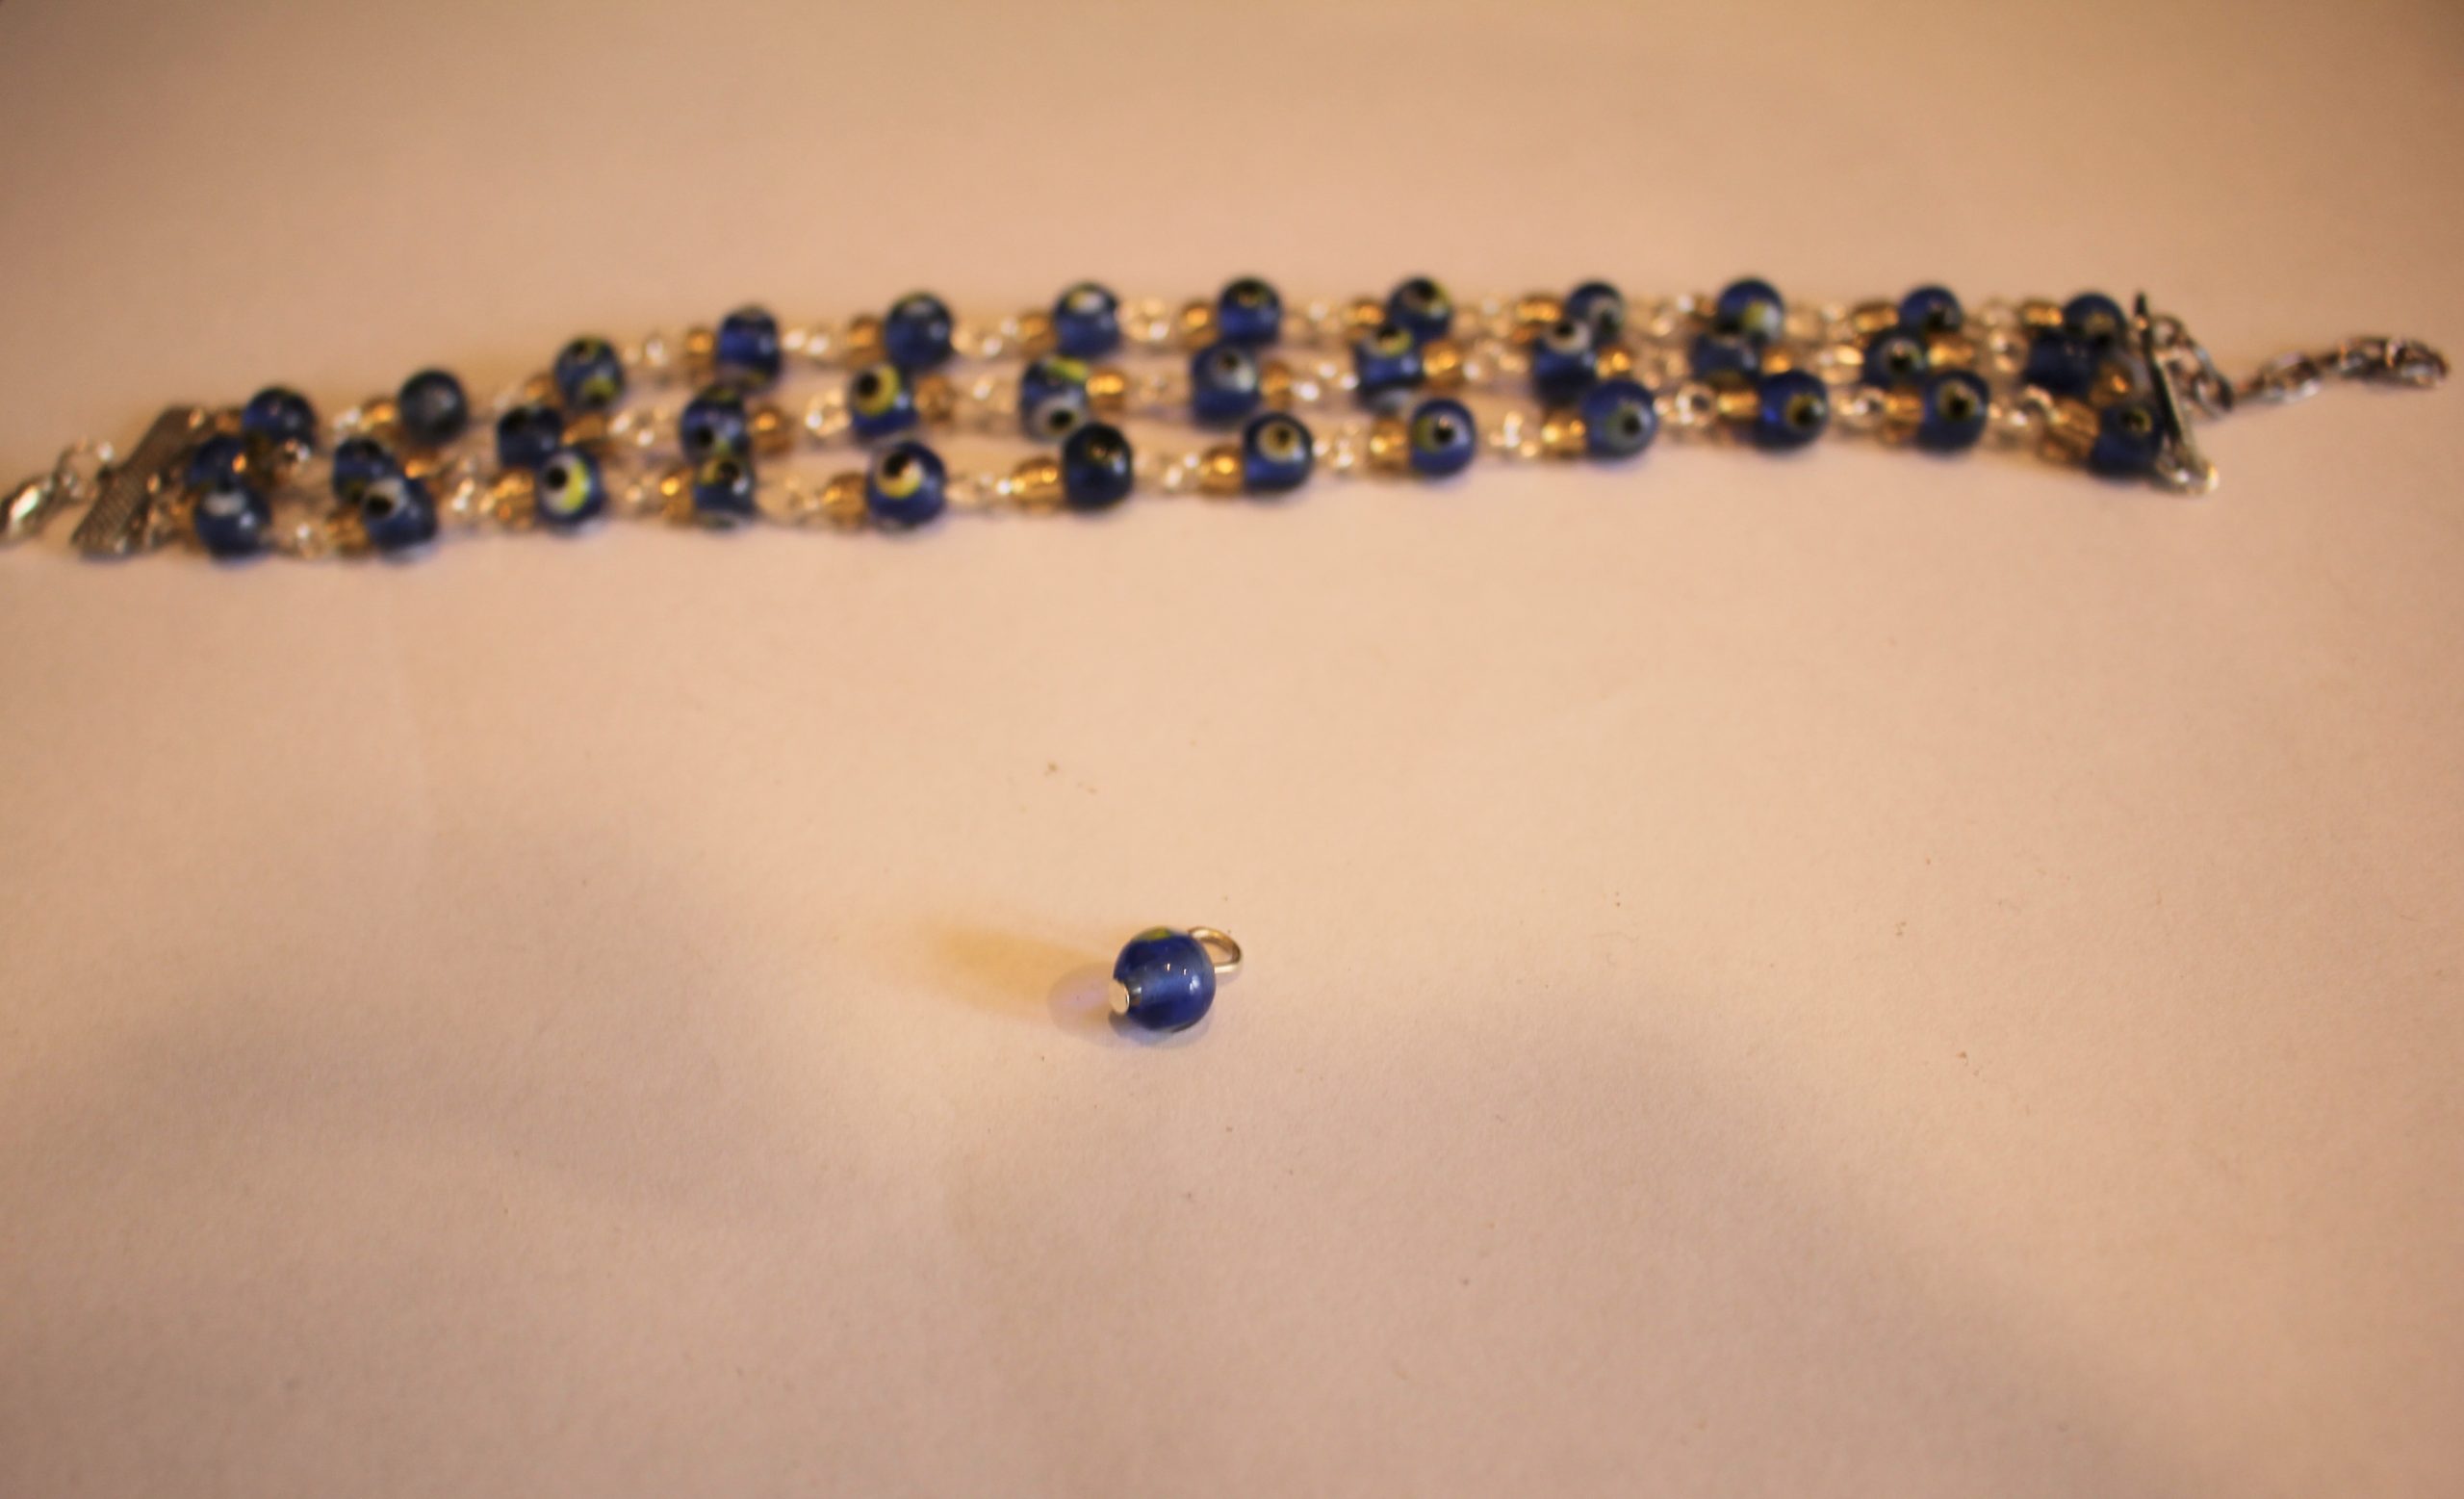
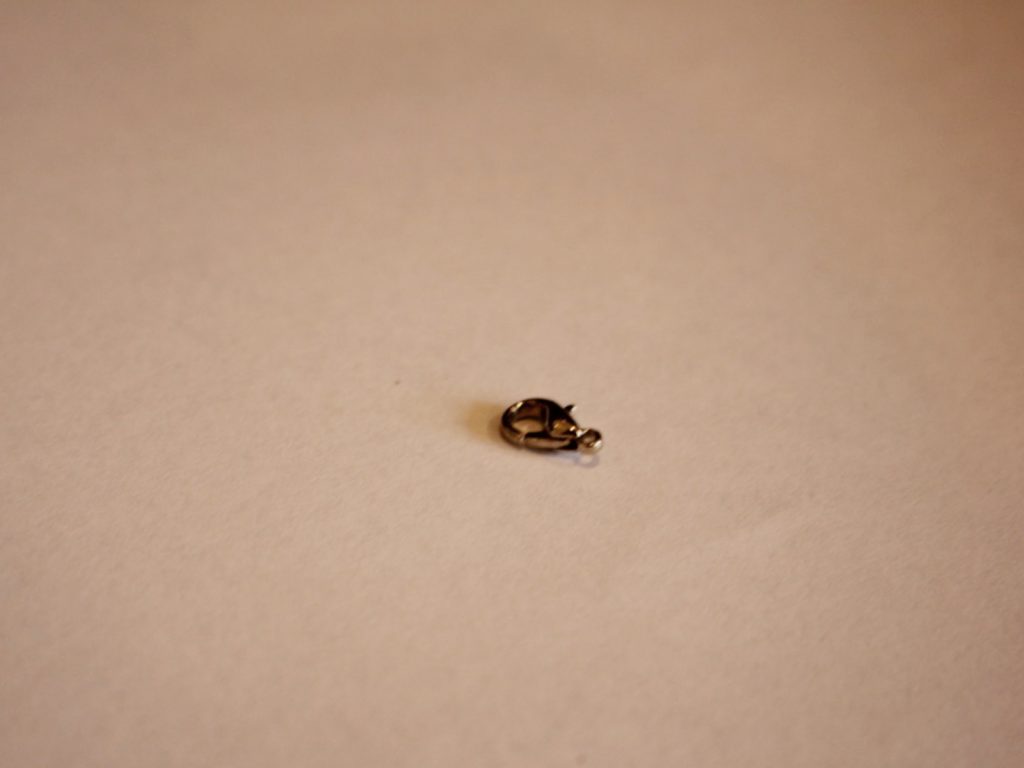
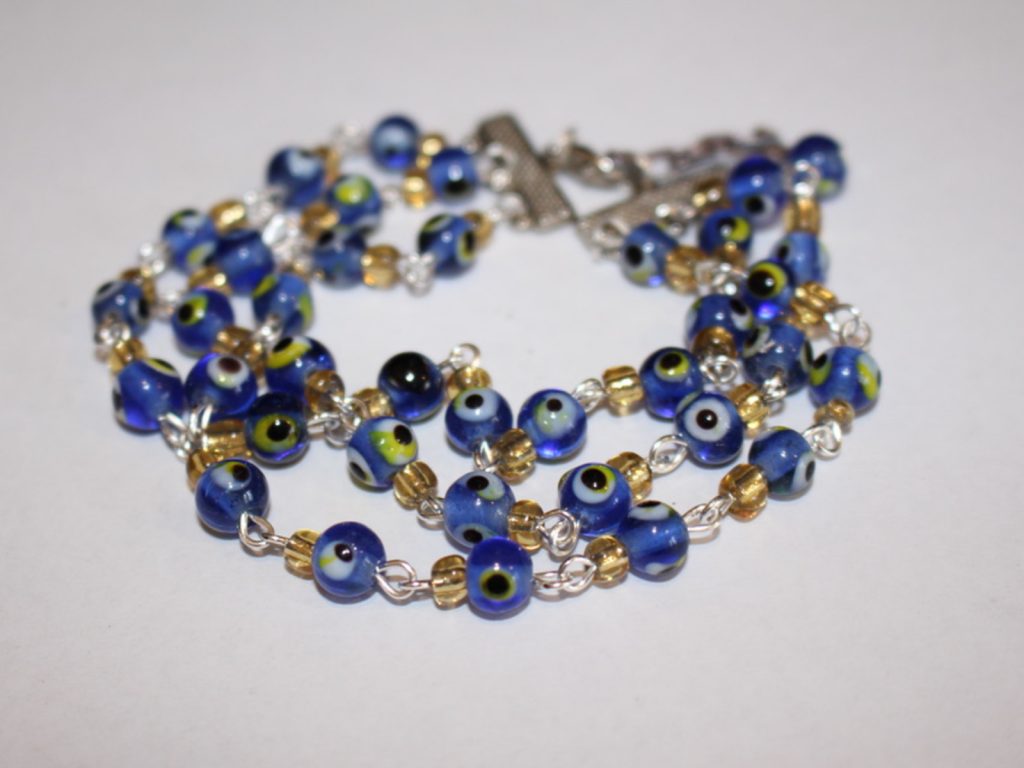
9: Beads. I used a mix of glass evil eye beads and yellow e-beads.


Find some beads for crafting here:
Follow these steps to make your three-in-one stacked chain bracelet:
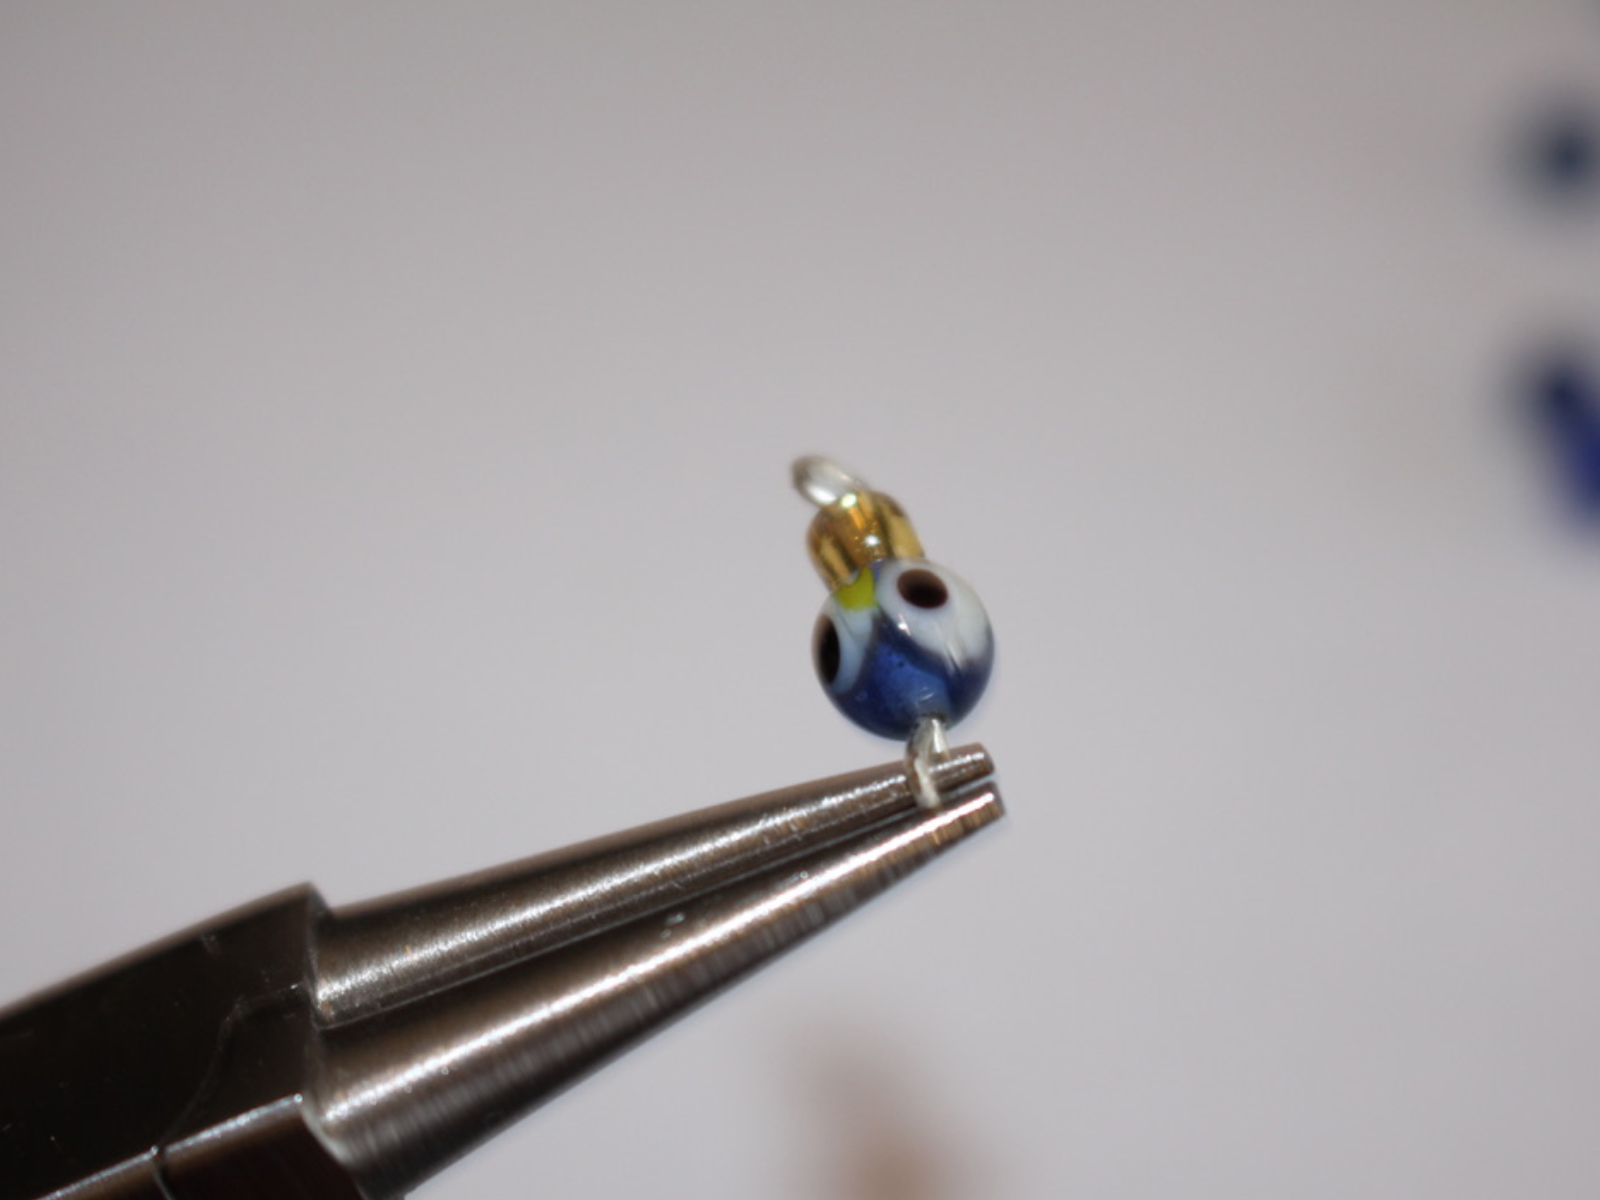
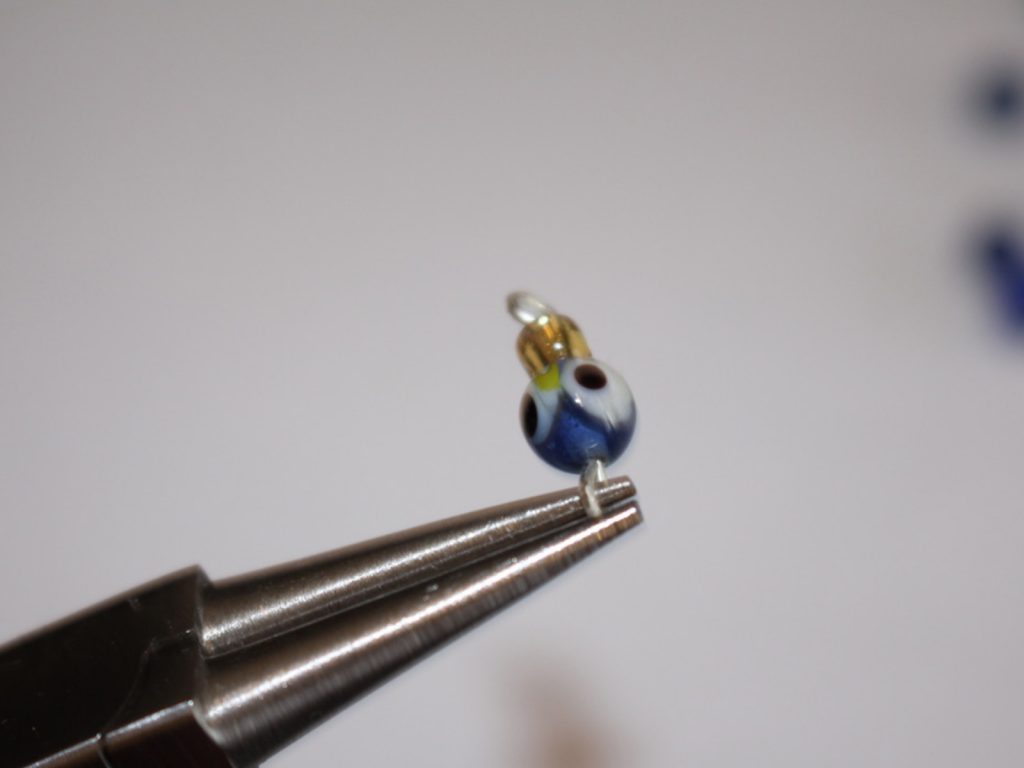
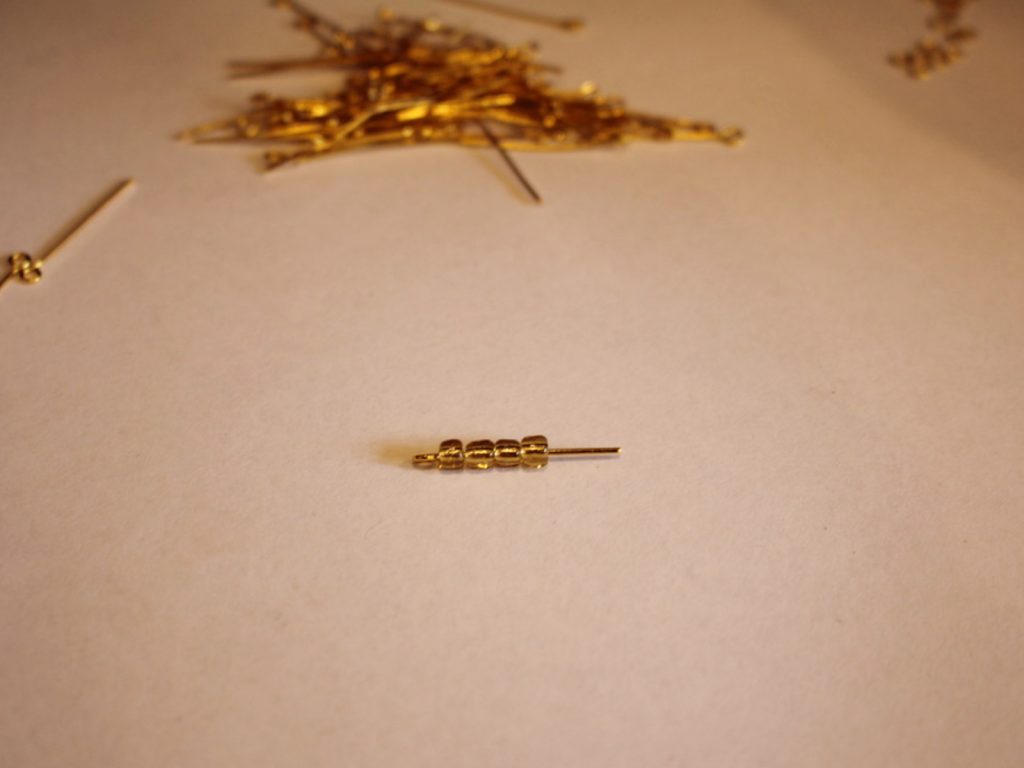
1: Take one of the eye pins and add beads.
2: Bend the end of the pin to form an angle with the beaded section.

3: Create a loop at the top of the pin using your round nose pliers to secure the beads in place.
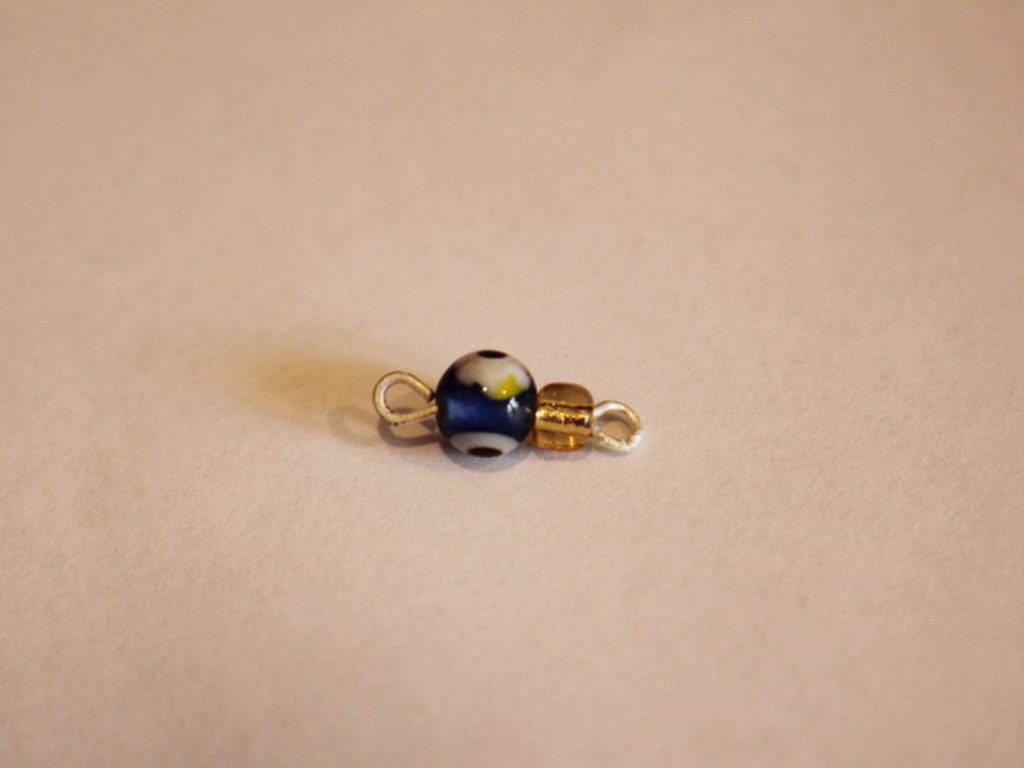
4: Repeat steps 1-3 to create another beaded chain link.
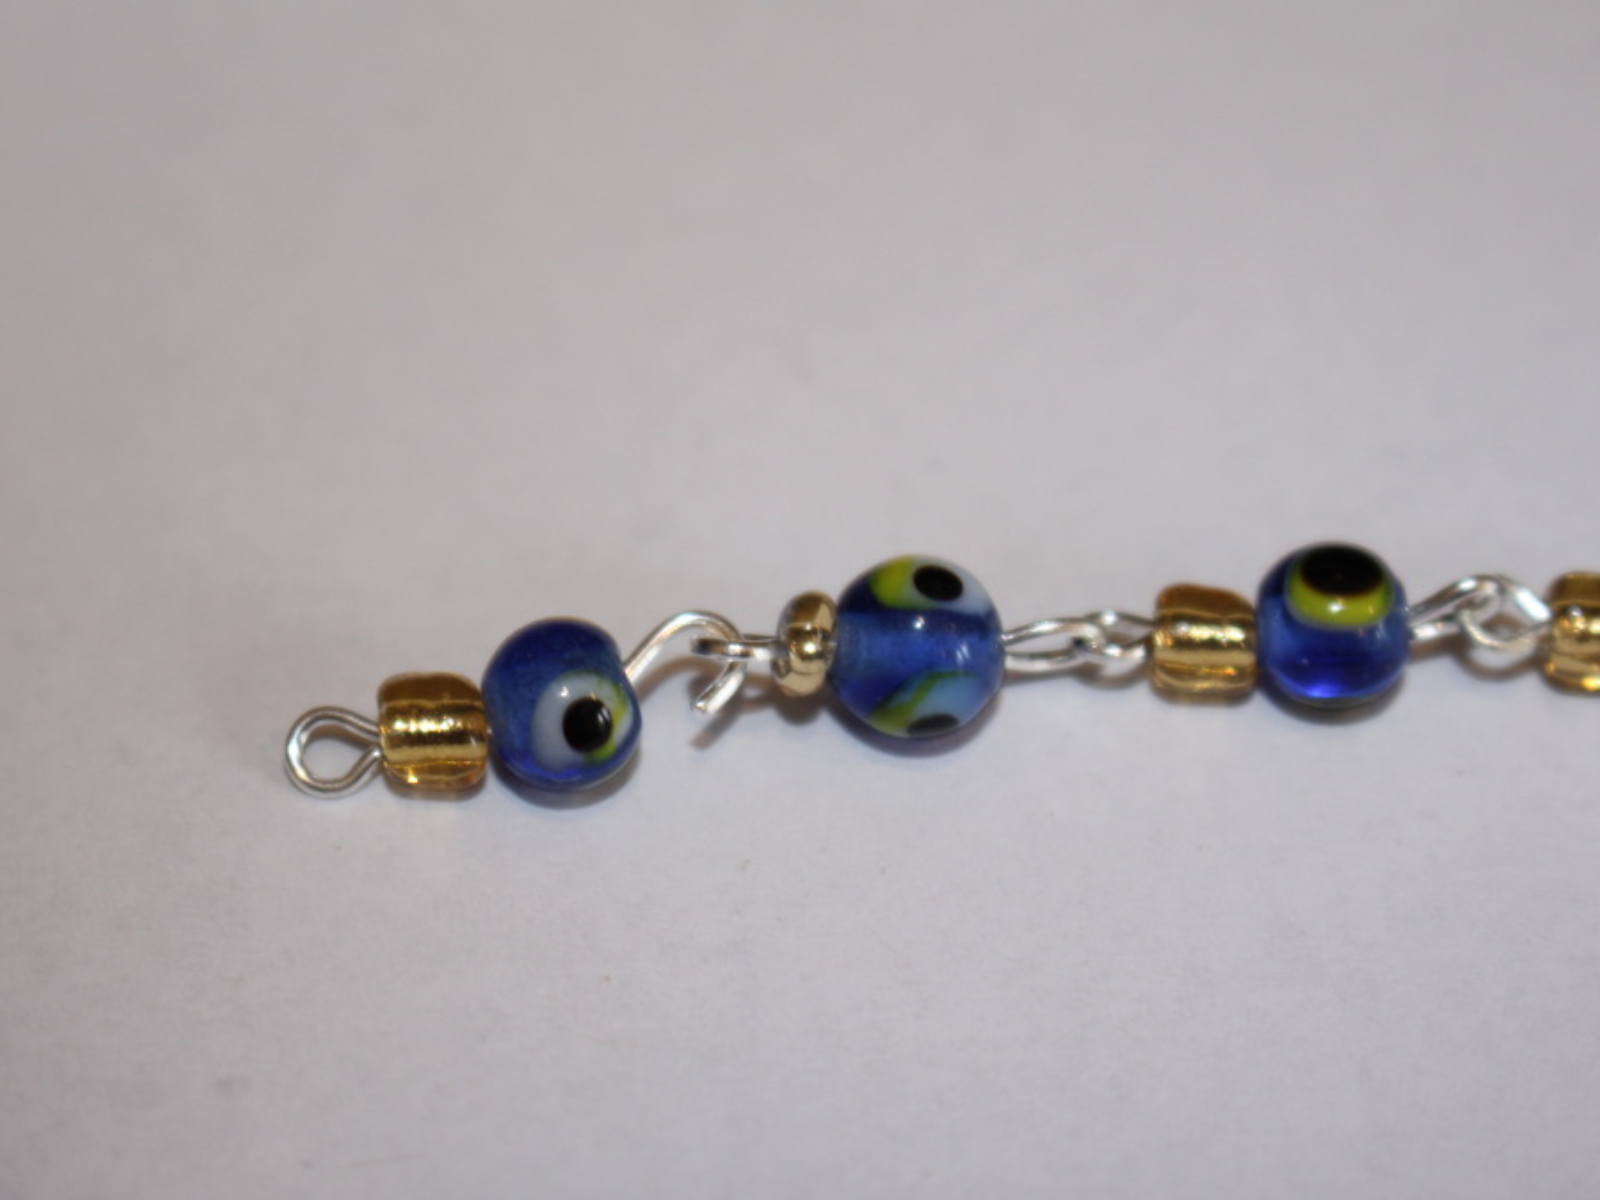
5: Attach the two beaded links together.
6: Repeat steps 1-5 until you have a chain long enough to fit your wrist, make it one link shorter than you think you’ll need, the charm connectors will add extra length to your finished bracelet.


7: Make another two chains in the same way.

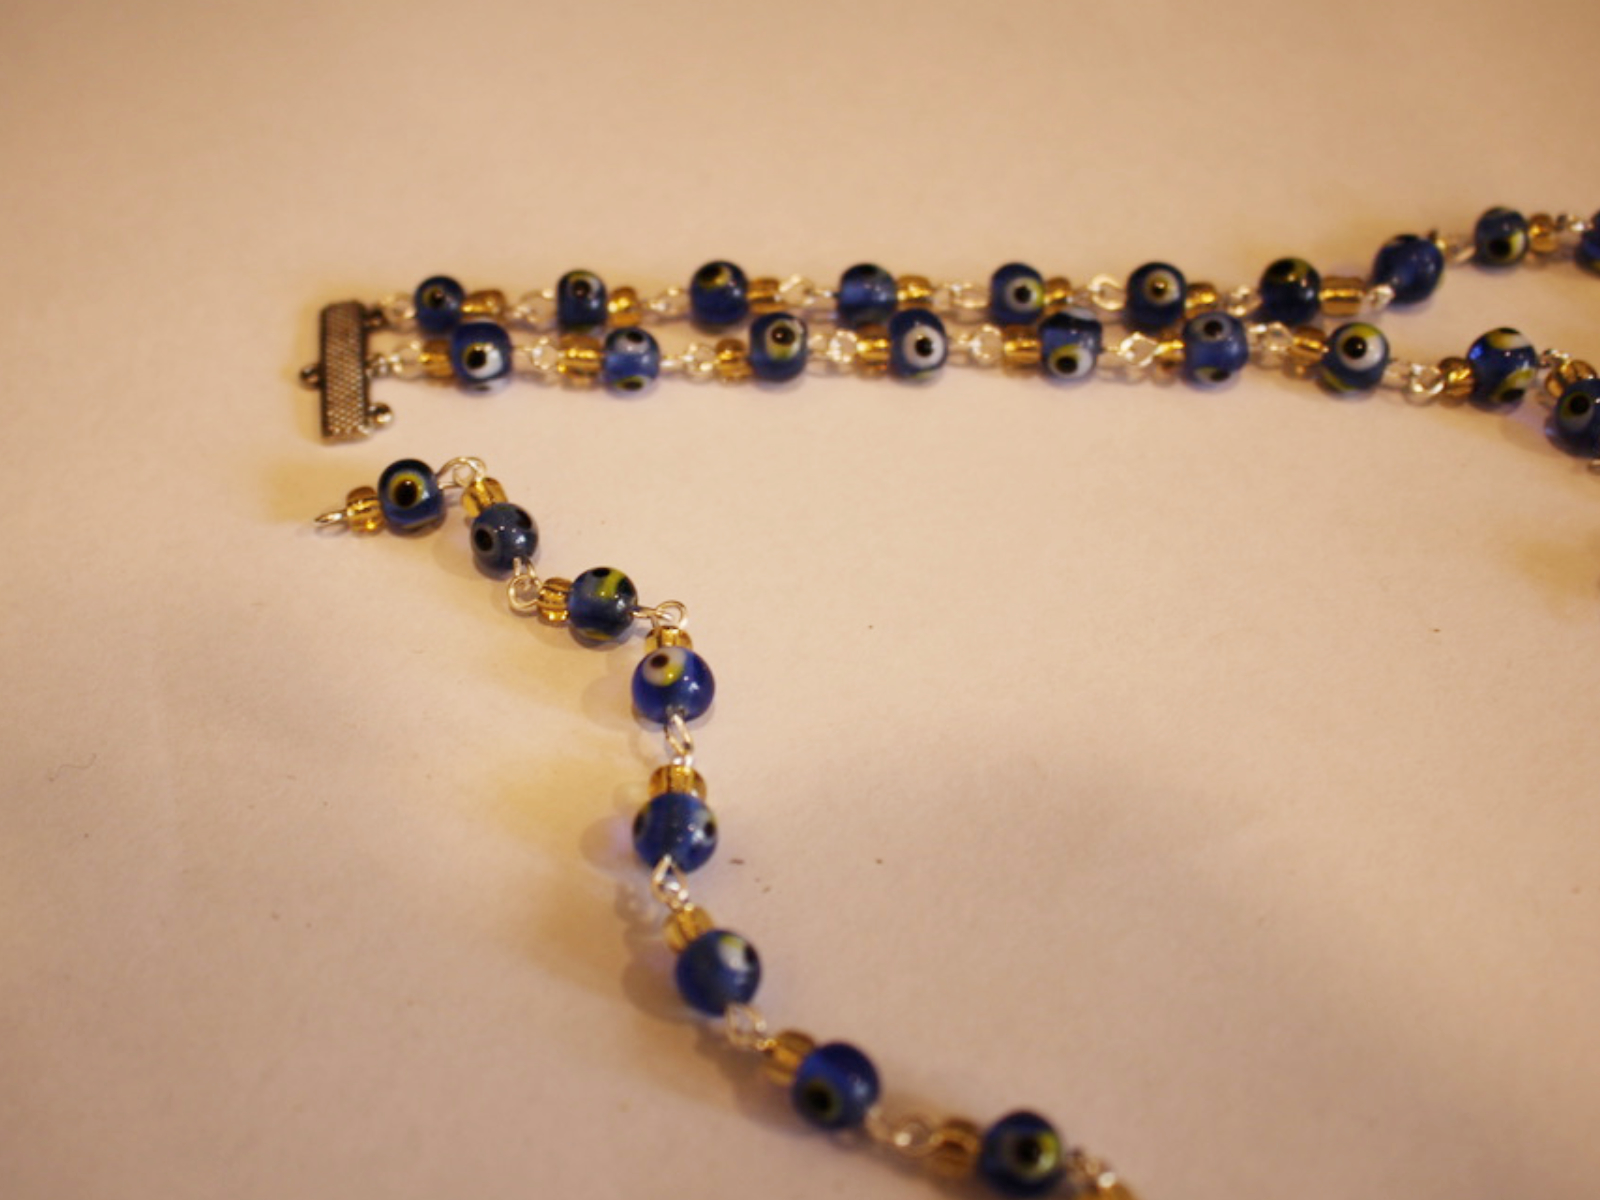
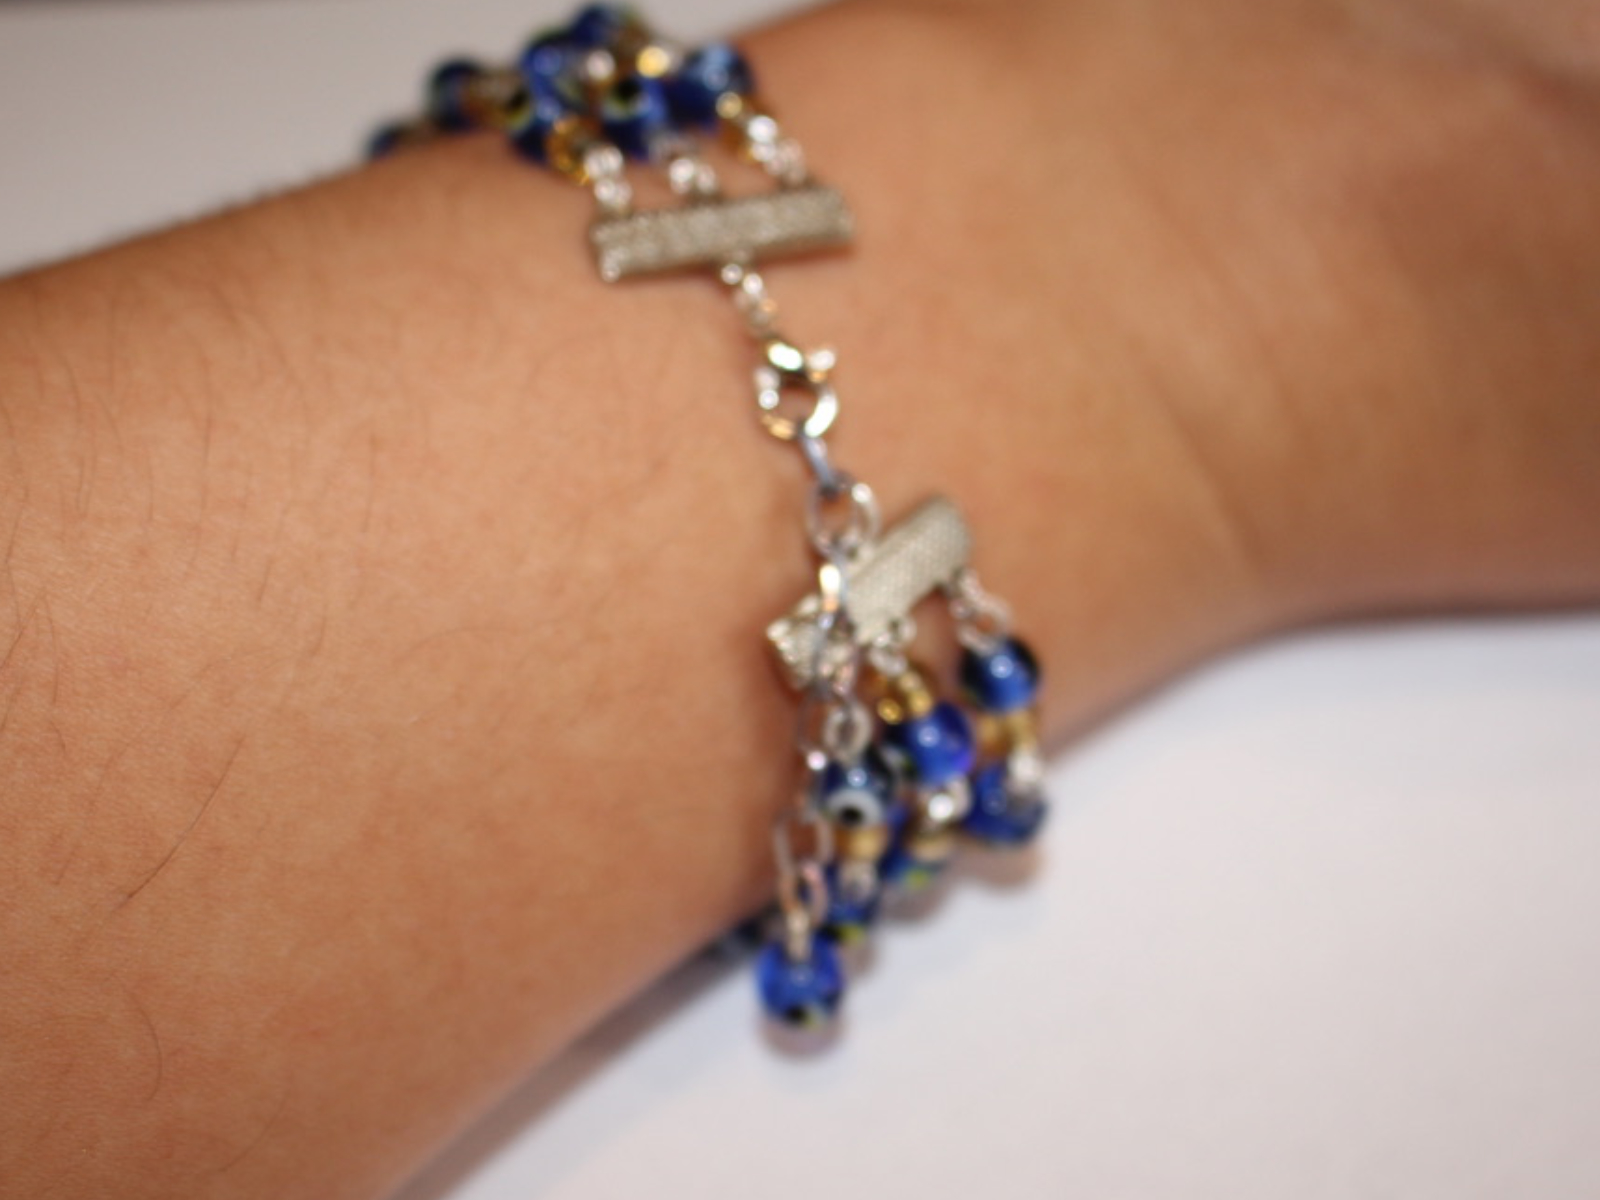
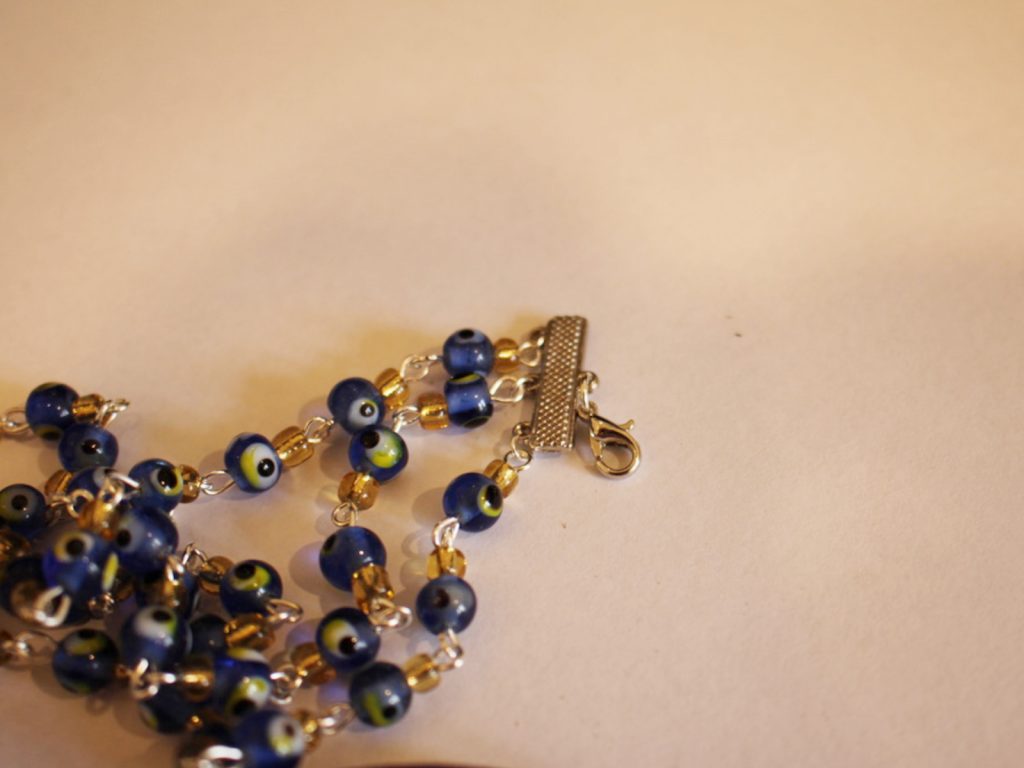
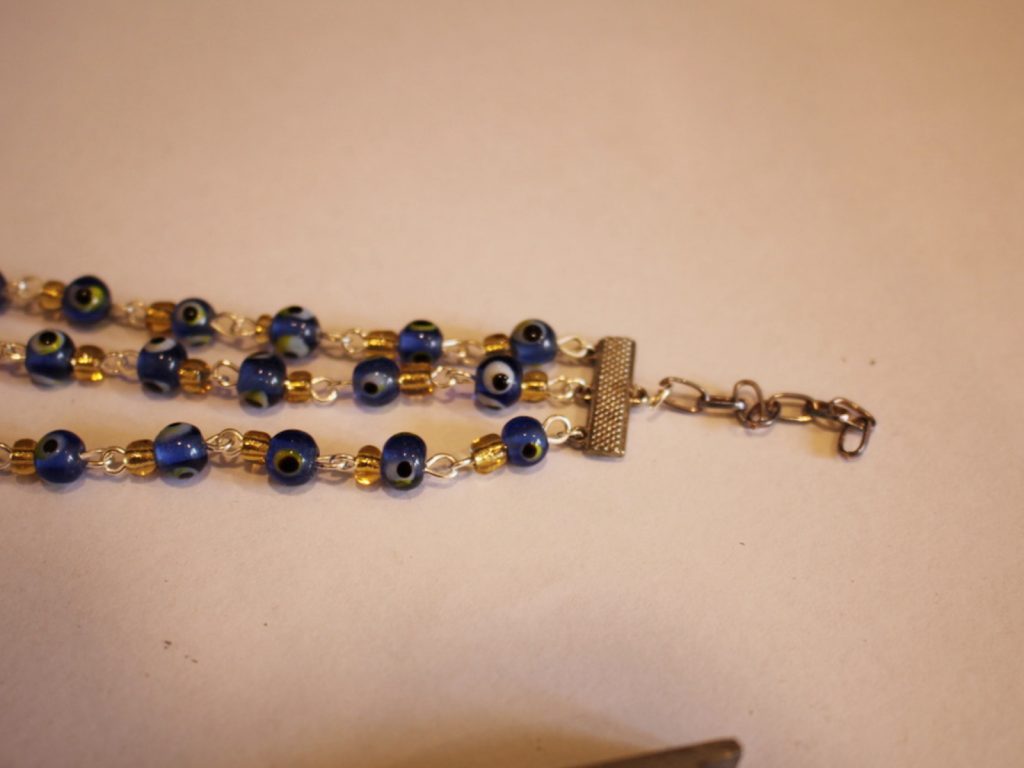
8: Attach each of the chains to one of the charm connectors using three of the small jump rings.


9: Attach the other end of the chains to the other charm connector using the remaining three small jump rings.

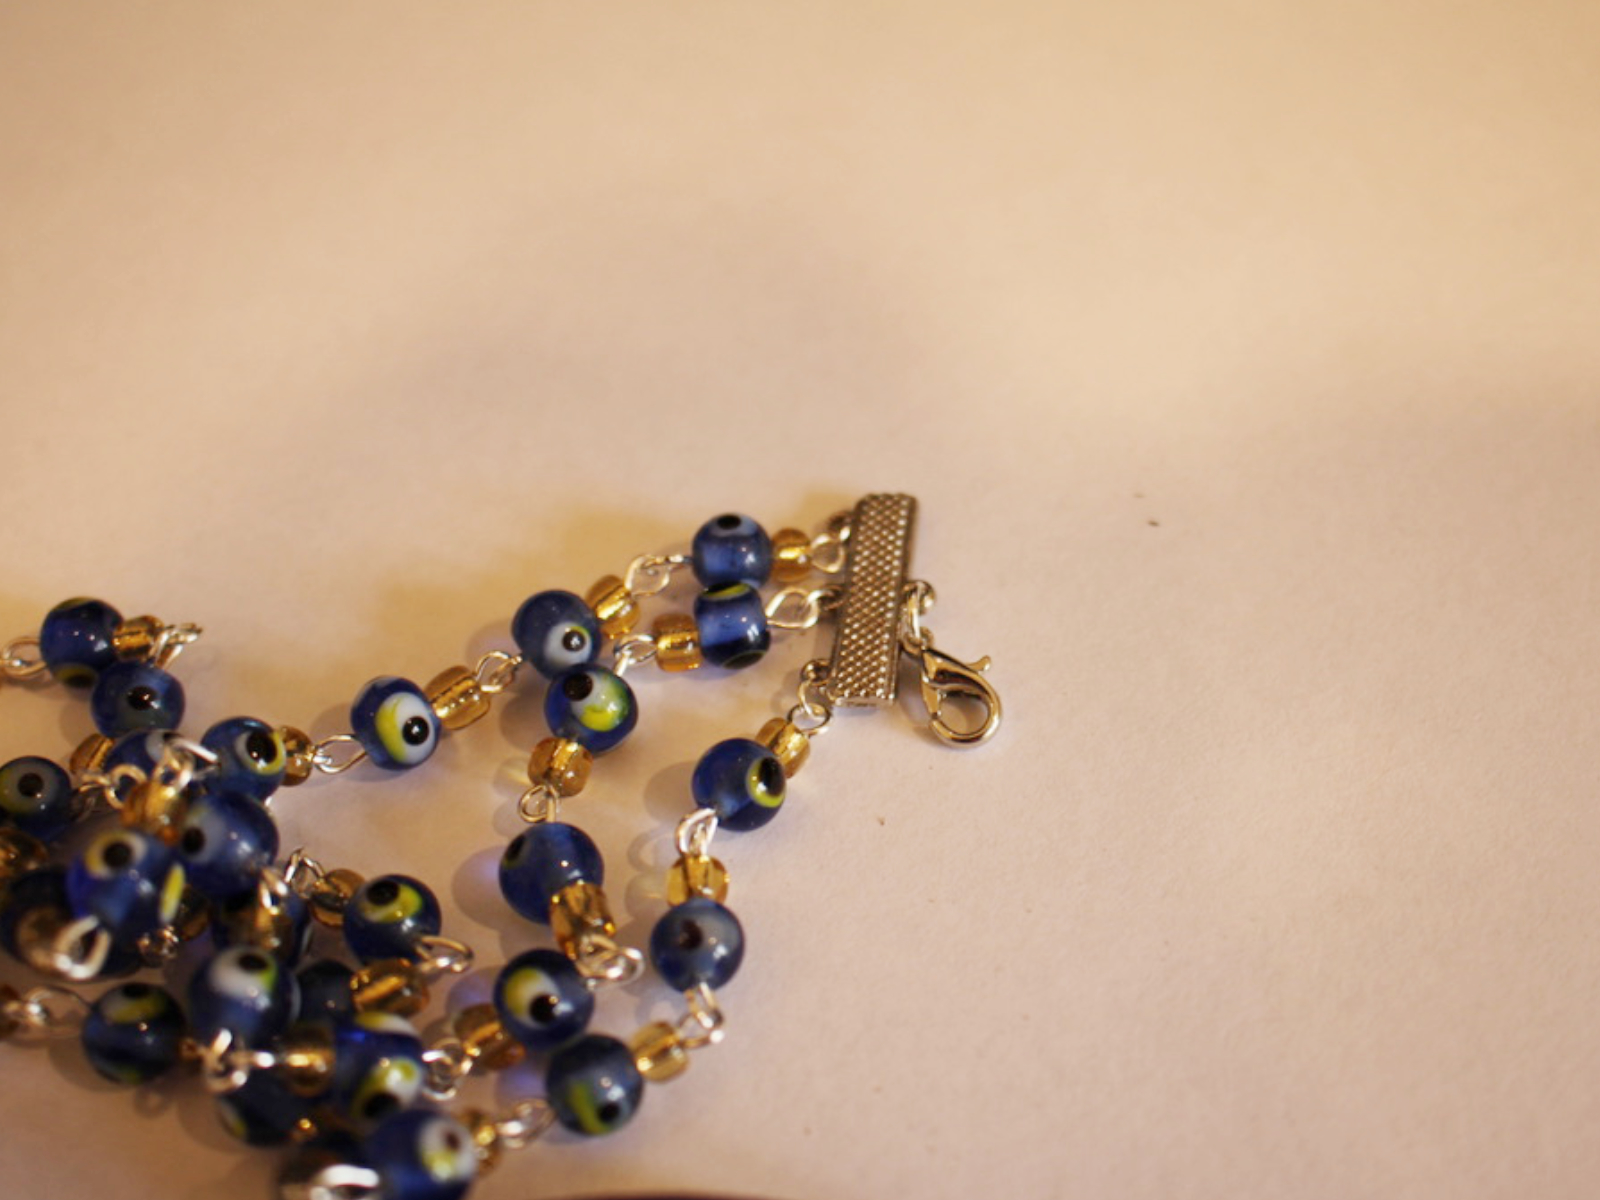
10: Add A jump ring to one side of the bracelet and attach the lobster clasp.

11: Add another jump ring to the other side and attach the small piece of chain.
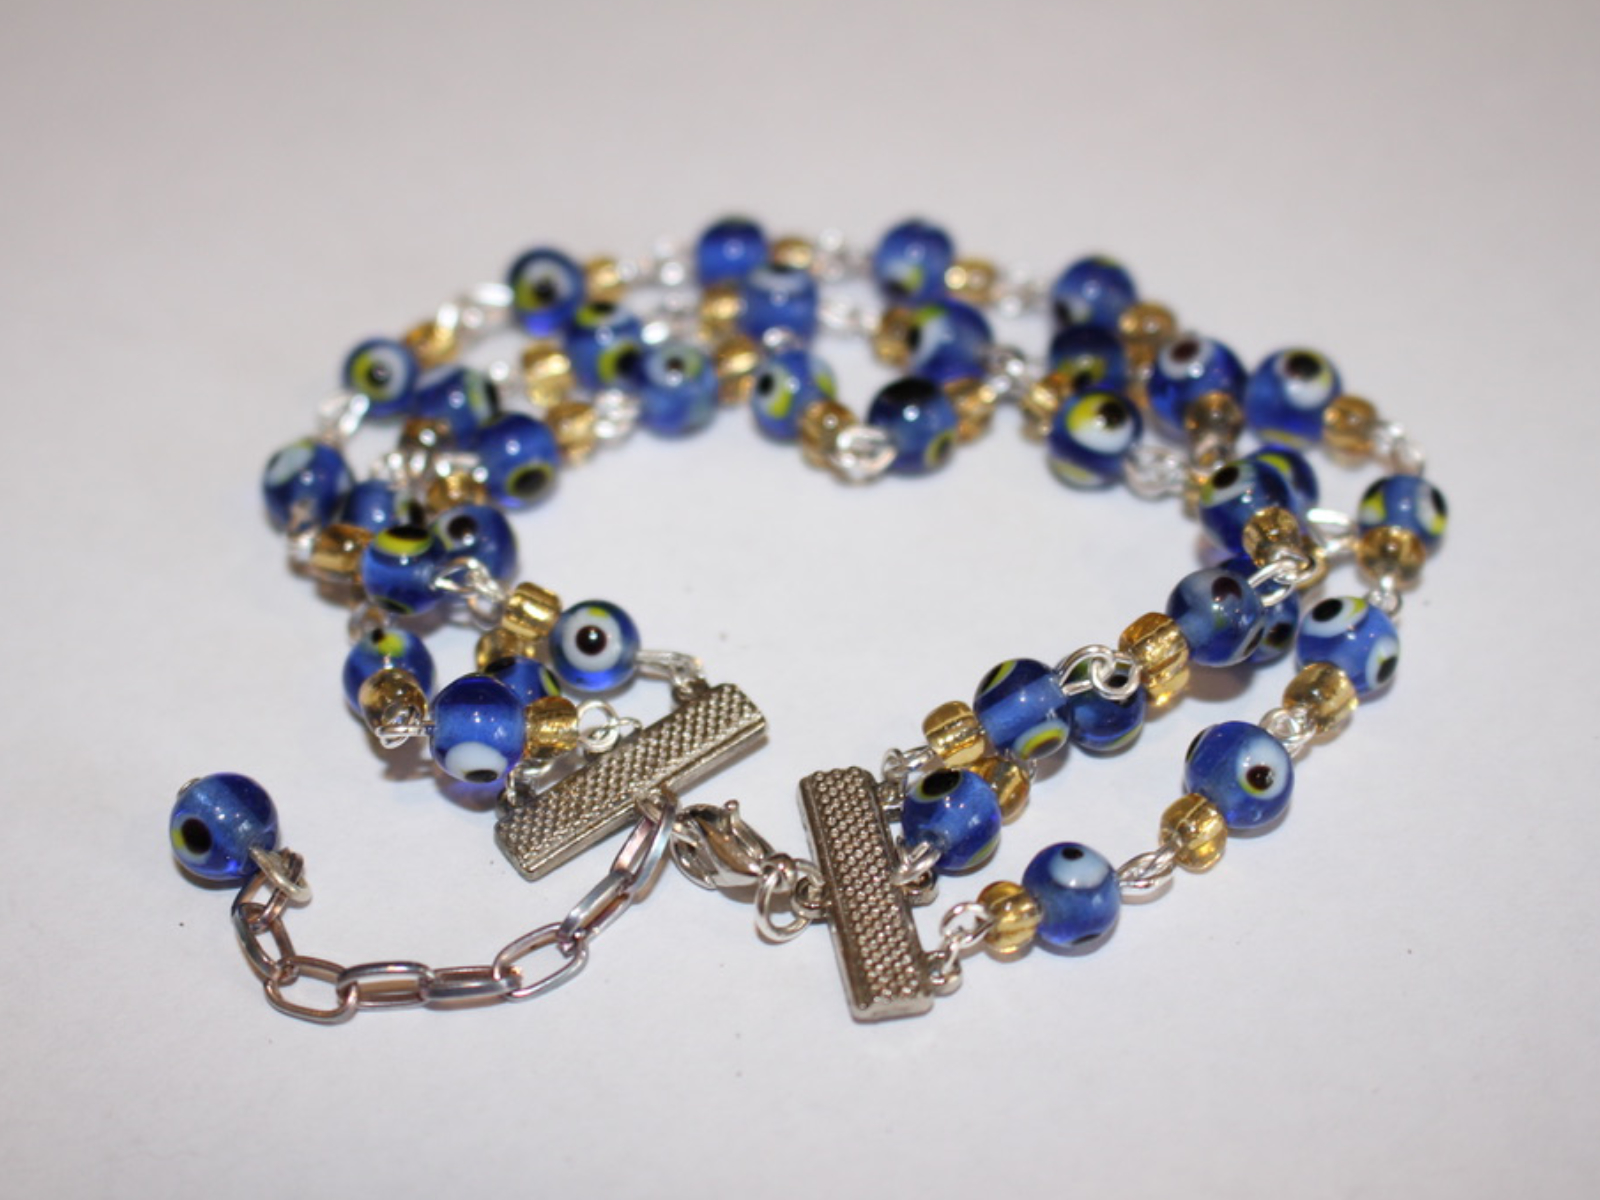
12: Add one more bead to the head pin and create a loop at the top as you did in step 3.

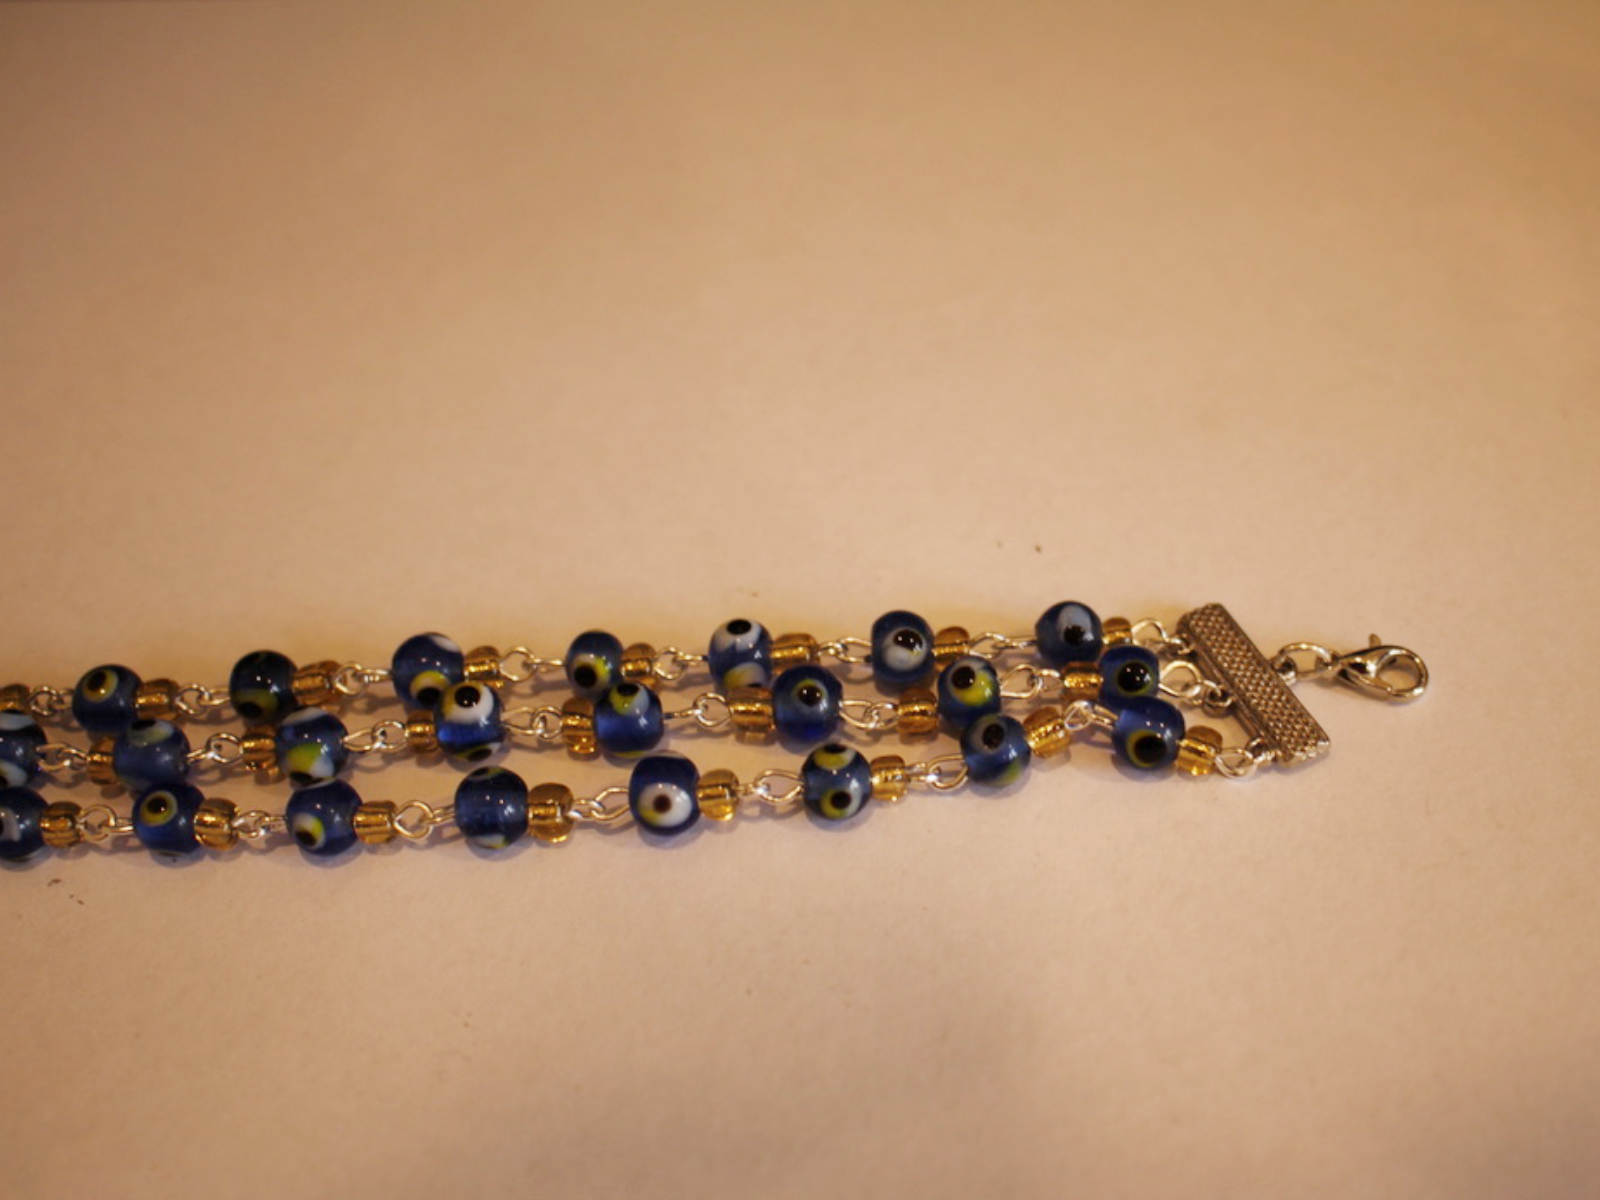
13: Attach the charm you just made to the end of the small chain to finish your bracelet off!


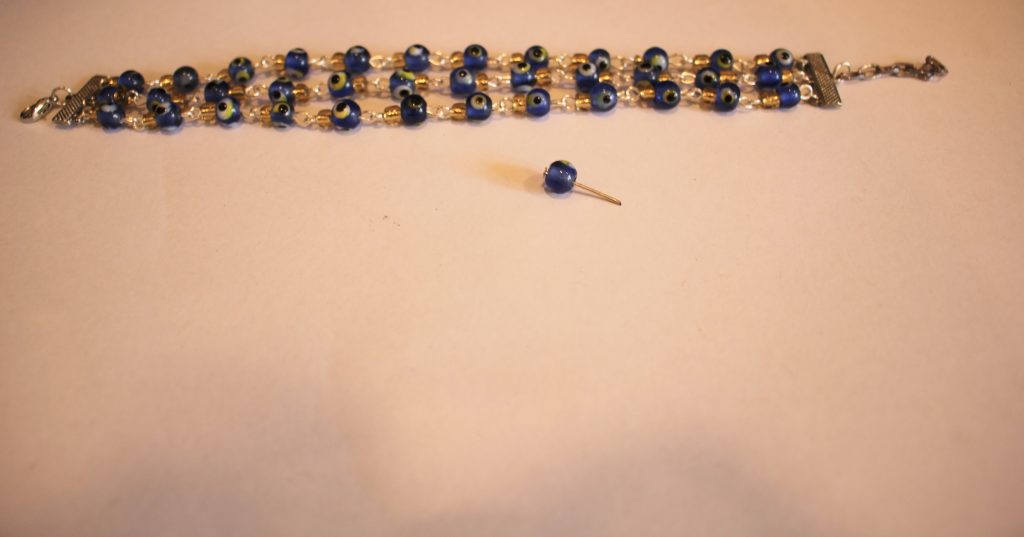
So, now your triple chain bracelet stack is finished and ready to wear! What kind of beads will you use in your design? I think that this bracelet would look great with three different types of gemstone beads layered on top of each other. Gemstone chip beads would be perfect for this DIY. You can buy some


And here are some other multi-strand bracelet tutorials you can follow:
-
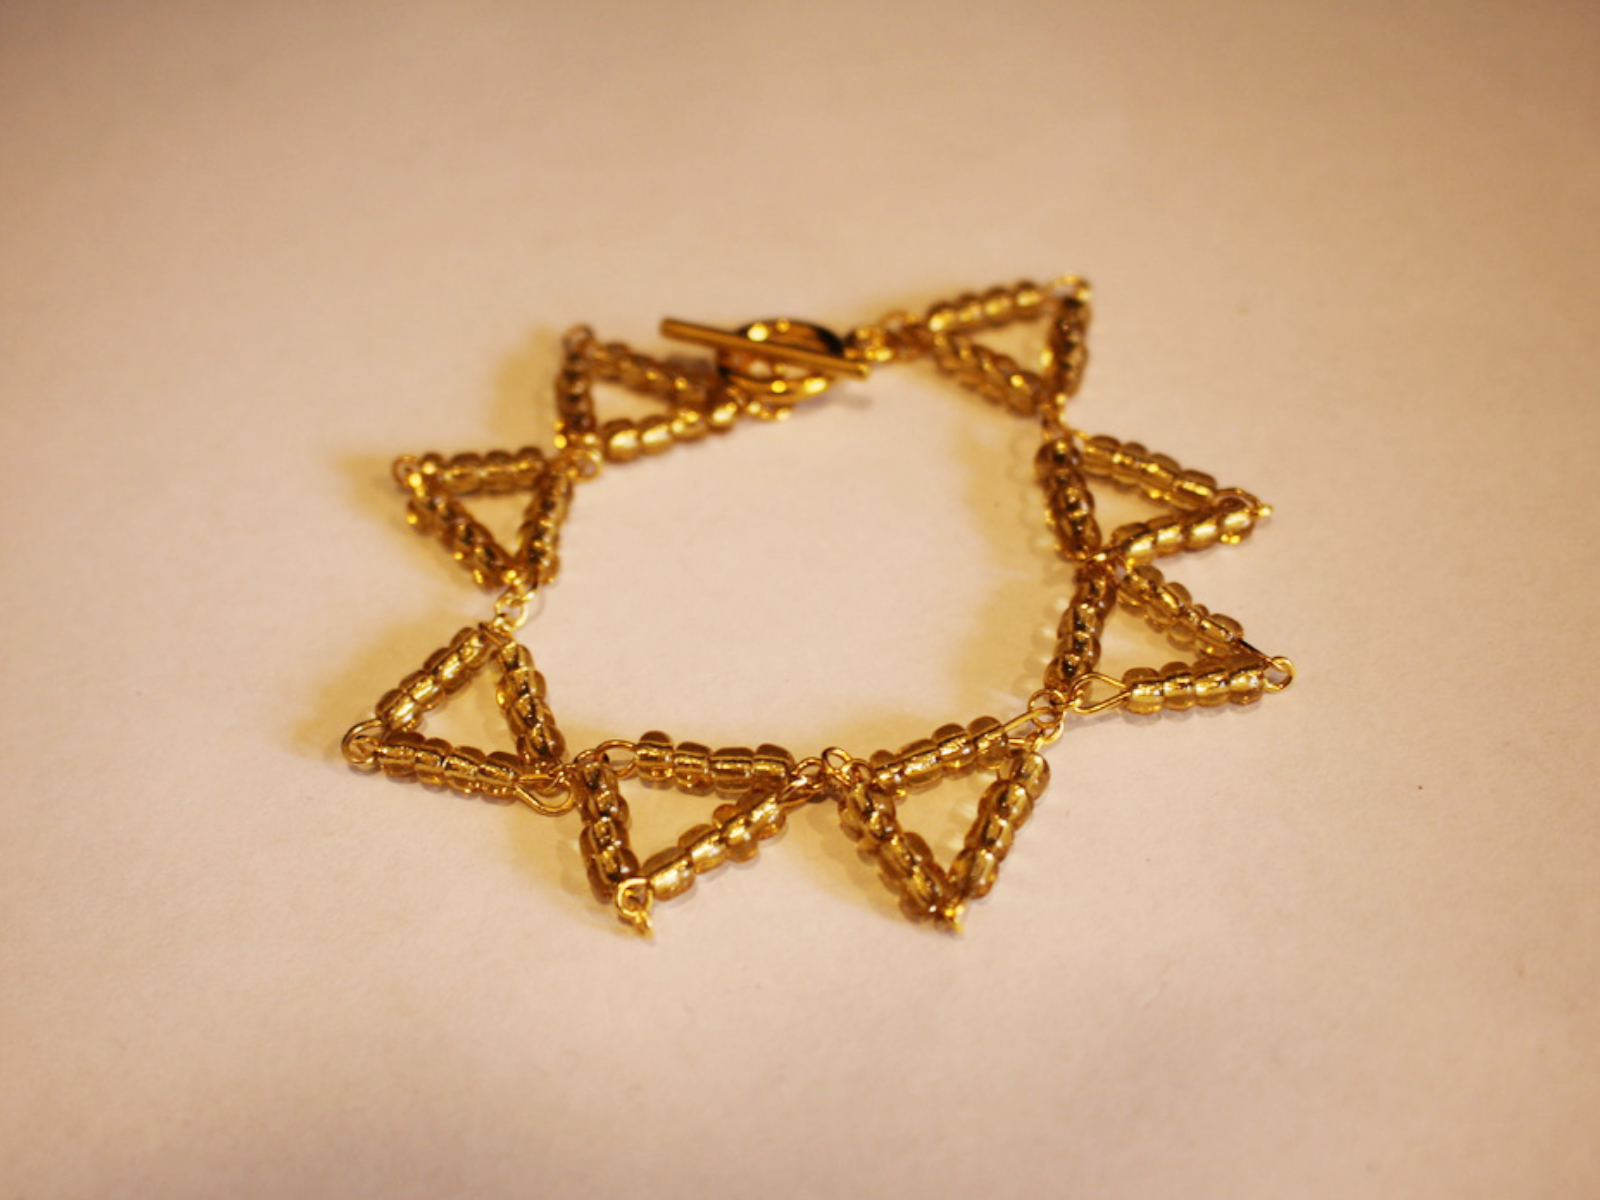
How to make a bunting inspired bracelet by making triangle shapes, so cute!
I was really excited when I came up with this bracelet design! It uses eye pins to make a series of triangles that are linked together to make wrist bunting! I love how there are lots of different ways you can use findings to make unique and sculptural pieces of jewelry. Please note that this tutorial contains affiliate links. This design might look complicated but its actually pretty easy bracelet making!
You’ll need these tools and materials to make this cute triangle bracelet:
1: Pliers. I used round nose pliers and flat nose pliers.
Here are some you can add to your jewelers tool kit:
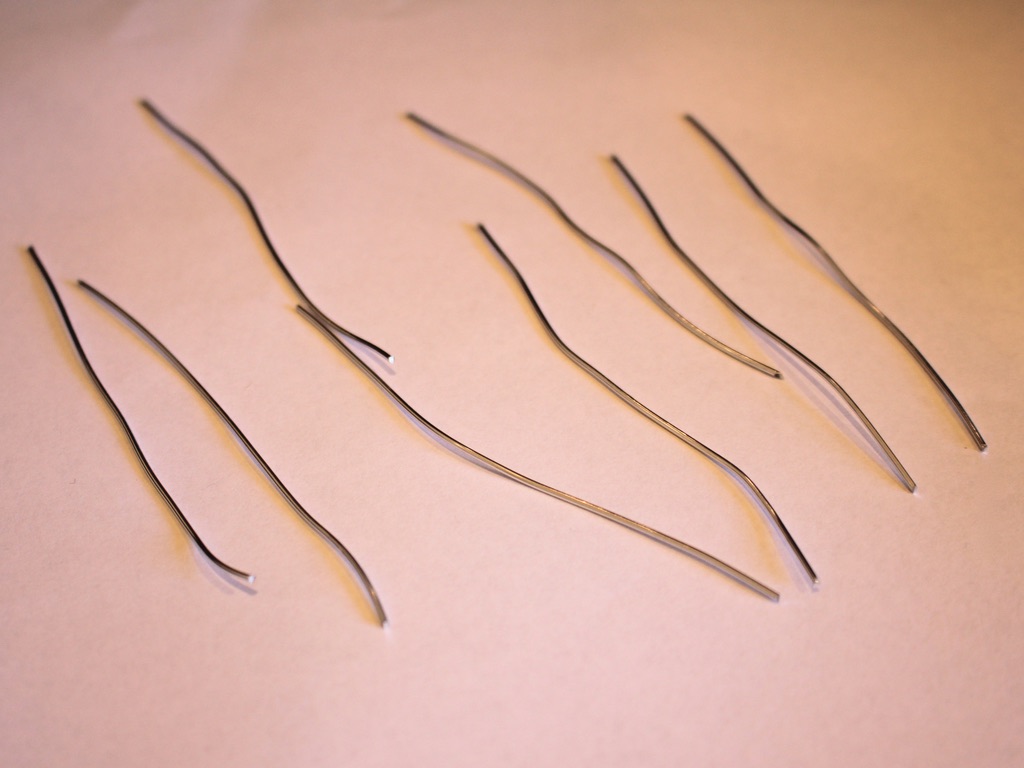
2: Eye pins. I used a bunch of eye pins all the same length, 24 in total but you may need more or less depending on the size of your bracelet. I used gold tone for this design.
Here are some for your bracelet DIY:
3: Jump rings. I used 7 small jump rings in a gold tone. These were used to attach the triangles together.

4: Two larger jump rings to put the clasp onto the triangle chain.

Here’s a link to some different sized jump rings that you can add to your jewelry kit:
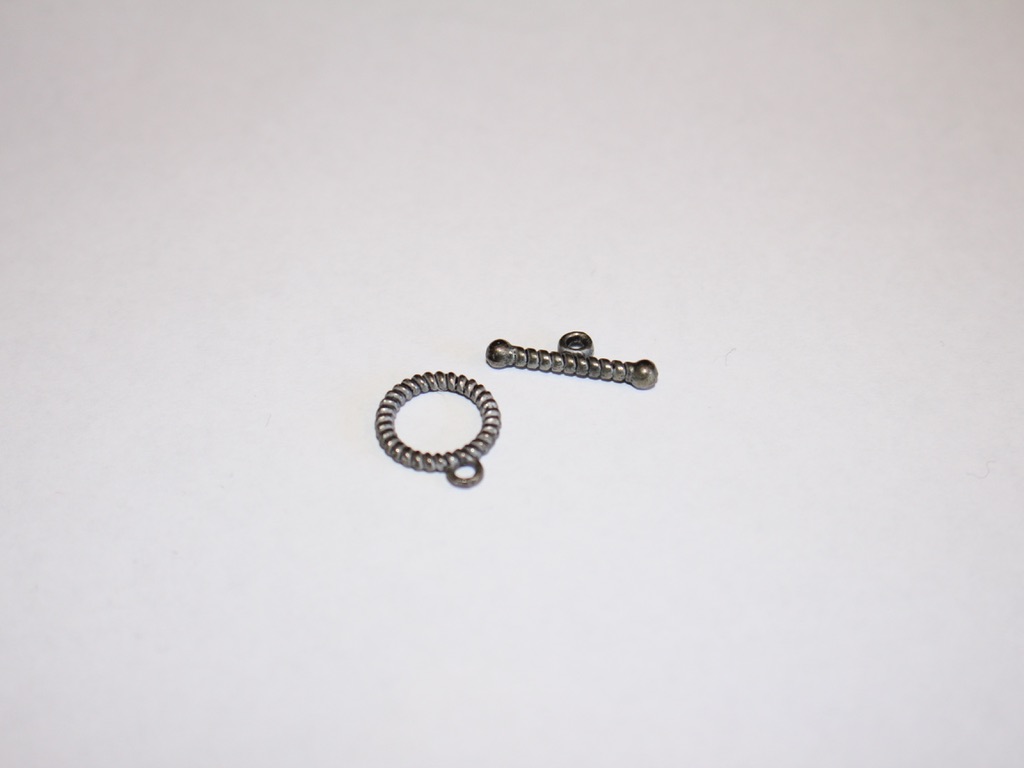
5: A toggle clasp. Mine was gold to match the rest of the hardware I used.

Check out this toggle clasp:
6: Beads. I used some yellow glass e-beads but you could use any colour.
Here are some links to beads you can use in crafting your bracelet:
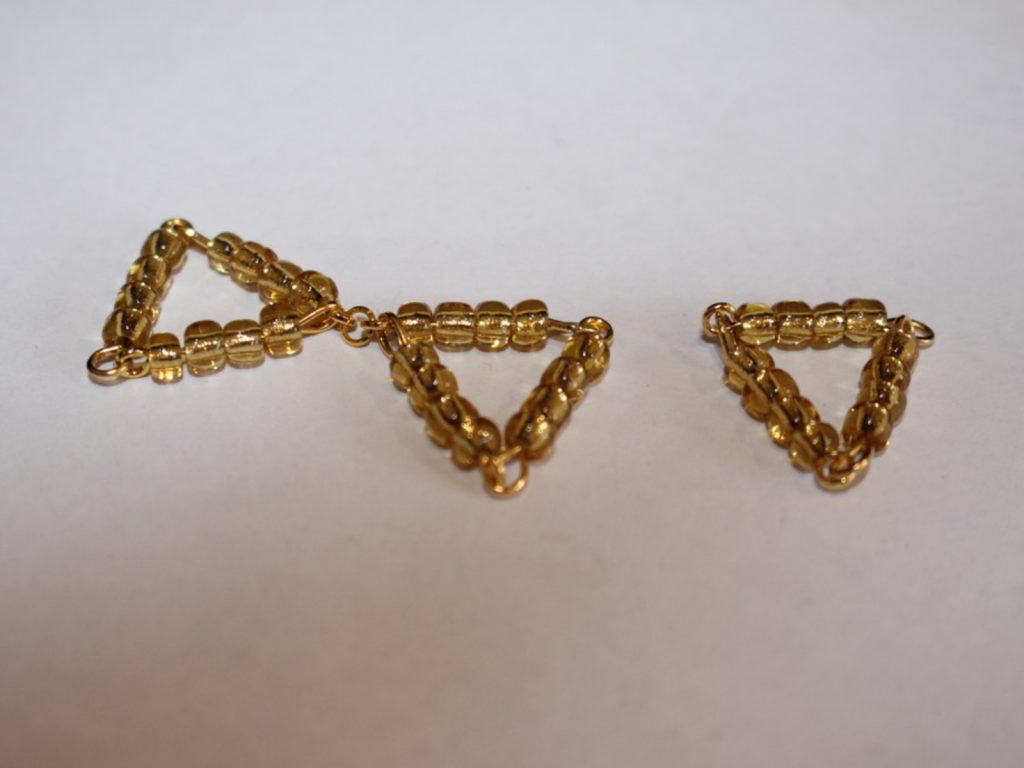
Follow these steps to make your bunting inspired triangle bracelet:
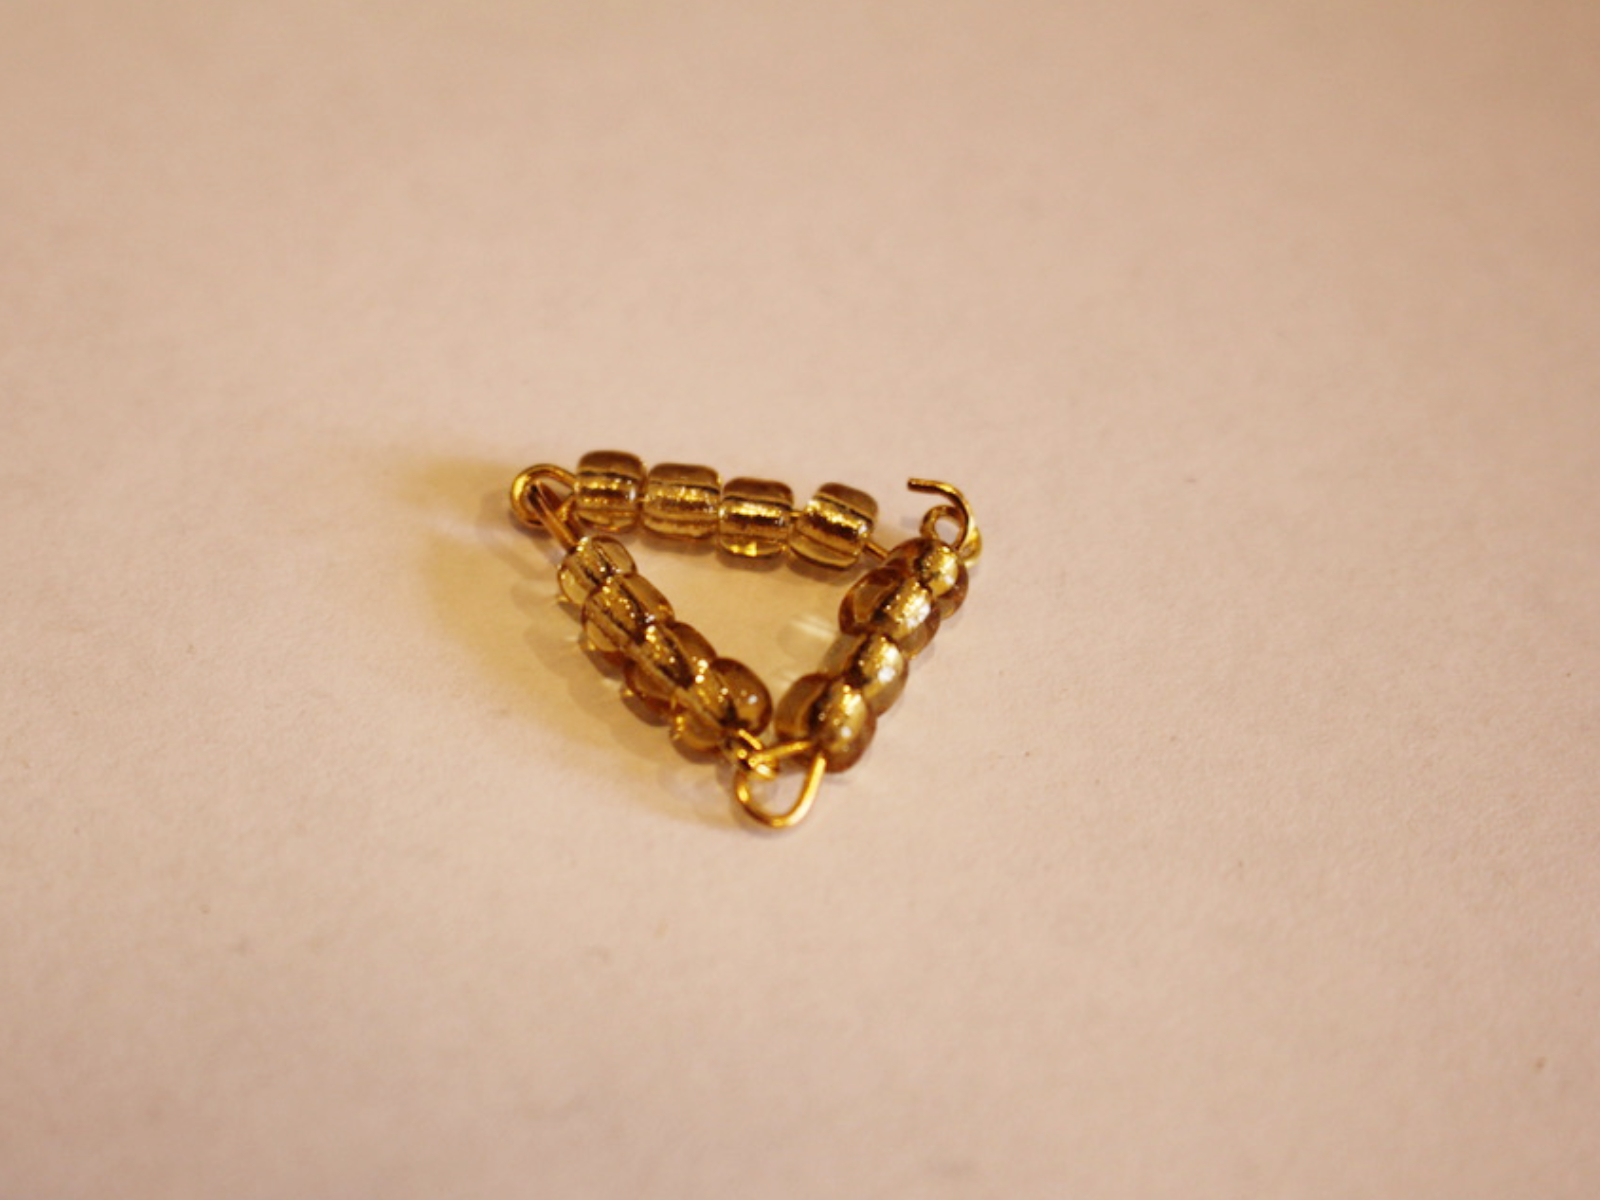
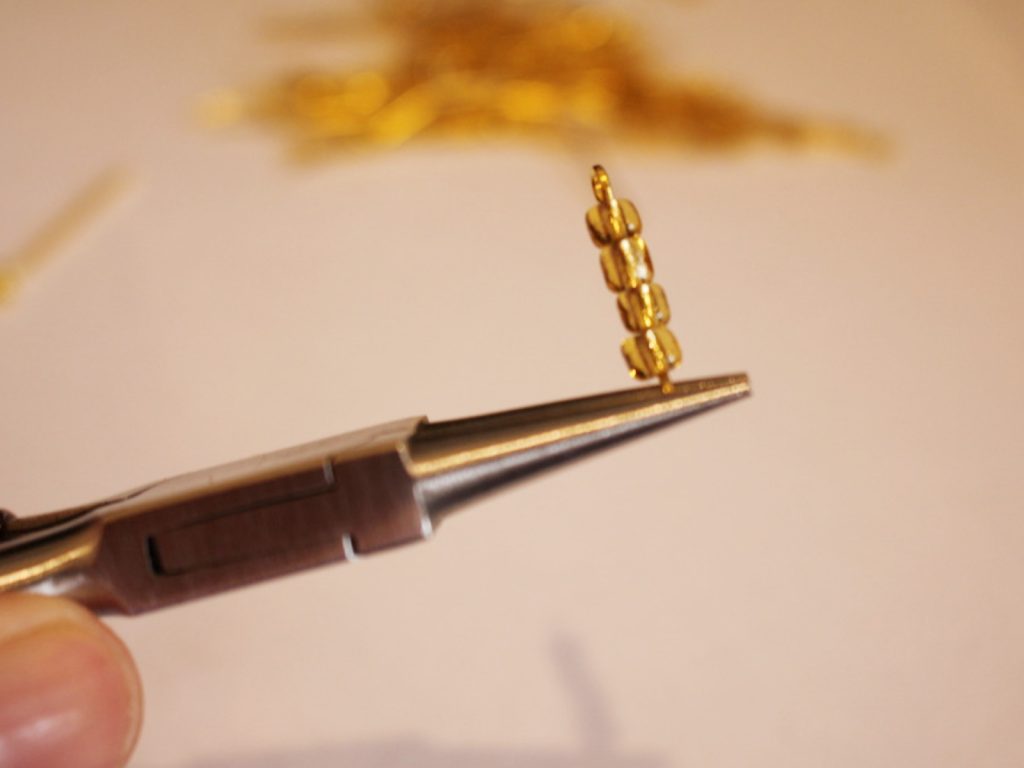
1: Take one of the eye pins and add beads until there is approximately 1cm left without beads.
2: Bend the unbeaded section so that it forms an angle to the beaded section. You can do this with your fingers if your pin is soft enough or use your pliers.

3: Bend the top of the pin around the barrel of your round nose pliers to form a loop.
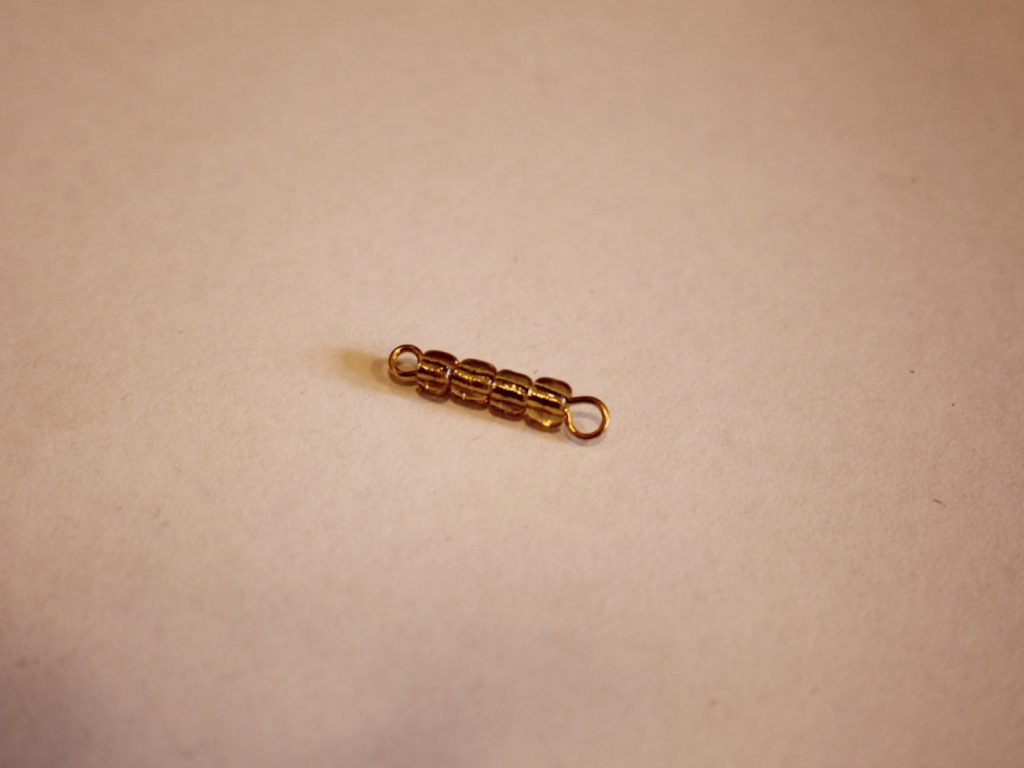
4: Repeat steps 1 to 3 for a second pin. Open one of the loops at the end of a pin and attach it to the first pin you completed. Close the loop to secure the pins together.


5: Repeat steps 1-4 for another pin.

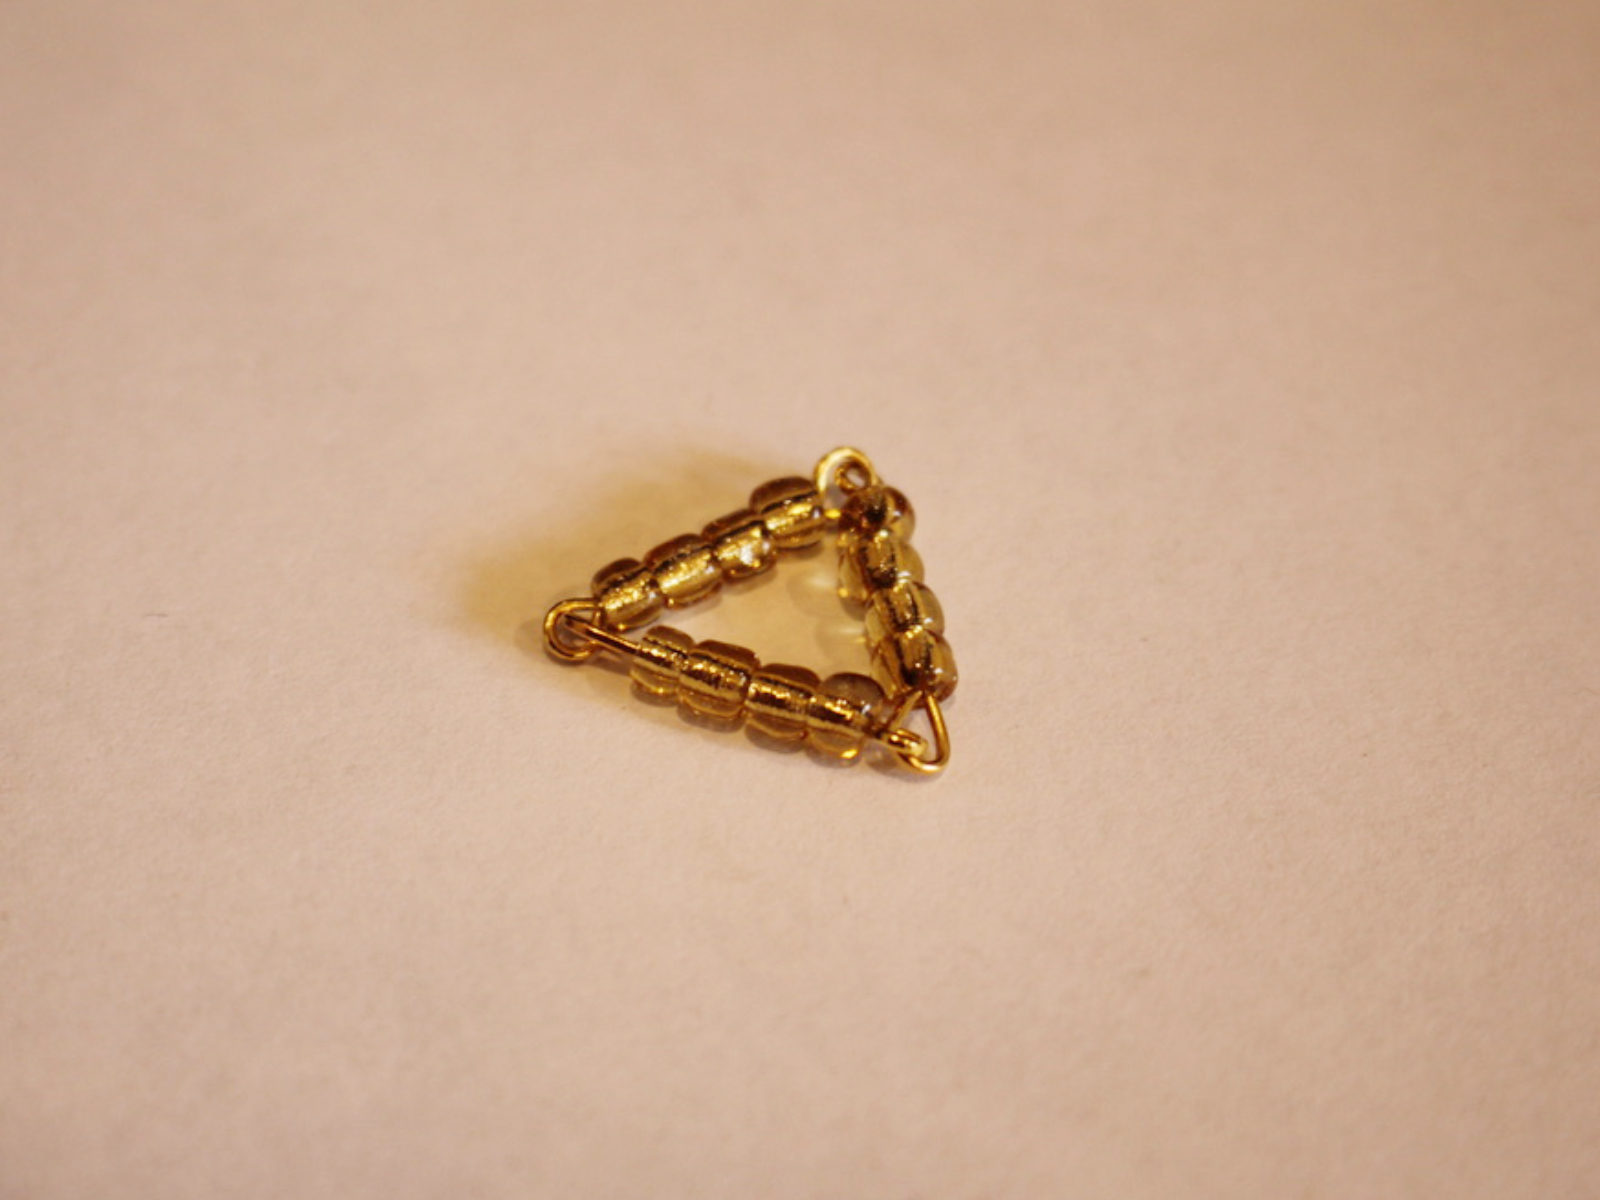
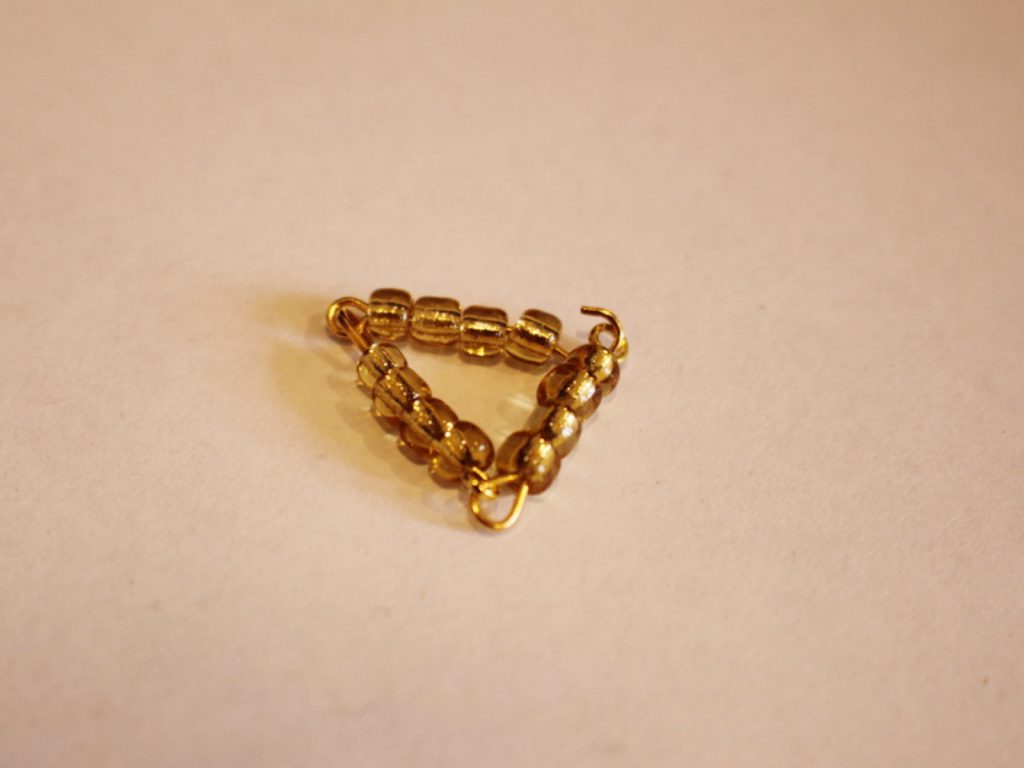
6: Take the chain you just made and open a loop at the end of one of the end pins.
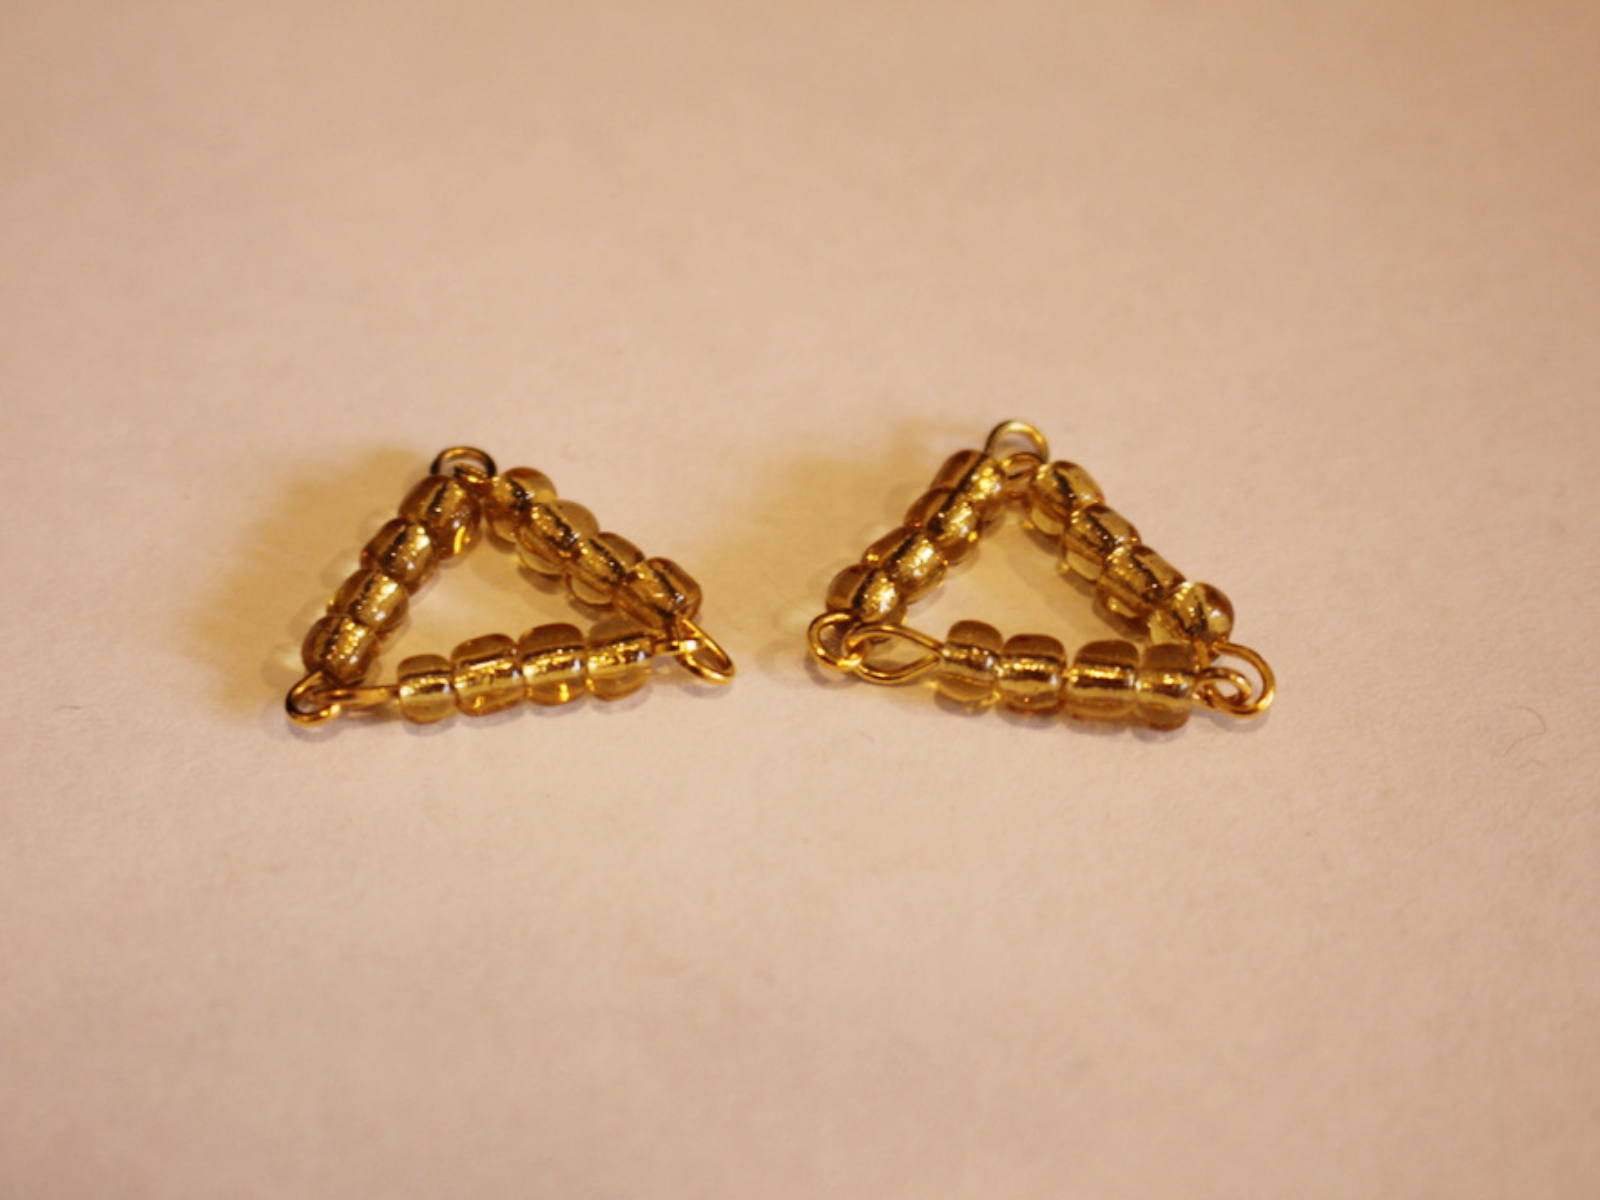
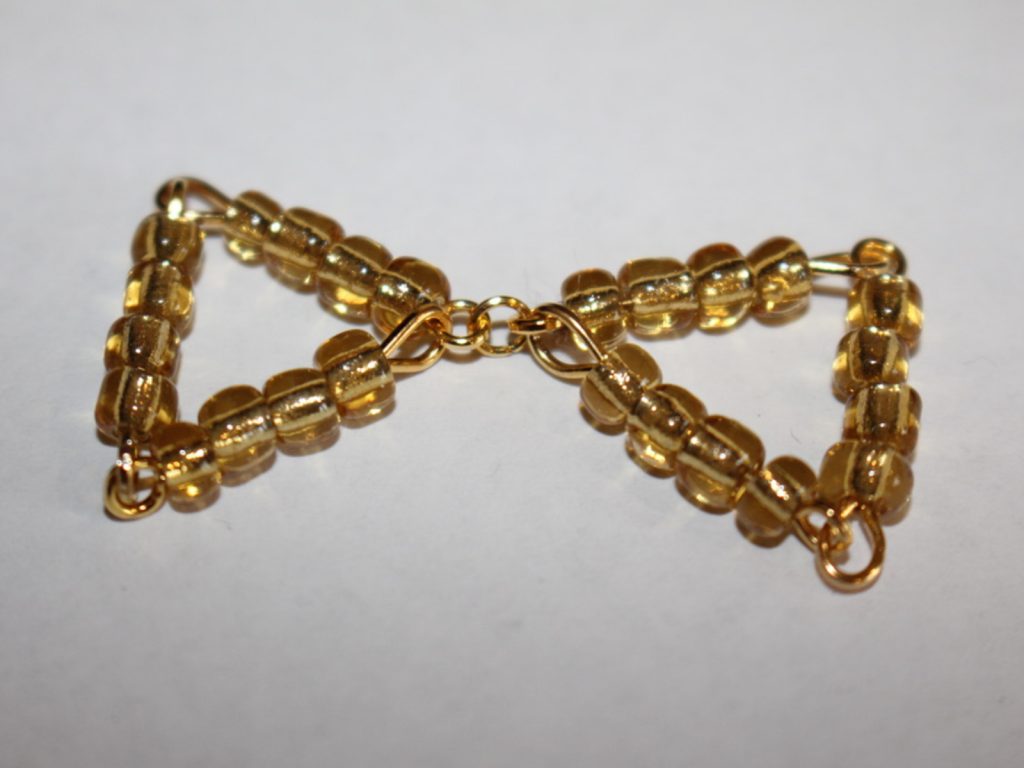
7: Link the two end pins and close the loop to form a triangle shape.

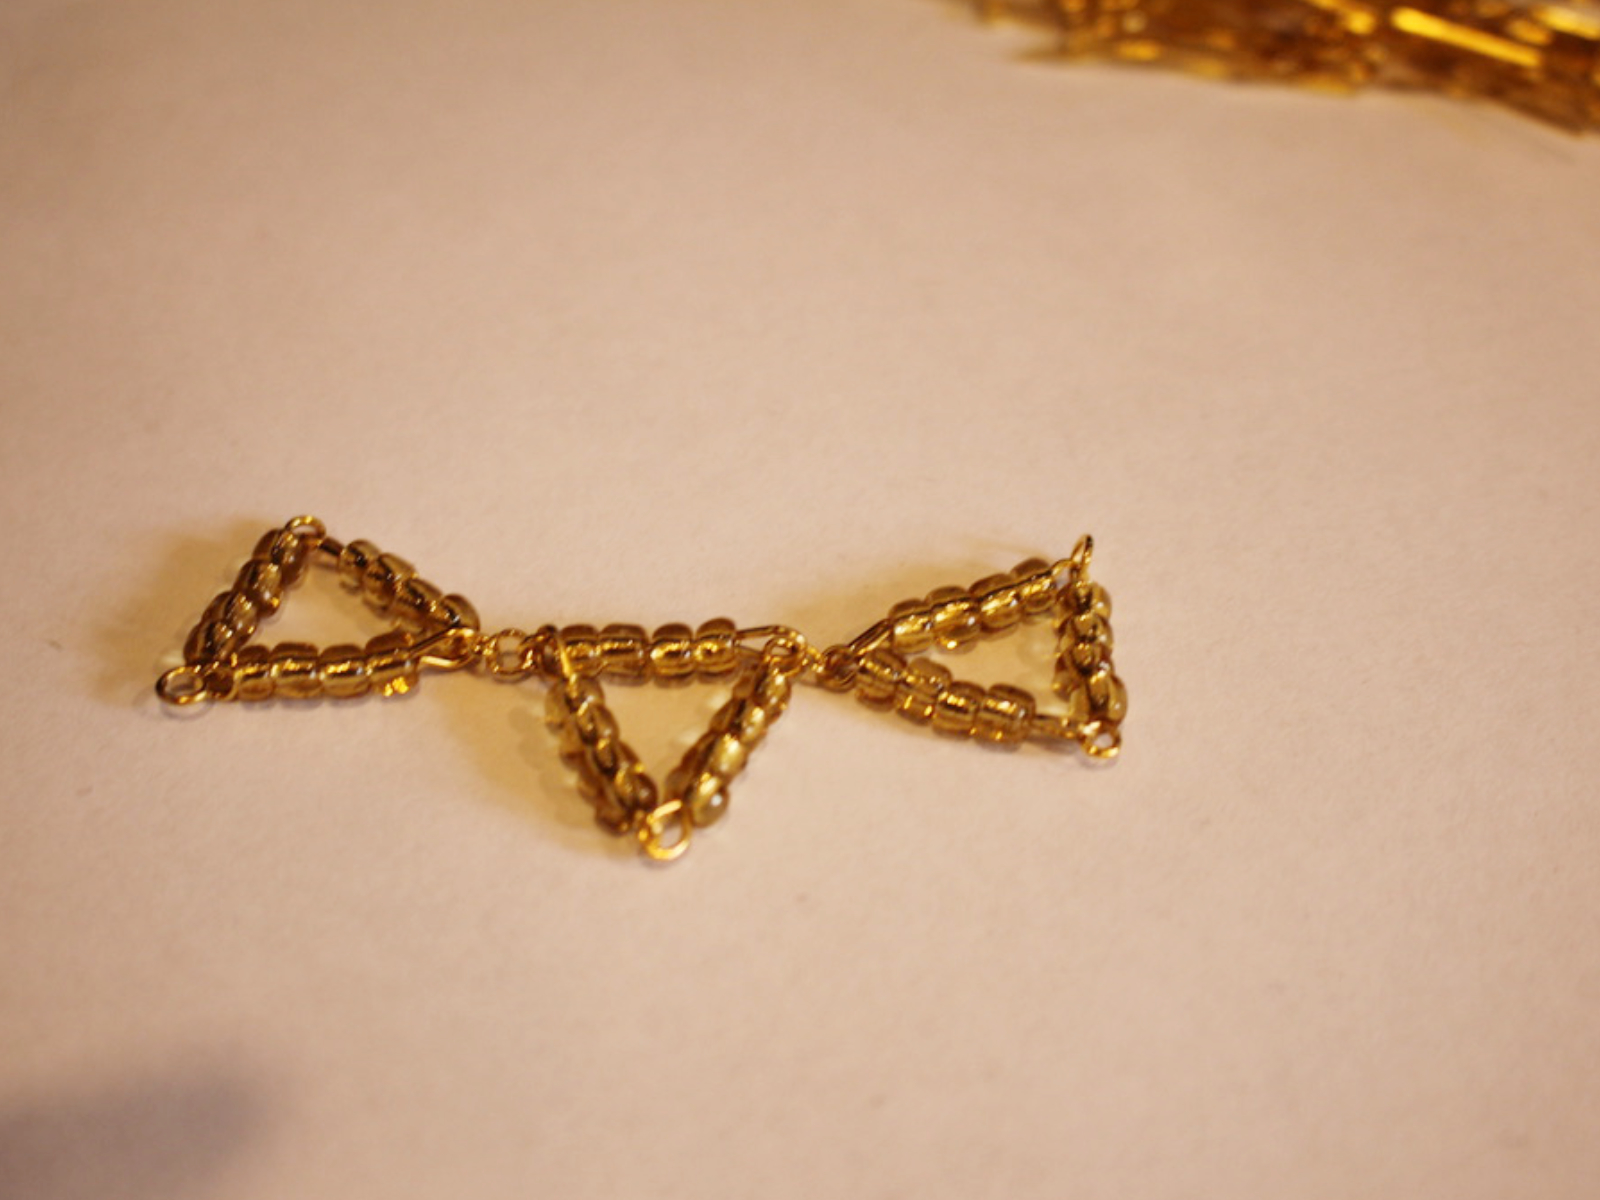
8: Make another triangle as you did in steps 1-7 and attach the two triangles together using one of the small jump rings, this is the start of your triangle chain.

9: Repeat steps 1-8 until you have a triangle chain long enough to fit your wrist. Make it a tiny bit smaller than you need to account for the length of the jump rings and toggle clasp.

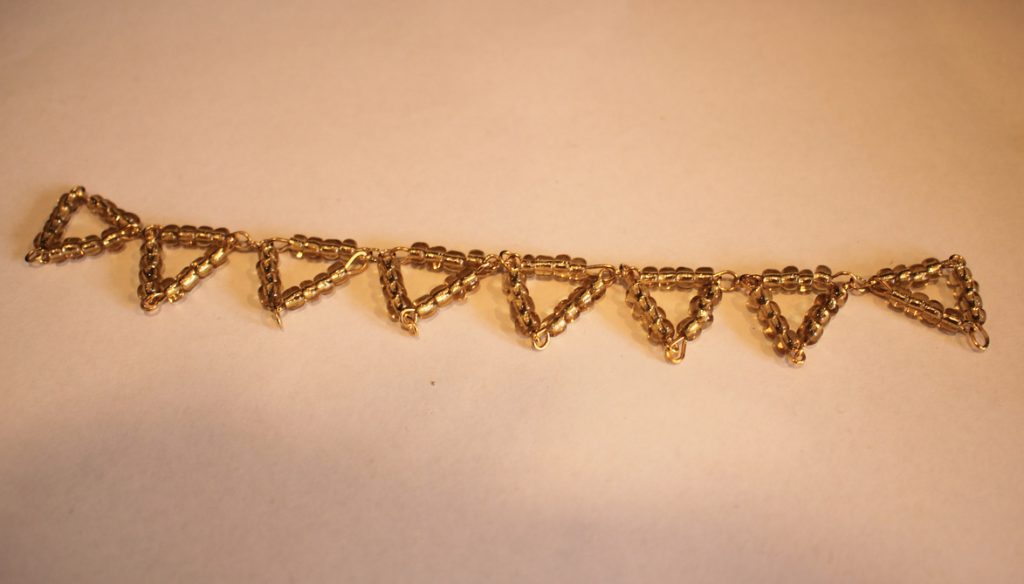
10: Attach the toggle clasp components to each end using the two larger jump rings.


Now your cute triangle bracelet is finished and ready to wear! This bracelet is so fun to fidget with and will look great layered with other gold and silver tone jewellery. What colours will you make yours in?


I think if I make this design again I will bead it with a variety of pastel coloured beads for a cute vapor-wave look. How cute would that look when paired with a fun floral dress in summer?
I hope you have fun making your own adorable triangle bead bracelet! I sure had fun making mine <3
If you liked this tutorial, here are some other’s I have created that use eye pins and beads to form triangle shapes:
- This one uses gravity to form a triangle shaped pair of earrings!
- Follow this video tutorial to make some triangle tassel earrings.
- Here’s a triangle charm lariat.
- A pair of basic triangle earrings made with beaded eye pins.
- A chain and eye pin beaded triangle pendant.
- A triangle necklace made from long metal beads and string.
- Some cute beaded mini triangle earrings.
- A triangle statement pendant.
- Some chain and pin triangle drop earrings.
- Use triangles to make this 3D diamond pendant.
- Triangles form this flat diamond shaped bracelet charm.
I hope you enjoyed this tutorial and have fun finding some other pieces to make at home! Have fun!
-
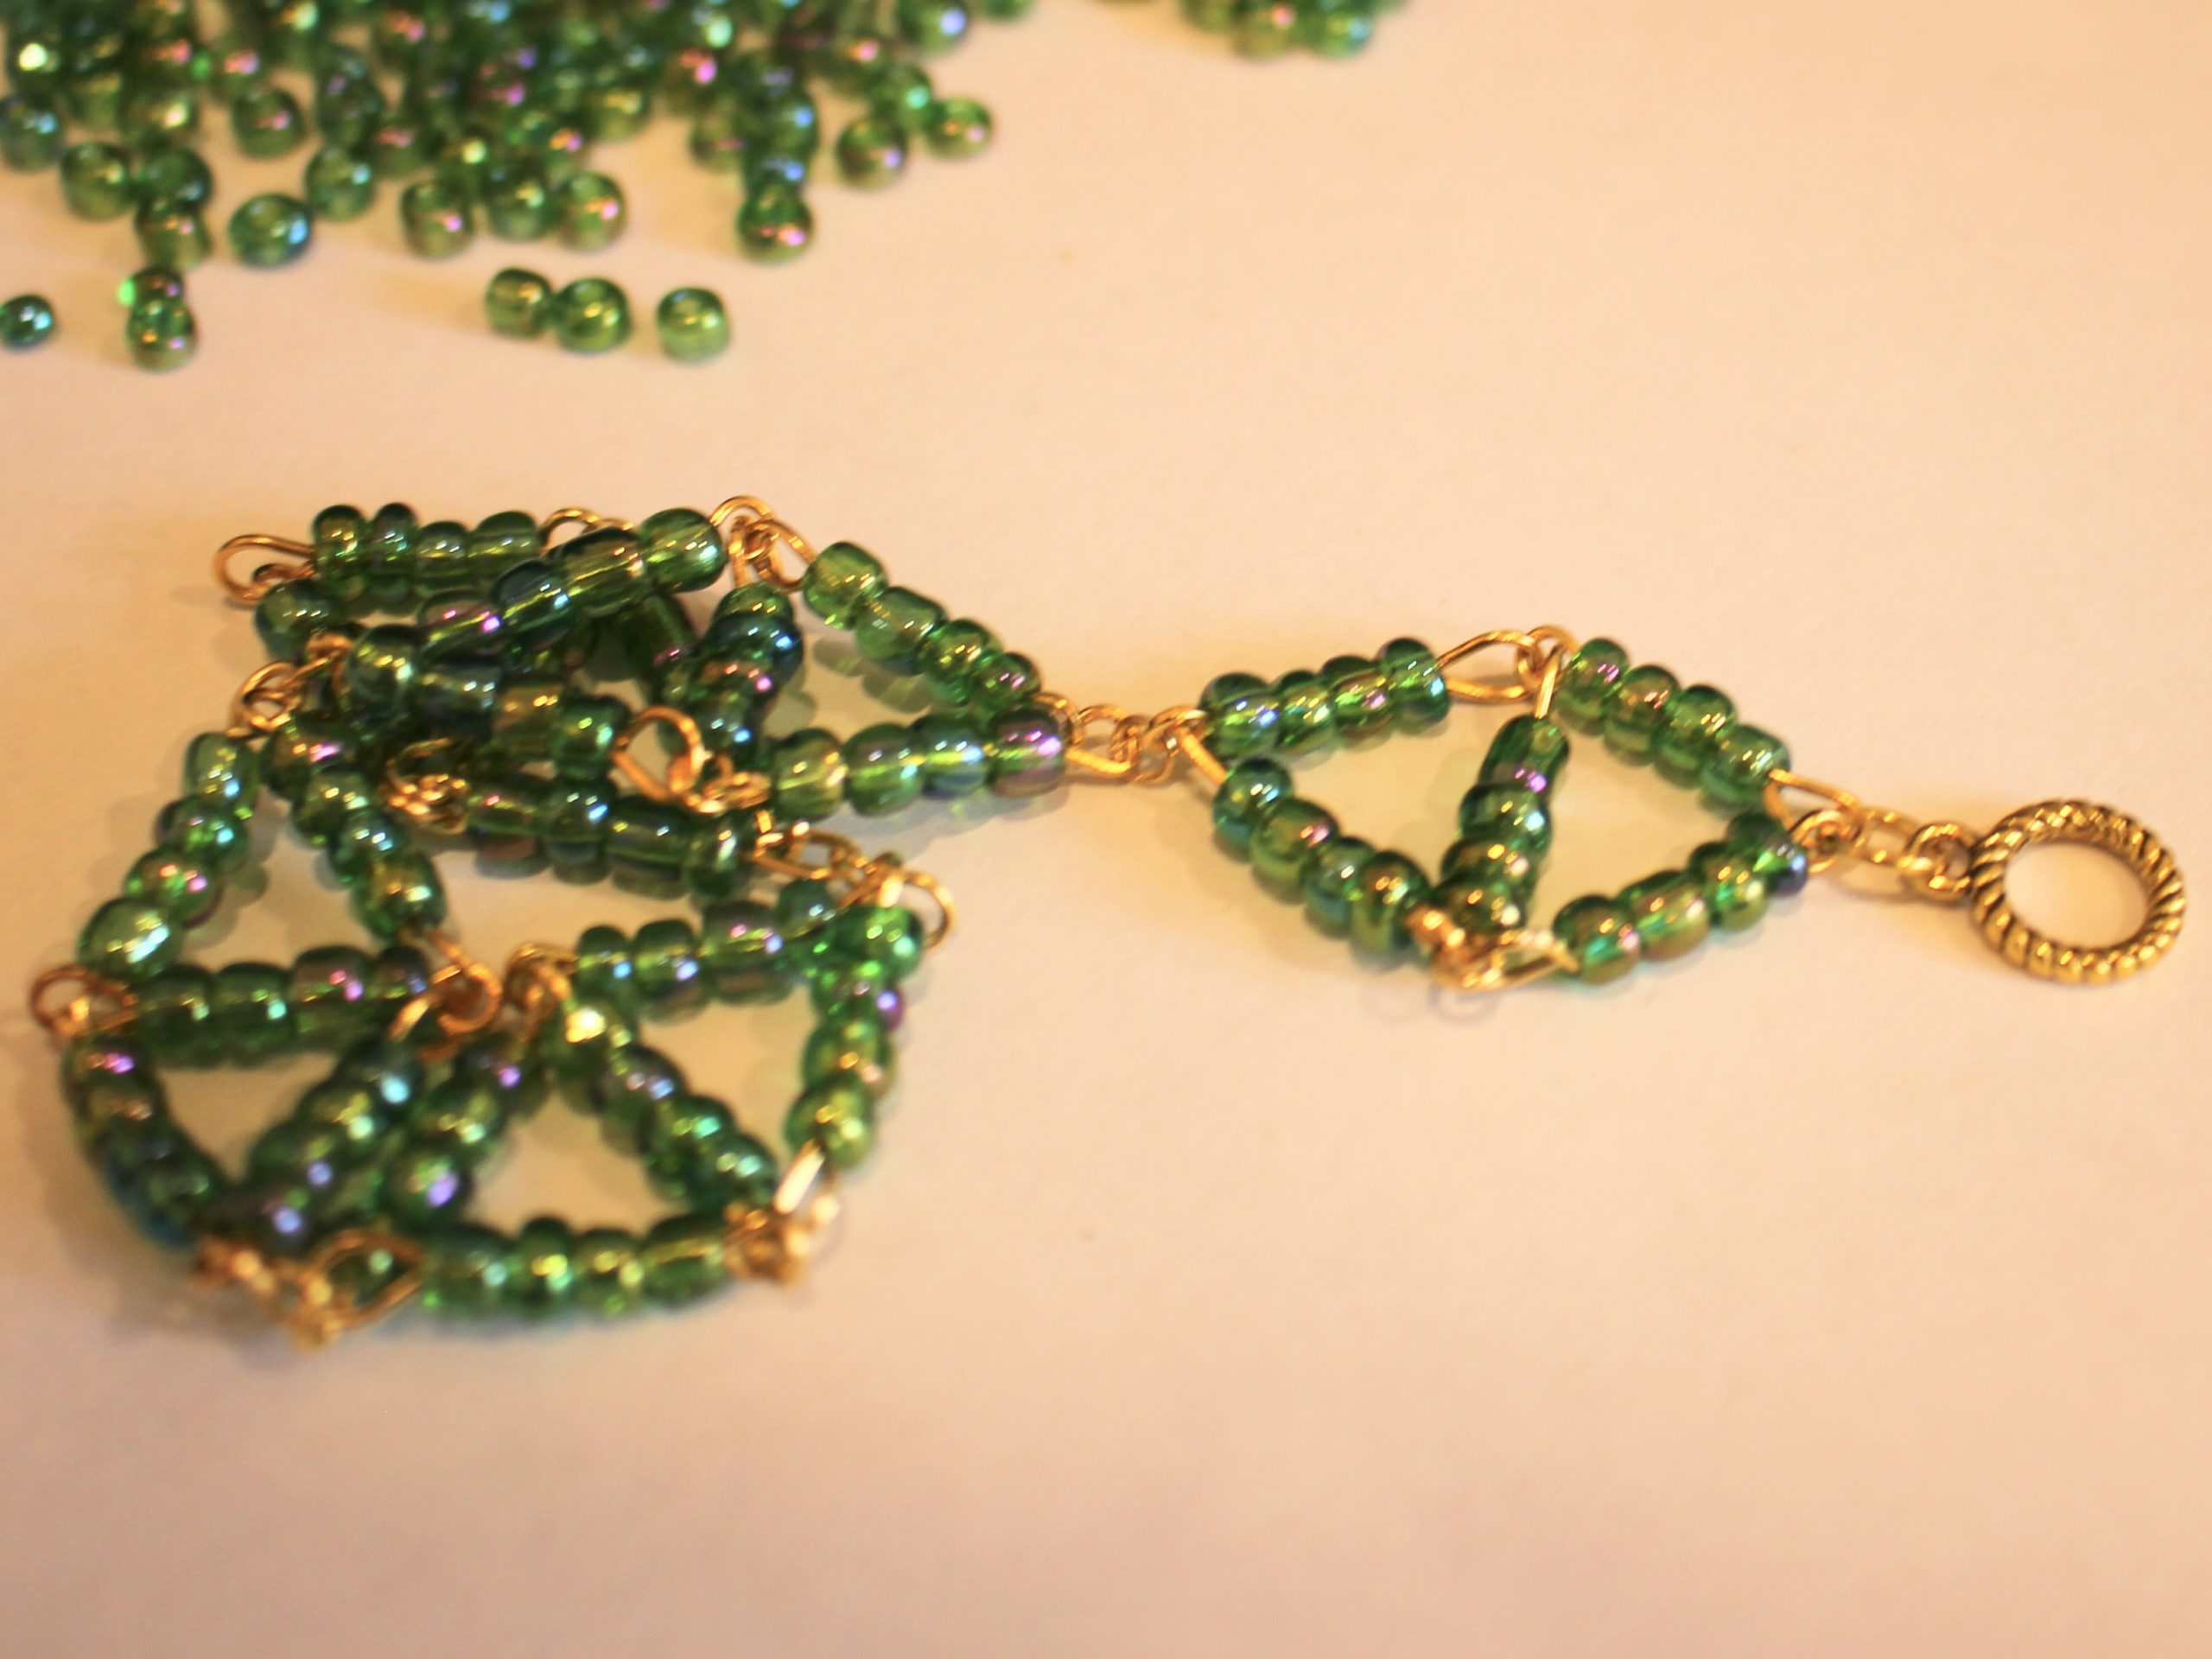
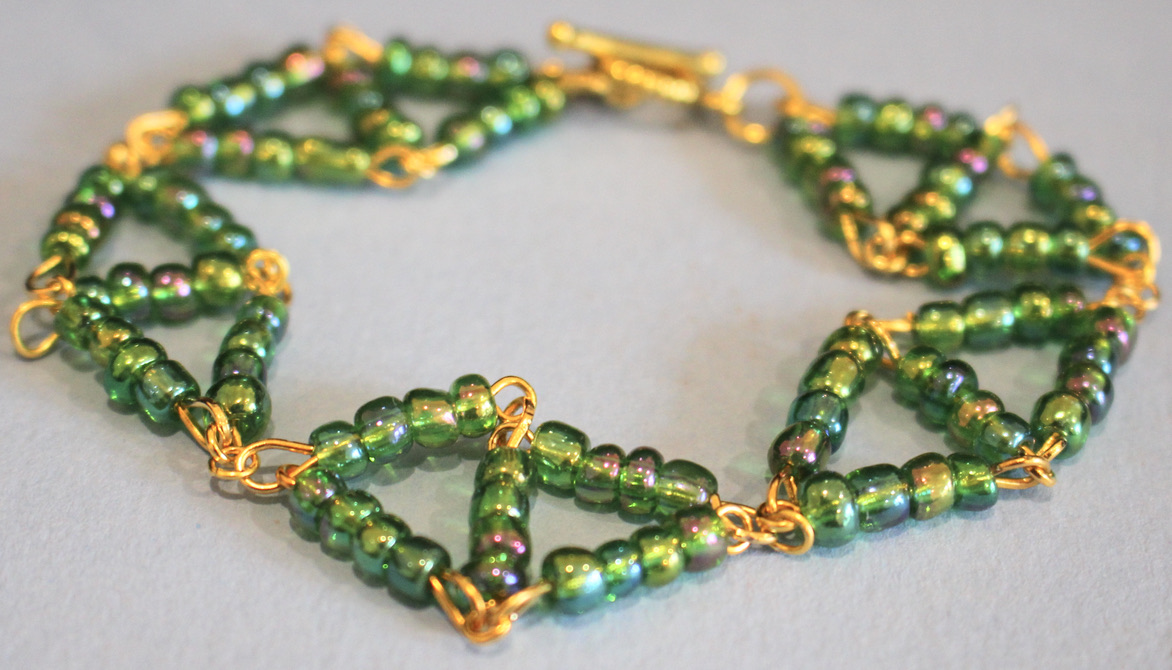
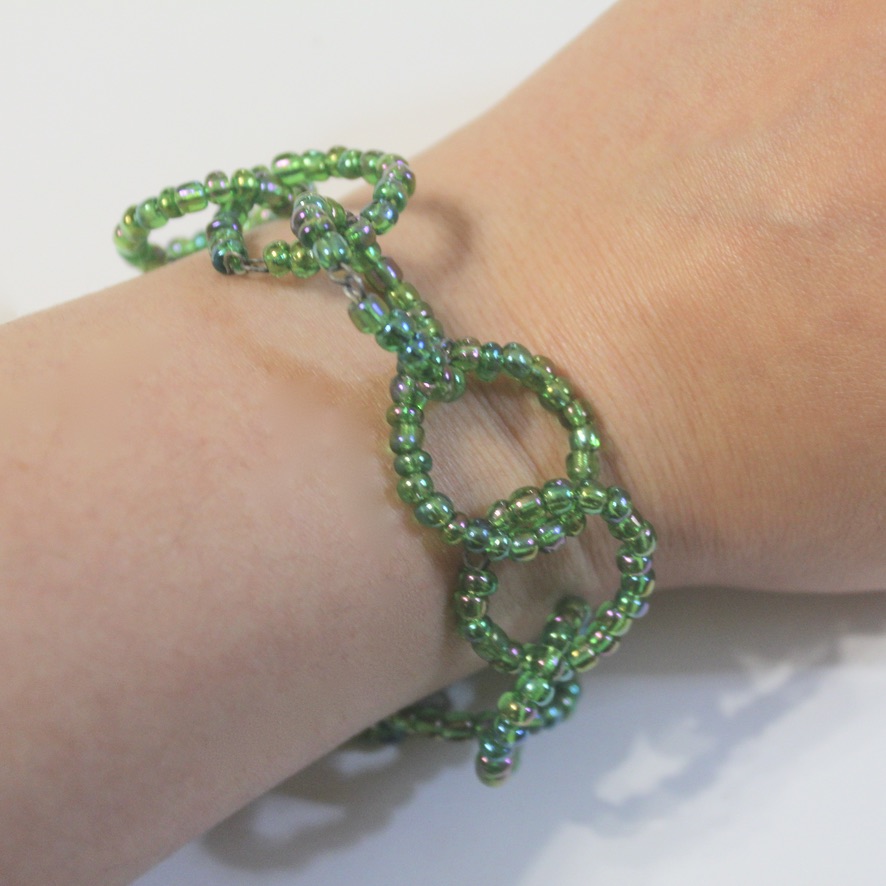
Like chains and beads? Why not mash them together to make this bead chain bracelet?
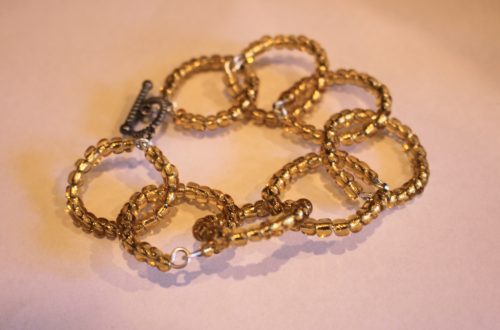
This bracelet uses wire and beads to make big loops that you then turn into a bracelet! This cute design is perfect for wearing with summer outfits.
You’ll need these tools and materials to make your bracelet:
1: Pliers. I used cutting pliers, flat nose pliers and round nose pliers.
2: Some pieces of soft wire. I used eight pieces approximately 9cm long, but you may want to use more or less depending on the size of your wrist. My final bracelet was a little on the small size.
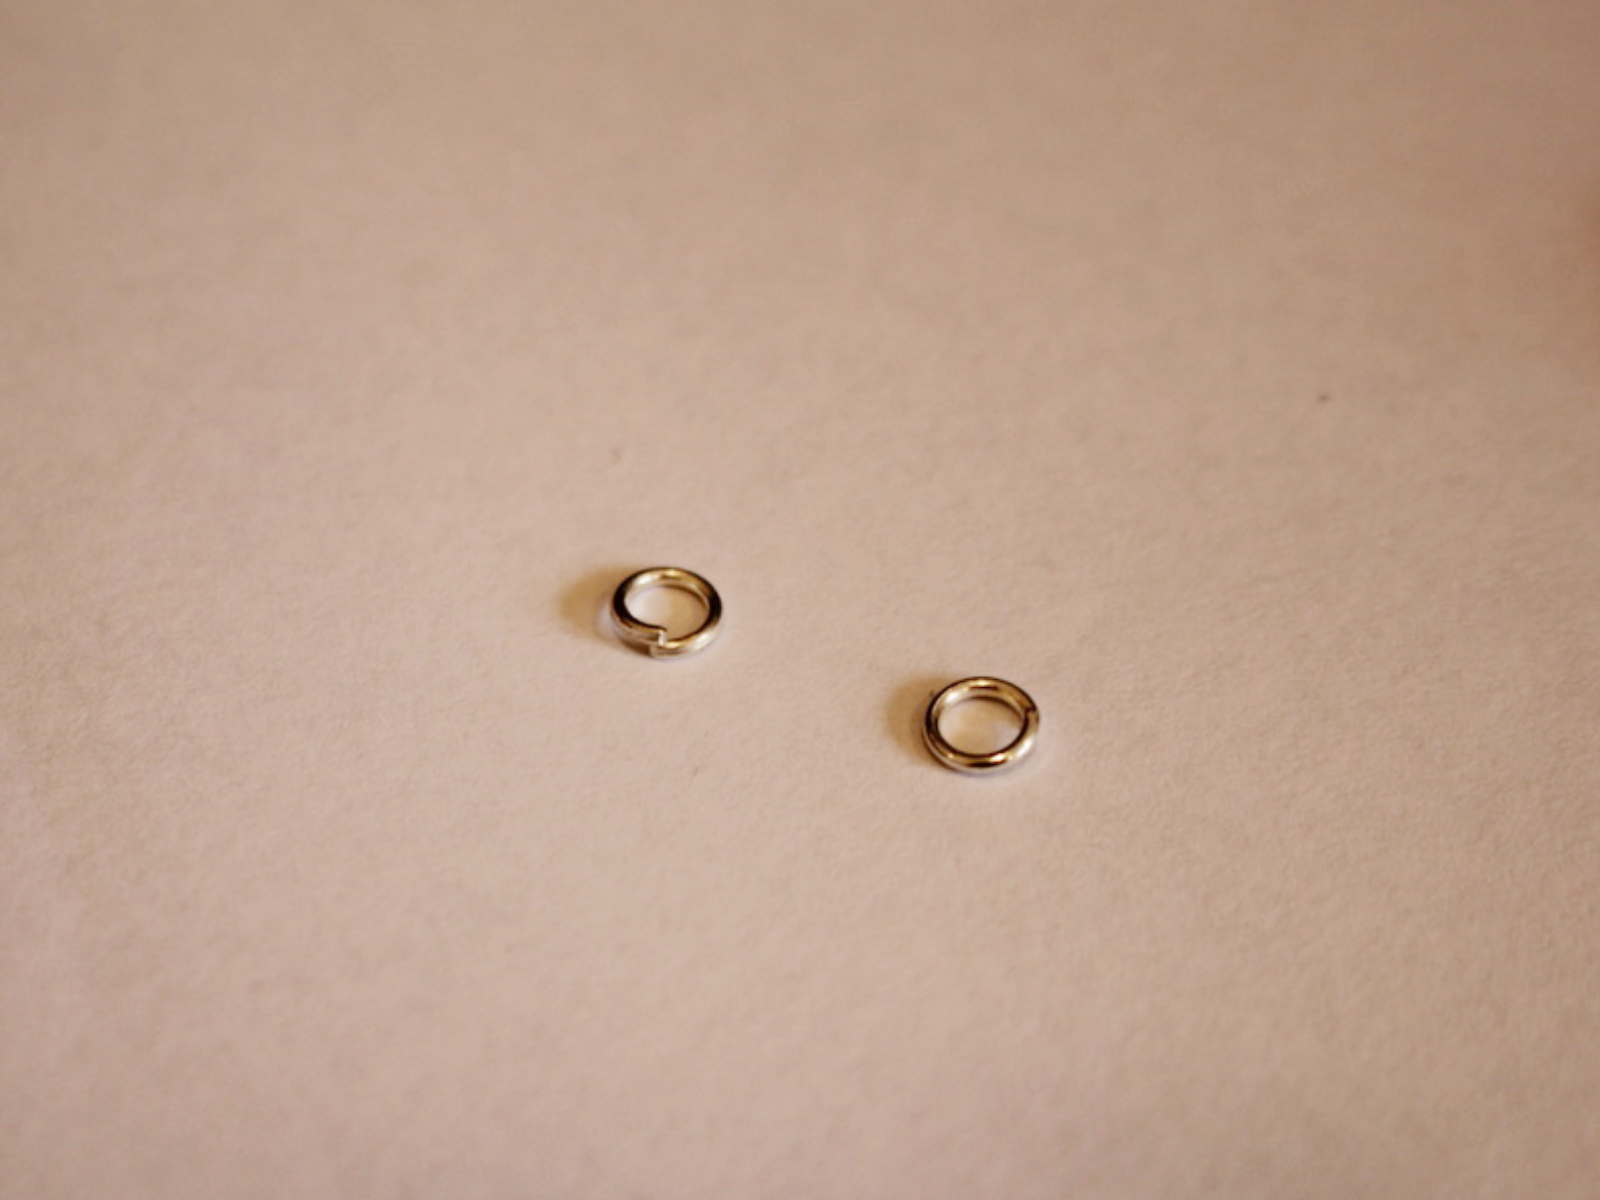
3: Two jump rings.

4: A toggle clasp.
5: Beads. I used yellow glass e-beads.

Follow these steps to make your chain bracelet:
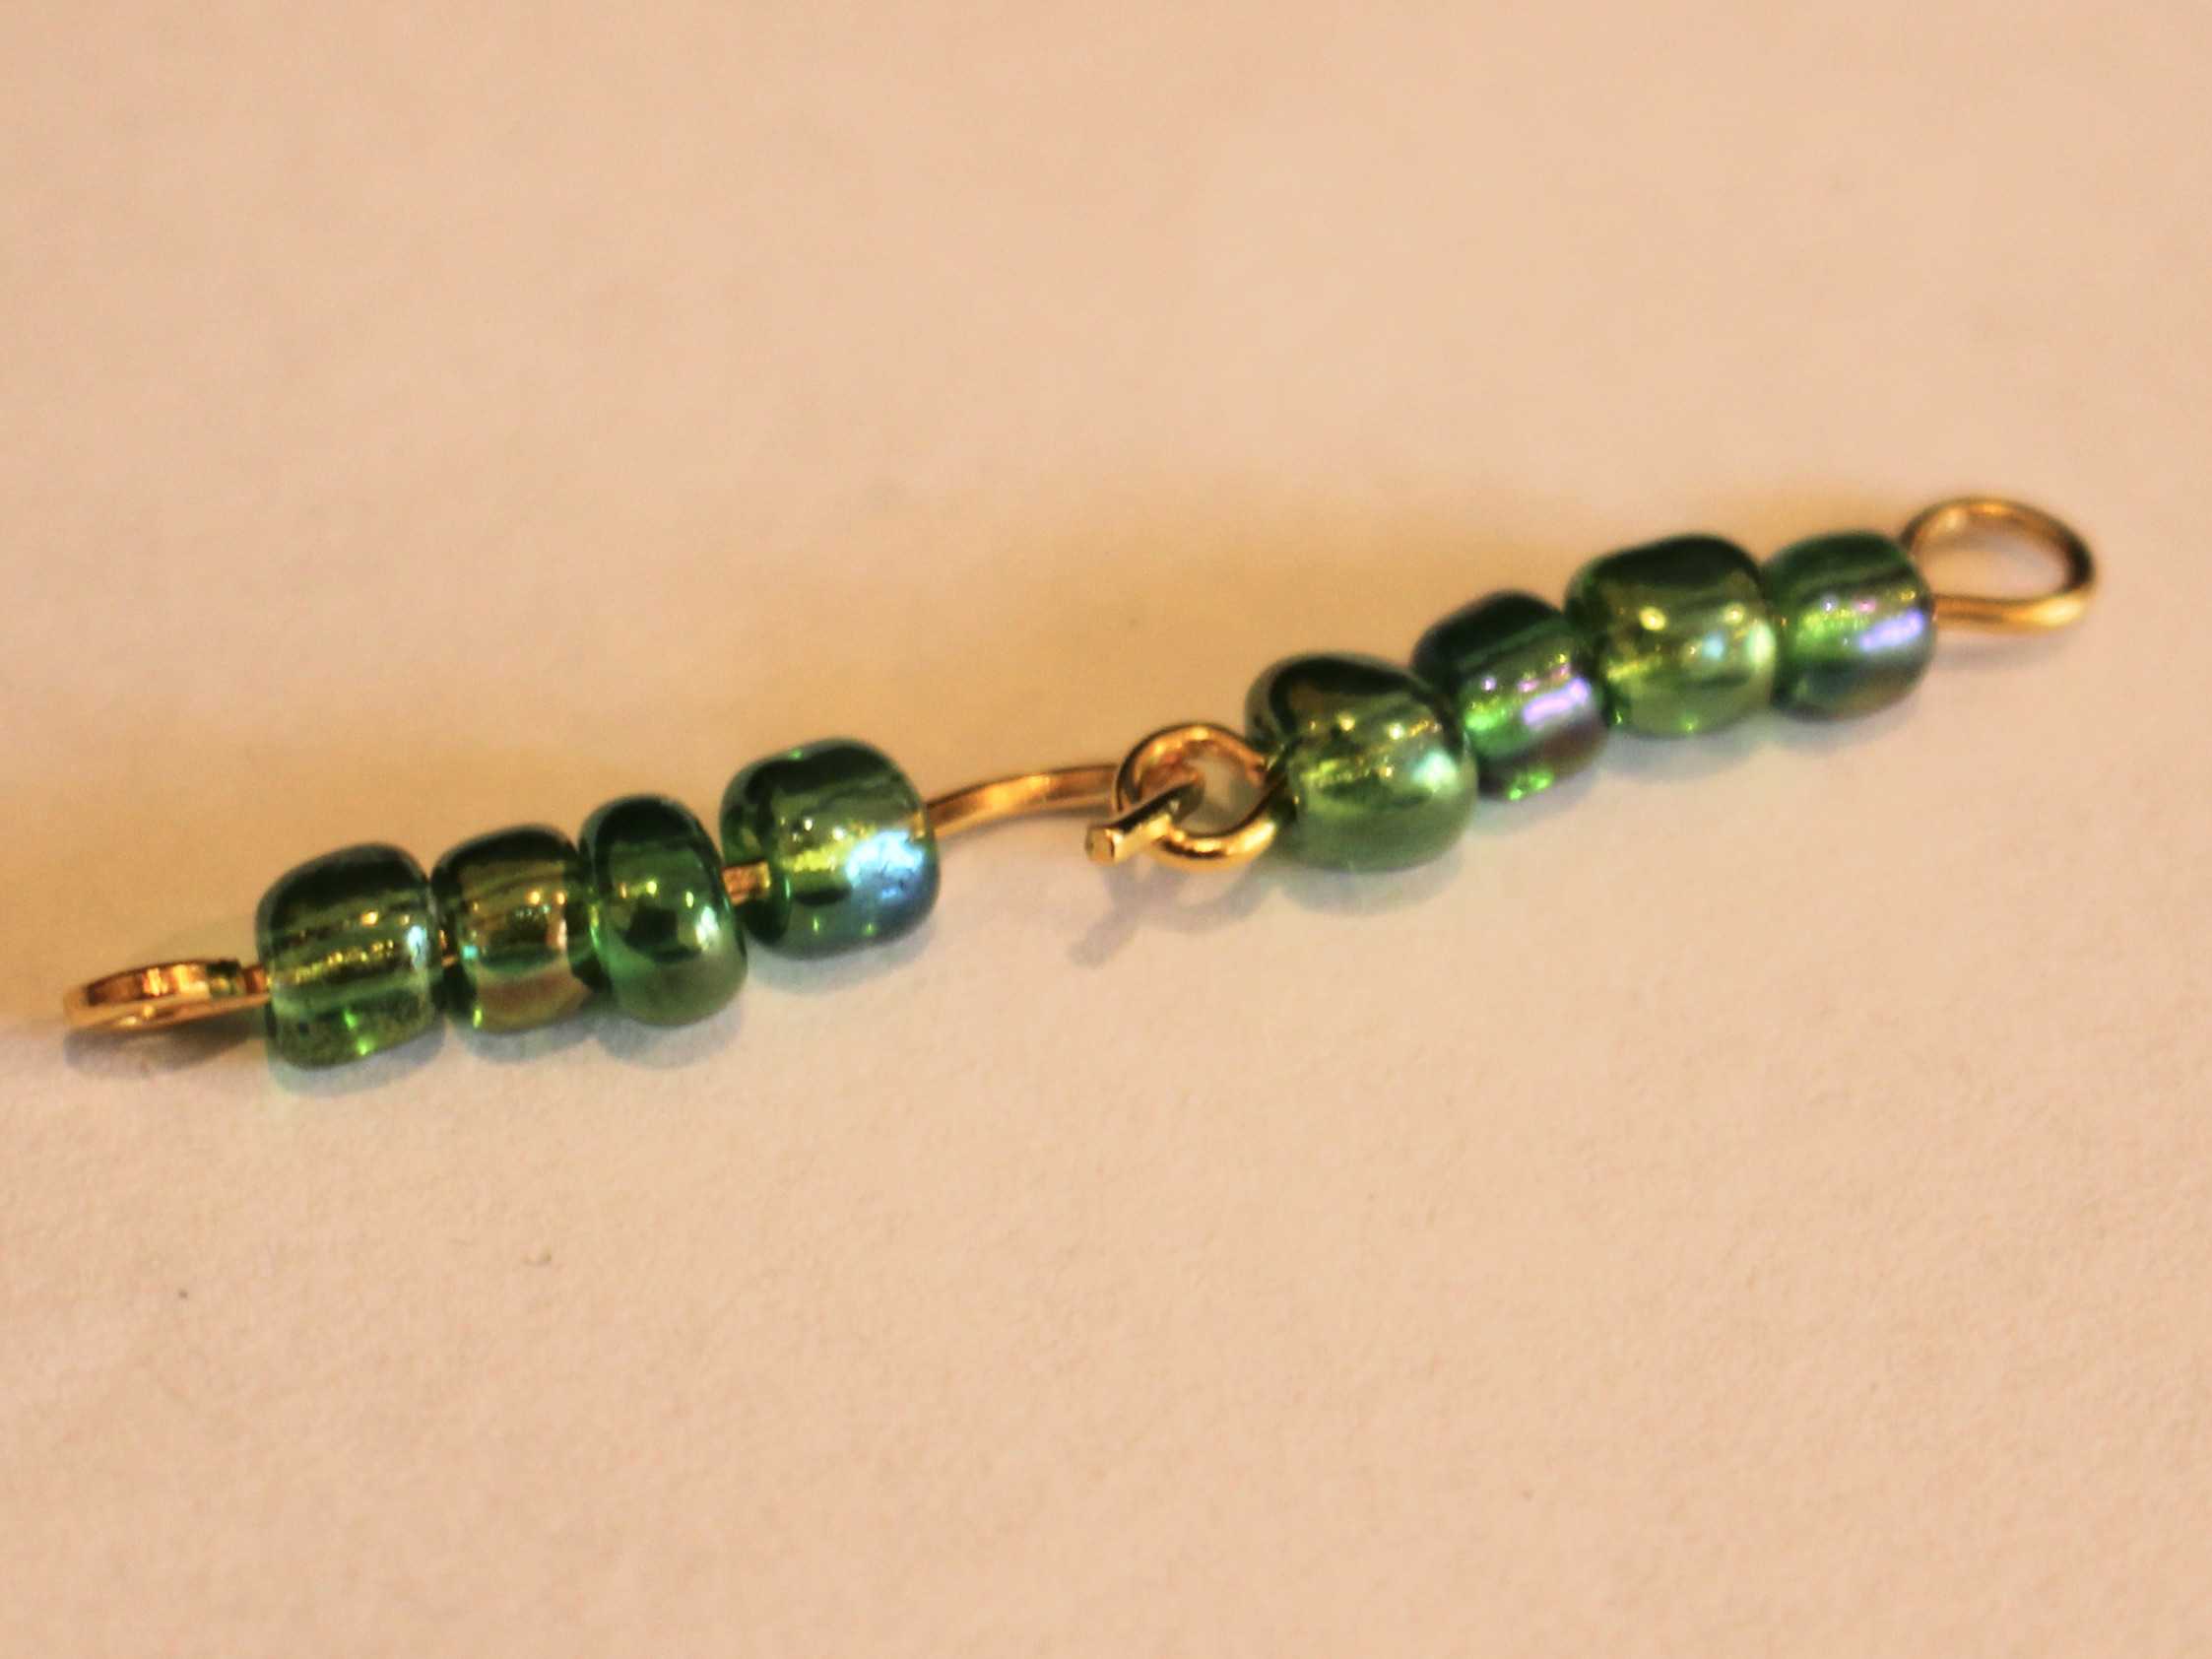
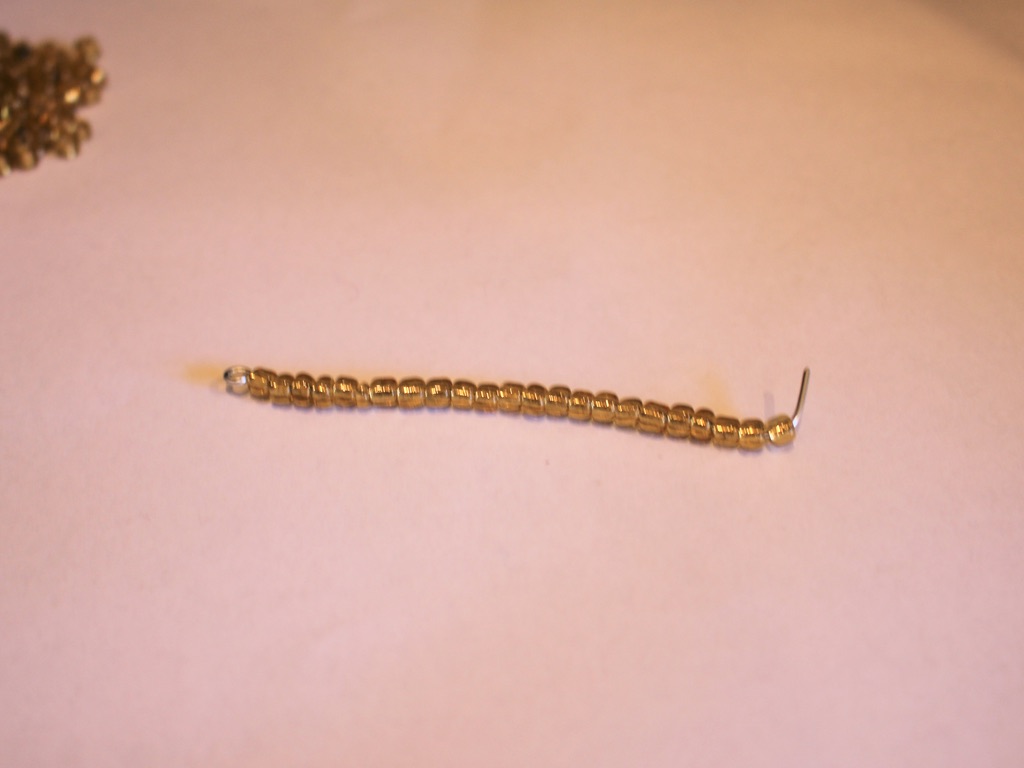
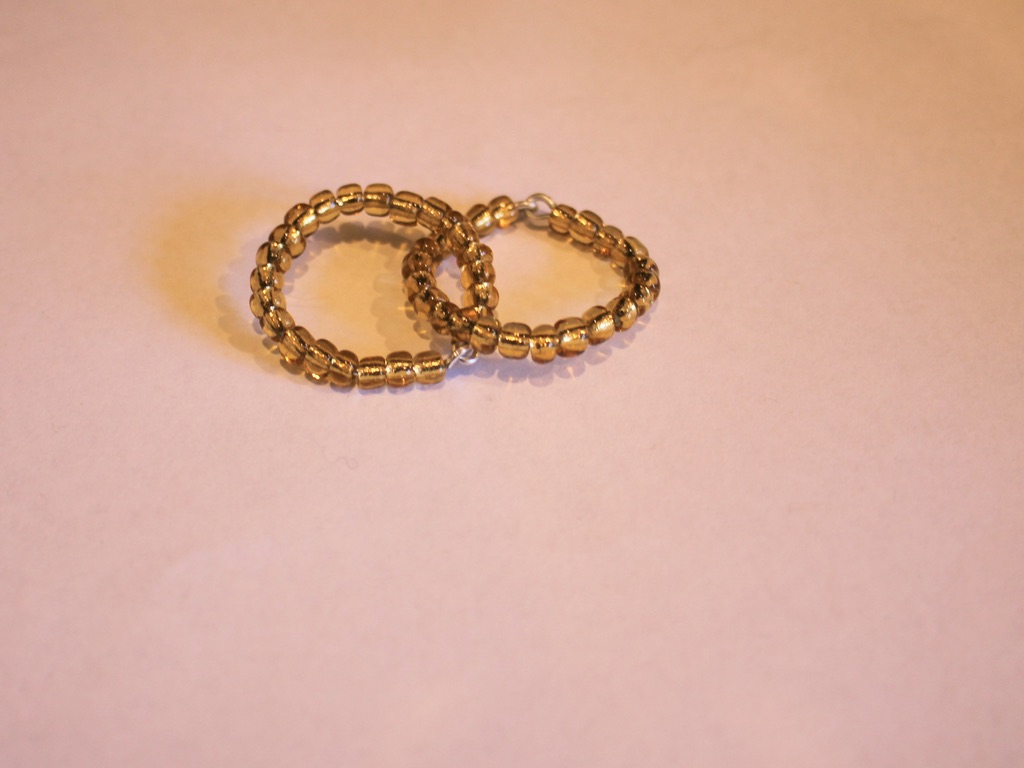
1: Take one of the pieces of wire and create a loop at one end using the round nose pliers. Do this by bending approx. 1cm of wire to form a right angle and then loop it around the round nose pliers.

2: Add beads to the wire leaving 1cm unbeaded.


3: Create another loop at the other end of the wire.
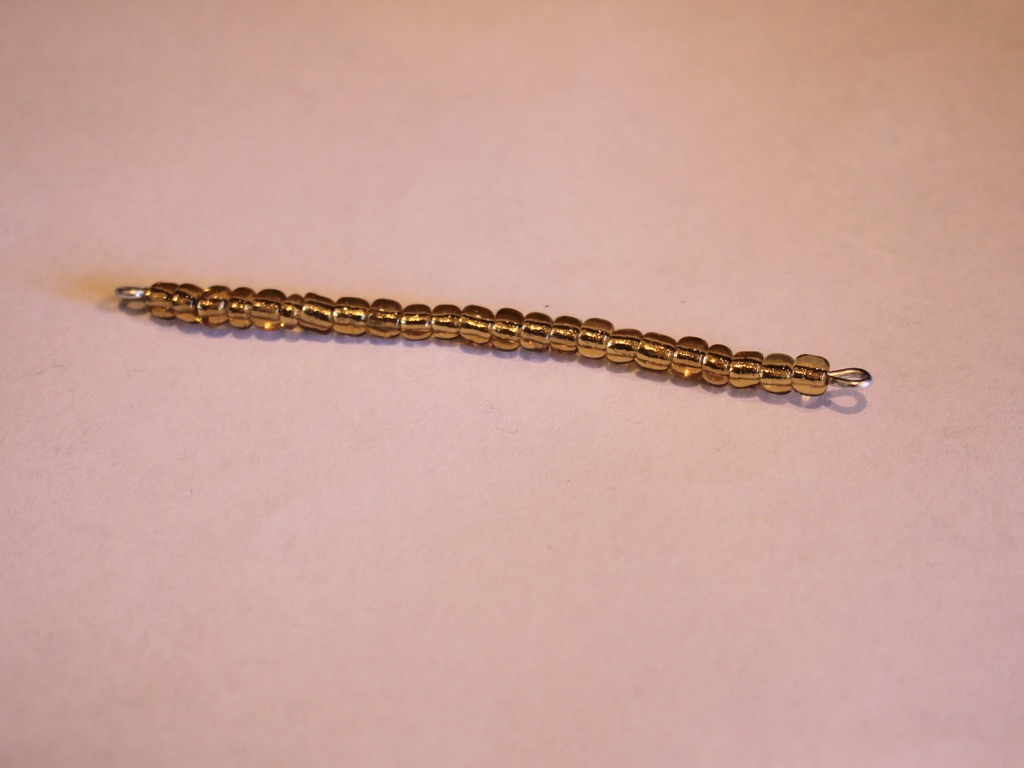
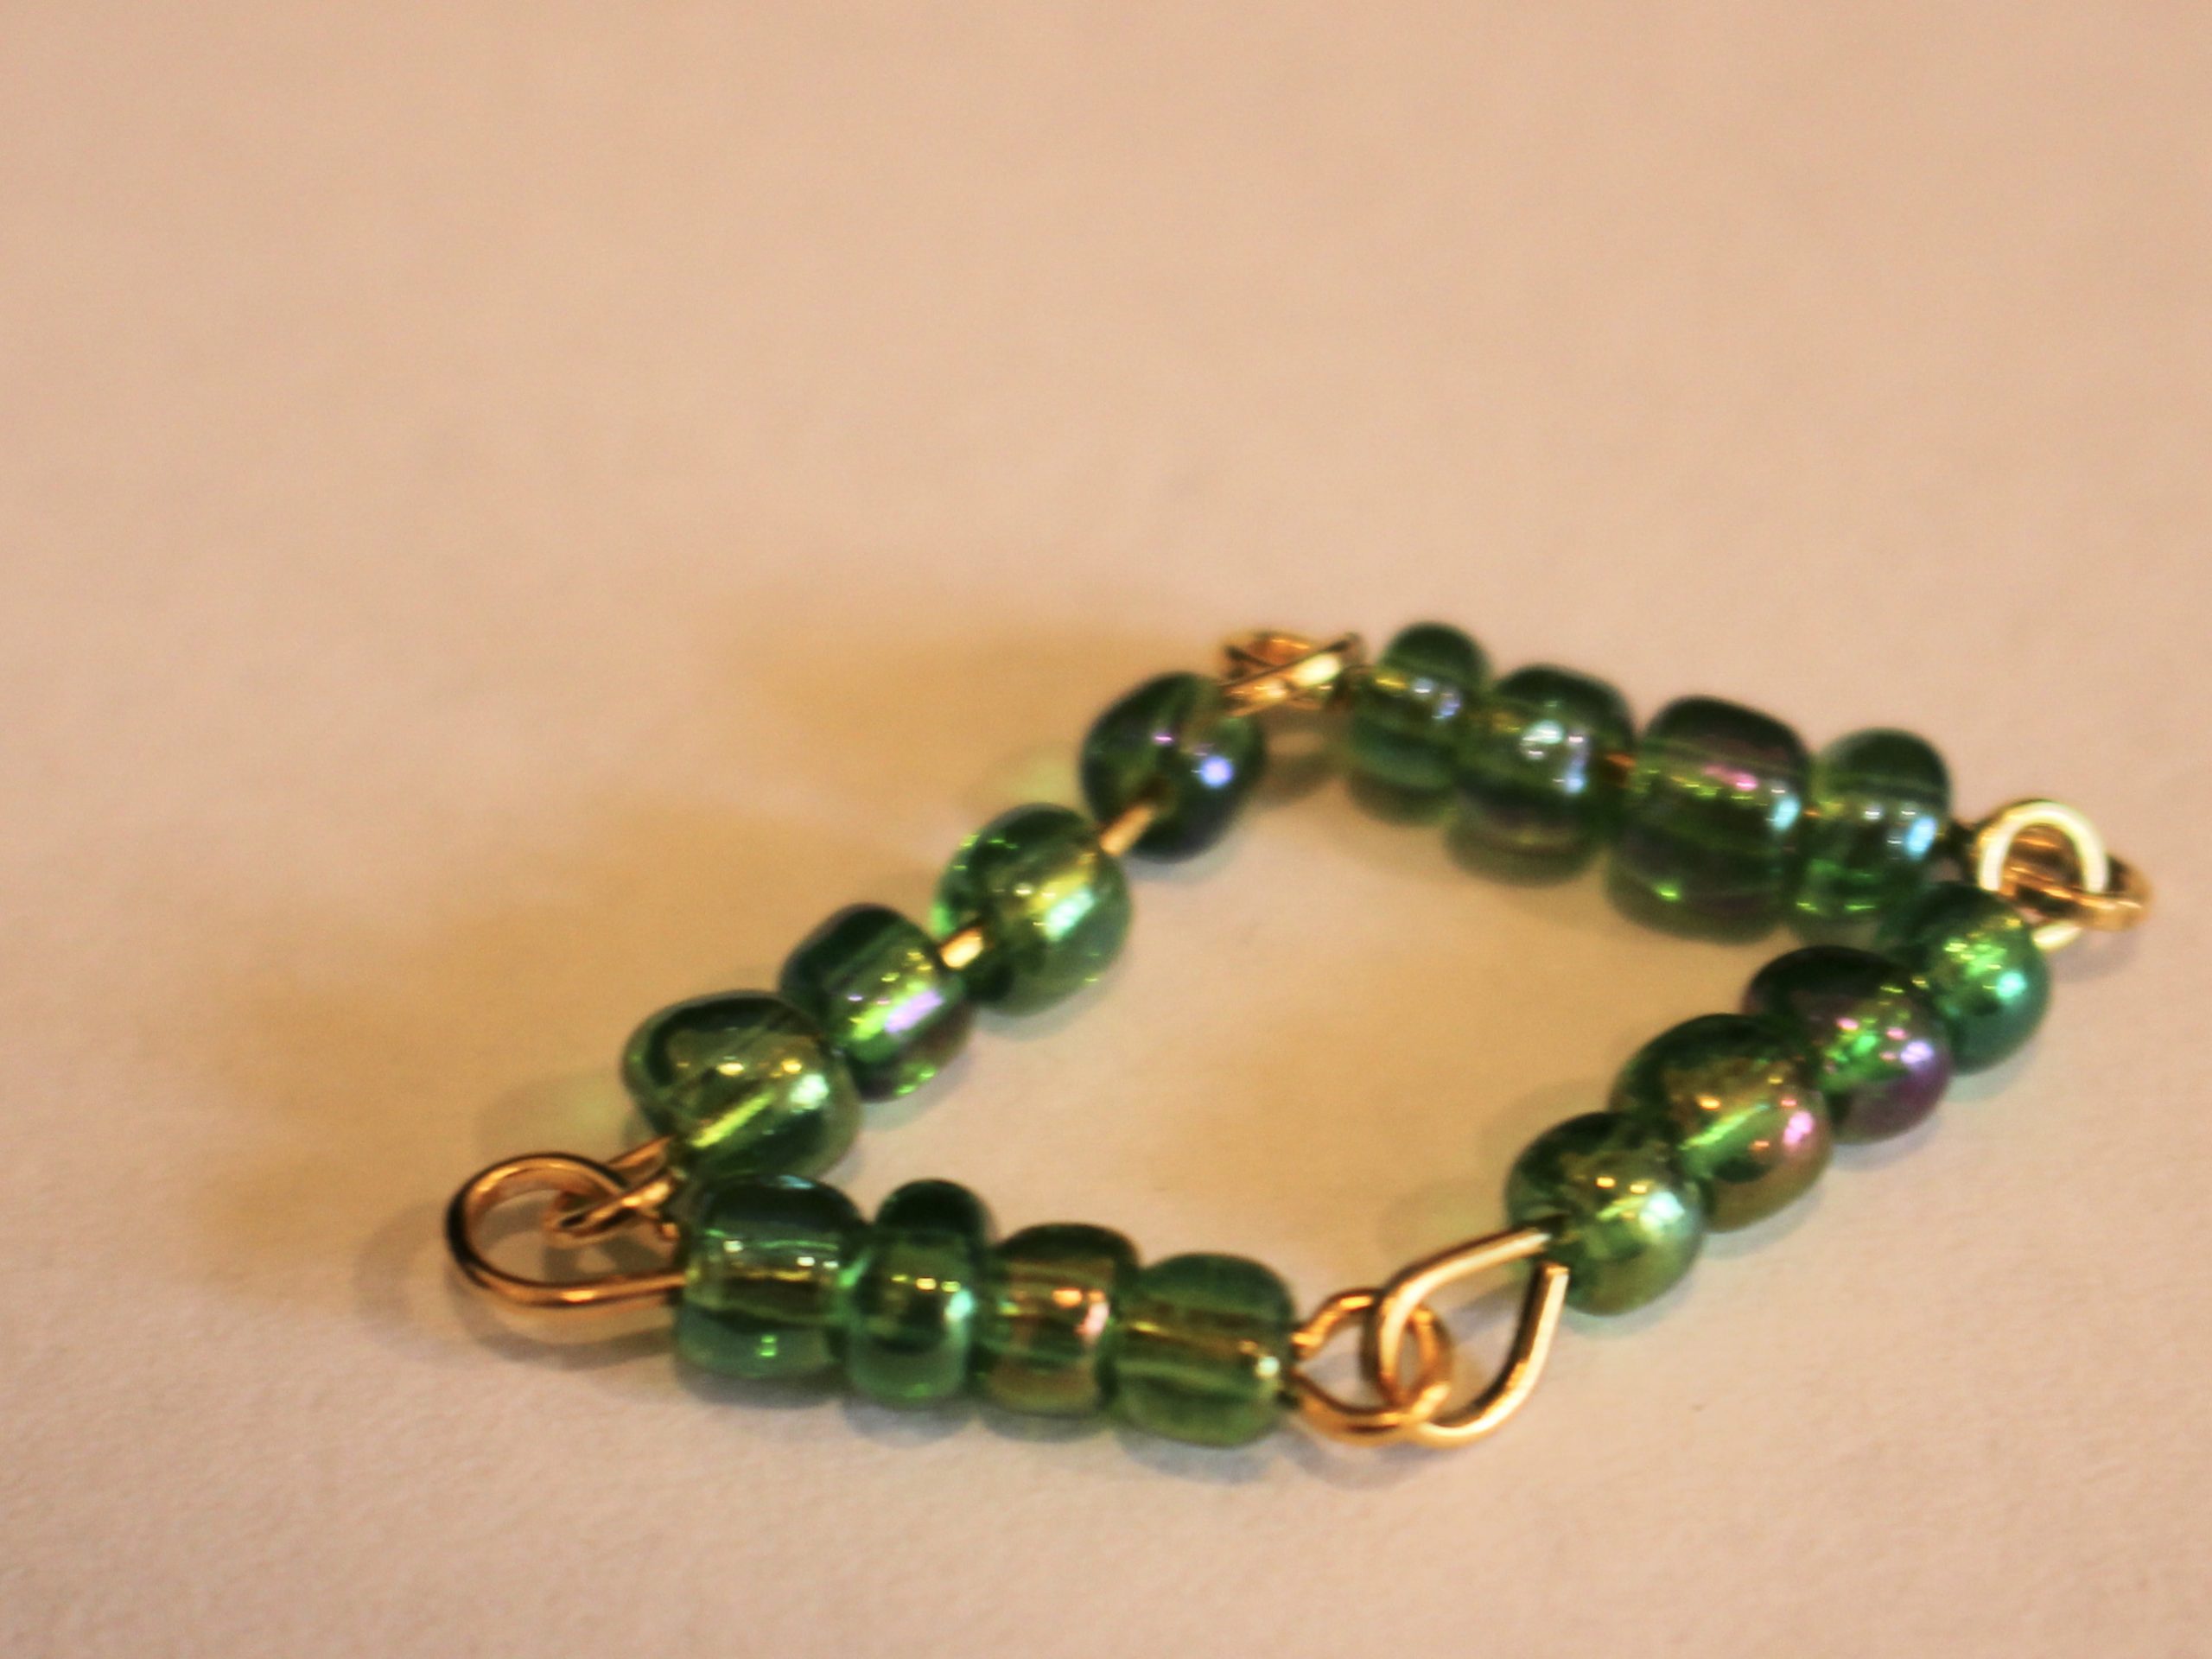
4: Bend the beaded wire into a circle shape.
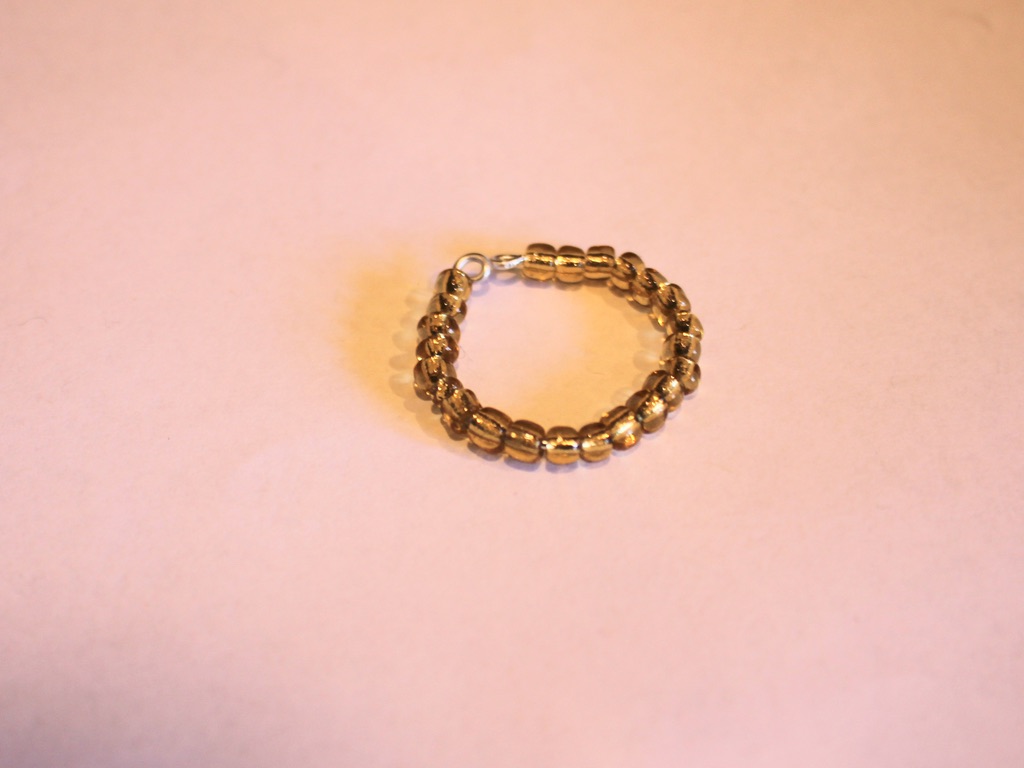
5: Open one of the end loops and thread it through the other end loop. Close it to create a closed circle.

6: Make another loop, but before closing it as you did in step 5, thread it through the first loop you made. Once it is threaded through you can close it.

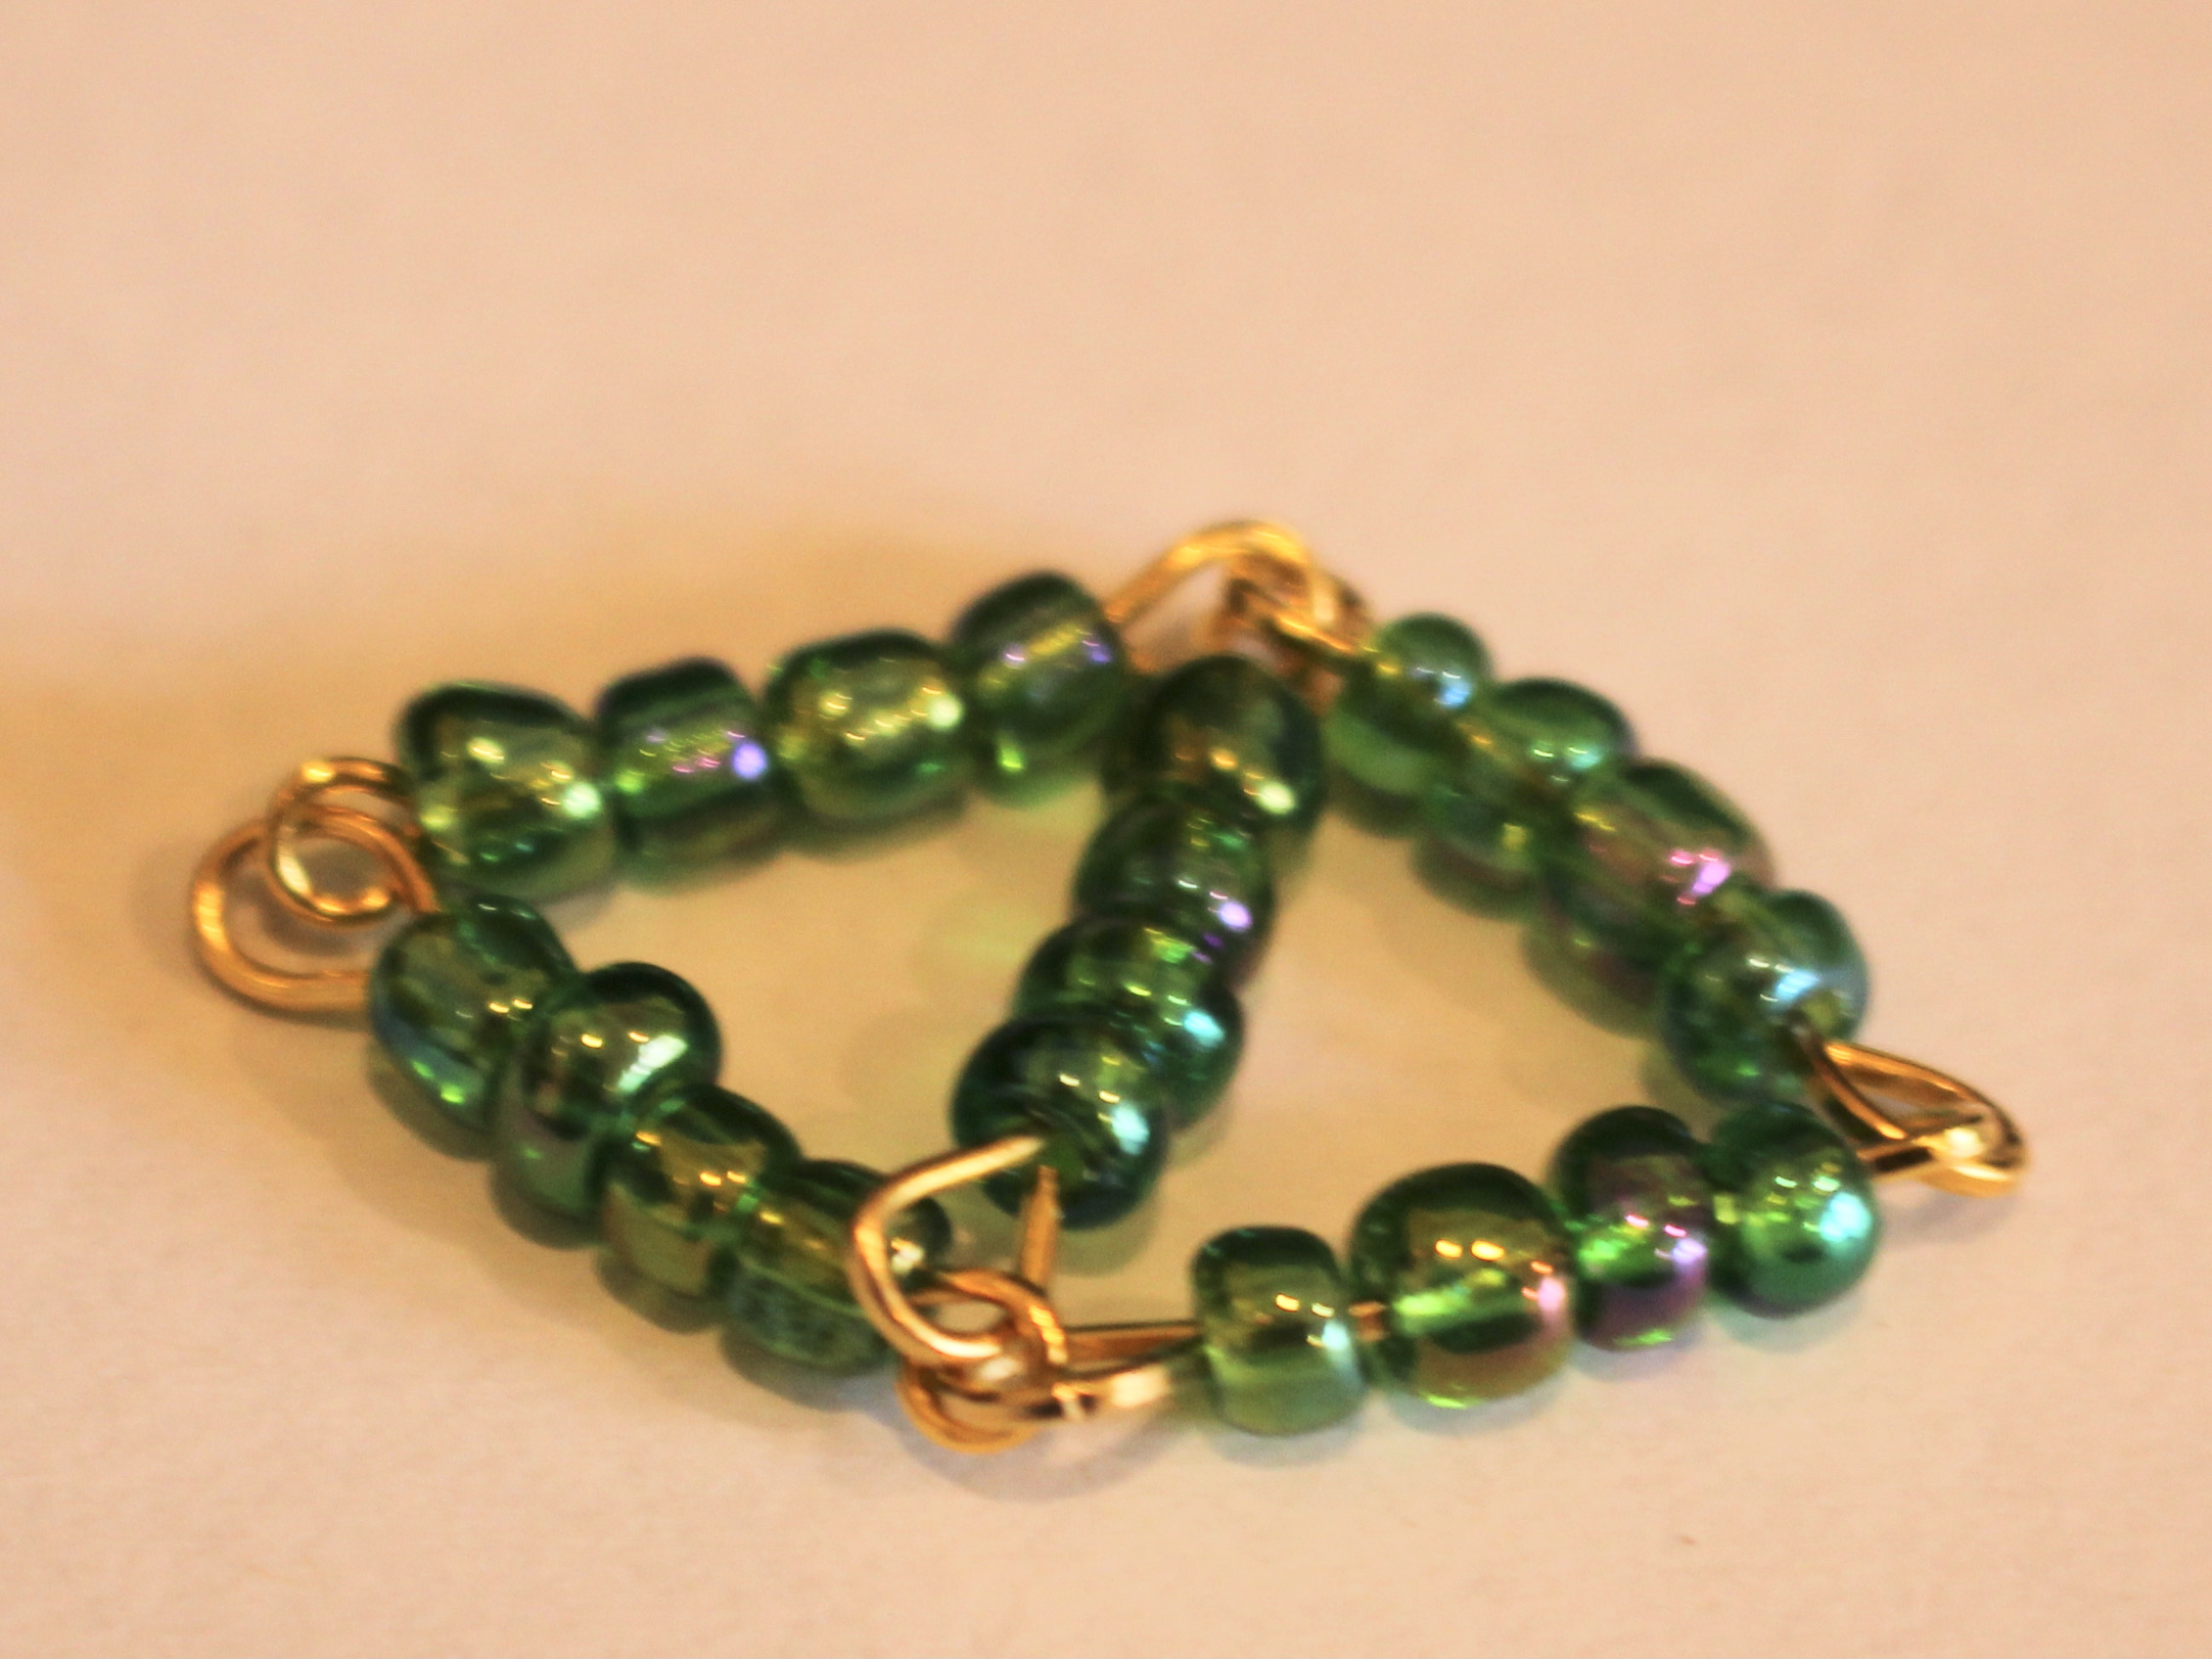
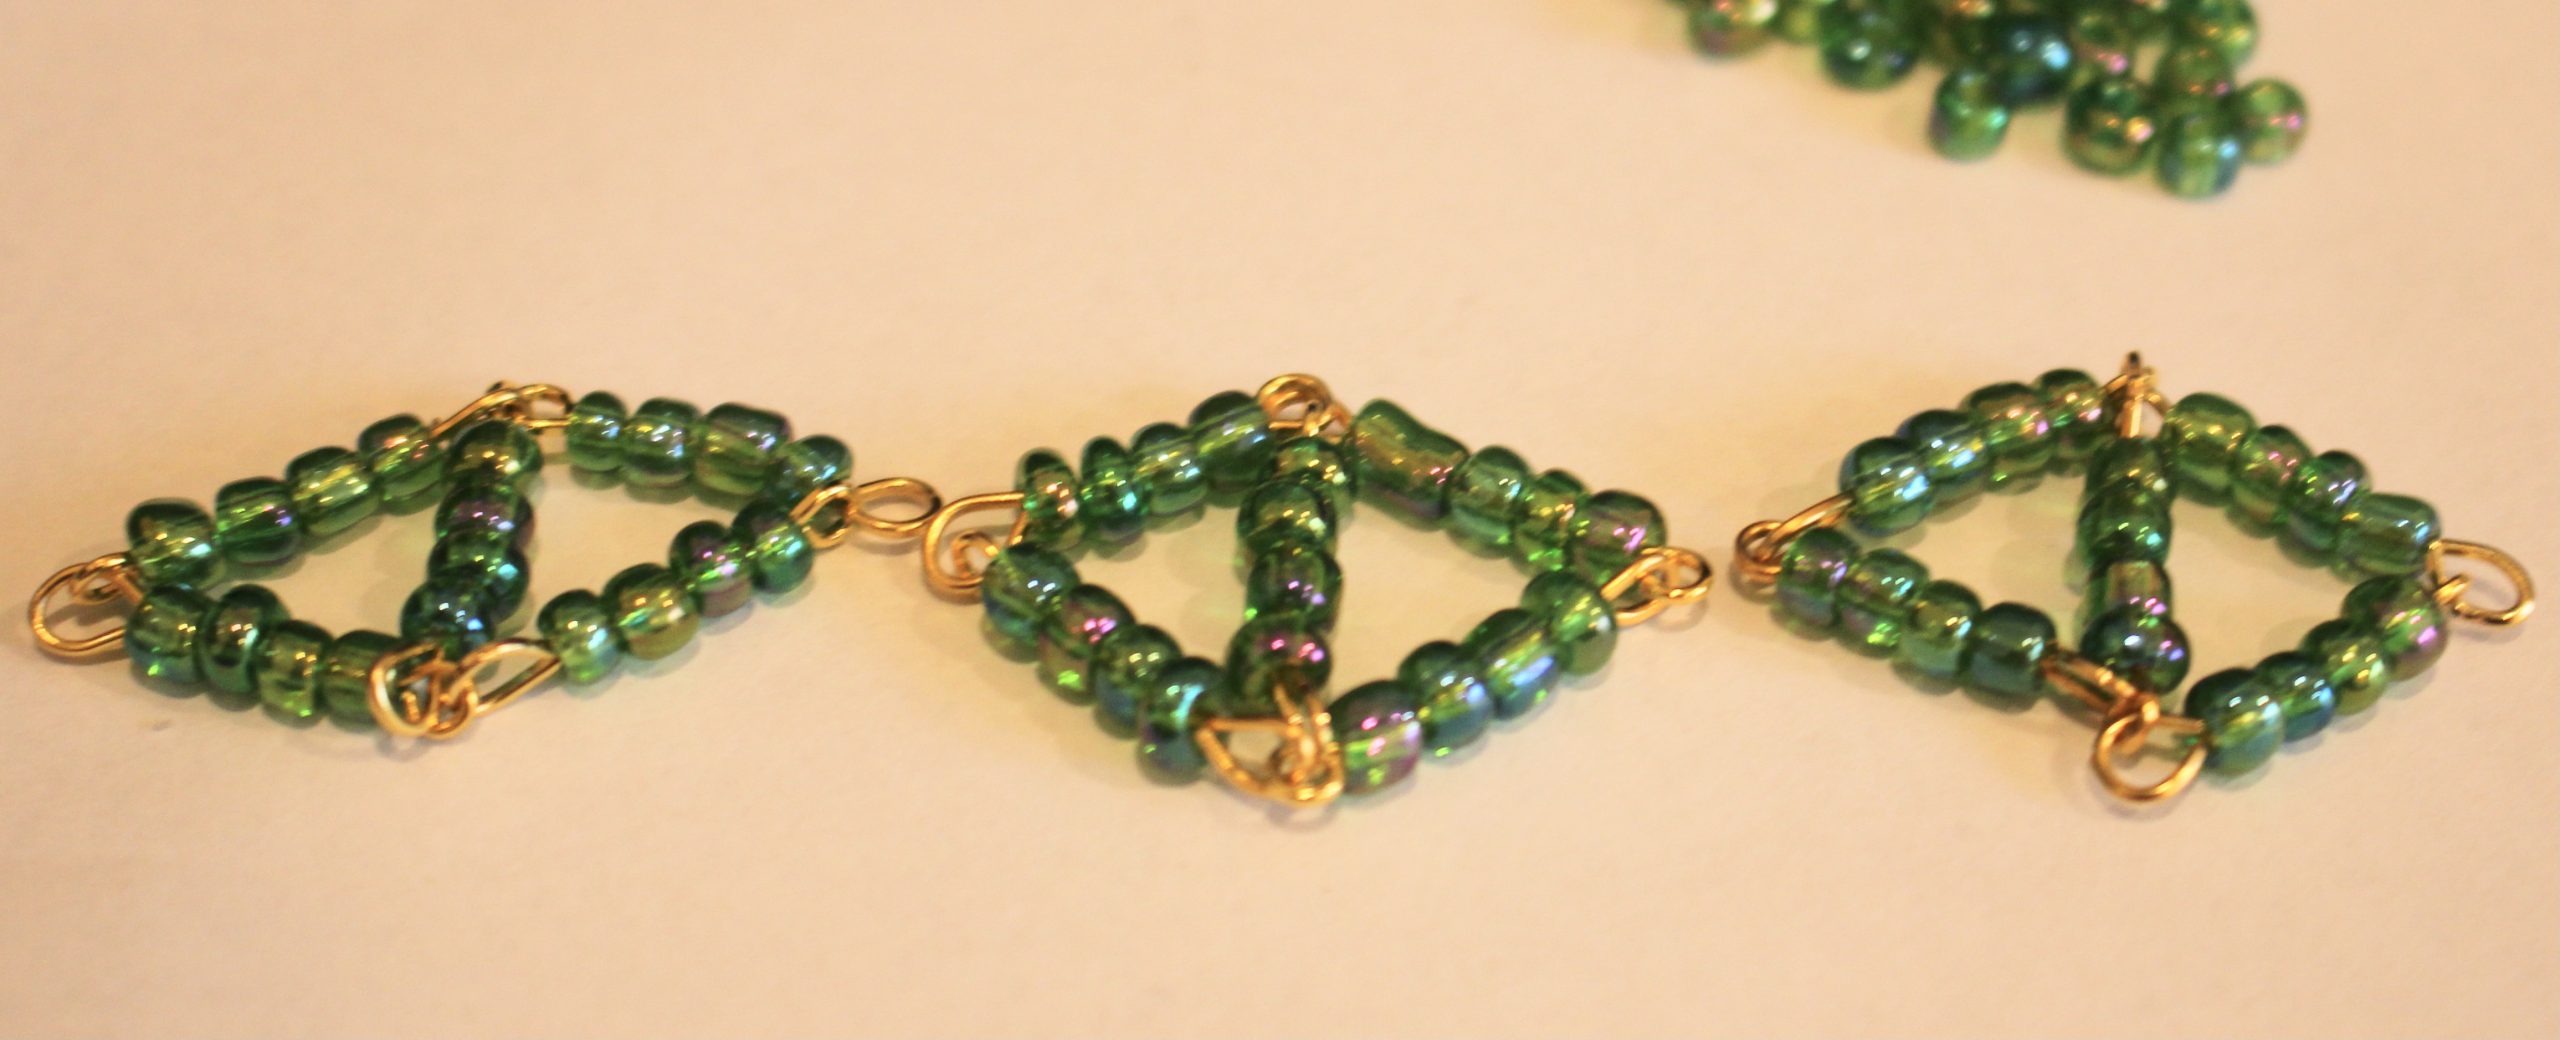
7: Continue steps 1-6 until you have created all your links.
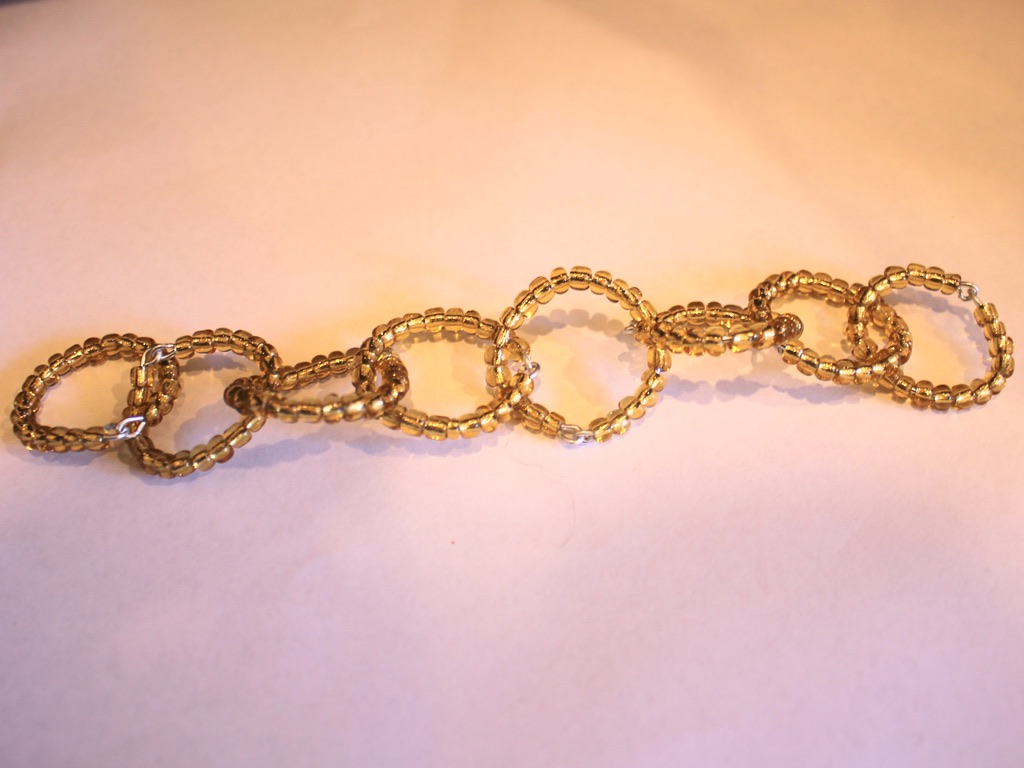
8: Take one of the end loops and rotate it so that the end loops face outward. Attach one of the jump rings and one side of the toggle clasp.
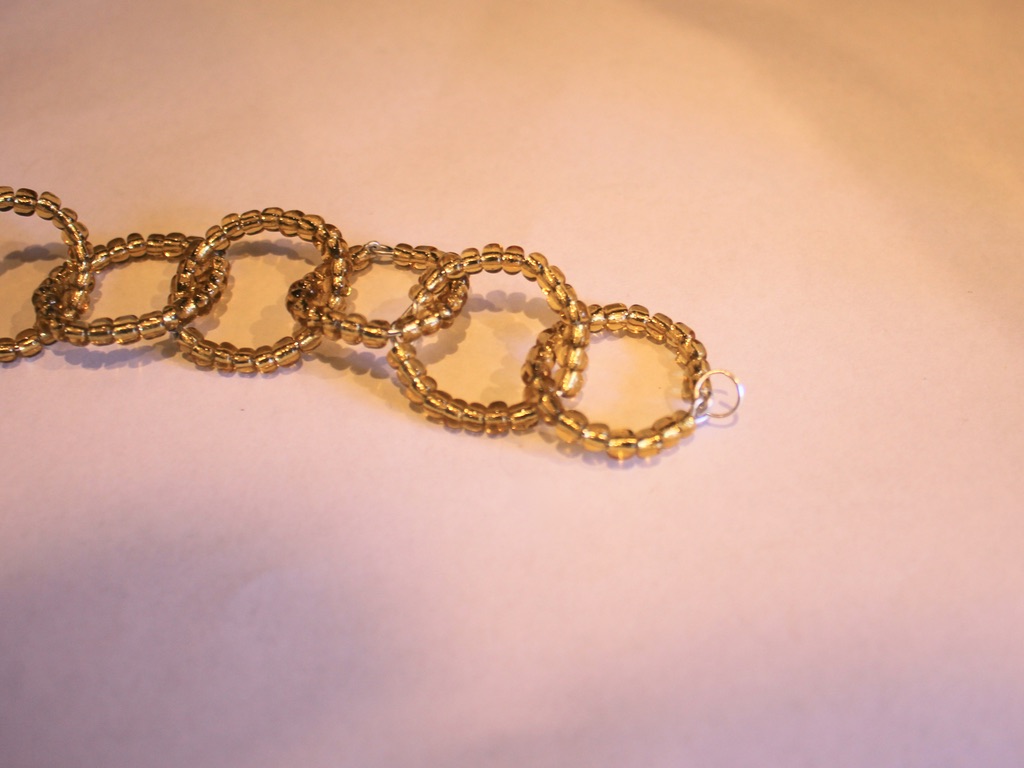
9: Attach the other side of the toggle clasp to the other end of the bracelet chain using the remaining jump ring.

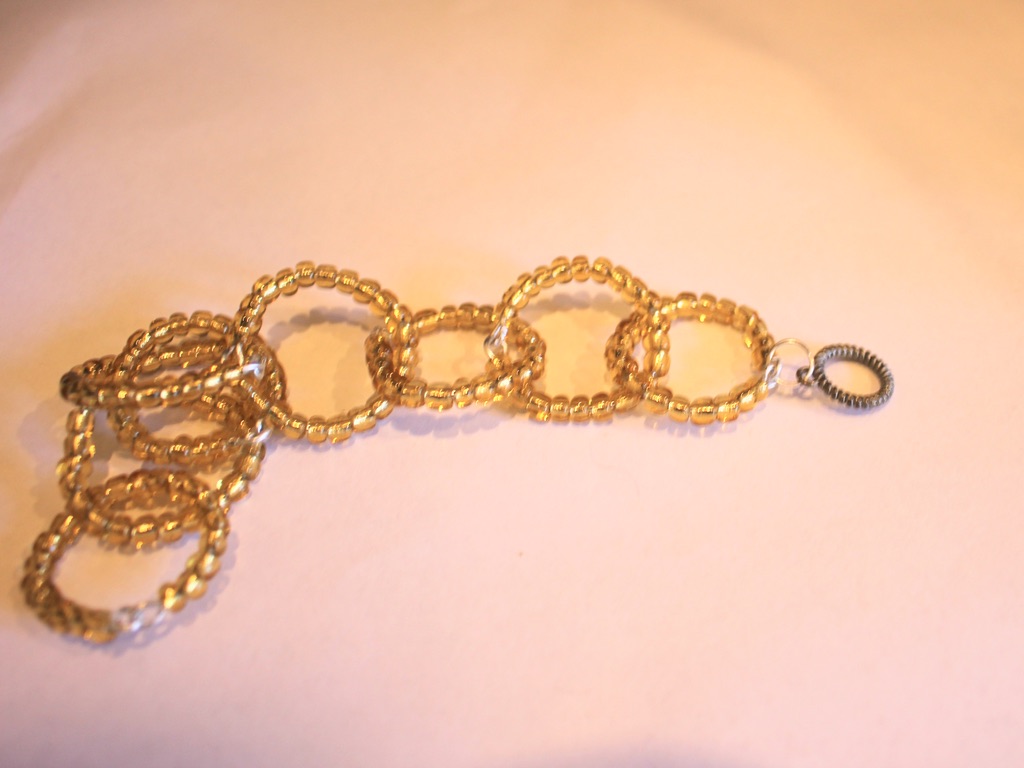
Now your bracelet is finished!


Here’s another one I made using green glass beads and soft thin wire.

This tutorial contains affiliate links.
-
Here are some romantic handmade jewelry ideas for Valentine’s Day.
Valentine’s day can be kind of cheesy and generic, but these handmade jewelry ideas will bring some sentimental value to your Valentine’s day gift for your lover! Here is a list of tutorials that you could follow to make some amazing and thoughtful Valentine’s day gifts.
Love heart earrings and a matching necklace


This one is kind of obvious, but what is more lovely for Valentine’s day than a set of love heart themed jewelry? Here are two tutorials that show you how you can made a pair of beaded love heart earrings and a matching pendant necklace. Here are the links:
Turn an old sentimental piece of costume jewelry into something new

This tutorial shows you how to transform an old costume ring into a pendant necklace. This idea is perfect for the sentimental lover who will appreciate being able to wear a piece of jewelry from their past in a new way. Here is the link.
For something a little sexy, why not make this bra chain harness?

This is perfect for adding a little spice to your V-Day celebrations. This harness is shiny and sexy! Find the link here.
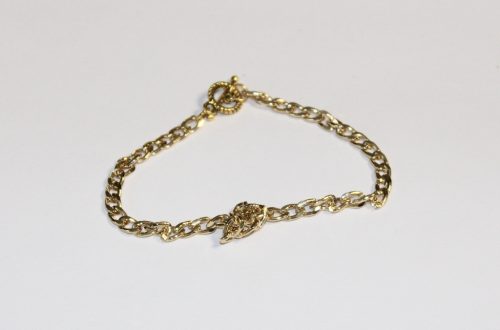
If you are short on time, here is a super easy bracelet DIY
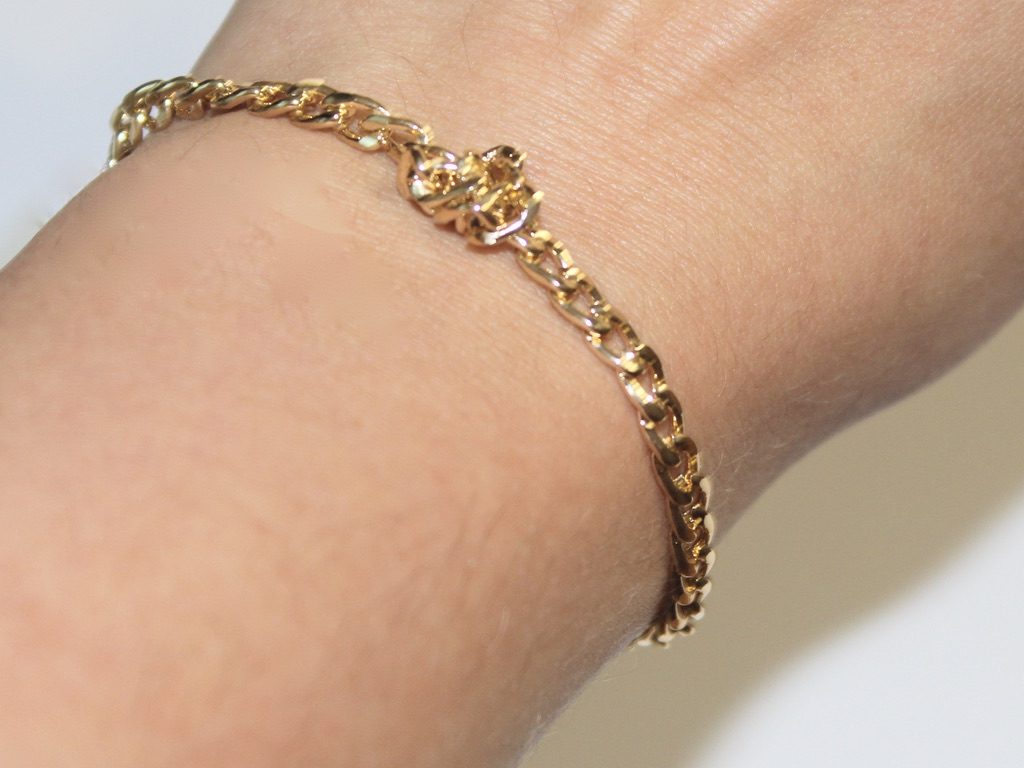
Make this bracelet for a quick but special handmade piece. This bracelet is super easy to make but looks great. Put it together when you have a few minutes and are in need of a handmade gift for your loved one. Here’s the link.
Make this peach anklet for the cheeky fun lover in your life!

The peach emoji has become synonymous with the butt. Celebrate your lover’s great bum with this peach charm anklet! Find the link here.