-
Here’s how to make some pearl wiggle charms to add to some charm connector earrings.
I love charm connector earring findings, because you can make your own unique charms to create a one of a kind pair of earrings. This tutorial shows you how to transform some silver wire into some playful pearl charms that add some personality to your earlobes!
Please note that this tutorial contains affiliate links for which we may receive a commission.
You’ll need the following tools and materials to make these earrings:
1: Two pieces of sterling silver wire with the ends filed, about 4cm long.

I used wire recycled from a previous project, but you can get some here:
2: Two half drilled pearls.

You can get pearls here:
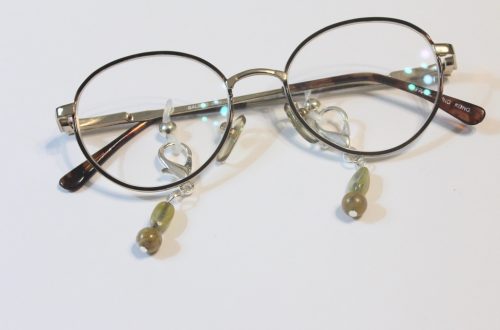
3: A pair of charm connector earrings. I used some peridot ones I made some time ago.

You can get some charm connector studs here:
4: A pair of flat nose pliers.

You can get some here:
5: A pair of parallel pliers.

You can get a pair of parallel pliers here:
6: A pair of round-flat pliers.

You can get a pair of flat-round pliers here:
7: Two part epoxy glue like Araldite or similar.

You can get some glue here:
8: A piece of scrap paper.

9: A skewer or toothpick for mixing the glue.

You can get some here:
10: A piece of scrap wire or something small to apply glue to the wire and pearl.

With all your tools and materials gathered, you can follow these steps to make your wiggly pearl earrings.
1: Use the parallel pliers to bend the tops of the wires to form a right angle.


2: Loop the bent ends of the wires into a circle shape using the round-flat pliers.


3: Grasp the wire between the jaws of the flat pliers and bend it to form an angle.

4: Then move the pliers down and bend the wire back in the opposite direction to form a zig-zag shape.

5: Continue making the wiggles until there is a little bit of the wire left. This will be the part that is glued into the pearl.


6: Push out some of the glue onto a piece of paper and mix it.


7: Add glue to the end of the wire and the pearl using the piece of scrap wire.


8: Place the wire into the pearl and wipe off any excess glue. Set the charms aside to dry.


9: Once your charms are dry and secure, use your pliers to attach the charms to the loops on the bottom of the charm connector earrings.


Once your charms are connected, your earrings are finished and ready to wear! So cute and unique. I can’t wait to wear these out!


-
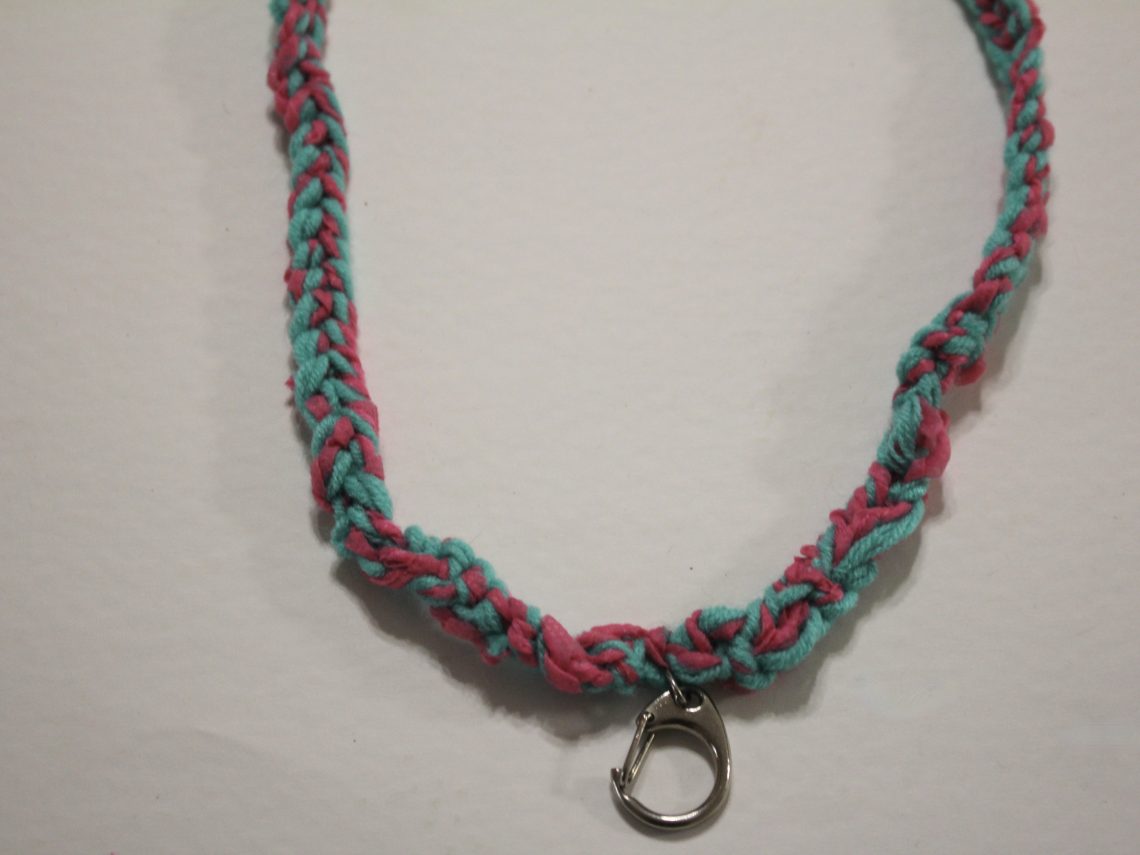
Here’s how to make a colorful crochet lanyard!
I have a teacher friend who loves a colourful lanyard, so this tutorial is inspired by her! This lanyard uses basic crochet combined with a large claw clasp to create a fun and practical accessory. I think this tutorial is a great way to use up scrap yarn and turn it into something useful. Please note that this tutorial contains affiliate links.
You’ll need these tools and materials to make this lanyard:
1: A crochet hook, large enough for chunky yarn. I used a 7mm hook.

2: Some yarn. I used three strands held together, two green strands and one pink strand.

Green yarn
Pink yarn
3: Scissors.

4: A darning needle.

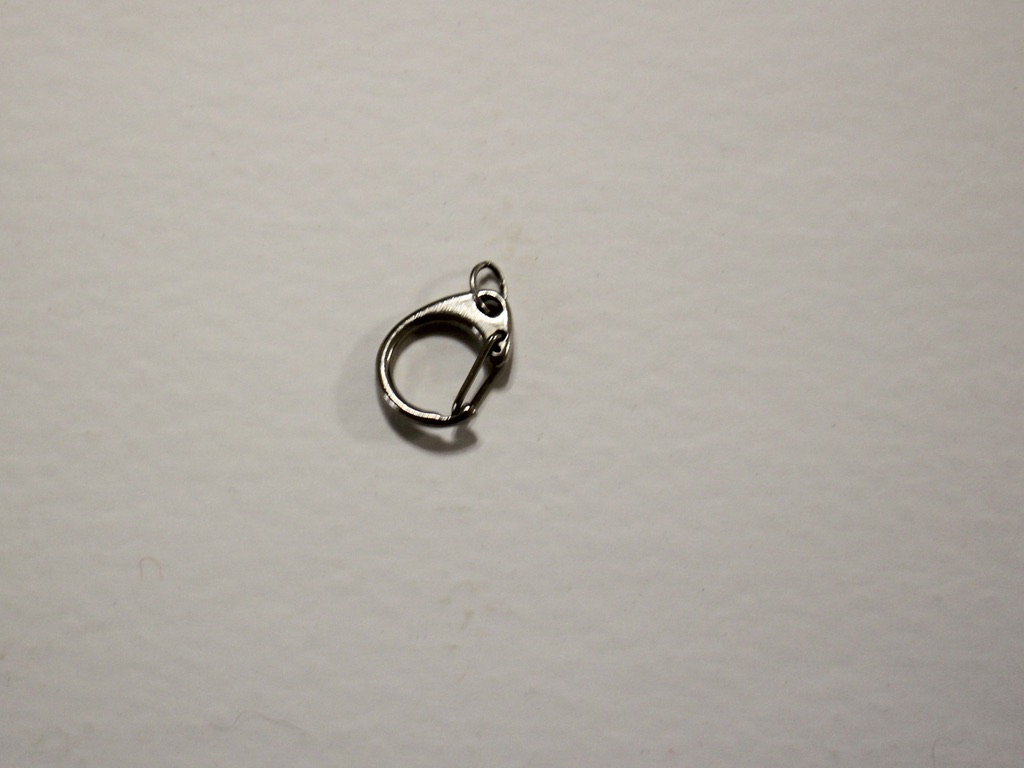
5: A large lobster claw or similar. I used this chunky one that was recycled from an old keychain.
Here are the steps to make your own crochet lanyard.
1: Gather the three strands together.

3: Create a slip knot.

4: Place the loop around the crochet hook and pull the short end of the yarn to tighten it around the loop.

5: Take the long end of the yarn and wrap it around the hook before the first loop you made.

6: Grab the first loop and pull it over the top of the yarn you just wrapped around the crochet hook. This will leave you with just one loop on the hook again.

7: Repeat steps 5 and 6 to start creating a single row of crochet. Here’s a video that shows you what that looks like.

8: Continue crocheting until you have a length you like.

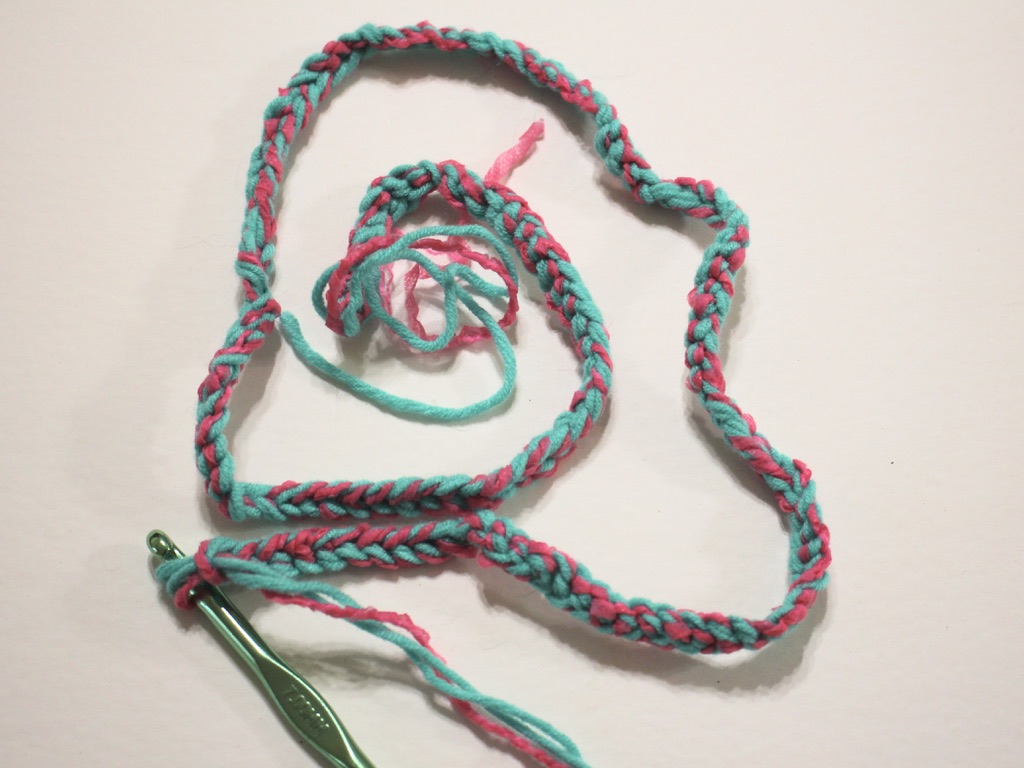
9: Cut the yarn leaving a reasonably long tail, about 15cm.

10: Remove the crochet hook and then loop the end of the yarn through the loop at the top.
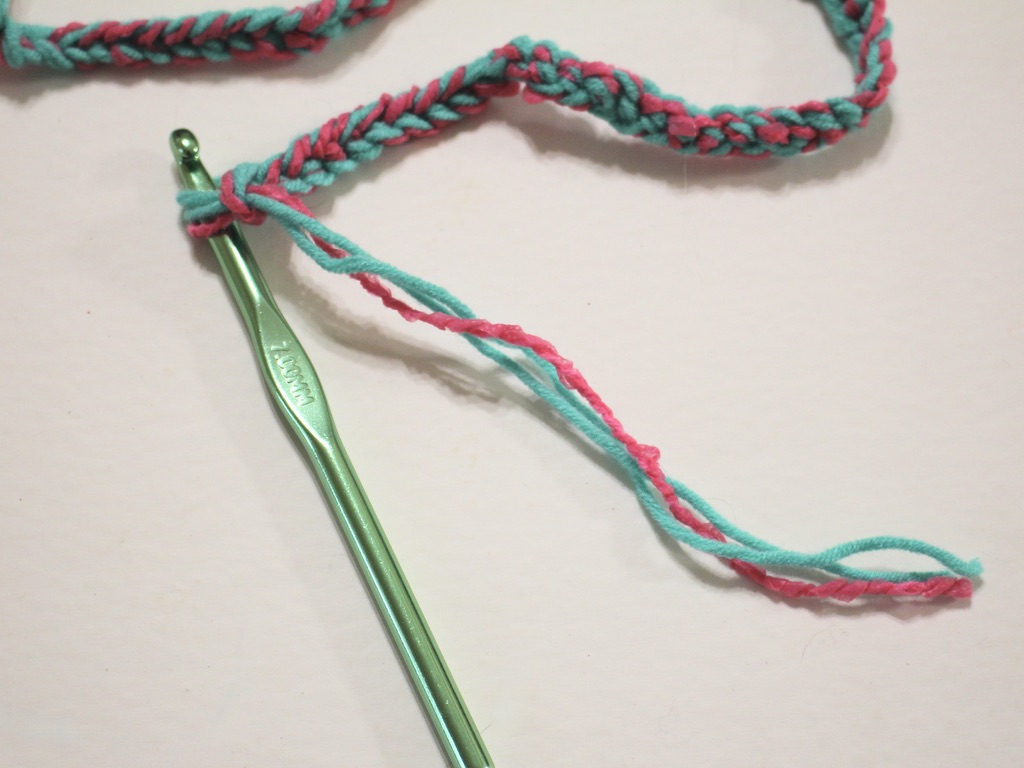
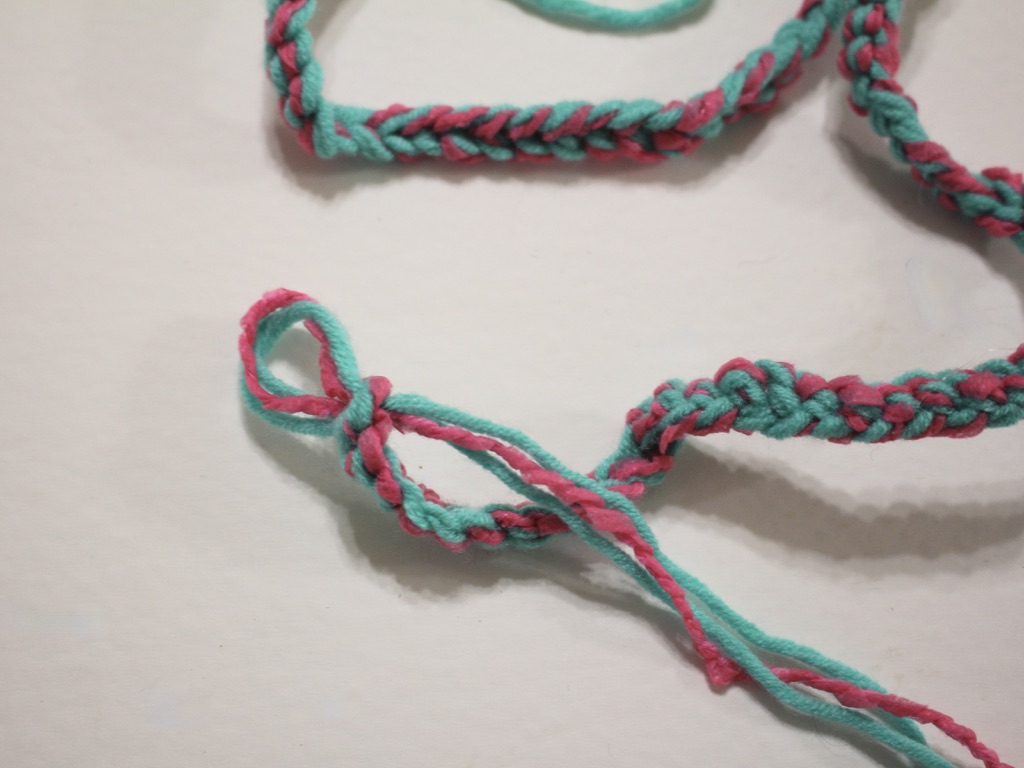
11: Pull the yarn tight to secure the end of the crochet cord closed.

12: Once you’ve got your preferred lanyard length and have the ends secured, take two of the strands (out of three) on each side and tie them together.


13: Use the needle to weave the paired threads through the crocheted part of the lanyard, trim the ends when you’re done. Do this for both sides of the lanyard.


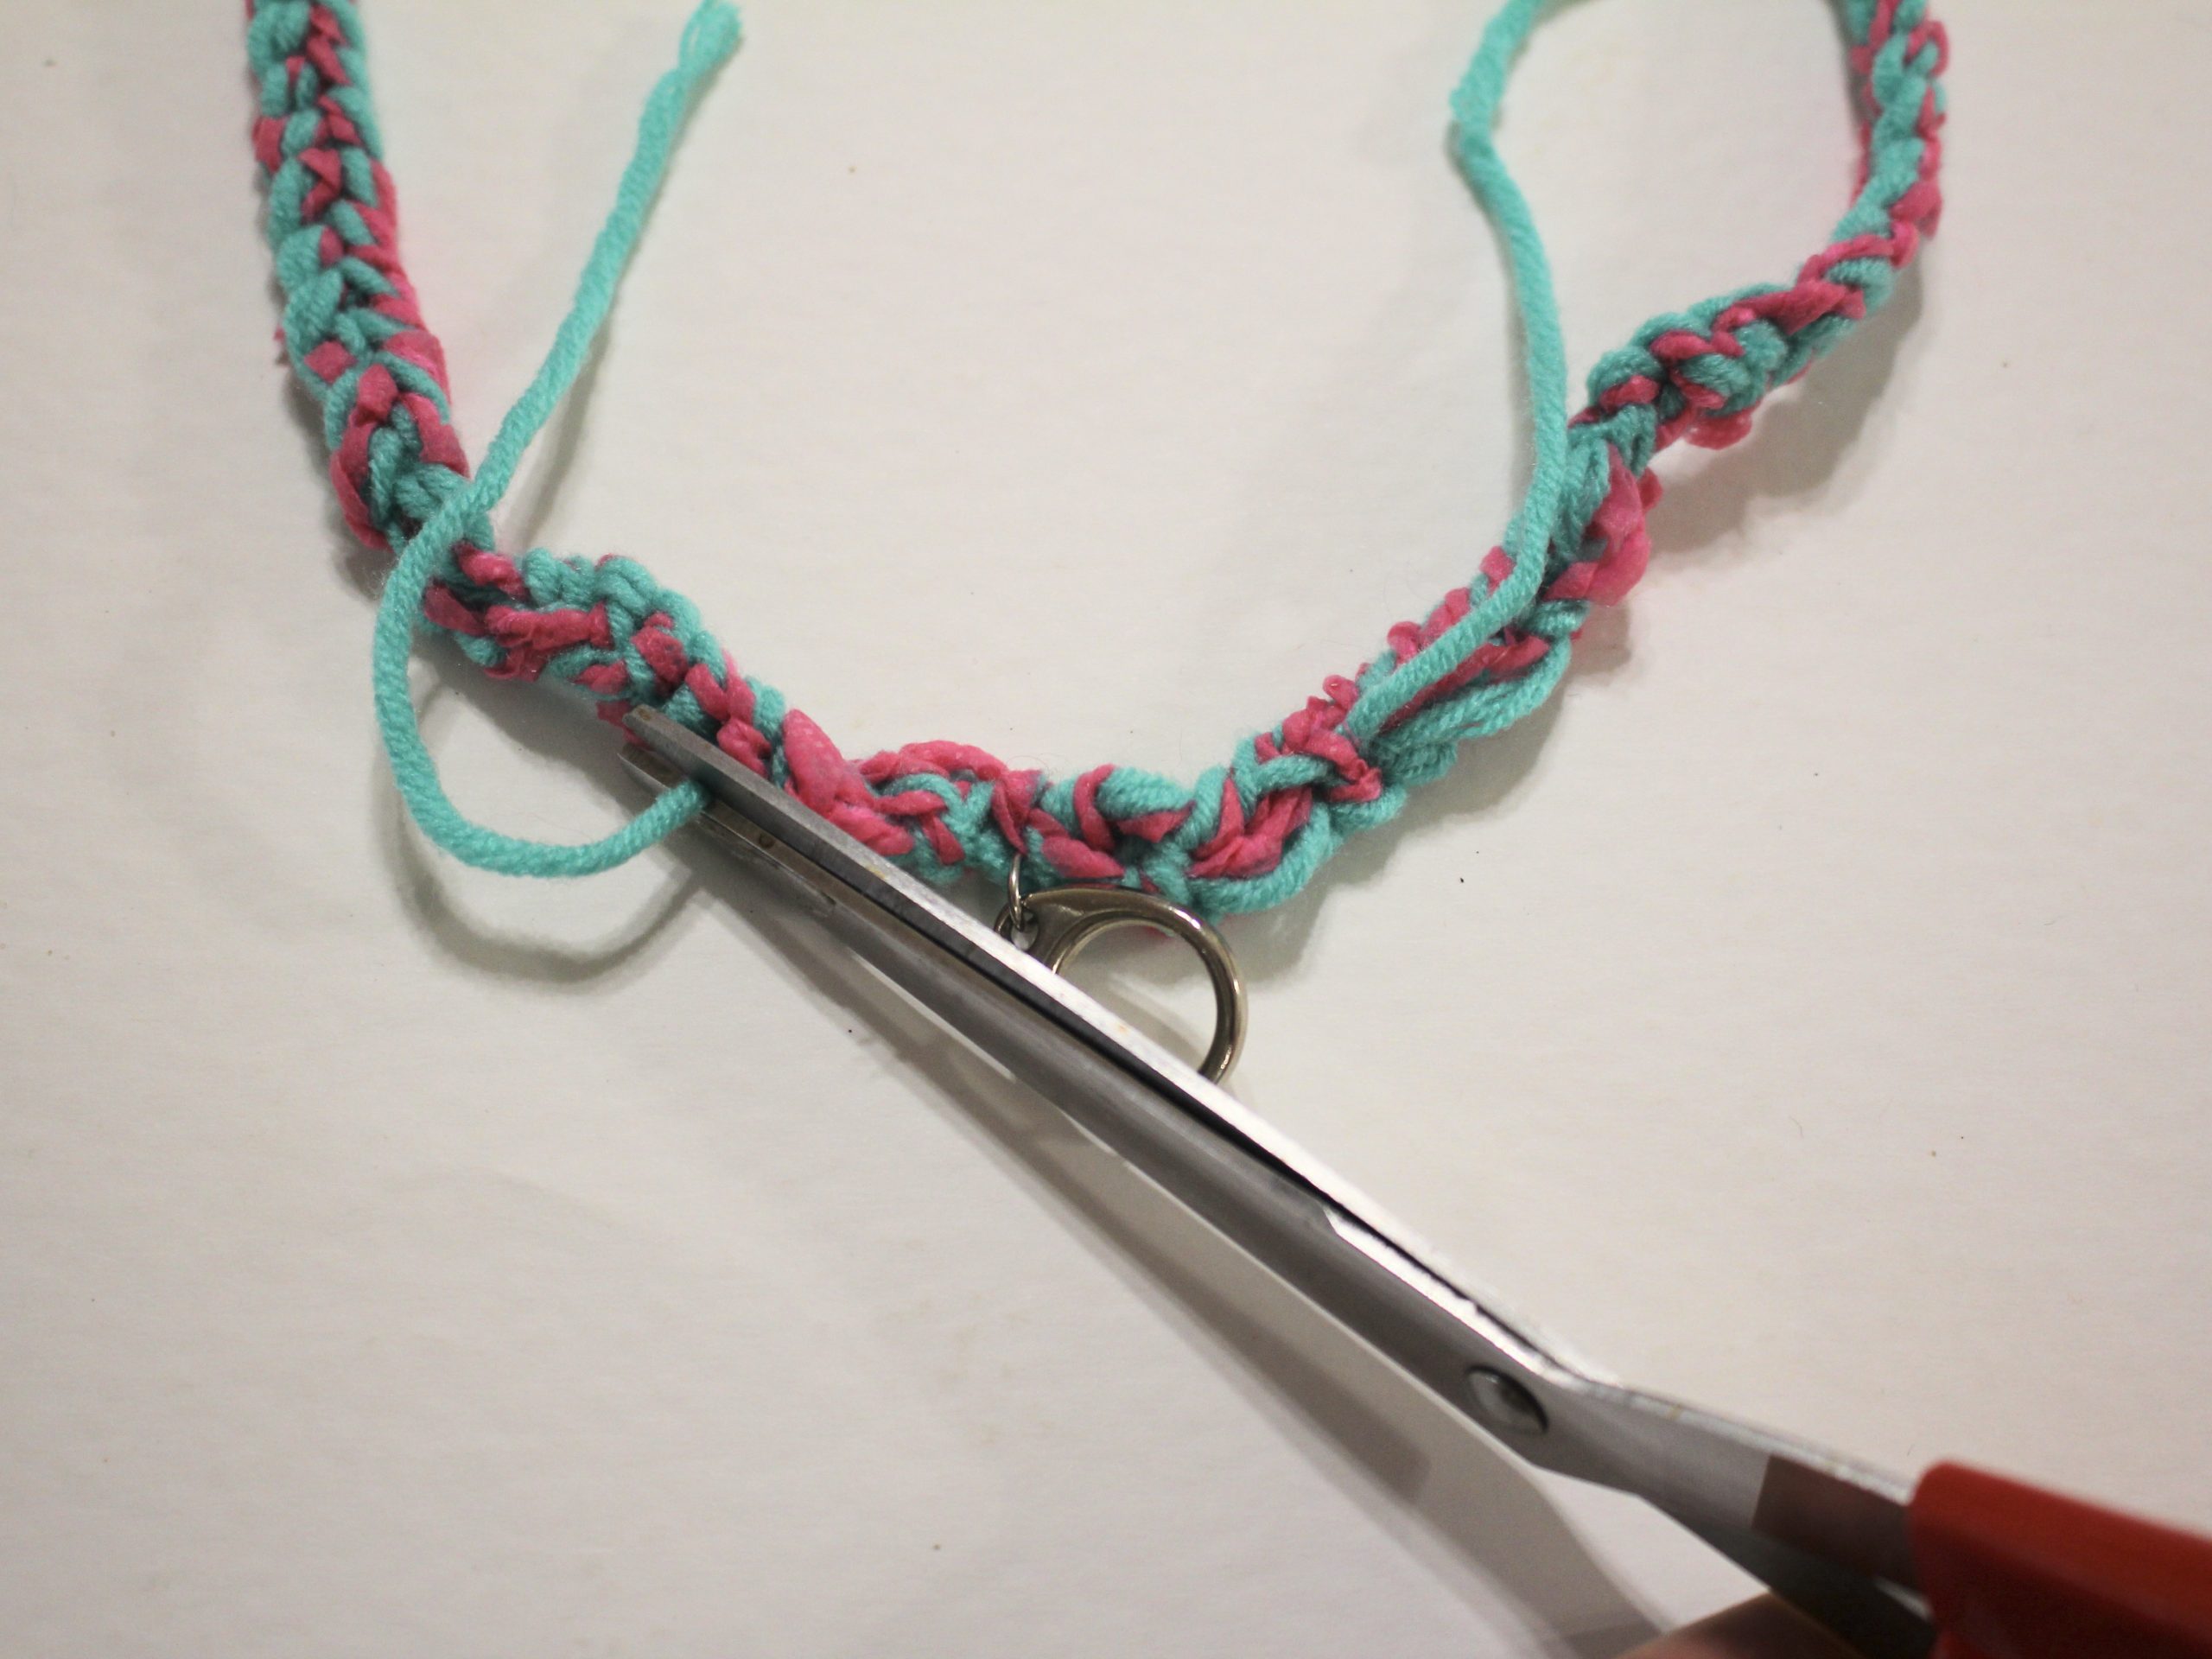
14: Use the remaining strands to tie the claw clasp to the lanyard. Do a couple of knots to secure it, and then use the needle again to weave in the ends. Trim any excess yarn.


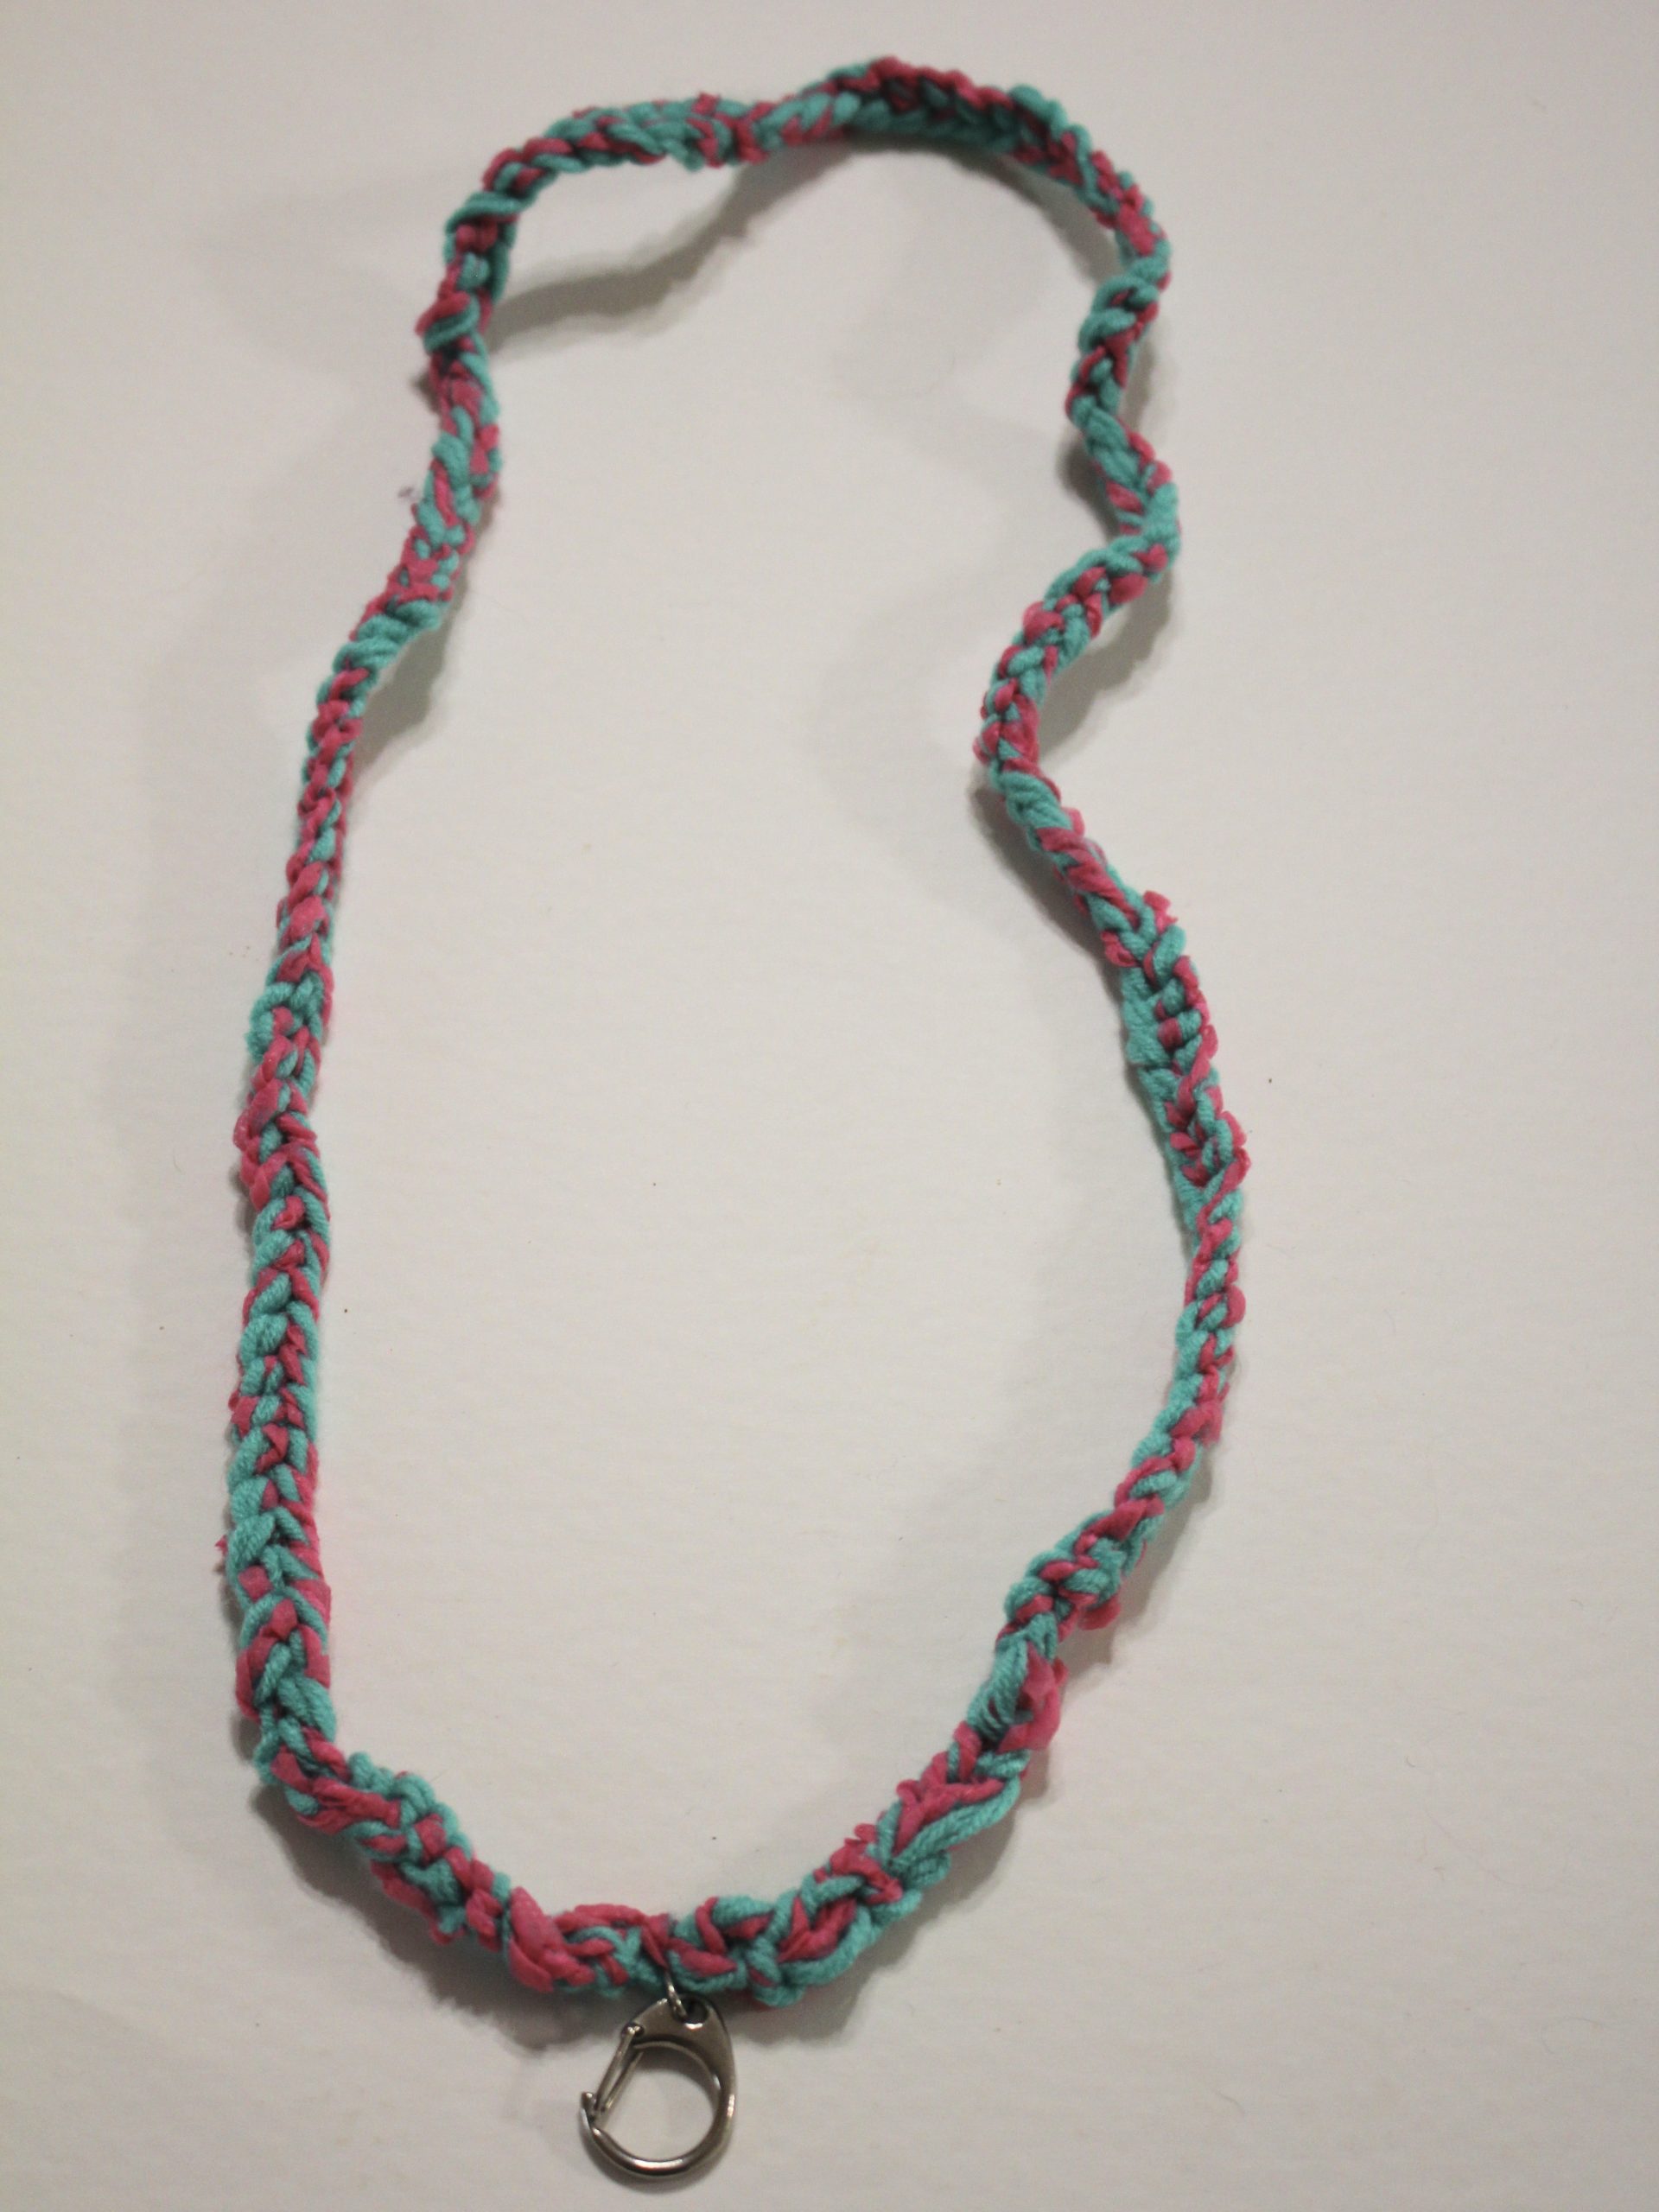
Once you’ve completed this step, your lanyard is ready to wear! Here’s what it looks like on using my needle sleeve as a sample ID 😉


What colours will your crochet your lanyard in? This is such a versatile technique, once you have your crochet base, you can add decorations by sewing in beads or buttons! You can even use a beaded yarn to add beads right from the start!
If you want to develop a lanyard collection, you can find out how to make a beaded lanyard here.
Here are some other yarn-based tutorials you can follow:
-
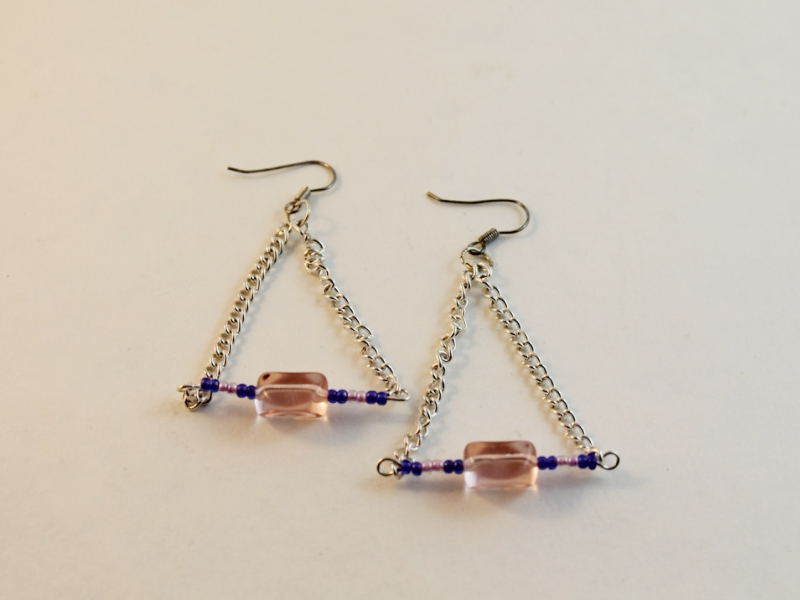
Here’s how to make a special pair of earrings using earring findings and beaded thread…
Here are some fun earrings you can construct at home! This is a great way to use the pieces of copper or brass that you created patina on using our salt and vinegar patina tutorials as well as some of your fave beads. Please note that this tutorial contains affiliate links.
You’ll need these tools and materials to make these earrings:
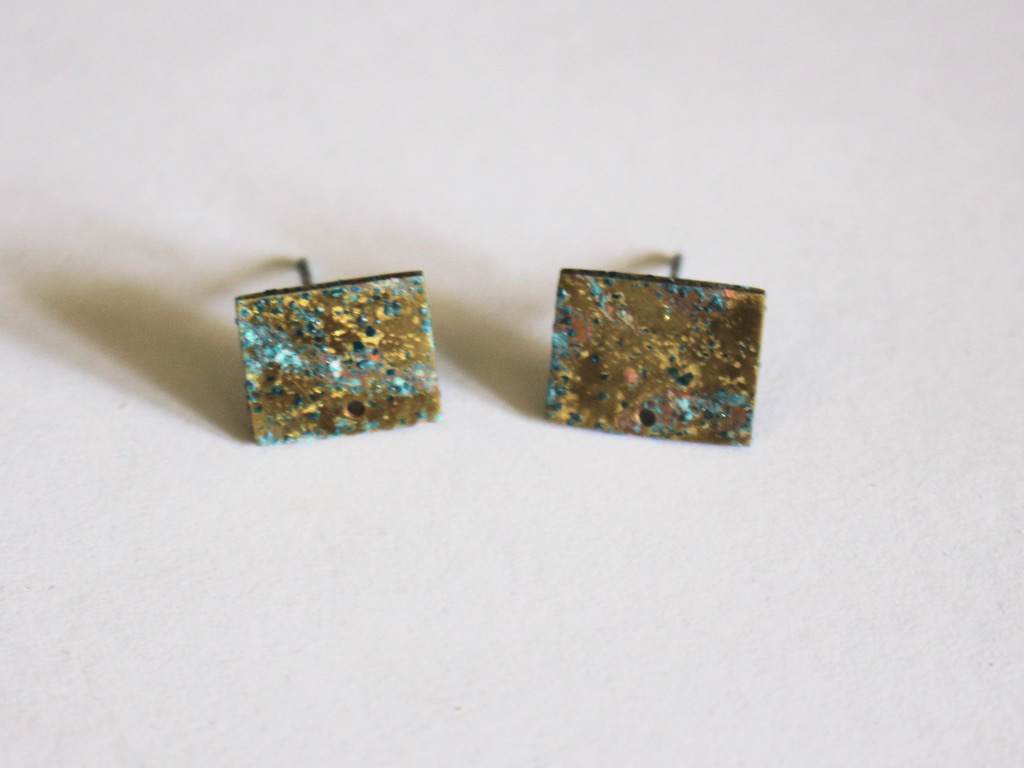
1: A pair of brass earrings with drilled holes or charm loops, I used these ones I made a while ago.
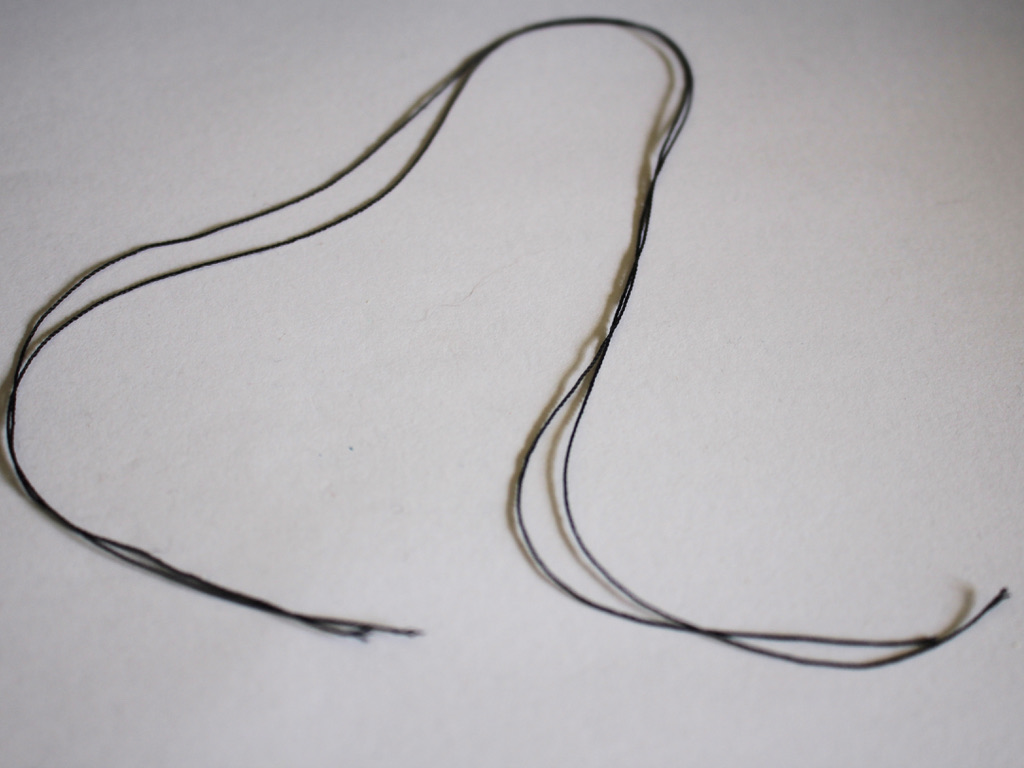
2: Some nylon beading thread. I used two scrap pieces about 30cm long.
3: A beading needle with a thin loop of thread attached to it.

4: Beads. I used these purple and blue glass seed beads.

5: Jump rings. I used two copper jump rings.

6: Scissors.
7: Super glue.
8: Pliers.

Follow these steps to make your cute pair of earrings:
1: Close both of the jump rings using your pliers.
2: Fold one of the pieces of thread in half and loop it around the jump ring.

3: Tie some additional knots to secure the thread to the jump ring.

4: Pull the thread through the loop at the bottom of the needle.

5: Begin adding beads to the string in your chosen pattern.


6: Continue adding beads until you have a length you like, I made mine about 7cm long.

7: Tie a knot at the end of the thread to secure the beads onto the thread.

8: Tie the end of the thread onto the jump ring to form a loop, thread it through the jump ring and tie a couple of knots to secure it.

9: Trim the excess thread using scissors.

10: Add a dab of superglue to both knots to secure them.

11: Repeat steps 2-10 for the second beaded loop.

12: Open the jump rings and thread them through the earring findings. Close the jump rings using your pliers to secure them in place.

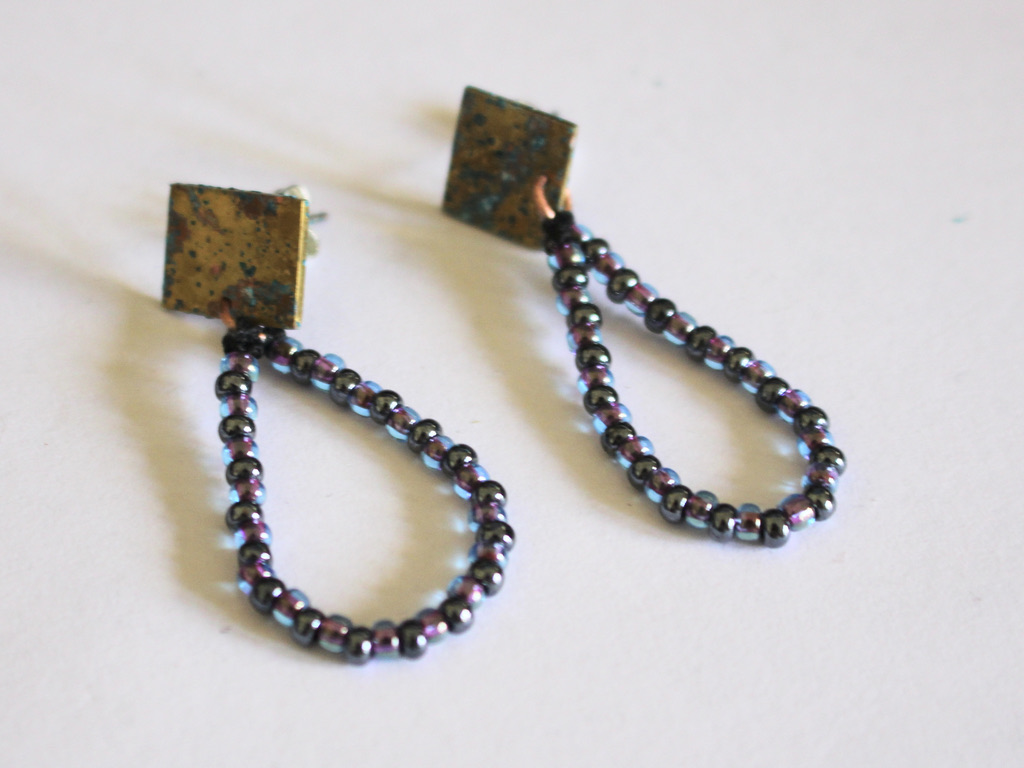
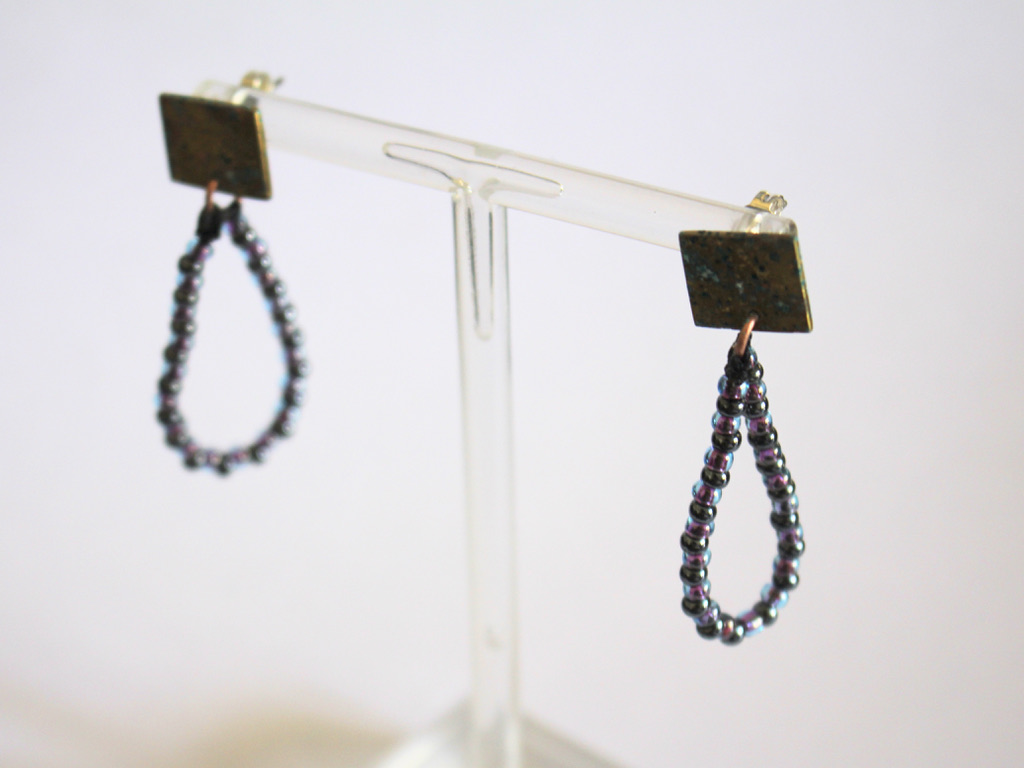
Now your earrings are finished and ready to wear! How fun is this design?


You May Also Like
How to make a super simple pair of earrings! These are perfect for people who don’t like heavy earrings.

You Can Never be Wearing too Many Pom Poms! Make These Adorable Pom Pom Ear Jacket Earrings
I’m not sure what to call this design, but it sure is cute! Here’s a new beaded earring tutorial.
-
Here’s how to patina brass charms using salt and vinegar…
I’ve already shown you how to turn copper green using salt and vinegar, and the same process can be used on brass! Brass has a high copper content, so it can develop a nice patina when you put it in a container with salt and vinegar, simple ingredients that you can find easily at the supermarket. This is a fun way to add some character and interesting patterns to your metal jewelry designs! Please note that this tutorial contains affiliate links.
You’ll need these tools and materials to do this patina process:
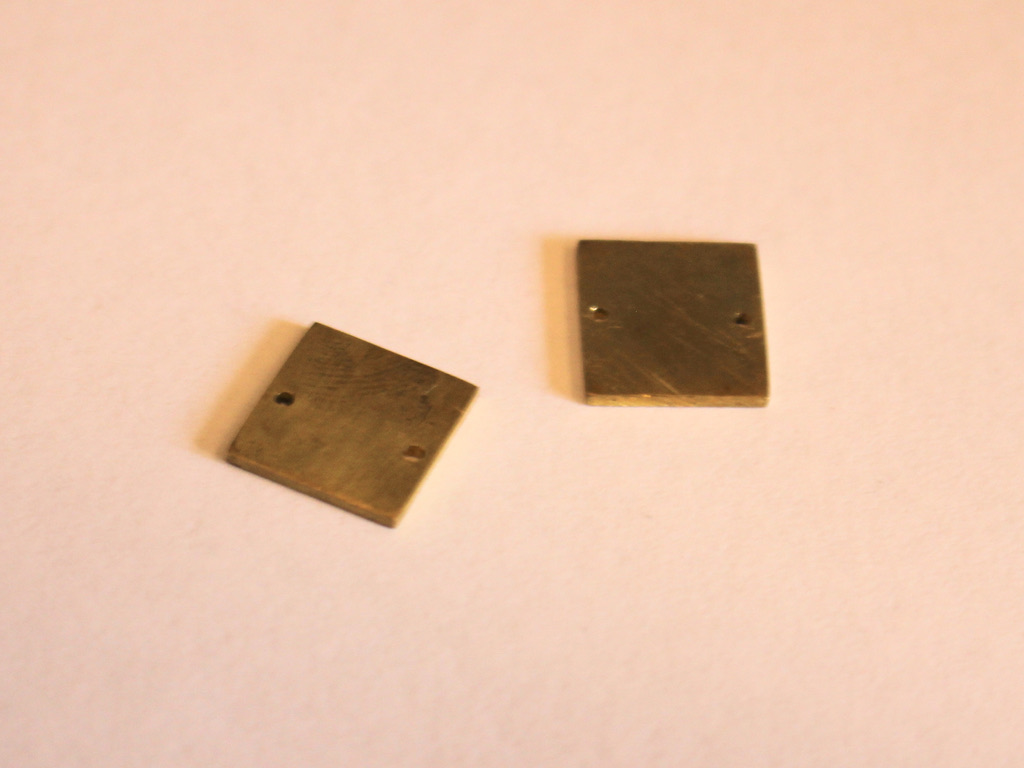
1: Brass charms. I used these brass charms that I made a while ago.
2: A plastic container. I used a recycled takeaway container with a lid.

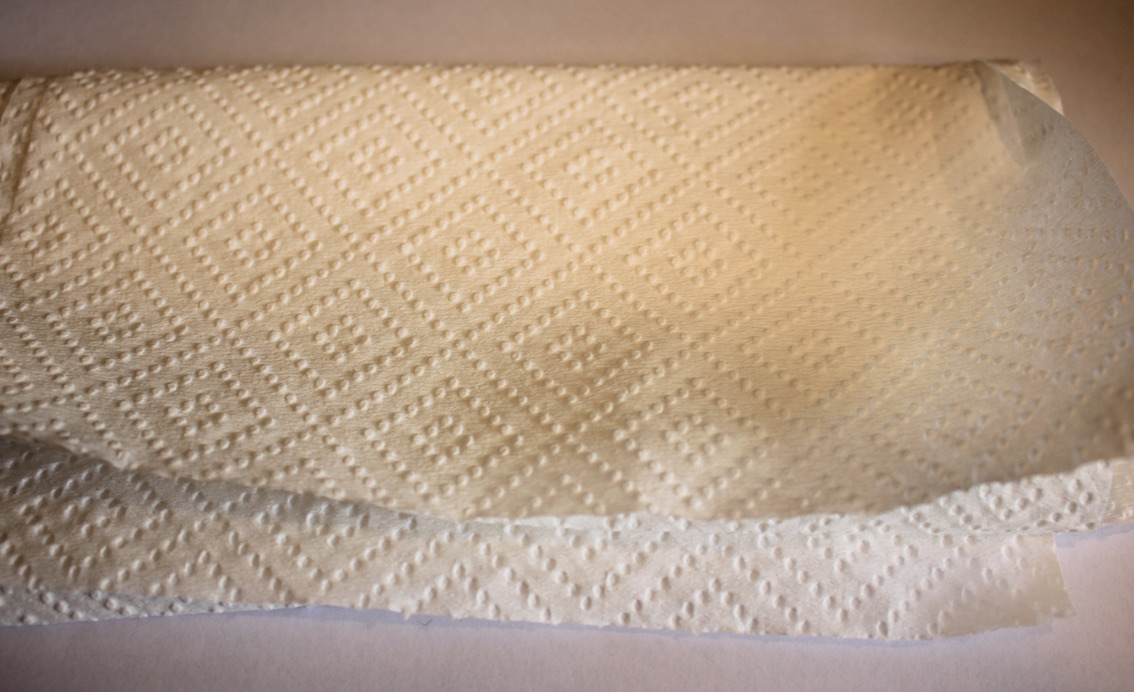
3: Paper towels. I haven’t tried it with reusable cloth, but I bet that would work too!

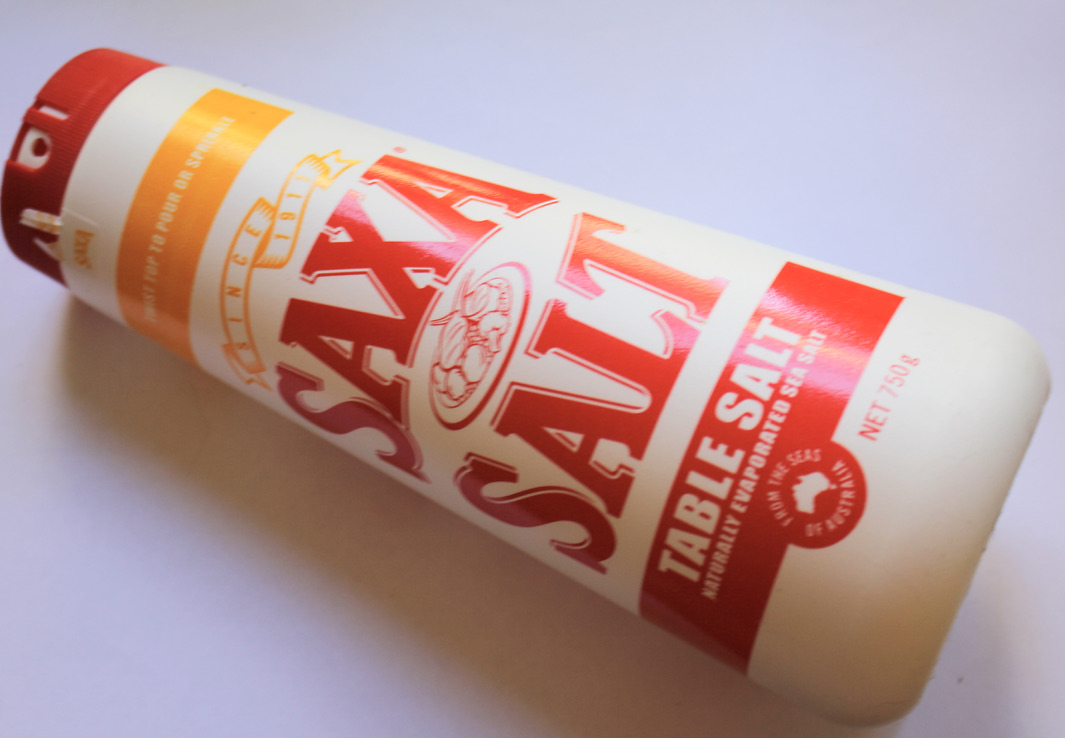
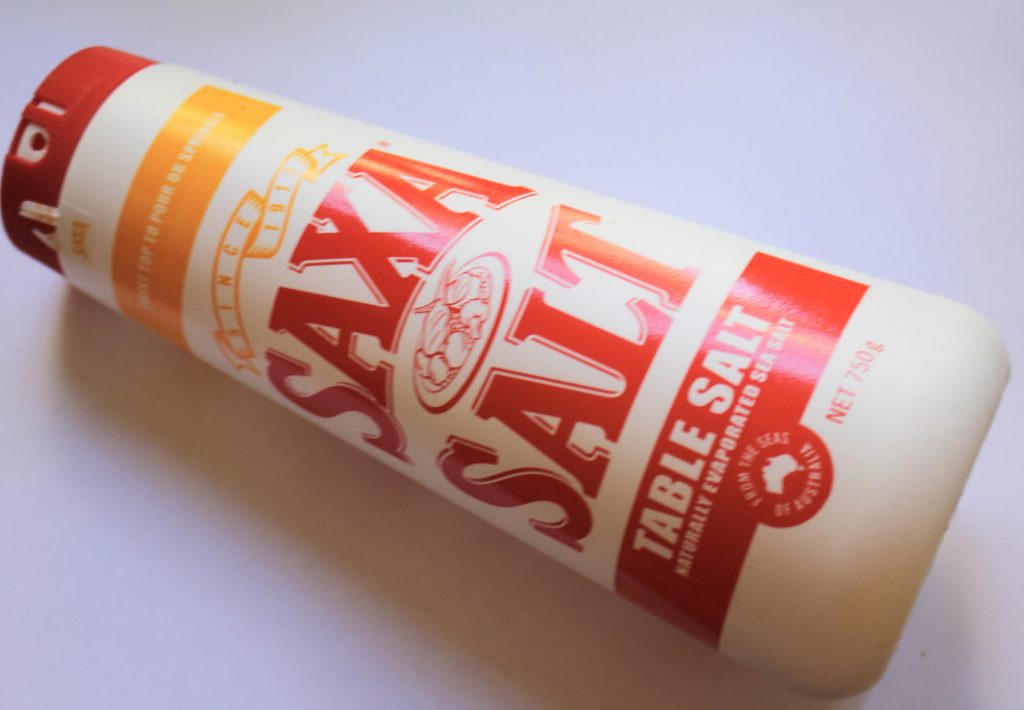
4: Salt.
5: Vinegar. I used white vinegar for this process.

Follow these steps to add patina to your brass charms:
1: Put the paper towel in the container.
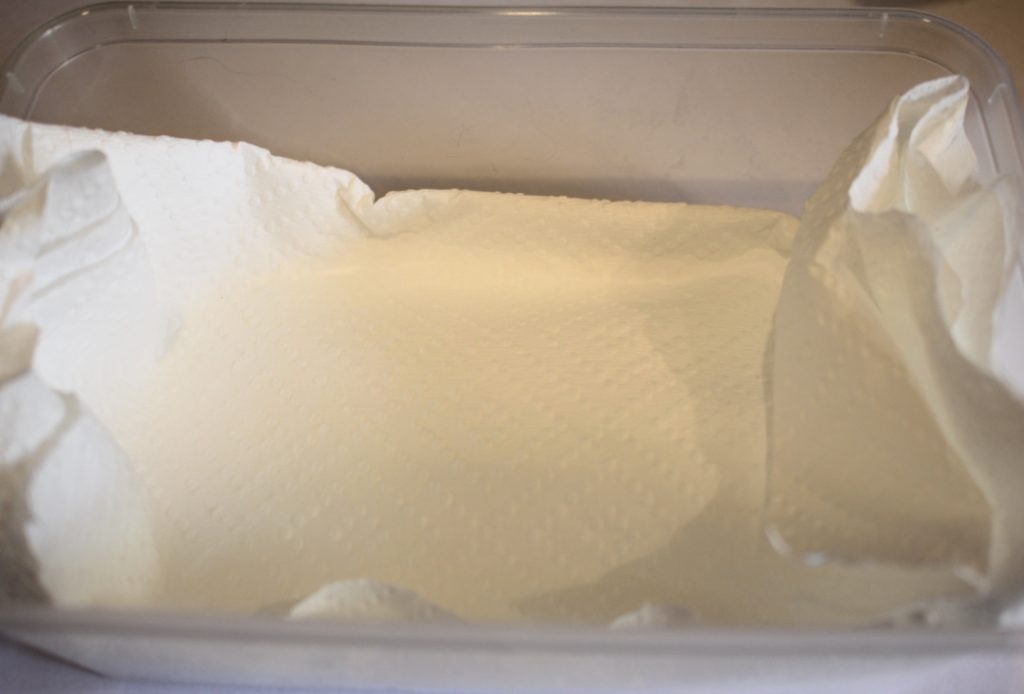
2: Add a dash of vinegar to the paper towel.

3: Sprinkle some salt over the top.

4: Put the charms in the container and put the lid on. Set this container aside for a while, maybe overnight, to allow the patina to develop.
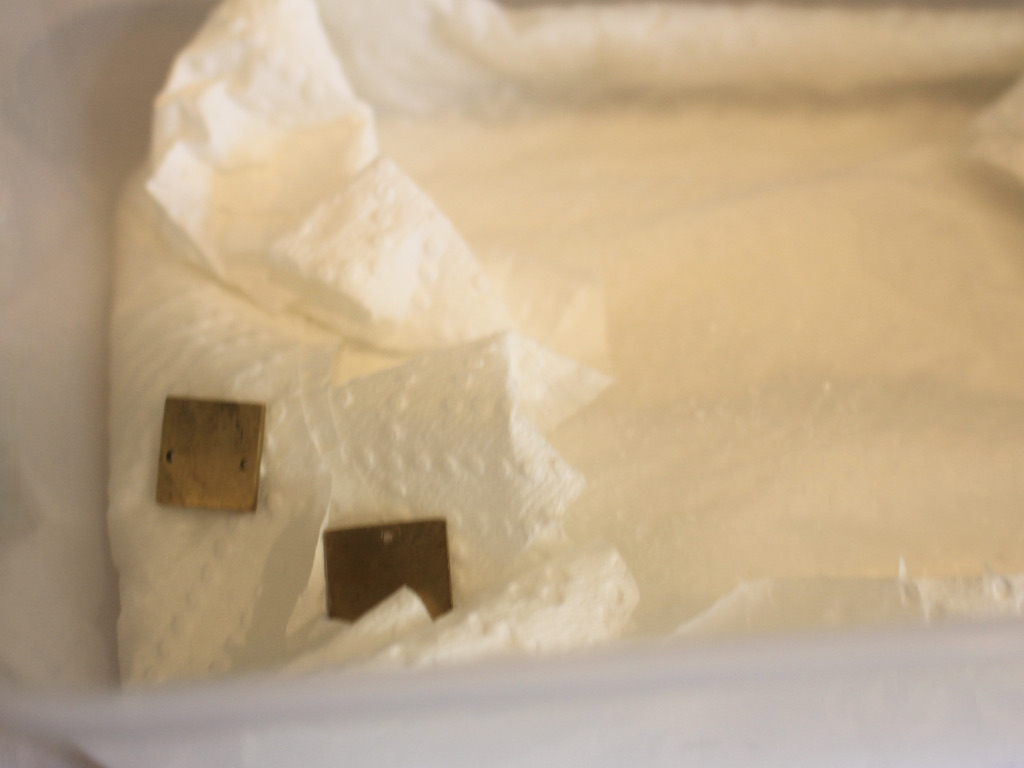
5: Once the charms have a patina you like, take them out of the container and wipe them down gently using more paper towel.


Isn’t it interesting to see how the patina will develop?! this one formed a lot around the grains of salt. Now you can use them in your jewelry designs! Please note that the patina can be delicate, so you can protect it using a product like renaissance wax.
-
How to make a beaded necklace with cute little bead charms!
This is a cute little piece that looks great layered with chains! Use some fun gemstone beads to add some pizazz to your design. Please note that this tutorial contains affiliate links.
You’ll need these tools and materials to make this necklace:
1: Some tiger tail wire long enough to fit around your neck, plus some extra.

2: A set of pliers. I used my cutting pliers (left), flat nose pliers (right) and round nose pliers (middle).
3: Some glass beads. I used these green glass e-beads.

4: Some statement beads. I used 5 stone beads.

5: Four crimp beads.

6: Two jump rings.

7: Five head pins.

8: A lobster clasp.

Follow these steps to make your beaded charm necklace:
1: Add each of the statement beads to each of the head pins.

2: Curl the tops of each pin using the round nose pliers. This will keep the bead in place.


3: Set the charms aside.
4: Put two of the crimp beads onto the tiger tail wire.

5: Add one of the jump rings.
6: Loop the wire around the jump ring and back through the crimp beads. Pull the wire tight.

7: Squash the crimp beads using the flat nose pliers.


8: Begin adding beads to the wire.

9: Bead until you get to a length you like, before the middle of the wire.

10: Add the first bead charm from the set you made earlier.

11: Add some more glass beads and then add another bead charm.

12: Continue adding charms in your chosen pattern until they are all in place.


13: And now you can add the glass beads until your necklace is at the right length and is beaded evenly so that the bead charms are at the bottom.


14: Add the second pair of crimp beads and the jump ring.

15: Loop the wire around the jump ring and back through the crimps and the last few beads on the strand.

16: You should now pull the wire tight and squash the crimps with the flat nose pliers.


17: Now you can trim the excess wire with cutting pliers.

18: Open one of the jump rings and attach the lobster clasp. Close the ring to secure the clasp in place.


So now your necklace is finished and ready to wear! So so cute. What necklaces will you layer yours with?


Or maybe you’ll wear it as a statement on its own?!


-
How to add cute charms to a pair of hoop earrings… these charm hoops are perfect!
This is a simple DIY that looks really cute! Update a pair of hoops with some adorable glass star beads that dangle from the centre. I really like how these hoops show off the cutest little stars. As an added bonus, these are really simple to put together, giving you that instant gratification hit! Please note that this tutorial contains affiliate links.
You’ll need the following tools and materials to make your charm hoops:
1: Pliers. I used my round nose pliers.

2: A pair of hoop earrings. I used these gold-tone hoops with lever backs.

3: A pair of head pins.

4: A couple of beads, I used these green star beads.

Follow these steps to make your charm hoop earrings:
1: Add each of the beads to each of the pins.

2: Bend the pins around the barrel of the round nose pliers to form a loop.


3: Slide each of the charms onto the hoops to finish off the earrings!


Now they’re ready to wear! How cute are these little charm hoops? I love them!


Here are some other charm hoop earrings you can make:
You May Also Like

How to Make Beaded Tassel Earrings, Because This Tassel Is Worth the Hassel
I’m not sure what to call this design, but it sure is cute! Here’s a new beaded earring tutorial.

Got a pair of dangly earrings you aren’t quite in love with? This tutorial shows you how you can swap earring hooks for studs.
-
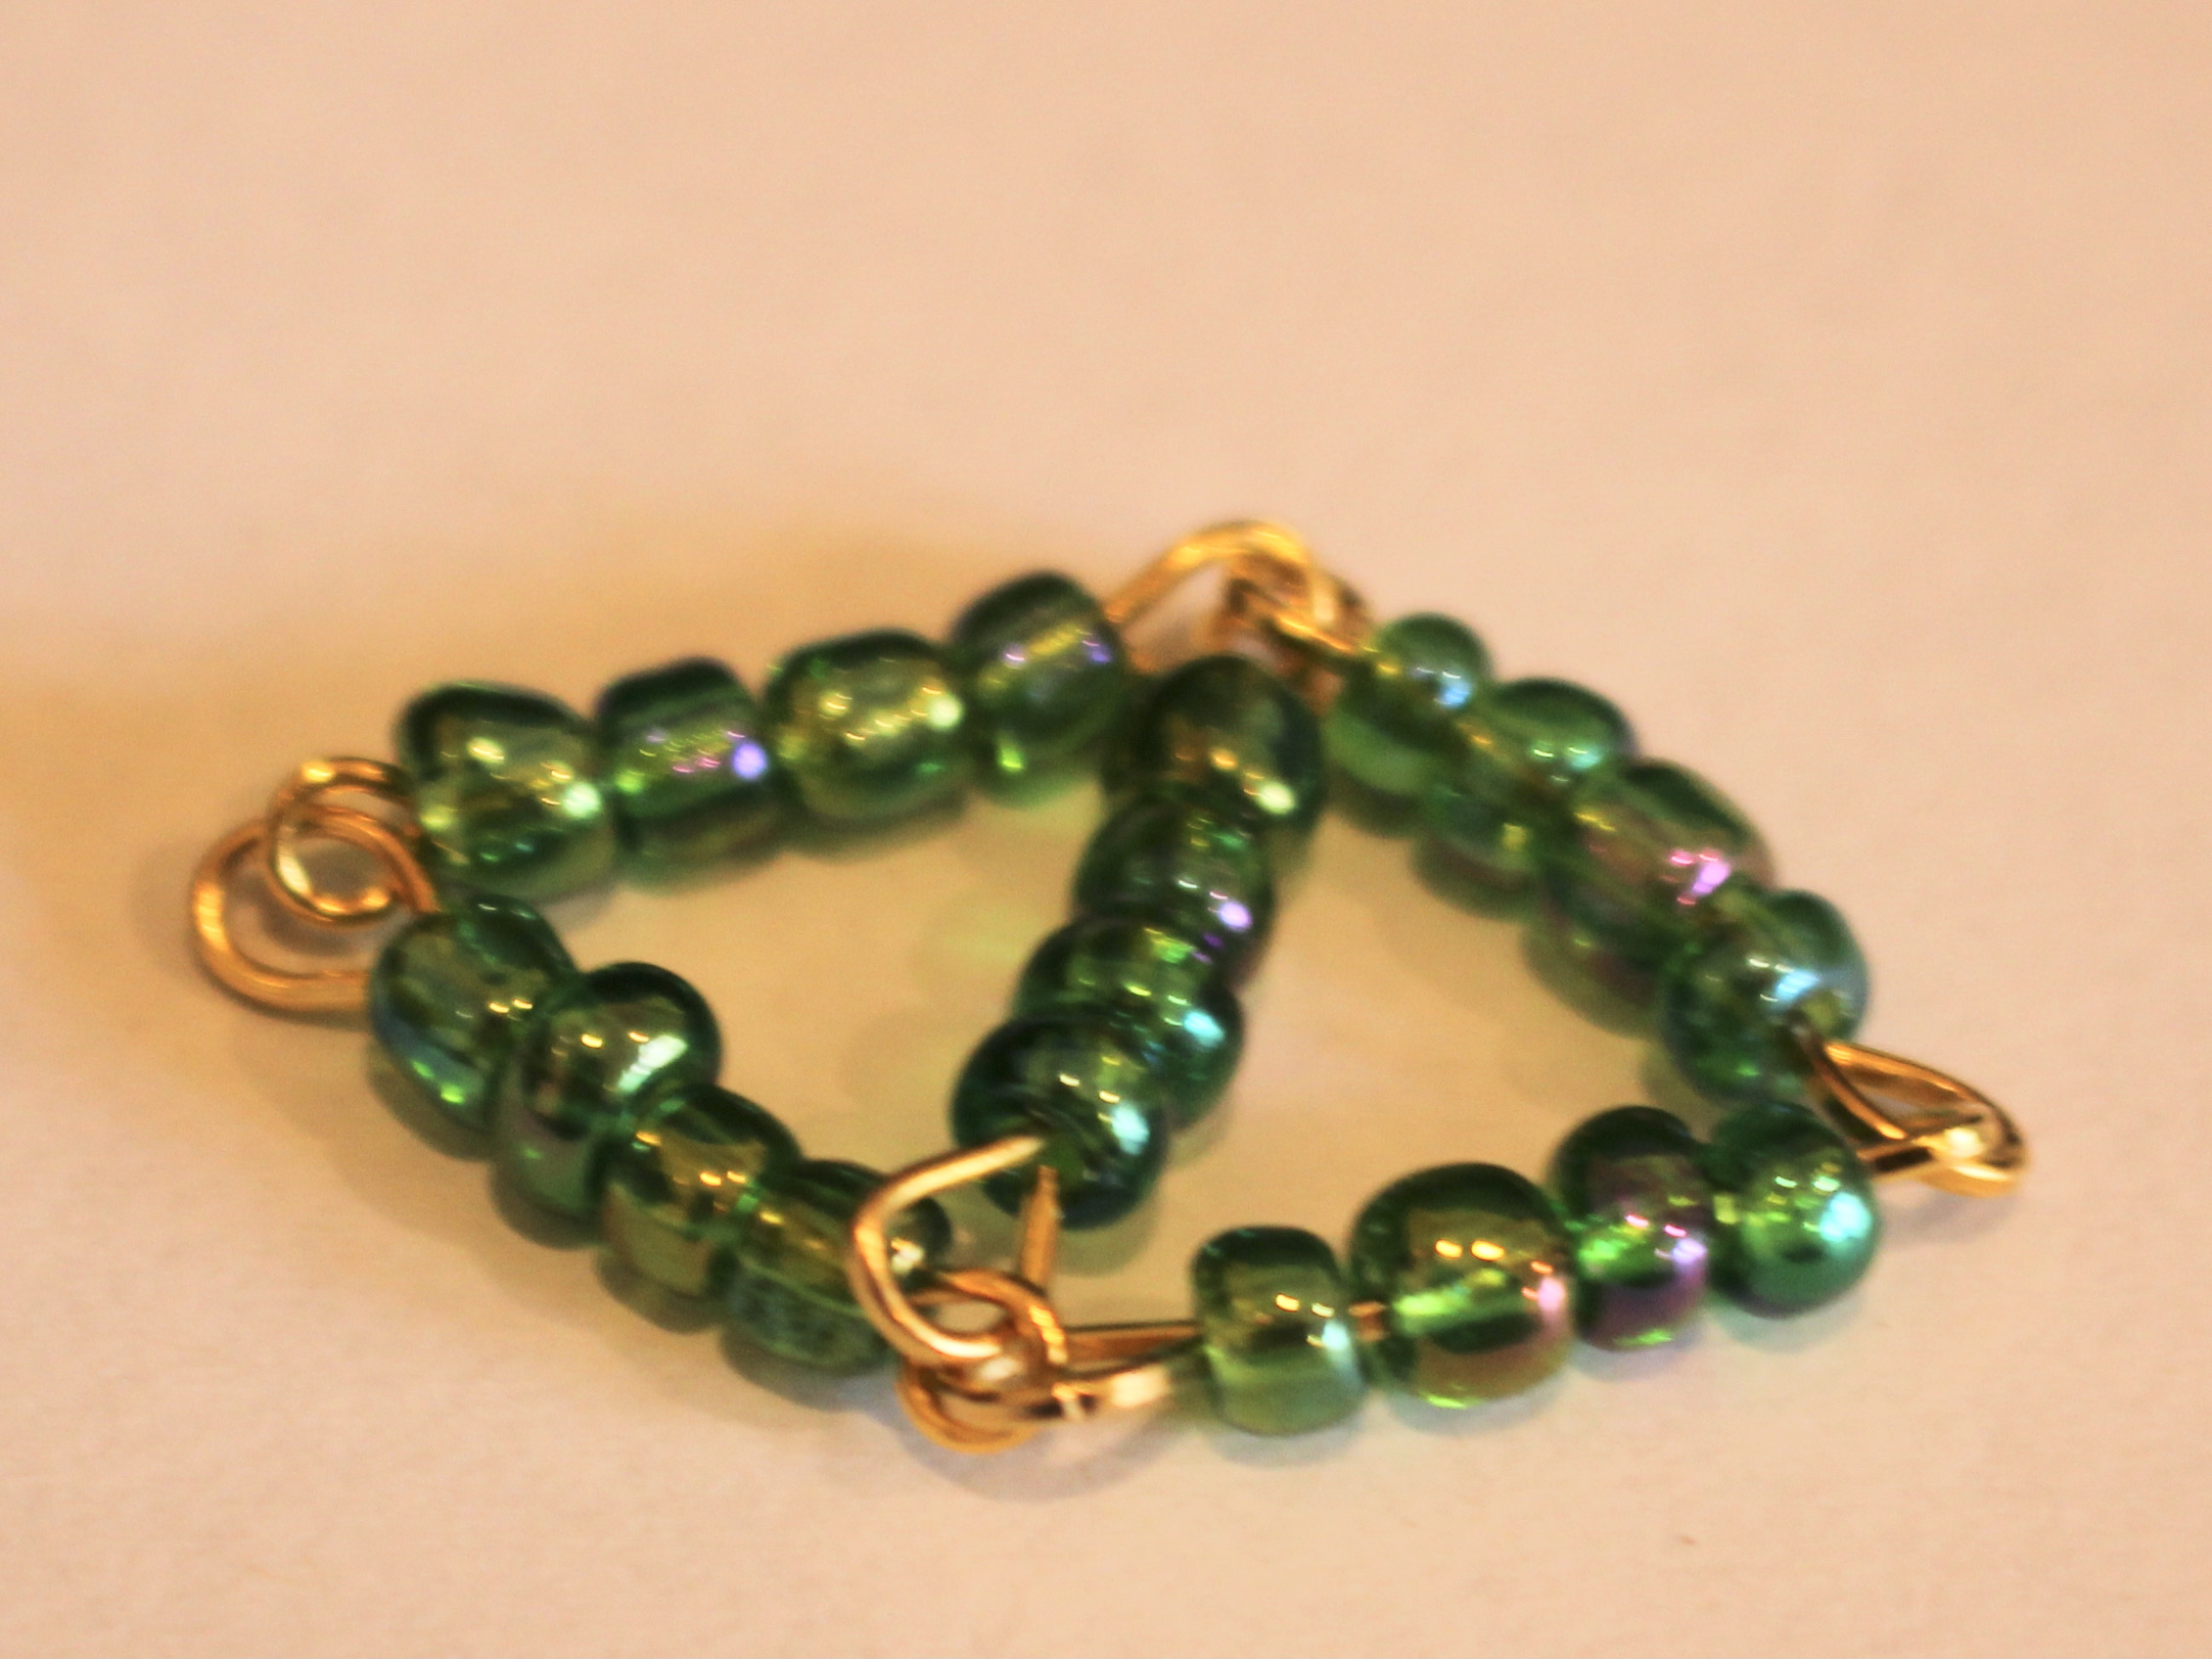
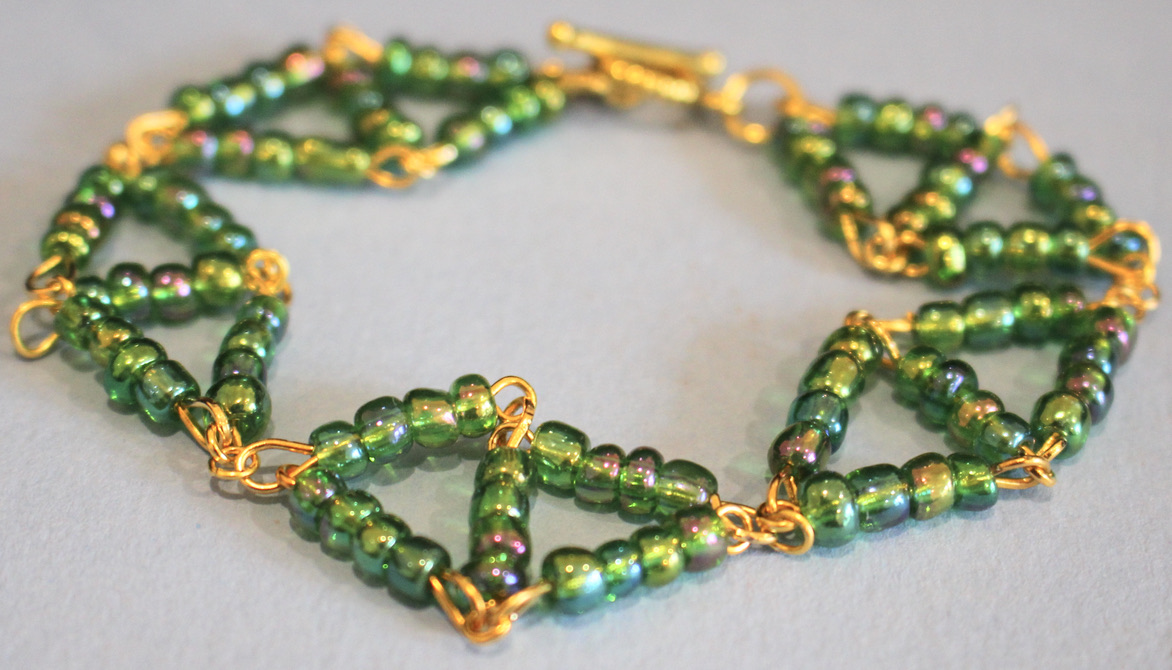
How to make a super cute bracelet with beaded diamond shapes!
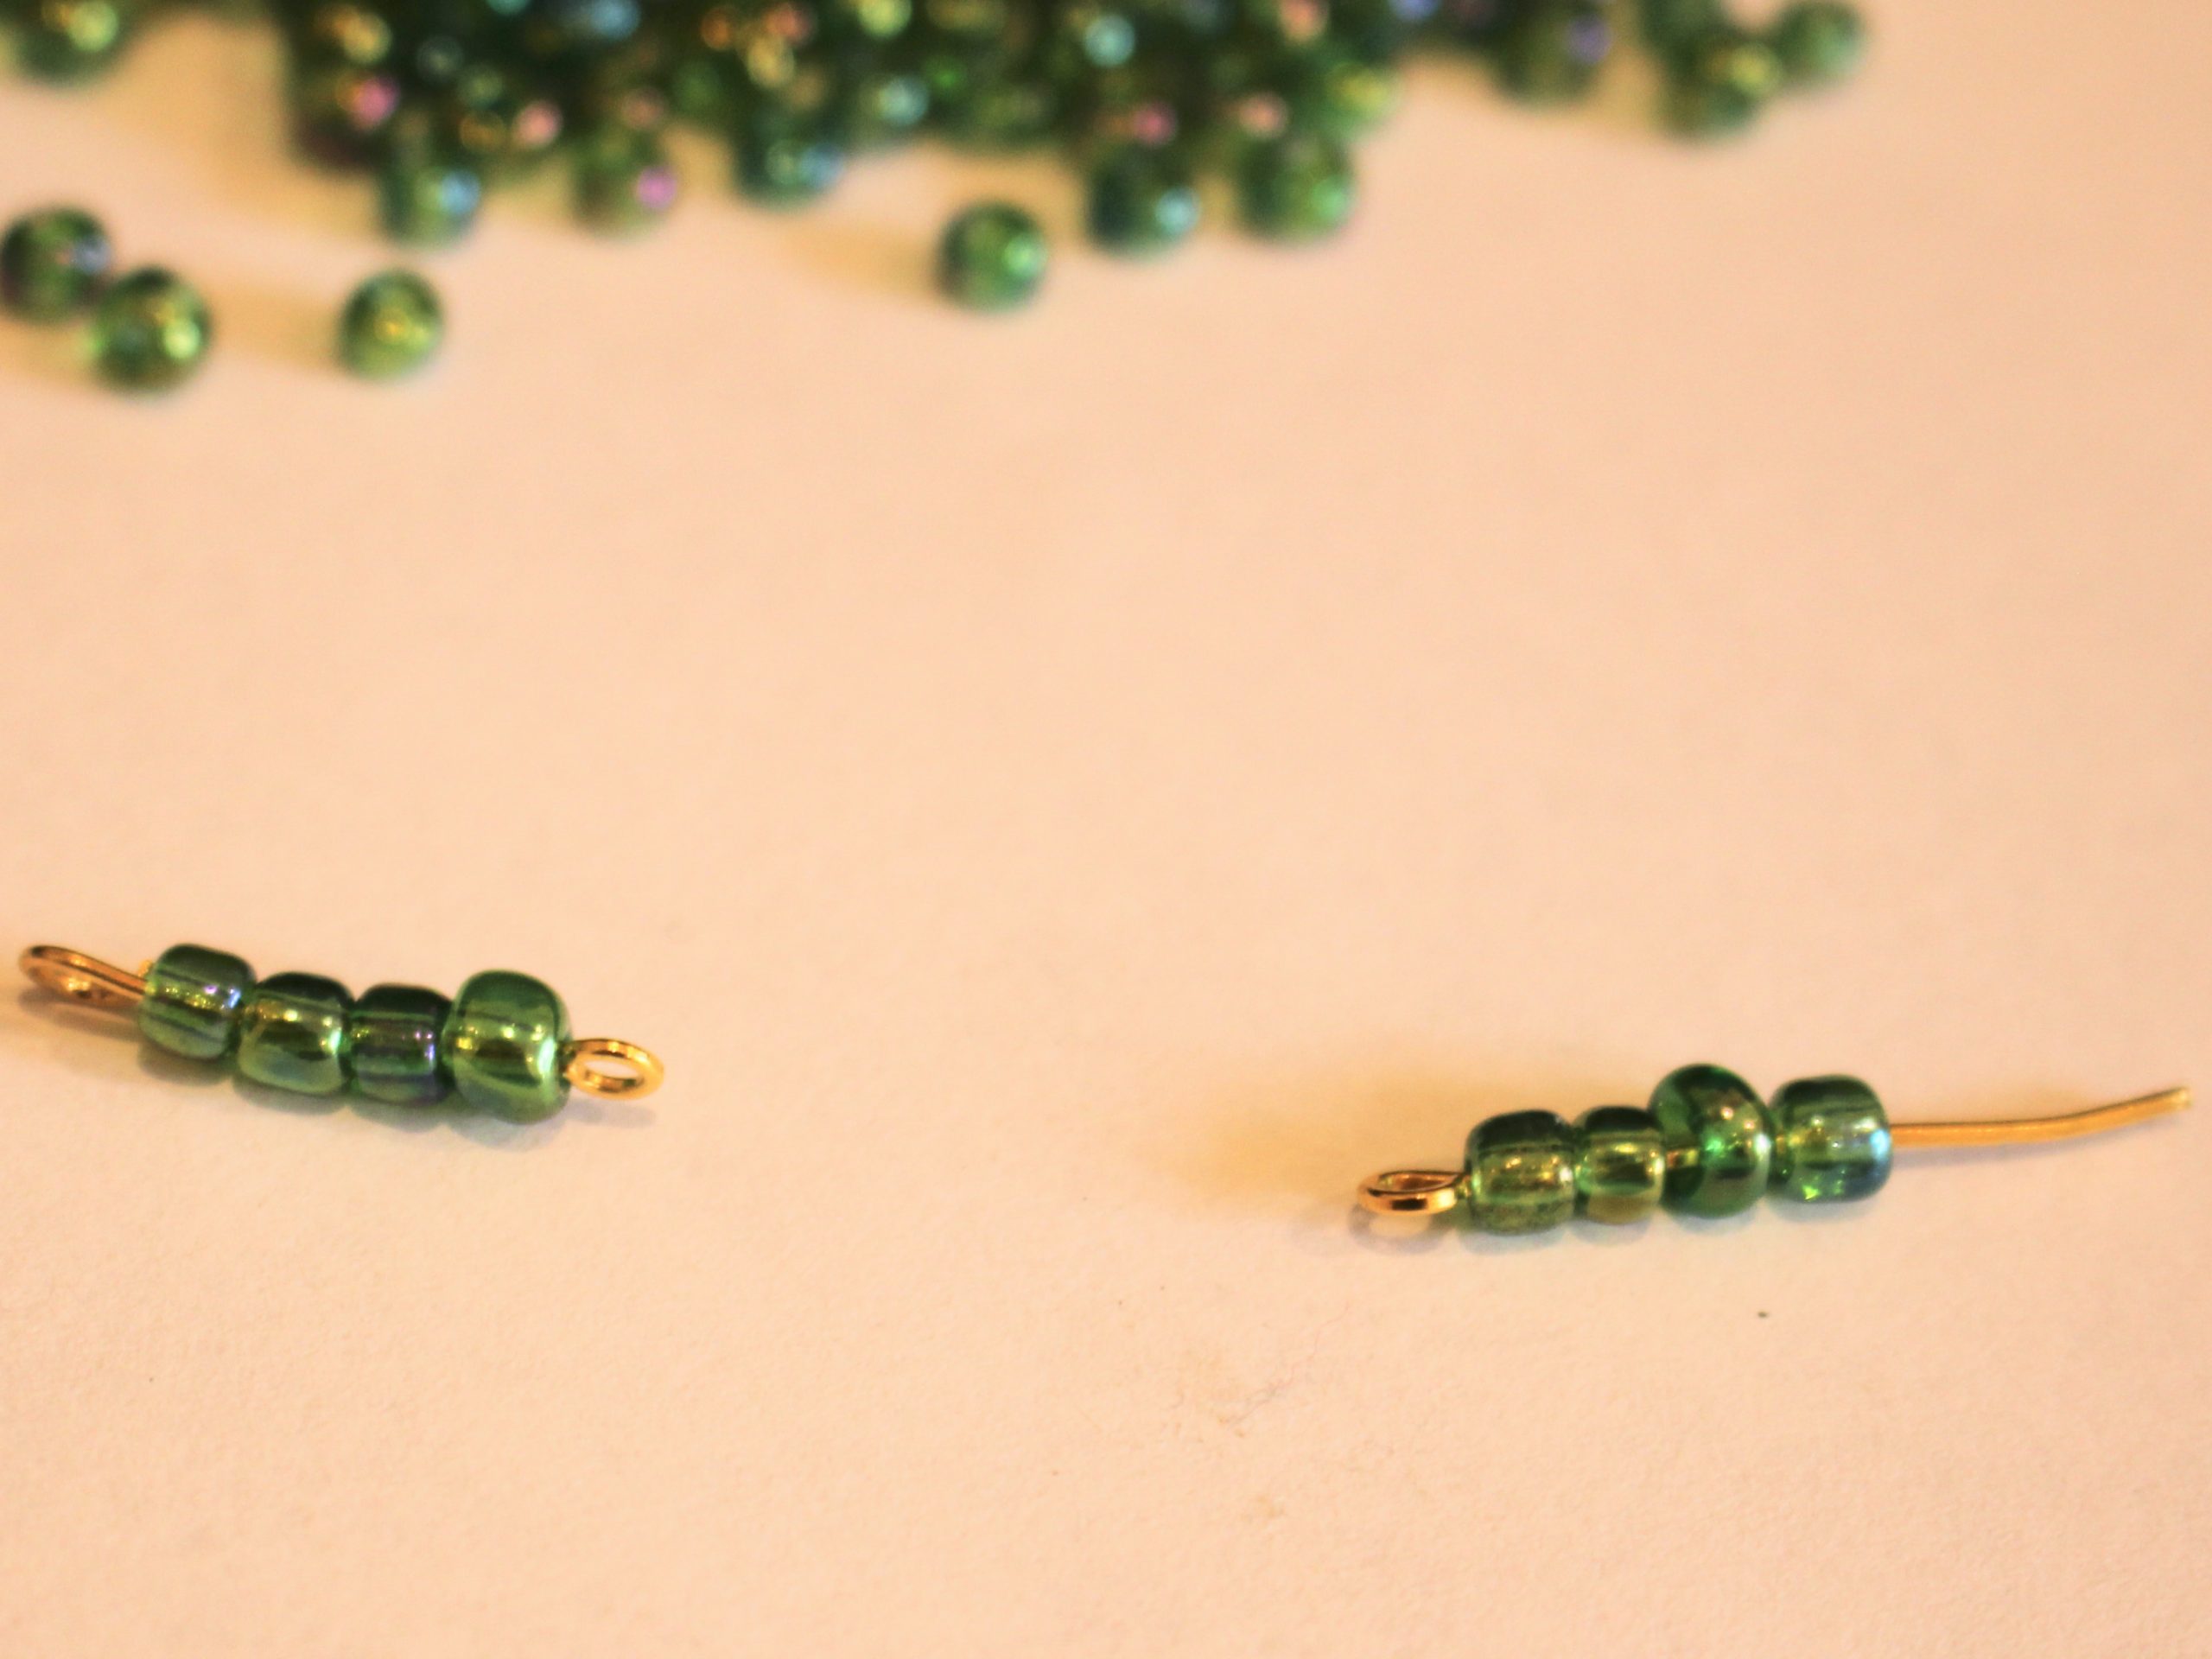
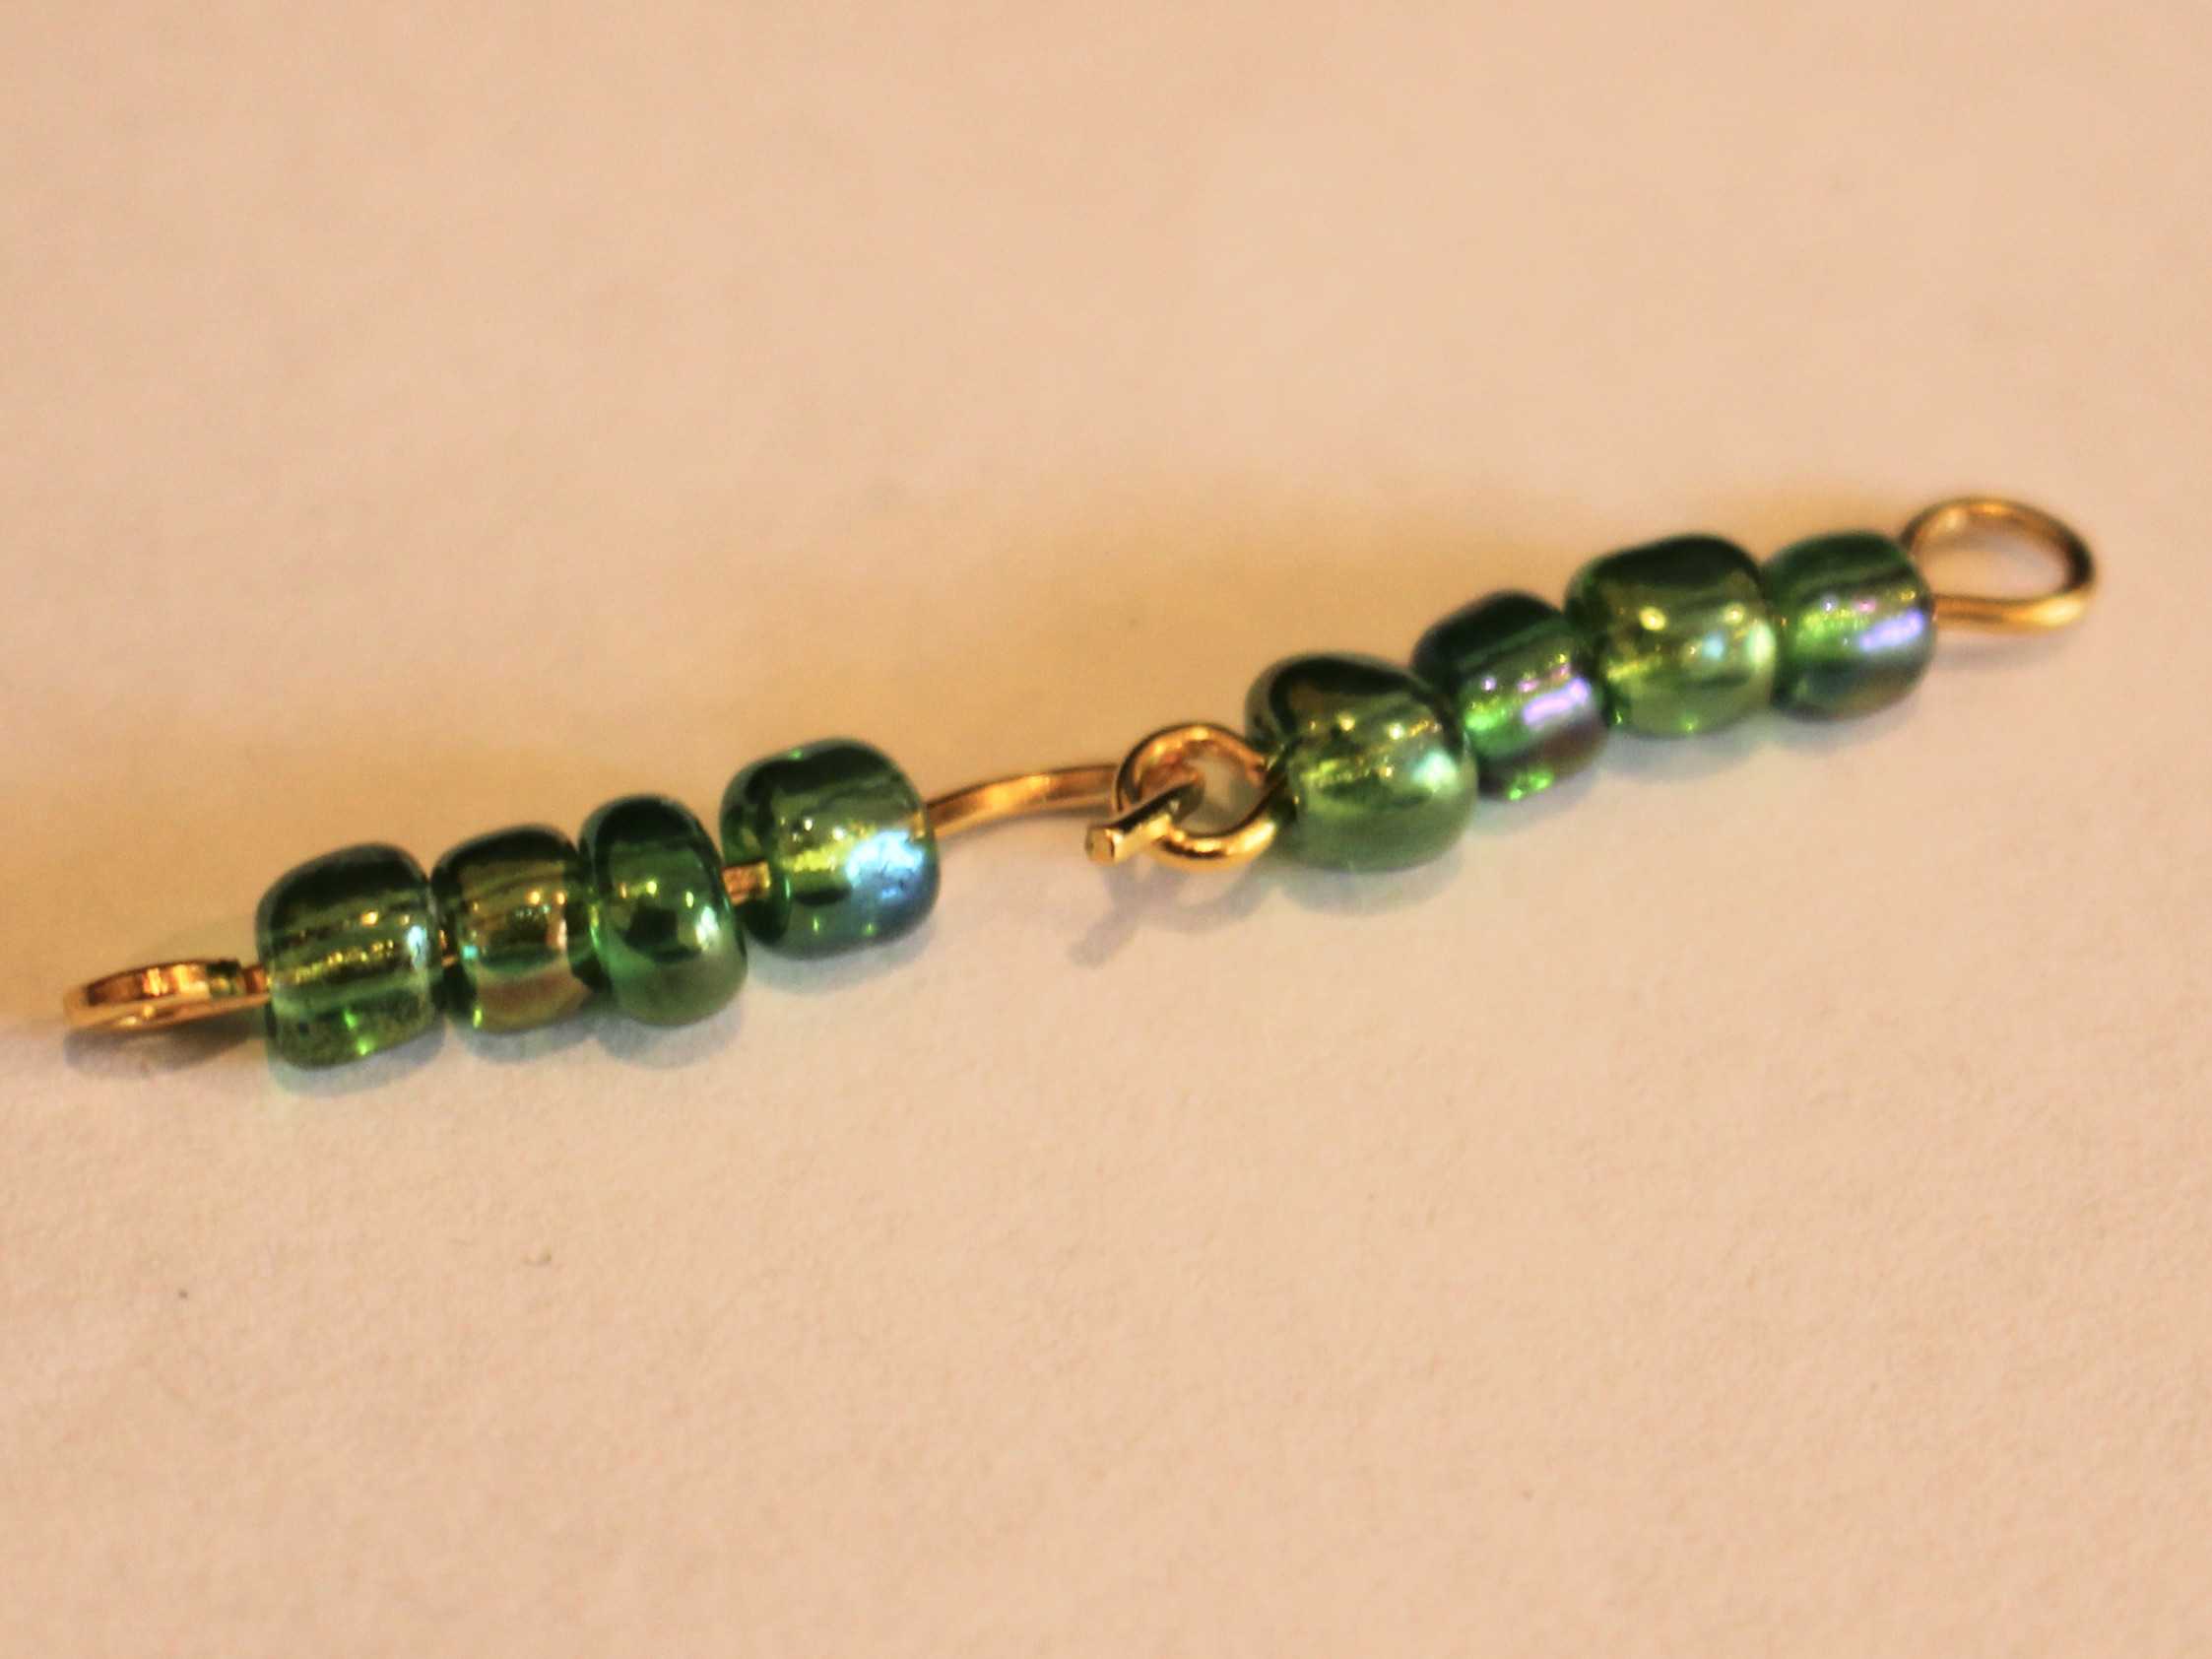
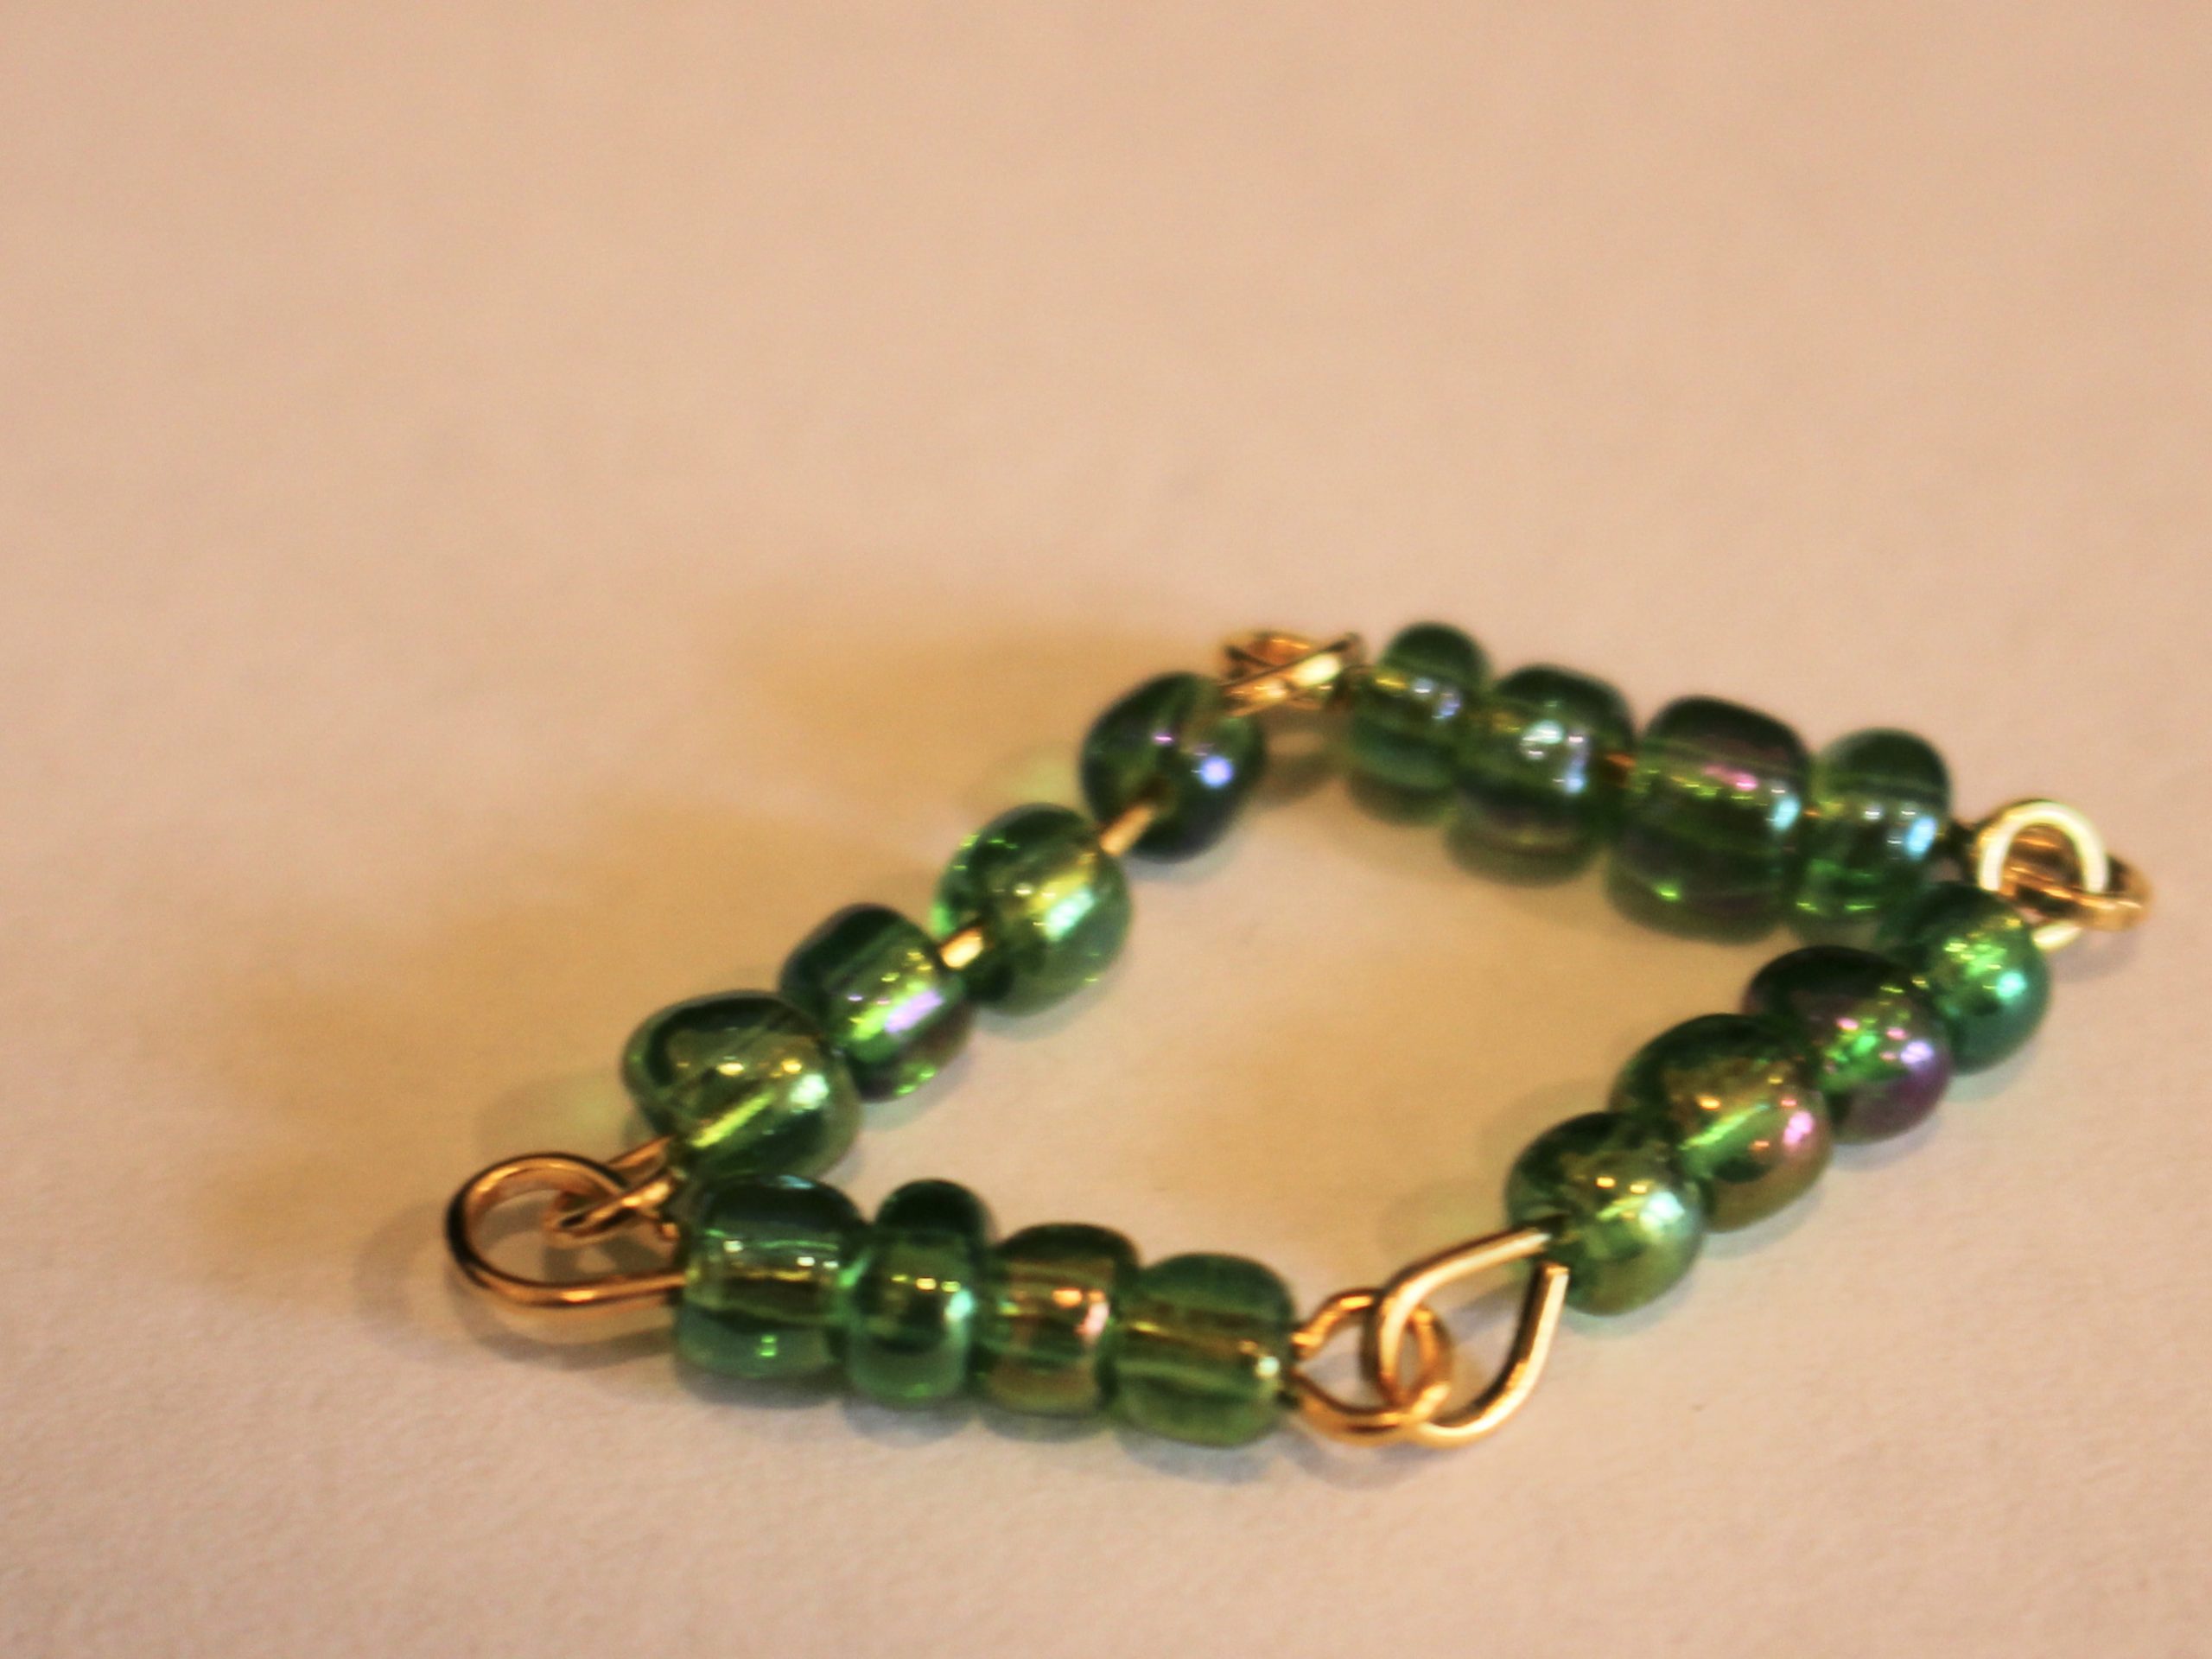
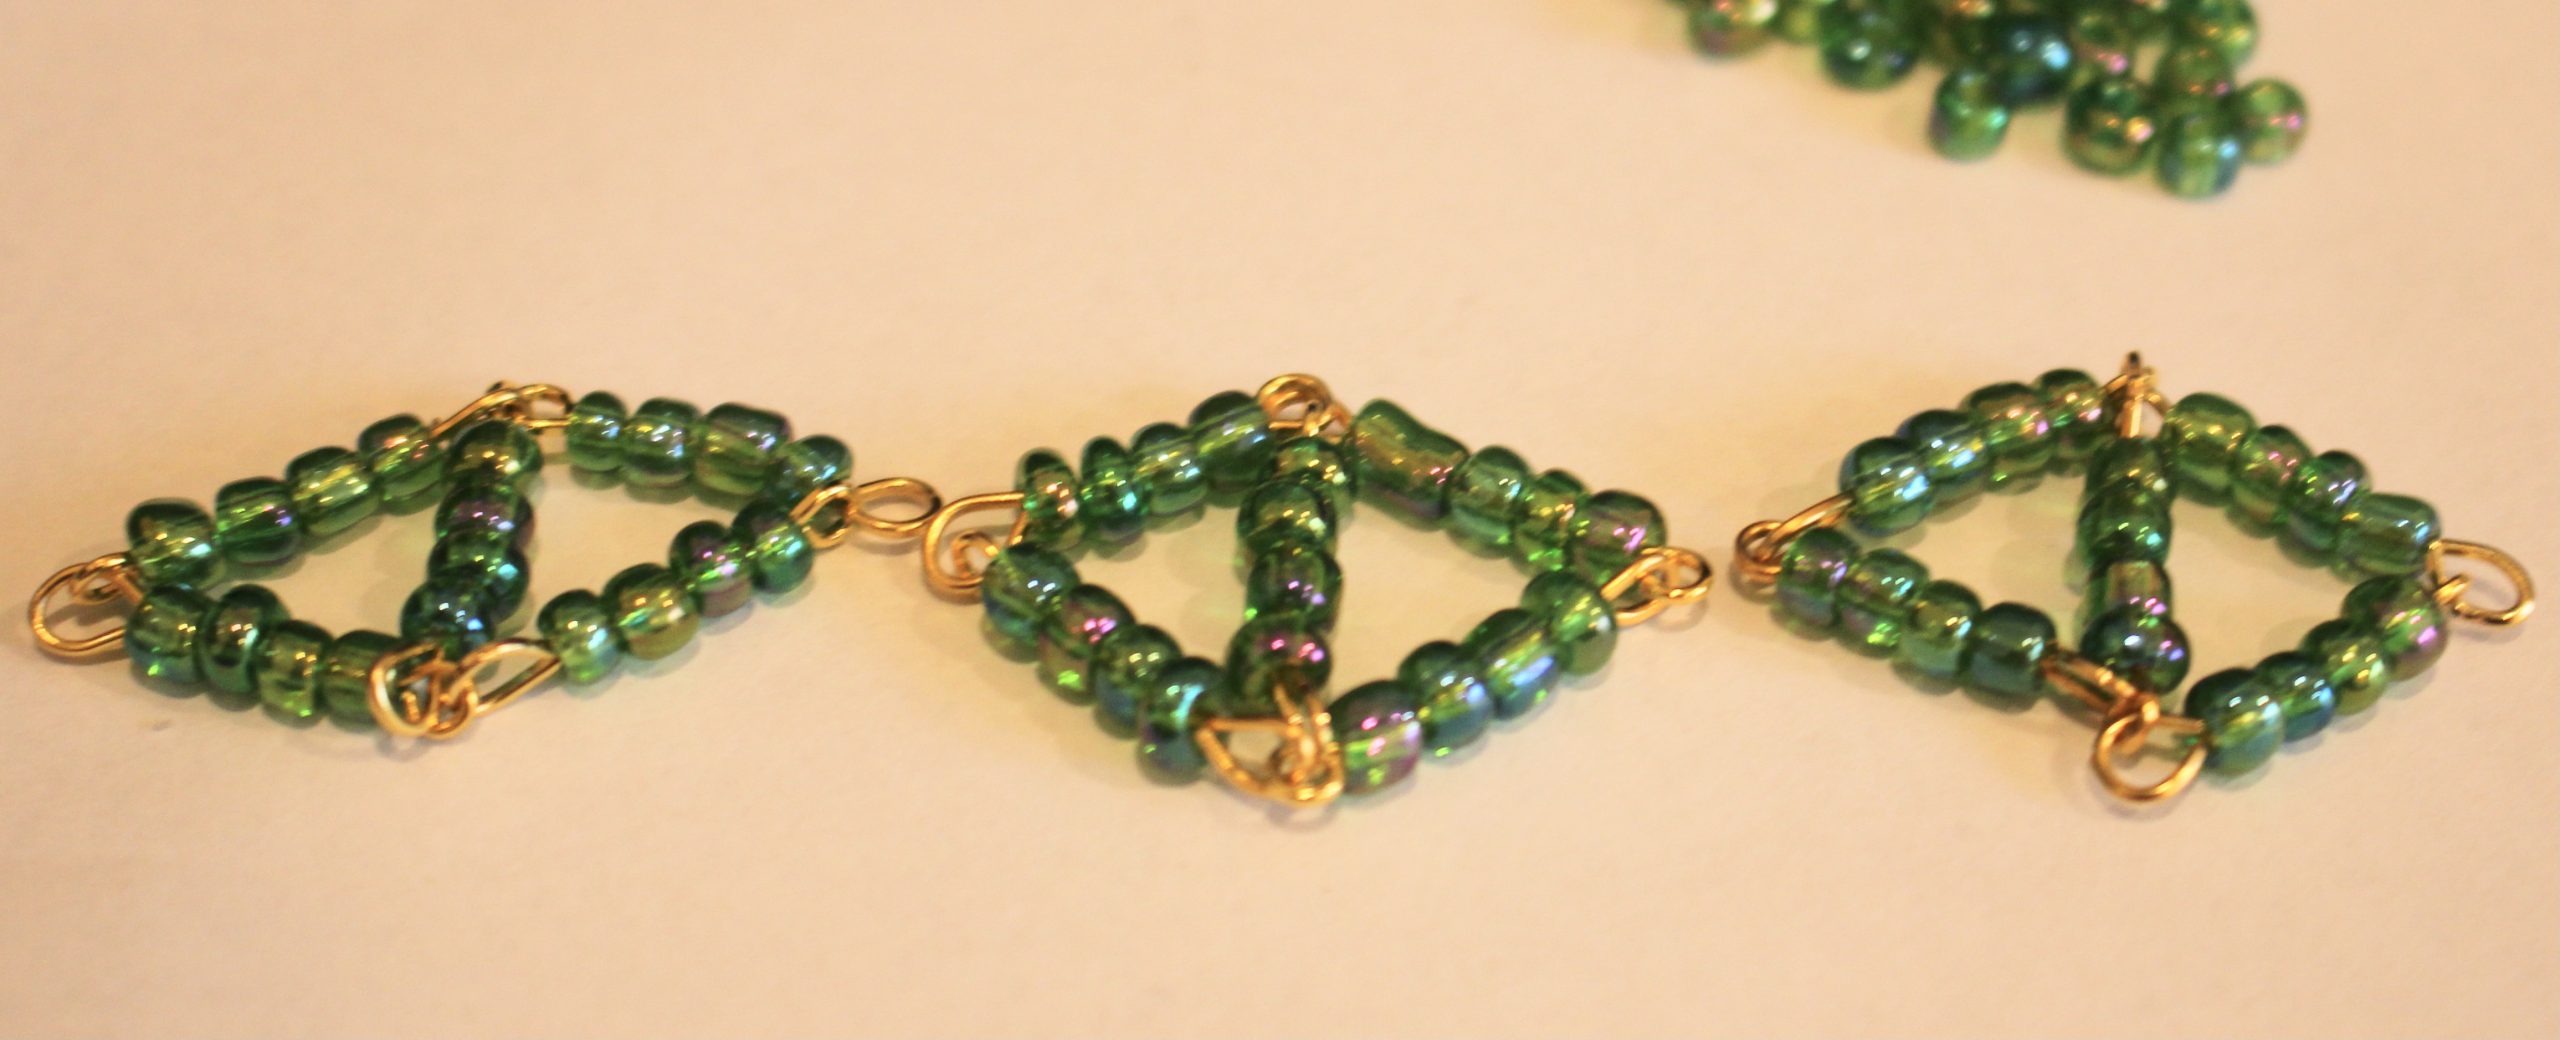
This is a cute little bracelet that looks great! the beaded diamond bracelet design uses eye pins and beads to form a series of diamond shapes that link together to create a bracelet. This diamond shaped bracelet is eye-catching and fun to put together, perfect for constructing on a quiet afternoon at home.
You’ll need these tools and materials to make your beaded diamond bracelet:
1: Pliers. I used my round nose and flat nose pliers.

2: A bunch of eye pins. I ended up using about 25 pins. You may need more or less depending on your wrist size.

3: Some small jump rings. I used four, you may need more or less depending on the size of the bracelet.

4: Two larger jump rings.

5: A toggle clasp.

6: Beads of your choice. I used these green glass e-beads.

Follow these steps to make your beaded diamond bracelet:
1: Add beads to two of the eye pins.
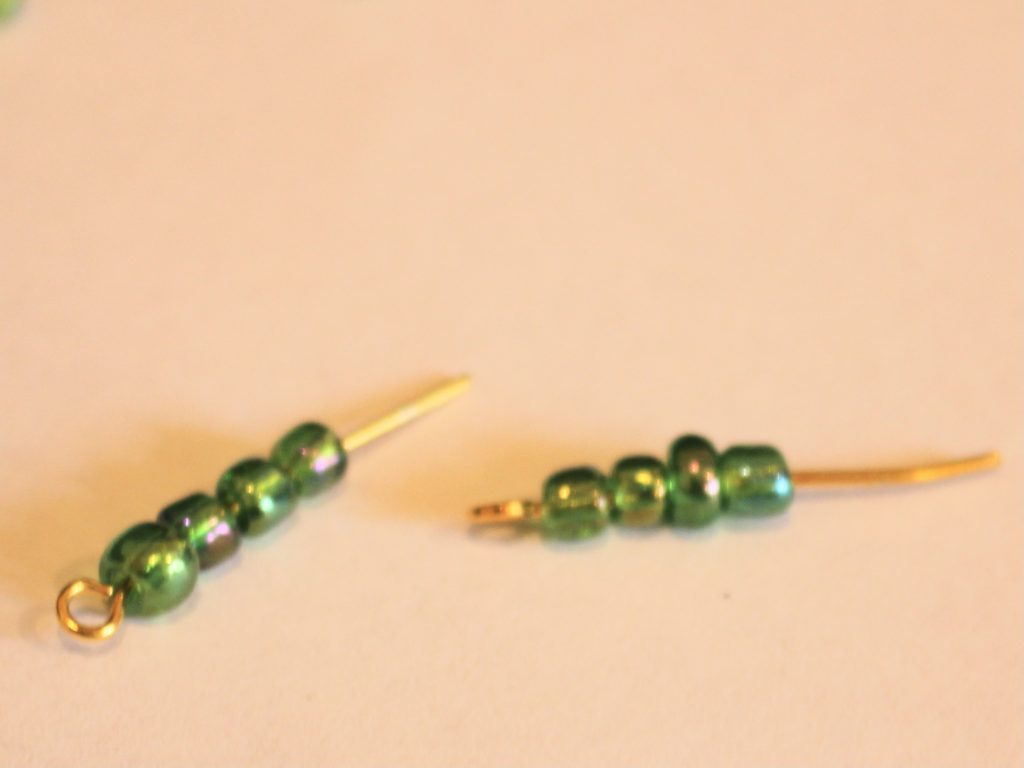
2: Leave about 1cm without beads.
3: Bend the pins to form an angle with the beaded section.

4: Loop the end of the pins around the round nose pliers to create a loop that secures the beads onto the pins.


5: Link the two pins together.

6: Repeat steps 1-5 three more times so that you have 5 beaded pins.
7: Link two more pins to the first two, so you have a square shape.


8: Add the last pin to the middle of the four linked pins so that you have a diamond shape that doesn’t shift around.


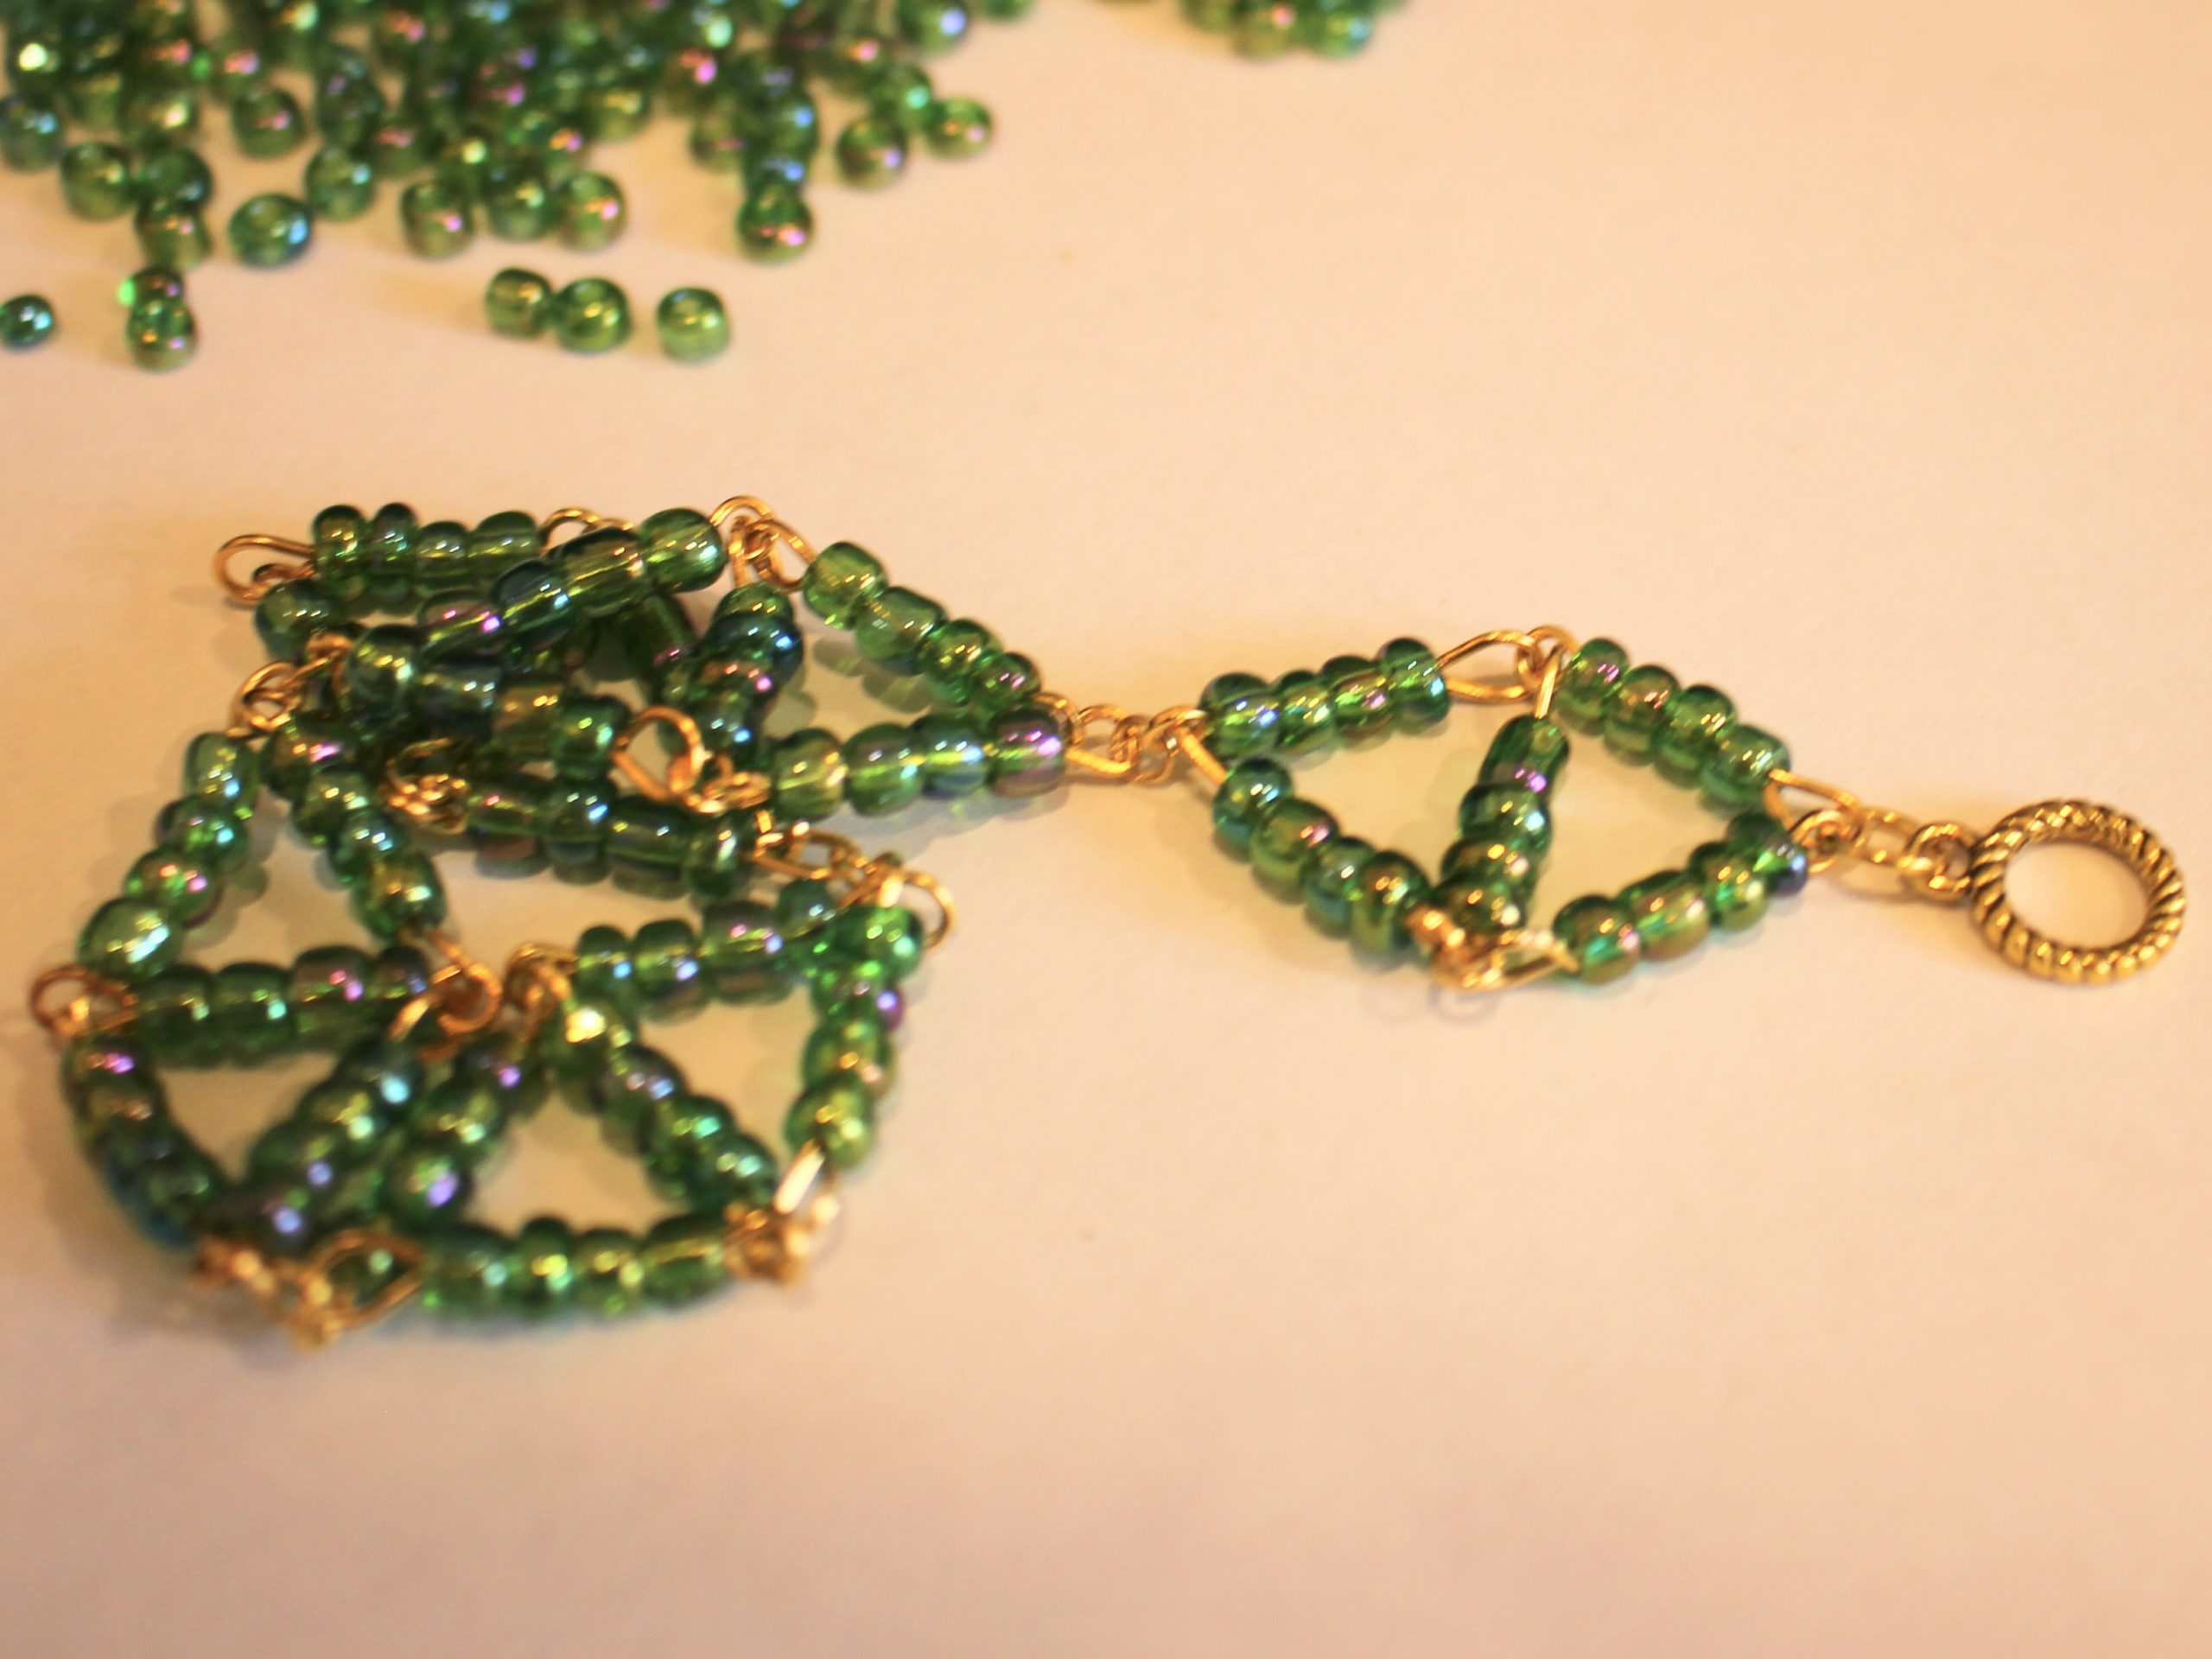
9: Repeat steps 1-8 until you have enough diamond shapes to fit around your wrist. I ended up making 5 diamonds.


10: Attach each of the diamond shapes together with the small jump rings to form a chain.


11: Attach the clasp components to each end of the chain using the larger jump rings, this will finish the design off!


Now your beaded diamond bracelet is finished and ready to wear!


Here is another design you can make using this beaded diamond shape

-
Here’s how to make a pair of cute beaded chain earrings!
These earrings are made using soft wire and beads to make a chunky chain that dangles from each ear. These really cute earrings are fun to make and look so fun.
You’ll need these tools and materials to make these earrings:
1: Pliers. I used my cutting pliers (left), flat nose pliers (right) and round nose pliers (middle) to make these earrings.
2: Some thin soft wire. I used six pieces (approx 7cm long) of wire that I recycled from an old project.

3: Some beads. I used green and gold glass e-beads.

Gold beads: https://amzn.to/3S3zwfi
Green beads: https://amzn.to/3QTdMlj
4: Two small jump rings.

5: Two earring hooks.

Follow these steps to make your chunky bead chain hoops:
1: Take a piece of wire and curl one end around the round nose pliers.
2: Add beads to the wire until there is 1cm left without beads.


3: Put the end of the wire back through the first loop you made.

4: Curl the other end of the wire so that the beaded circle is closed.

5: Make another beaded circle, thread it through the first circle you made before you secure it closed.


6: Make a third beaded circle and attached it to the first two so that you have a chain of three.


7: Repeat steps 1 to 6 for the second earring.

8: Attach the earring hooks to the top of each chain using the small jump rings.


Now your chain earrings are finished and ready to wear!!!

Here is a four link version I made as well


This tutorial contains affiliate links.
-
Need something new in your jewelry box? Make this pair of D-Shaped statement earrings.
These earrings are made using some hard memory wire and some cool statement beads. Dangly and unique, these earrings are worth making.
You’ll need these tools and materials to make these earrings:
1: Pliers. Round nose, flat nose and cutting pliers are useful for this design.
2: Memory wire cut into two half circles.

3: Two long eye pins.

4: Two pieces of chain, not too long.

5: Two earrings. I used these silver charm post earrings.

Here is a fancier pair!
6: Two larger jump rings.

7: Four small jump rings.

AliExpress.com Product – Free Shipping! 1 Box SP Open Jump Rings 3mm-8mm(1500 PCs Assorted) (B08915)8: Beads. I used some green glass e-beads.

9: Two statement beads. I used these silver-tone plastic beads.

Follow these steps to make your D-shaped statement earrings:
1: Use the round nose pliers to make a loop at one end of the memory wire half circle.


2: Add the beads to around halfway on the curve.
3: Add the statement bead to the centre of the curve.

4: Bead the remaining part of the curve with the glass beads again until there is about 1cm left un-beaded.
5: Create a loop at the other end of the memory wire curve using the round nose pliers again.

6: Repeat steps 1 to 5 for the second piece of memory wire.

7: Add beads to the long eye pin and leave 1cm un-beaded at the end. Repeat for both pins.

8: Create a loop at the end of both pins using the round nose pliers.


9: Attach each of the beaded eye pins to the top of each memory wire curve. This will create a tighter curve on each piece of memory wire and form the D shape.


10: Attach the chain to each side of the D shape using the small jump rings. Both D shapes will now have a chain loop attached to them.


11: Add one of the larger jump rings to each of the earring posts.

12: Attach the earrings to the charms by threading the chain through each of the open jump rings. Close the jump rings on the earring posts to secure them together.


Now your earrings are finished and ready to wear!


This tutorial contains affiliate links.
-
Want some lightweight earrings? This ribbon design has you covered.
These lightweight earrings are really cute! Made out of beads and ribbons they’ll pack a visual punch without weighing your lobes down. They can also be made with materials you might already have at home. I don’t know about you but I have loads of ribbons that I have saved from gifts and shopping bags.

You’ll need the following tools and materials to make these lightweight ribbon earrings:
1: Pliers. You’ll need your flat nose and round nose pliers.
2: Two pieces of ribbon. I used this thin (approx 1cm wide) blue satin ribbon. Each piece was approximately 7cm long.

3: Two large jump rings.

4: Two flat end crimps.

5: Two earring hooks.

6: Two small head pins.

4: Beads. I used four green glass beads.

Follow these steps to make your lightweight ribbon earrings:
1: Fold the ribbon around so that it forms a folded loop. You can achieve this by layering the ends over each other facing the same way up.

2: Add the flat crimp to the ends of the ribbon and squash them using the flat nose pliers.


3: Add the glass beads to each of the head pins.

4: Curl the ends of the pins to secure the beads.


5: Add the beaded pins to each of the jump rings.

6: Close the jump rings around the bottom of each ribbon loop.


7: Attach each of the earring hooks to the crimps at the top of each ribbon charm.


Now your cute ribbon earrings are ready to wear!

Note: This article contains affiliate links
Here are some other ribbon earring DIYs