-
Got two bracelets but want a necklace? Here’s how to convert what you’ve got into something new!
This is a simple tutorial that shows you how to turn two existing bracelets into a choker-length necklace! What a fun way to make your jewellery collection more versatile. Please note that this tutorial contains affiliate links.
You’ll need the following tools and materials to make your necklace:
1: Two bracelets, make sure they are long enough when clipped together to fit around your neck. I used a silver chain bracelet and a beaded bracelet.

Here are some silver bracelet options you can buy:

Here are some pre-made options you can buy:
and if you feel like making your own, you can follow this tutorial.
2: A charm, this is optional but you can clip a charm on for extra personality. I used this copper electroformed tiger’s eye pendant.

You can get a tiger’s eye charm here:
Follow these steps to make your necklace out of bracelets:
1: Unclip the ends of your bracelet.

2: Latch one of the bracelet clasps to the other end of the other bracelet, you will have a long strand now.

3: If you are adding a charm, slip it onto the clasp at the other end of the strand you just made.

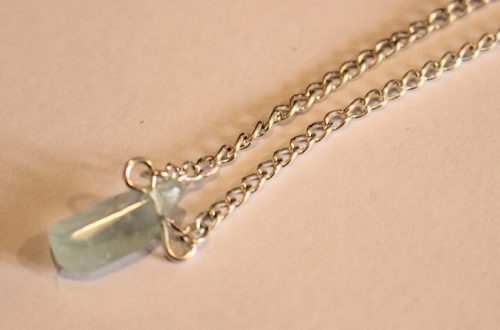
4: Clip the ends of the strand together to form a choker, you can wear it with the charm at the front like this or without the charm for a mixed material effect.


Here’s what it looks like on

And here’s what it looks like without the charm.

What bracelets will you use to make your choker necklace?
If you love using your existing jewellery to make something new, here’s another tutorial for you:
- Turn an old ring into a pendant here and here
- This tutorial shows you how to swap earring hooks for charm connector studs to transform your earrings
- This tutorial shows you how to turn an old jar into jewellery storage
-
Here’s how to make your own Shepard hook earring findings using a wig-a-ma-jig!
I’ve already shown you how to make your own earring findings, here and here. But I haven’t shown you a way to make more traditional earring hooks from scratch. These simple Shepard hook earrings findings are made using some 0.8mm thick wire and a special contraption designed for wire-work called a ‘Wig-a-ma-jig’! Please note that this tutorial contains affiliate links.
You’ll need the following tools and materials to make your Shepard hook earring findings:
1: Some cutting pliers to cut your wire to length and trim any excess.

2: A pair of flat nose pliers to do some extra shaping to your earring hooks if required.

3: A Wig-a-ma-jig tool with pegs to create the shape for your earring hooks.

4: A needle file for smoothing the ends of your earrings, some sandpaper can be useful for getting a smooth finish as well.

5: Some wire. I used some copper wire in this demonstration but I suggest using sterling silver wire as it is a more suitable material for sensitive piercings. I used two pieces of copper wire about 0.8mm in diameter and about 8-10cm long. You will have some excess at the end that you will need to trim.

Follow these steps to make your earring hooks:
1: Arrange the Wig-a-ma-jig pins in the following formation, this will form the shape of your earring. The first peg is the bottom loop of the earring hook, the large top peg forms the arch of the earring and the last peg helps make the ‘kick’ at the end of the earring where it goes through your piercing.
2: Place the wire between the first two pegs as indicated in the picture below.

3: Take the long end of the wire and shape it around the large peg to form an arch

4: Loop the short end of the wire around the first smaller peg to form a circle shape, there will be some overlap at the end of the wire.
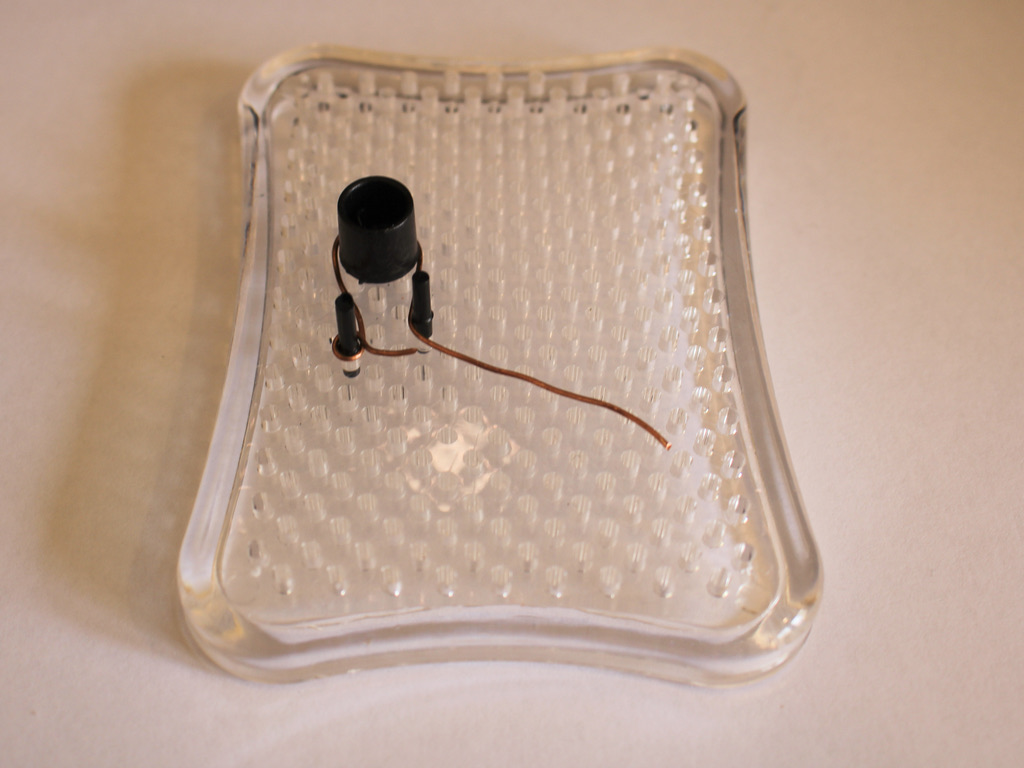
5: Kink the end of the wire underneath the last peg, there will be a lot of excess wire that will be trimmed later. You can see this pictured in the image above.
6: Take the wire shape off of the pegs. Do this carefully so as not to bend it out of the shape you just made.

7: Use the cutting pliers to trim the excess wire from the end of the earring and the loop overlap.


8: File the ends you just trimmed so they are smooth and won’t poke anyone wearing your earrings.

9: Repeat steps 2-8 for the second earring ensuring that the match.

Here’s my second earring on the jig 

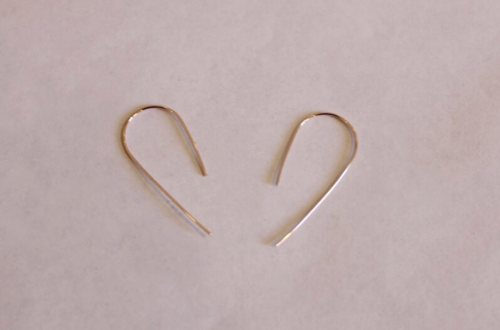
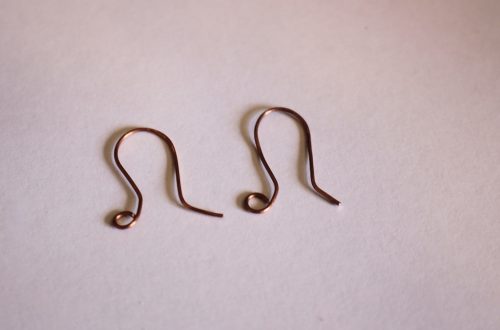
Once I had both earrings made, I did some small adjustments on them using my flat nose pliers to make sure they sat flat and were a nice shape, once I was happy with how they looked, these new earring findings were ready to use in a new earring creation! Below is a picture of the finished set of earring hooks.
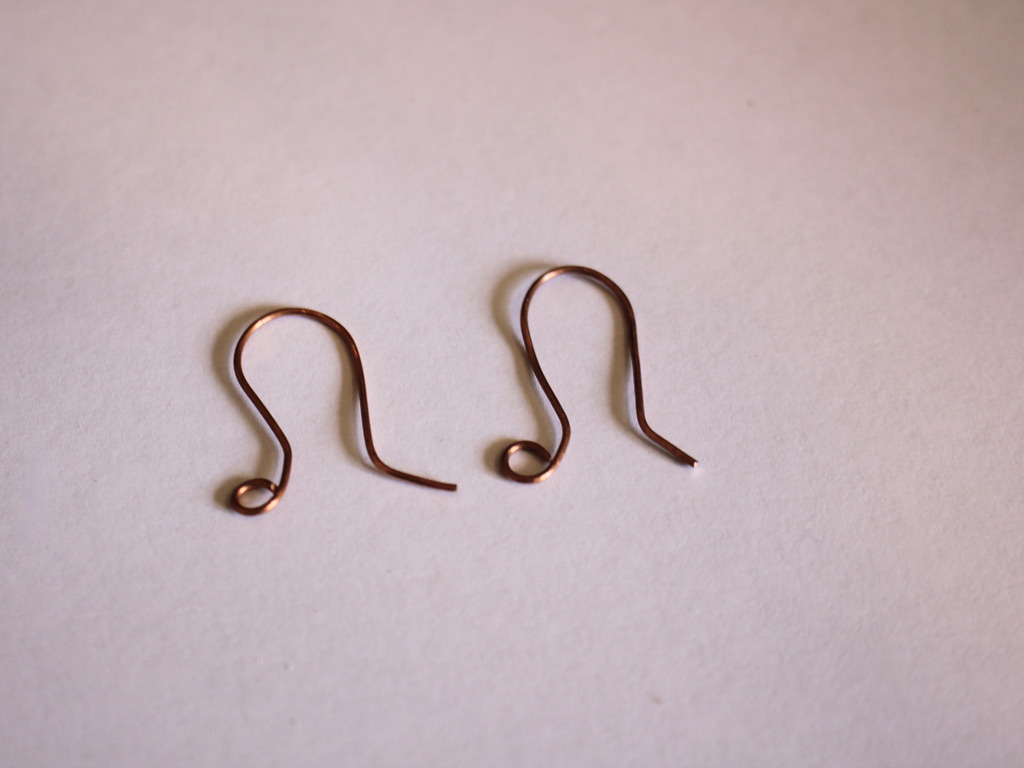
Making your own jewellery findings is a great way to elevate your jewelry designs and have them feel even more unique and special. What will you attach to your hand made Shepard hook earring findings?
-
How to make a simple clasp out of wire!
This is a cool tutorial!
Imagine, you want to make a necklace or a bracelet, but you’ve totally run out of clasp findings. Rather than ordering some online, and waiting for them to arrive, check to see if you’ve got some wire on hand, and then come back here and keep reading about how you can turn this wire into a simple, but elegant clasp.
Please note, this tutorial contains affiliate links.
You’ll need these tools and materials to make your own clasp out of wire:
1: Some wire. I used a piece of copper wire recycled from an old project.

2: Some cutting pliers.
3: A jump ring that matches the wire colour.

4: Round flat pliers.

5: A small needle file.

Follow these steps to make your wire clasp:
1: Take the wire and wrap it around the widest part of the round on the round flat pliers to create a fold in the wire with the ends crossing each other. When you do this, have about 2.5cm on the short side, you can trim the long side later.


2: Using the cutting pliers, trim the long part of the wire off to be slightly longer than the short side.

3: File the ends gently so they aren’t spiky (You can skip this step if you don’t have a file).
4: Take the side that was longer to start with and create a loop at the end of the wire, this loop will turn away from the first loop you made and will sit flush against the other side.


5: Using the round-flat pliers again, create a loop at the other end of the wire, this loop will be higher up and sit flush against the other wire above the other loop.

6: Now your clasp is done. Thread the jump ring through the point where the two wires meet, this is how it opens and closes.
If the clasp feels a little soft or like it will pull out of shape, you can harden the wire a bit by squeezing it flat using some flat nose pliers or flat nose parallel pliers. This will work harden the metal a bit. Another alternative to work harden your clasp is to hammer it gently using a rubber or leather mallet on a steel block (be careful, this is likely to mark your metal or flatten it too much.)

This clasp might widen over time, you can put it back into place using some flat pliers and round flat pliers to make sure the wires sit closely together to prevent your jewelry from falling off!
Here’s an example of the same style of clasp on a bracelet I received as a gift.

Open version of the clasp on a bracelet from Peru. 
Closed version of the clasp on a bracelet from Peru. -
Here’s how to make a special pair of earrings using earring findings and beaded thread…
Here are some fun earrings you can construct at home! This is a great way to use the pieces of copper or brass that you created patina on using our salt and vinegar patina tutorials as well as some of your fave beads. Please note that this tutorial contains affiliate links.
You’ll need these tools and materials to make these earrings:
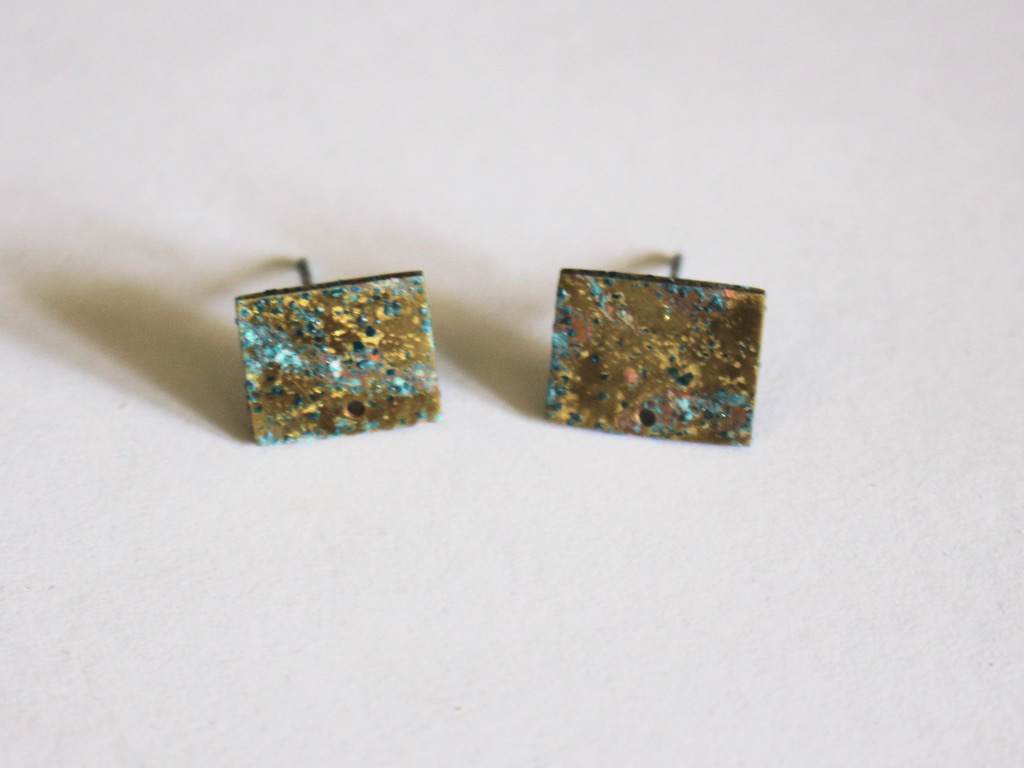
1: A pair of brass earrings with drilled holes or charm loops, I used these ones I made a while ago.
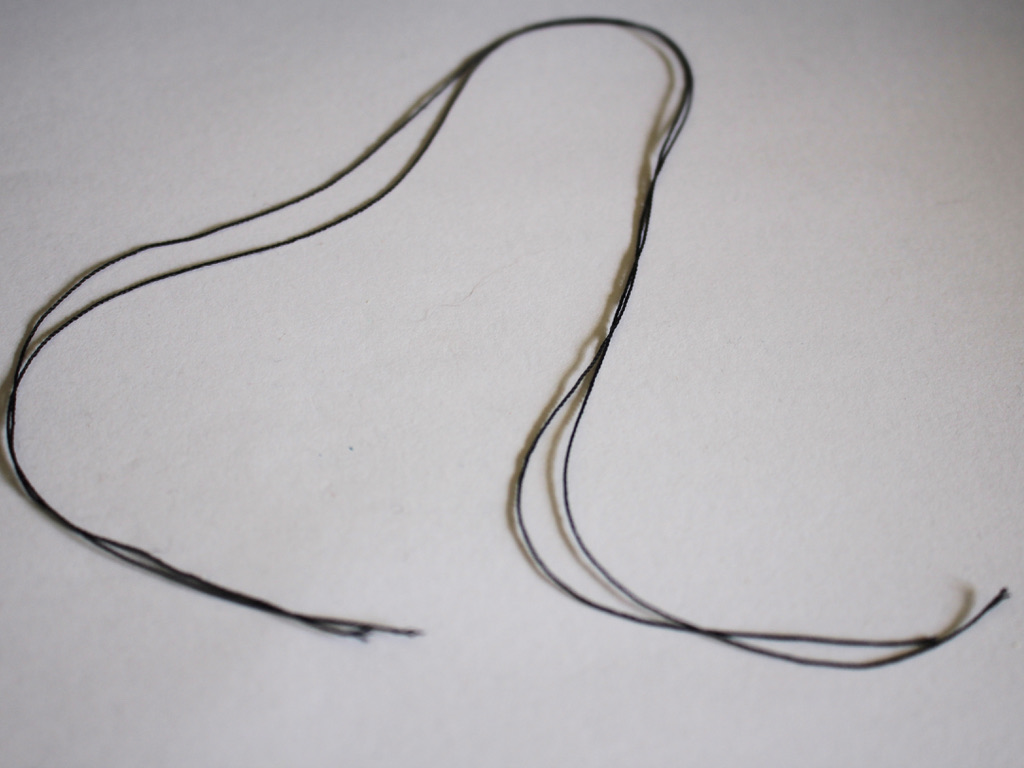
2: Some nylon beading thread. I used two scrap pieces about 30cm long.
3: A beading needle with a thin loop of thread attached to it.

4: Beads. I used these purple and blue glass seed beads.

5: Jump rings. I used two copper jump rings.

6: Scissors.

7: Super glue.
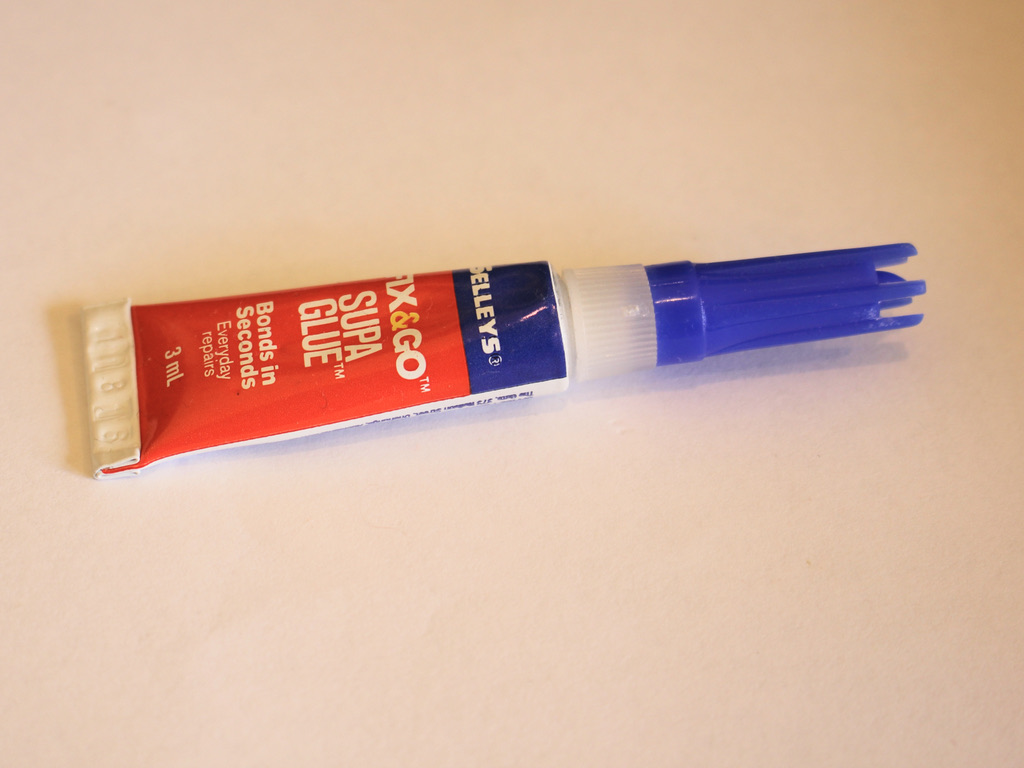
8: Pliers.

Follow these steps to make your cute pair of earrings:
1: Close both of the jump rings using your pliers.
2: Fold one of the pieces of thread in half and loop it around the jump ring.

3: Tie some additional knots to secure the thread to the jump ring.

4: Pull the thread through the loop at the bottom of the needle.

5: Begin adding beads to the string in your chosen pattern.


6: Continue adding beads until you have a length you like, I made mine about 7cm long.

7: Tie a knot at the end of the thread to secure the beads onto the thread.

8: Tie the end of the thread onto the jump ring to form a loop, thread it through the jump ring and tie a couple of knots to secure it.

9: Trim the excess thread using scissors.

10: Add a dab of superglue to both knots to secure them.

11: Repeat steps 2-10 for the second beaded loop.

12: Open the jump rings and thread them through the earring findings. Close the jump rings using your pliers to secure them in place.

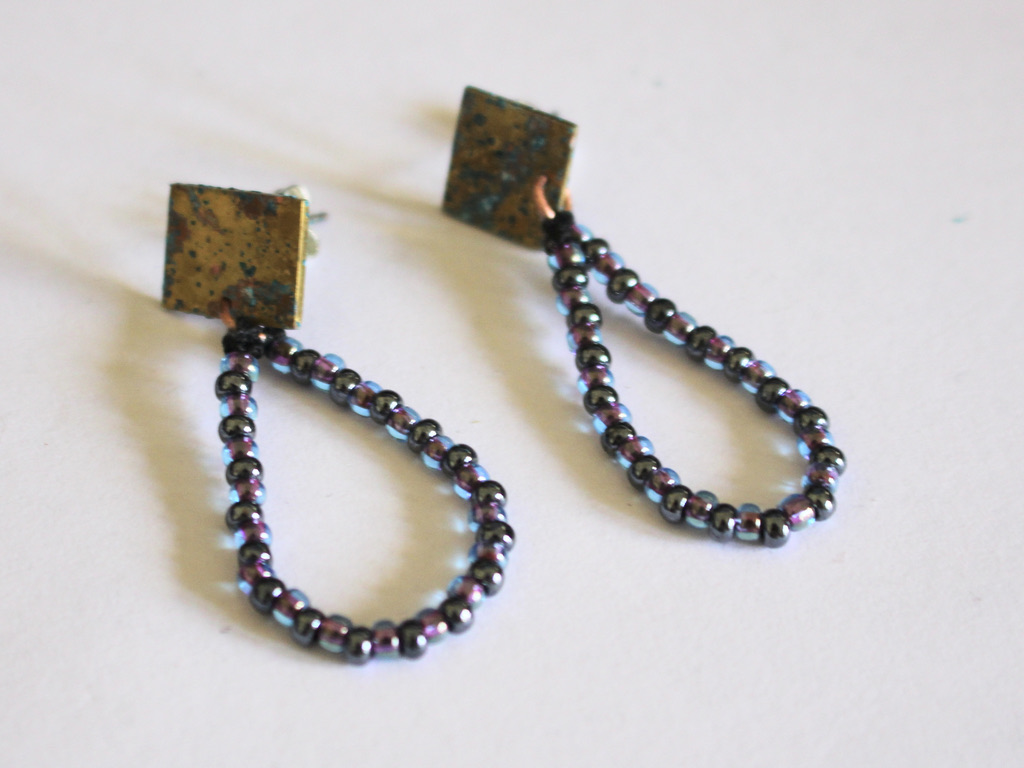
Now your earrings are finished and ready to wear! How fun is this design?
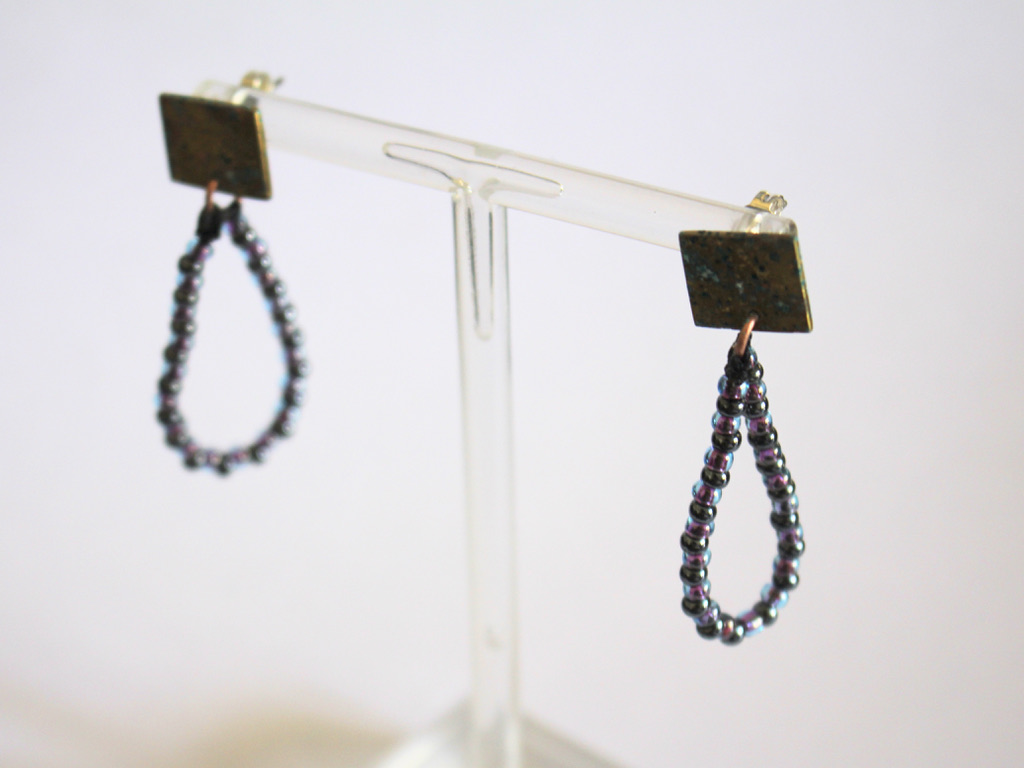


-
Here’s how to turn copper charms green using kitchen ingredients! I love this technique.
Copper is a really fun material to make jewellery with, it is reactive and oxidises easily, so you can make some great patterns and patina using simple household ingredients. In this tutorial I’m going to show you how to turn copper green using kitchen salt and balsamic vinegar! Please note that this tutorial contains affiliate links.
You’ll need these tools and materials to turn copper green:
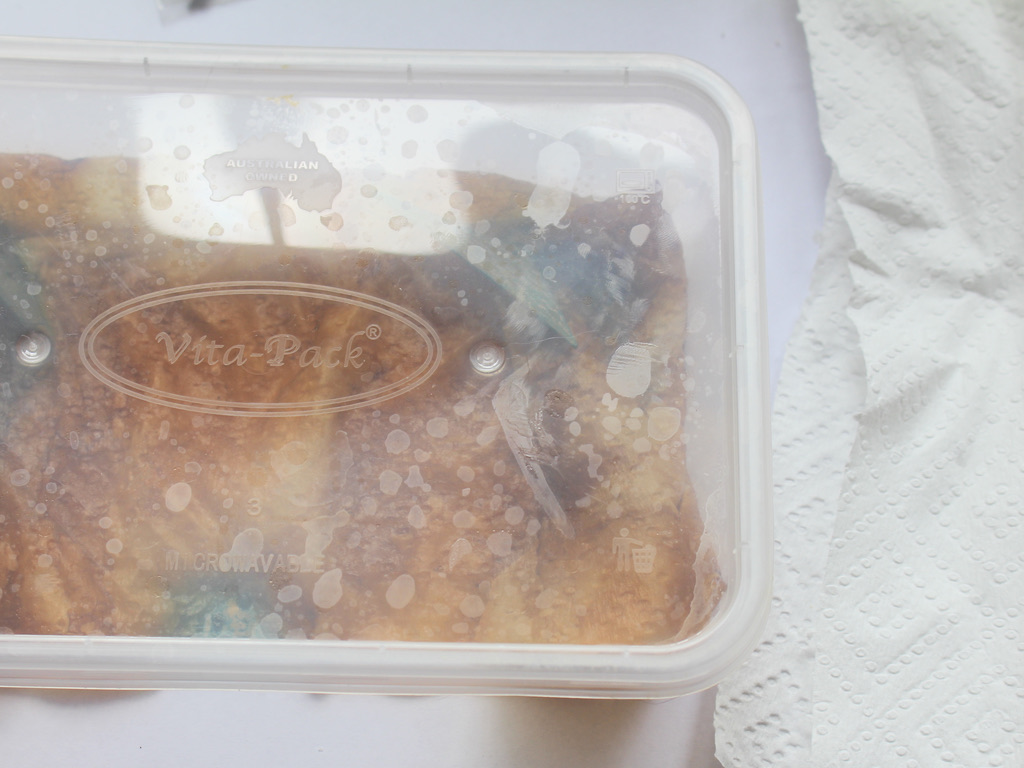
1: A plastic container with a lid. I used a recycled takeaway container.

2: A couple of paper towels, one for turning the pieces green and another for wiping them off.

3: Some copper charms. I used these charms I made from some copper sheet a while ago.

4: Vinegar. I used balsamic vinegar for this tutorial, but you can try other vinegars such as white vinegar.

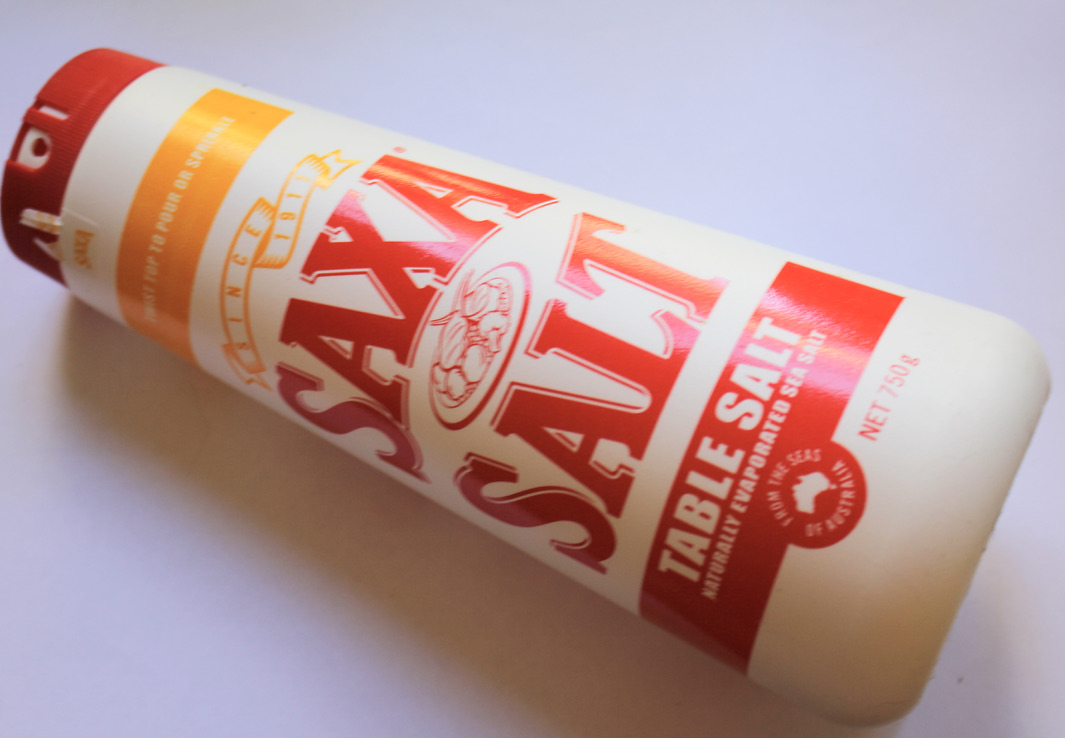
5: Salt.
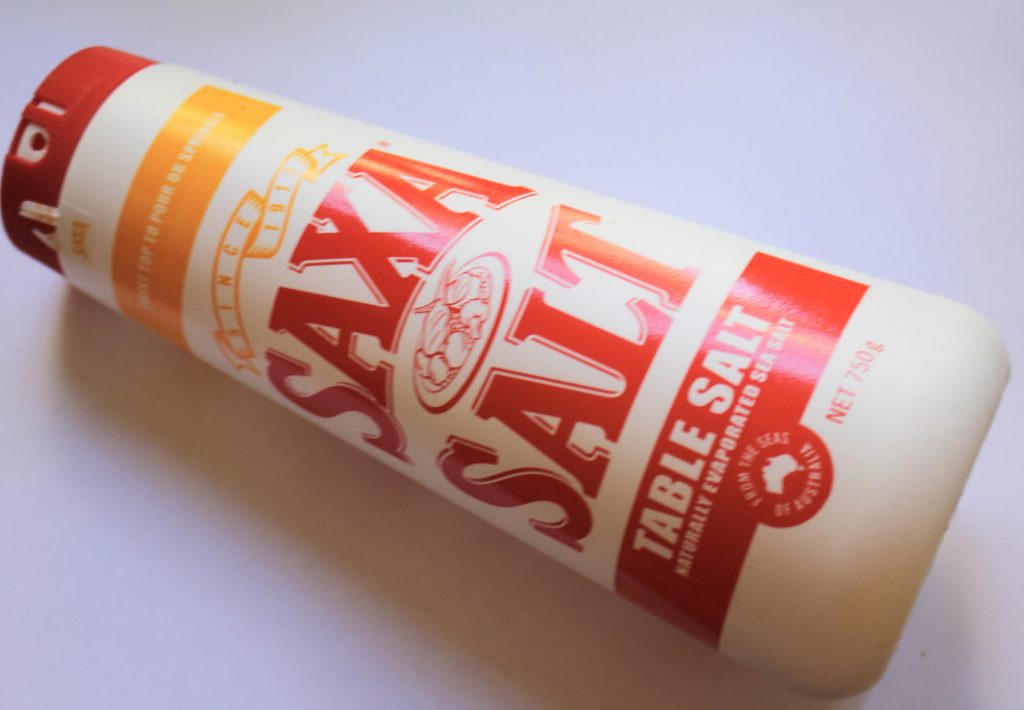
Now, here are the steps to follow to turn your copper green:
1: Put the paper towel inside the plastic container.

2: Add a dash of vinegar to the container, it will soak into the paper towel.

3: Add the salt to the container, sprinkle it over the paper towel.

4: Place the copper pieces into the container, try to have them leaning against the side as having the pieces right against the vinegar-coated paper towel stops the patina from developing well (you can see this below with the copper arch charm, one side didn’t turn green because it was directly against the salt and vinegar mixture).

5: Put on the lid and leave the pieces overnight.
6: Once you have a patina you like, you can take the pieces out of the container and gently pat them dry with another paper towel, and that’s all! Now your pieces are ready to make with.


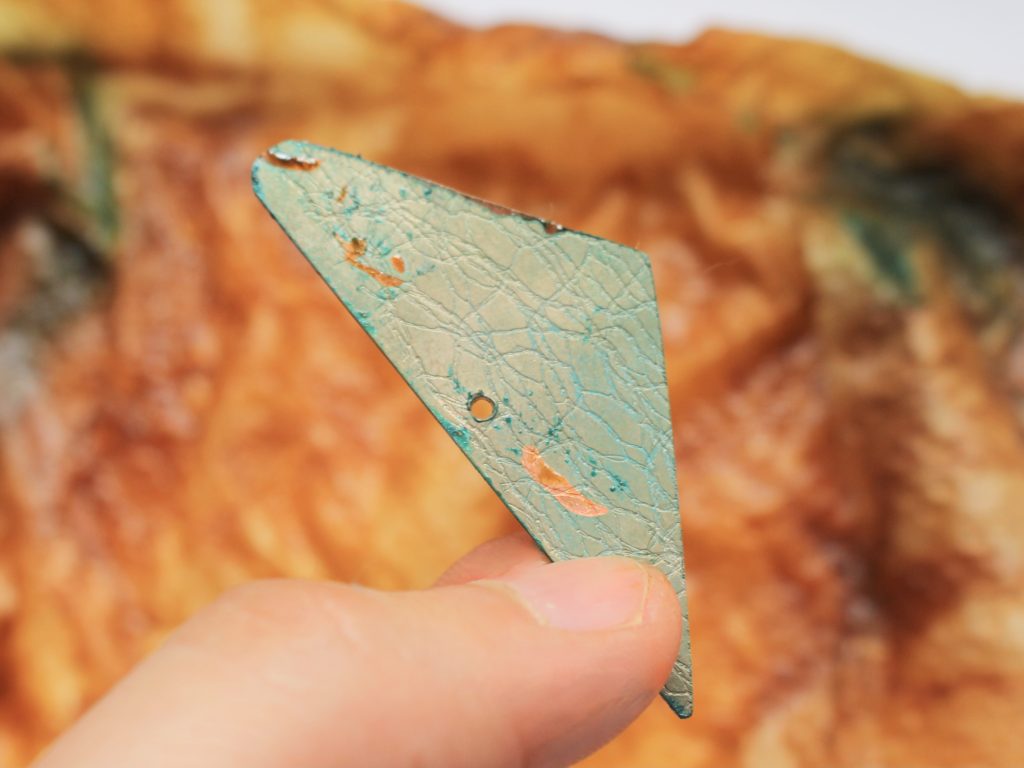


The final patina can be delicate when it is dry, so you can protect it with a substance called renaissance wax, which coats the piece and protects the green patina.
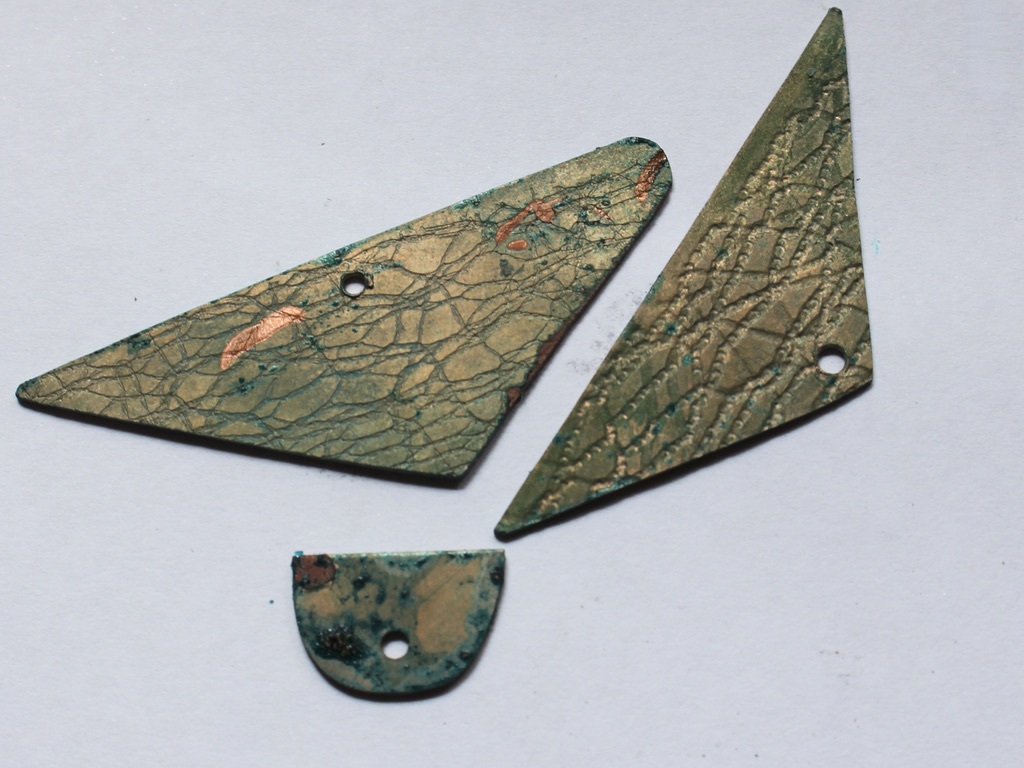
Here are some earrings I made using this technique, what do you think?

If you love this design, you can buy them here: https://www.etsy.com/au/listing/724963620/australian-made-earrings-copper-earrings?click_key=71fb4f1a5e946b8d959e969ff1a5137d17891322%3A724963620&click_sum=ee529605&ref=shop_home_active_27&frs=1

Here’s another pair you can purchase: https://www.etsy.com/au/listing/746942552/copper-and-silver-earrings-white-jade?click_key=42061fd44dcd2c519b427d32fdeaf45615238bcc%3A746942552&click_sum=3fb803a0&ref=shop_home_active_2&frs=1
And a third pair I made using copper wire and jasper beads, you can buy them here: https://www.etsy.com/au/listing/1130385893/textured-copper-earrings-copper-earrings?click_key=1fb520d80bb1c050717c9f98bc6c20c3f0260d48%3A1130385893&click_sum=deed90a6&ref=shop_home_active_8&frs=1

-
These earrings have not one, not two… but three hoops! Here’s how to make them.
Do you love it when your earrings to do the most? These earrings are a true hoop statement, made with three hoops that nest into each other. I think these are so cute!
Please note that this tutorial contains affiliate links.
You’ll need the following tools and materials to make your triple hoop earrings:
1: Six pieces of wire in three different lengths (two pieces of each length). The longest piece of wire will determine the size of the rest of the hoops. I used copper wire.

2: Six small jump rings.
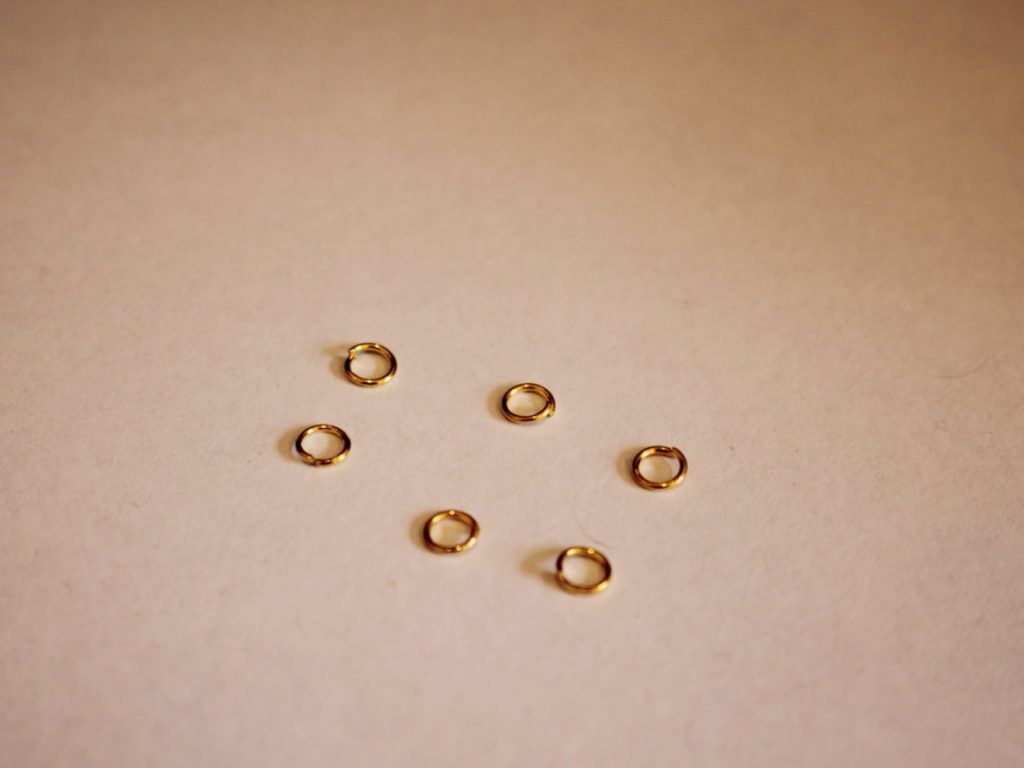
3: A pair of earring hooks.

4: Beads of your choice. I used six red timber beads and some yellow glass e-beads.


Follow these steps to make your triple hoop earrings:
1: Create a loop at one of the ends of the long wires using your round nose pliers. Do this by creating a right angle first and then looping that small end of the wire around the barrel of your pliers.


2: Add beads to the wire in your chosen pattern. I beaded mine primarily with the yellow beads, placing a red timber bead in the centre. You can estimate the centre of the wire by forming it into a rough circle shape.

3: Once the wire is beaded, with 1cm left bare, create another loop at the end of the wire. This will secure the beads in place. Open the end loop up a bit and slide it into the loop you made at the start, close it to secure the ends together and form the circle shape.
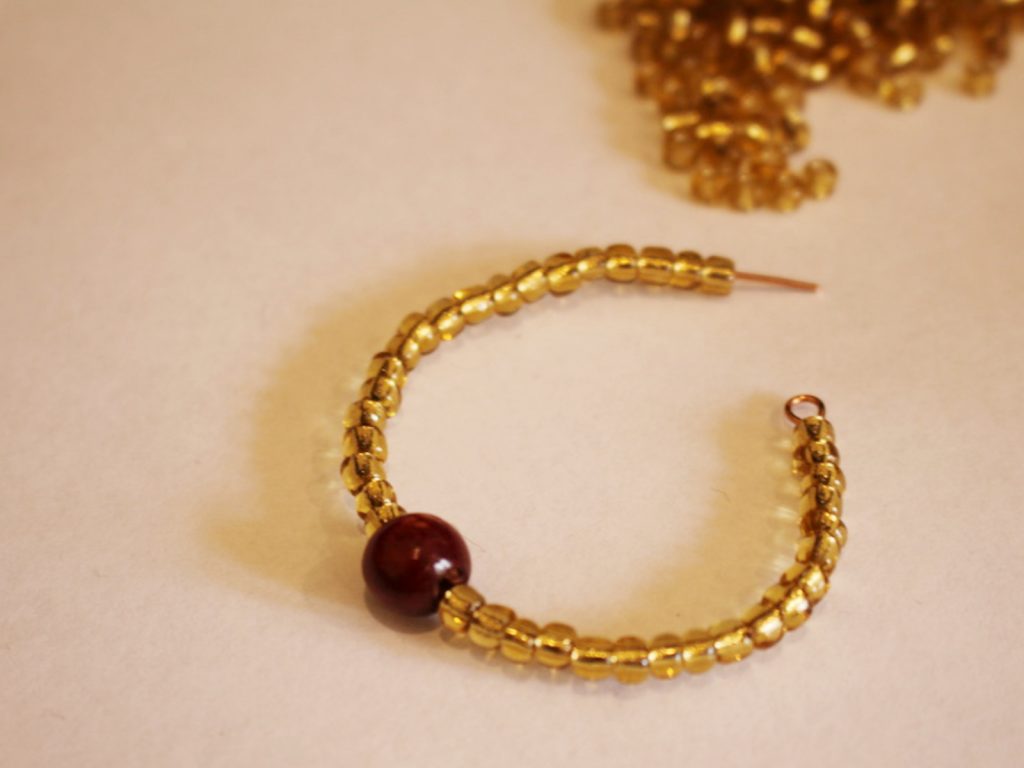


4: Repeat steps 1-3 for the rest of the wires to create six circles.
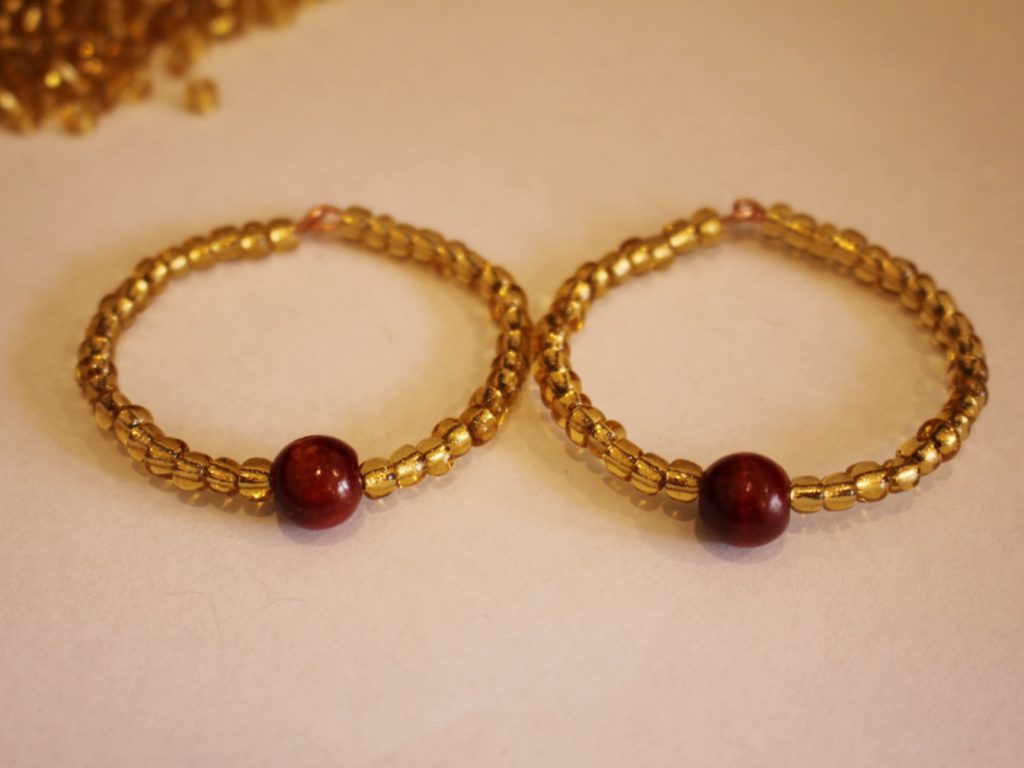


5: Take one of the biggest circles and one of the medium circles. Attach them together using one of the jump rings. Slide the jump ring through the loops at the top of each hoop and close it to secure them together.

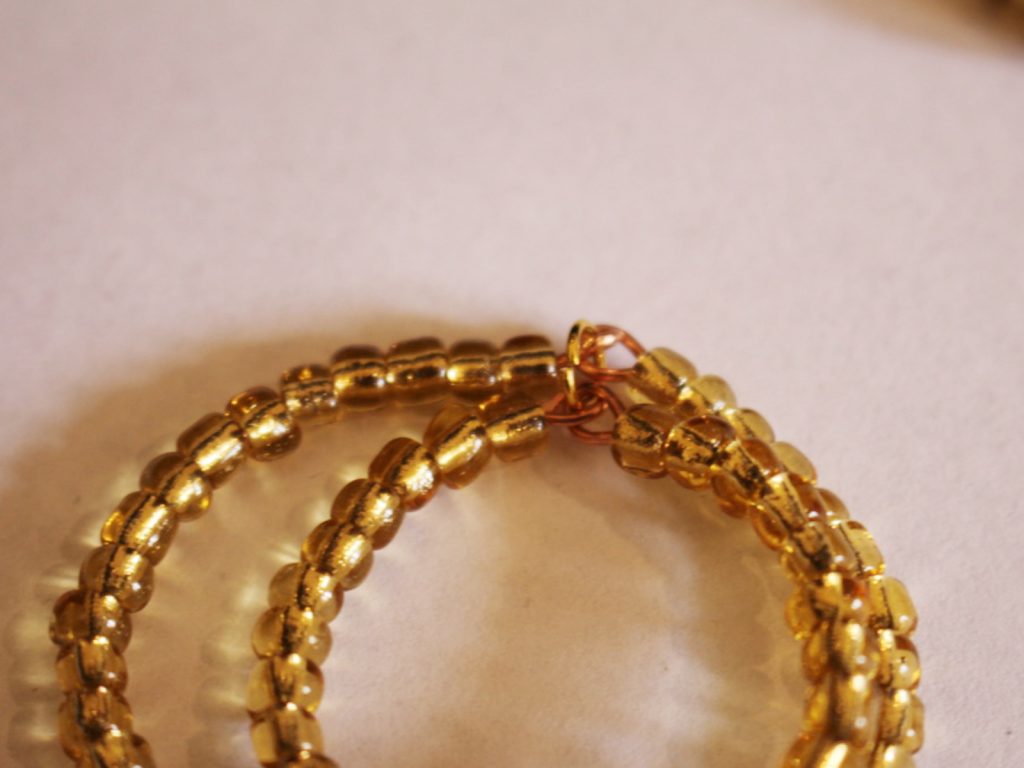
6: Repeat step 5 to attach the smallest hoop to the middle hoop so that you have a stack of three hoops attached together.

7: Repeat steps 5 and 6 for the second set of hoops.

8: Attach an earring hook to both sets of hoops to finish them off.


Now your cute triple hoops are finished and ready to wear!


If you like this design, here are some other multi-hoop earring tutorials:
-
How to make a three strand chain anklet. Super cute and simple!
This cute anklet is made from three different kinds of chain for a textured look. Combine your fave types of chain to create your own custom look. This tutorial contains affiliate links.
You’ll need the following materials to make your three chain anklet:
1: Pliers. I used my flat nose pliers and round nose pliers.


2: Three lengths of chain that are long enough to fit comfortably around your ankle. I used chunky gold tone curb chain, copper tone rolo chain and antique gold tone curb chain.


3: Two large jump rings.

4: A lobster clasp.

Follow these steps to make your three chain anklet:
1: Open one of the jump rings.
2: Add each of the chains to the open jump ring.
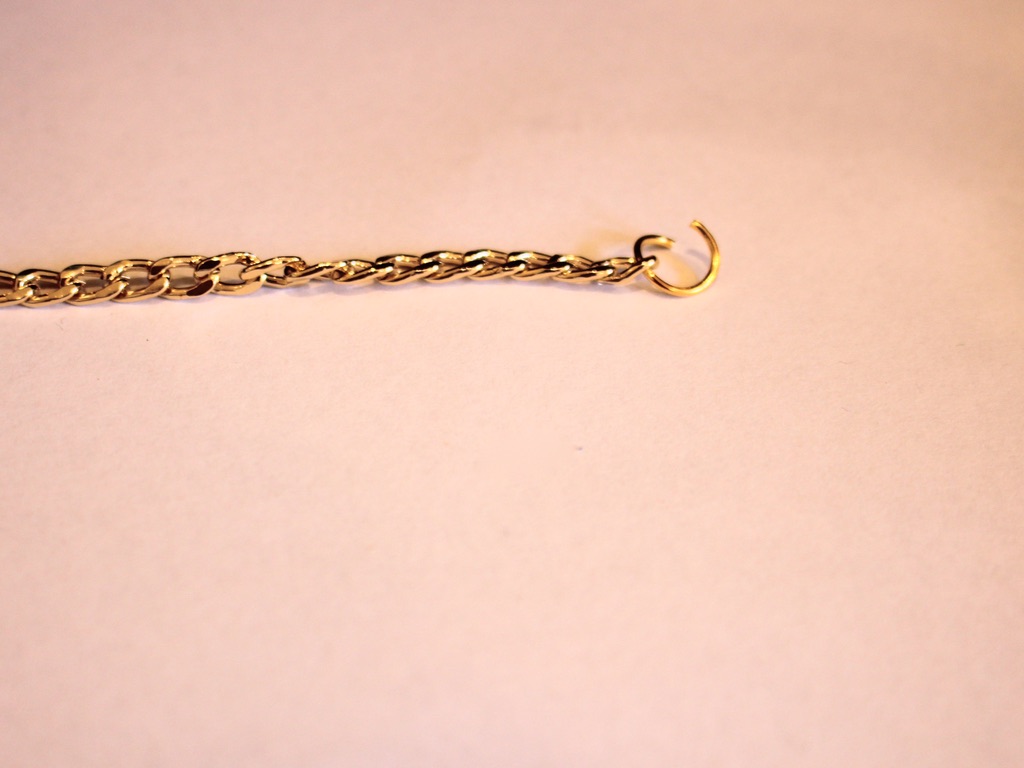

3: Close the jump rings to secure the chains together.


4: Open the other jump ring and put the other end of each chain onto the jump ring in the same order as the other end.
5: add the lobster clasp to the second jump ring before closing it.
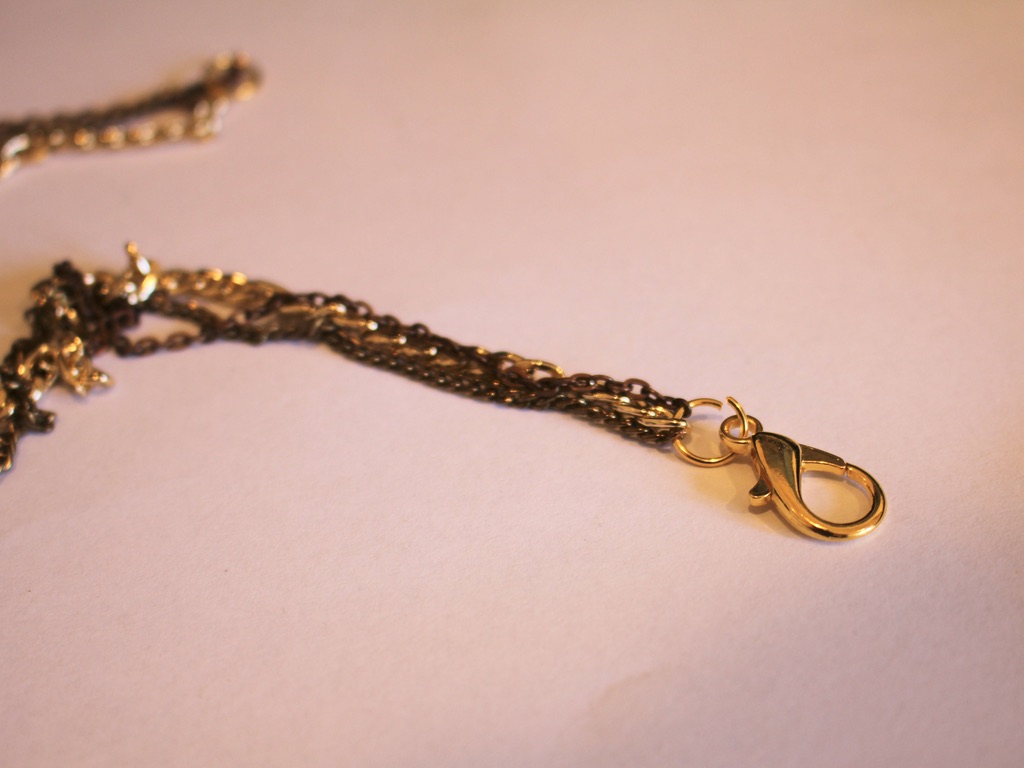
Now your anklet is finished and ready to put on! Throw one together before your next social distanced hang.


-
Want to wear your heart on the outside? Make this adorable beaded heart necklace!

This beaded necklace looks so cute, you can wear your heart on your chest instead of your sleeve! Contains affiliate links.
You will need the following tools and materials to make your beaded heart necklace:
1: Pliers. You’ll need round nose pliers, flat nose pliers and cutting pliers.
2: Two pieces of wire. I used copper wire and cut mine to approximately 13cm long.

3: A chain.

4: One large jump ring.

5: Two smaller jump rings.

6: A toggle clasp.

7: Beads. I used some red glass seed beads.

Follow these steps to make your beaded heart necklace:
1: Create a loop at the end of each piece of wire using the round nose pliers.

2: Add beads to each wire leaving 1cm un-beaded.
3: Create a loop at the end of each wire to secure the beads in place.

4: Bend each wire to form a half heart curve.

5:Attach the loops at the top of the heart together.

6: Attach the other ends together to complete the heart.

7: reshape the heart if required.
8: Add the large jump ring to the top of the heart.
9: Add the beaded heart to the necklace chain.

10: Attach a jump ring to one end of the chain and one side of the toggle clasp.
11: Attach the remaining jump ring to the other side of the chain and slide on the other side of the toggle clasp to finish.

Now your heart necklace is finished and ready to wear!
Here’s another one I made with green glass beads.


-
One hoop not enough? Here’s how to make double hoop earrings!
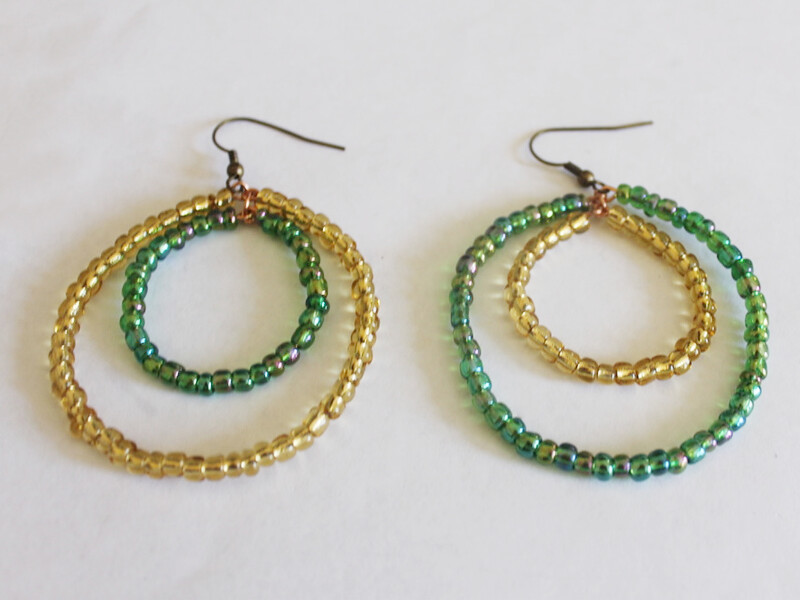
These hoops are special, they’re double hoops! This tutorial contains affiliate links.
You’ll need the following tools and materials to make your own double hoop earrings:
1: Pliers. You’ll need round nose pliers, flat nose pliers and cutting pliers.
2: Two pieces of wire.

3: Two shorter pieces of wire.

4: Two jump rings.
5: Two earring hooks.

6: Beads of your choice. I used these green and yellow glass e-beads.


Follow these steps to make your double hoop earrings:
1: Create a loop at one end of one of the shorter wires using the round nose pliers.

2: Add yellow beads to the wire until there is approximately 1cm left unbeaded.

3: Create another loop at the other end of the wire to secure the beads in place.

4: Repeat steps 1-3 for the second short wire using the green beads.

5: Follow the previous steps for the two longer pieces of wire. Make one in yellow and one in green.


6: Form each of the wires into circles joining them at the end loops.


7: Attach the small green hoop to the inside of the large yellow hoop using one of the jump rings.

8: Repeat step 7 for the other pair of hoops.

9: Add an earring hook to the top of each hoop to finish the double hoop earrings. Now they’re ready to wear!

-
This necklace is special! Make one of your own today.
This necklace looks amazing, it’s a really cool way to use your favorite drop beads.
You will need the following tools and materials to make your necklace:
1:Pliers. You will need your flat nose pliers and round nose pliers.
2: Two pieces of chain to form the length of your necklace.

3: Two pieces of wire or two eye pins, one longer than the other.

4: A toggle clasp.

5: Four jump rings.

6: Beads of your choice. I used some frosted blue glass beads and a turquoise droplet bead.


Follow these steps to make your necklace:
1: If you are using wire, make a loop at the end of the longer piece of the wire.


2: Add the beads to the wire until there is only 1cm left without beads.


3: Create a loop at the other end of the wire.


4: Create a loop at the end of the shorter piece of wire.


5: Add the turquoise bead to the wire.

6: Create a loop at the other end of the wire using the round nose pliers to secure the bead on the wire.


7: Bend the longer beaded wire into a U shape and attach the drop bead to the inside of the U.


8: Attach each piece of chain to either side of the beaded U shape using two of the jump rings.


9: Attach each component of the toggle clasp to either end of the chain to finish the necklace. Secure them in place using the two remaining jump rings.


Now your necklace is finished!

Here’s another one I made with a longer U and a glass feature bead.