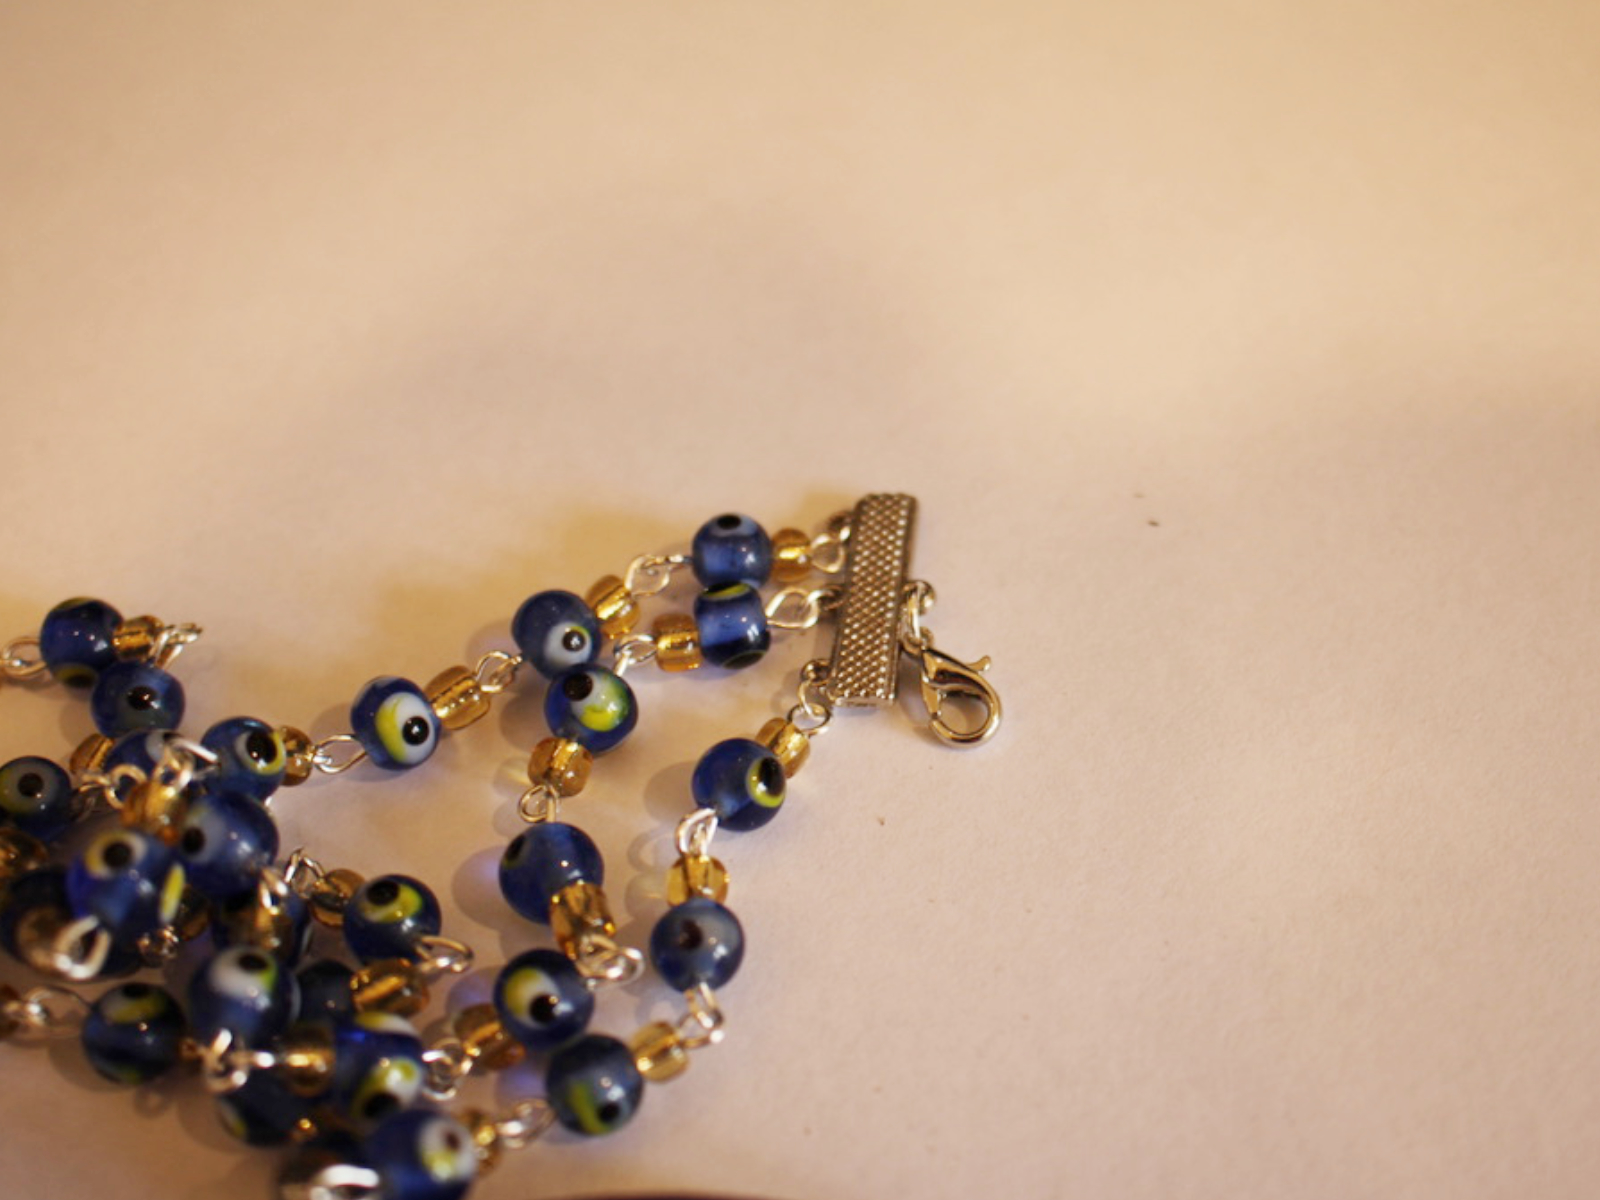
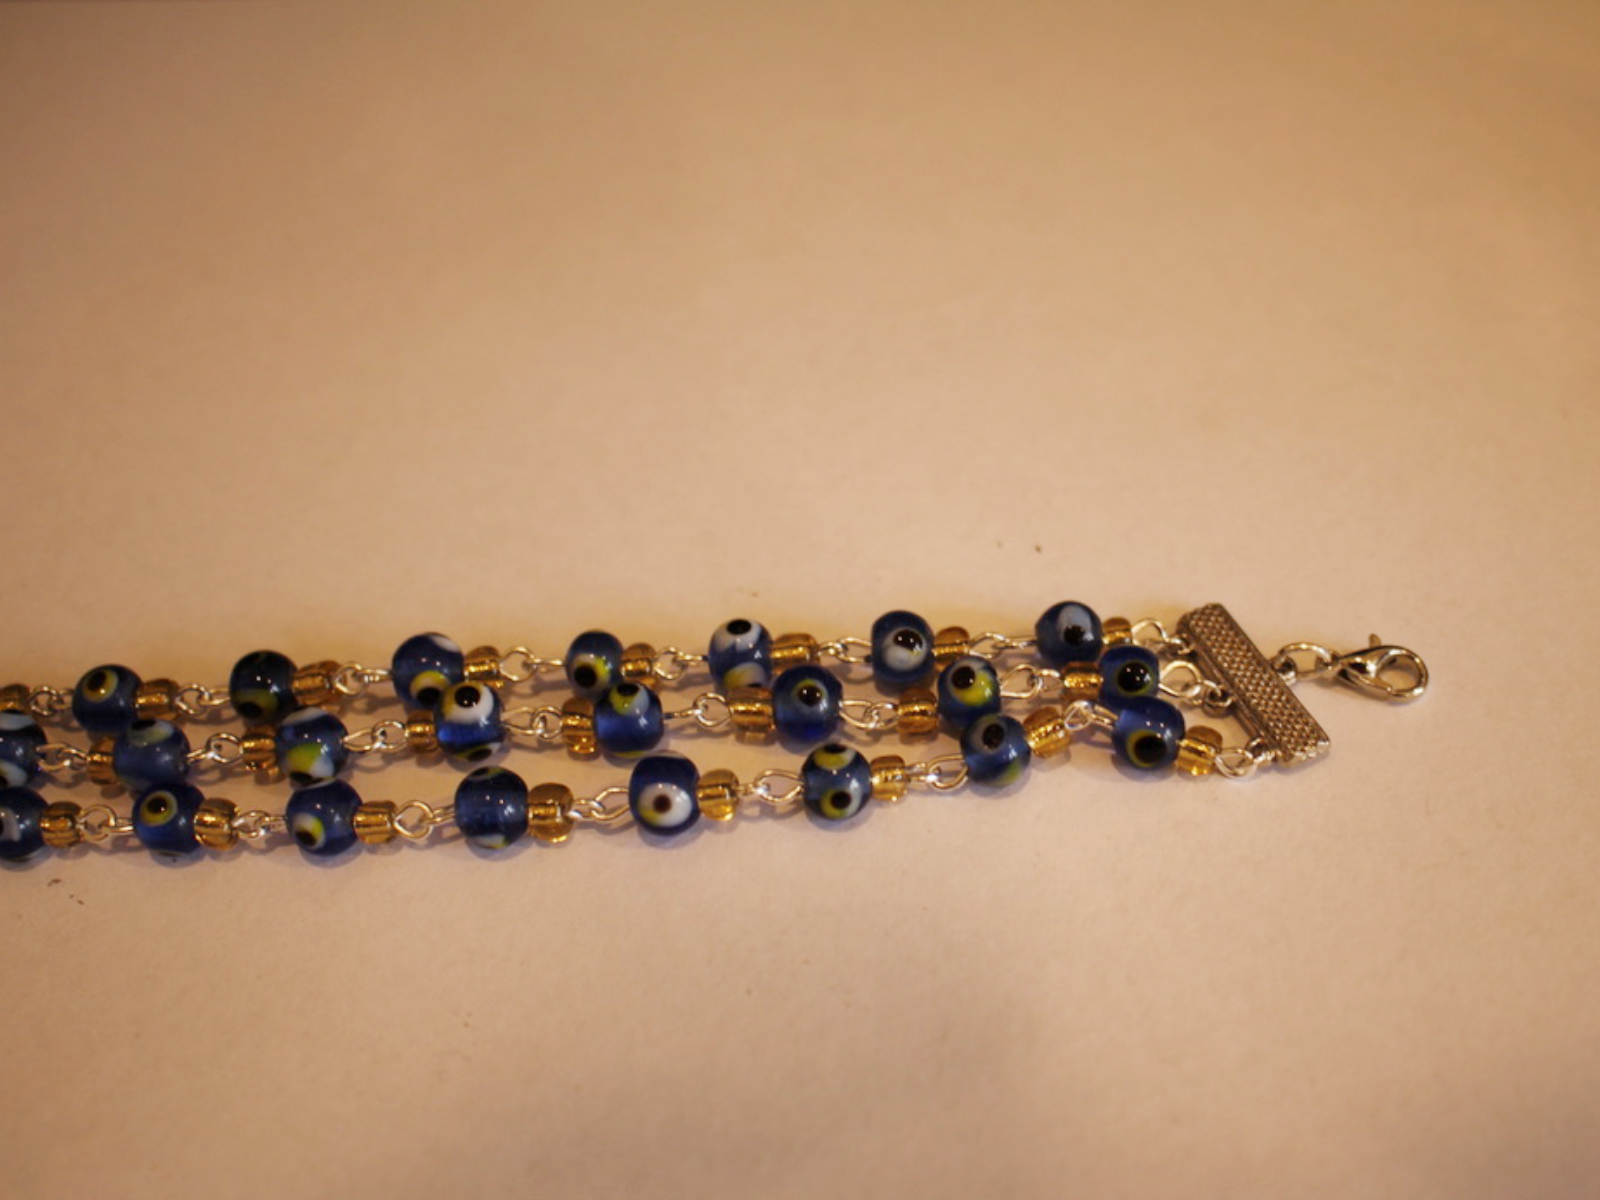
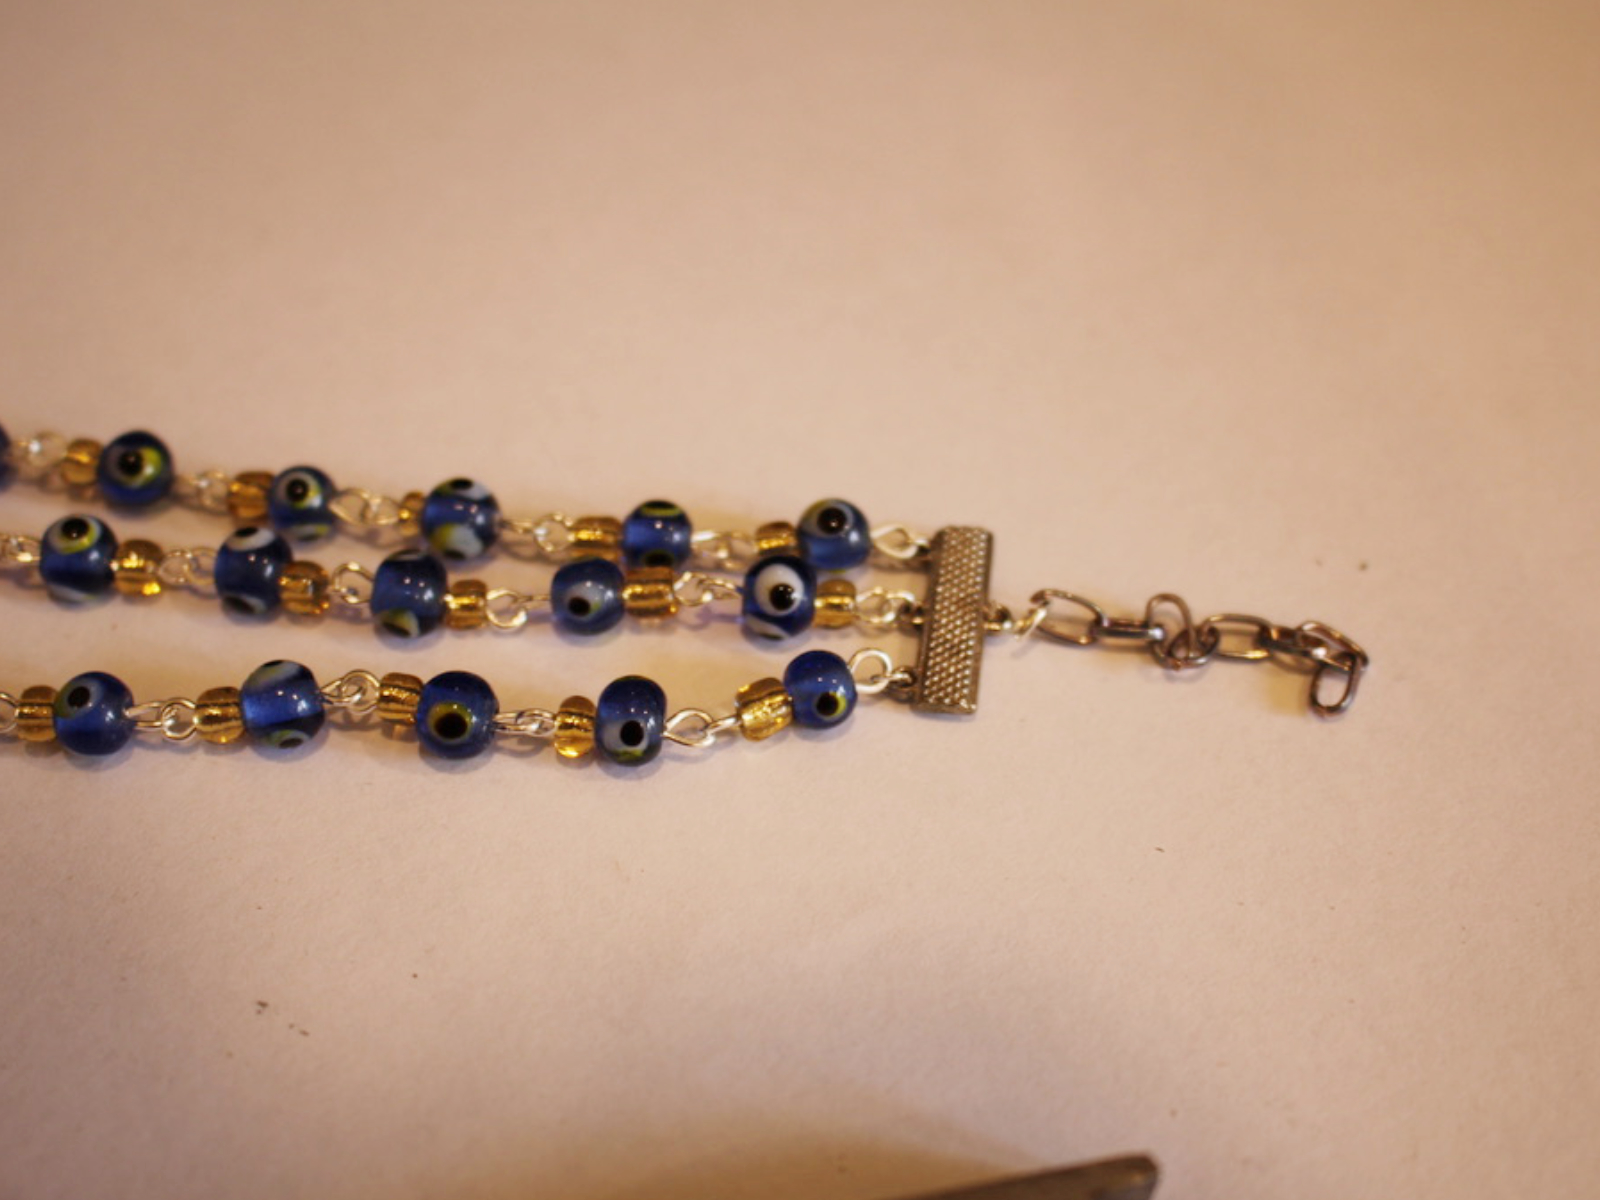
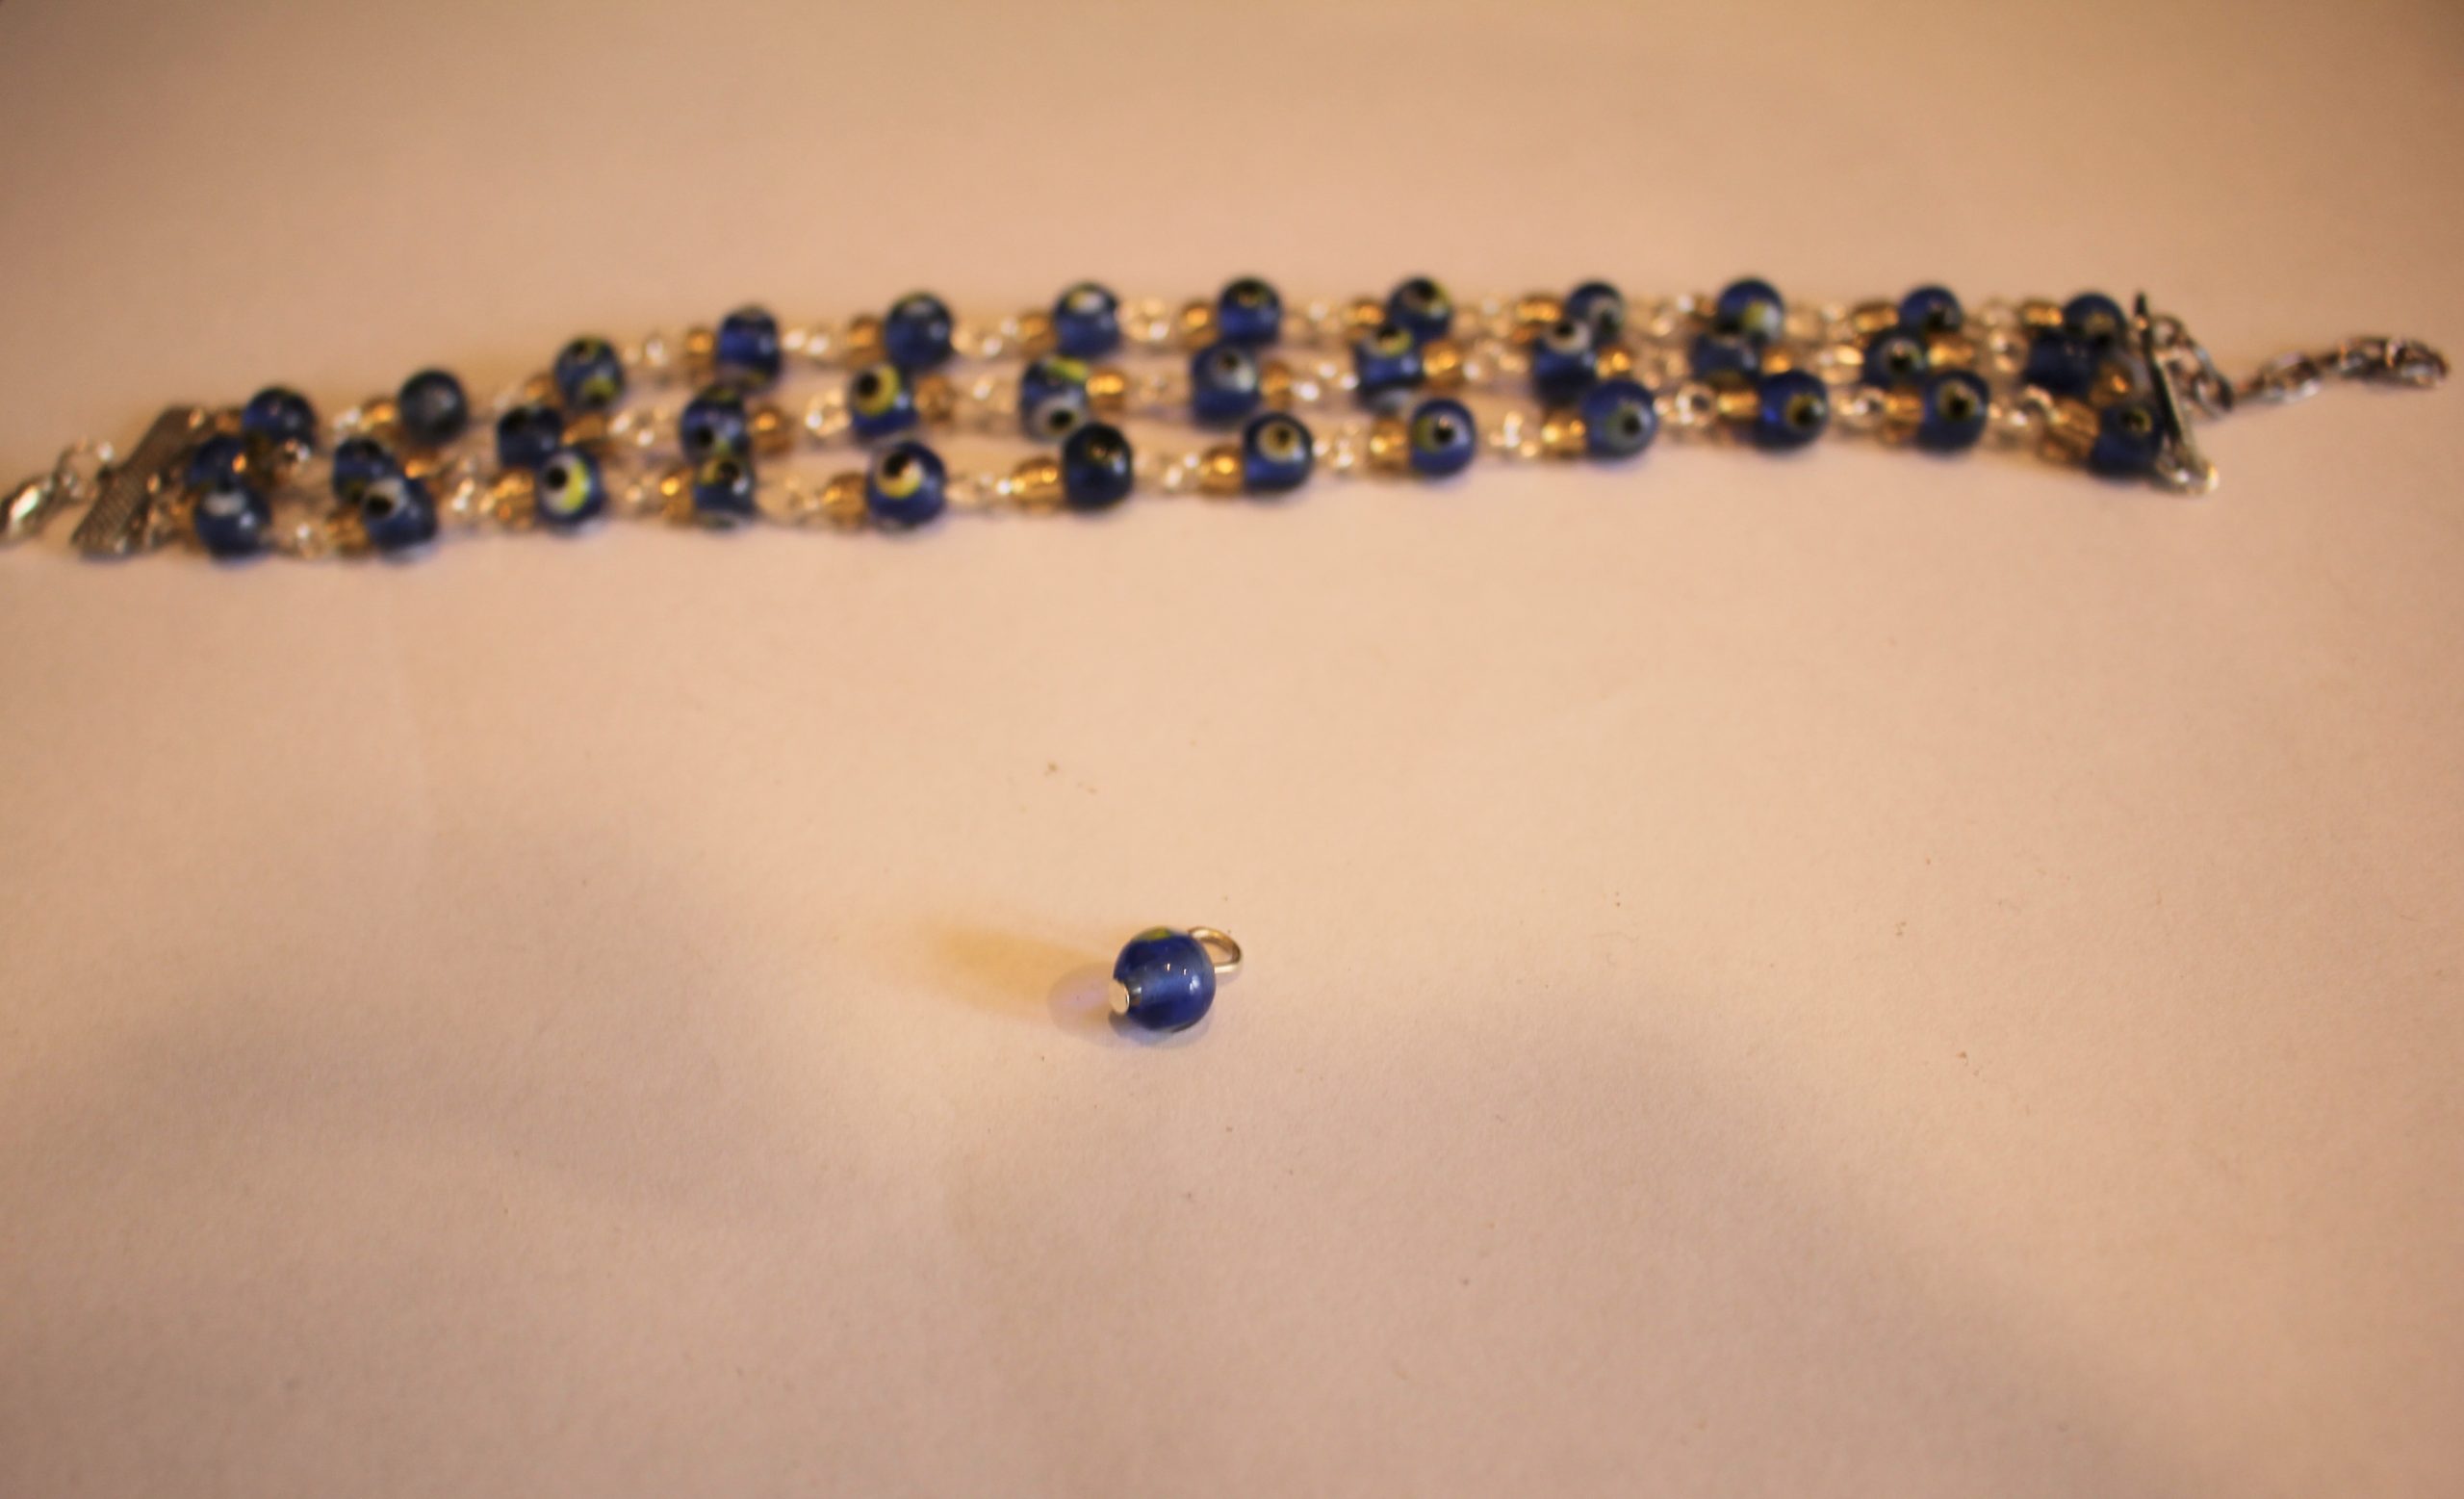
-
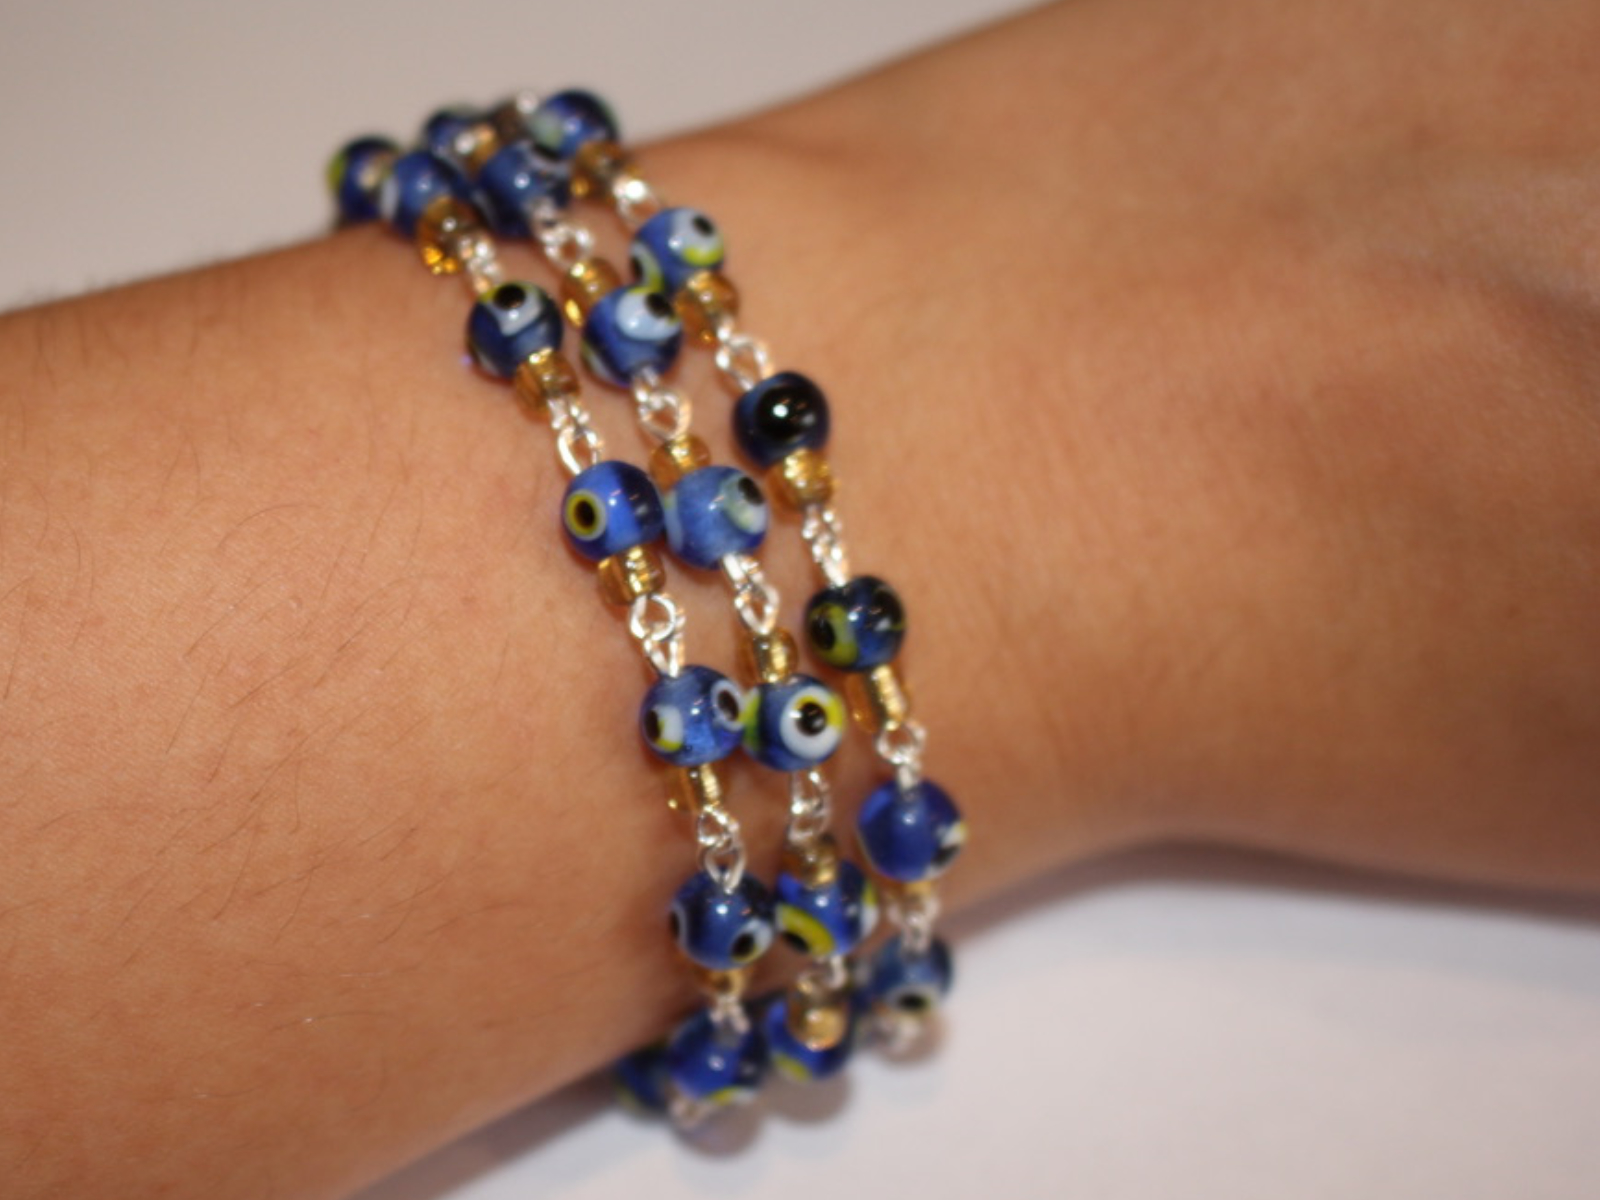
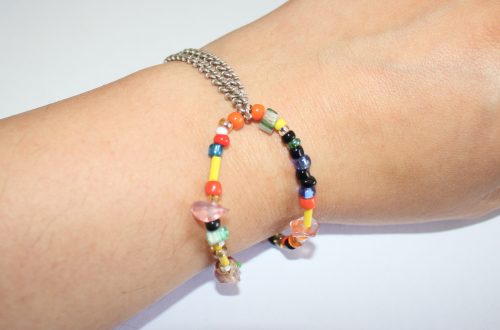
Love a bracelet stack? Here’s how to get the look with one bracelet!
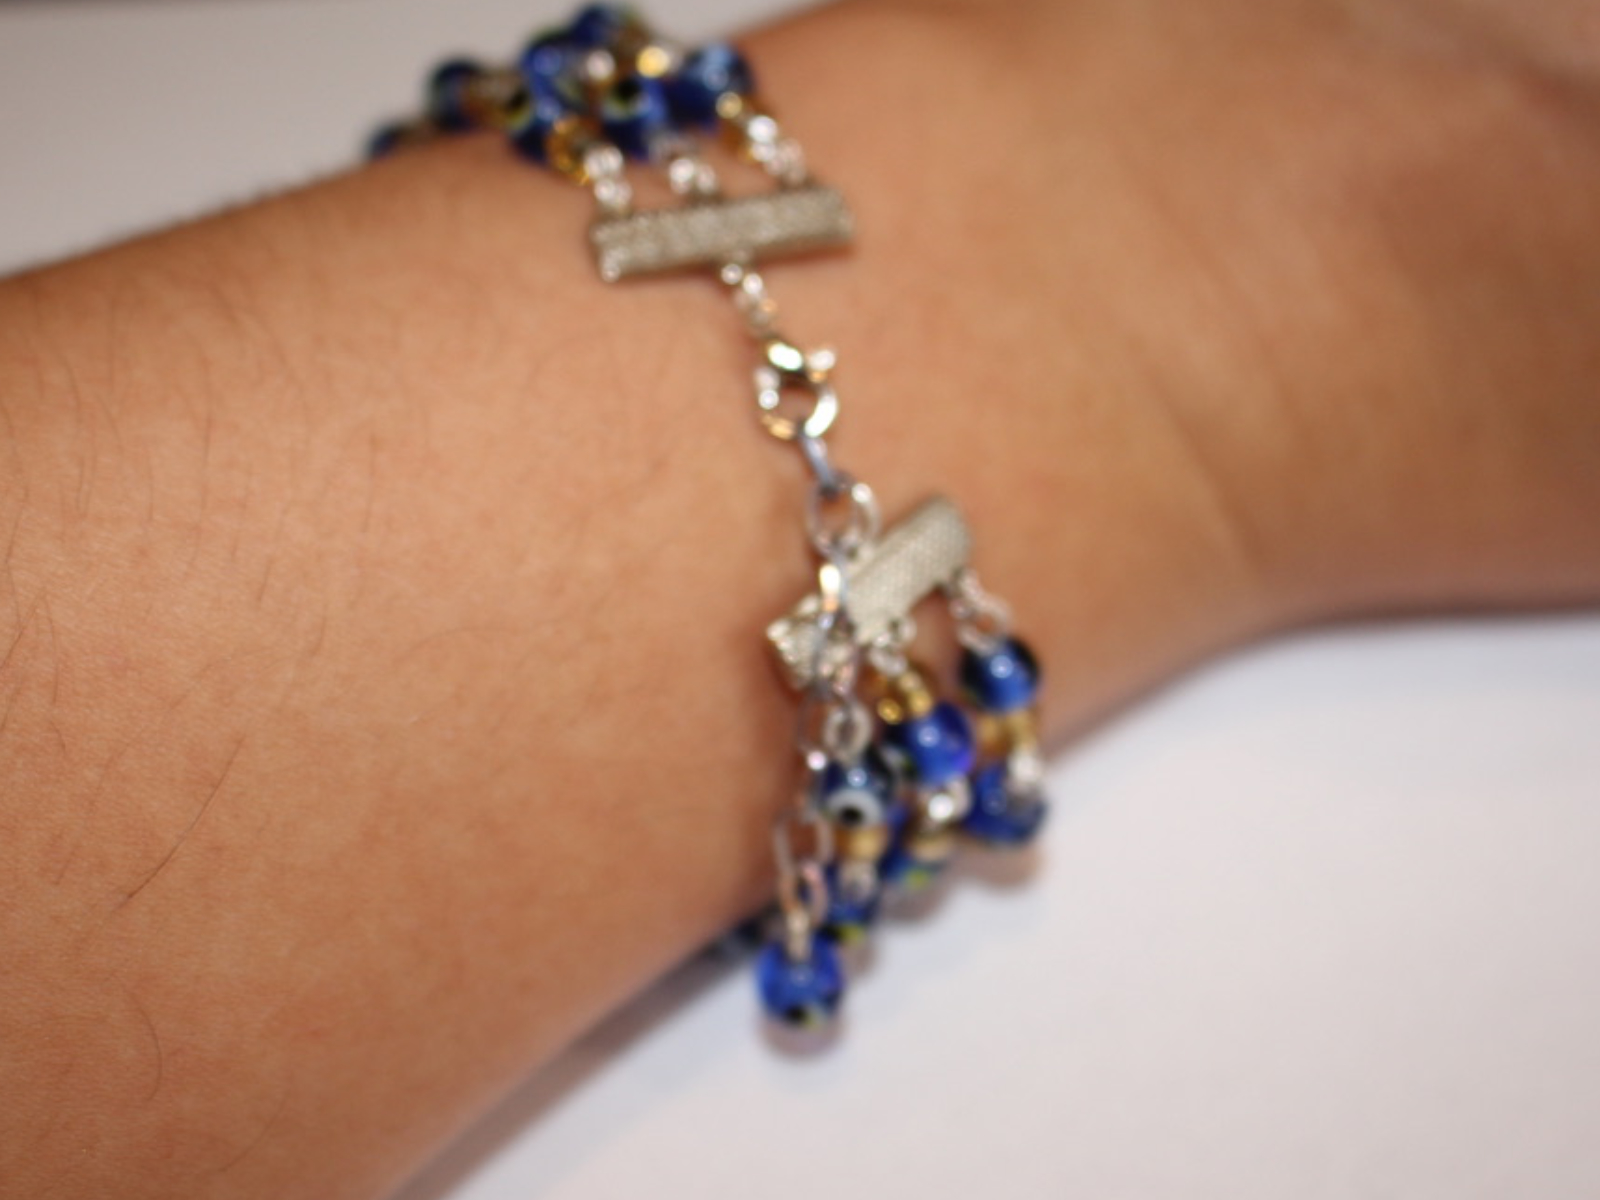
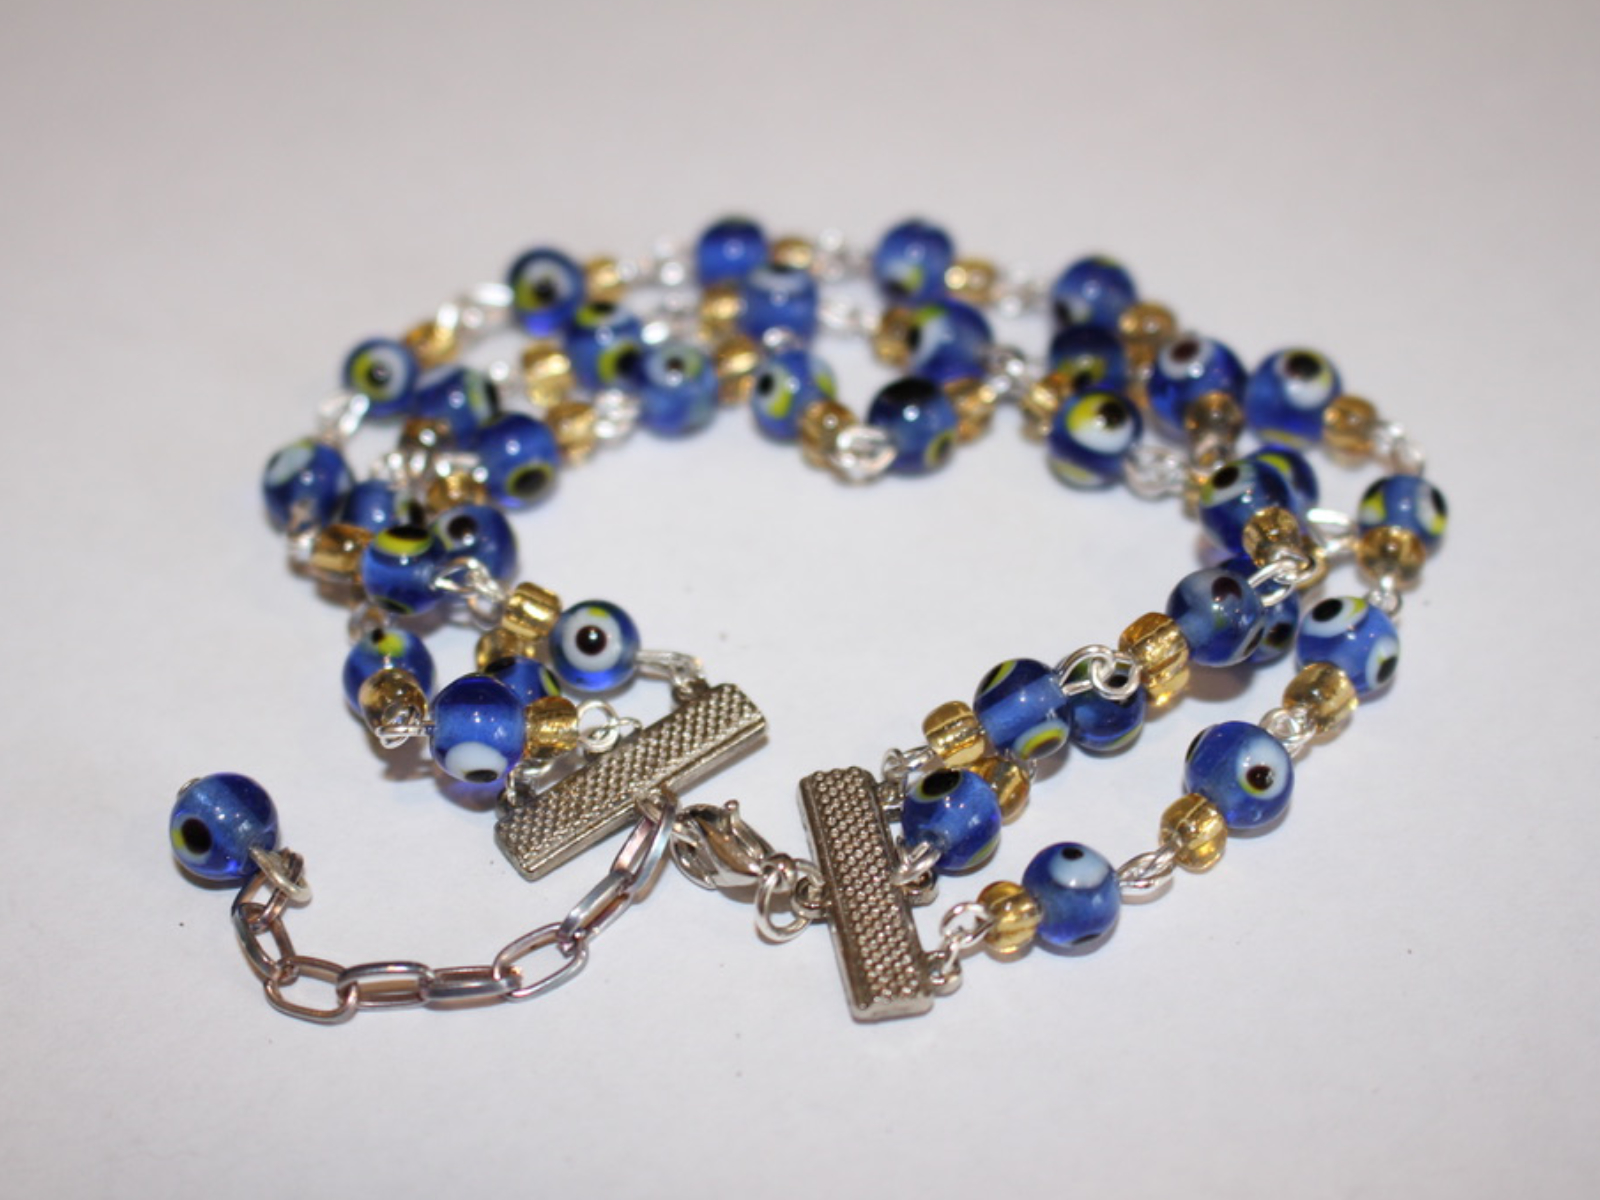
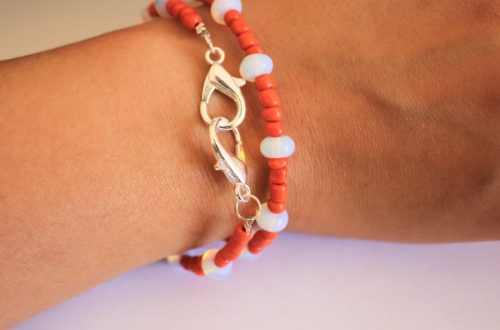
For this bracelet design you need to construct three different beaded chains and attach them together using charm connectors for a stacked bracelet look. This design is really cute and the chain extender means that putting it on by yourself is easier! Please note that this tutorial contains affiliate links.
You’ll need these tools and materials to make your triple strand stack bracelet:
1: Pliers. I used my round nose and flat nose pliers. You might also need your cutting pliers depending on the length of your eye pins.

Here’s where you can buy some jewellery pliers to add to your tool kit:
2: Eye pins. You’ll need a bunch of small eye pins to make your beaded chain.
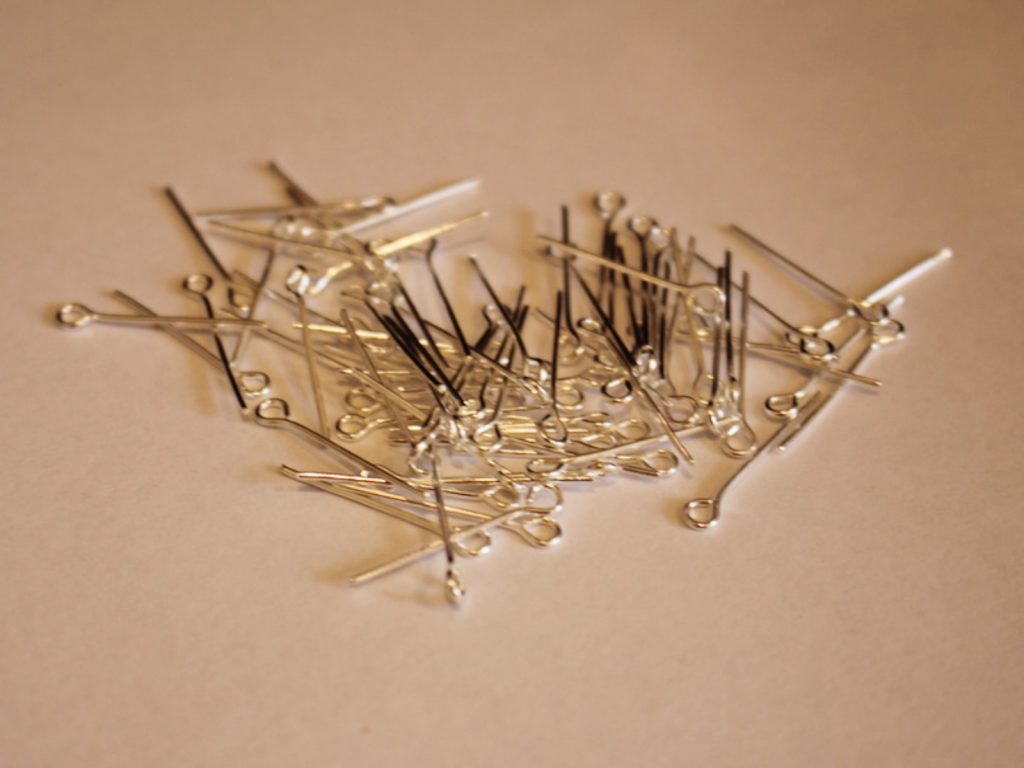
Here are eye pins in different lengths:
3: Charm connectors. I used these charm connectors that have three loops on one side and one on the other.

you can buy some charm connectors here:
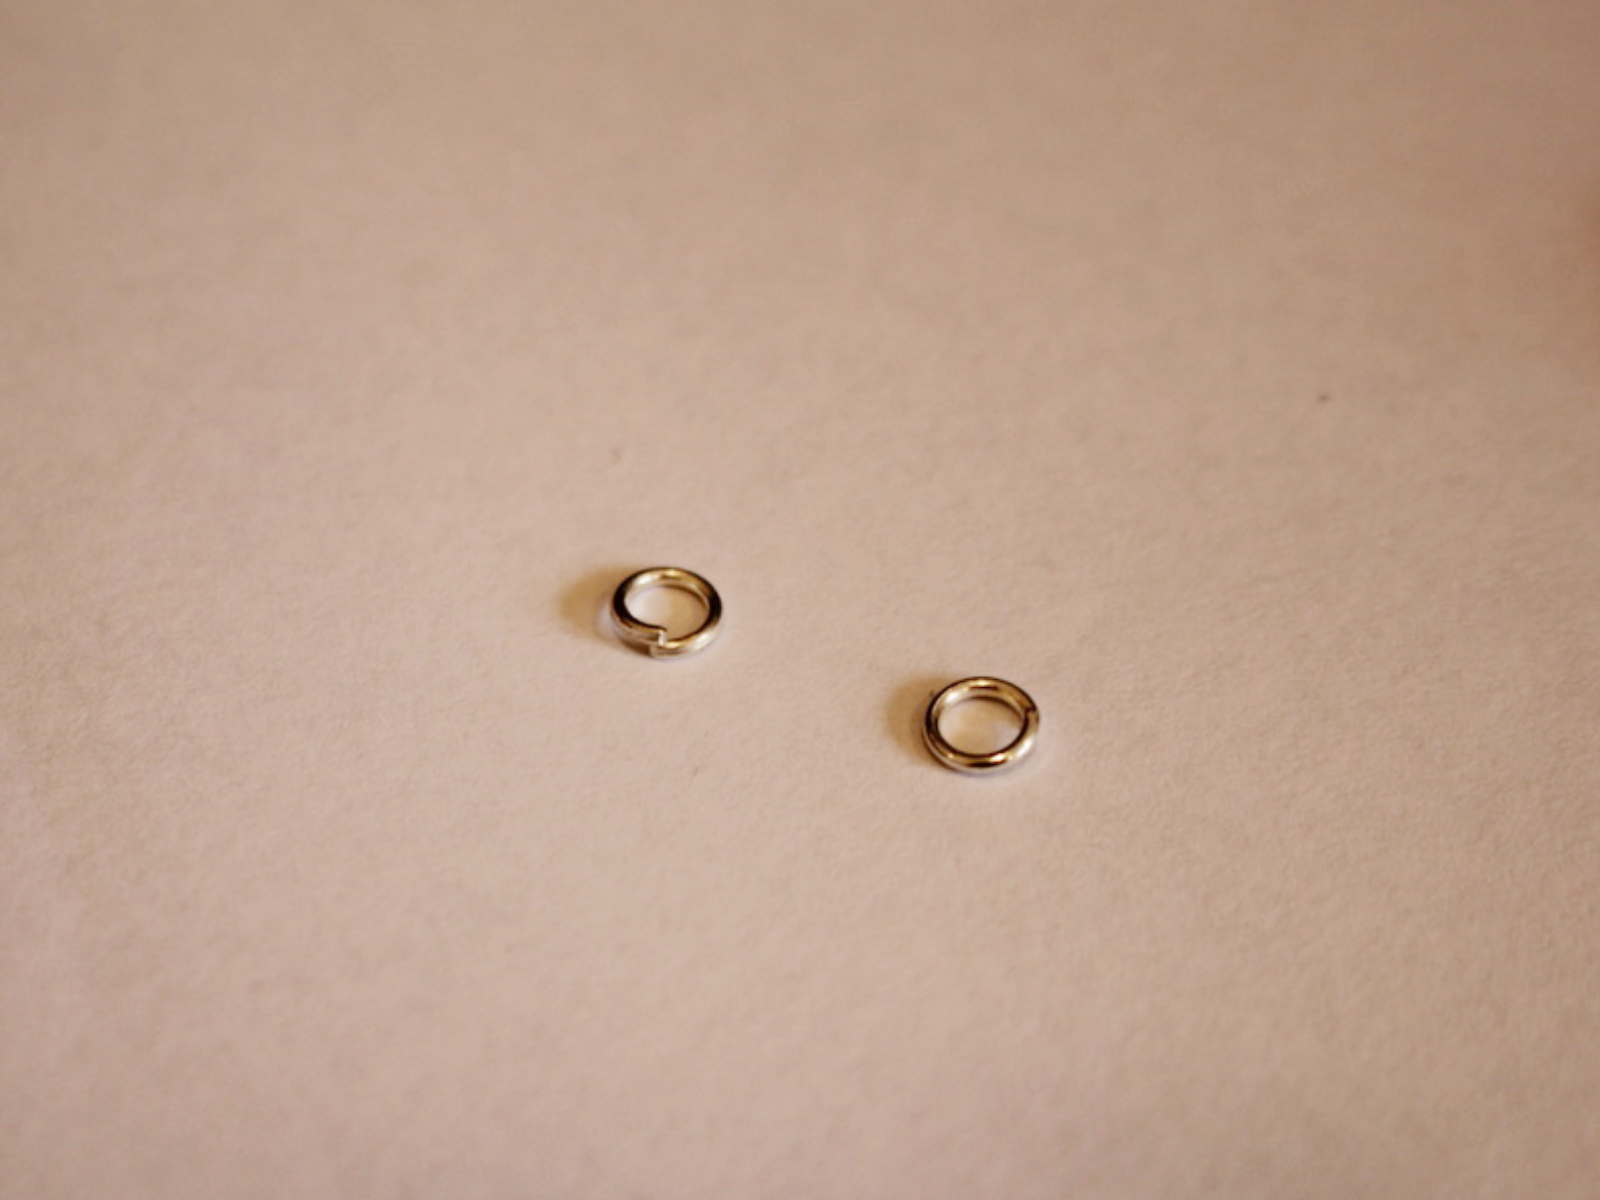
4: Six small jump rings.

5: Two larger jump rings.
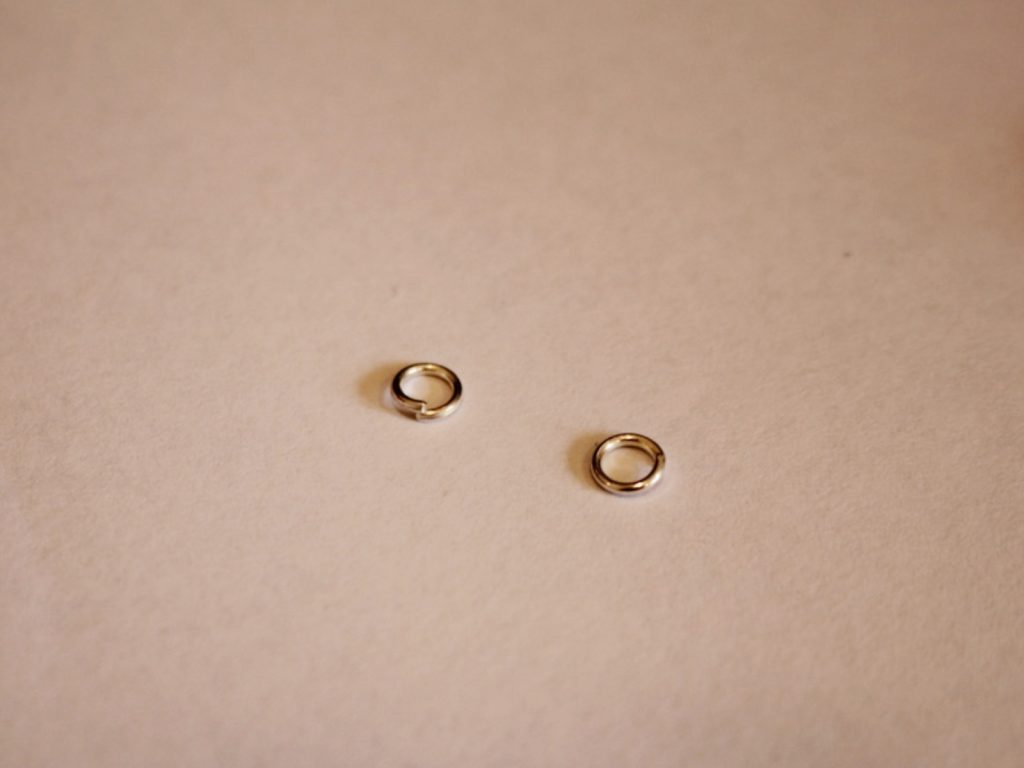
and here’s a link to differently sized jump rings to buy:
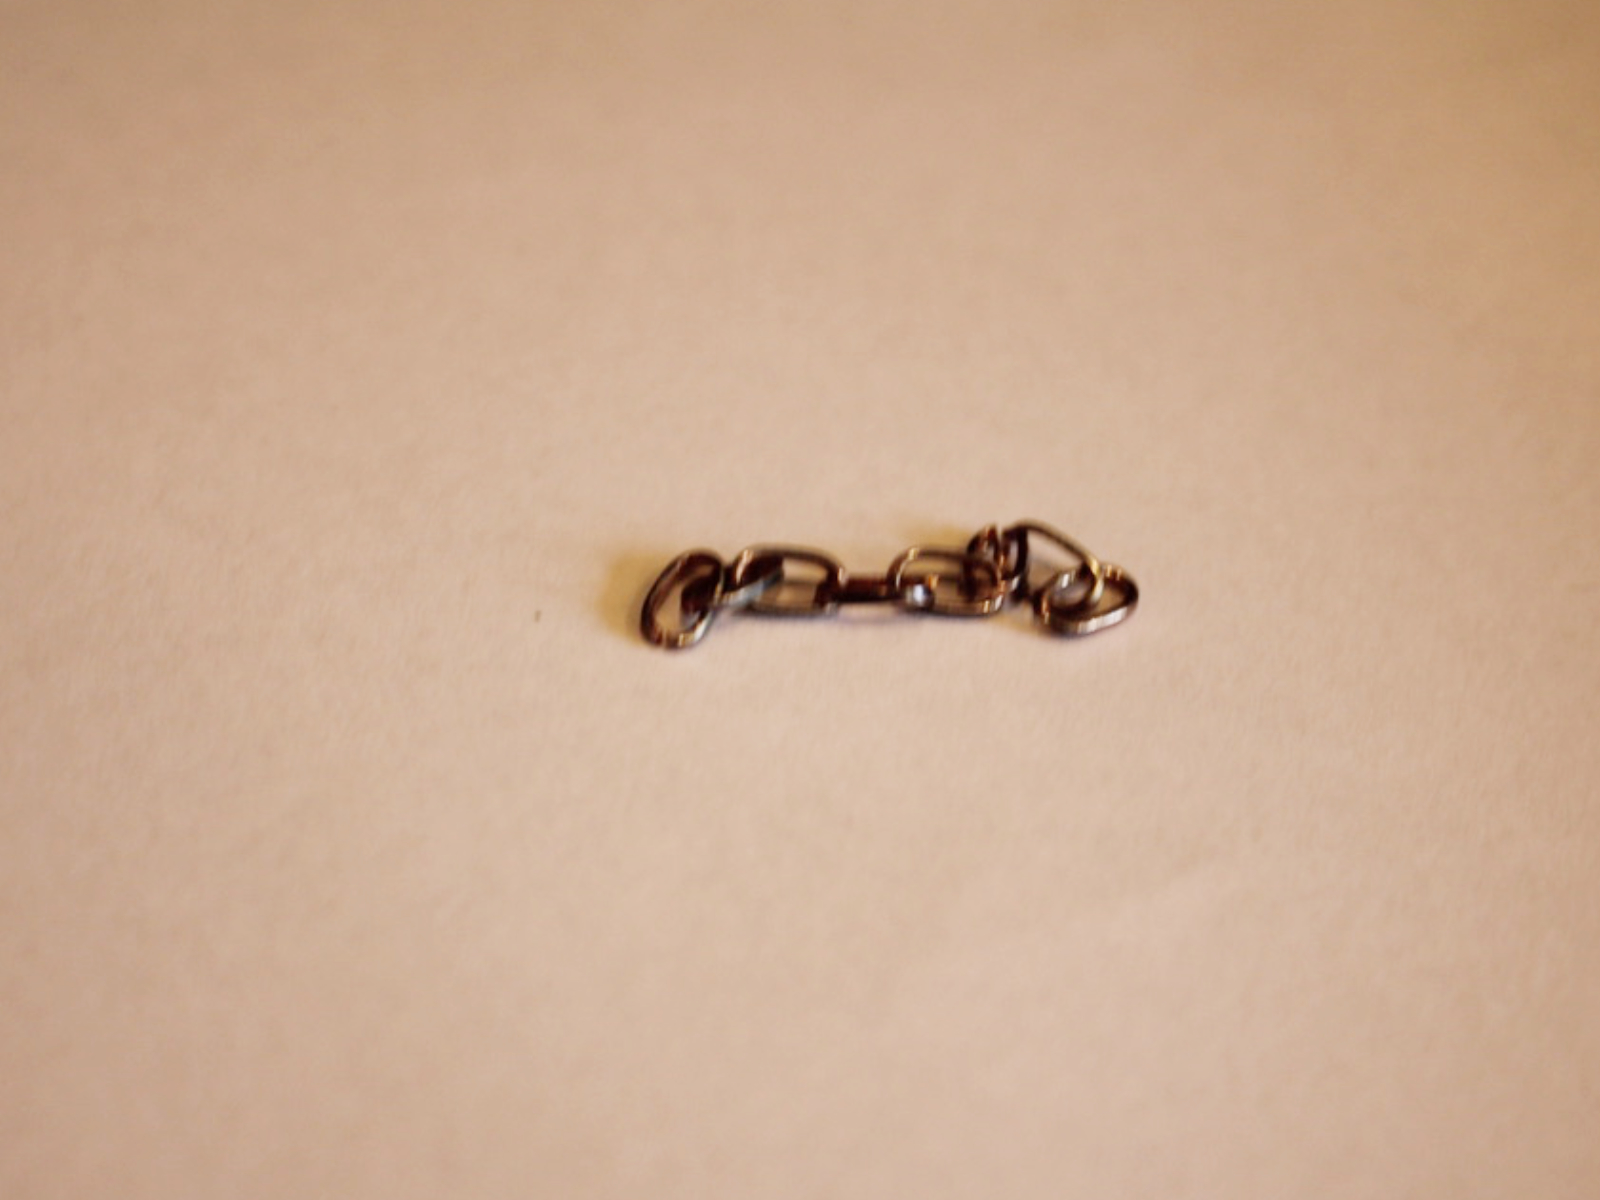
6: A small piece of chain. I used this spare piece of chain I had.

Get some here:
7: A small head pin.

A link to some small head pins:
8: A lobster clasp.
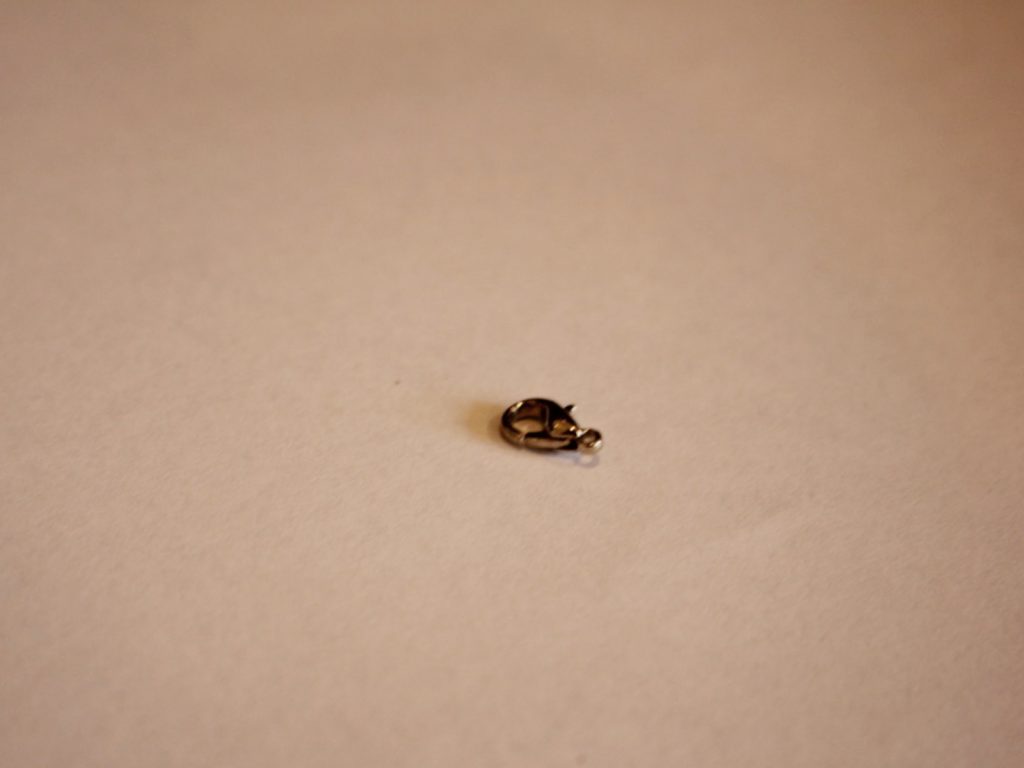
Here’s a link:
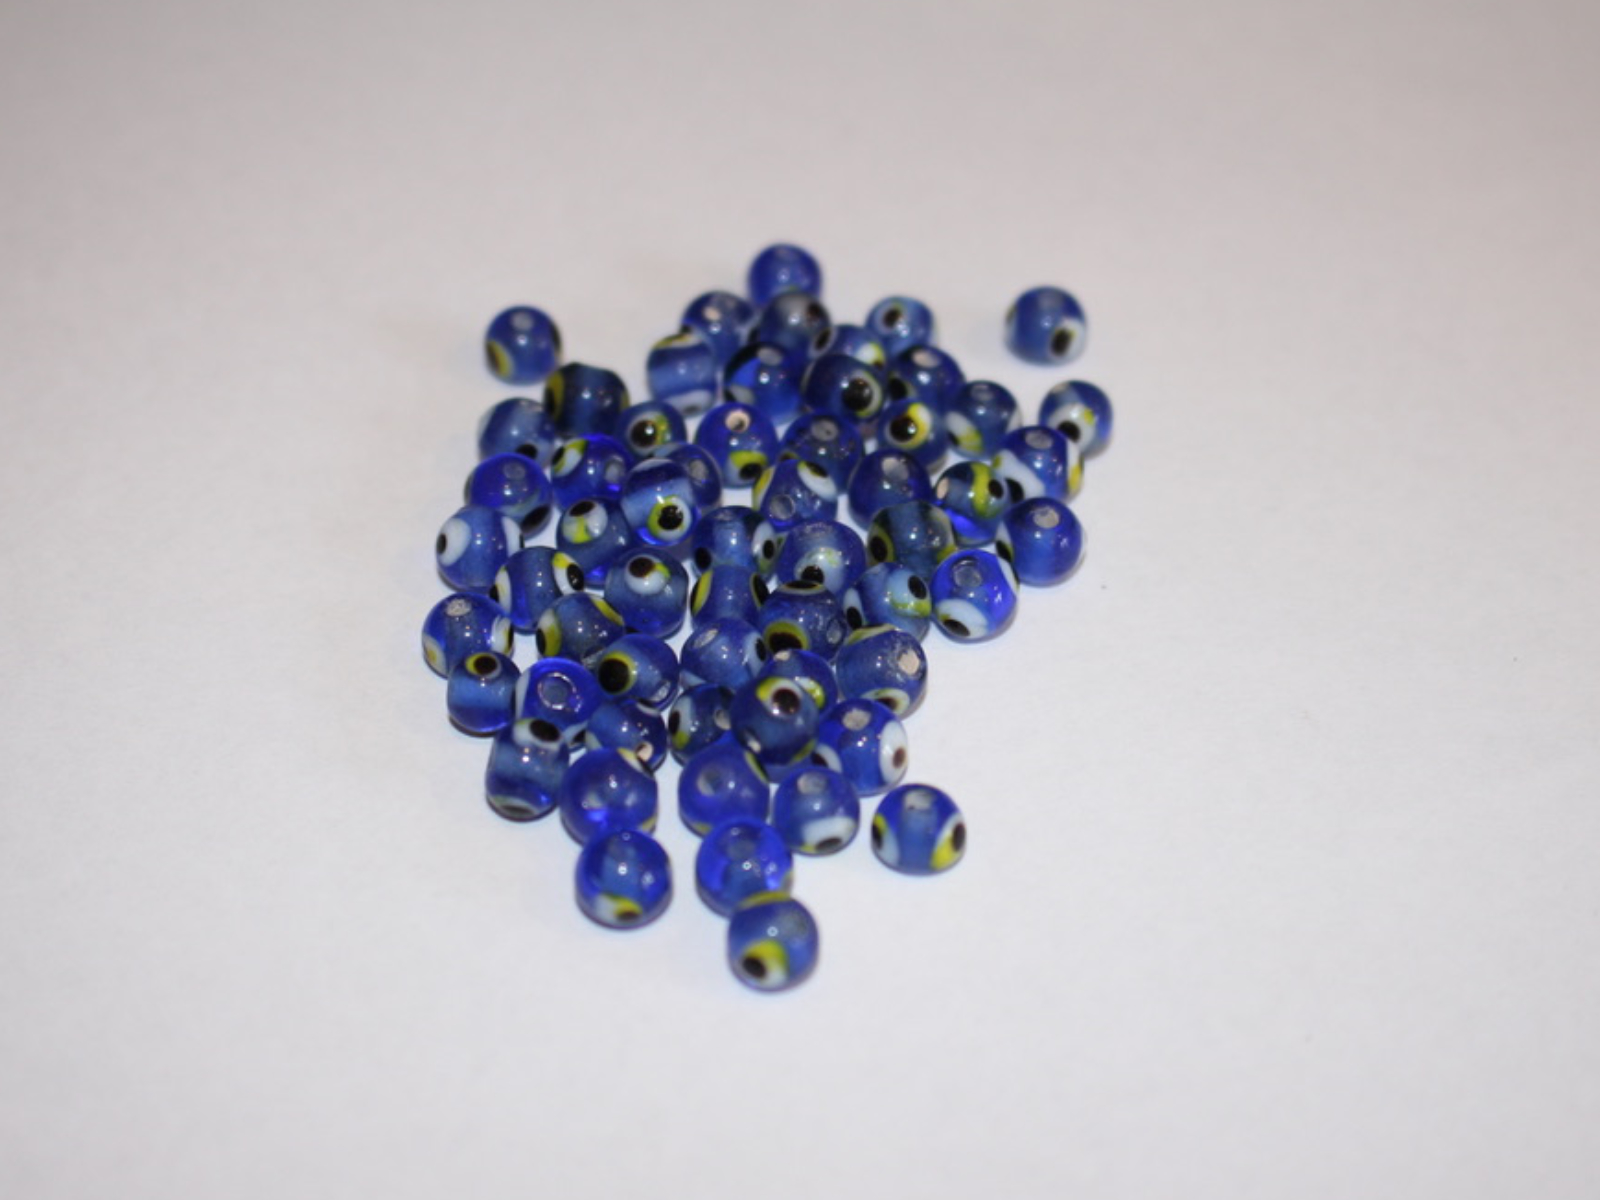
9: Beads. I used a mix of glass evil eye beads and yellow e-beads.


Find some beads for crafting here:
Follow these steps to make your three-in-one stacked chain bracelet:
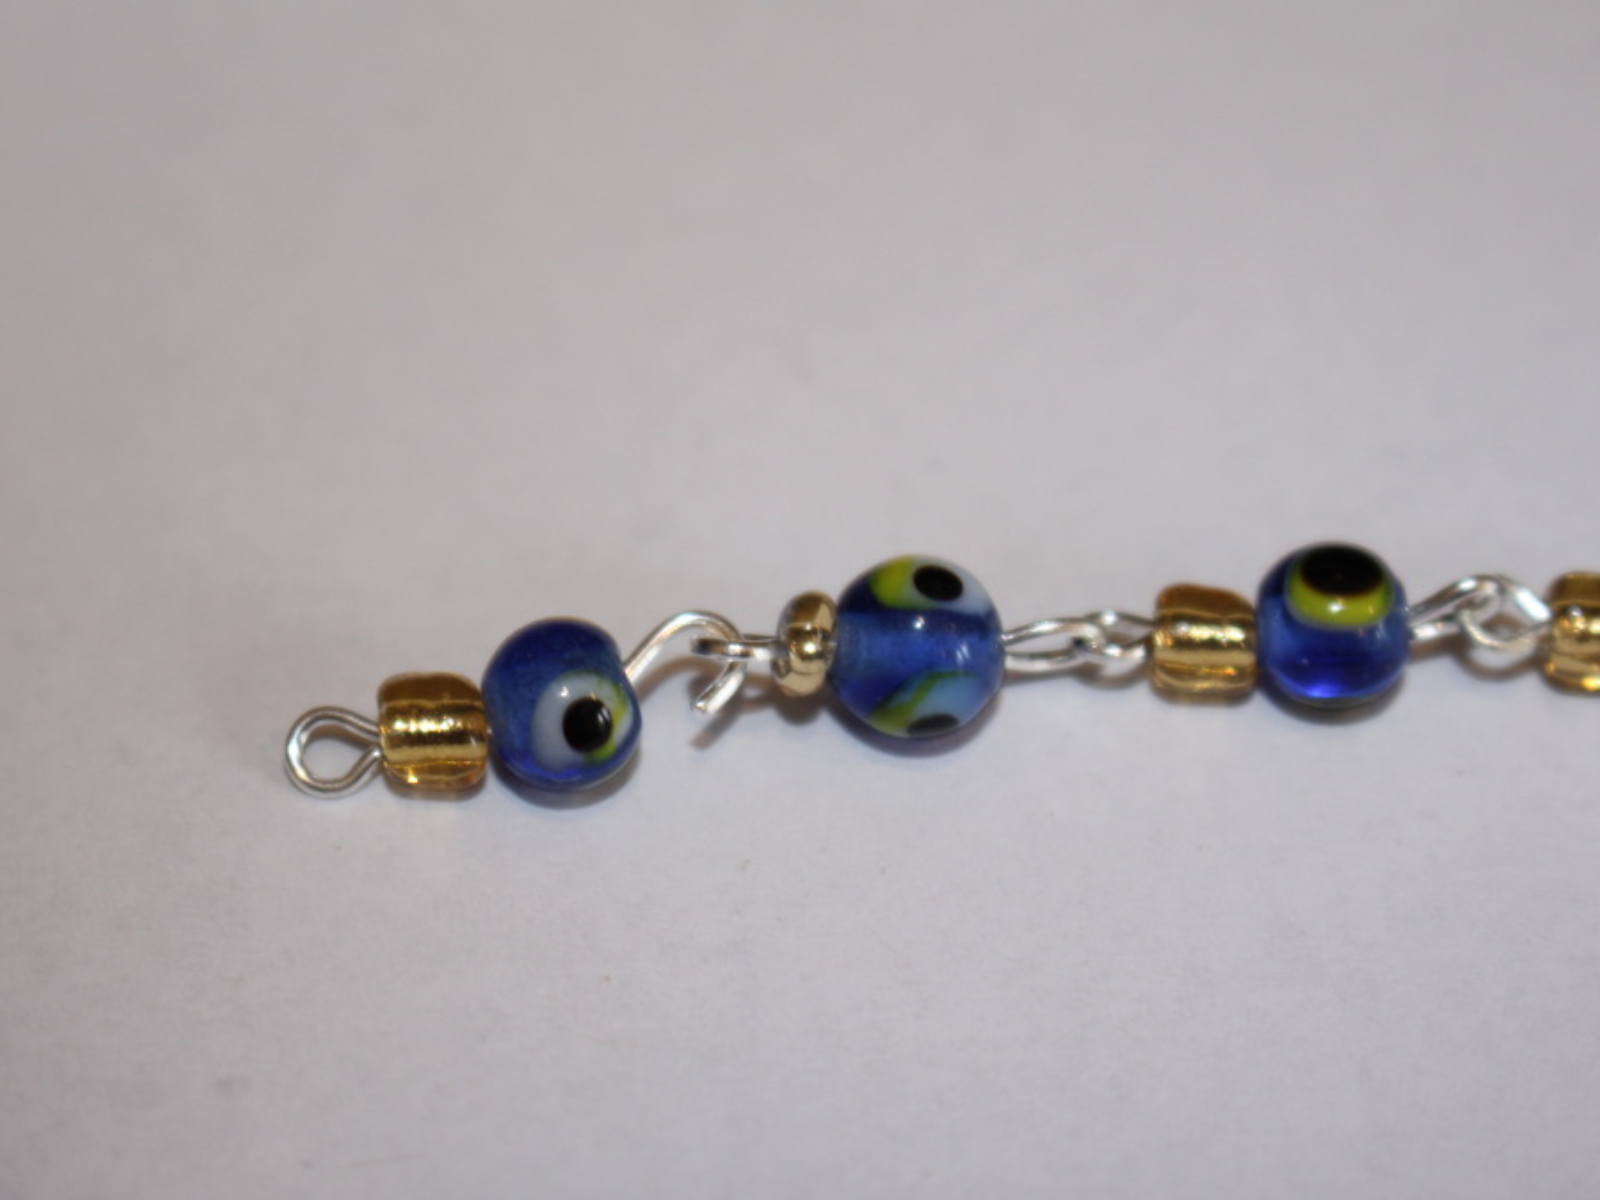
1: Take one of the eye pins and add beads.
2: Bend the end of the pin to form an angle with the beaded section.

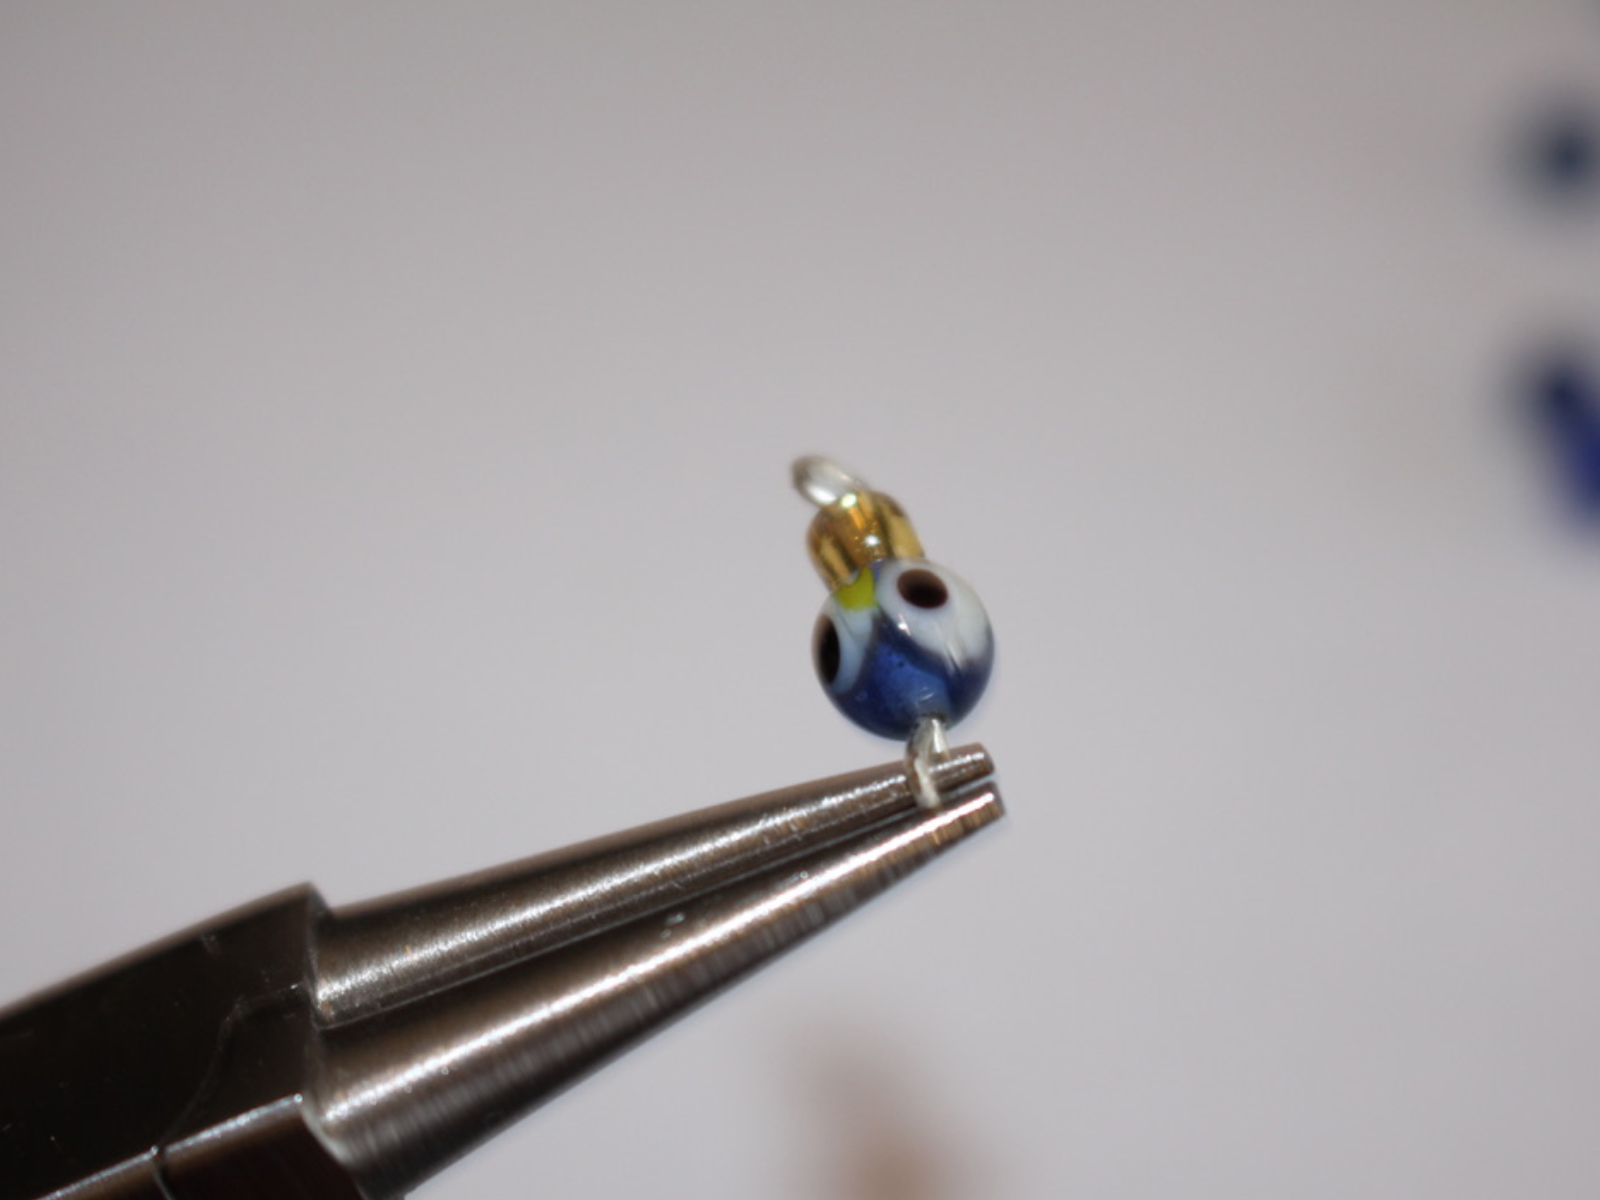
3: Create a loop at the top of the pin using your round nose pliers to secure the beads in place.
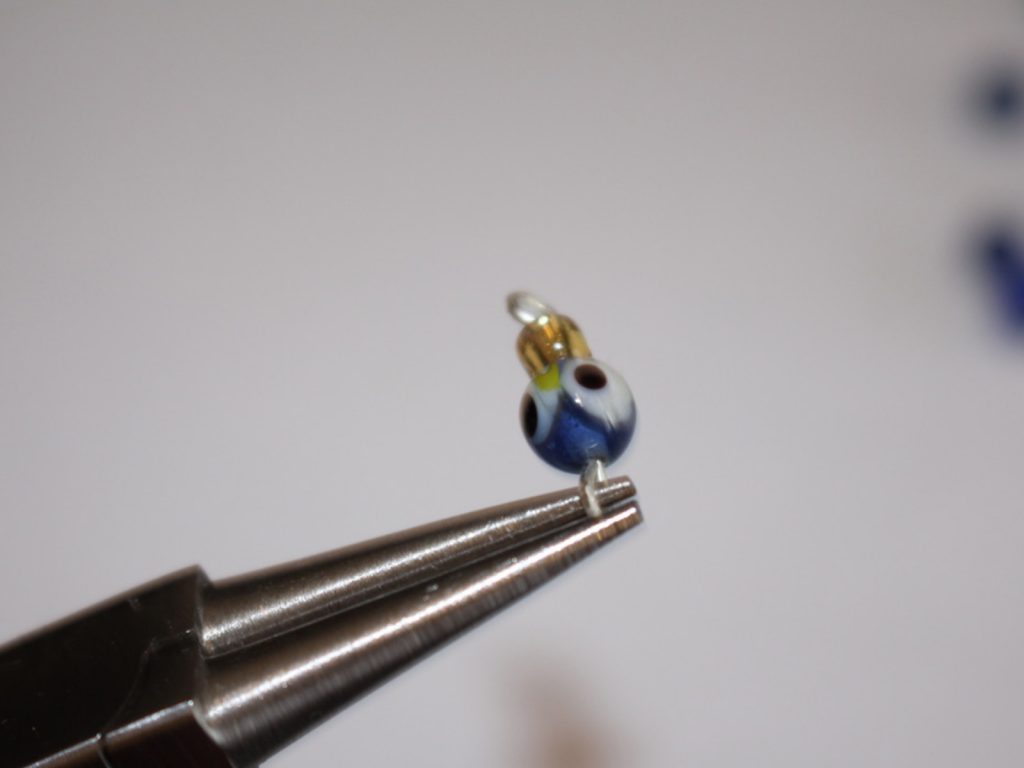
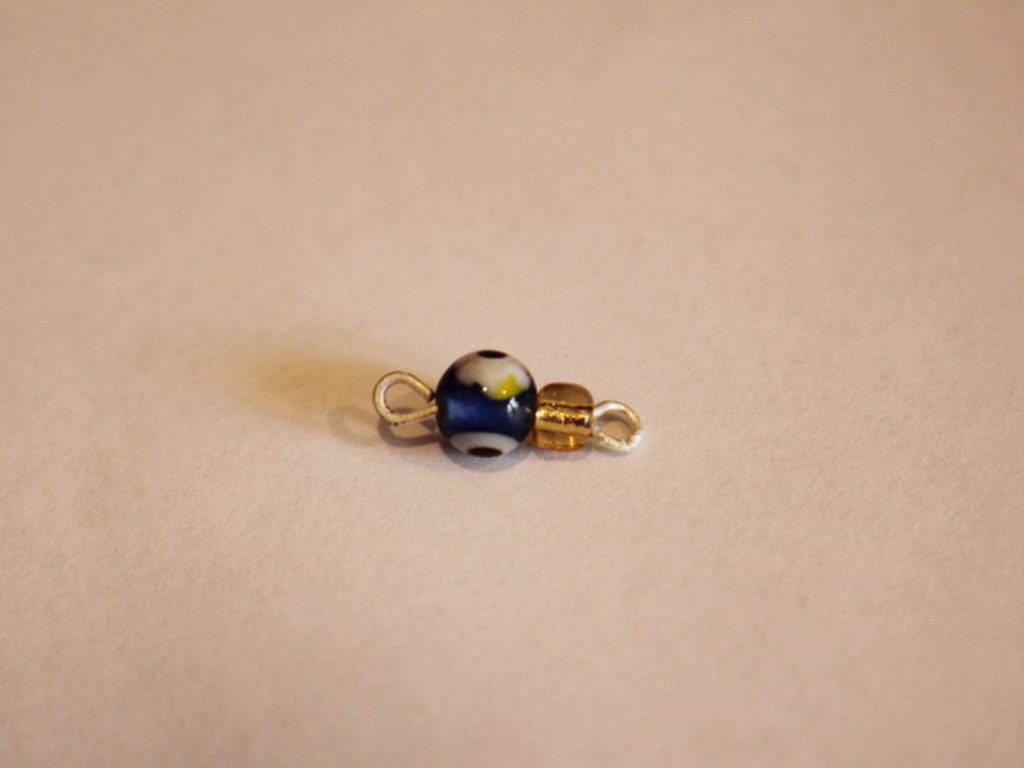
4: Repeat steps 1-3 to create another beaded chain link.
5: Attach the two beaded links together.
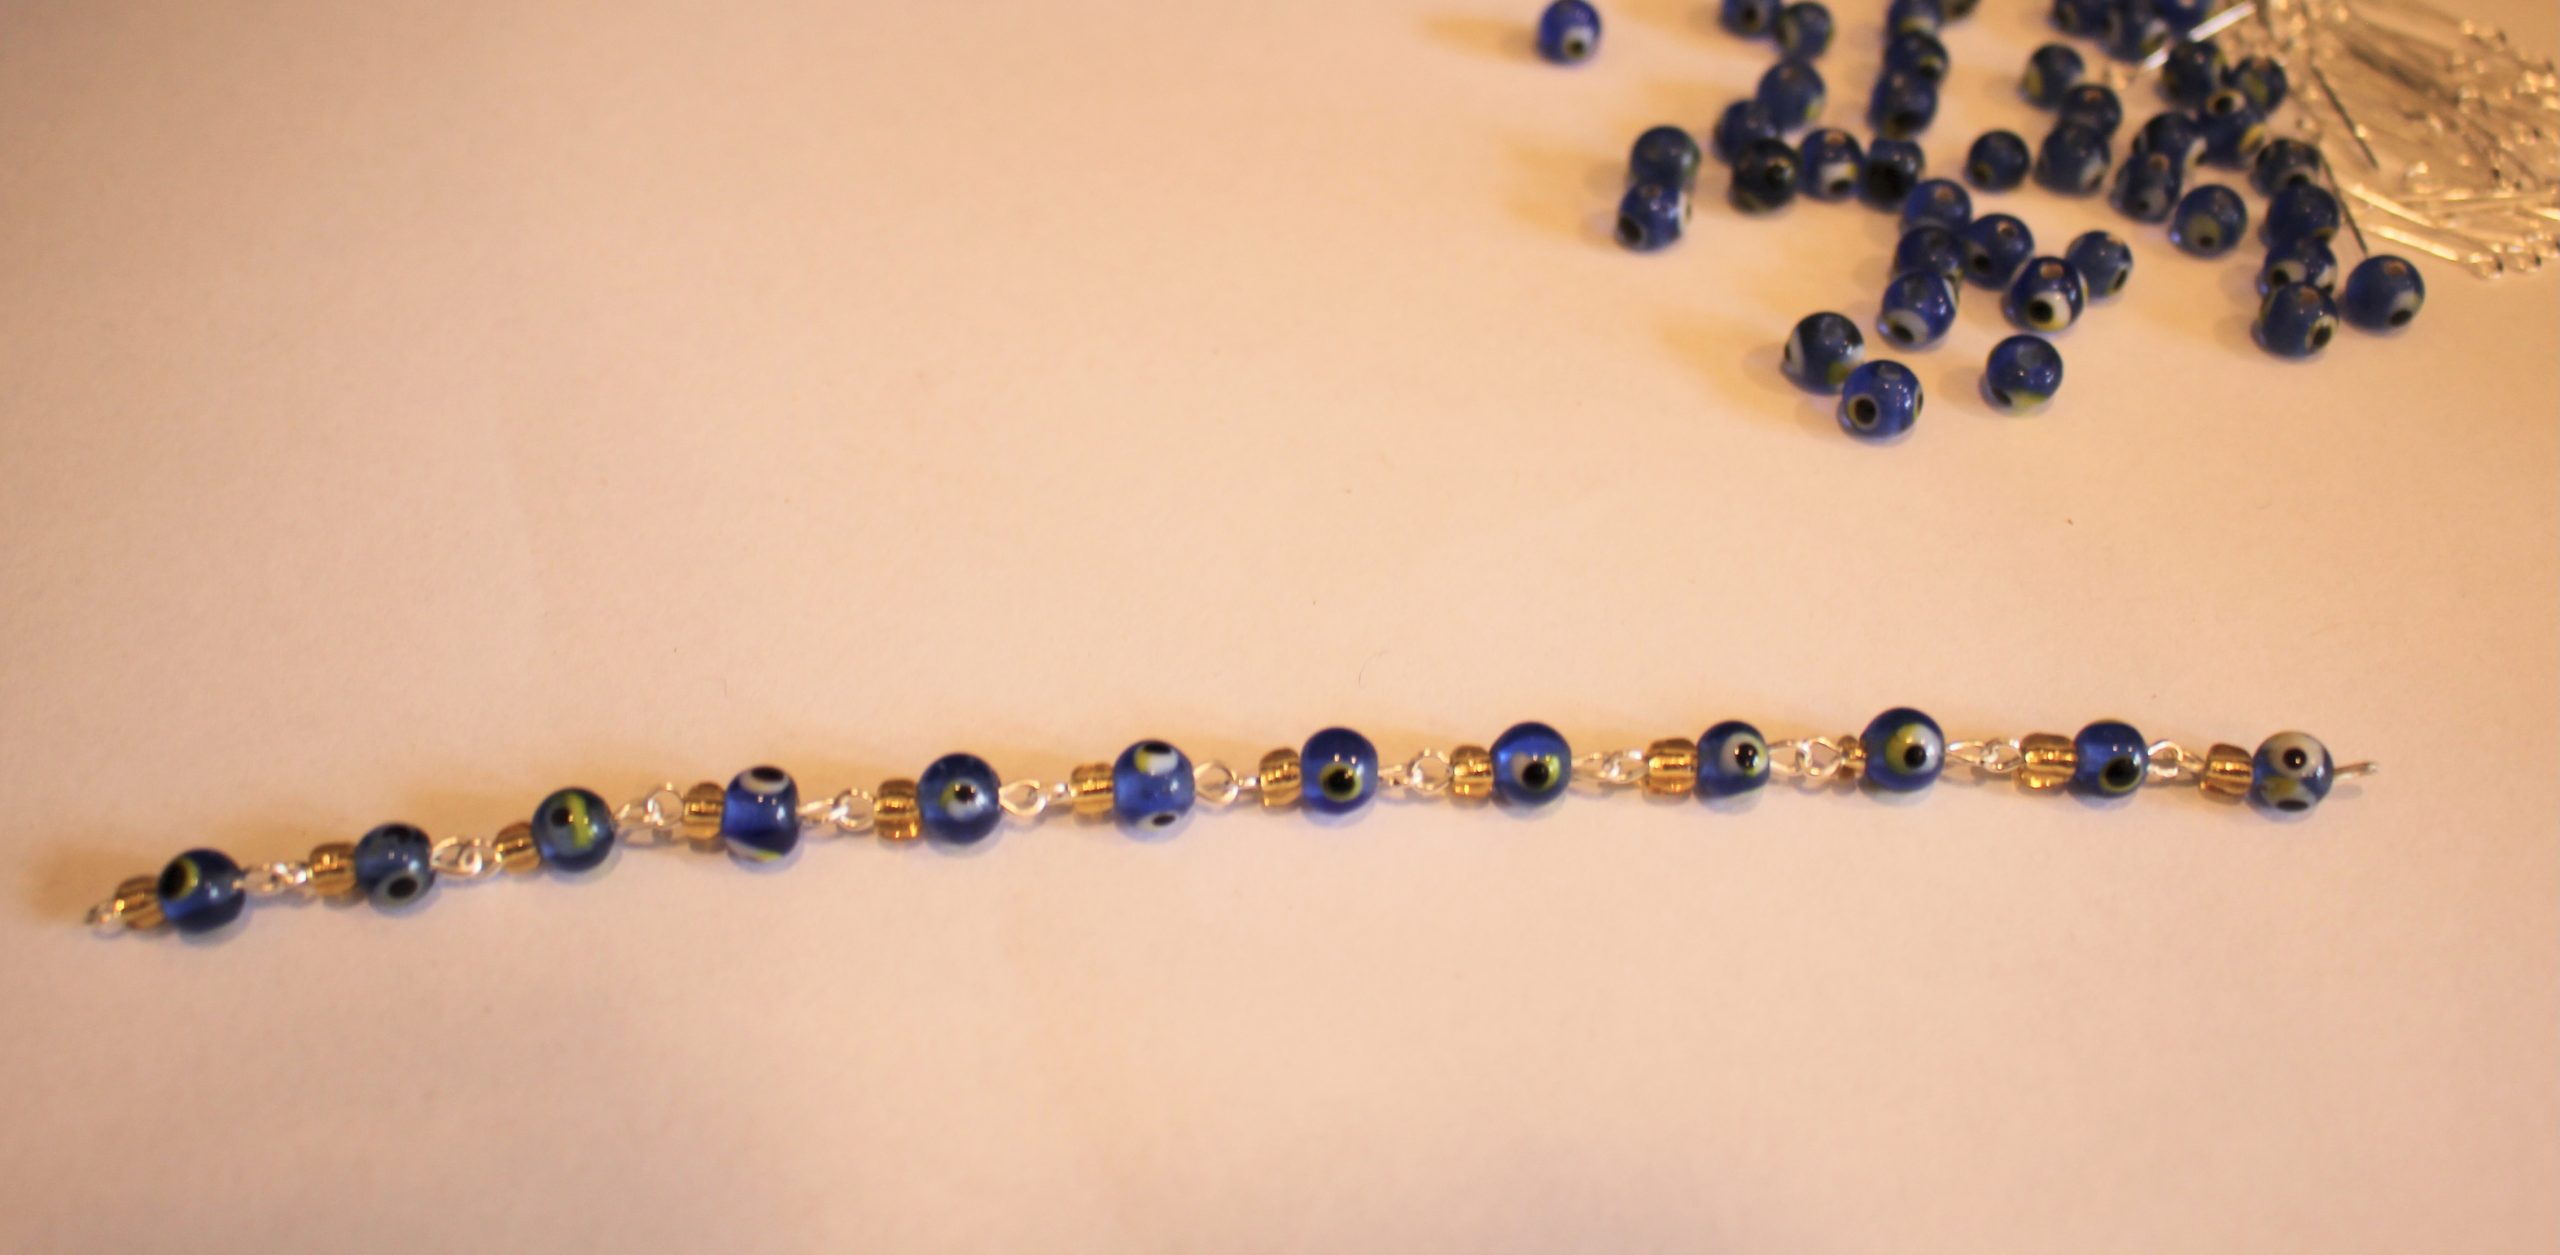
6: Repeat steps 1-5 until you have a chain long enough to fit your wrist, make it one link shorter than you think you’ll need, the charm connectors will add extra length to your finished bracelet.


7: Make another two chains in the same way.

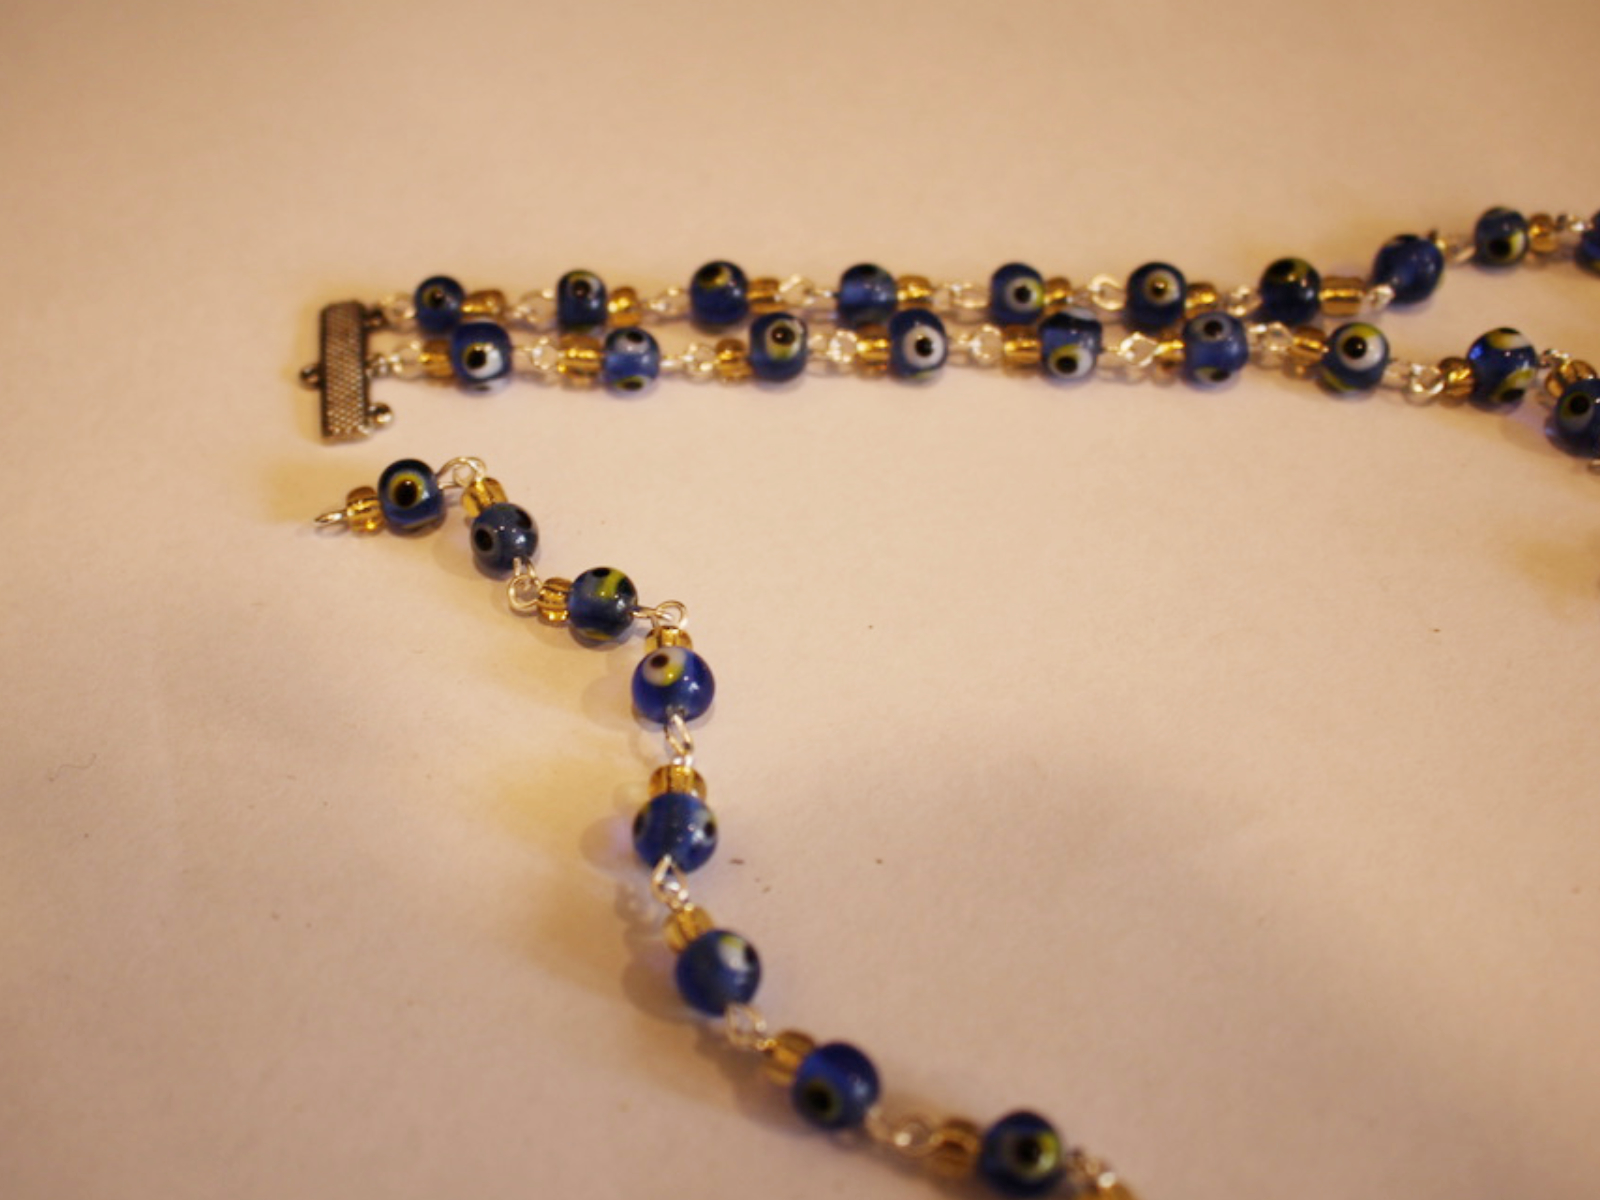
8: Attach each of the chains to one of the charm connectors using three of the small jump rings.


9: Attach the other end of the chains to the other charm connector using the remaining three small jump rings.

10: Add A jump ring to one side of the bracelet and attach the lobster clasp.
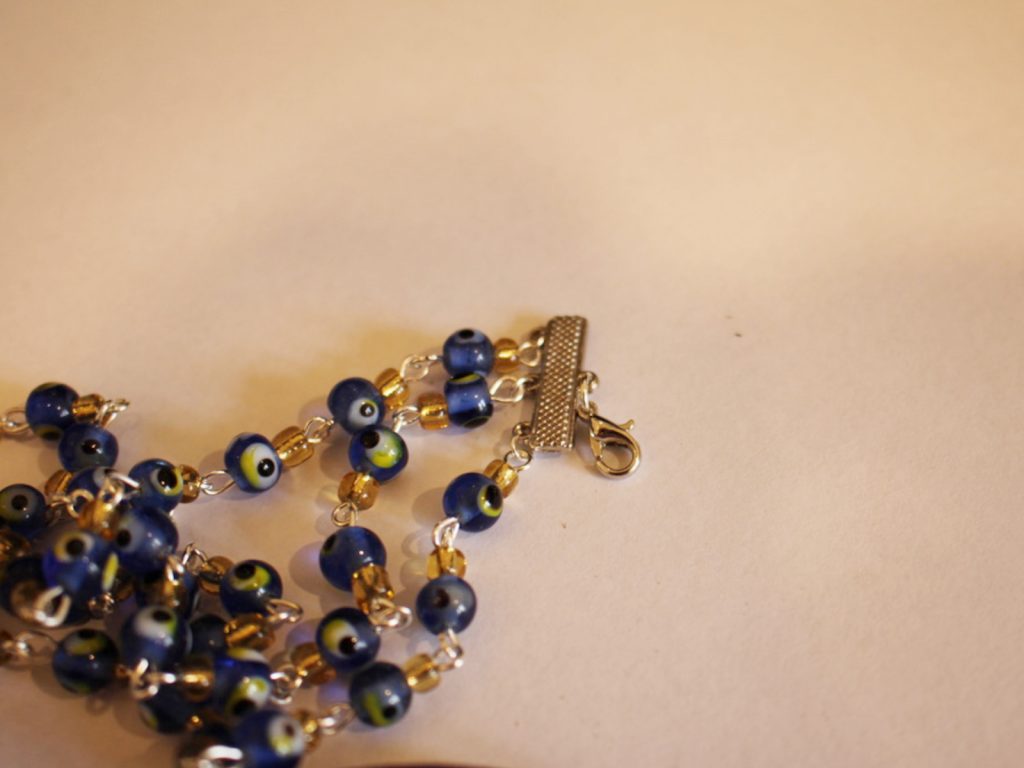

11: Add another jump ring to the other side and attach the small piece of chain.
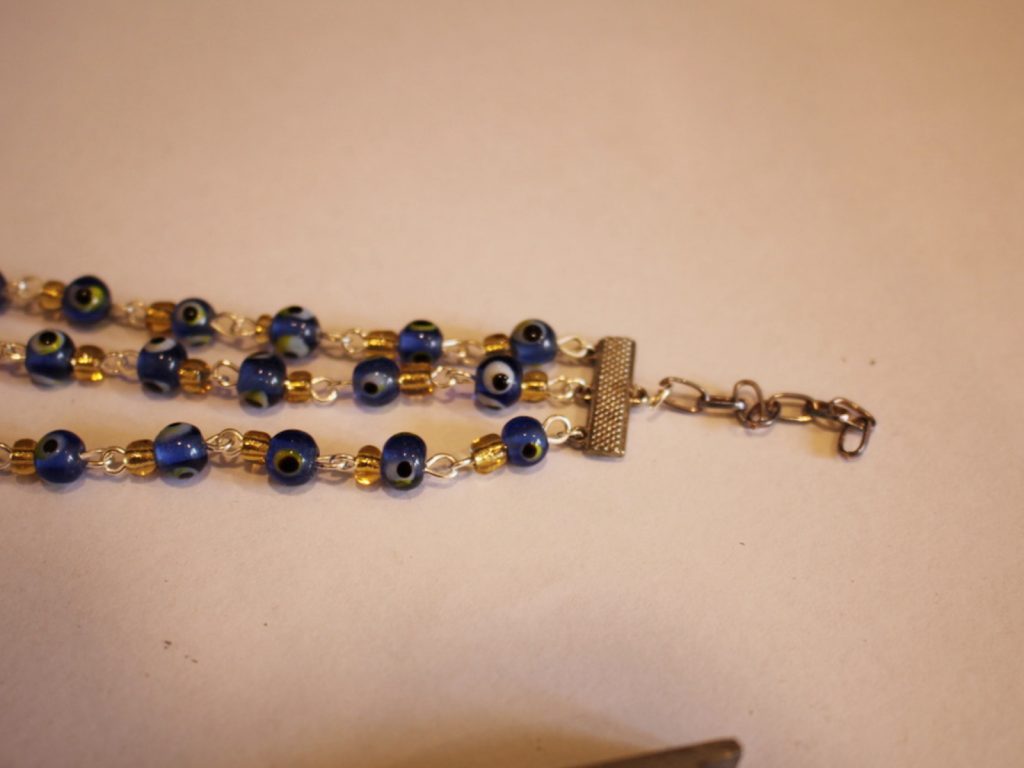
12: Add one more bead to the head pin and create a loop at the top as you did in step 3.
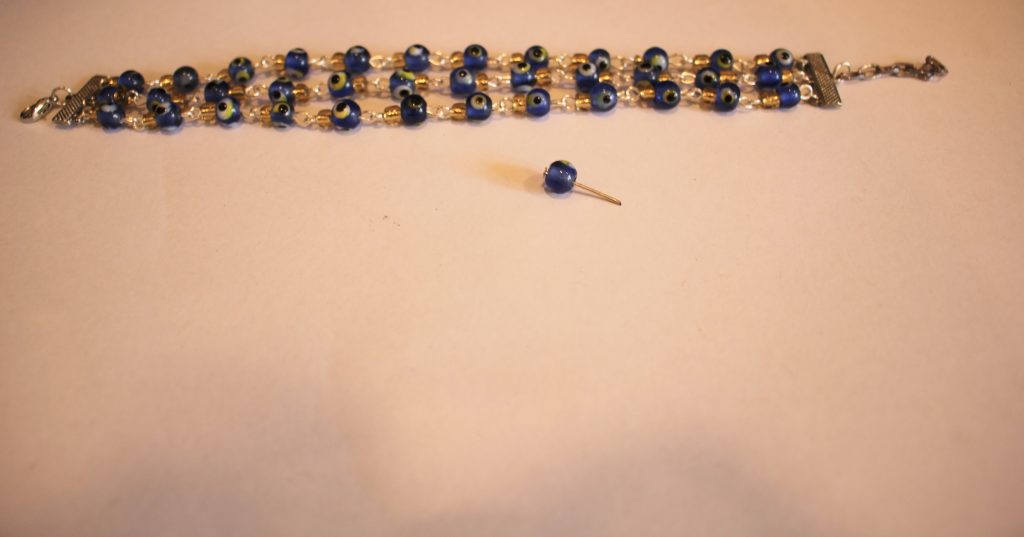

13: Attach the charm you just made to the end of the small chain to finish your bracelet off!


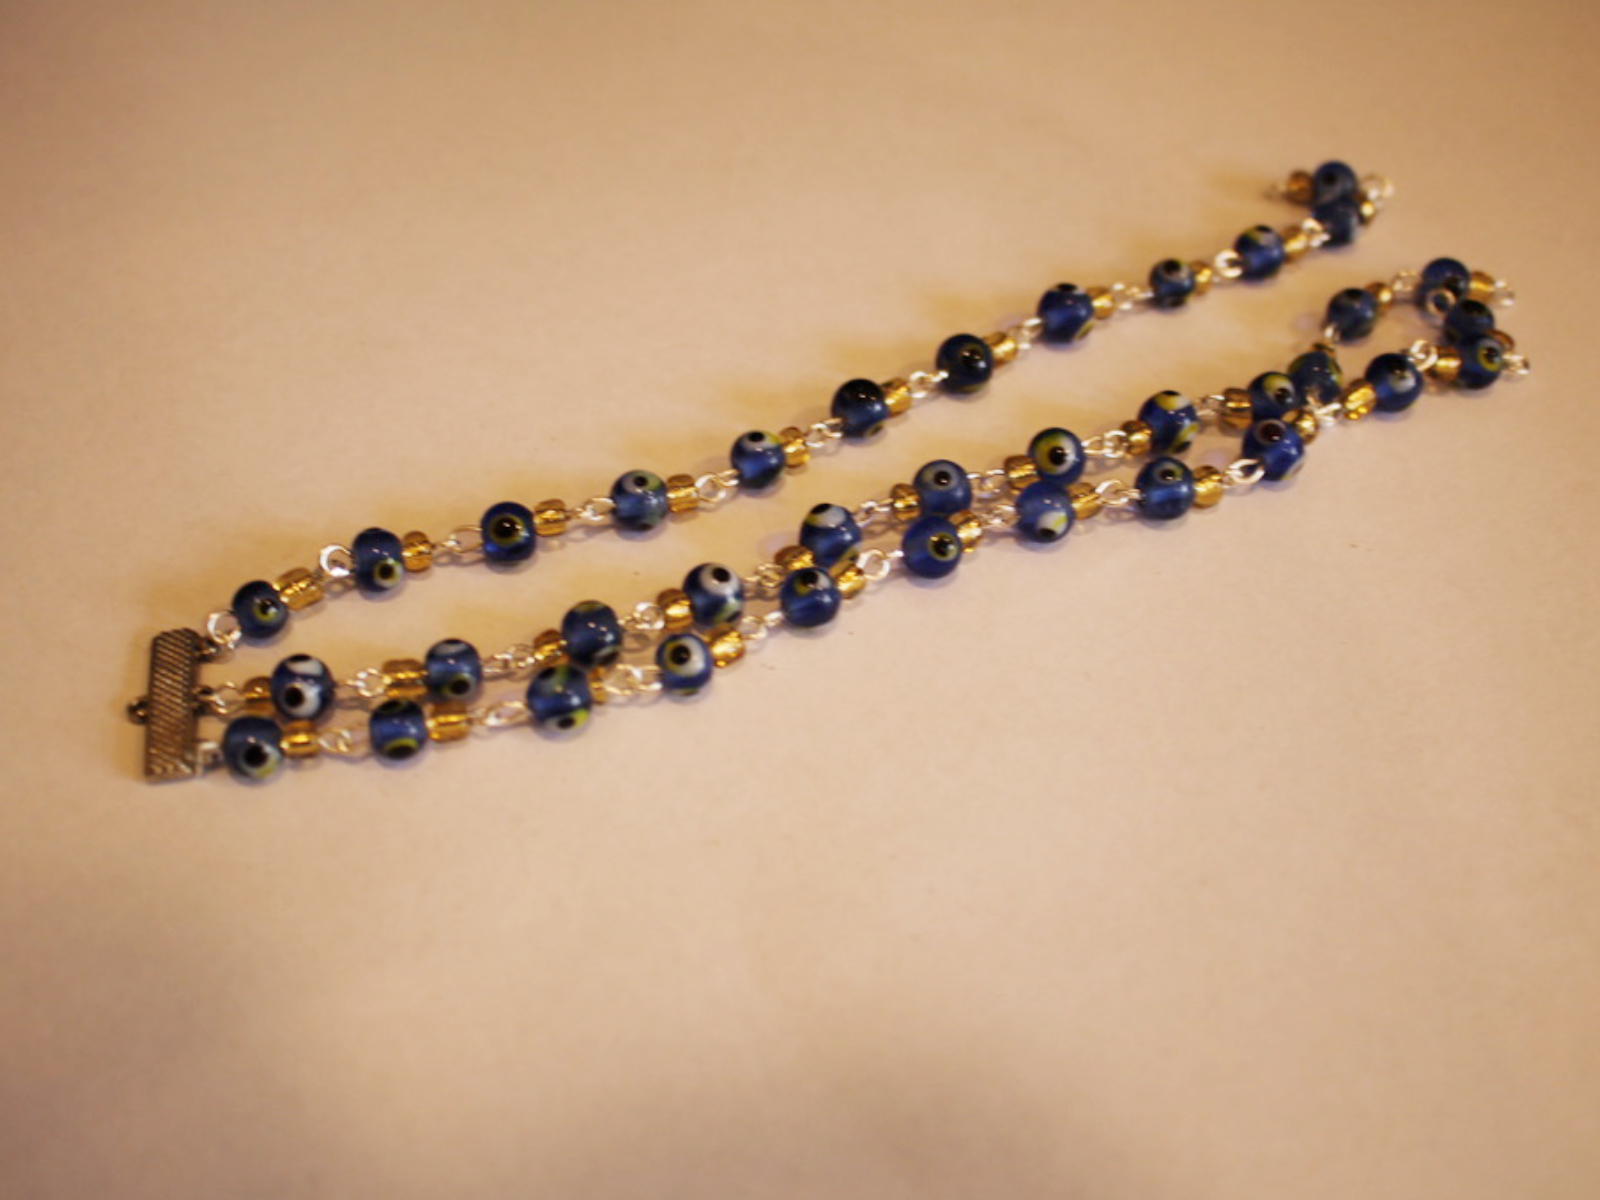
So, now your triple chain bracelet stack is finished and ready to wear! What kind of beads will you use in your design? I think that this bracelet would look great with three different types of gemstone beads layered on top of each other. Gemstone chip beads would be perfect for this DIY. You can buy some




And here are some other multi-strand bracelet tutorials you can follow:
-
Like chains and beads? Why not mash them together to make this bead chain bracelet?
This bracelet uses wire and beads to make big loops that you then turn into a bracelet! This cute design is perfect for wearing with summer outfits.
You’ll need these tools and materials to make your bracelet:
1: Pliers. I used cutting pliers, flat nose pliers and round nose pliers.
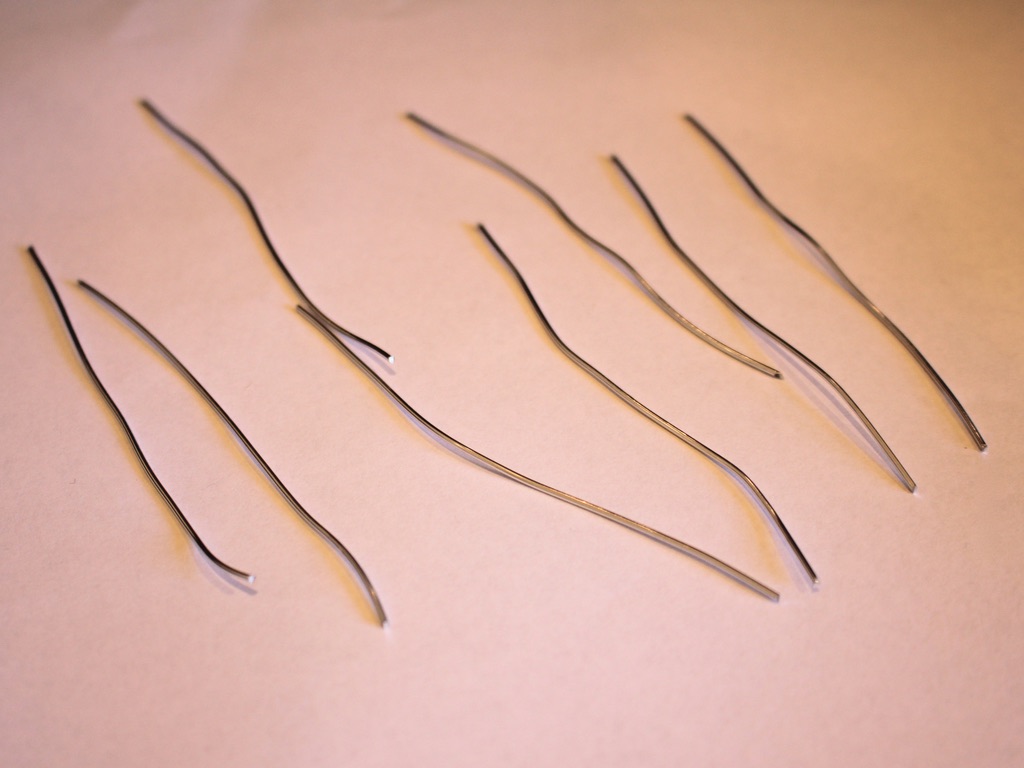
2: Some pieces of soft wire. I used eight pieces approximately 9cm long, but you may want to use more or less depending on the size of your wrist. My final bracelet was a little on the small size.
3: Two jump rings.

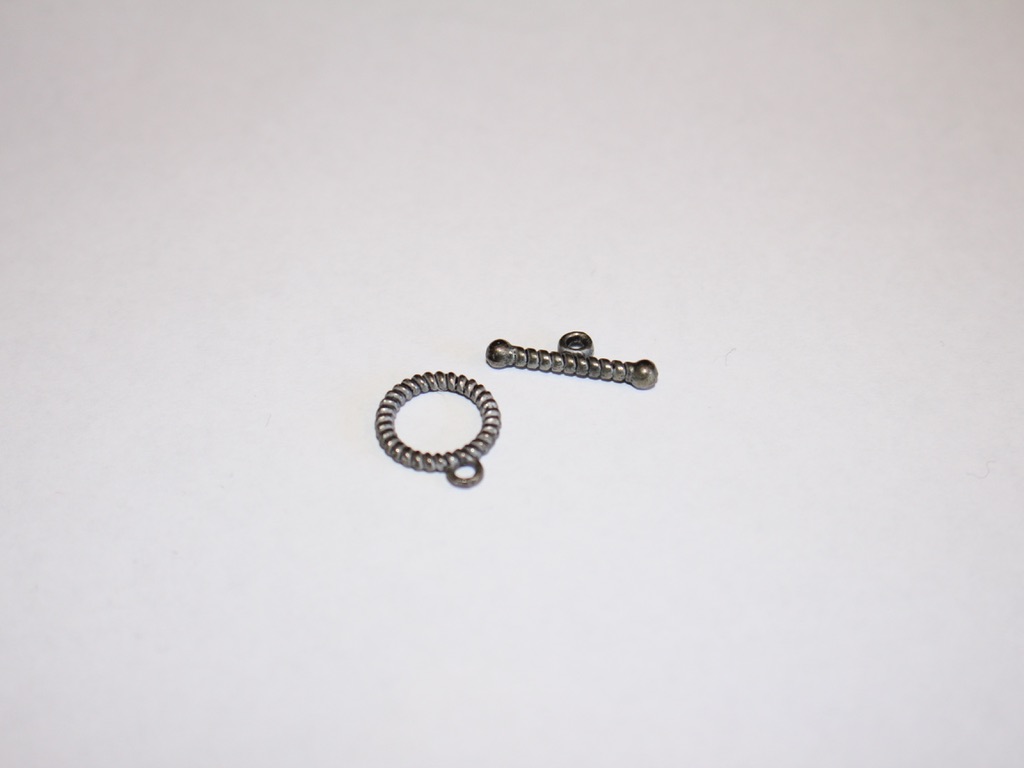
4: A toggle clasp.
5: Beads. I used yellow glass e-beads.

Follow these steps to make your chain bracelet:
1: Take one of the pieces of wire and create a loop at one end using the round nose pliers. Do this by bending approx. 1cm of wire to form a right angle and then loop it around the round nose pliers.

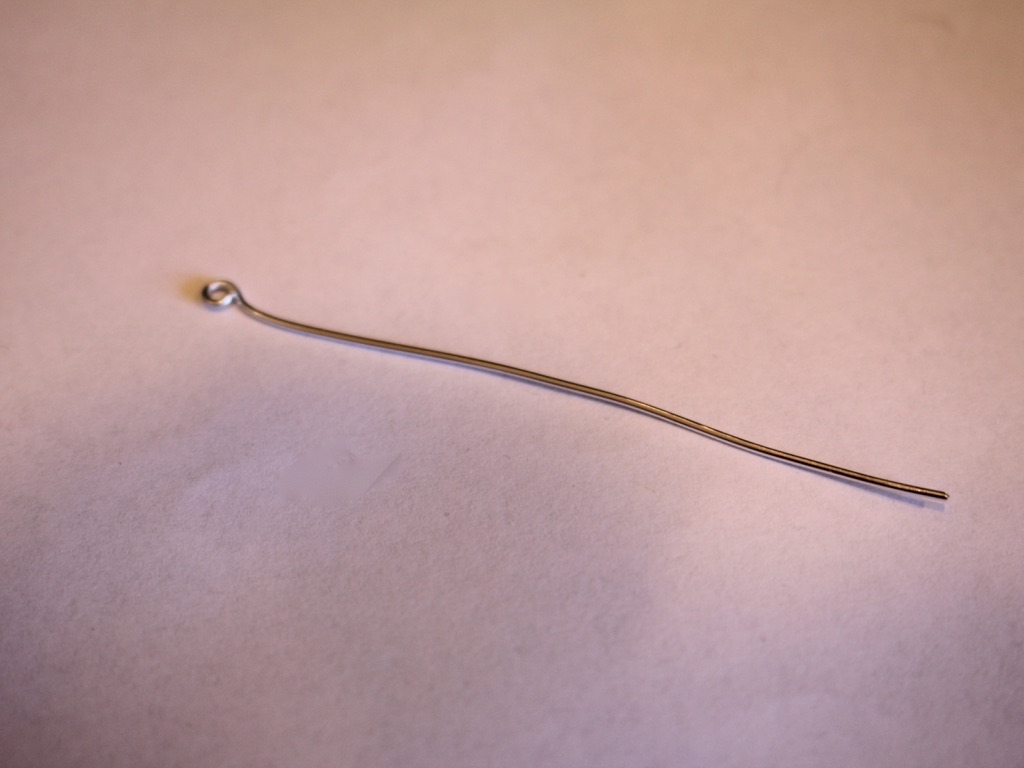
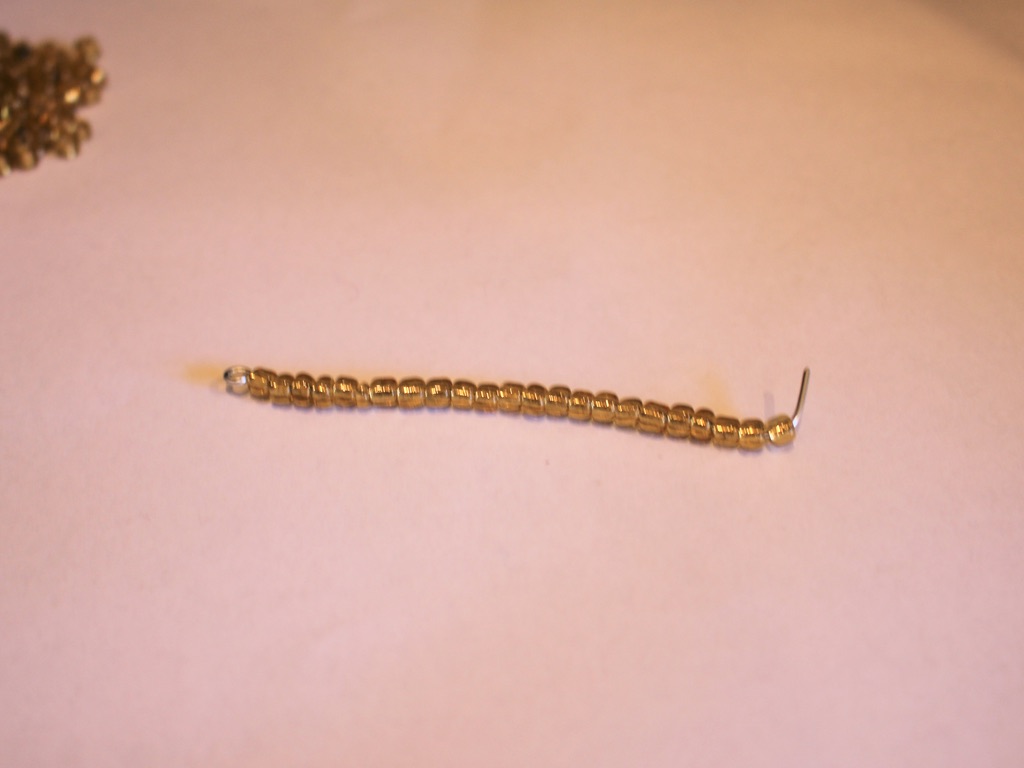
2: Add beads to the wire leaving 1cm unbeaded.


3: Create another loop at the other end of the wire.
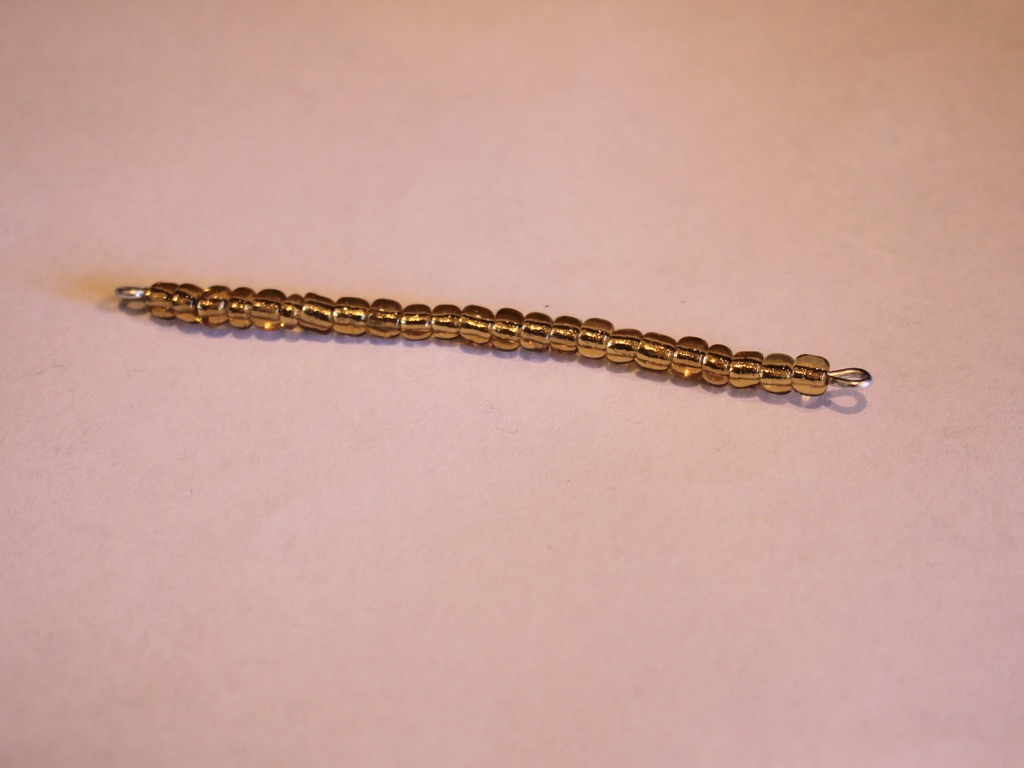
4: Bend the beaded wire into a circle shape.
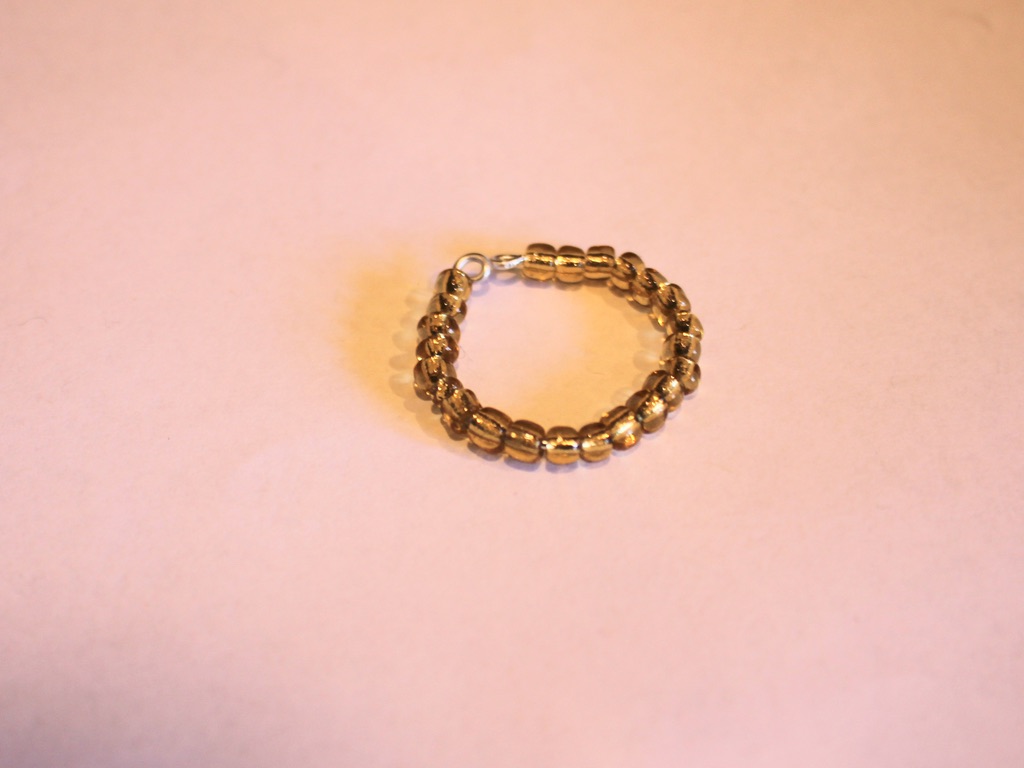
5: Open one of the end loops and thread it through the other end loop. Close it to create a closed circle.

6: Make another loop, but before closing it as you did in step 5, thread it through the first loop you made. Once it is threaded through you can close it.

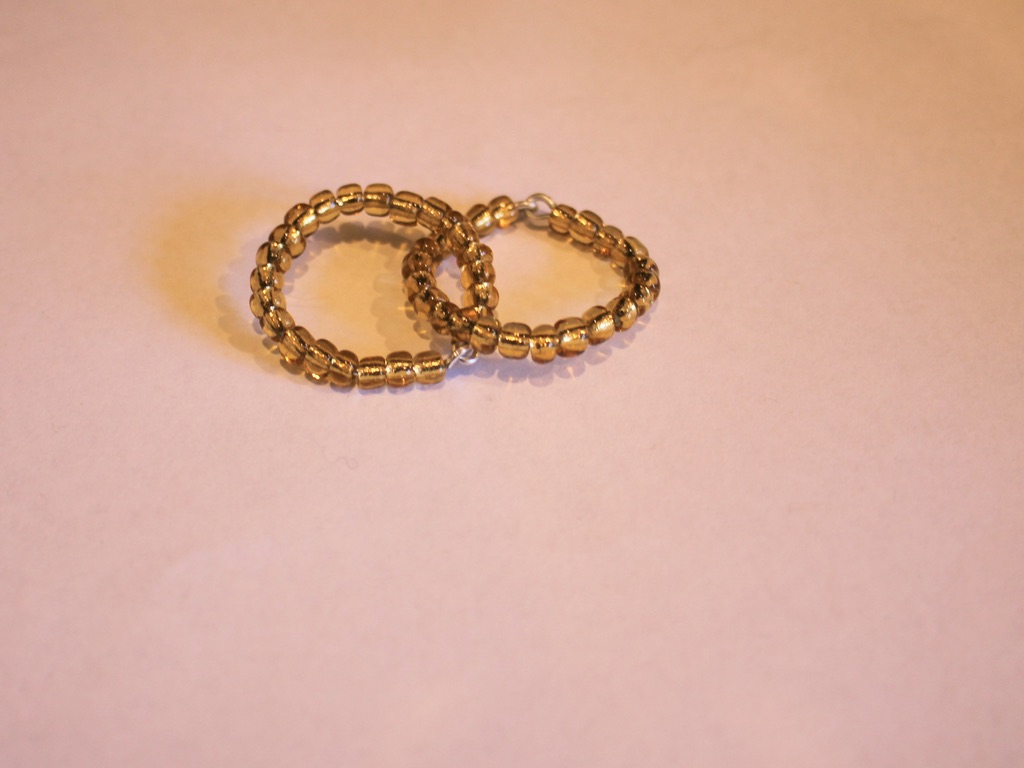
7: Continue steps 1-6 until you have created all your links.
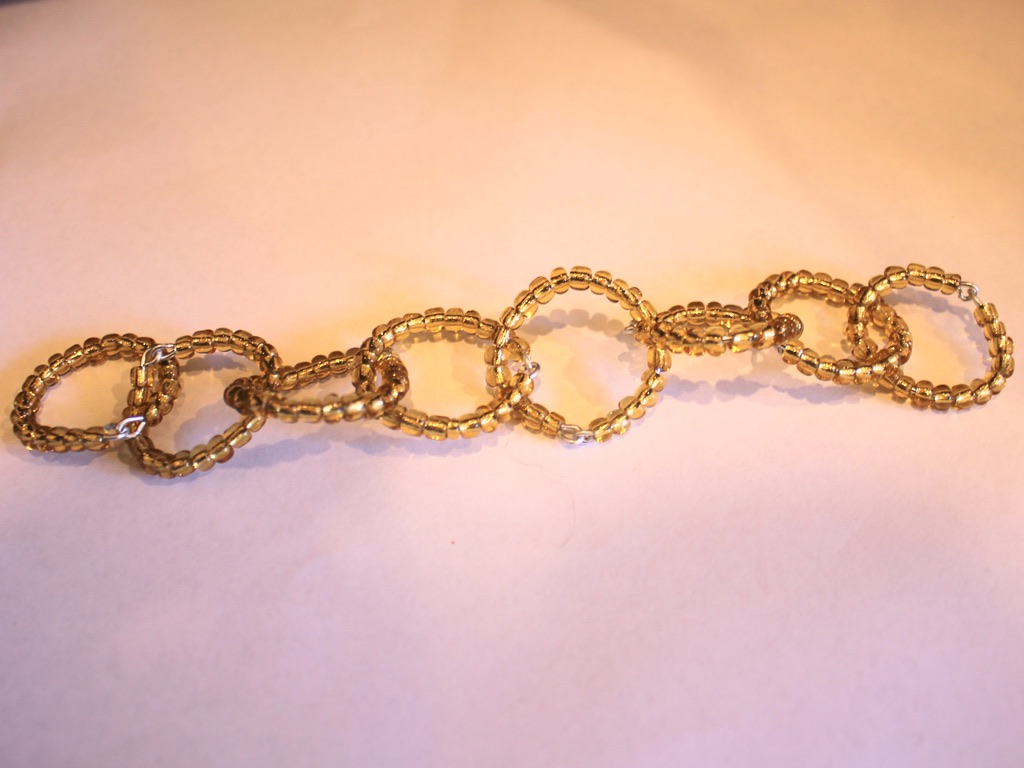
8: Take one of the end loops and rotate it so that the end loops face outward. Attach one of the jump rings and one side of the toggle clasp.
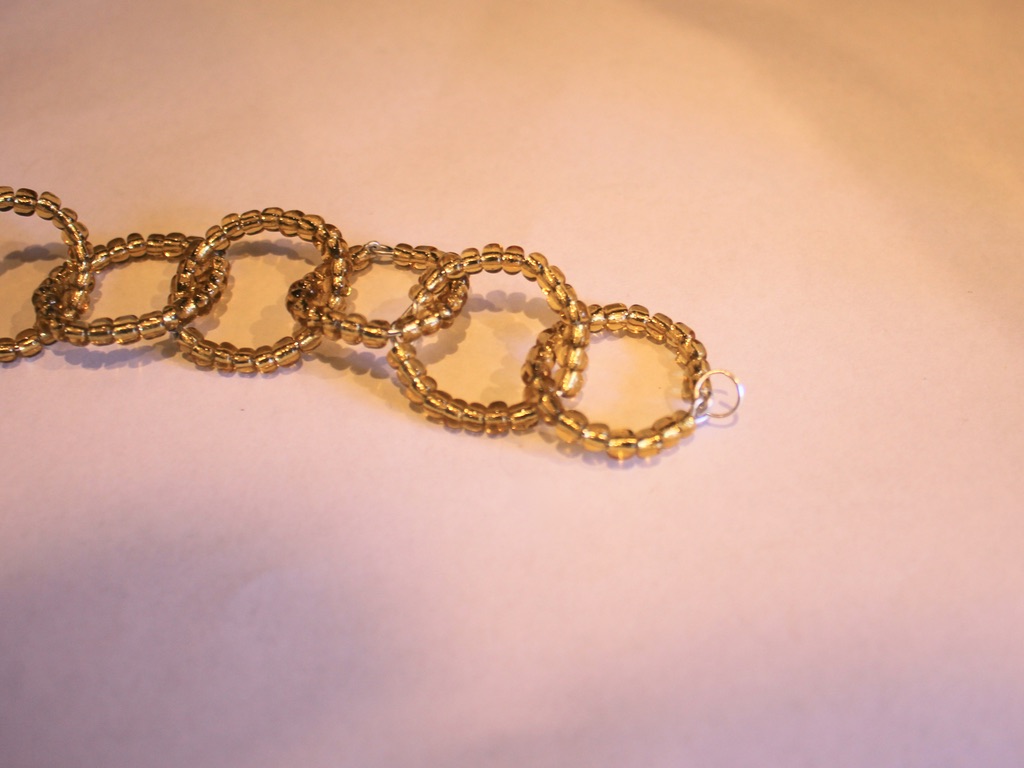
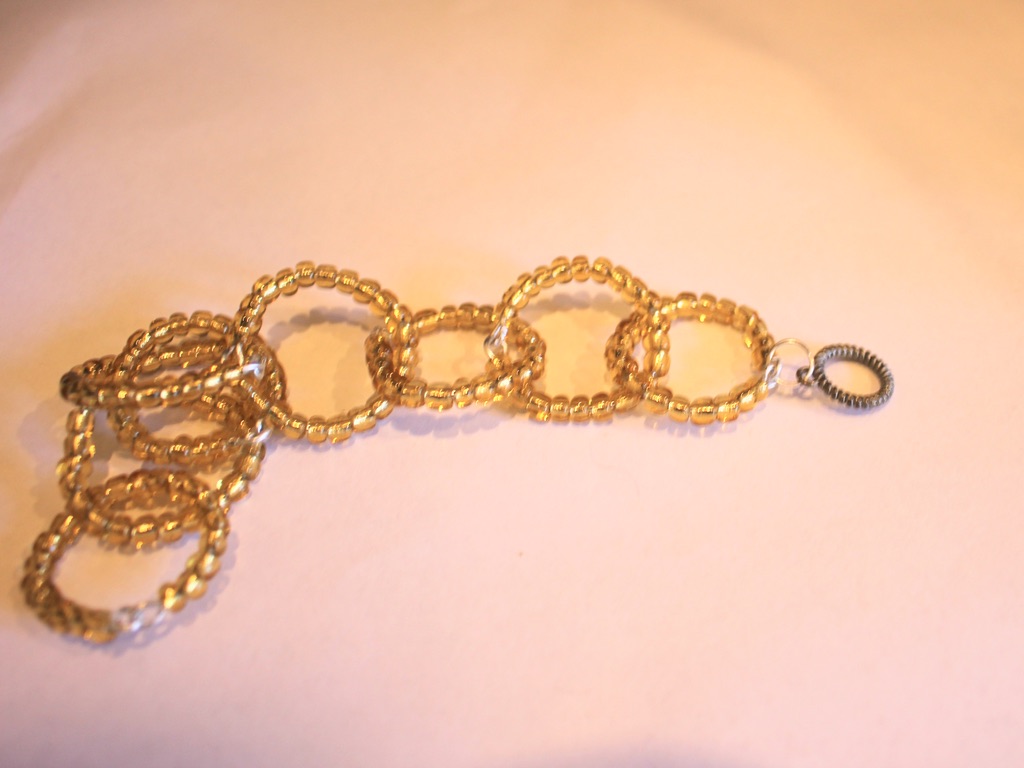
9: Attach the other side of the toggle clasp to the other end of the bracelet chain using the remaining jump ring.

Now your bracelet is finished!


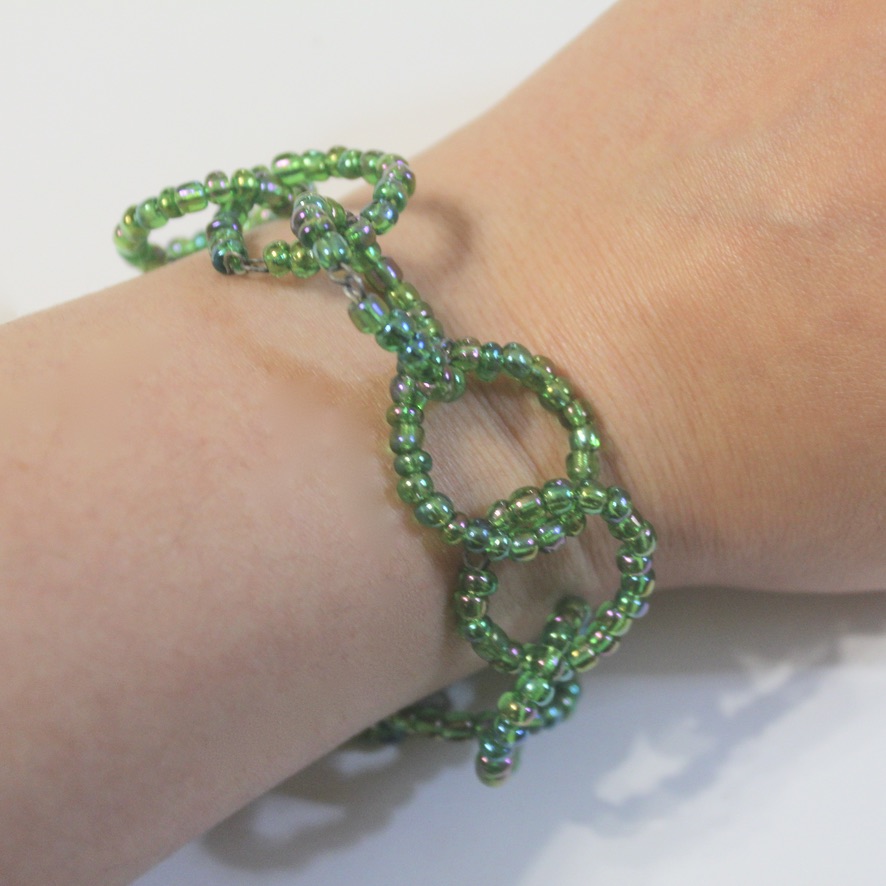
Here’s another one I made using green glass beads and soft thin wire.

This tutorial contains affiliate links.
-
Make a beaded chain bracelet… this is my new fave!
This beaded chain bracelet is my new favorite thing, I’ve been making all kinds of accessories with this technique.

You will need the following tools and materials to make your beaded chain bracelet:
1: Pliers. You’ll need flat nose pliers, round nose pliers. You might need your cutting pliers depending on the length of your eye pins.
2: Some eye pins.

3: Some beads. I used these glass beads.

4: A toggle clasp.

5: Two jump rings.

Follow these steps to make your bead chain bracelet:
1: Add beads to the eye pins.

3: Create a loop at the end of each pin to secure the beads in place.


4: Start linking the pins together to form a chain.


5: Attach the toggle clasp components to either end of the chain using the jump rings.


Now your bracelet is finished!
Here are some other pieces I made with different beads.