-
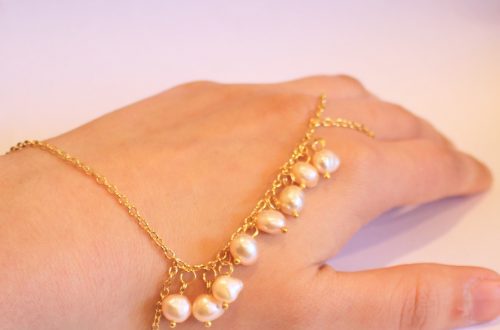
Here’s how to turn a necklace into a strap for your electronics!
You never want to lose your gadgets! I love having a wrist strap for my camera, my phone, all sorts of things… If you want a cute new wrist strap for your fave toy, here’s one you can make from an existing necklace chain and a piece of string! Please note that this tutorial contains affiliate links.
You’ll need these tools and materials to make your electronics strap:
1: A necklace chain.

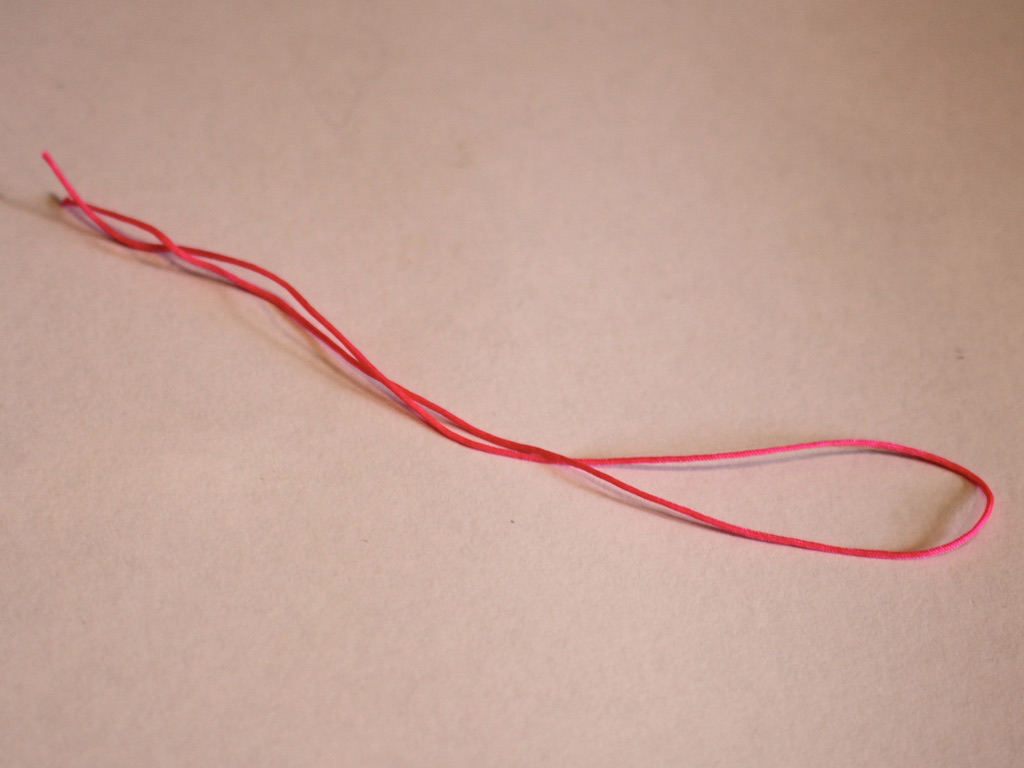
2: A piece of string, I made mine about 25cm long.
3: A pair of scissors for cutting and trimming string.

4: A couple of pairs of pliers to open and close jump rings.


5: Super glue for securing the end of the string.

Follow these steps to make your wrist strap:
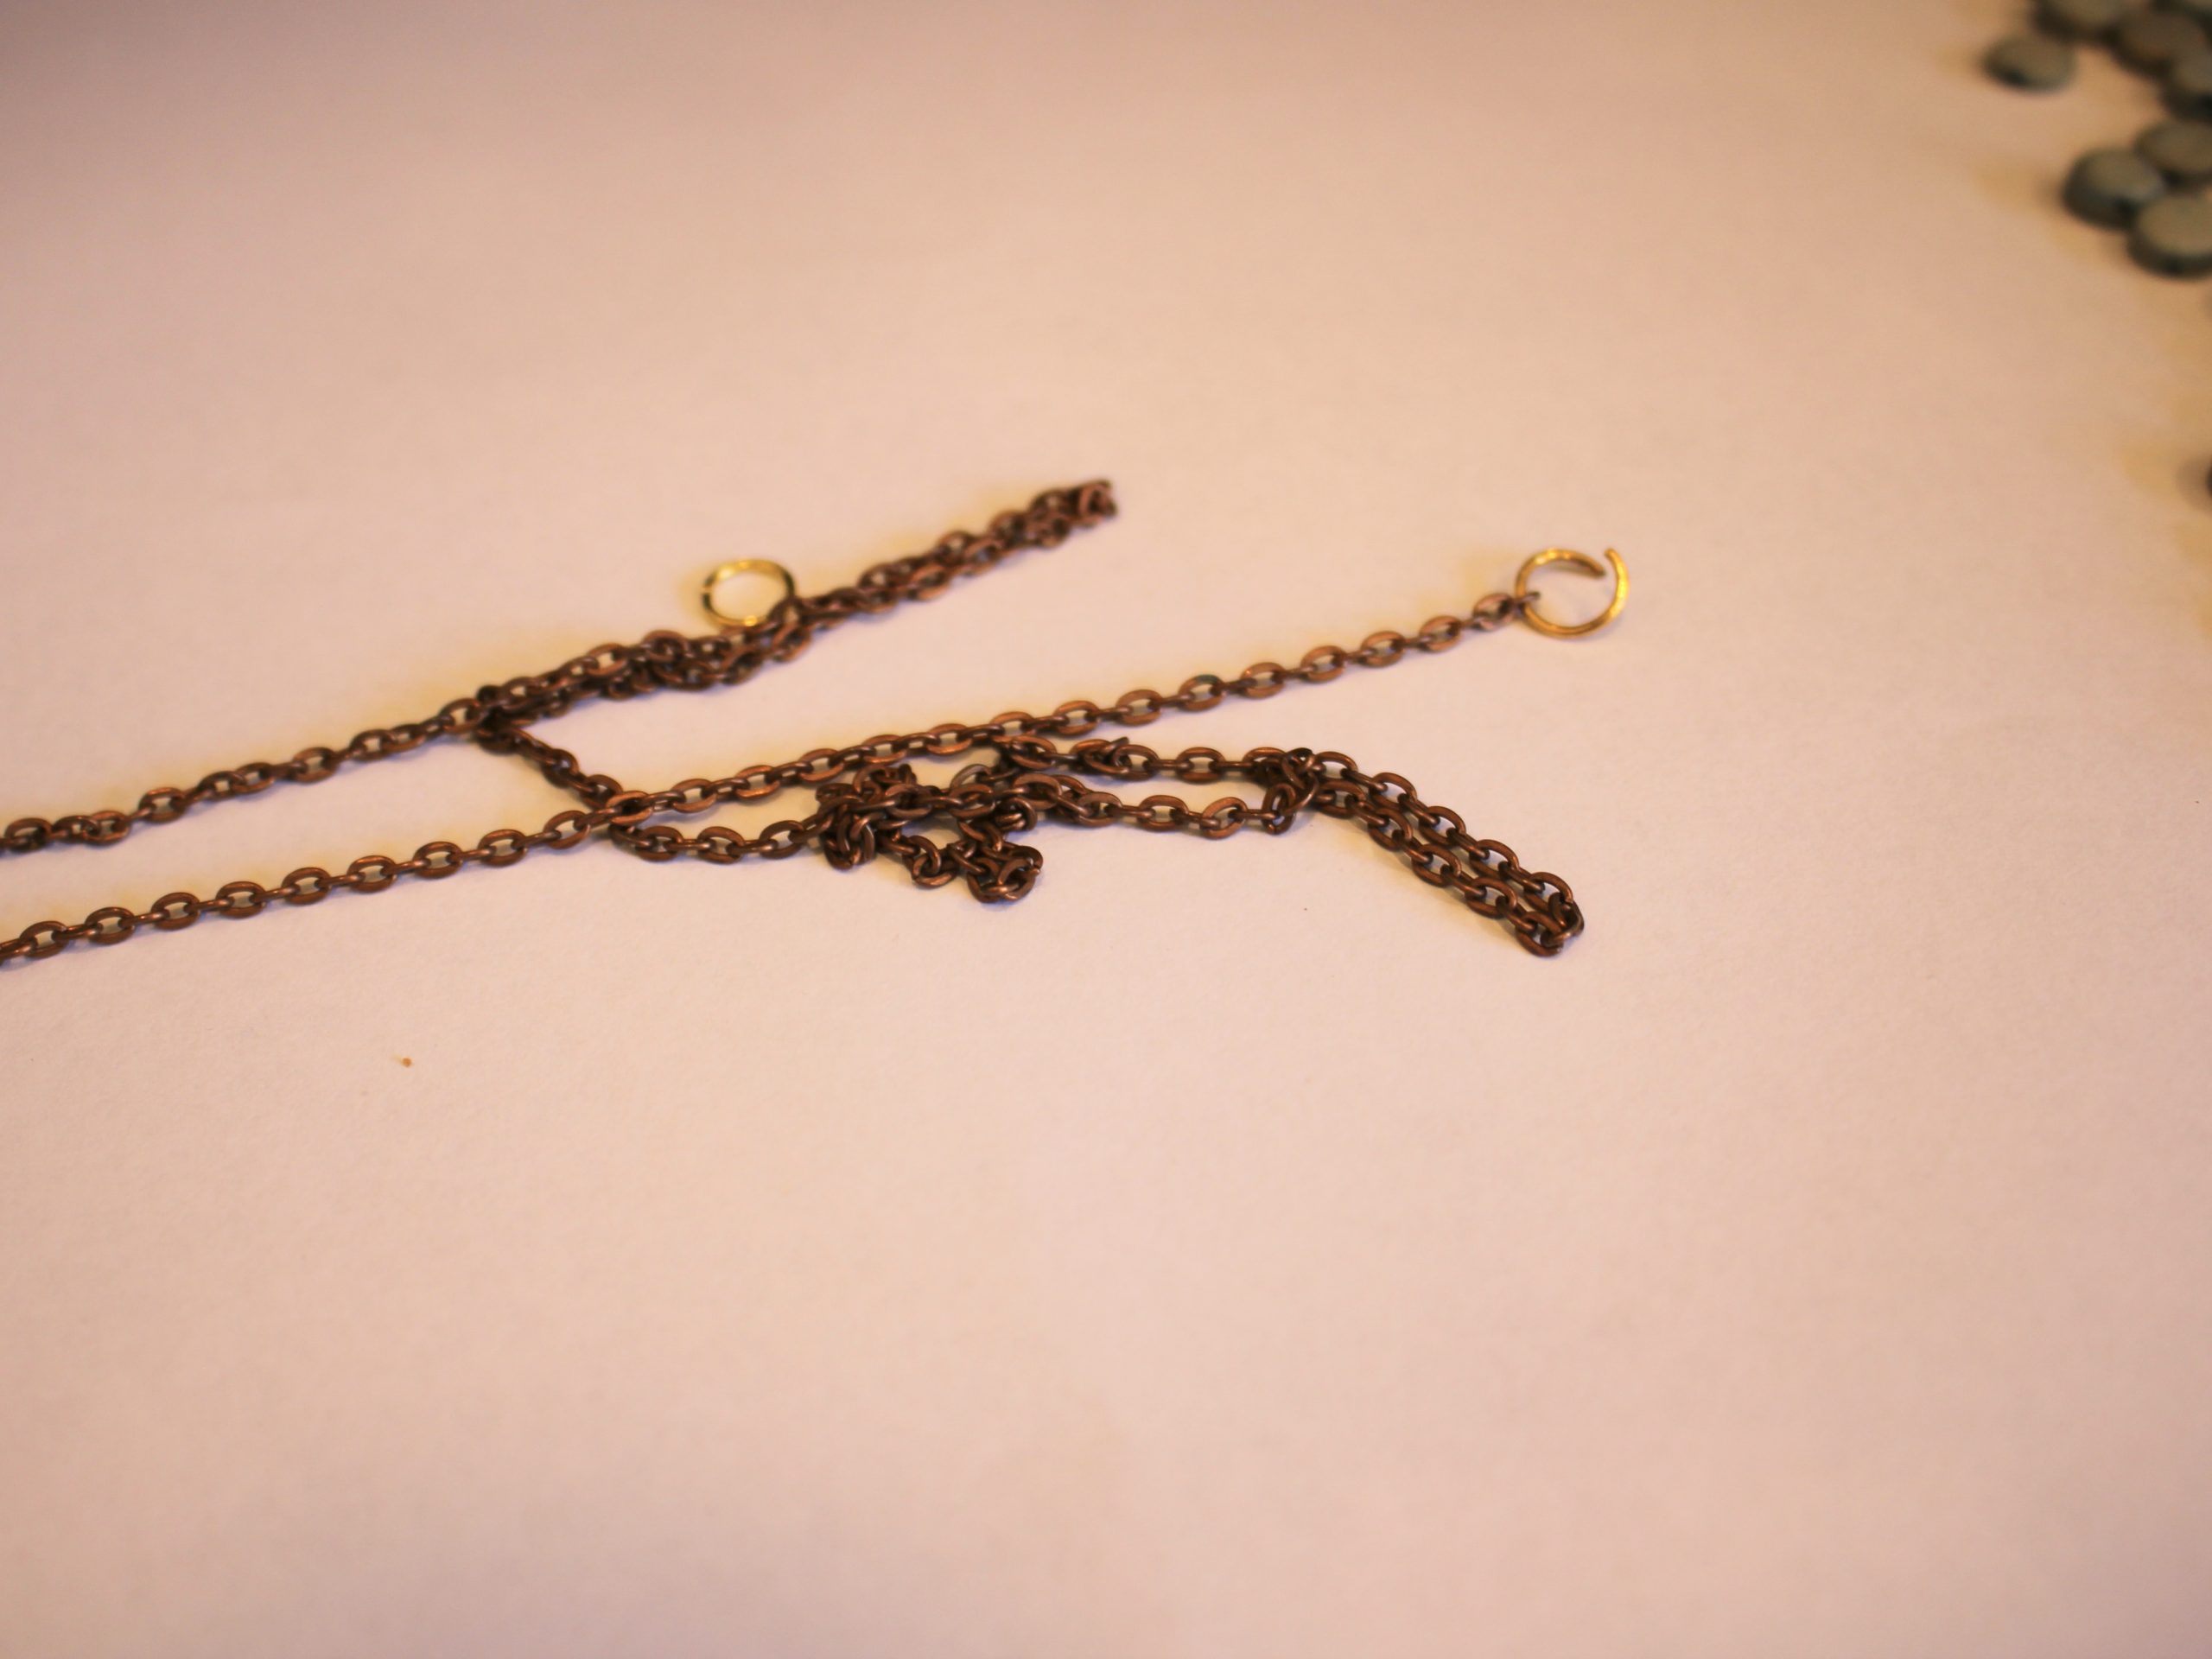
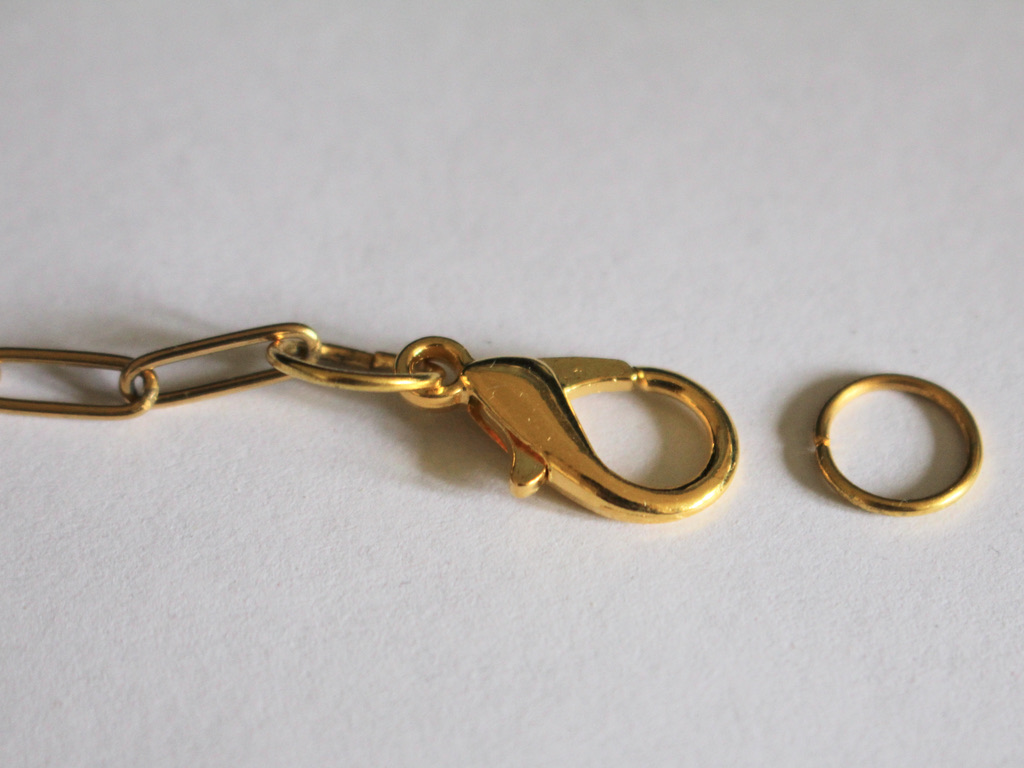
1: Open the jump rings on the chain to remove the clasp.
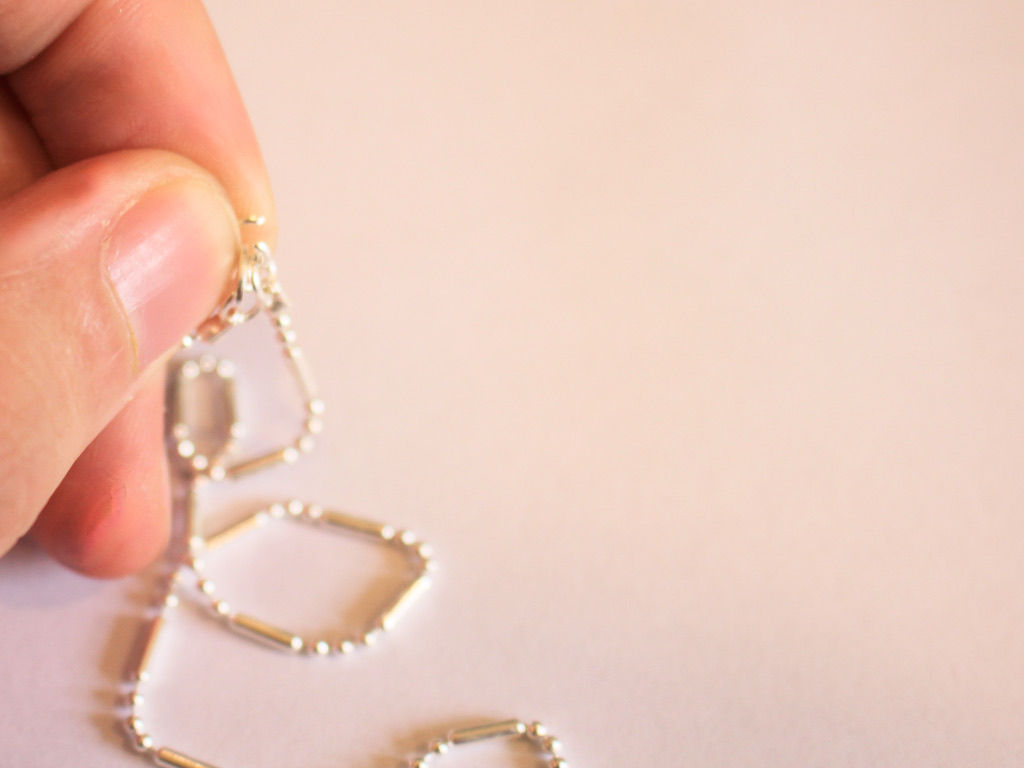

2: Attach the ends of the chains together using the jump rings.

3: Fold the string in half and thread it through one of the jump rings.

4: Tie a knot in the string, leaving a loop on one side.
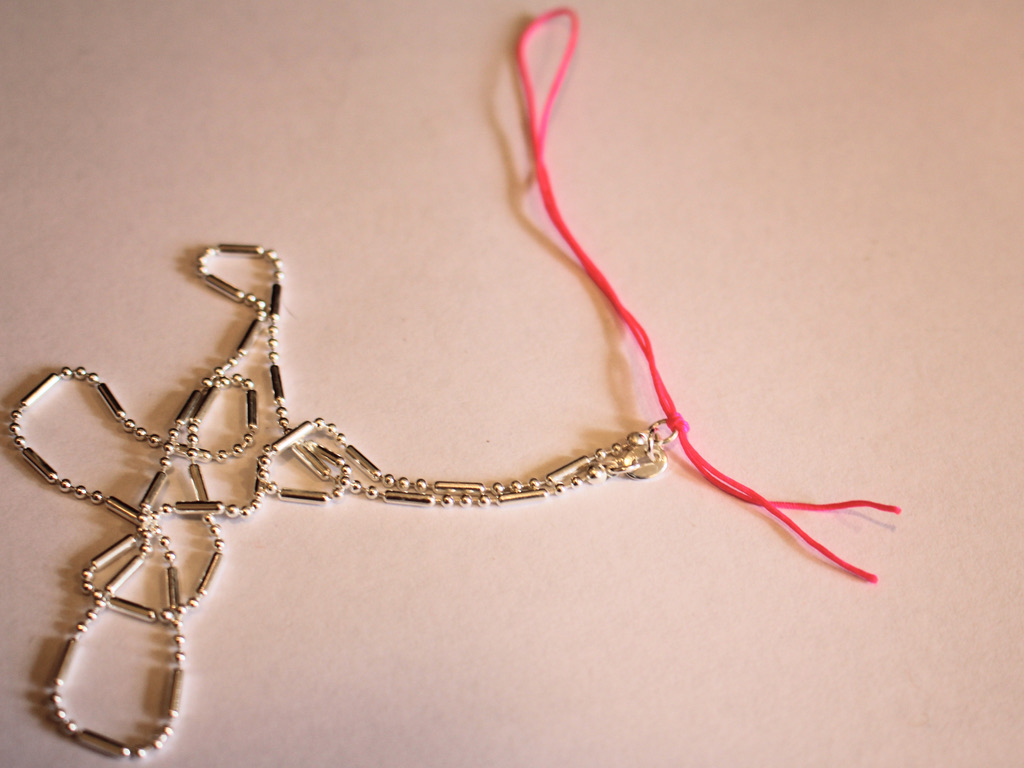
5: Wind the end of the threads through the jump rings and tie an extra few knots to secure the string to the chain.

6: Trim the excess string.

7: Add a dab of superglue to the end of the string to secure it and stop the knot from unraveling.

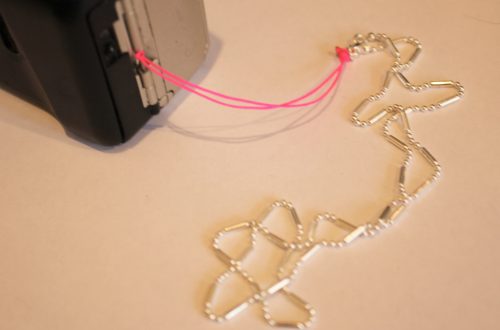
Now your wrist strap chain is finished! I added mine to my film camera because I’m a super cool hipster 😉


-
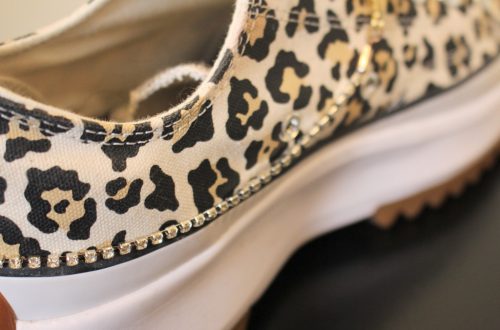
Here’s how to make some fun jewelry for your shoes!
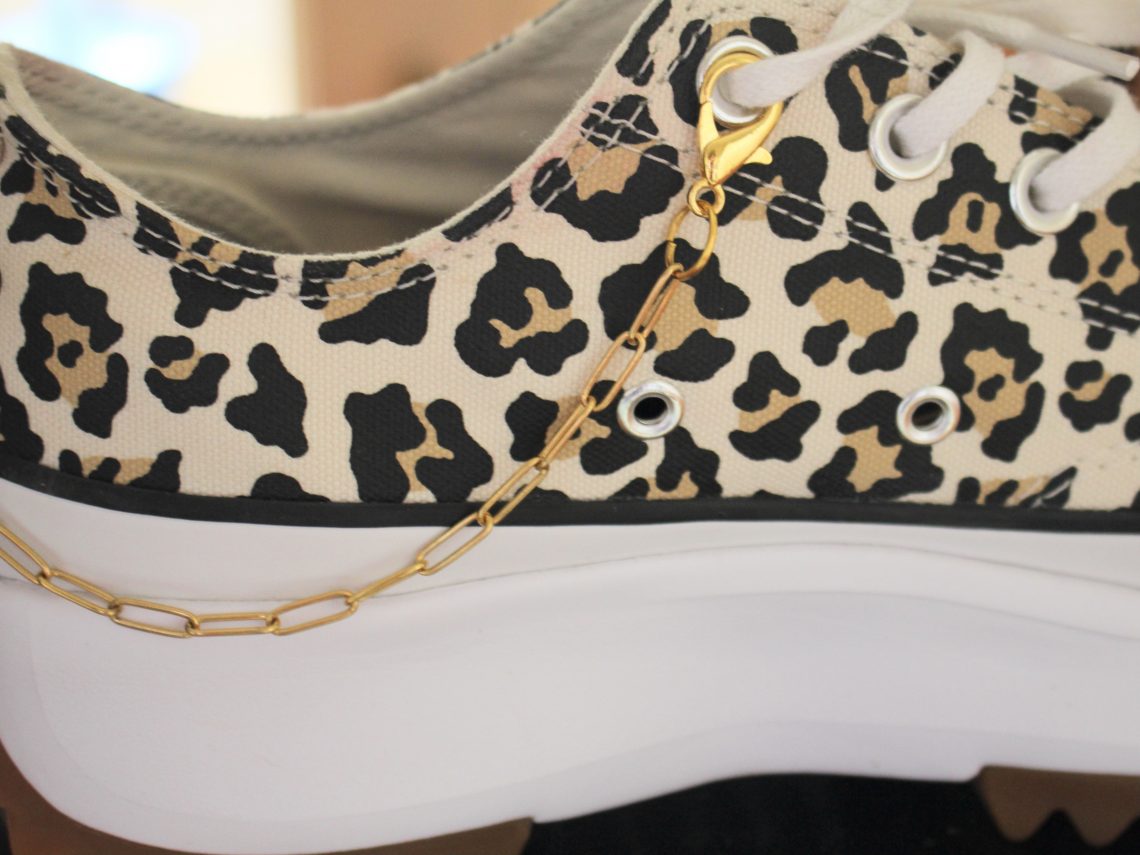
It can be fun to customise and add some flair to all your belongings, like adding gold chains to your fave pair of sneakers! This shoe chain can be clipped to a range of different shoes, the lobster clasps clip around your laces or shoe eyelets to add a personalised flair to your shoe game! Please note that this tutorial contains affiliate links.
You’ll need these tools and materials to make this shoe chain:
1: About 30-35cm of paperclip style chain.

2: Two large jump rings.

3: Two large lobster clasps.

4: Pliers. I used my flat nose, cutting and round nose pliers for this tutorial. I used my cutting pliers to cut the chain to the right length.

Follow these steps to make your own cool shoe chain:
1: Open one of the jump rings and slide it into one of the ends of the chain.

2: Add a clasp to the open jump ring.
3: Close the jump ring using your pliers.
4: Repeat steps 1-3 for the other end of the chain.


And that’s it! Clip your shoe chain to your fave pair of sneakers and head out!


You May Also Like

Need a sparkly accessory to cheer up the 2020 silly season? Make this waist chain in time for Christmas this year!

How to make a beaded lanyard using string and funky beads!

Need help keeping hold of your phone? Here’s how to make a cute chain and rhinestone phone strap so its harder to lose!
-
How to make a letter bead chain bracelet!
Sometimes you need to be a bit subtle about how you communicate your feelings. So instead of saying it out loud, or showing it in your body language, why not show how you feel with your jewelry? Here are all the steps you can follow to make a cute letter bead bracelet that says a word on it. Mine says ‘grumpy’ because that’s how I feel a lot of the time ;). Please note that this tutorial contains affiliate links.
You’ll need these tools and materials to make your letter bead chain bracelet:
1: A bunch of eye pins. The number you need depends on the length of your bracelet.

2: Two jump rings.

3: A lobster clasp.

4: Letter beads that make up the word you want to spell. Mine spells G-R-U-M-P-Y.

5: Other beads. I used some black plastic beads recycled from an old necklace. The number of extra beads you need will depend on the length of your word.

6: A small jump ring.

7: A charm. I used this plastic banana charm and drew a little smile on it with permanent marker.

Follow these steps to make your own letter chain bracelet:
1: Add a letter bead to one of the eye pins.

2: Bend the eye pin to form an angle.

3: Bend the top of the pin over to form a loop that secures the bead onto the pin. Use your round nose pliers to do this.

4: Repeat steps 1 to 3 for the other letter beads until your whole word is on pins.

5: Attach each of the letter bead pins together to form a chain.


6: Set the letter chain aside and start making the side chains.
7: Add your other beads to the pins the same way you did for the letter beads. Make two chains so that the whole piece is long enough to wrap around your wrist. Make each chain an even length so that your word sits in the middle.


8: Add a lobster clasp to one end of the bracelet using one of the jump rings.


9: Add the other jump ring to the other side of the bracelet.

10: To finish the bracelet off, attach your charm using the small jump ring.


Now your bracelet is finished and ready to wear! So cute!


Here are some other letter bead tutorials you can follow:
-
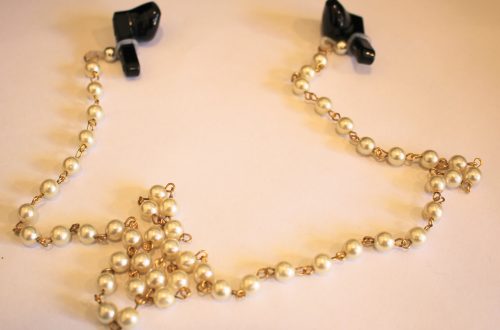
Here’s how to make a glasses chain with dangling charms. So cute ;)
This chain can be used to keep track of your glasses or your mask. It features cute dangling charms that add a bit of fun to your daily outfit. Please note that this tutorial contains affiliate links.
You’ll need the following tools and materials to make this charming glasses chain:
1: Pliers. I used my flat nose and round nose pliers.
2: A piece of chain, make sure it is long enough to fit around your neck, it should sit around your collarbone area.

3: Two rubber glasses holders.

4: Two large lobster clasps.

5: Two large jump rings.

6: Some head pins.

7: Beads. I used these recycled blue timber beads.

Follow these steps to make your glasses chain with charms on it:
1: Add a rubber glasses holder and a lobster clasp to each end of the chain, attach them using each of the jump rings.


2: Set the chain aside.
3: Add a bead to one of the head pins.
4: Bend the head pin to form a right angle.

5: Loop the top of the pin using round nose pliers.

6: Open the loop slightly and slide it onto one of the chain links.

7: Attach the charm by closing the link using your pliers.
8: Repeat steps 3 to 7 until you have enough charms on your chain (I spaced mine approximately 3-5cm apart but you can add as many as you like).

Now your charm embellished glasses chain is finished and ready to use. Will you attach yours to your sunnies or your mask?


-
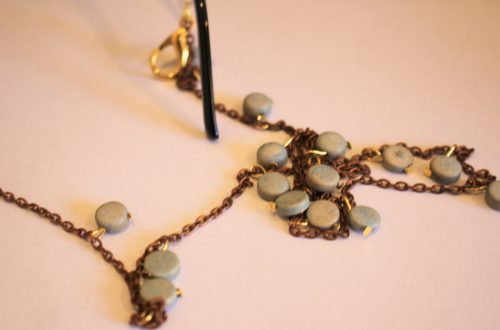
Need a new necklace? Look no further than this tutorial!
Here’s a new necklace you can make and customise to your liking. It uses memory wire and chain to make a layered effect for extra visual interest.
Here’s what you need to make this necklace:
1: Pliers. I used my cutting pliers, round nose pliers and flat nose pliers.
2: Two half circle pieces of necklace length memory wire.

3: Two pieces of chain that, when measured together, are long enough to fit around your neck.

4: Six jump rings.

5: A lobster clasp.

6: Beads. I used yellow glass beads.

Follow these steps to make your necklace:
1: Curl one end of one of the pieces of memory wire using the round nose pliers to form a loop.


2: Add beads to the wire until there is approximately 1cm left unbeaded.


3: Curl the other end of the wire using the round nose pliers again to secure the beads in place.

4: Repeat steps 1 to 3 for the second piece of memory wire.

5: Attach the two pieces of memory wire together using two of the jump rings.


6: Attach one of the pieces of chain to one side of the memory wire arches using another of the jump rings.

7: Repeat step six for the other side of the necklace attaching the second piece of chain.

8: Attach the lobster clasp to one side of the necklace using one of the remaining two jump rings.

9: Attach the last jump ring to the other side of the necklace to finish it off.

Now your new necklace is ready to wear!


-
Do you love a waist chain? Here’s how to make one with an extra loop feature.
This design is really cool! I think chain belts or waist chains are a really fun way to add some 80s glam to your favorite dresses or skirts. Please note that this tutorial contains affiliate links.
You’ll need the following tools and materials to make your looped chain:
1: A length of chain long enough to fit around your waist with a little extra (approximately 20cm) to spare.

2: Three large jump rings.

3: A large lobster clasp.

4: Pliers. I used my round nose and flat nose pliers to make my chain belt.
Follow these steps to make your chunky waist chain:
1: Add a large jump ring and lobster clasp to one end of the chain.


2: Wrap the chain around your waist and find the point where it fits.

3: Add another jump ring to the point where the chain fits your waist, you should have some extra chain that dangles beyond this point.


4: Take the extra bit of chain and fold it back towards the long waist part of the chain.
5: Take the last jump ring and use it to attach the end of the chain to the main waist part of the chain to form a loop. Once this extra part of the chain is secured your looped waist chain is ready to wear! So so cute!


Here are some of our other body chain tutorials:
-
Here’s how to make a pair of cute beaded chain earrings!
These earrings are made using soft wire and beads to make a chunky chain that dangles from each ear. These really cute earrings are fun to make and look so fun.
You’ll need these tools and materials to make these earrings:
1: Pliers. I used my cutting pliers (left), flat nose pliers (right) and round nose pliers (middle) to make these earrings.
2: Some thin soft wire. I used six pieces (approx 7cm long) of wire that I recycled from an old project.

3: Some beads. I used green and gold glass e-beads.

Gold beads: https://amzn.to/3S3zwfi
Green beads: https://amzn.to/3QTdMlj
4: Two small jump rings.

5: Two earring hooks.

Follow these steps to make your chunky bead chain hoops:
1: Take a piece of wire and curl one end around the round nose pliers.
2: Add beads to the wire until there is 1cm left without beads.


3: Put the end of the wire back through the first loop you made.

4: Curl the other end of the wire so that the beaded circle is closed.

5: Make another beaded circle, thread it through the first circle you made before you secure it closed.


6: Make a third beaded circle and attached it to the first two so that you have a chain of three.


7: Repeat steps 1 to 6 for the second earring.

8: Attach the earring hooks to the top of each chain using the small jump rings.


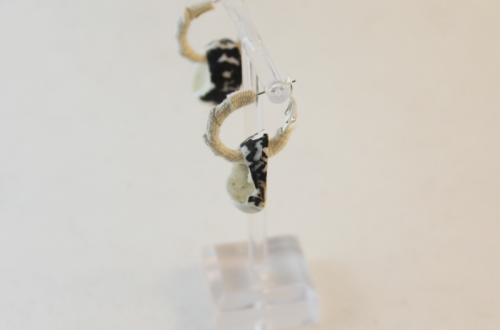
Now your chain earrings are finished and ready to wear!!!

Here is a four link version I made as well


This tutorial contains affiliate links.
-
How to make a beaded chain ring. This is the cutest idea!
Do you like the look of delicate rings? This chain ring design is fun to make and even more fun to wear! This tutorial contains affiliate links.
You’ll need the following tools and materials to make your beaded chain ring:
1: Pliers. Round nose pliers and flat nose pliers are useful for this DIY.
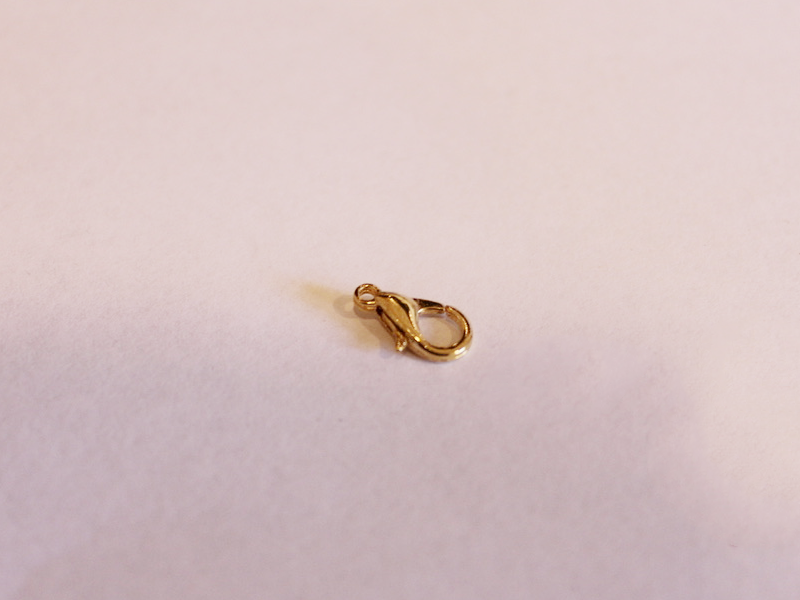
2: A short piece of chain, make sure you have enough to fit around your ring.

3: An eye pin.

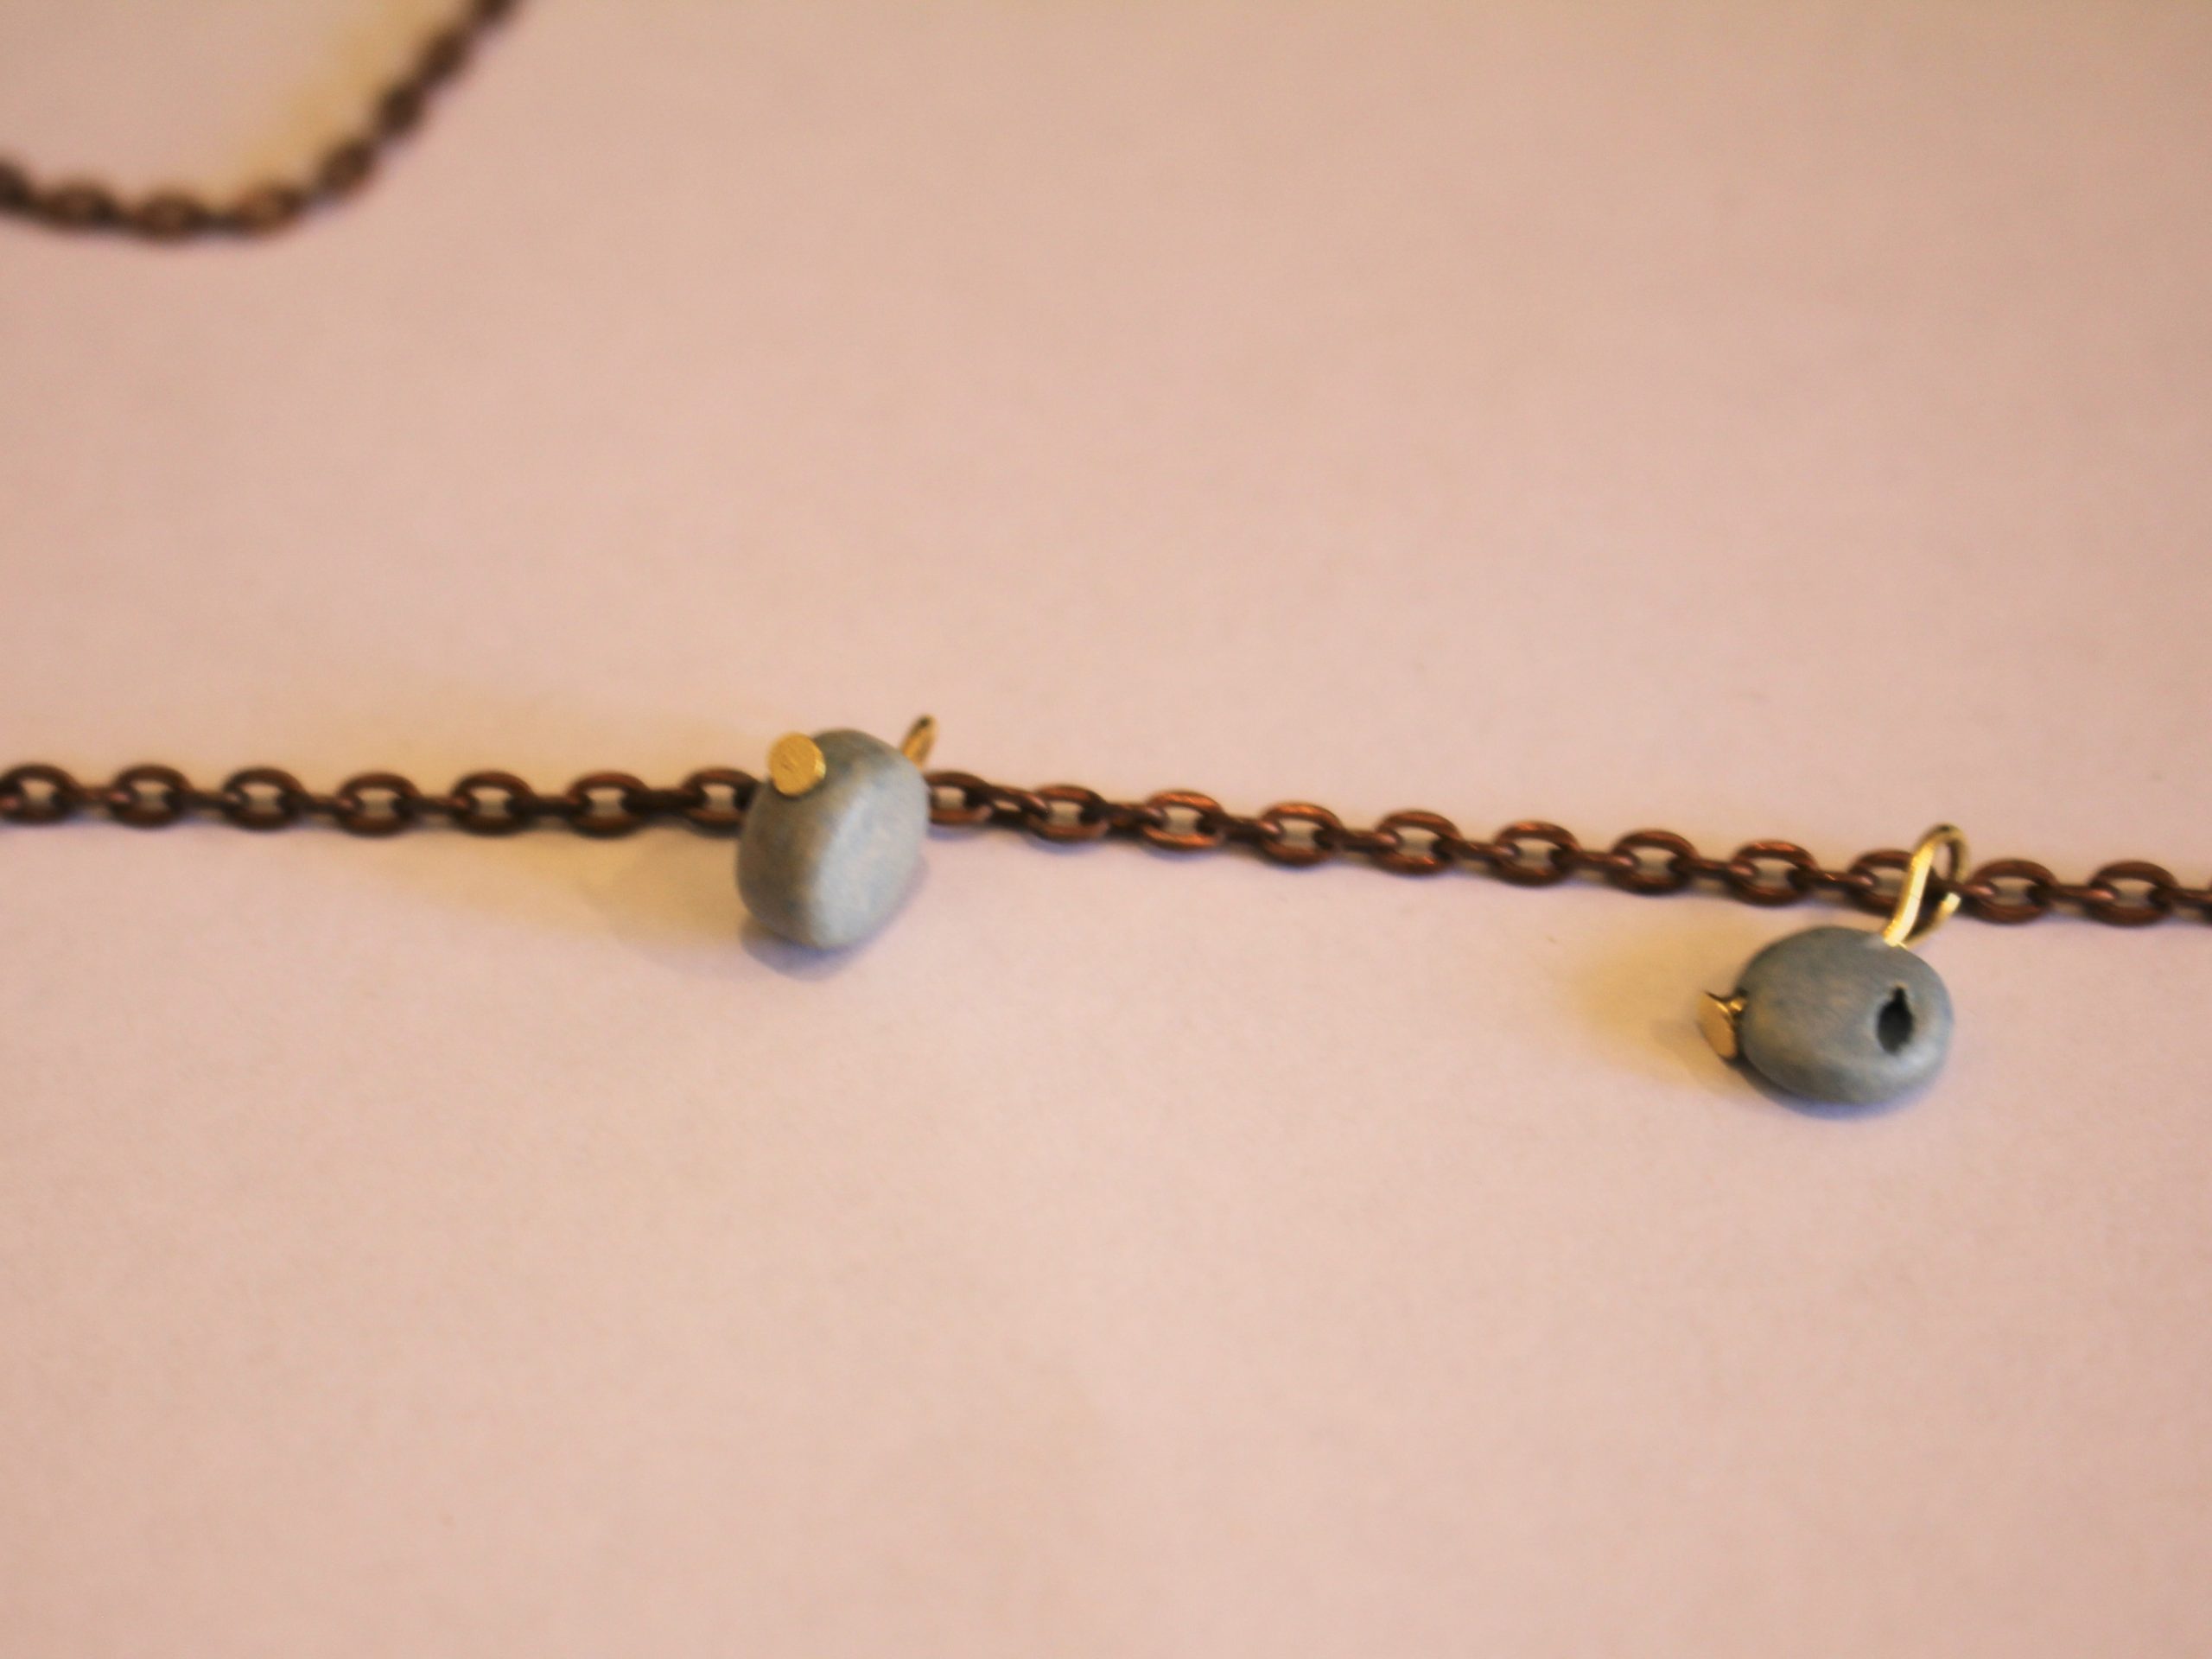
4: A bead. I used this blue wooden flat bead.

Follow these steps to make your cute beaded chain ring:
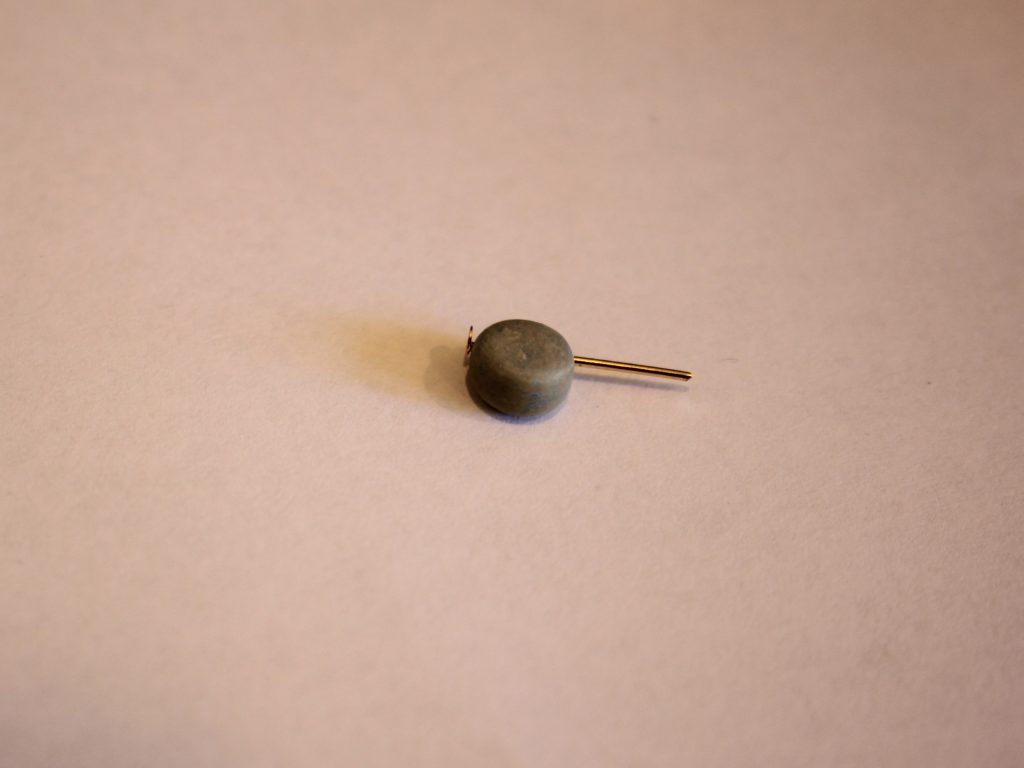
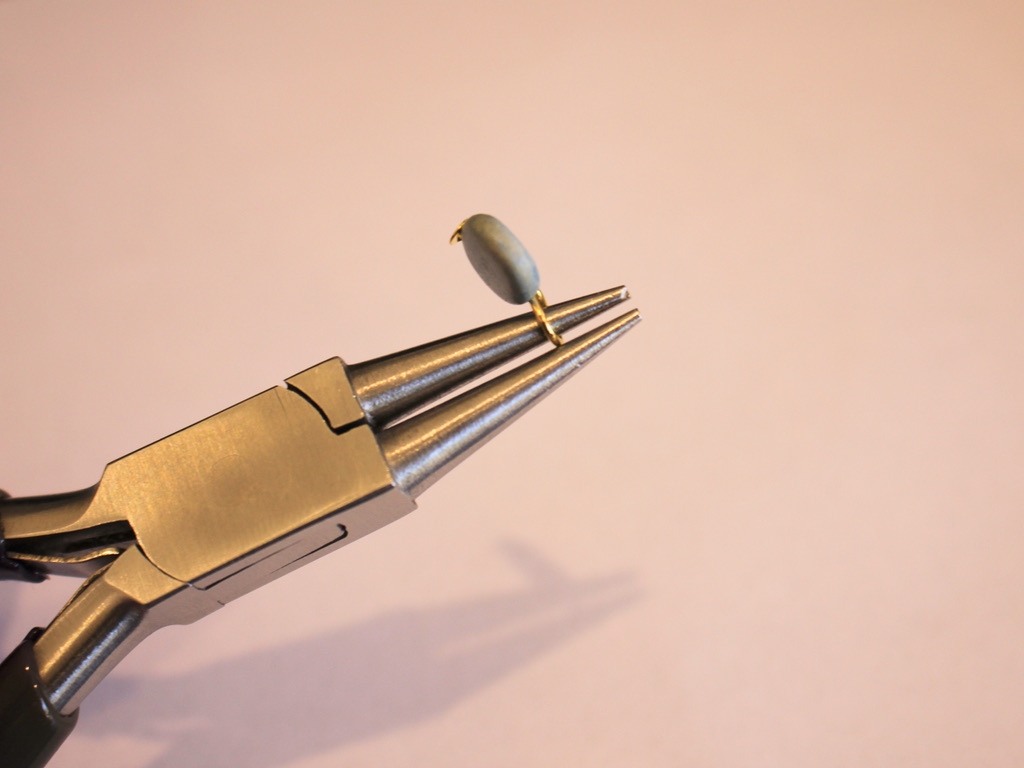
1: Add the bead to the eye pin.

2: Secure the bead to the pin by looping it around the barrel of the round nose pliers.

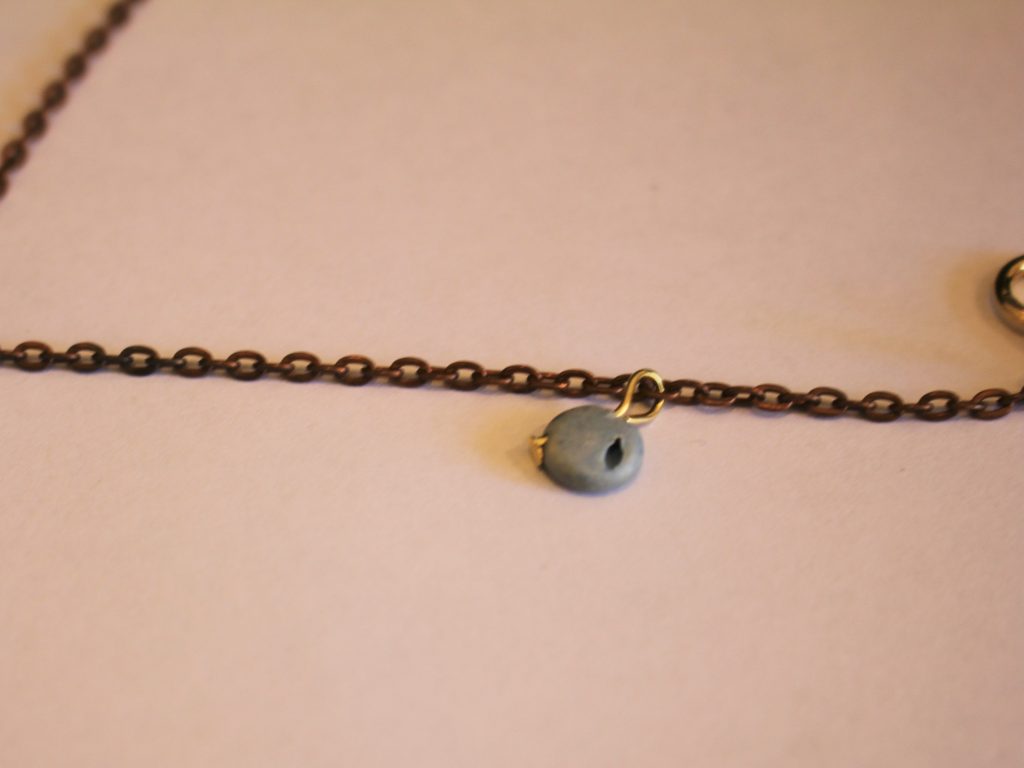
3: Attach one side of the newly formed charm to one side of the chain.

4: Wrap the chain around your finger to determine how long to make your chain.

5: Trim the chain to the length you chose.

6: Attach the other end of the chain to the other side of the bead charm.

Now your beaded chain ring is finished! How adorable is this design?


Here is another one I made using a plastic love heart bead.

This tutorial contains affiliate links.
-
Chunky chains are taking over. Here’s a DIY to get you in on the trend.

Apparently chunky chains are taking over from dainty delicate jewelry. Getting in on this cool new trend is super easy… here’s how to make your own chunky chain necklace.
You will need the following tools and materials to make your chunky chain necklace:
1: Pliers. You’ll need your round nose and flat nose pliers.
2: A chunky chain long in a length of your choice. I used this lightweight silver chain and made it choker length (fitting closely around the neck).

3: Two jump rings.

4: A lobster clasp.

Follow these steps to make your chunky chain necklace:
1: Add one of the jump rings to one end of the chain. Close it to secure it in place.


2: Add the other jump ring to the other end of the necklace.

3: Add the lobster clasp to the open jump ring.

4: Close the jump ring to secure the clasp in place and finish your necklace.

IT IS THAT SIMPLE! Now your chunky chain necklace is ready to wear!

-
Anklets are awesome. Here’s how to make a double strand anklet.

Anklets are the jewelry accessory for the summer, here’s how to make a different version with two chain strands. Contains affiliate links.
You will need the following tools and materials to make your double strand anklet:
1: Pliers. You need your round nose pliers and flat nose pliers to make this anklet.
2: Two pieces of chain long enough to fit your ankle comfortably. I used two different shaped chains in the same color.

3: Two jump rings.

4: A lobster clasp.
Follow these steps to make your double strand anklet:
1: Open one of the jump rings and slide it on to the end of both chains.

2: Close the jump ring to secure the chains together.

3: Add the other jump ring to the other side of the chain.

4: Add the lobster clasp to the open jump ring.
5: Close the jump ring to secure the clasp in place.

Now your double strand anklet is finished! So cool!