-
Here’s how to turn some beads into a pair double-charm stud earrings.
These earrings are pretty fun. With the right selection of beads you can create a cool pair of earrings that feature two dangling charms!
You’ll need the following tools and materials to make your double charm earrings:
1: Pliers. I used my round nose and cutting pliers.


2: Two glue on stud earrings and earring backs.

3: Two flat beads. I used these round love heart beads.

4: Four charm beads. I used these silver-tone plastic star and flower beads.

5: Two eye pins.

6: Four head pins.

7: Glue. I used a two part epoxy glue.

8: Scrap paper for mixing the glue on.

9: A skewer for mixing and applying the glue.

Follow these steps to make your double charm earrings:
1: Add the flat beads to each of the eye pins.

2: Bend the pins to form a right angle.

3: Trim the excess pin using the cutting pliers, leave approximately 1cm.


4: Form the end of the pins into loops using the round nose pliers.


5: Add the charm beads to each of the head pins.

6: Repeat steps 2 to 4 for each of the charm beads so that you end up with four charms with loops at the top.


7: Attach each of the charms to the flat centre beads. I added one star bead and one flower bead to each heart bead.


8: Mix up the glue on the scrap paper and apply it to both the flat beads and the stud earring findings.



9: Place the earrings onto the centre beads and leave them to dry. I suggest using a little less glue than I did because I ended up with some drips on the sides of my earrings.


Once your earrings are dry you can pop them on and have some fun!


Here are some other ways to turn beads into stud charm earrings:
This tutorial contains affiliate links.
-
This is a bit of fun, how to make clip charms for your hoop earrings.
This DIY is a little bit silly, but hopefully a bit of fun as well. It is a way to make the most of your face hoop earrings and show off your favorite charms. This design uses large lobster clasps that you can use to clip different charms onto your hoops. This tutorial contains affiliate links.
You’ll need these tools and materials to make your customizable charm hoop earrings:
1: Pliers. I used my round nose and flat nose pliers.
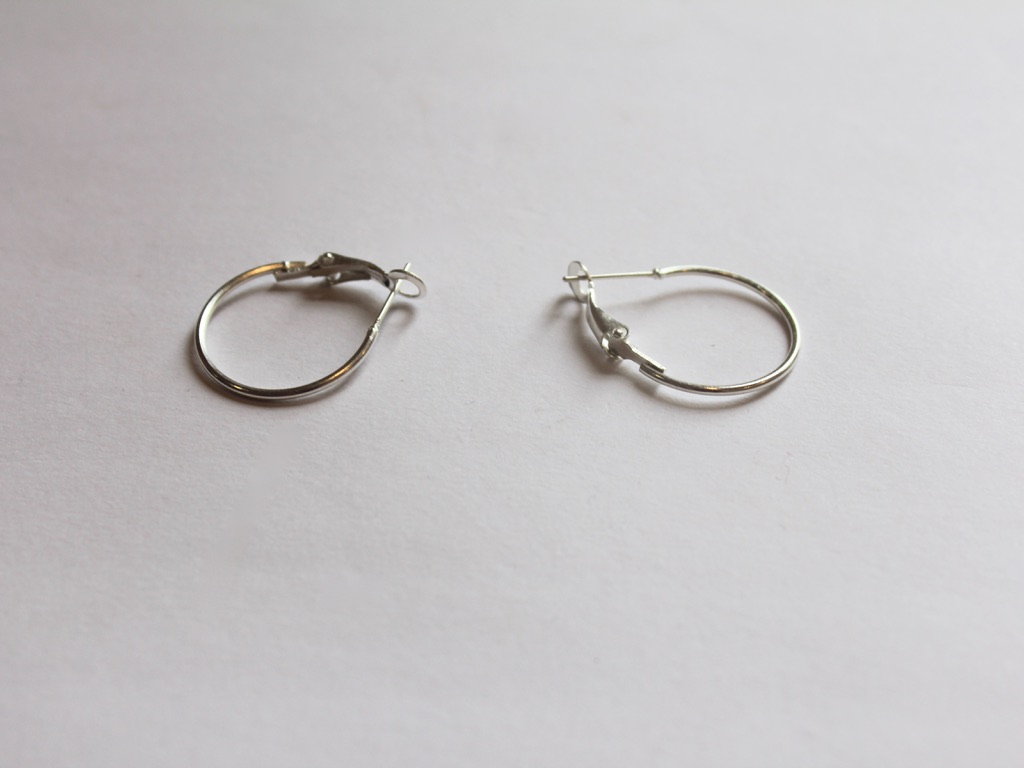
2: Hoop earrings. I used these silver hoop earrings with a lever back.
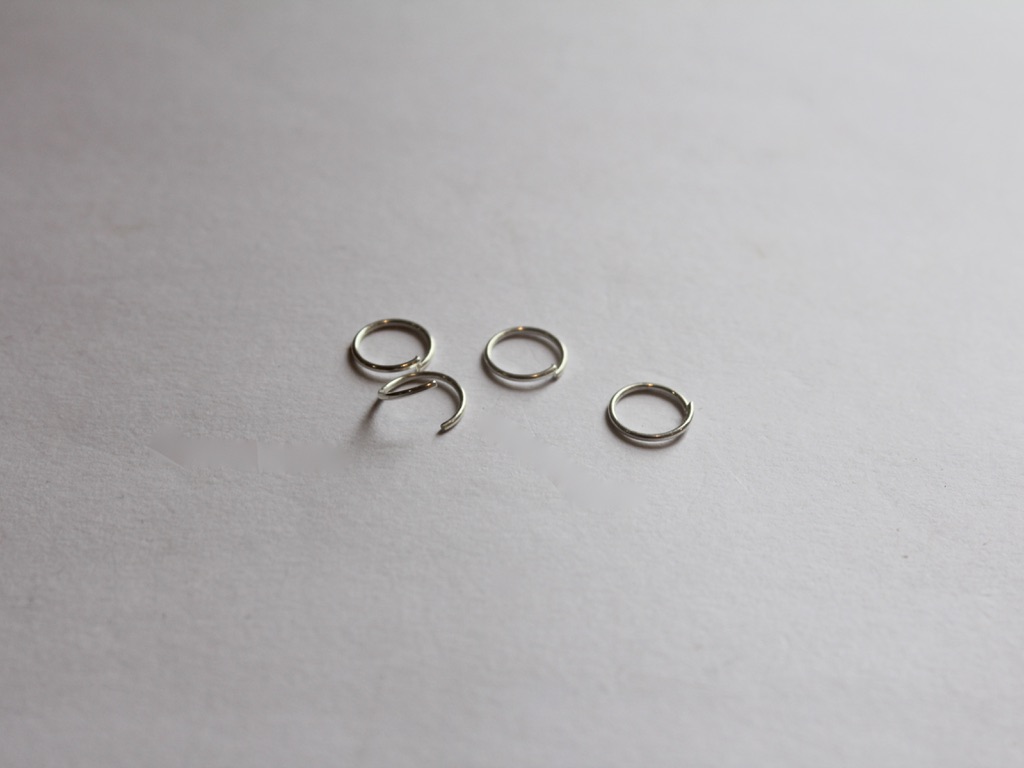
3: Jump rings to attach to your charms.
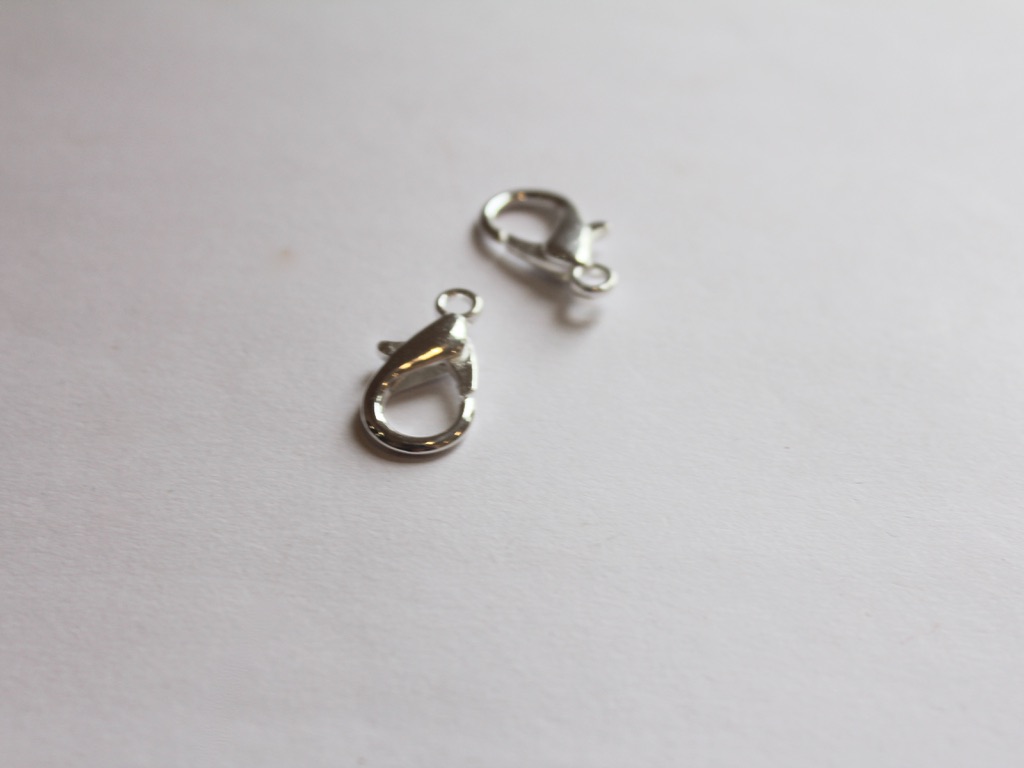
4: Two large lobster clasps the same color as your hoops.
5: Charms or beads and head pins. I used both to make some mismatched charms.
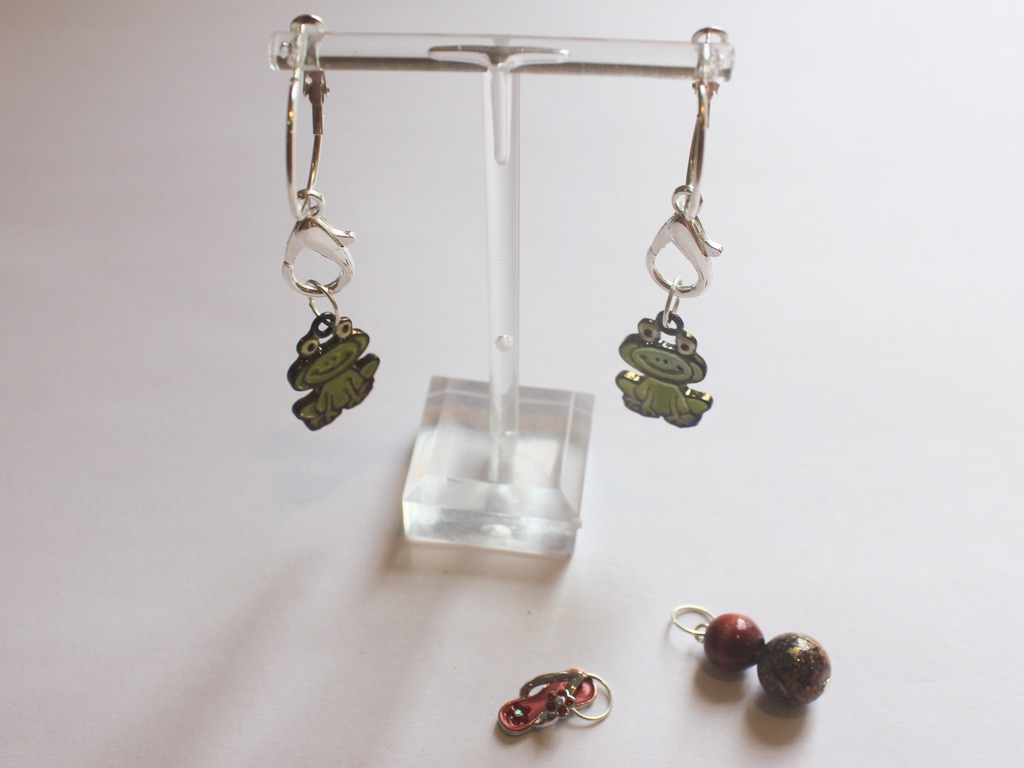
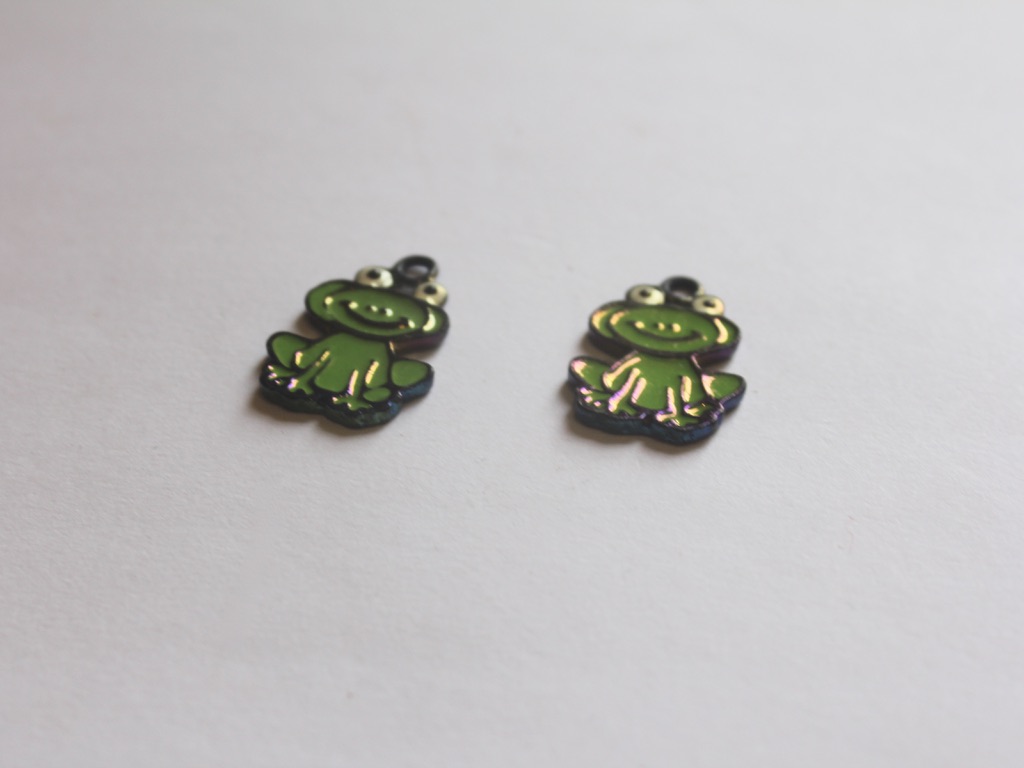
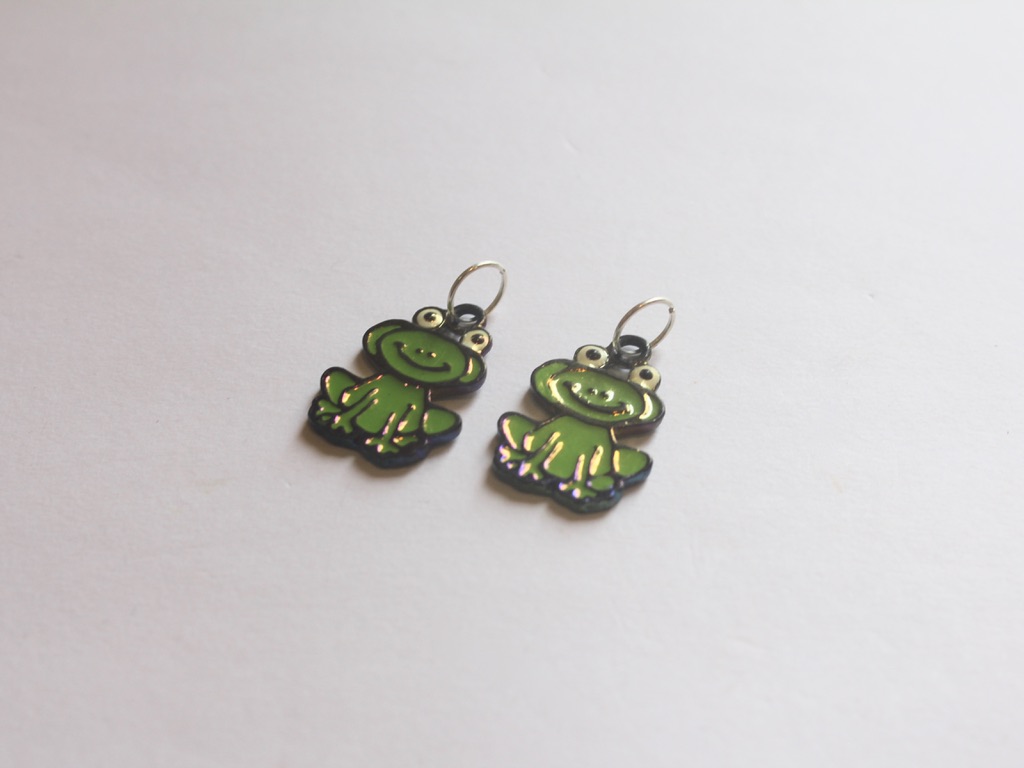
I used these cartoon frog charms.
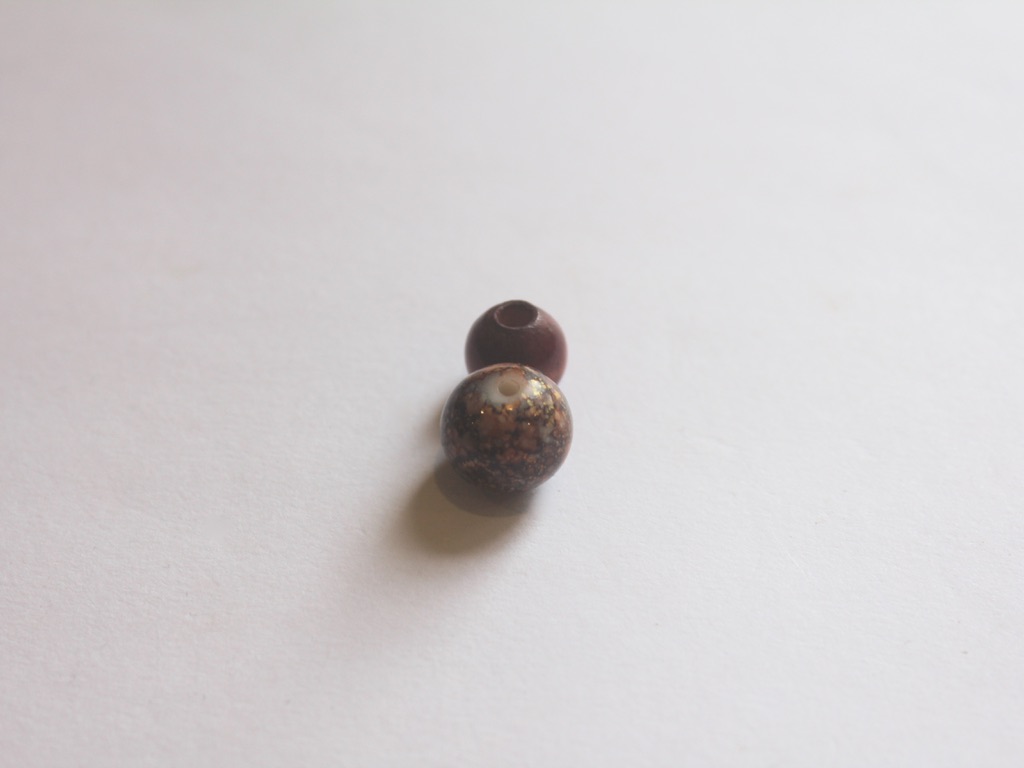
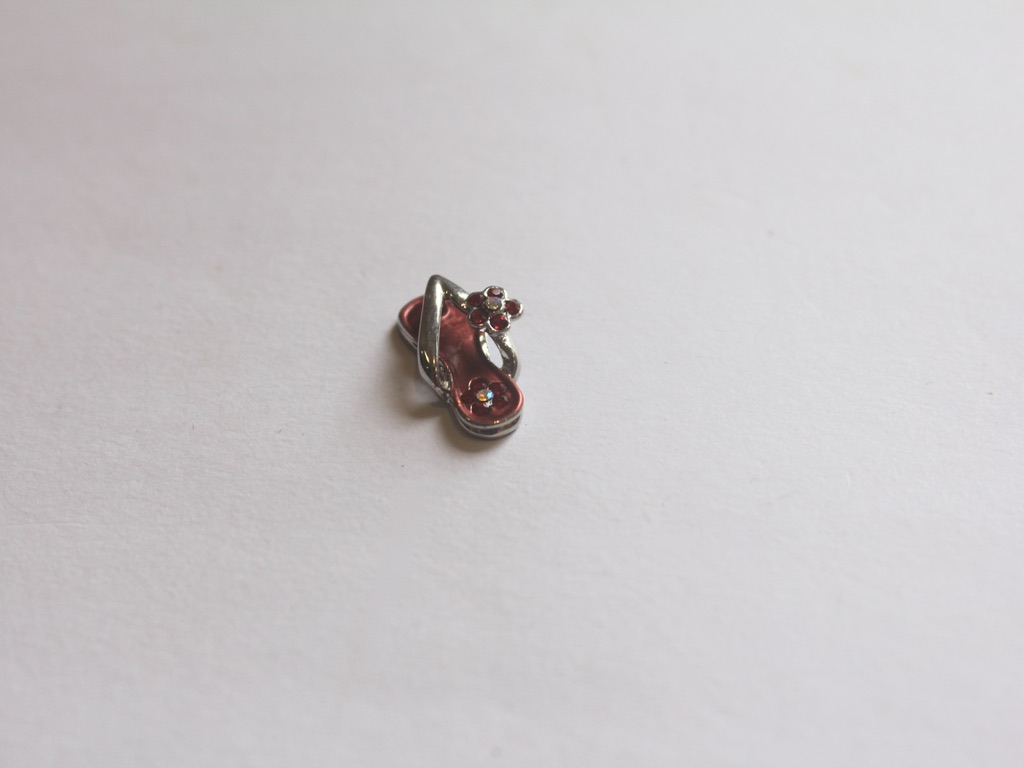
And some beads and a head pin with a flip flop charm.
Follow these steps to make your customisable hoop earrings:
1: Add each of the lobster clasps to the hoops.
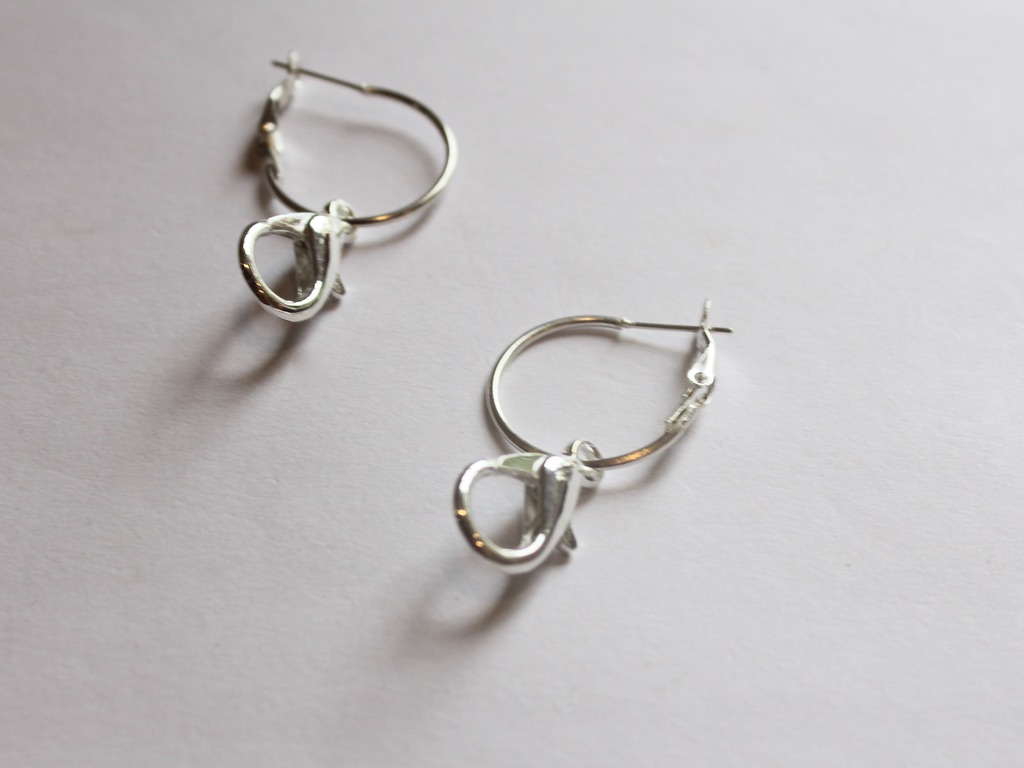
2: Add jump rings to the top of each charm you want to feature on your earrings.
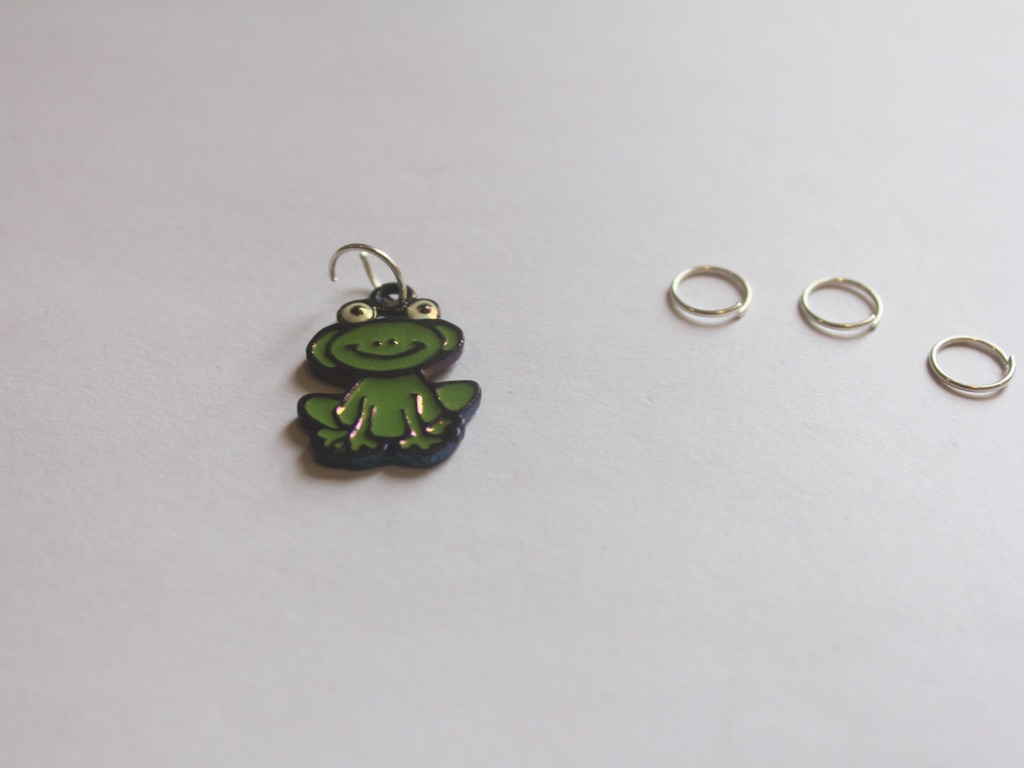
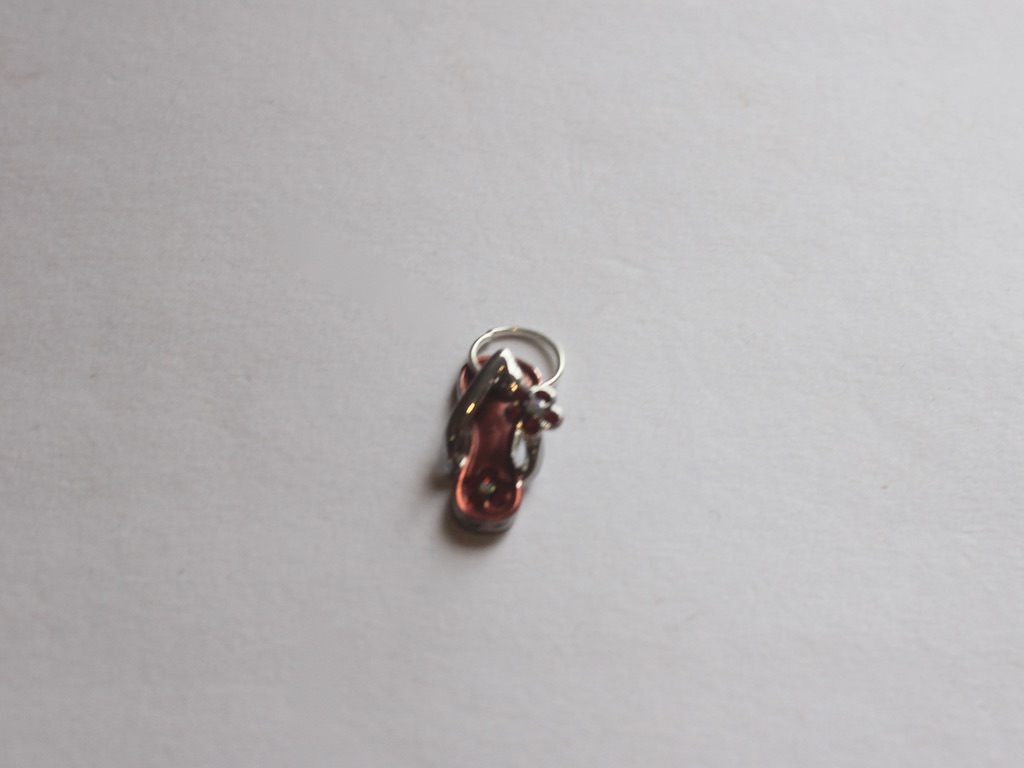
3: Create your bead charms, do this by adding beads to your head pin and curl the tops into a loop using the round nose pliers. Add a jump ring to the top if you need it.
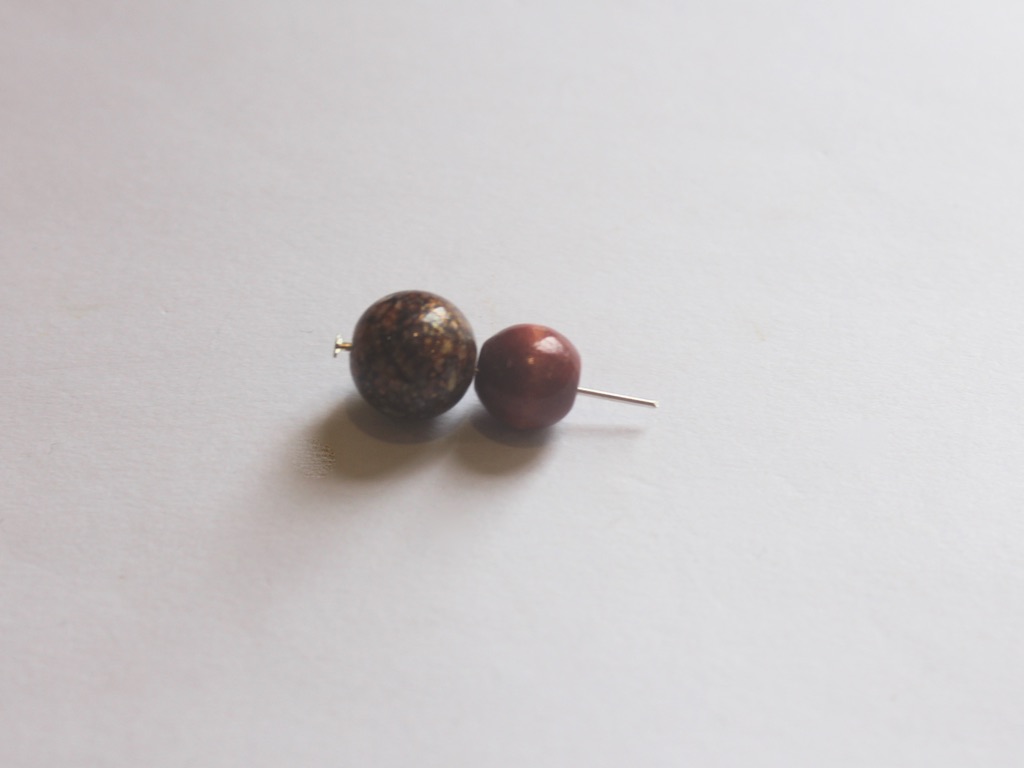
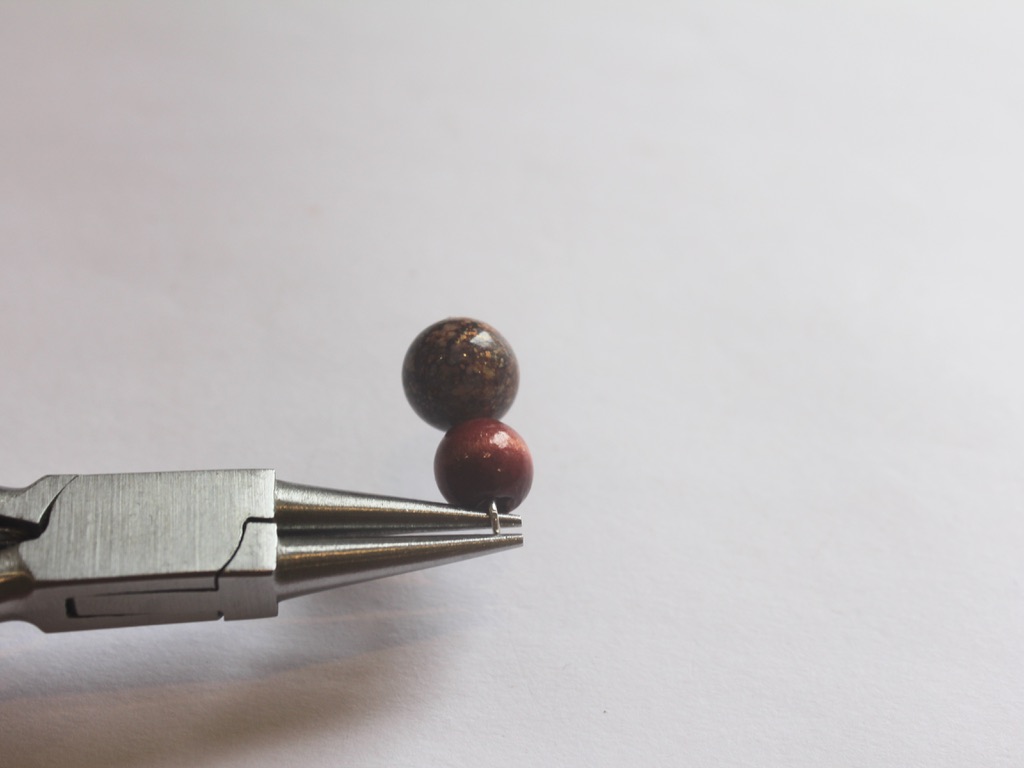
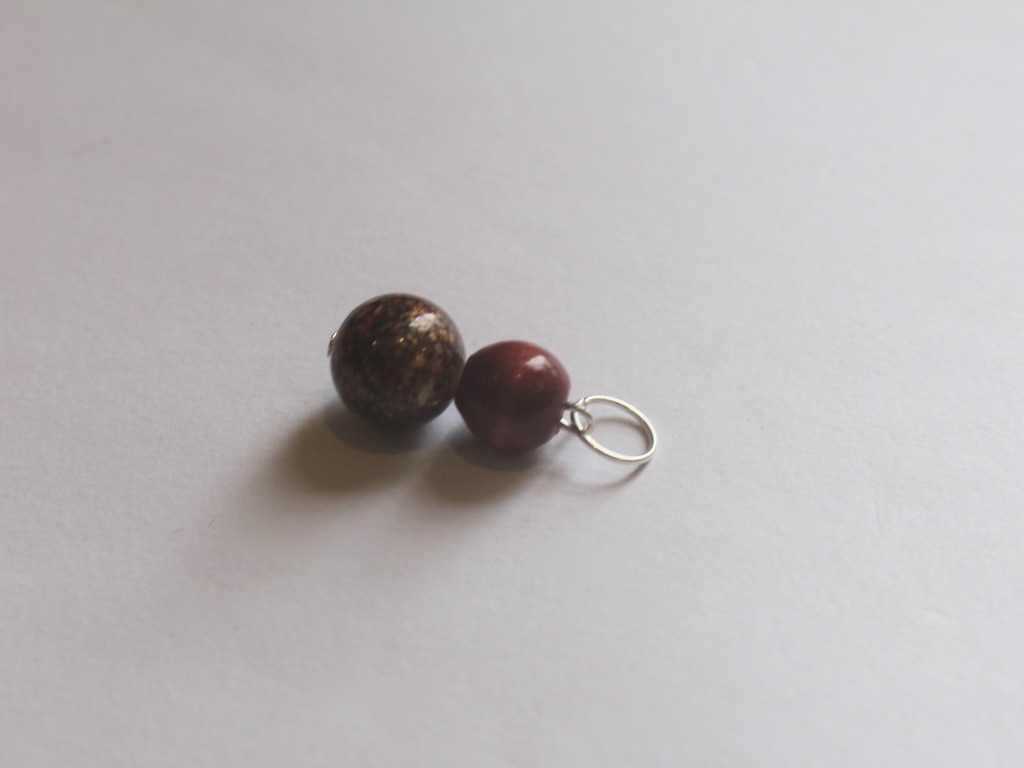
Now you can clip on the charms you like, mix and match for a unique look!
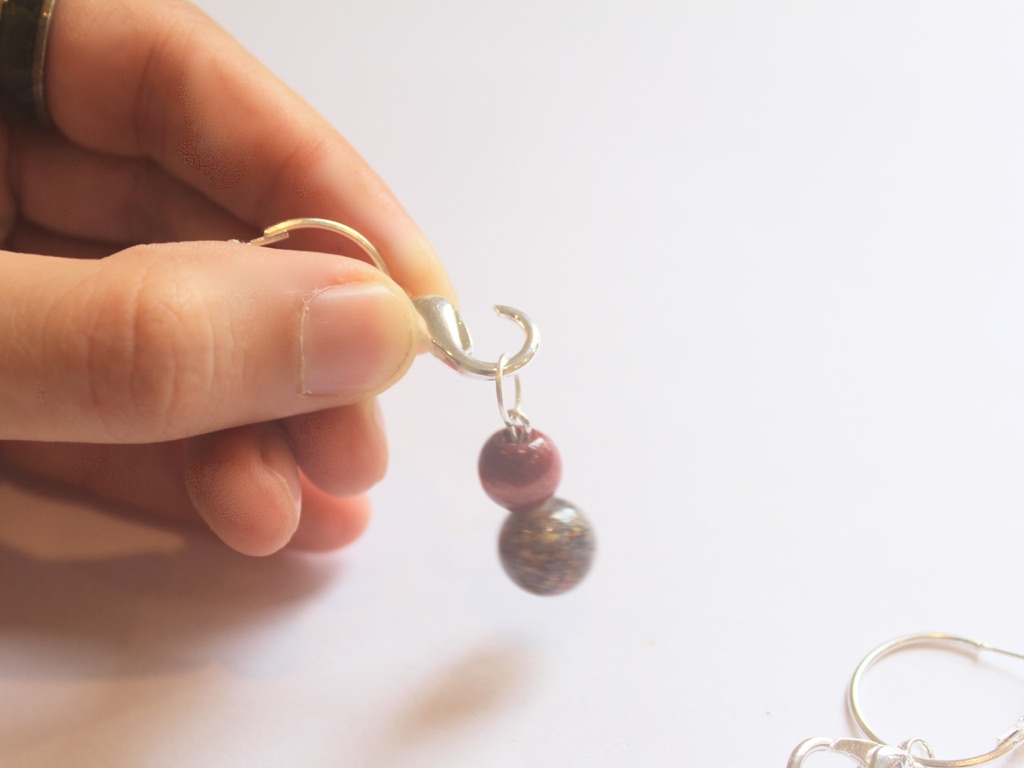
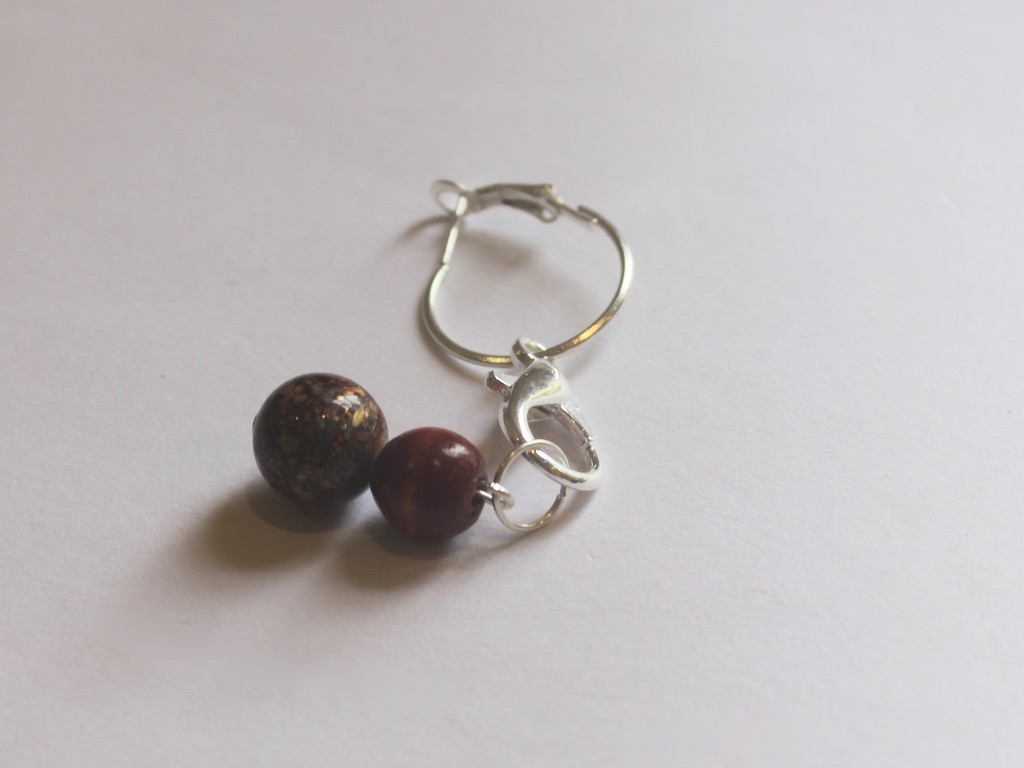
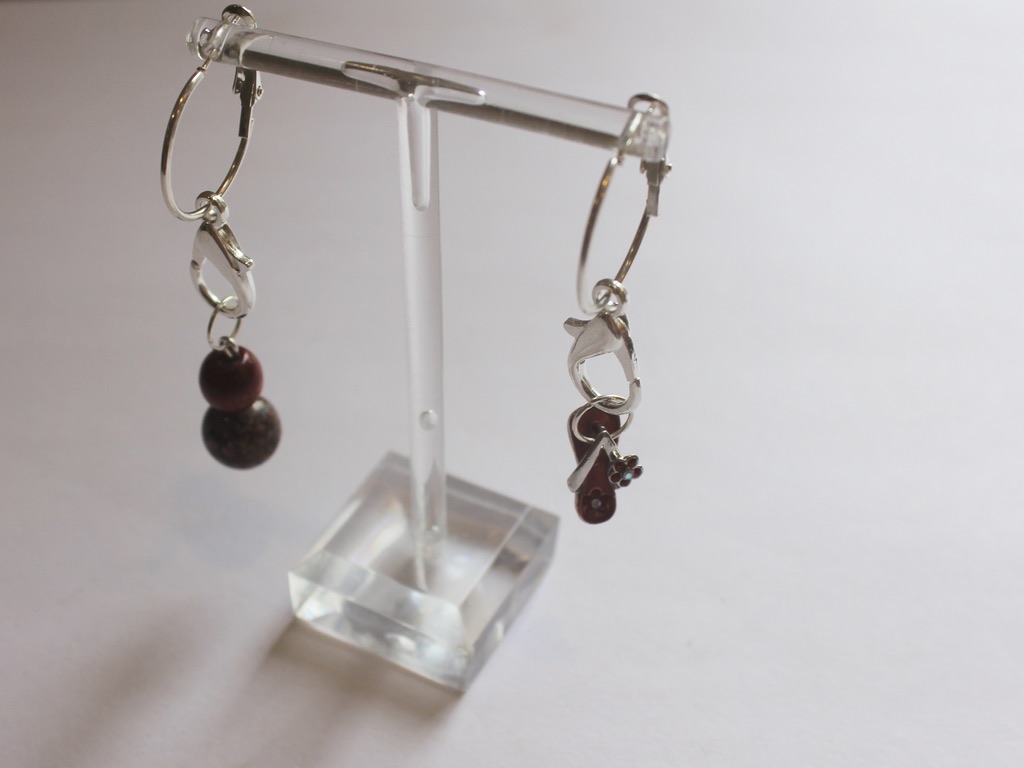
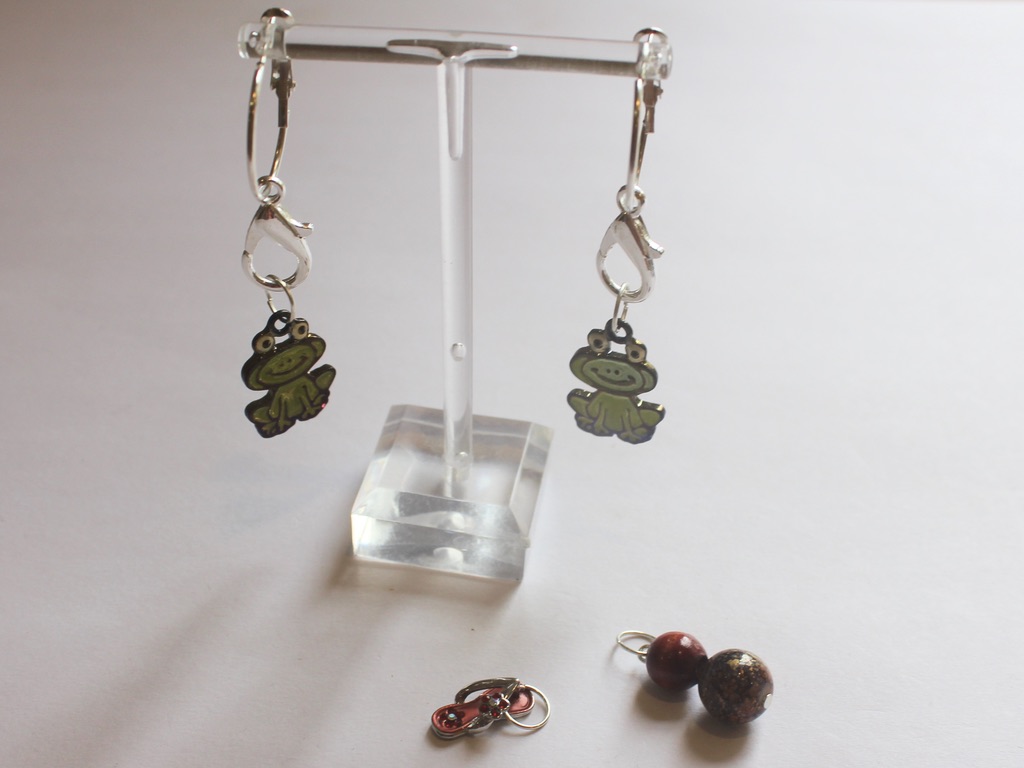
I think this tutorial is great for showcasing the charms you already have at home, but this post also contains affiliate links if you want to buy some new charms and materials.
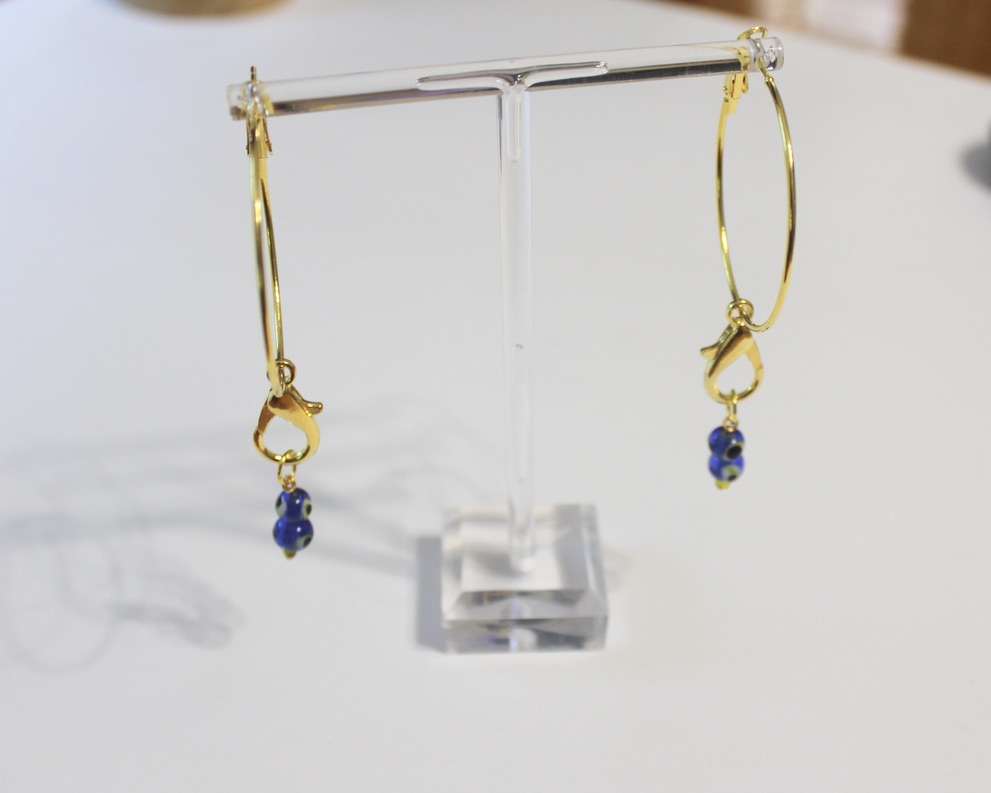
Here’s another pair I made using gold-tone materials and glass beads.
-
If you had a secret diary this lock and key tutorial is perfect for you!
For some reason I had a lock and key from my childhood diary lying around, so I decided to turn it into something nostalgic and wearable! This tutorial contains affiliate links.

You will need the following tools and materials to make your lock and key jewelry set:
1: Pliers. You will need your flat nose pliers and round nose pliers.
2: Two small pieces of chain.

3: One long piece of chain long enough to form a necklace.

4: Six jump rings.

5: A lobster clasp.

6: Two charm connector earrings.

7: Two keys and a lock. I used these ones from an old lockable diary.


Follow these steps to make your lock and key jewelry set:
1: Add a key to the end of each small piece of chain, securing them using two of the jump rings.


2: Add an earring finding to the top of the small pieces of chain using another two jump rings.


3: Now your earrings are finished, set them aside and start on the necklace!
4: Add the lock to the long piece of chain.

5: Add a jump ring to one side of the chain.
6: Add the lobster clasp to the open jump ring and close the ring to secure the clasp in place.

7: Add the other jump ring to the other side of the necklace chain to finish the necklace.
Now your lock and key set is finished and ready to wear! So cute!
-
Here’s how to combine pearls and plastic to make some amazing earrings!
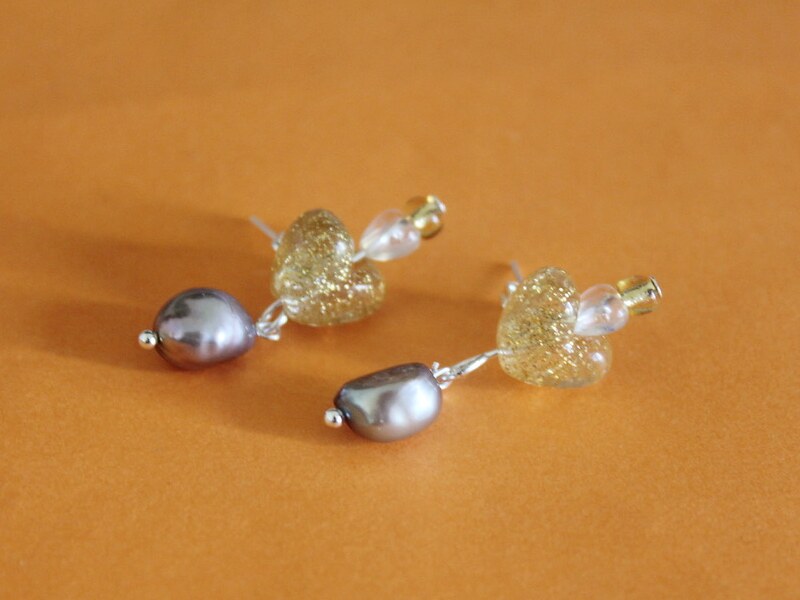
Pearls and plastic are a surprisingly awesome combination. I’ve been making lots of different variations. Here’s one way you can make your own pair of pearl earrings using some kitsch plastic beads. Contains affiliate links.
You will need the following tools and materials to make your pearl earrings:
1: Pliers. You’ll need your round nose pliers and flat nose pliers.
2: Two long head pins.
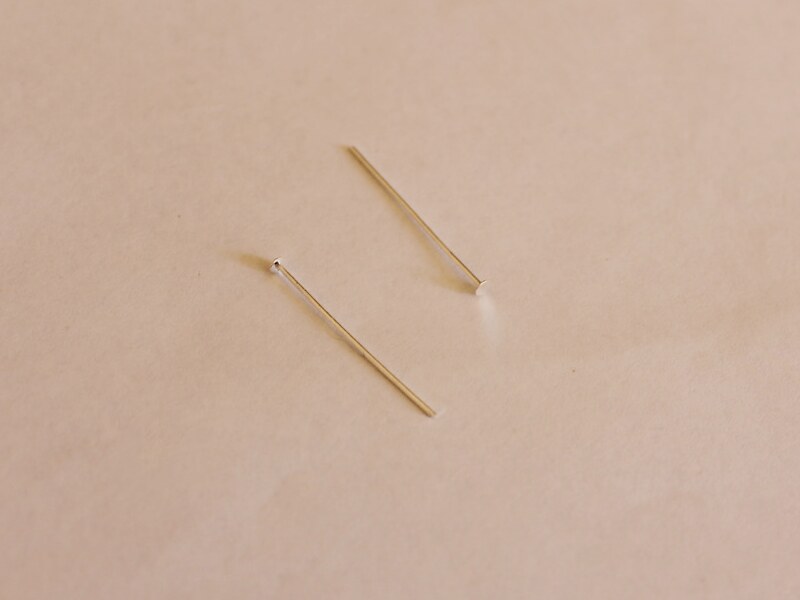
3: Two small head pins.

4: Two flat bed earring posts and earring backs.

5: Araldite glue.
6: A skewer.
7: A scrap piece of paper.

8: Two freshwater pearl beads.

9: An assortment of plastic beads (make sure you have two of each so your earrings match). I used these gold heart beads, small white heart beads and two glass yellow e-beads.
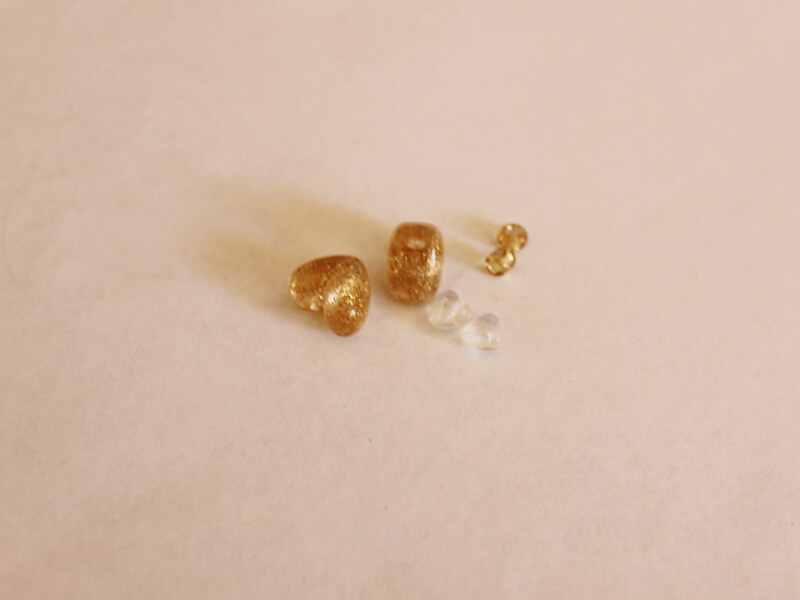
Follow these steps to make your pearl earrings:
1: Add the beads to each of the head pins.
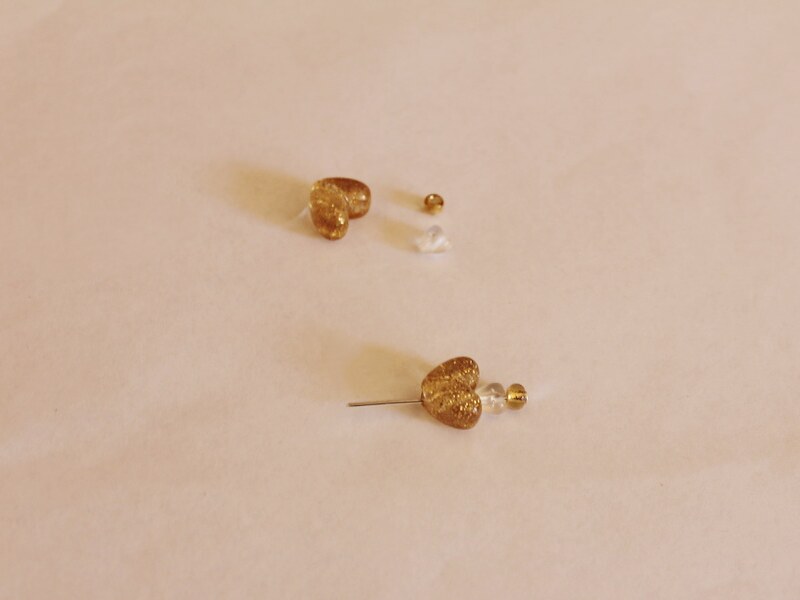
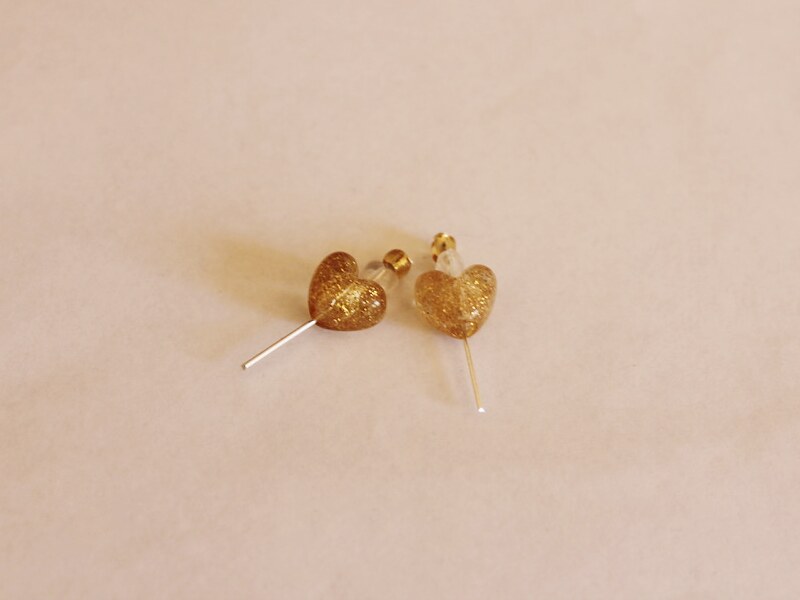
2: Bend each pin to form a right angle and then form a loop to secure the beads in place using the round nose pliers.

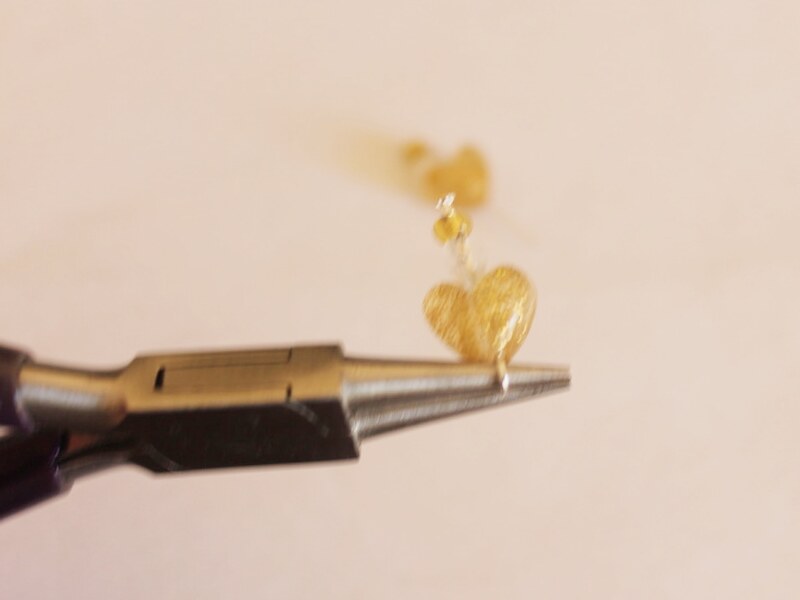
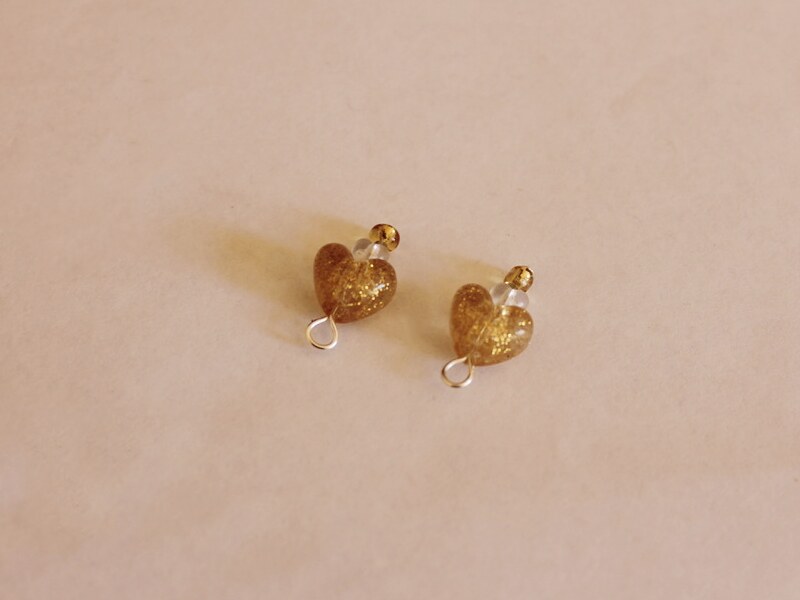
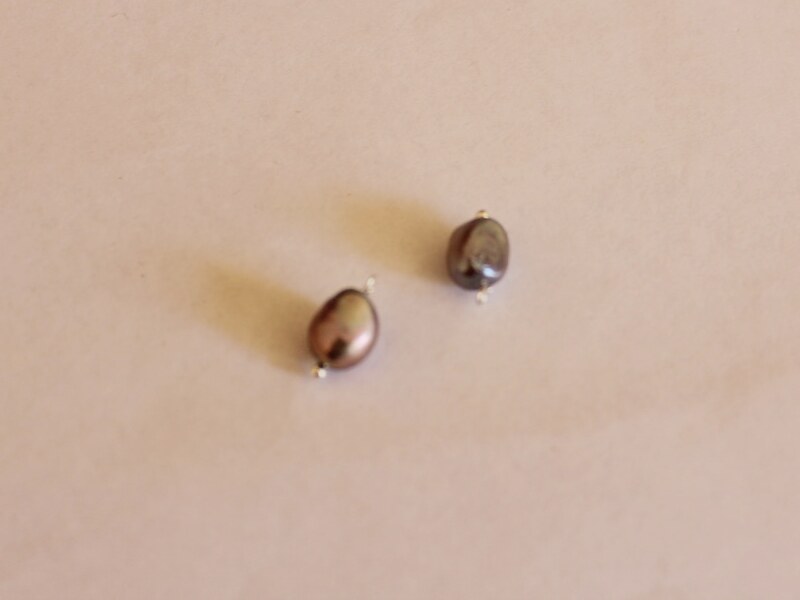
3: Add the pearl beads to the small head pins.

4: Create a loop at the end of each pearl pin using the round nose pliers.
5: Attach the pearl charms to the loops at the bottom of each plastic charm pin.
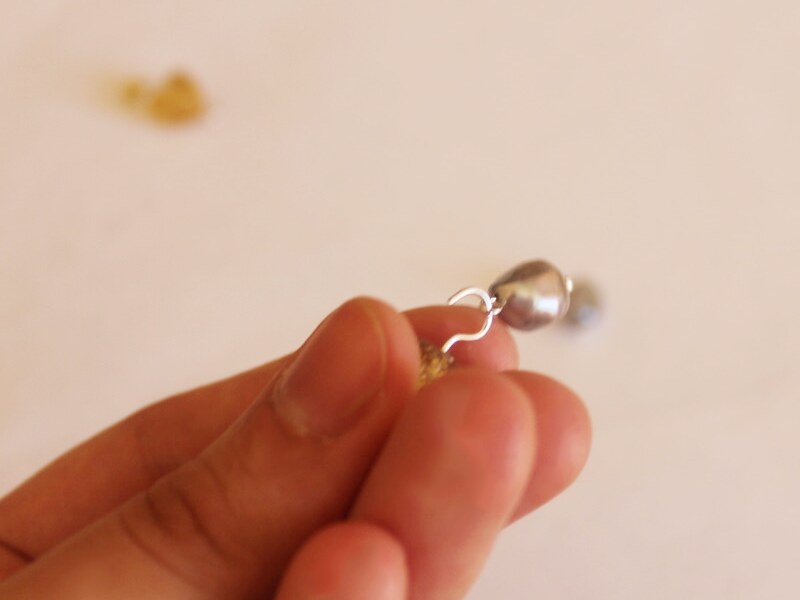
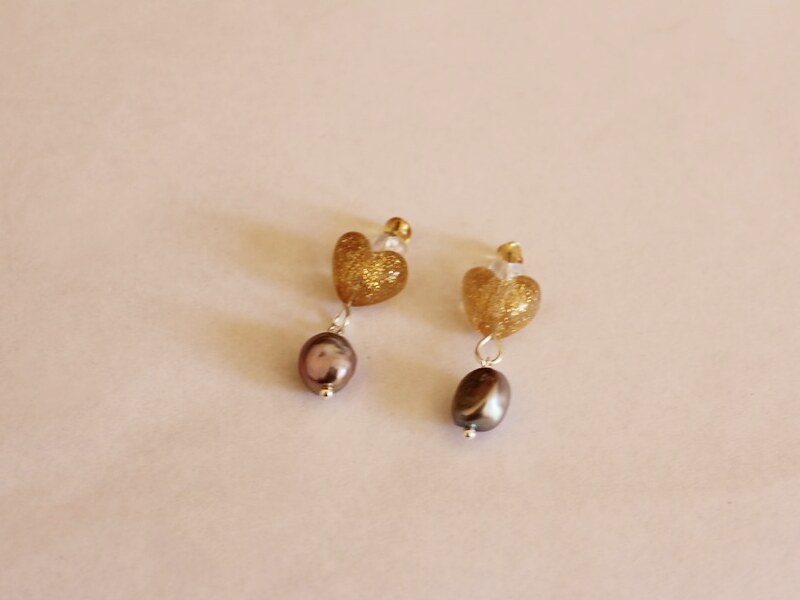
6: Squeeze out the Araldite in equal parts and mix with a skewer.
7: Add the glue to the earrings and the backs of the large hearts.
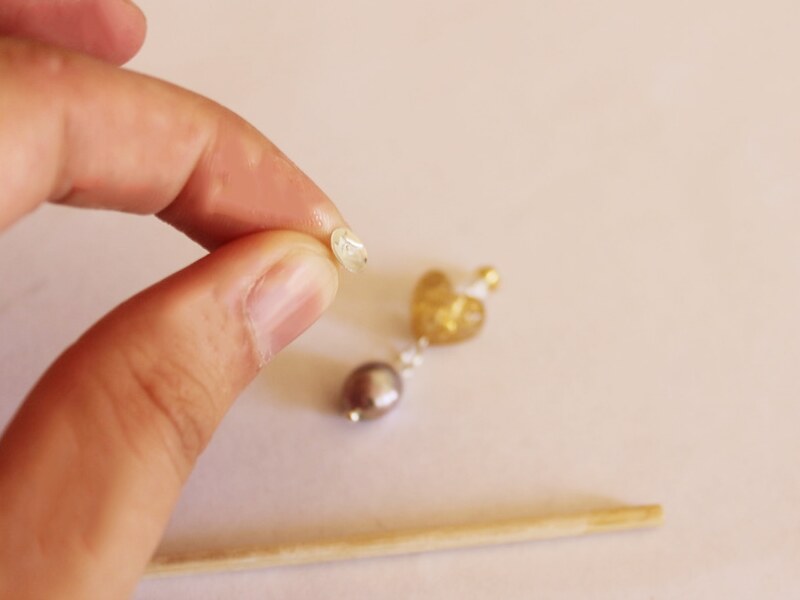
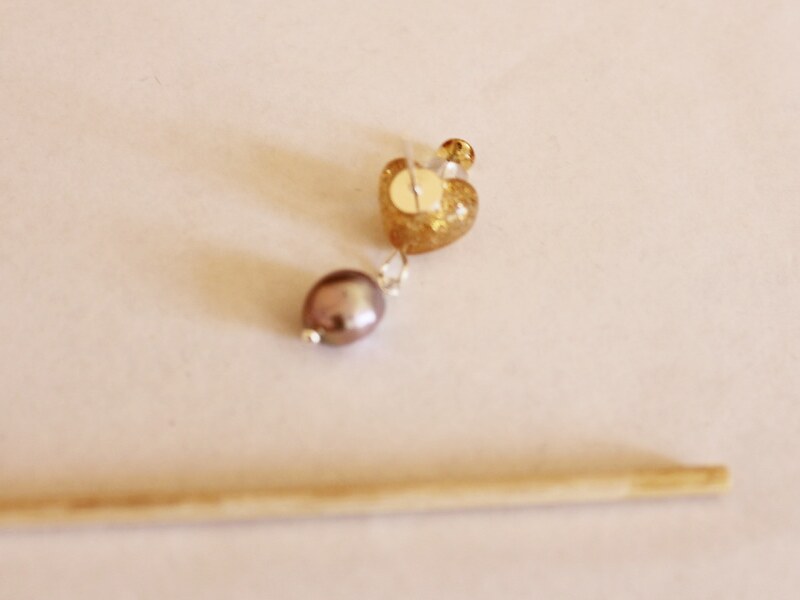
8: Place the earrings onto the heart beads and set aside to dry.
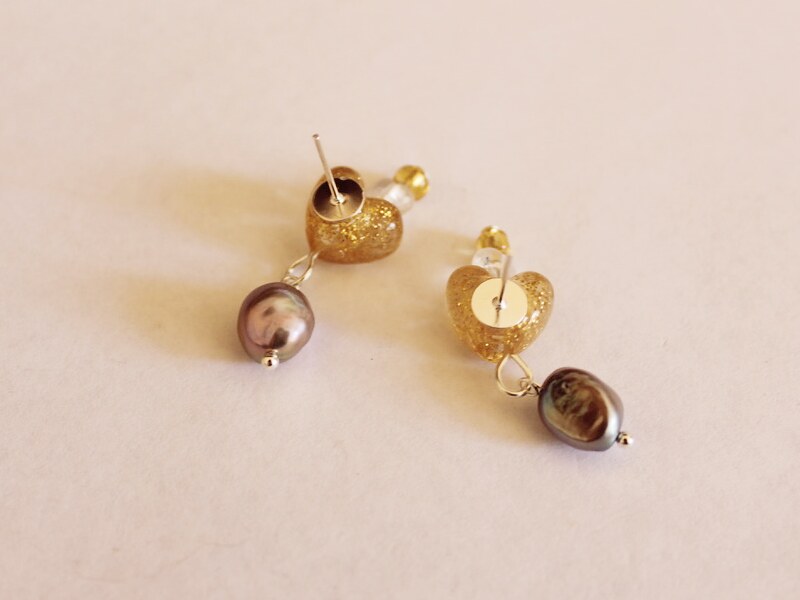
Once your earrings are dry they’re ready to wear!
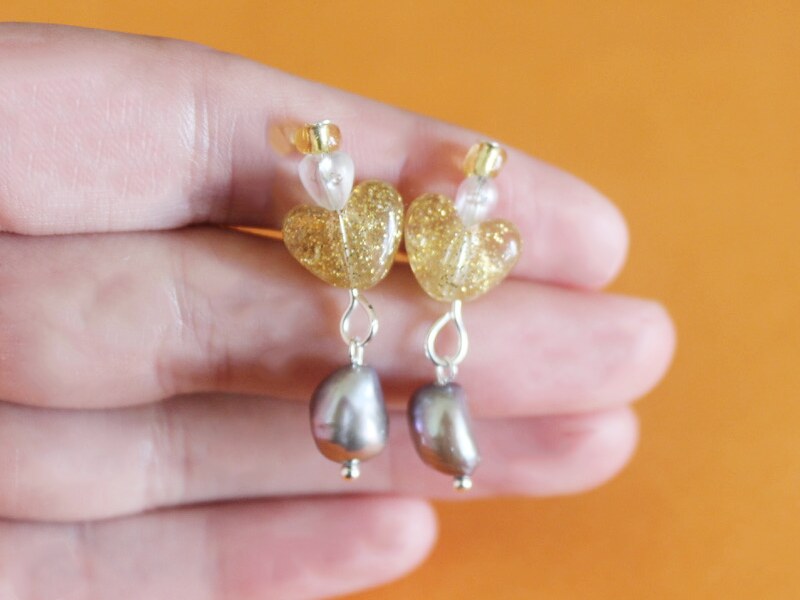
Here are some other pearl and plastic earrings I have made for some extra inspiration.