-
Here’s how to turn some thick wire into a wiggle bangle!
This bangle is so cute! It is a no-heat way to make a unique bangle that you can wear on its own or stacked with other bracelets. Please note that this tutorial contains affiliate links for which we may receive a small commission.
You’ll need the following tools and materials to make your bangle:
1: A piece of thick wire that is about 30-40 cm long (you might need to trim the end or add extra length depending on how large your bracelet needs to be). I used this copper wire that was 1.7mm in diameter.

You can get some copper wire here:
Or if you like, you can make it out of silver wire, which you can get here:
2: A file and emery paper to smooth the ends of the wire.

You can get a file here:

You can get emery paper here:
3: A pair of parallel pliers.

You can get a pair here:
4: A bracelet mandrel.

You can get one here:
5: A nylon or leather hammer. I used this nylon hammer.

You can get a hammer here:
Follow these steps to make your wiggle bracelet:
1: File and emery the ends of your wire using the jewelry file and emery paper, making sure it is smooth and there are no sharp ends.
2: Use the flat nose pliers to create a triangle shape at one end of the wire.


3: Now grip the wire next to the triangle and push the long end of the wire against the pliers to form an angle.

4: Repeat step 3 again to create a zigzag shape.
5: Repeat steps 3 and 4 for the rest of the wire until you have about 1.5cm left of the wire.

6: Form the shape into a circle and create another triangle at the other end that is slightly open.

7: Slip the open end of the bracelet through the triangle you formed at the start.

8: Using the flat nose pliers again, close the second triangle to close off the bangle.

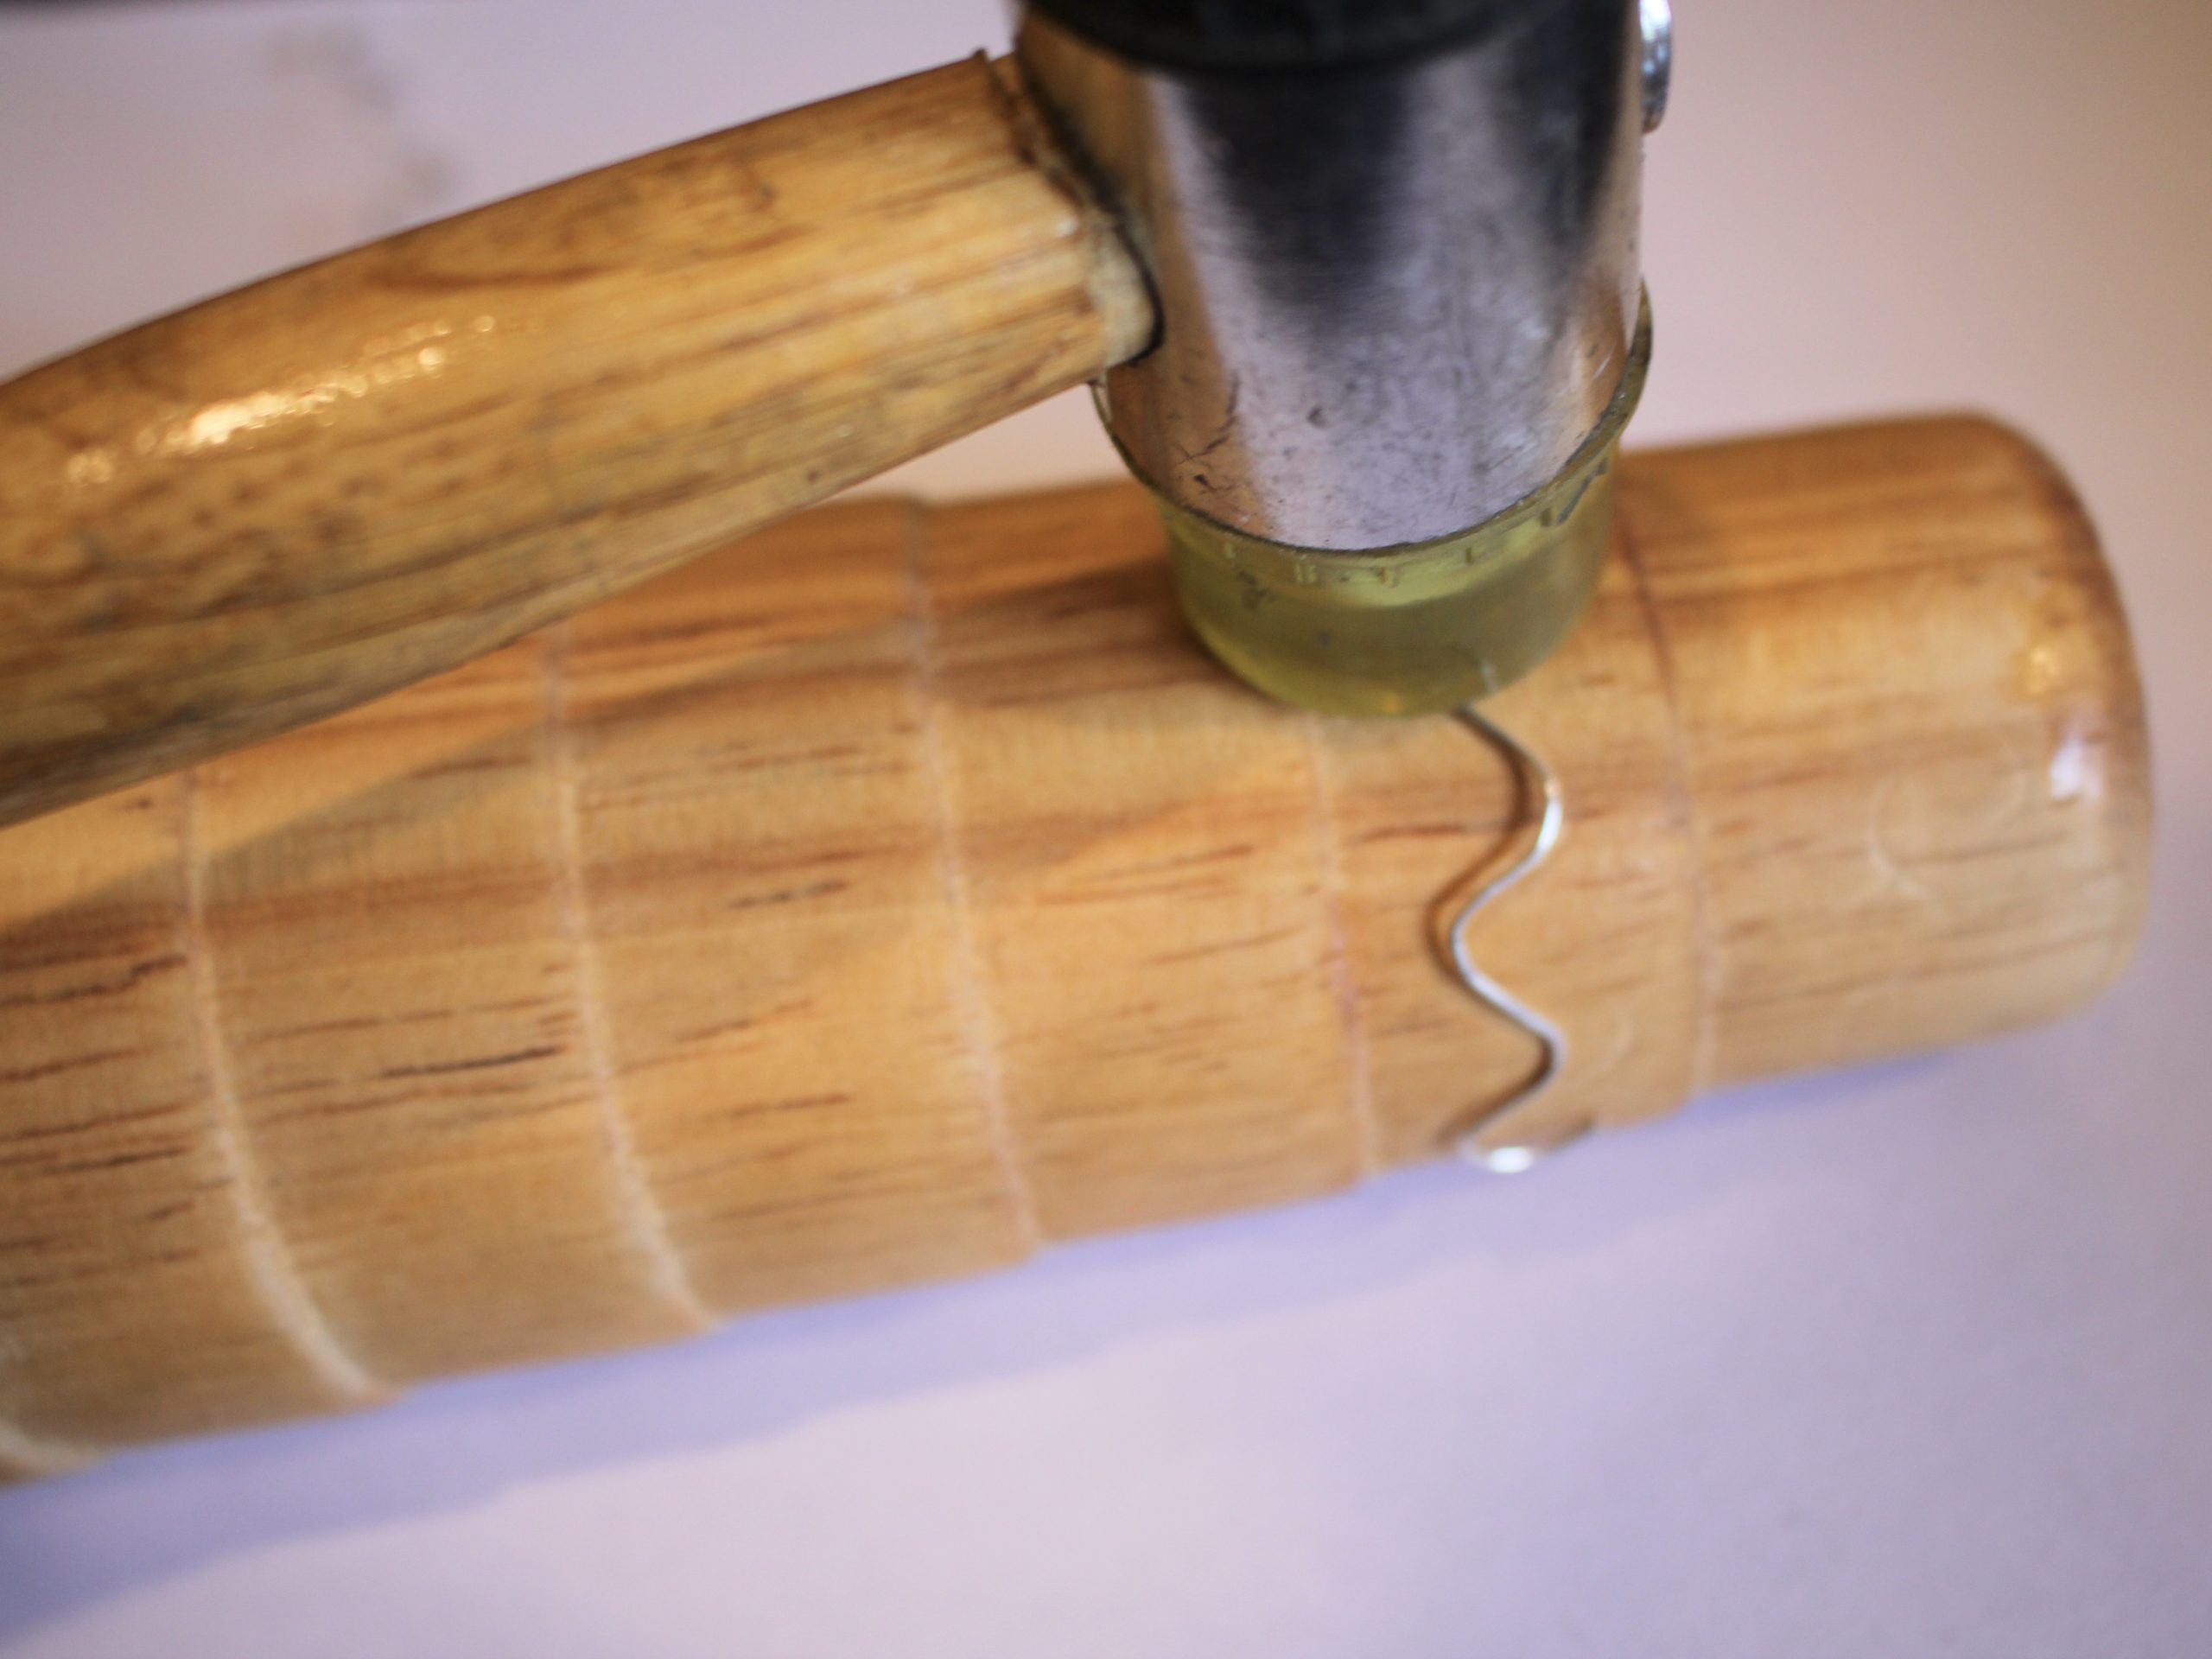
9: Put the bangle on the mandrel and hammer it into a circular shape, gently adjusting it so that it lies flat.

Once you are happy with the shape, you can take your bracelet off the mandrel and pop it on your wrist! How simple and lovely? I am very fond of this simple bangle design. How will you style yours?

Here’s how the finished bangle looks.


-
Want a new pair of hoops? Here’s how to turn two pieces of wire into a unique pair of wiggle hoop earrings.
Want to work with metal but don’t want to invest in all the equipment? Then this tutorial is for you! Follow along to make a unique pair of wiggle hoop earrings using pliers and some wire. I love how simple but stunning this tutorial is. Please note that this tutorial contains affiliate links from which we may receive a small commission.
You’ll need the following tools and materials to make your wiggle hoop earrings:
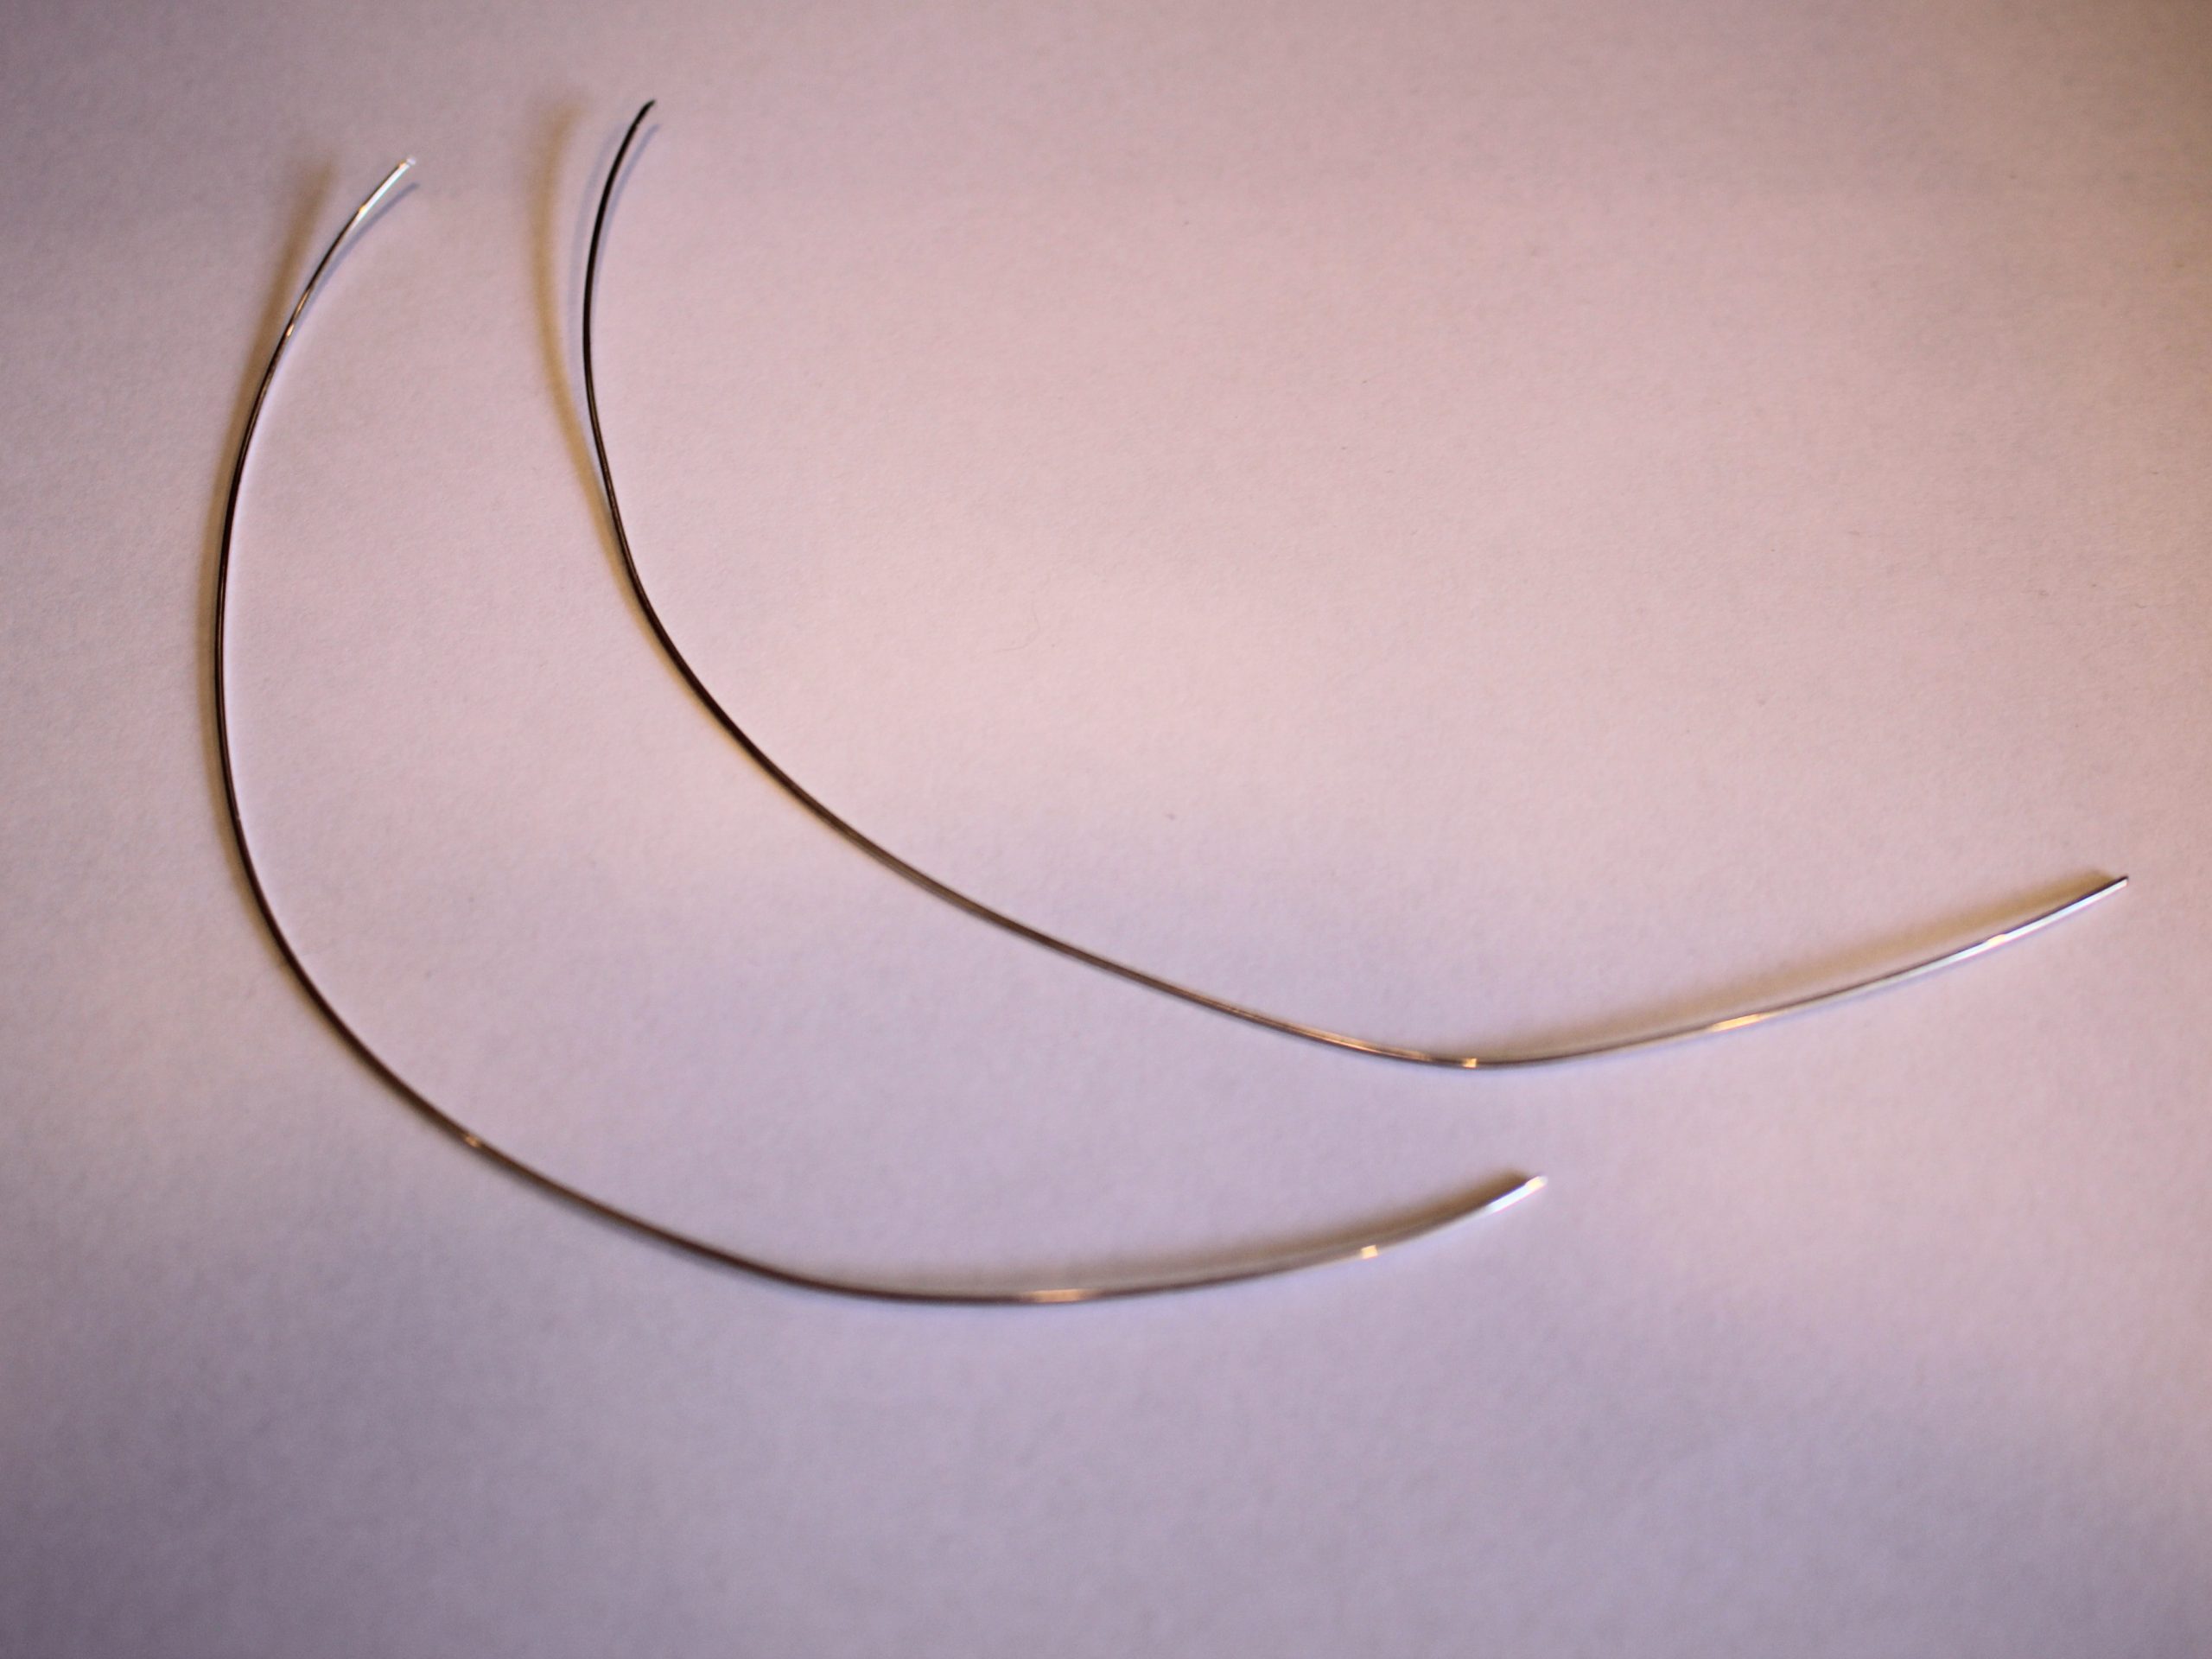
1: Two pieces of wire, I used 0.8mm diameter sterling silver and cut mine to be about 18cm long each.

You can get silver wire here:
If you’re feeling fancy, you can get solid gold wire here:
2: A jewellery file or emery paper to ensure that the ends of the wire aren’t too sharp.
You can get a jewellery file here:
I have my emery paper attached to a stick for more control. You can get some here:
3: Half round-Flat pliers. These pliers have a half-round side and a flat side to make curves.

You can get a pair here:
4: Round-flat pliers.

You can get a pair here:
5: Parallel pliers.
You can get some here:
6: A bangle mandrel or something else that is the right diameter so you can shape your earrings into a circle.
You can get one here:
7: Butterfly backs.

You can get butterfly backs here:
8: A nylon or leather hammer for shaping the earrings against the mandrel (Don’t use this if you are shaping your earrings around something breakable).
You can get a hammer here:
9: Sticky tape. I used plastic tape but masking tape would likely be more suitable.
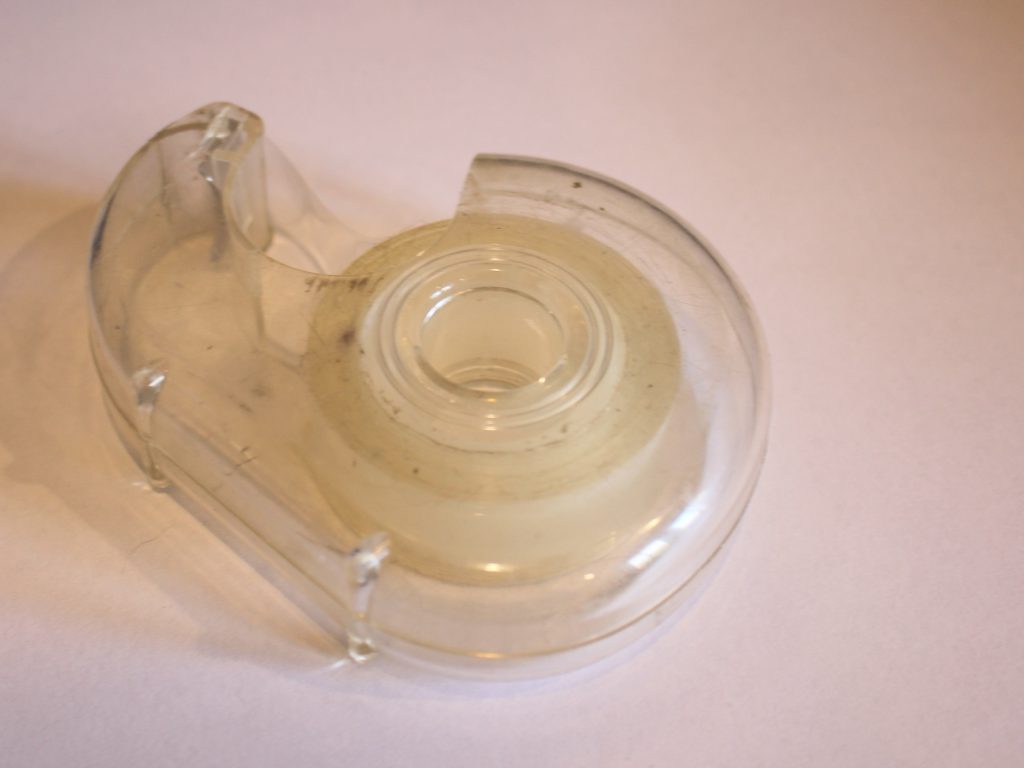
You can get masking tape here:
Follow these steps to make your own pair of hoop earrings:
1: File the ends of the wire so that they are flat and have no sharp edges.

2: If you have emery paper, sand the ends as well to further break down any sharp ends.
3: Tape the two pieces of wire together.

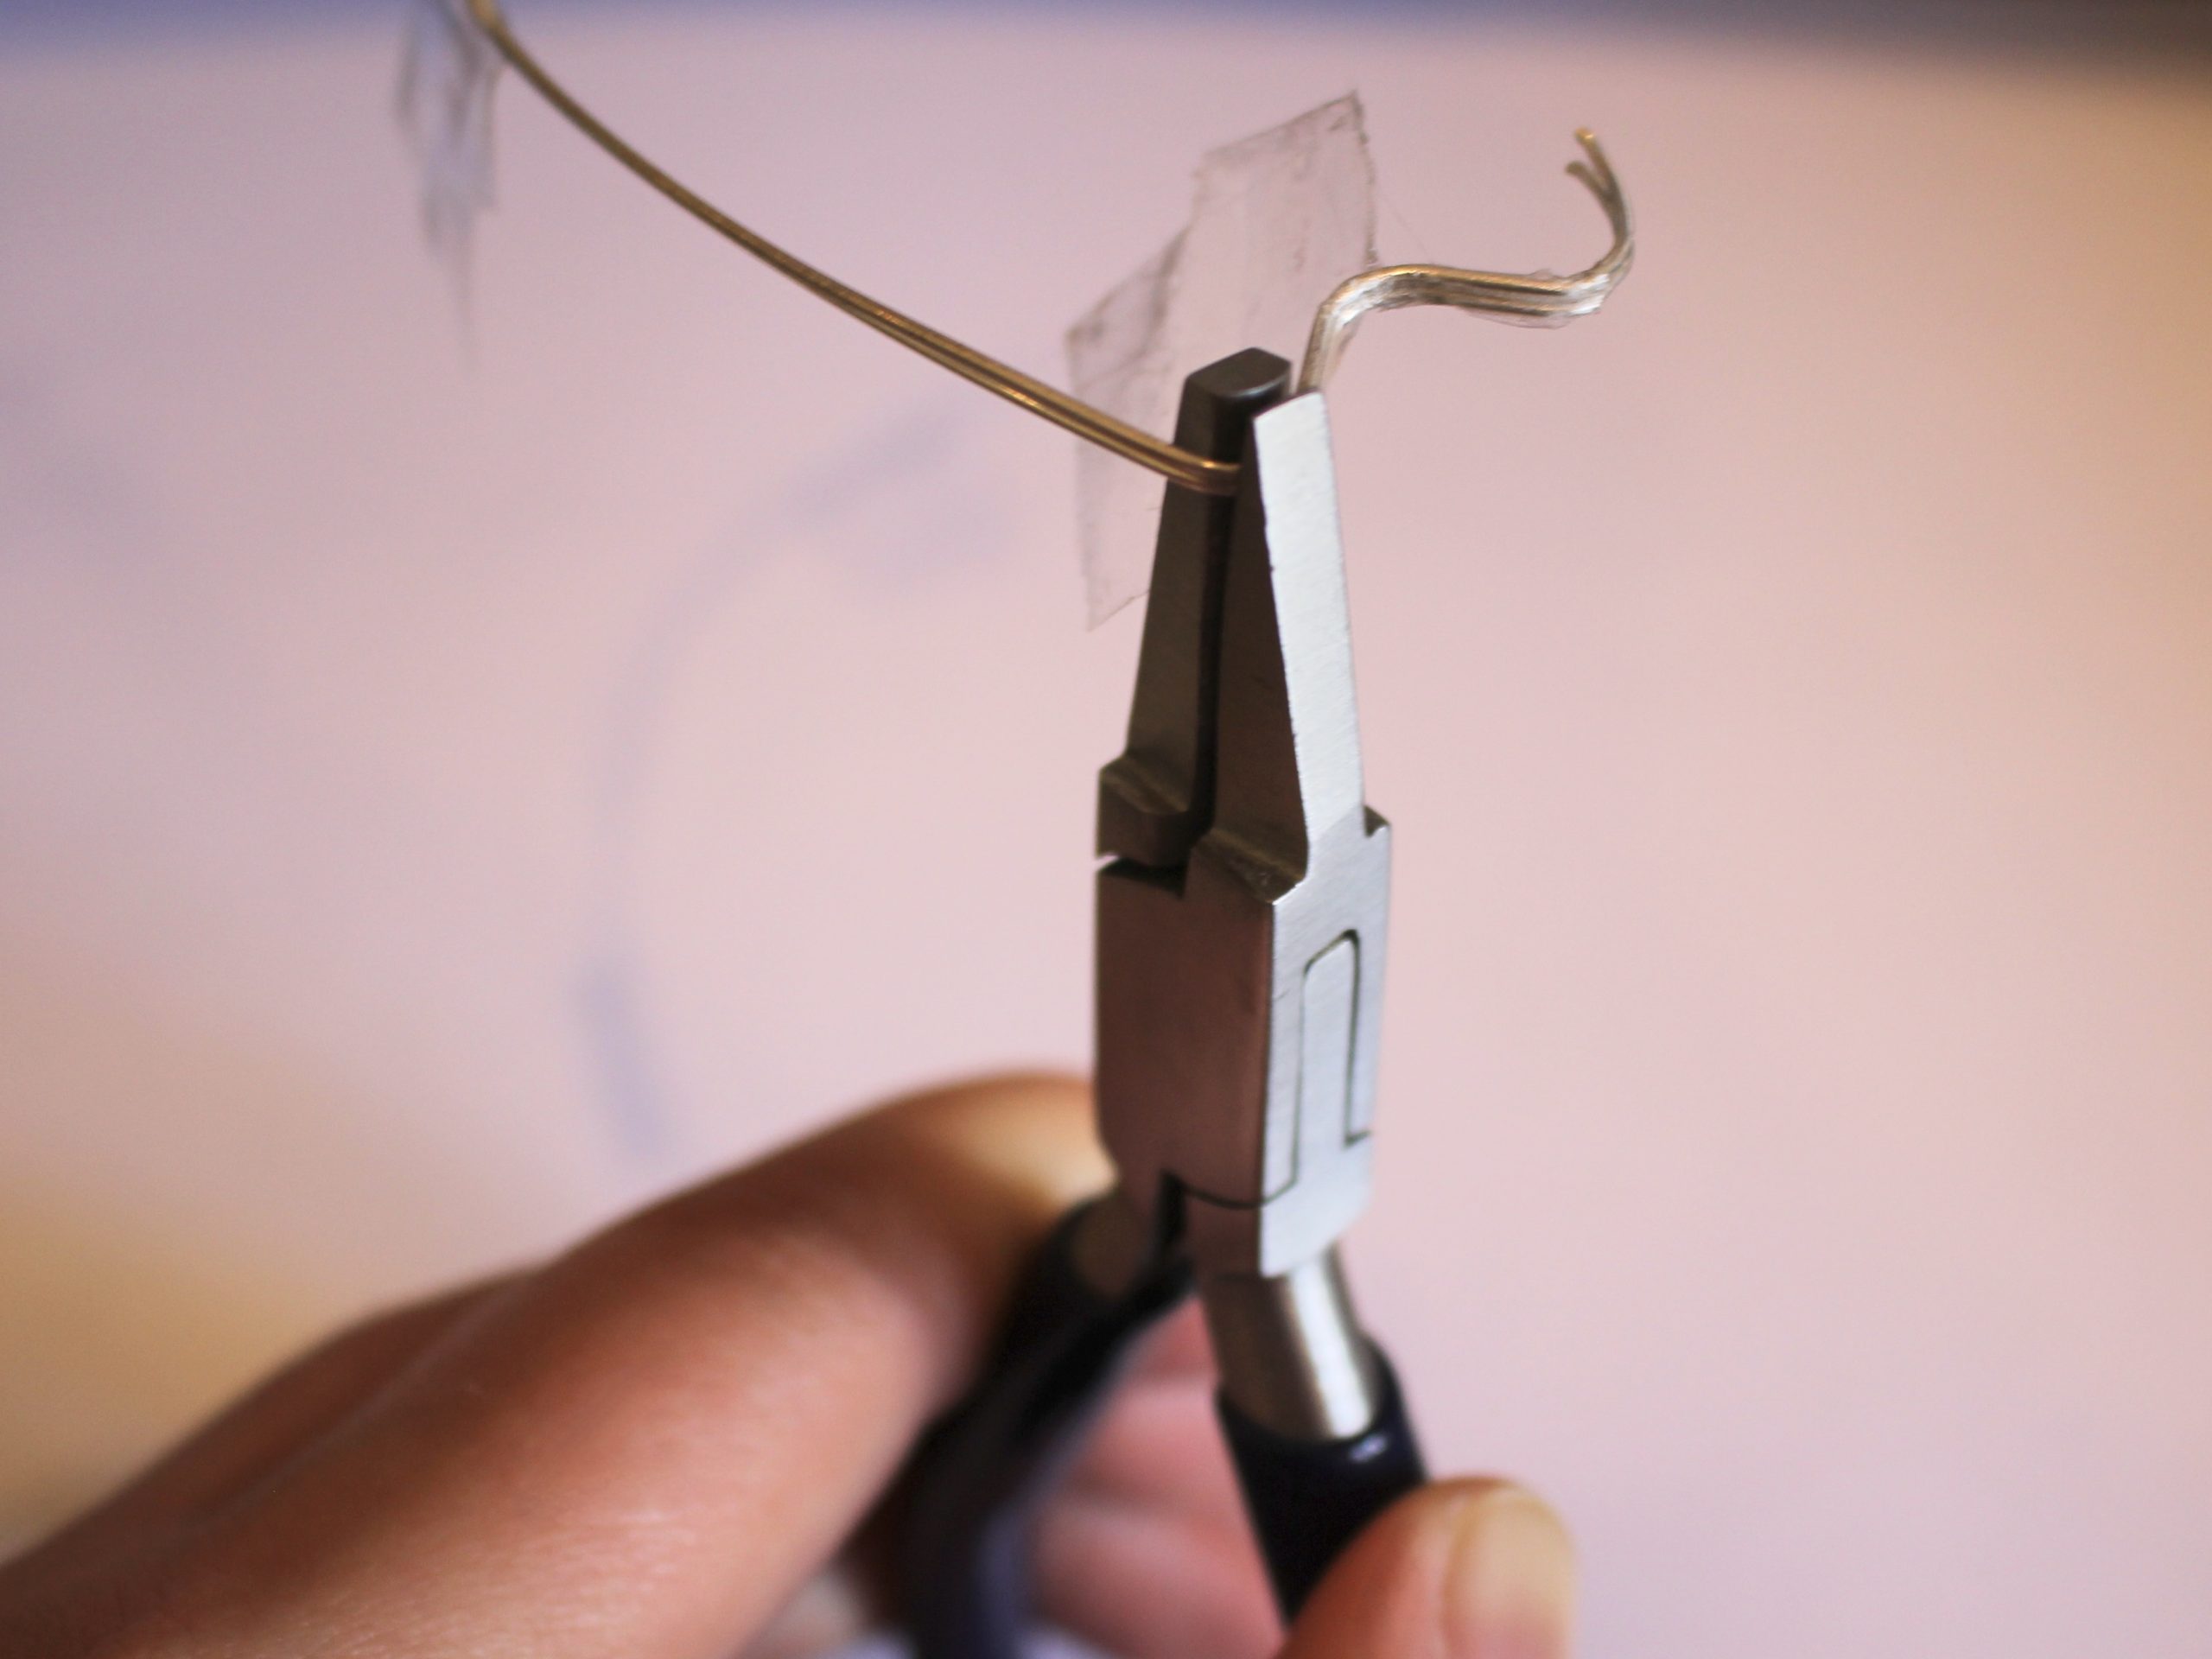
4: Take your half round-flat pliers and create the first bend at the end of the wire by clamping the wire into the jaws of the pliers and pressing them together.

5: Flip the pliers around and place them on the other side of the wire and repeat step 4 to make a curve in the wire in the opposite direction.

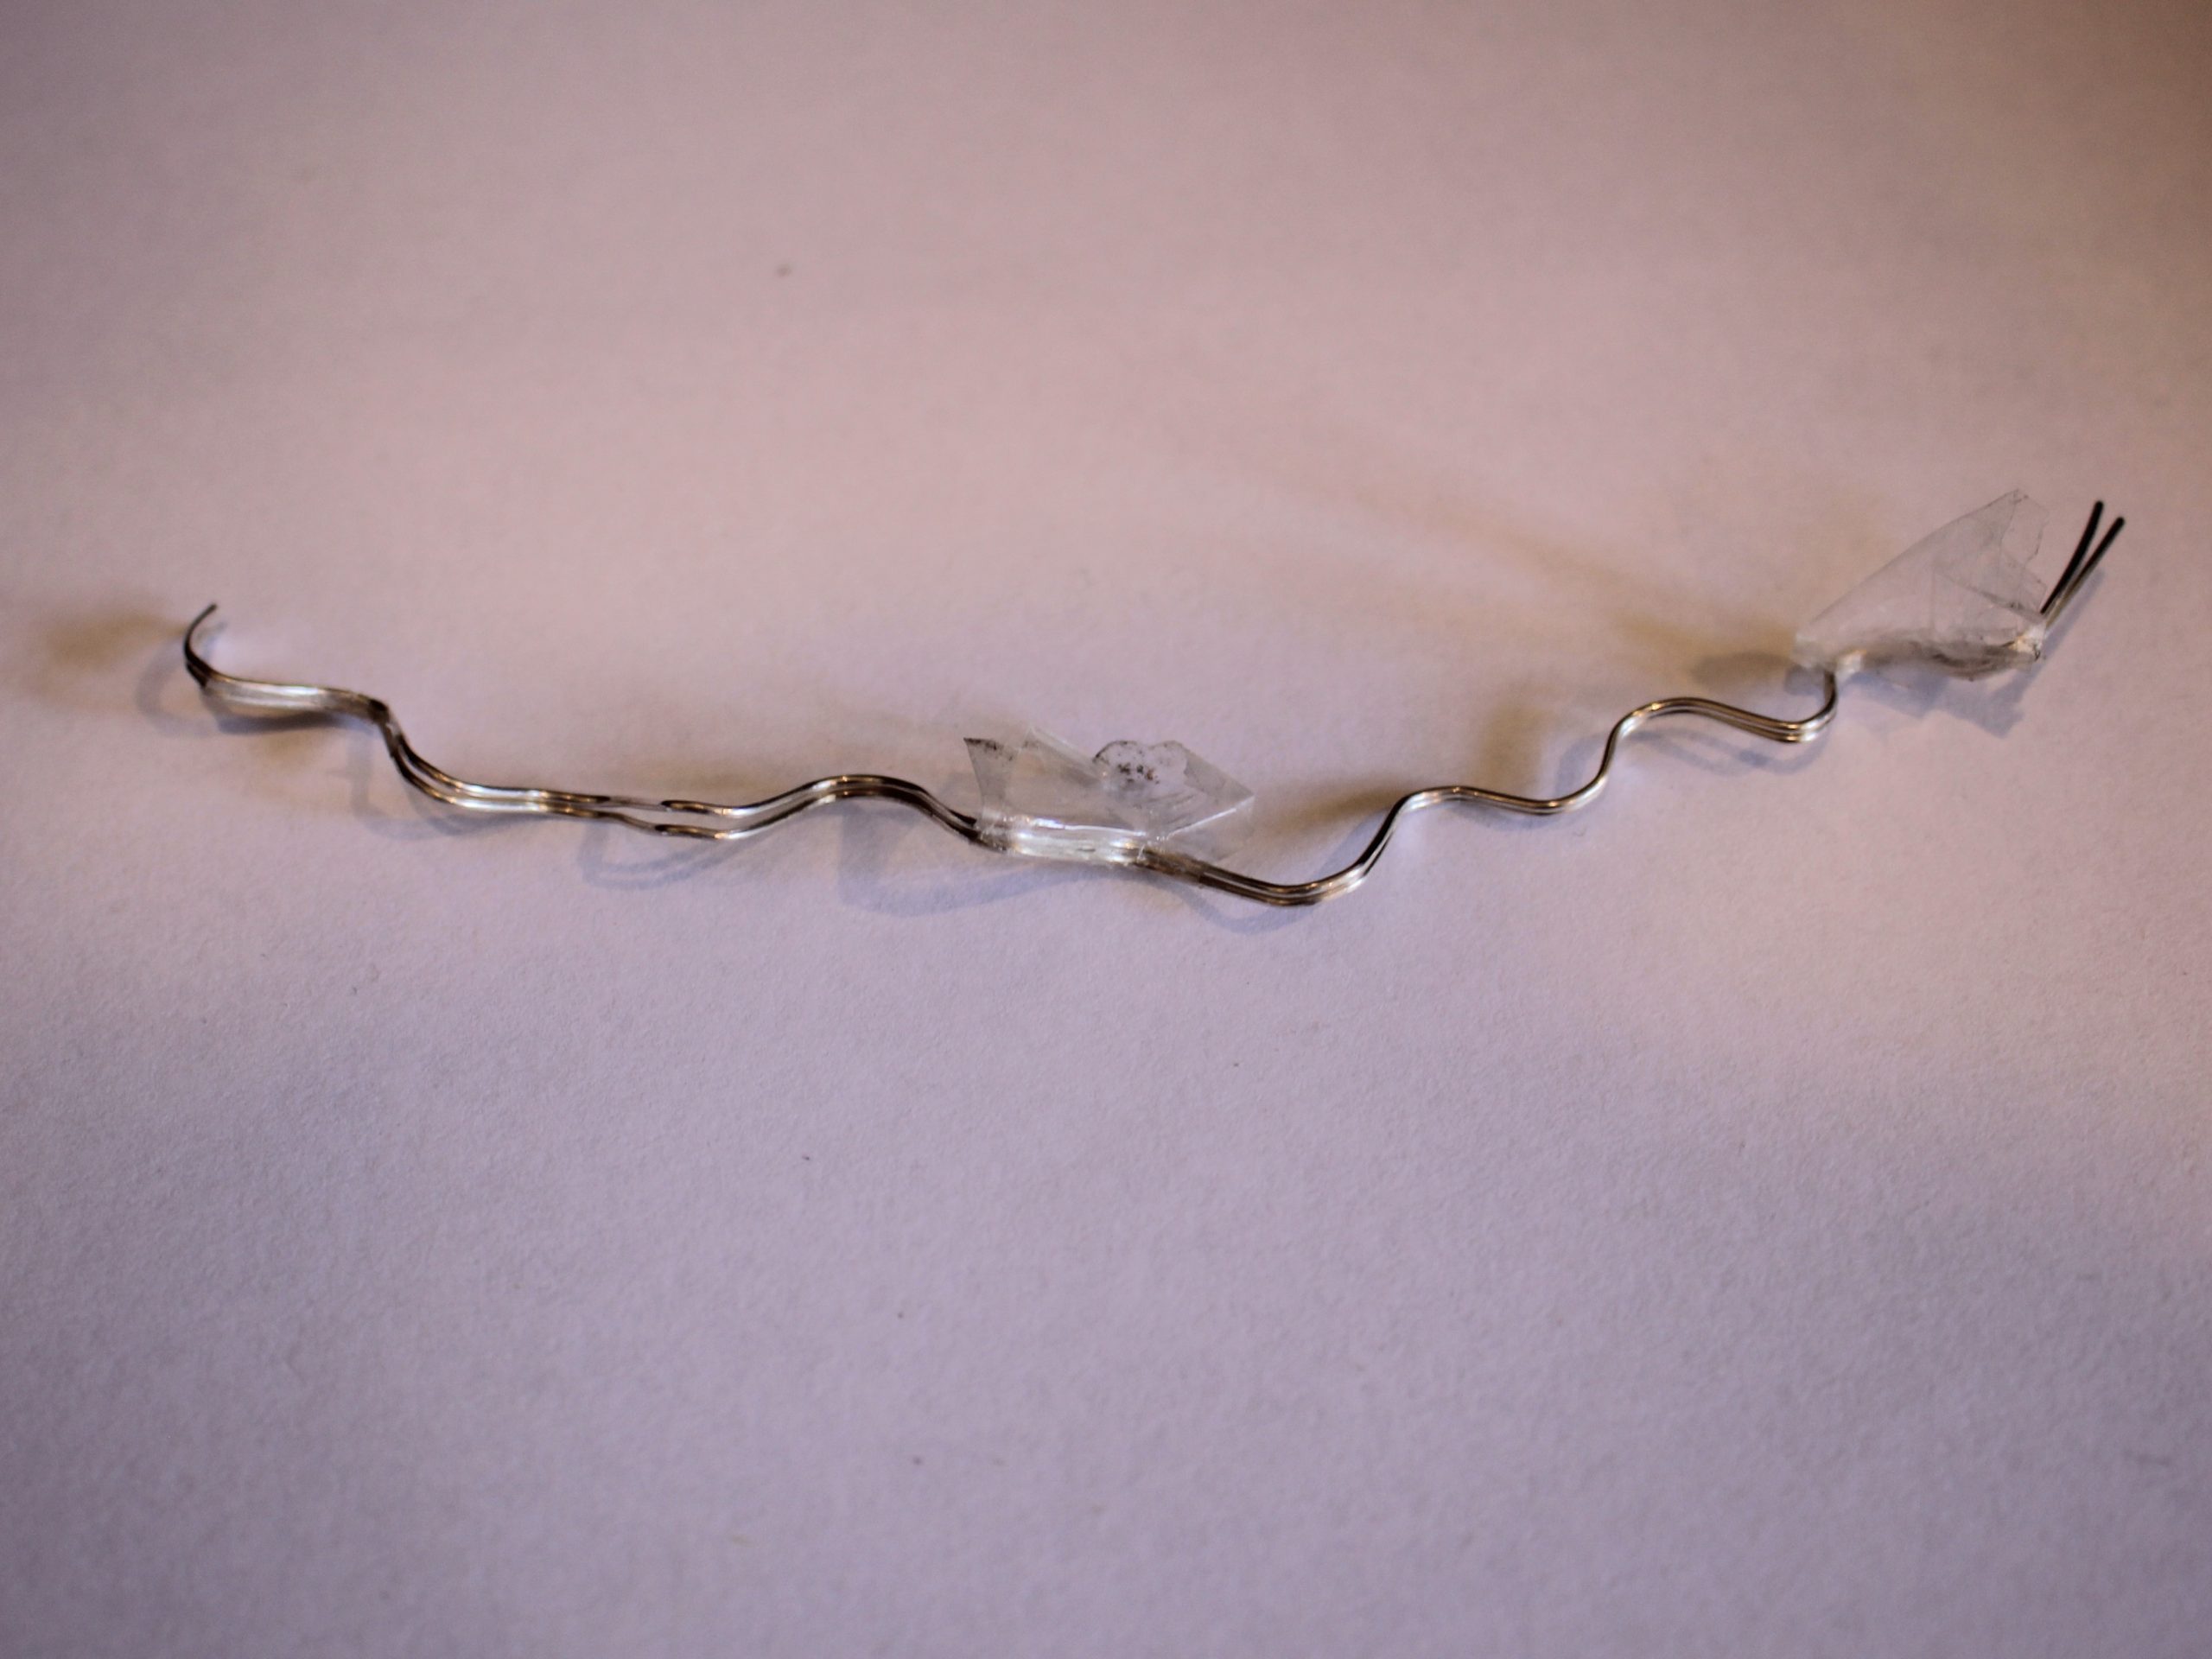
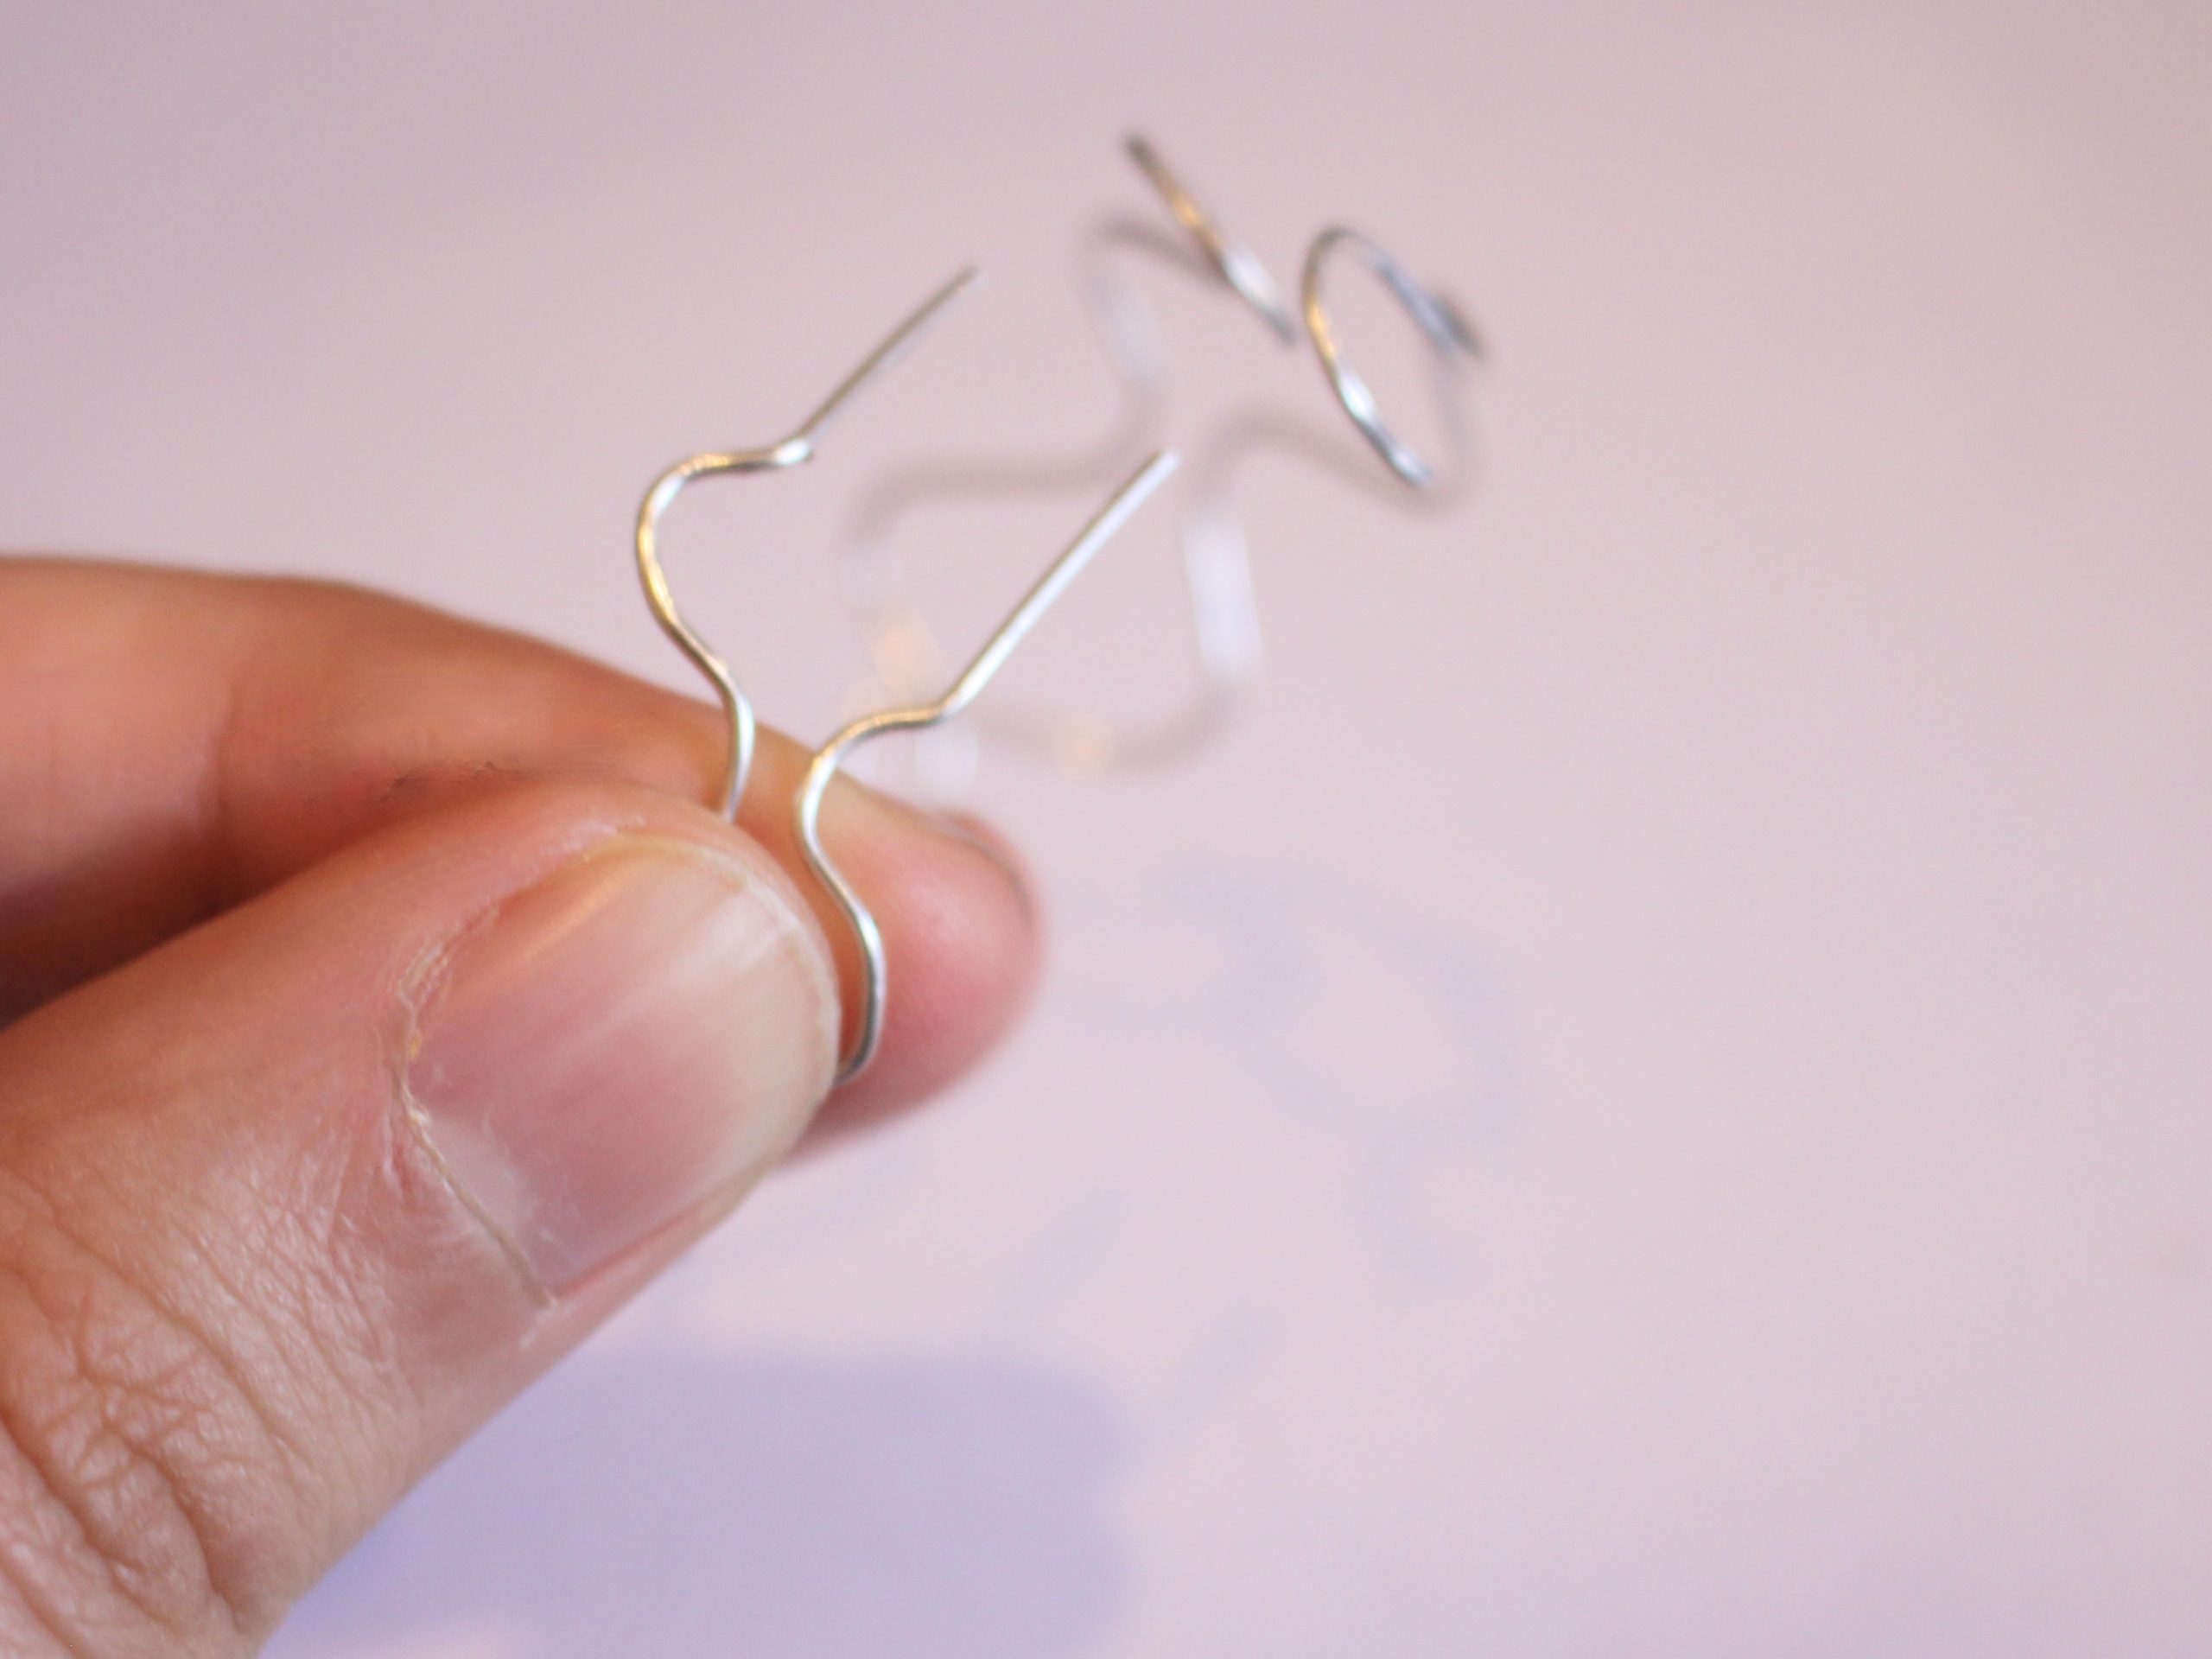
6: Repeat steps 4 and 5 until your pieces of wire are formed into a squiggle shape, but leave about 1cm at the end for the earring post.


7: Remove the tape and separate the wires.
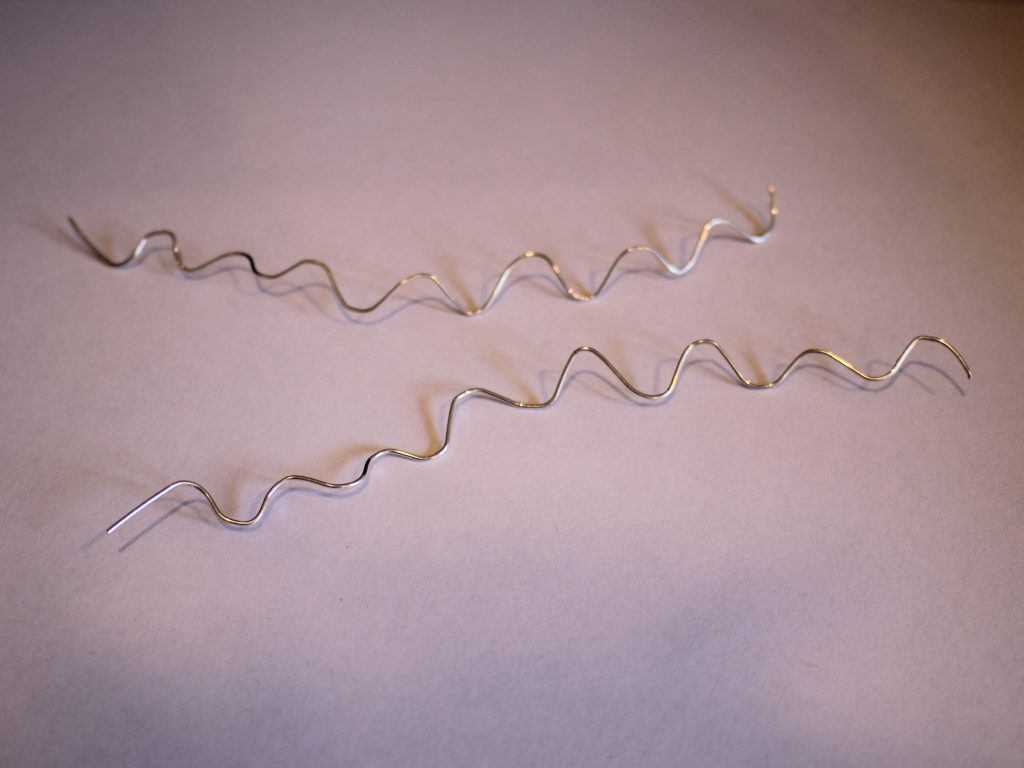
8: Wrap the wire around the bracelet mandrel to form it into the earring shape. Use the nylon hammer to hammer it into shape. Repeat this for both of the earrings.


9: You can further adjust the shape of the earrings by pressing the half round-flat pliers around the earring, making sure to match the curve of the pliers with the inner curve of the earrings. Doing this will add more tension to your earrings to help them hold their shape.
10: When you are happy with the shape of your hoops, Take the round flat pliers and push the straight ends of the wire around so they sit sideways.


11: Then take your parallel pliers and use them to adjust the straight ends of each earring so that they are centered in the middle of the wiggle to sit evenly in your ears.


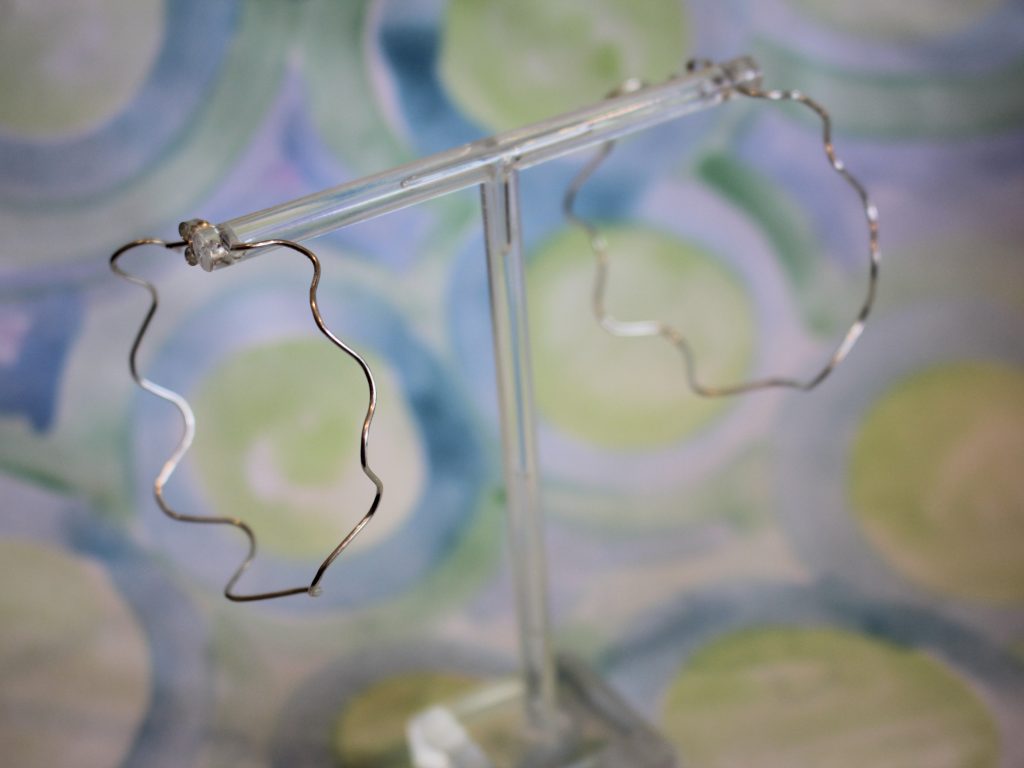
12: Once you have adjusted the ends, your earrings are finished and ready to wear. Pop the butterfly backs on to secure them on your lobes.

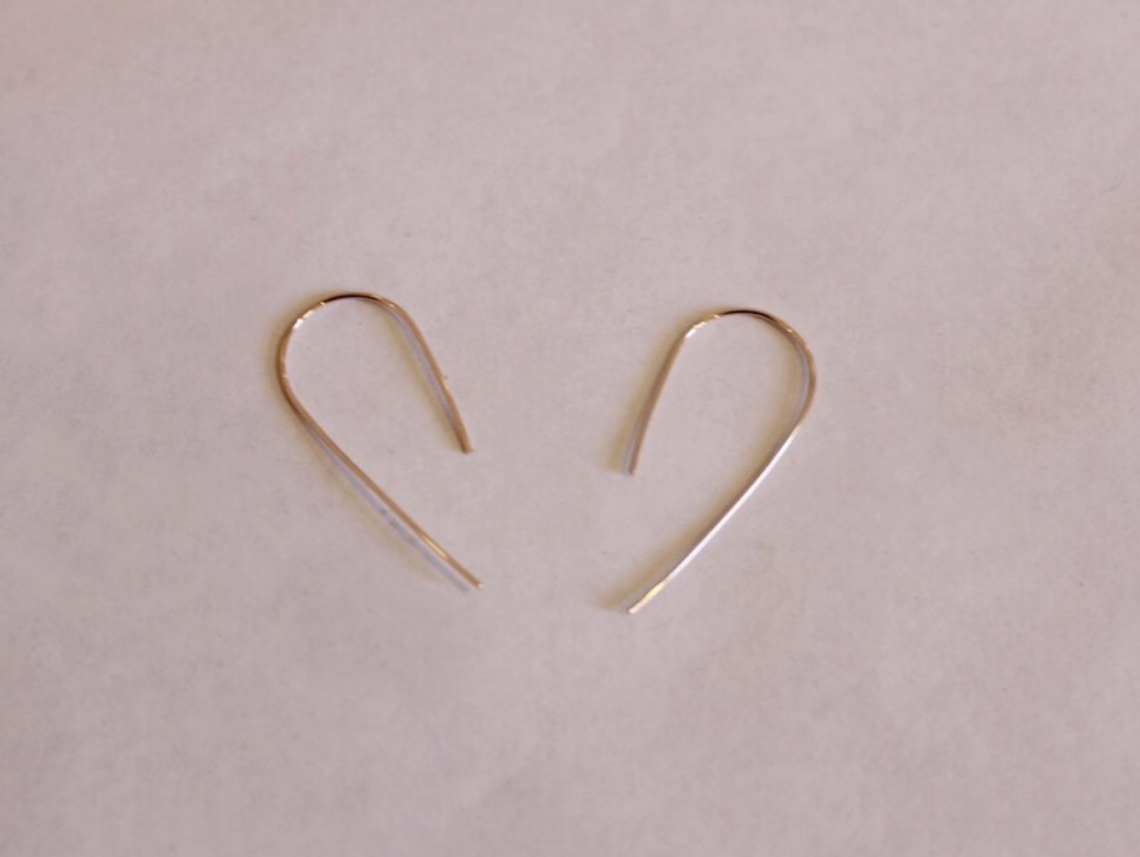
Here’s how the finished product looks! How will you style yours?


-
Here’s how to make some cute studs out of some wire!
These tiny studs are made using a hammer and some gold-fill wire, I love them!

You will need the following tools and materials to make your wire stud earrings.
1: Two short pieces of wire. I used some rose-gold fill wire.

2: A steel block.

3: A hammer.

4: Some plastic nose pliers for bending the wire.

5: A file.
Follow these steps to make your wire stud earrings:
1: Place the wires on the steel block and hammer one side of each wire flat.


2: File the ends of the wires so that they are smooth.
3: Fold the wires around the pliers. Make sure you leave the posts long enough to fit in your lobes. I had to adjust mine a little bit after I took this photo.


4: Add the earring backs and now you’re done! How cute are these little guys?

Here’s another pair I made using thicker gold-fill wire.

-
Here’s another way to make threader earrings

So we’ve already had a couple of tutorials that show you how to make square top threader earrings, which you can find here and here. So here’s one that shows you how to make threader earrings with a curved top.
You will need the following tools and materials to make these earrings:
1: Pliers (you will need cutting pliers to cut your wire).

2: Two pieces of wire the same length. I used some rose-gold fill wire. Mine were approximately 8.5cm long.

3: A pen or something else that is round to bend your wire around.
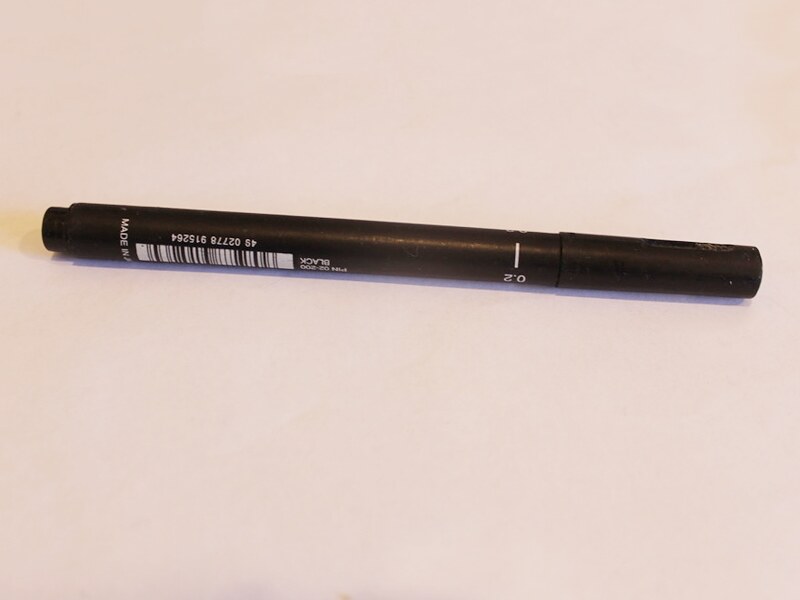
4: Tape.

5: A file.
Follow these steps to make your curved threader earrings:
1: Line up the ends of the wire and tape it to your pen.

2: Gently push the wire around the pen until you have the shape you like.


4: Take the earrings off the pen.

5: Use the file to smooth down the ends of the earrings so that they are the same length.
Once you have finished filing your earrings are finished and ready to wear! Who thought it would be so easy to make such delicate and elegant earrings.
You can find another way to make curved wire threader earrings here.
This tutorial contains affiliate links.
-
Got Some Old Buttons or plastic cabochons lying Around? Here’s How to Turn Them into Earrings!

Have you ever stumbled upon some cool buttons but don’t know what to do with them? Here are some instructions for turning your button collection into some cool stud earrings. Using some cutting pliers and a file you can turn those buttons into stunning decorations for those lobes.
You will need the following tools and materials to make your button earrings:
1: 2 flat bed earring posts.

2: Araldite Glue (I recommend wearing gloves and working in a ventilated space).

3: A Skewer.

4: A Scrap Piece of Paper.

5: Buttons or flat plastic cabochons of your choice. I used these plastic glitter buttons. If you do chose buttons, I suggest choosing ones with flat loops, otherwise you will need to go through the hassle of cutting the button loops off.

Here are some flat back pieces so you don’t need to cut or file anything.
Follow these instructions to make your cute button earrings:
1: Flip the plastic cabochons over.
2: Squeeze out some glue in equal parts onto the paper and quickly mix it with the skewer.
3: Apply some glue to both of the earring posts using the skewer.


4: Place the earrings carefully onto the backs of the buttons and wait for them to dry.


5: Once the earrings are dry they are ready to wear!
What fun decorations will you make your earrings with? I love these glittery buttons!

Here’s another pair made with some different glittery buttons!

Here are some other tutorials you can follow to make jewelry out of buttons:
This tutorial contains affiliate links.