-
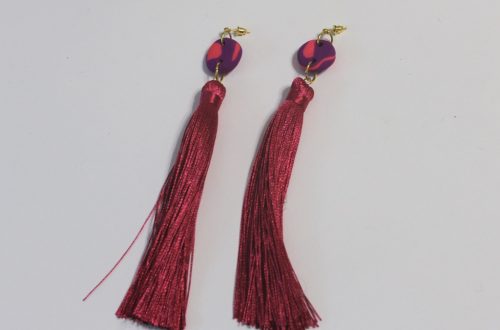
Let me show you how to make a pretty pair of beaded earrings!
Mixed beads seem to be all the rage right now! These beads feature a variety of gemstones and a couple of cute little glass heart beads for a cool look. Use your choice of beads to create your own twist on this simple-but-bold design. Please note that this tutorial contains affiliate links.
You’ll need these tools and materials to make your own pair of beaded statement earrings:
1: Two earring hooks.

2: Two long eye pins.

3: Two small head pins.

4: A variety of beads. I used some gemstone chip beads, some pearls, shell beads, round lapis lazuli beads and two glass heart beads.

5: Pliers. I used my round nose and flat nose pliers.


Follow these steps to make your beaded earrings:
1: Add each of the heart beads to the small head pins.

2: Loop the top of the pins using the round nose pliers and then set them aside.


3: Add beads to one of the eye pins in the pattern of your choice.

4: Bend the top of the pin to form an angle.

5: Loop the top of the pin using the round nose pliers.


6: Repeat steps 3 to 5 for the second eye pin re-creating the pattern you established with the first pin.

7: Attach one of the heart charms to one of the beaded eye pins.

8: Attach the other heart to the other eye pin.

9: Attach an earring hook to each of the pins to finish the earrings off!


Now your sweet earrings are finished and ready to wear! These are so lovely and fun! Perfect for a playful but glam look!


If you loved these earrings, here are some other pearl earrings you can make at home:
-
How to make a cute pair of threader earrings with dangling charms!
These earrings are great! They’re elegant, edgy and minimalist. I like wearing mine layered in multiple piercings, but they look great threaded through each ear too! What pretty gemstones will you use on yours? These ones feature amazing snowflake obsidian globe beads. (This tutorial contains affiliate links).
You’ll need the following tools and materials to make your threader earrings with dangling charms:
1: Pliers. I used my cutting pliers, flat nose pliers and round nose pliers for this design.

2: A file or rough sandpaper for smoothing the ends of the wire.

3: Two pieces of wire. I used this gold-filled wire and cut two pieces approximately 8cm long.

4: Two small head pins that match the colour of your wire.

5: Two beads of your choice. I used these round snowflake obsidian beads.

Follow these steps to make your minimalist threader charm earrings:
1: File the ends of the wire so they are flat and smooth, hold the wires together so you can keep them about the same length.

2: Place the wires in the jaws of the flat nose pliers. I did them together so they would be bent at the same length.

3: Bend one side of the wires around the pliers using your fingers to gently push them down.

4: Repeat this for the other side of the wires. Now your wires will have a square shape bent into the top.

5: Bend the wires gently into your desired shape (getting rid of any unwanted curves etc.) using your fingers. You won’t need to exert a lot of pressure on the wire to do this.

6: Now take the short end of the earrings and bend them gently to form a wide angle using the flat nose pliers again. This will be the start of your charm loop.


7: Create a loop at the end of each earring by bending the angled end of the wire into a loop using the round nose pliers.

8: Once you’ve looped both earrings, you can set them aside for a little while.

9: Add each of the beads to each of the head pins.

10: Curl the end of each pin using the round nose pliers to form a loop that secures the bead onto the pin.


11: Attach the bead charms to the loops on each earring, carefully bending them closed with pliers to keep the charms in place.


Now your pretty, elegant beaded threader earrings are ready to wear! How lovely are these for a quiet date night or for adding some glamour to your social isolation outfit?


Here’s another pair I made using silver wire and malachite and moonstone gemstone beads.

If you like this design, here are some other threader earring tutorials you might like:
- Minimalist silver wire threader earrings
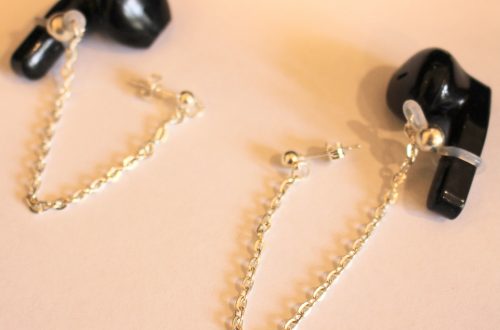
- Chain threaders with star charms
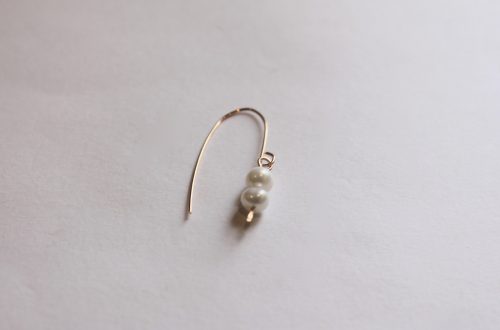
- An arched single threader earring with a pearl charm
- Shell charm chain threader earrings
- Hammer texture arch earrings
- elegantly arched wire threaders
- Bead embellished wire threader earrings
- Pearl chain threaders
- Glass fruit charm chain threader earrings
-
How to make a charm embellished threader earring…
Are you looking for a way to use the charm you made in this tutorial? Why not make a cool single statement threader earring. This earring looks so cool in a second piercing or worn on its own! This tutorial contains affiliate links.
The Materials
You’ll need the following tools and materials to make this earring:
1: Pliers. I used my round nose pliers and cutting pliers.

2: A piece of wire at your choice of length, mine was approximately 6.5cm long. My wire was a piece of rose gold-filled wire approximately 0.65mm wide.

3: A pen or something else round to form your earring wire around.

4: A file or course sandpaper to smooth the ends of the wire.
5: The charm you made in this tutorial.

The Steps
Follow these steps to make your single charm threader earring:
1: Cut your wire to the desired length using cutting pliers.
2: Place your wire on the pen and gently bend it around to form a curve that will allow it to stay in your lobe. I made it so that one side was longer than the other.


3: Create a loop on the short end of the bent wire using the round nose pliers.

4: Open the loop slightly to attach the charm. Close it using your pliers to secure it in place.

5: File or sand the end of the wire so that it isn’t sharp any more.
Now your cute little charm threader earring is ready to wear!


Here’s another pair of charm threader earrings I made using silver wire and a square bending technique. The gemstone beads on this design are made of moonstone (the white round ones) and malachite (The green chip beads). I like to wear these next to each other in my double piercings, they look really cool when paired together.
Here are some other wire threader earring tutorials:
- Minimalist silver threader earrings
- Hammer texture arch earrings
- Rounded threader earrings
- Beaded threader earrings with hammered ends
This tutorial contains affiliate links.
-
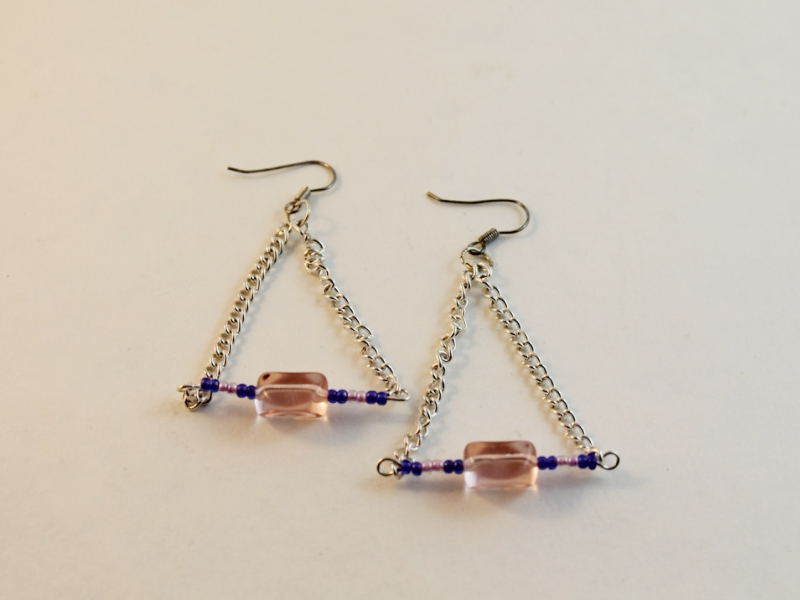
Do you like triangle-shaped jewelry? Here’s a way to make some triangle earrings.
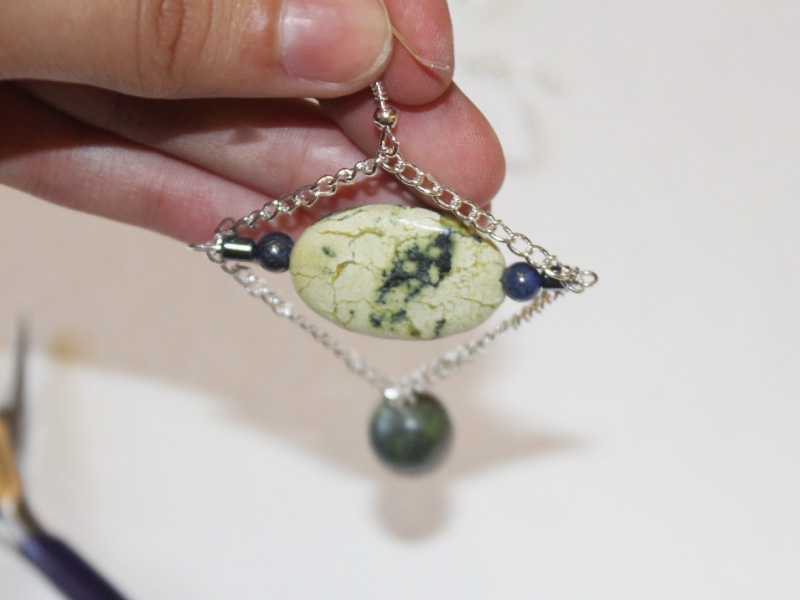
I’m pretty into geometric triangle-shaped jewelry, these earrings use eye pins and chain to form a cool dynamic triangle shaped pair of dangly earrings. This design is pretty much the reverse of these earrings and this pendant that we published previously.
Here are the tools and materials you need to make these earrings:
1: Pliers. I used my round and flat nose pliers for these earrings.
2: Two long eye pins.

3: Two head pins.

4: Two short chains, around 8-10cm long

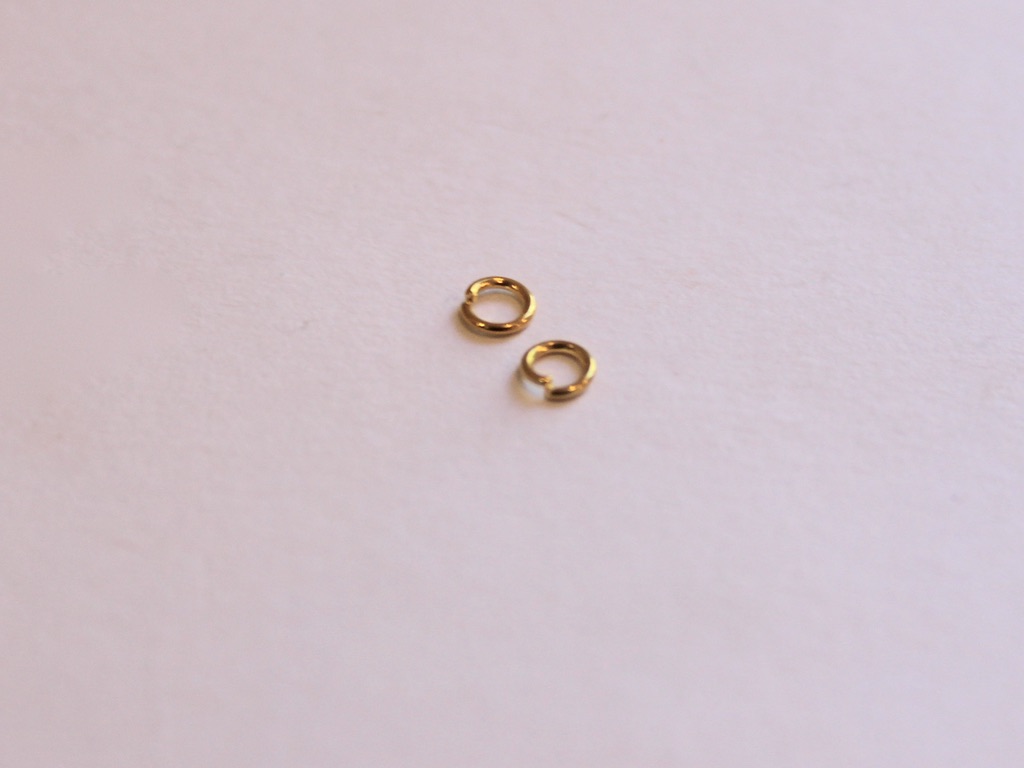
5: Four jump rings.

6: Earring findings. I used gold-tone post earrings.

7: Beads. I used some rose-quartz chip beads and some purple glass seed beads.


Follow these steps to make your triangle earrings:
1: Add beads to the eye pins in your pattern of choice.


2: Loop the end of the pins using the round nose pliers once you have finished beading them.


3: Add each of the chains to either end of the eye pins to form a loop on earring earring.


4: Add beads to the head pins and curl the tops of the pin to secure the beads in place.


5: Attach the head pin charms to the chains using two of the jump rings.


6: Attach the earring findings to the middle of each beaded eye pin using the last couple of large jump rings.


Now your triangle earrings are finished and ready to wear!
This tutorial contains affiliate links.
-
I really love this design! Make your own gemstone arch earrings.
These arch earrings are really really cool! You make them by hammering some pretty wire and add your fave gemstones to make your own version. I used some cute pink rhodonite gemstone chip beads, what kind of beads will you use? This tutorial contains affiliate links.
Here are the tools and materials I used to make my gemstone arch earrings:
1: Pliers. I used cutting pliers for this design. I also used flat nose and round nose pliers on the jump rings.
2: Two pieces of wire. I used some gold-filled wire, approximately 8cm long.

3: A file or sandpaper for getting rid of the rough edges of the wire.
4: A hammering block.

5: A hammer. I used a normal hammer but a jewelry specific hammer might be better ;).

6: Earring findings. I used these gold-tone stud earrings.
7: Two jump rings.

8: Beads. As mentioned before, I used eight rhodonite gemstone chip beads.

9: Something round to bend your wires around. I used a permanent marker.

Follow these steps to make your own wire arch earrings:
1: Hammer one end of each of the wires. Hammer on the steel block and hit the wire on both sides so that it becomes wide and flat.


2: Add four beads to each of the wires.
3: Push the beads to the hammered ends of the wires.

4: Hammer the other end of the wires the same way as you did in step 1. Make sure you make the wires wide enough so that your beads don’t slip off.

5: File or sandpaper the ends of the hammered wires so that they aren’t sharp.
6: Take your wires, find the mid point and bend them around the permanent marker to form an arch shape.


7: Add the earrings to each of the arches using the jump rings.


Now your arch earrings are finished!


Here’s another pair I made with some round gemstone beads.

Here’s a pendant version with thicker wire and glass beads.

This tutorial contains affiliate links.
-
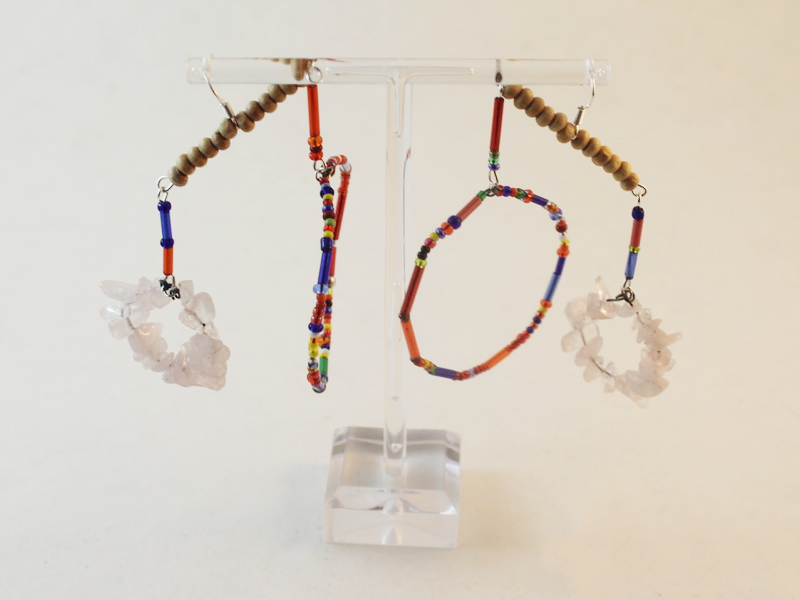
Here’s how to make some cool chandelier earrings!

These earrings are pretty cool! They feature some differently sized hoops that hang from a beaded bar for a stunning statement.
You will need the following tools and materials to make your earrings:
1: Pliers. You’ll need flat nose pliers and round nose pliers. Keep your cutting pliers around just in case.
2: Some thin wire. I used some wire recycled from an old design and cut it into four pieces, two long and two short.

3: Two long eye pins.
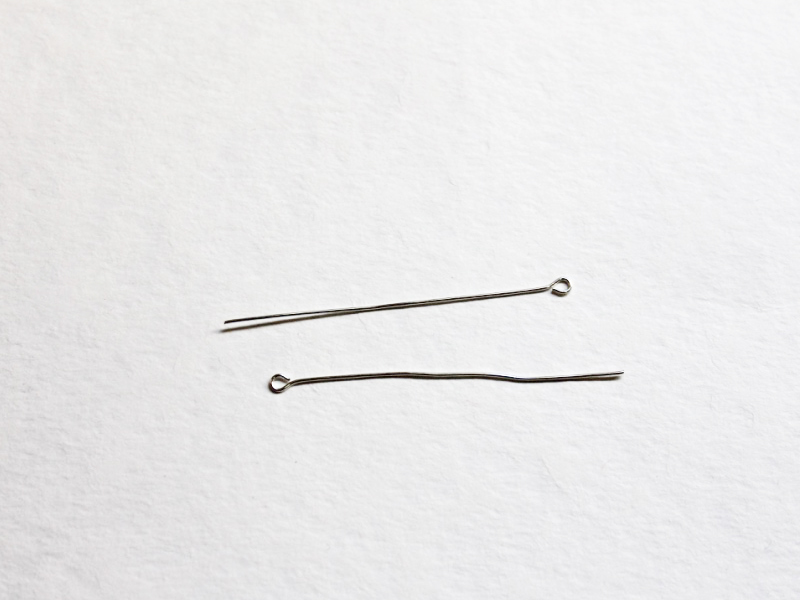
4: Four smaller eye pins.

5: Earring hooks.
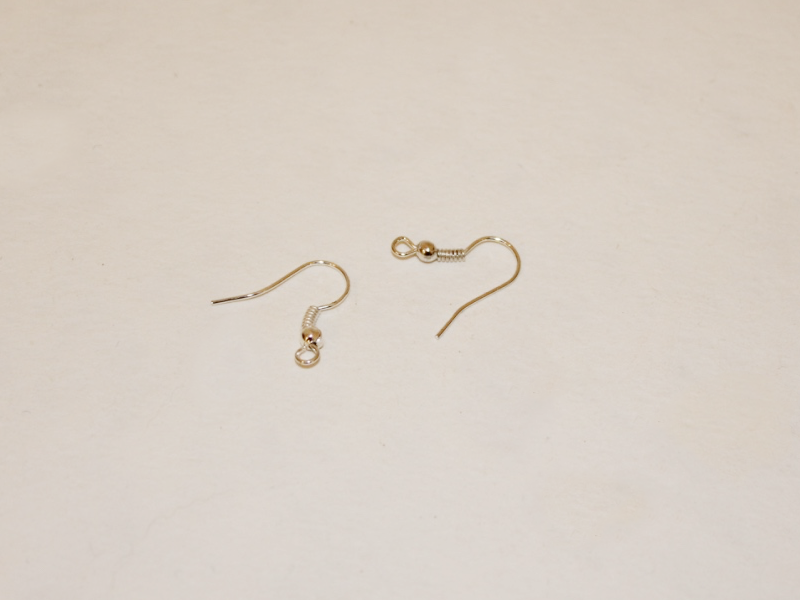
6: Four small jump rings.

7: Beads. I used some timber beads, rose quartz beads and mixed glass beads.


Follow these steps to make your chandelier earrings:
1: Curl the end of one of the long thin wires using the round nose pliers.

2: Bead the wire using the mixed glass beads.

3: Curl the other end of the wire to secure the beads in place. Then form the wire into a circle shape.

4: Repeat steps 1 to 3 for the other thin wires. I used the rose quartz beads on the shorter pieces of wire.


5: Link the ends of each circle using the jump rings.
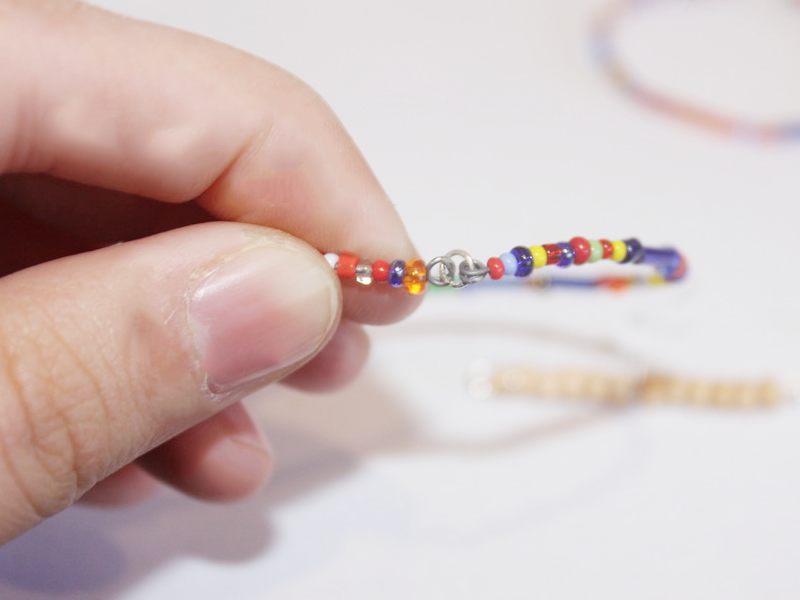
6: Add more of the coloured beads to the four small eye pins.

7: Loop the end of each eye pin and set them aside.


8: Add some of the wooden beads to one of the longer eye pins. I added six to meet the middle of the pin (but leaving room for the end to be looped later). The add one of the earring hooks to the pin.

9: Add another set of beads so that there is an even amount either side of the earring hooks. Repeat this for the second pin.

10: Loop the ends of the pins to secure the beads and earring hook in place.

12: Attach each of the smaller eye pins to the top of each of the circle charms.

13: Attach the charms to either side of the long pins with the earring hooks, make sure that each earring has one large and one small circle charm.


Now your earrings are finished and ready to wear! How special are these?
-
Rose Quartz Earrings… Perfect for Valentine’s Day.
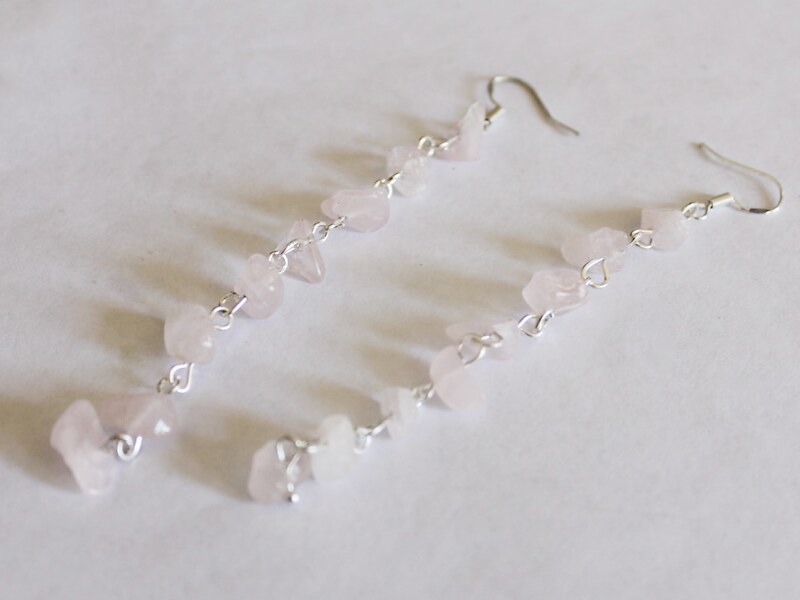
These rose quartz earrings are simple but lovely and as rose quartz is the stone of love, they’ll be the perfect accessory to wear during the season for celebrating love! This tutorial contains affiliate links.
You will need the following tools and materials to make your rose quartz earrings:
1: Pliers. You’ll need your round nose pliers and flat nose pliers to make your earrings.
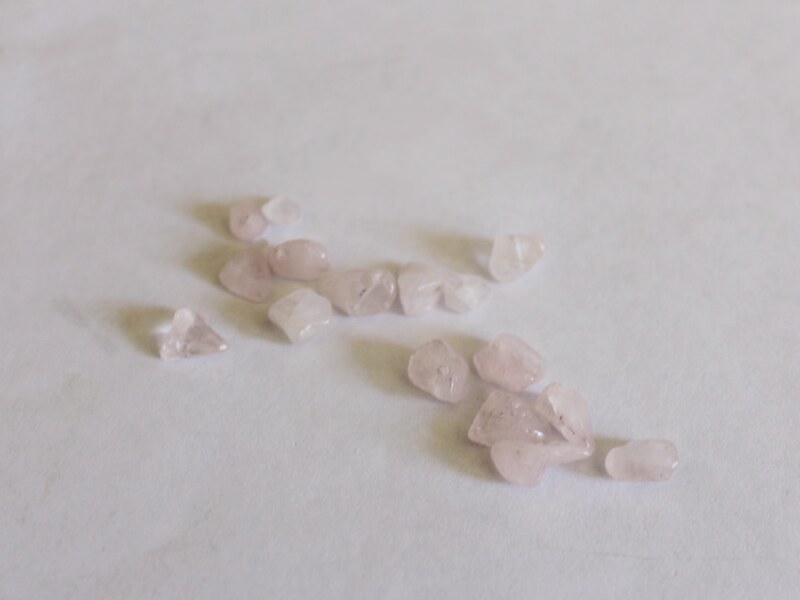
2: 16 rose quartz chip beads.
3: 14 short eye pins.
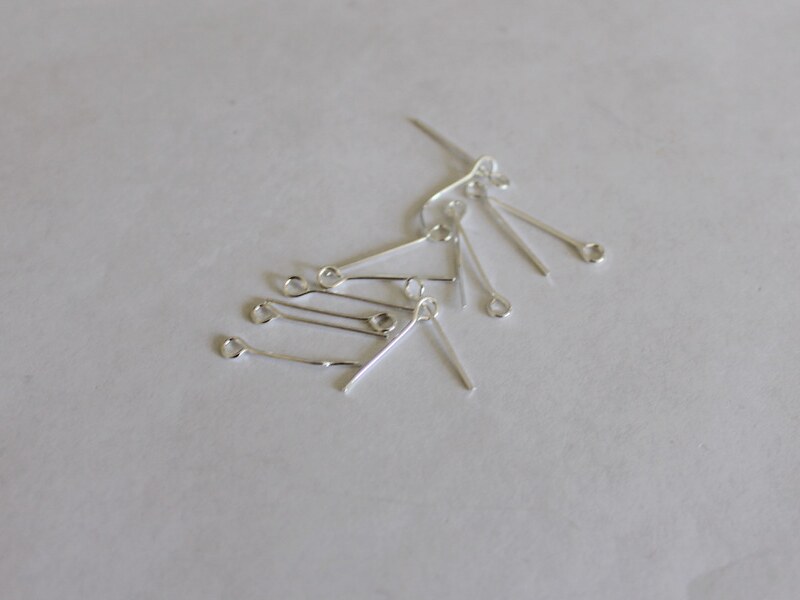
4: Two head pins.
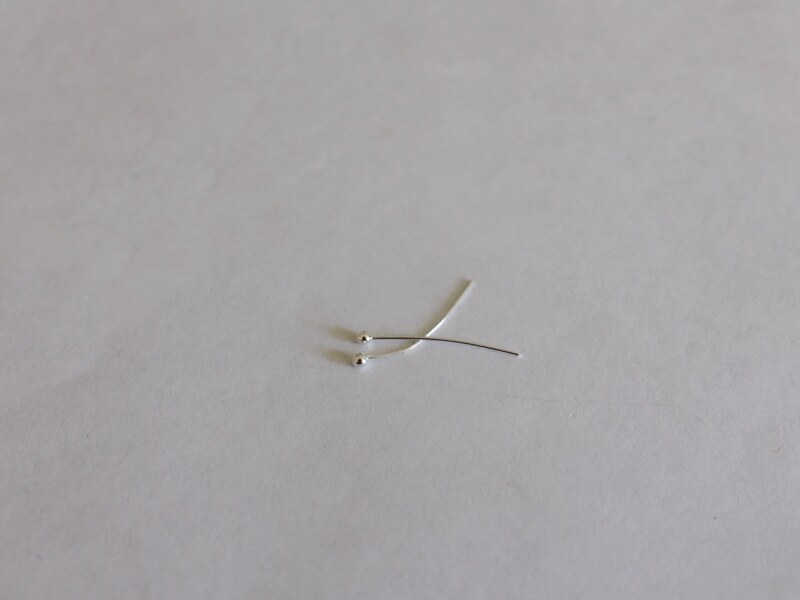
5: Two earring hooks.
Follow these steps to make your romantic rose quartz earrings:
1: Add two of the beads to the head pins.
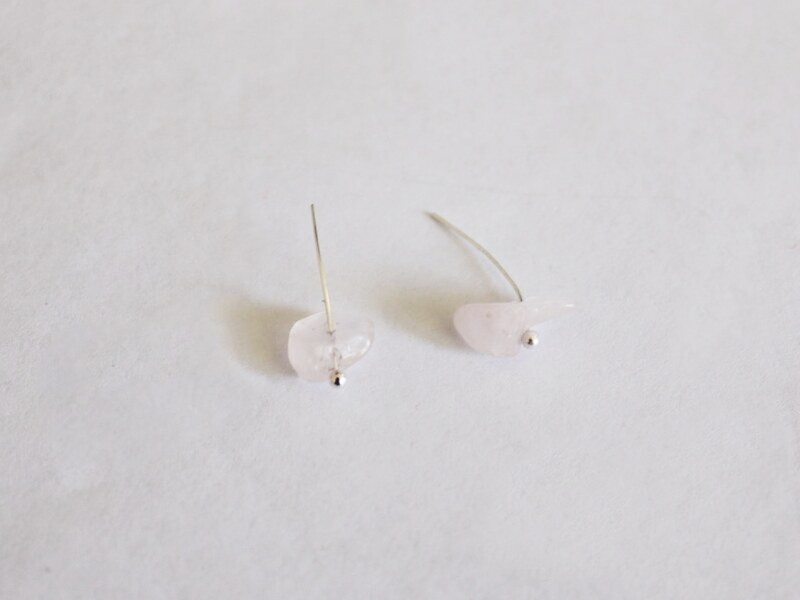
2: Create loops at the top of each pin using the round nose pliers to secure the beads in place.

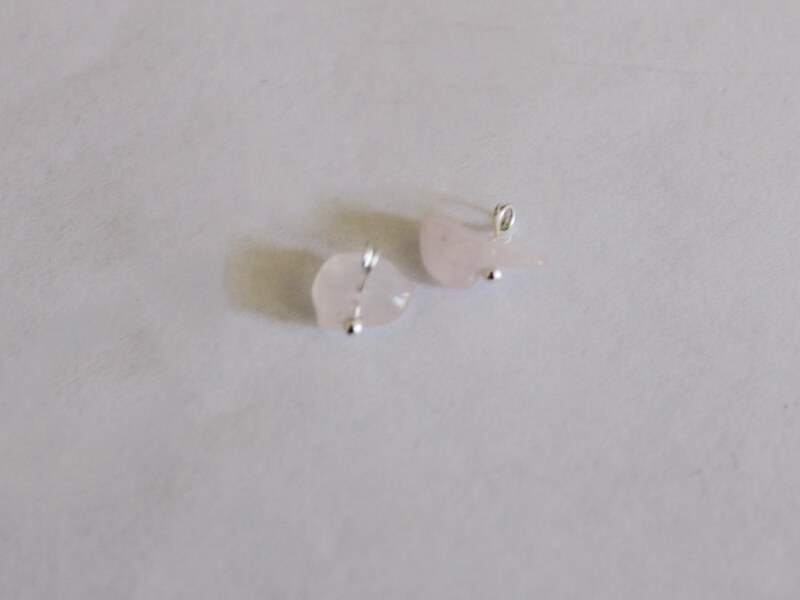
3: Put the rest of the beads on to the eye pins.
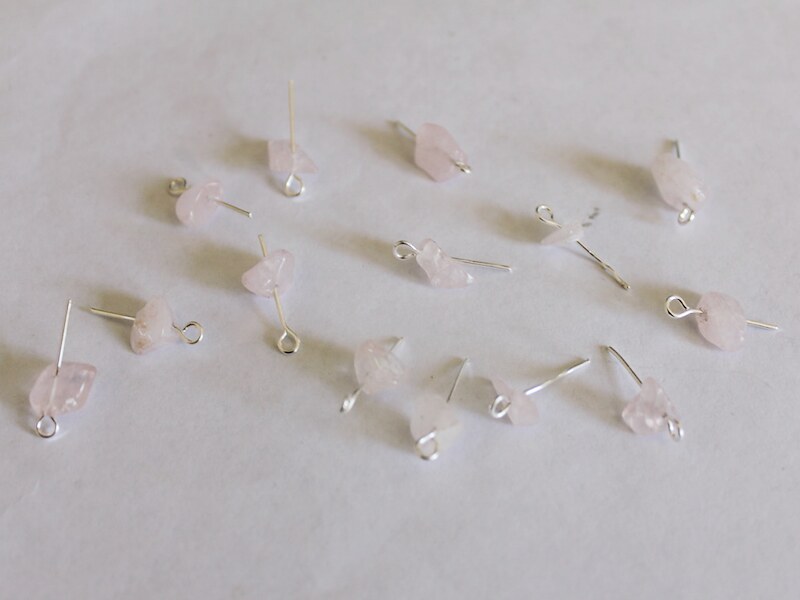
4: create loops at the end of each pin to secure the beads in place.

5: Start forming a chain by attaching one of the end beads (the ones on the head pins) to the eye pin charms. Continue attaching beads until you have a chain with eight beads on it.
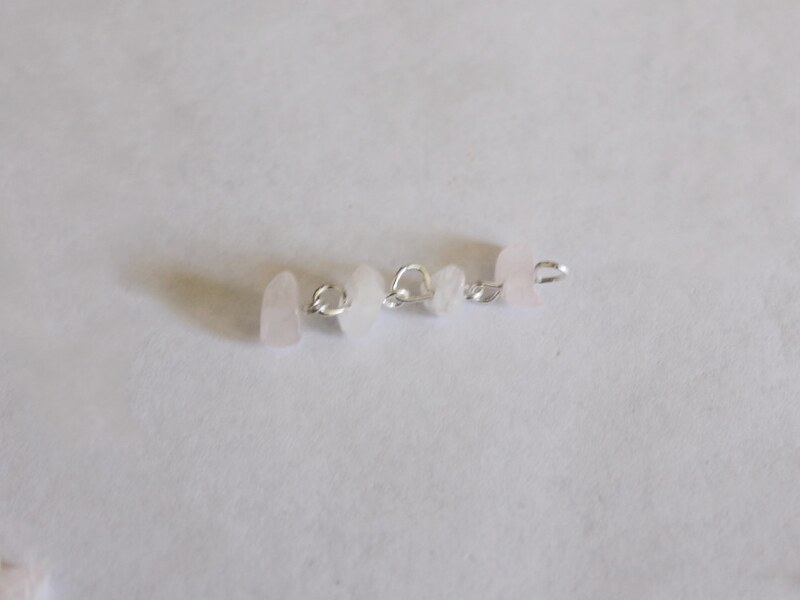
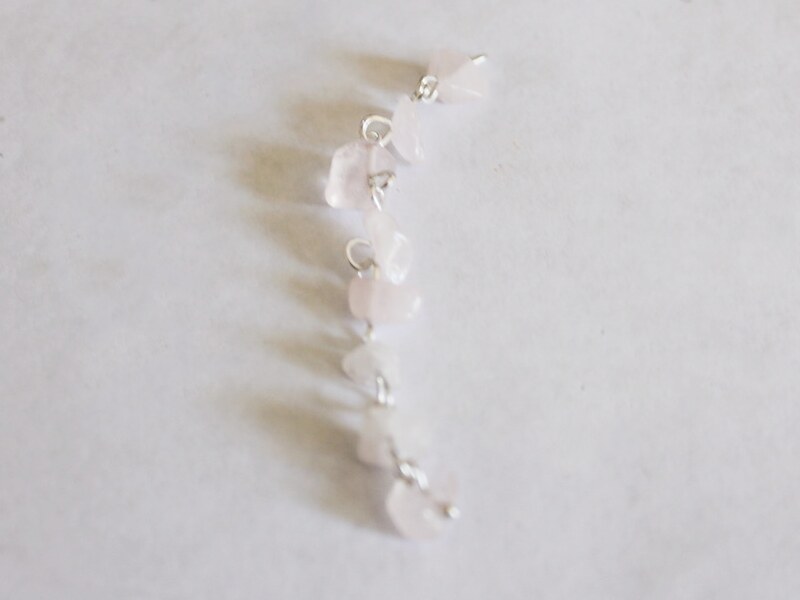
6: Repeat this for the other earrings using the remaining bead charms.

7: Add an earring hook to the top of each chain to finish your earrings.
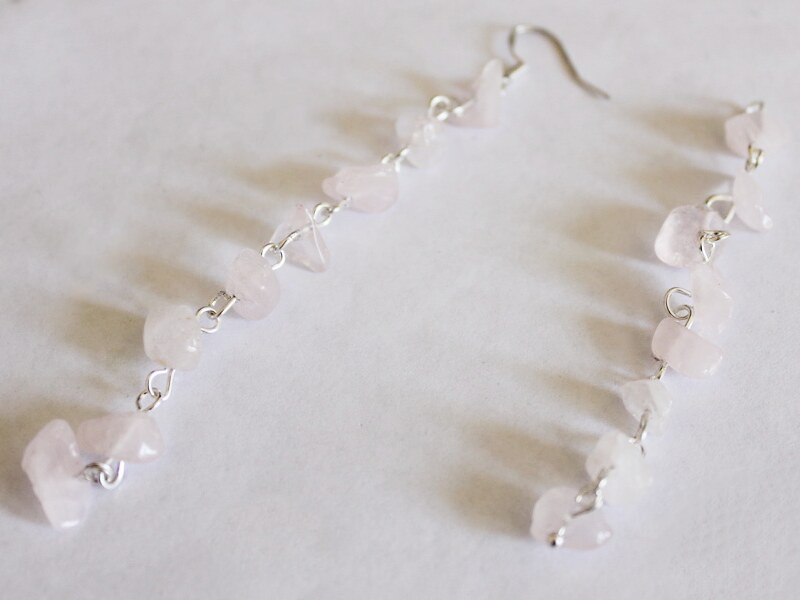
Now they’re ready to wear! Perfect for a friend date, or a romantic one!