-
Here’s a fun one to make! Here’s how to make a beaded wiggle bracelet.
This design is a little tricky to make but it looks amazing! Using some chain, tiger tail wire and beads, you can create an interesting, almost sculptural, bracelet to wear. Please note that this tutorial contains affiliate links.
You’ll need these tools and materials to make this bracelet:
1: Some tiger-tail wire, I used about 1m of wire to make mine. I suggest cutting off slightly more than you need so you don’t run out.

2: A piece of chain that is bracelet length. I used a piece recycled from an old project that I took apart.

3: Two jump rings.

4: Four crimp beads.

5: A clasp.

6: Beads. I used these gold glass beads.

6: Your jewelry pliers. I used my cutting pliers, round nose and flat nose pliers.

Follow these steps to make your own wiggle bracelet:
1: Add two crimp beads and a jump ring to one end of the wire.

2: Loop the end of the wire around the jump ring and back through the crimps.

3: Squash the crimp beads using the flat nose pliers.

4: Attach the wire to the chain using the jump ring.


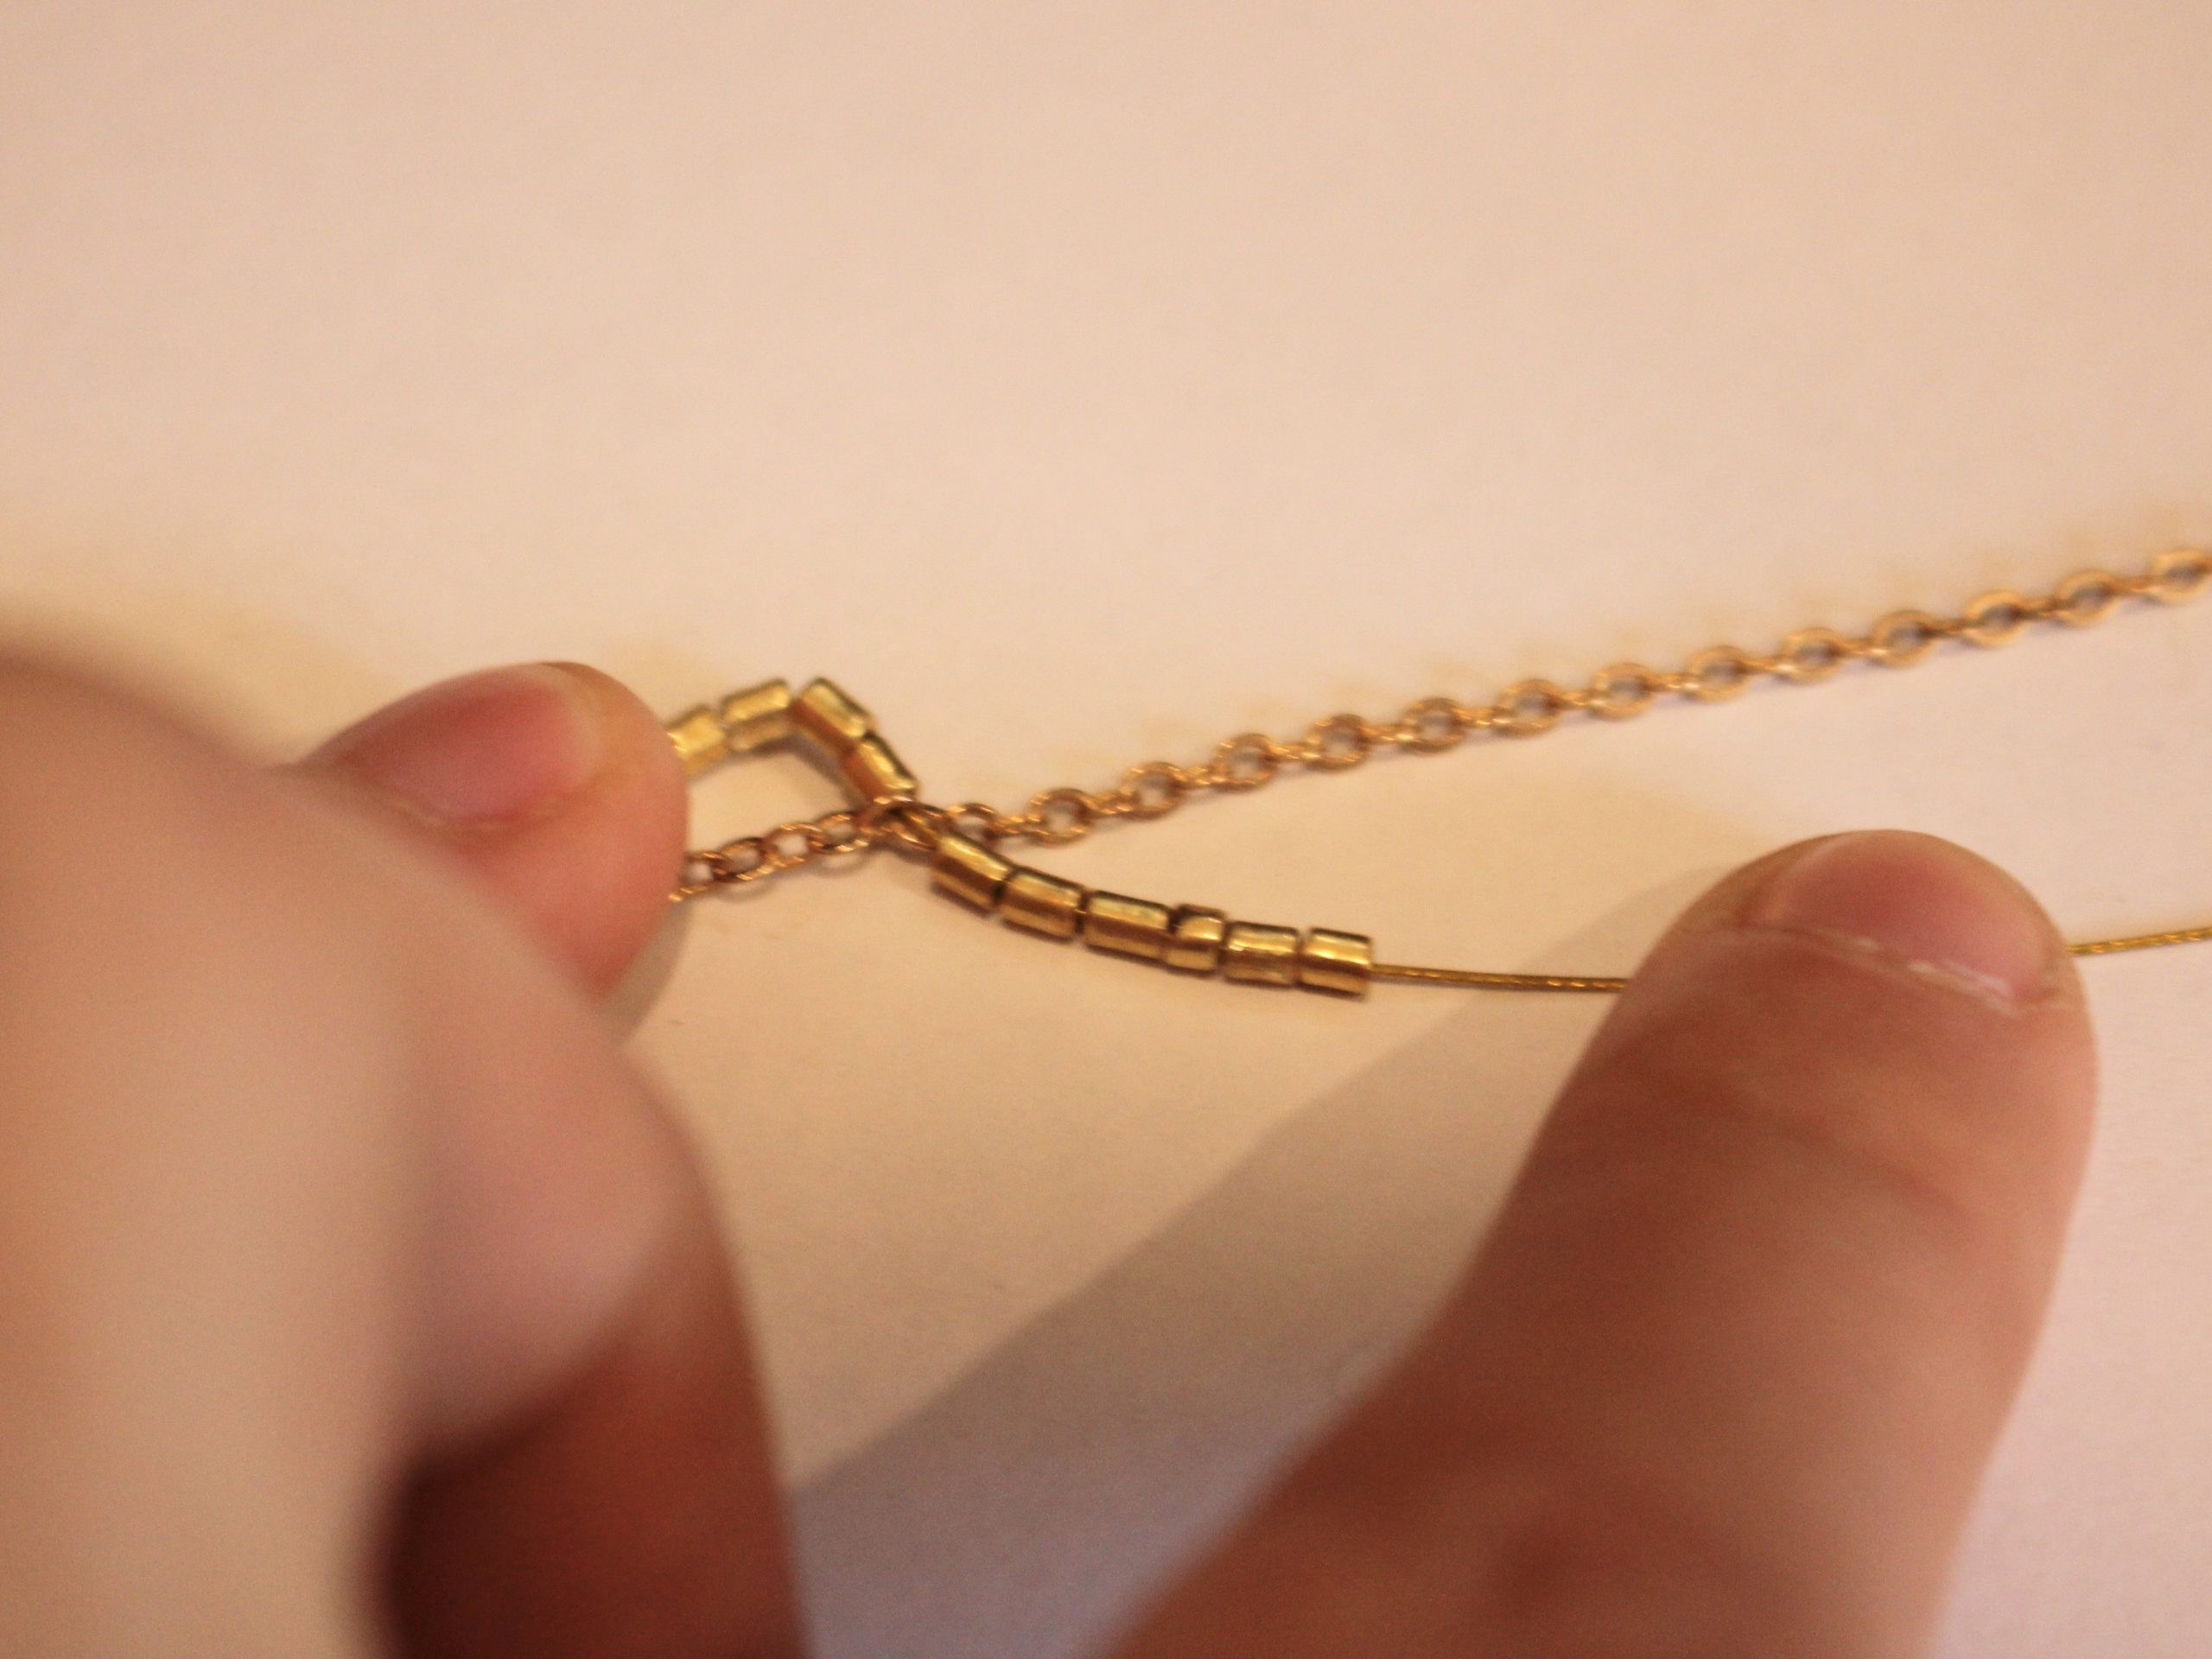
5: Add some beads to the wire. I added 6 beads.

6: Thread the end of the wire through a link in the chain, I threaded mine through the 7th link of the chain. You want the distance between links to be shorter than the length of each beaded section in order to make an arch shape.


7: Repeat steps 5 and 6, adding another 6 beads and threading it through another link on the opposite side of the chain, 7 links away from the first loop.


8: Keep beading and looping the wire until the chain is early complete, with just one loop to go.

9: Add the second jump ring to the end of the chain.

10: Add the last 6 beads and two crimp beads.

11: Loop the end of the tiger tail wire around the jump ring at the end and back through the crimps and end beads.
12: Squash the crimp beads.

13: Trim the excess wire.


14: Add the clasp to one end of the bracelet to finish it off! Now your fun wiggle bracelet is finished.


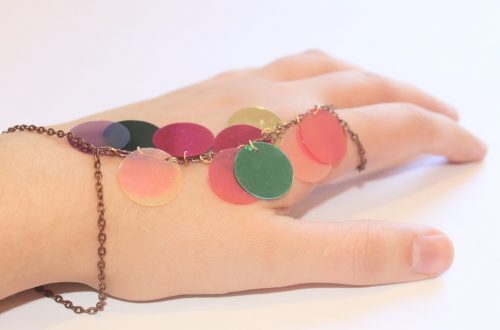
Here’s what the wiggle bracelet looks like when it’s being worn!


-
Here’s how to make a fruity waist chain!
This waist chain can be adjustable and is embellished with fun polymer clay fruit beads to make you feel like a tropical human fruit salad! This tutorial shows you a way to put beads on a chain for a fun effect! Please note that this tutorial contains affiliate links.
You’ll need the following tools and materials to make your fruit salad waist chain:
1: Pliers. I used my round nose and flat nose pliers.


2: Chunky chain long enough to fit your waist. Make it a little longer to make your belt adjustable.

3: Two large lobster clasps.

4: Two large jump rings.

5: Some head pins.

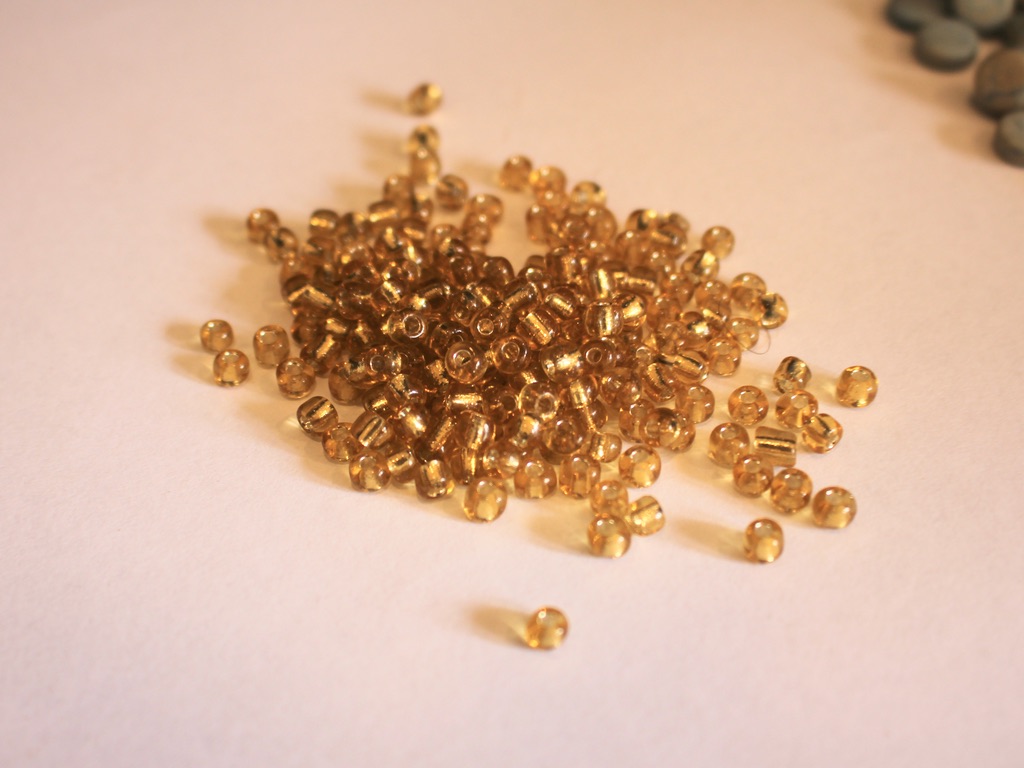
6: Beads. I used polymer clay beads in the shape of different fruits and some yellow glass beads.

Follow these steps to make your fruity waist chain:
1: Attach a clasp to either end of your chain using each of the jump rings. Open the jump ring and slide it through the end of the chain and the clasp. Close the ring to secure the clasp to the chain.


2: Set the chain aside.
3: Add beads to a head pin. I used a few glass beads and a fruit bead on mine.

4: Bend the top of the pin to form a right angle.

5: Create a loop at the top of the pin using the round nose pliers. This will secure the beads on the pin.


6: Open the loop slightly and attach it to one of the chain loops. Close the loop to secure the charm to the chain.


7: Make another charm that features only glass beads and place it on the chain next to the first charm.


8: Continue making fruit and bead charms and attach them to the chain in your chosen pattern until you have a fully beaded chain.

Now your waist chain is finished and ready to wear! You can also wear this design as a necklace.


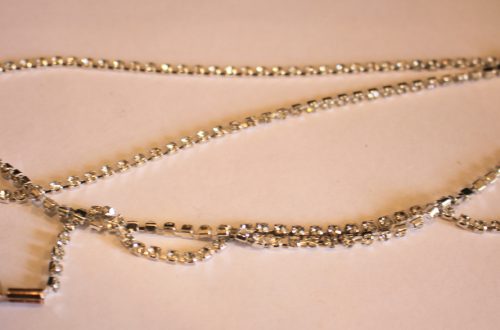
Here are some other waist chain designs you can make:
-
I am super into lariat necklaces right now, here’s another way to make one with a double-hole bead.
Lariat necklaces are so elegant and cool. I really like how they look with a low cut top that hints at cleavage! We already have a few lariat tutorials on the site, but this is one that has a bit of a twist. All the materials and steps are listed below! This tutorial contains affiliate links.
You’ll need these materials and tools to make your lariat:
1: A bead with two holes. I used this hematite bead recycled from a bracelet I had as a kid.

2: Two accent beads. I used these round hematite beads.

3: Chain. I used some gold-tone rolo chain.

4: Two head pins.

5: Two short eye pins.

6: Two large jump rings.

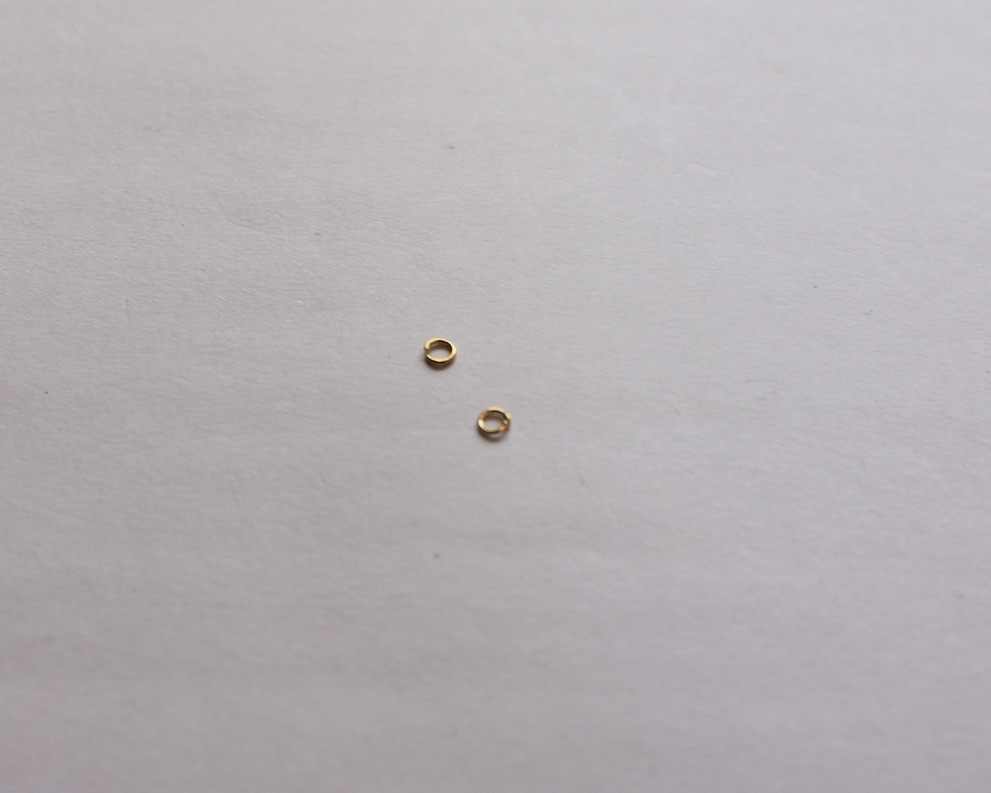
7: Two small jump rings.
8: A lobster clasp.

9: Pliers. I used my flat nose and round nose pliers to make this lariat necklace.
Now here are all the steps you can follow to make your new lariat necklace:
1: Add one of the eye pins to one of the holes in the two-hole bead.

2: Bend the bead to form an angle.

3: Create a loop on the pin using the round nose pliers to secure the bead on the pin.

4: Repeat steps 1-3 for the second eye pin in the second bead hole.


5: Add each of the accent beads to the head pins.

6: Use the round nose pliers to loop the tops of the head pins.


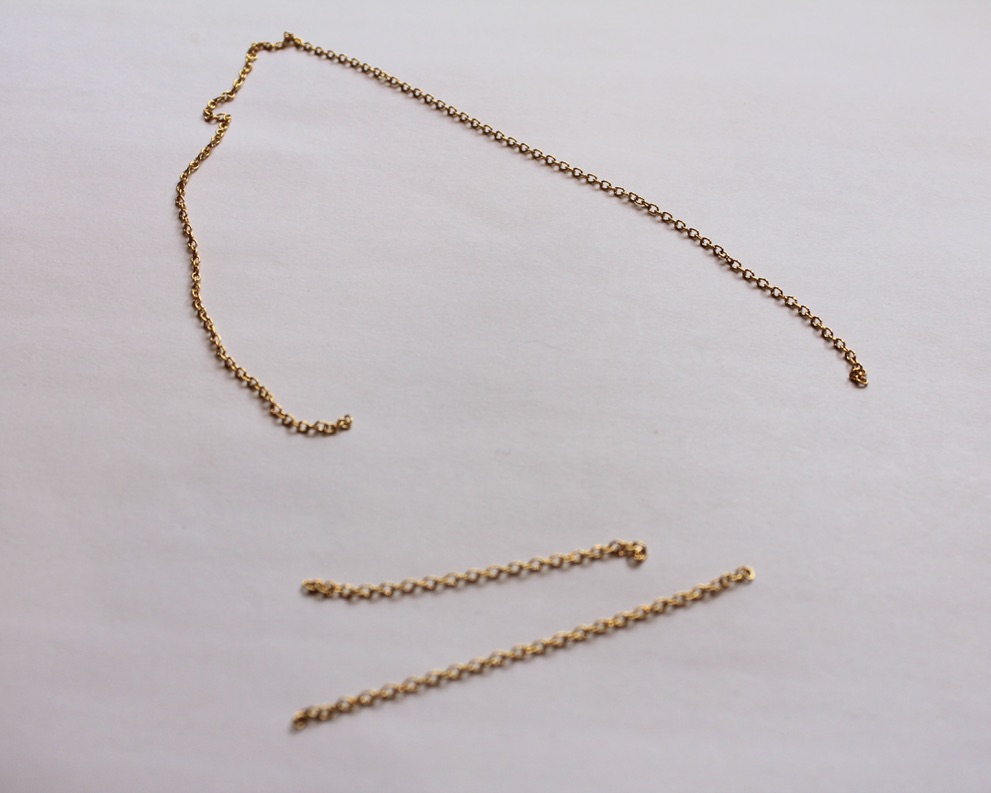
7: Section out three pieces of chain, one long enough to fit around your neck and two shorter pieces, the shorter pieces will form the centre part of the lariat. I made one longer than the other.
8: Attach one of the short chains to one side of the two hole bead charm.

9: Attach the other chain to the other side of the charm.

10: Attach the long chain to the top of the two hole bead charm.


11: Split the necklace chain in half.

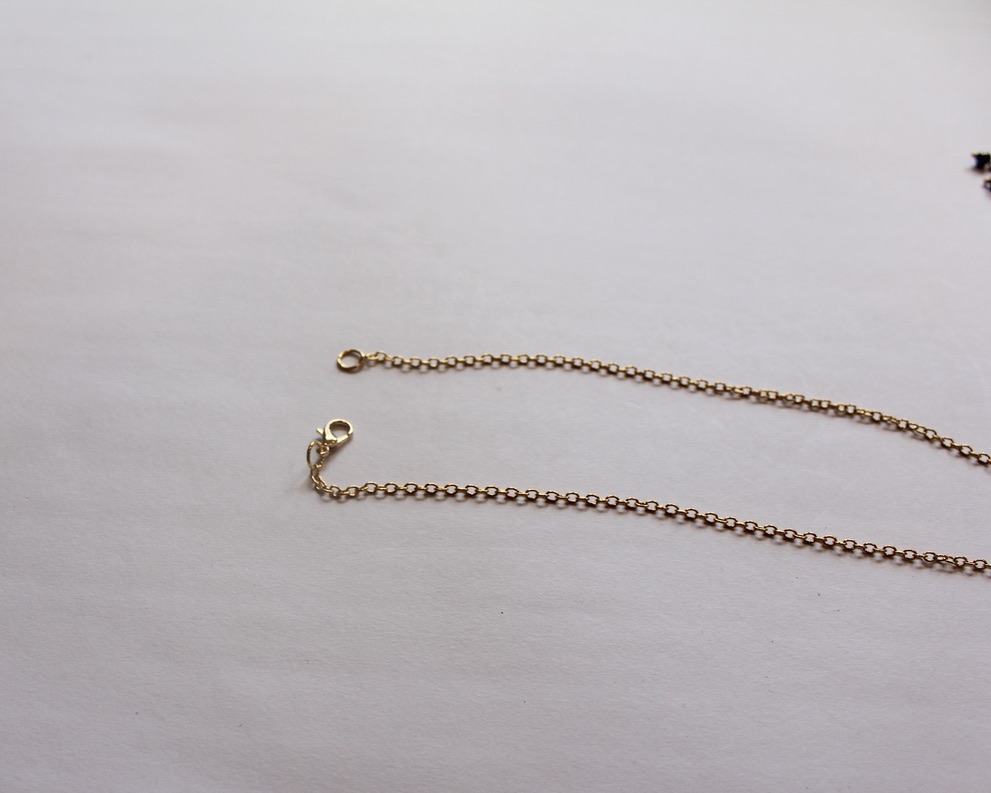
12: Attach the larger jump rings and the lobster clasp to the middle of the split necklace chain.


13: Add the accent bead charms to the end of each short chain using the small jump rings to finish the lariat off.


Now your cool new lariat is ready to wear!
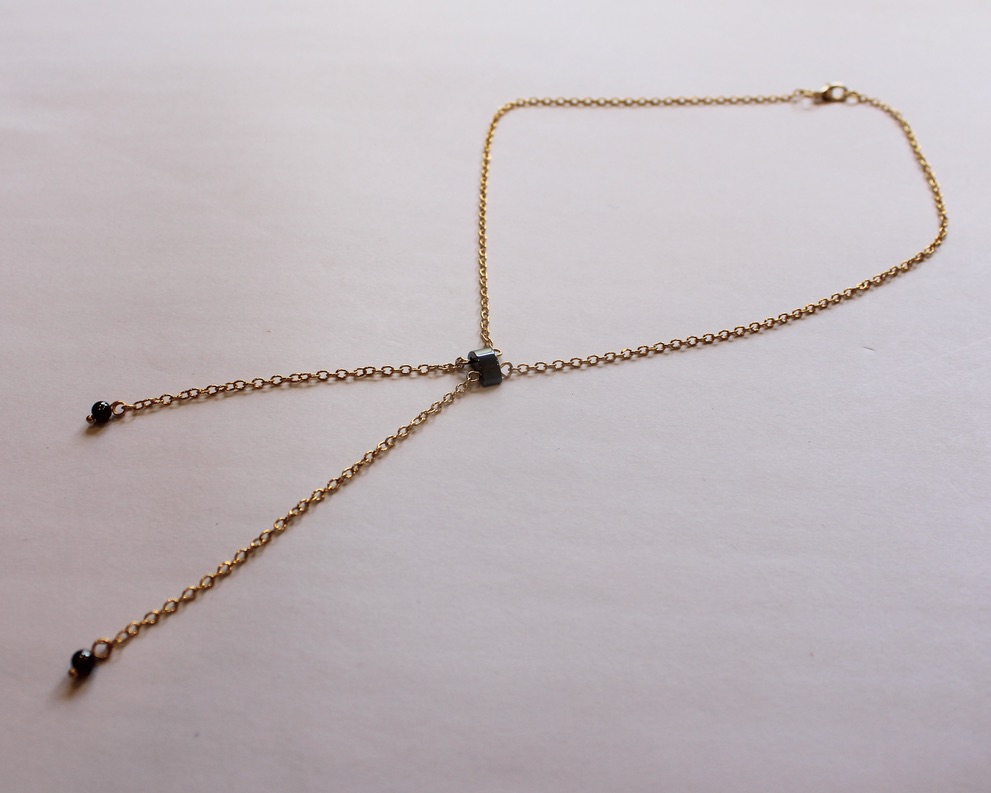
I suggest trying to make this necklace using materials you already have. If you don’t have the right pieces lying around this tutorial contains affiliate links so that you can buy them.
If you love a lariat too, here are some other ways you can make them:
- A bead and chain lariat
- This lariat is made with chunky gold-tone chain
- A lariat with two beaded circle charms
- Triangle charm lariat
- This chain charm that lets you transform any necklace into a lariat
- Make this chain belt that can also be worn as a lariat necklace
- How cool, this long leather strand can be worn as a lariat
- Our original lariat tutorial, a cute pearl lariat
-
Do you like triangle-shaped jewelry? Here’s a way to make some triangle earrings.
I’m pretty into geometric triangle-shaped jewelry, these earrings use eye pins and chain to form a cool dynamic triangle shaped pair of dangly earrings. This design is pretty much the reverse of these earrings and this pendant that we published previously.
Here are the tools and materials you need to make these earrings:
1: Pliers. I used my round and flat nose pliers for these earrings.
2: Two long eye pins.

3: Two head pins.

4: Two short chains, around 8-10cm long

5: Four jump rings.
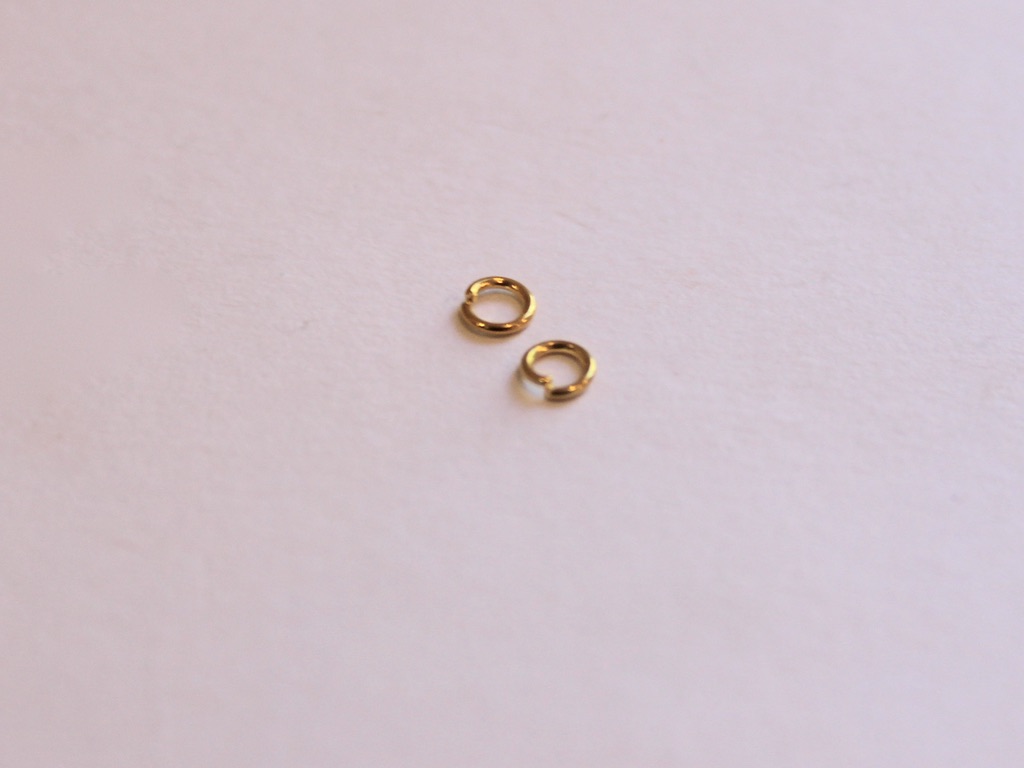

6: Earring findings. I used gold-tone post earrings.

7: Beads. I used some rose-quartz chip beads and some purple glass seed beads.


Follow these steps to make your triangle earrings:
1: Add beads to the eye pins in your pattern of choice.


2: Loop the end of the pins using the round nose pliers once you have finished beading them.


3: Add each of the chains to either end of the eye pins to form a loop on earring earring.


4: Add beads to the head pins and curl the tops of the pin to secure the beads in place.


5: Attach the head pin charms to the chains using two of the jump rings.


6: Attach the earring findings to the middle of each beaded eye pin using the last couple of large jump rings.


Now your triangle earrings are finished and ready to wear!
This tutorial contains affiliate links.
-
How to make a mixed material lariat necklace
Do you like lariat necklaces? I think they are really elegant and kind of sexy. We have done some lariat tutorials in the past but this one is a bit different. It is made using a small piece of chain which hangs in the middle of a beaded strand like a pendant. I really like beading projects because they take time and patience, perfect for passing the time inside. This tutorial contains affiliate links.
You’ll need the following tools and materials to make your mixed material lariat:
1: Tiger tail wire. Cut it to your desired length (plus a bit extra). I think lariat necklaces look best when not too long.

2: One lobster clasp.

3: Four crimp beads.

4: Three smaller jump rings. One slightly larger than the other two.

5: One large jump ring.

6: A length of chain, approximately 10cm long (3.9 inches).

7: Beads of your choice. I used green and yellow glass beads.

8: Pliers. I used cutting pliers, flat nose filers and round nose pliers.
Follow these steps to make your own mixed material lariat necklace:
1: Add crimps to the end of the wire.

2: Add a jump ring and fold the tiger tail wire around the jump ring. Thread the end of the wire through the crimp beads.

3: Squash the crimps using the flat nose pliers.


4: Add the beads in your desired pattern.


5: Once your strand is fully beaded add the remaining crimp beads.

6: Add the other small jump ring and thread the end of the wire back through the crimp beads and the first few glass beads.


7: Squash the crimp beads using the flat nose pliers.

8: Trim the remaining wire using the cutting pliers.

9: Add the clasp to one side of the beaded strand.

10: Add the third smaller jump ring to one end of the necklace.

11: Add the large jump ring to the top of the piece of chain and then close it.


12: Add the chain to the beaded strand to finish the necklace off.

Now your necklace is finished! What colour will you make yours in?


Here is another one I made using mixed glass seed beads.

Here are some other lariat tutorials:
- Circle charm lariat
- Beaded triangle lariat
- Clip on lariat charm
- Belt/lariat tutorial
- A leather wrap lariat
- Pearl charm chain lariat
This tutorial contains affiliate links.
-
Love dangly earrings but hate the weight? These sequin earrings might be perfect for you!
These cool shiny earrings are made using some lightweight iridescent sequins so they will have a great visual impact without weighing your lobes down.
You’ll need these tools and materials to make these lightweight earrings:
1: A stack of smaller jump rings.

2: A pair of charm connector studs. I used these gold-tone ones.

3: Sequins. I used 10 of these round sequins that had holes at the top.

4: Pliers. Your round and flat nose pliers will be useful for this tutorial.
5: Two larger jump rings.

Follow these steps to make your sequin earrings:
1: Attach one of the jump rings to the top of one sequin.

2: Attach another jump ring to the first one, this will be the start of a chain.
3: Continue steps 1 and 2 until you have 5 sequins attached together with one dangling from the bottom.


4: Repeat this for the second earring.

5: Find the top of the earring and attach it to one of the post earrings using one of the larger jump rings.

6: Repeat step 5 for the second earring.

Now your lightweight and shiny sequin earrings are finished and ready to put on. Perfect for dancing!


This tutorial contains affiliate links.