-
I am super into lariat necklaces right now, here’s another way to make one with a double-hole bead.
Lariat necklaces are so elegant and cool. I really like how they look with a low cut top that hints at cleavage! We already have a few lariat tutorials on the site, but this is one that has a bit of a twist. All the materials and steps are listed below! This tutorial contains affiliate links.
You’ll need these materials and tools to make your lariat:
1: A bead with two holes. I used this hematite bead recycled from a bracelet I had as a kid.

2: Two accent beads. I used these round hematite beads.

3: Chain. I used some gold-tone rolo chain.

4: Two head pins.

5: Two short eye pins.

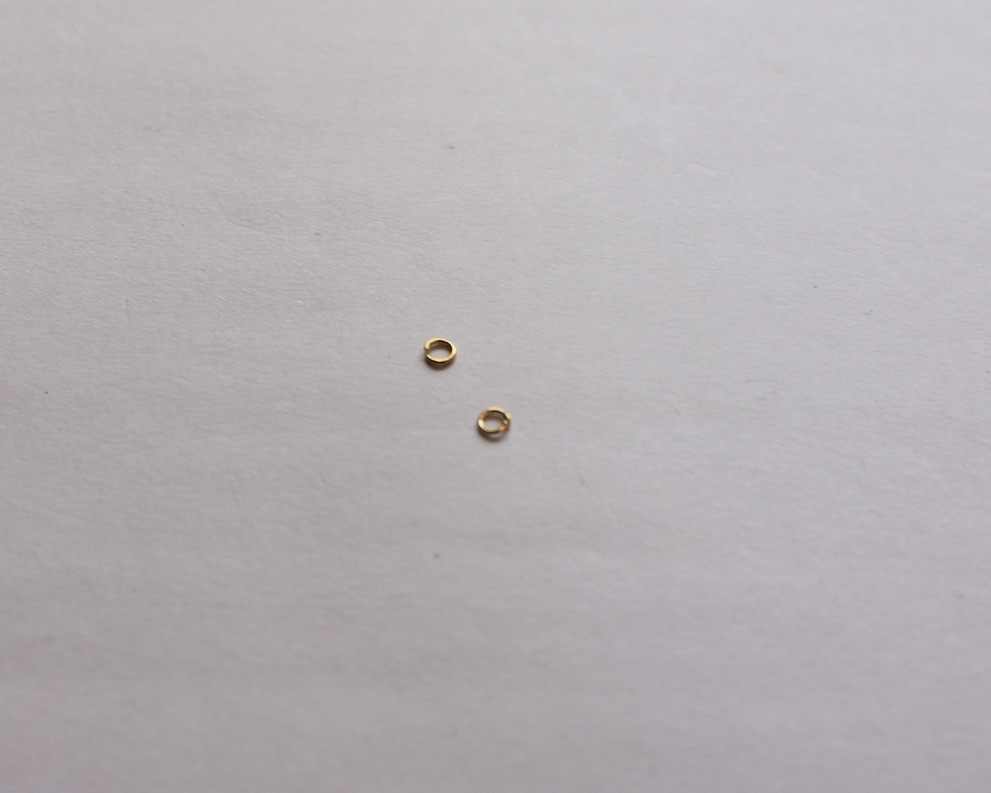
6: Two large jump rings.

7: Two small jump rings.
8: A lobster clasp.

9: Pliers. I used my flat nose and round nose pliers to make this lariat necklace.


Now here are all the steps you can follow to make your new lariat necklace:
1: Add one of the eye pins to one of the holes in the two-hole bead.

2: Bend the bead to form an angle.

3: Create a loop on the pin using the round nose pliers to secure the bead on the pin.

4: Repeat steps 1-3 for the second eye pin in the second bead hole.


5: Add each of the accent beads to the head pins.

6: Use the round nose pliers to loop the tops of the head pins.


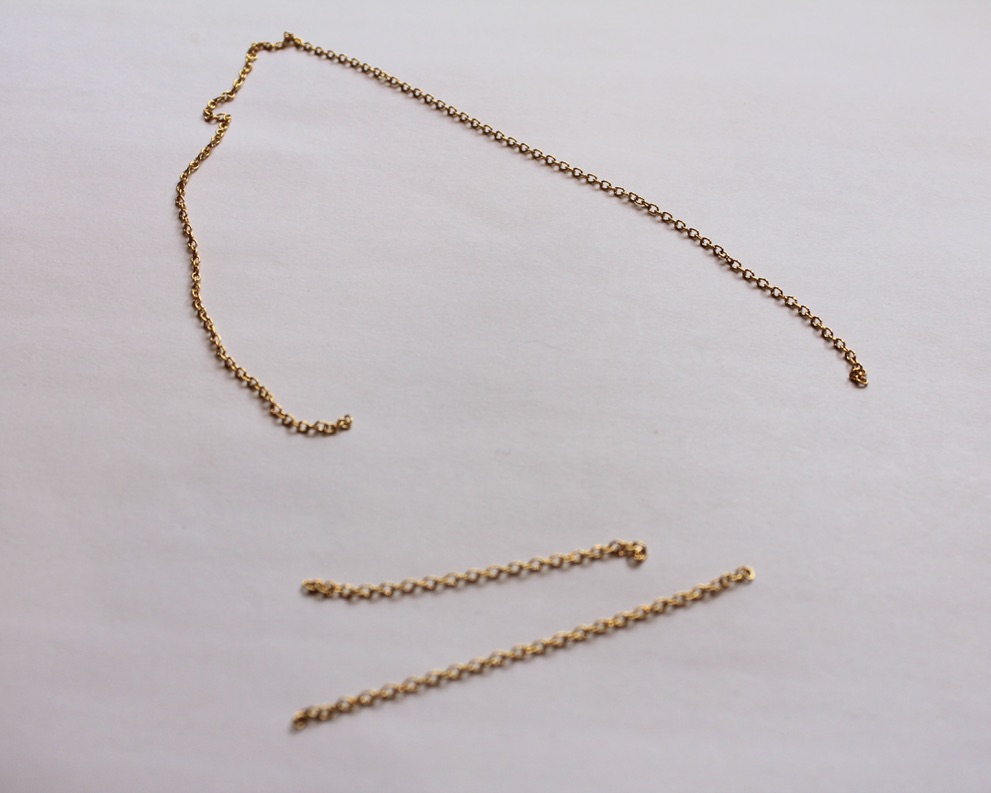
7: Section out three pieces of chain, one long enough to fit around your neck and two shorter pieces, the shorter pieces will form the centre part of the lariat. I made one longer than the other.
8: Attach one of the short chains to one side of the two hole bead charm.

9: Attach the other chain to the other side of the charm.

10: Attach the long chain to the top of the two hole bead charm.


11: Split the necklace chain in half.

12: Attach the larger jump rings and the lobster clasp to the middle of the split necklace chain.


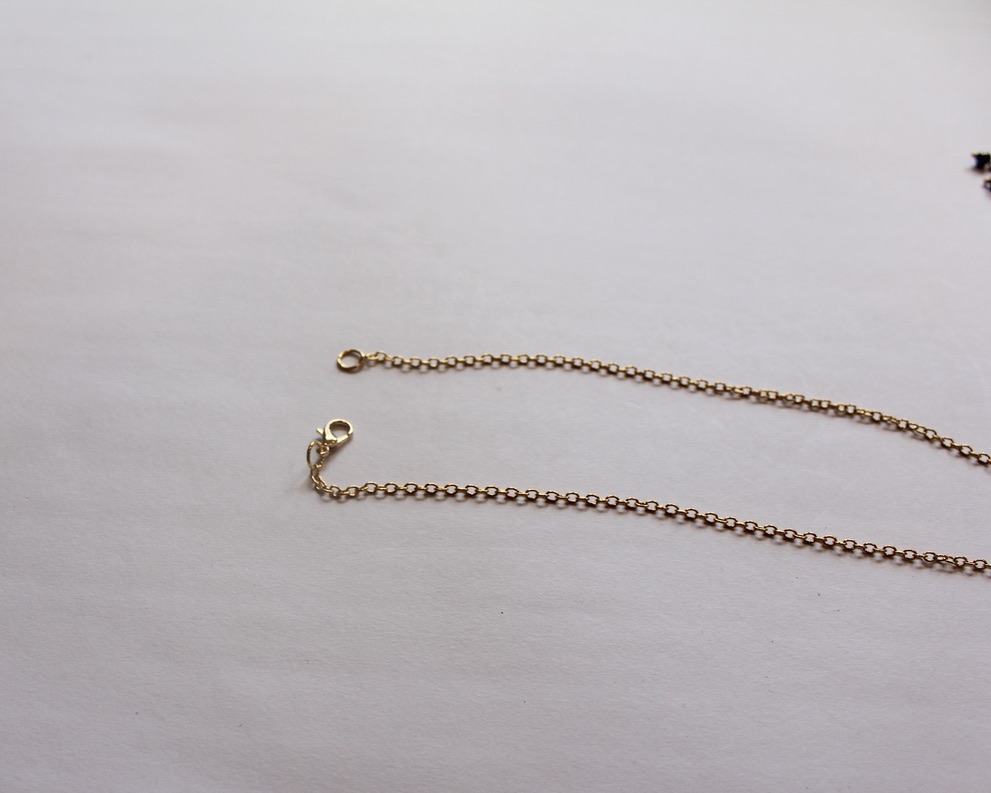
13: Add the accent bead charms to the end of each short chain using the small jump rings to finish the lariat off.


Now your cool new lariat is ready to wear!
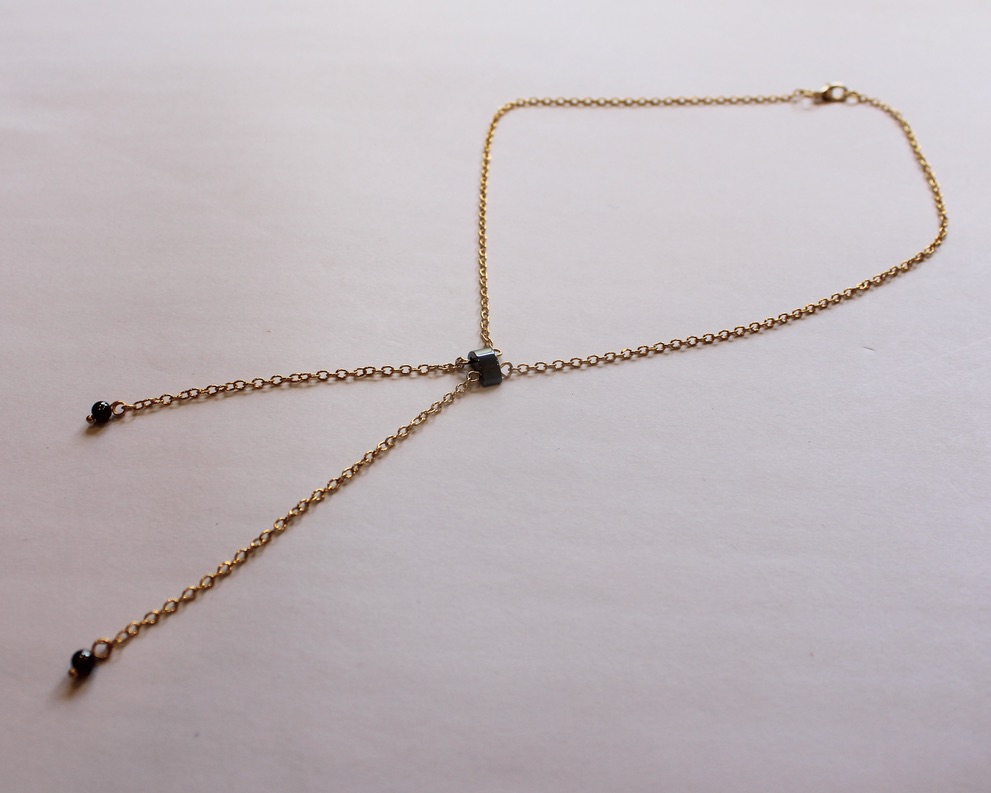
I suggest trying to make this necklace using materials you already have. If you don’t have the right pieces lying around this tutorial contains affiliate links so that you can buy them.
If you love a lariat too, here are some other ways you can make them:
- A bead and chain lariat
- This lariat is made with chunky gold-tone chain
- A lariat with two beaded circle charms
- Triangle charm lariat
- This chain charm that lets you transform any necklace into a lariat
- Make this chain belt that can also be worn as a lariat necklace
- How cool, this long leather strand can be worn as a lariat
- Our original lariat tutorial, a cute pearl lariat
-
Need a new decoration for your handbag or keys? Here’s how to make a custom key chain!
This custom key chain is super easy to make and will make a great addition to your handbag! If you’ve got a favorite charm or trinket this is a great way to use it.
You will need the following tools and materials to make your key chain:
1: Pliers. You will need your flat nose pliers and round nose pliers.
2: Scissors. To cut your ribbon.

3: A piece of ribbon, approximately 10cm (approx 3.9 inches) long.

4: A flat ribbon crimp end.
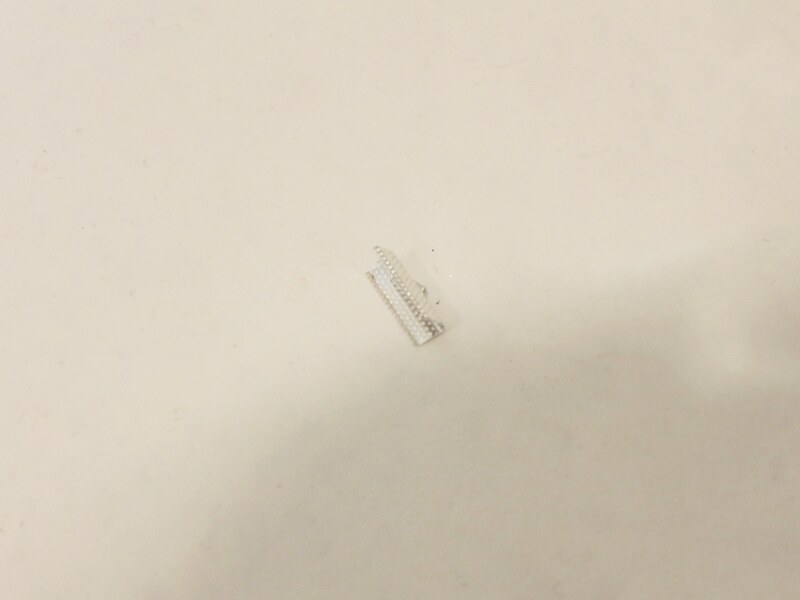
5: A large jump ring.

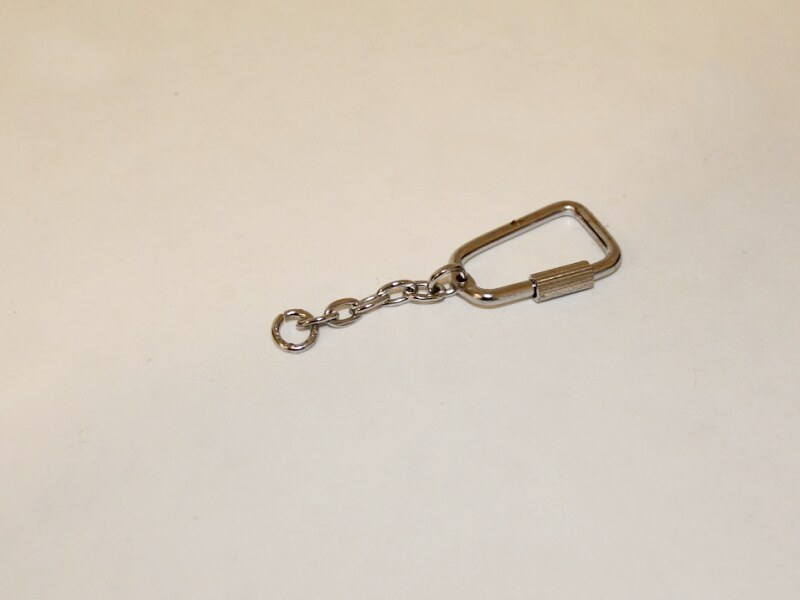
6: A key chain.
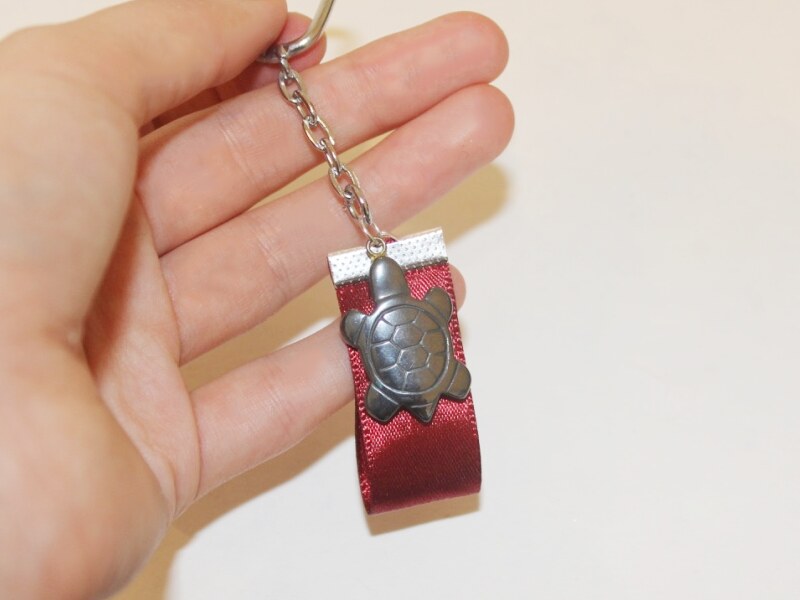
7: A charm of your choice. I used this hematite turtle charm.
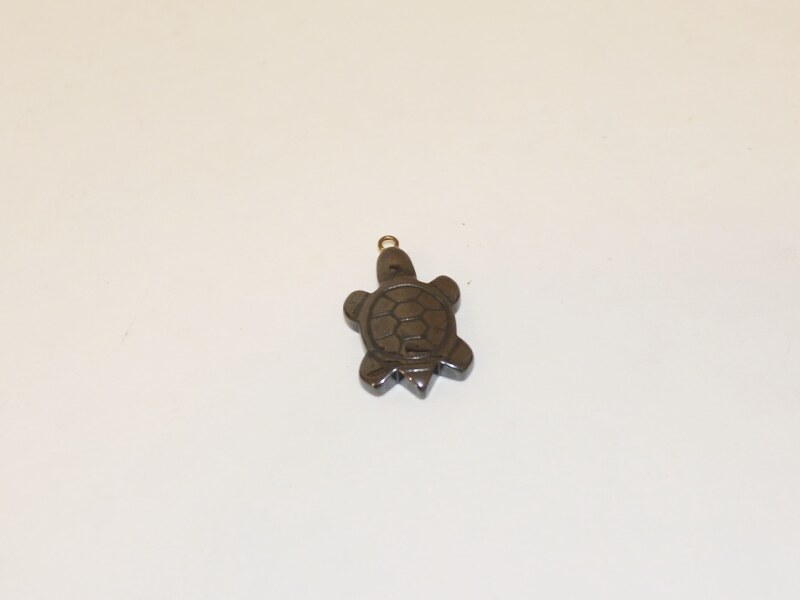
Follow these steps to make your key chain:
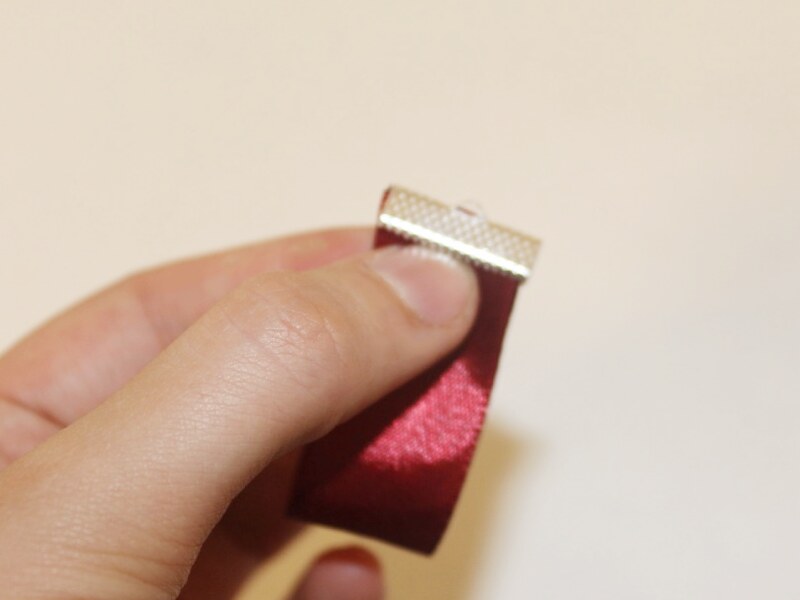
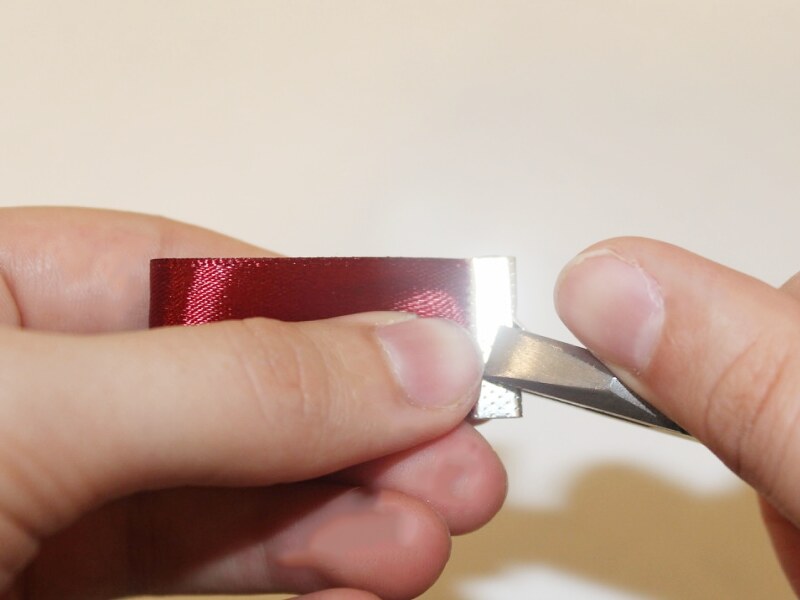
1: After cutting your ribbon, fold it in half and use the flat nose pliers to squash the crimp end around the ends of the ribbon.
2: Add a jump ring to the top of the ribbon charm and add the charm to the open jump ring.
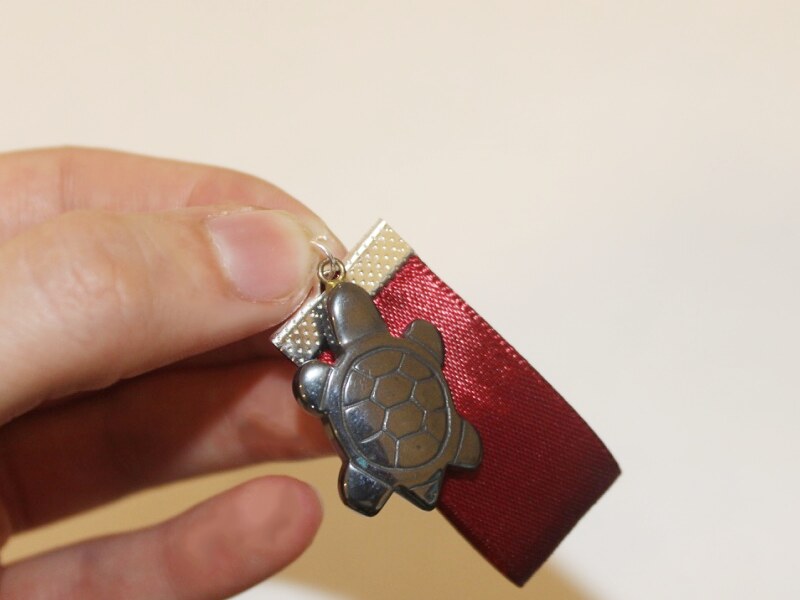
3: Attach the key chain to the jump ring.
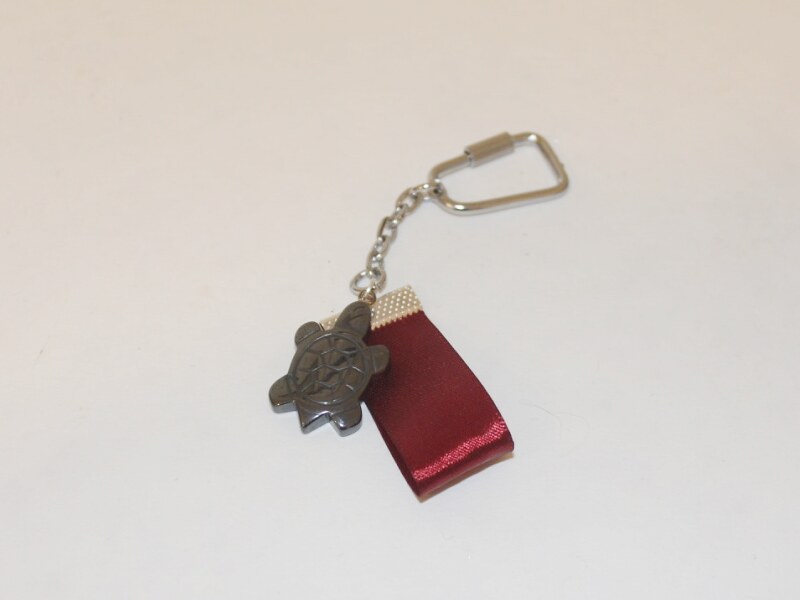
4: Now your key chain is finished and ready to use! Where will you attach it?!
You May Also Like

How to make a clip on beaded bag charm! This is such a fun project
-
Defy gravity with this floating bead necklace
Do you have a craving for light and delicate jewelry? Do you wish you could be wearing jewelry that feels dainty and special? Well have I got the DIY solution for you! This necklace is as delicate and dainty as it comes, but don’t worry, it’s not going to break on you either. Using some tiger tail wire and some crimp beads, this exquisite necklace comes together in no time. Go ahead, make yourself this lovely necklace today.
You will need the following tools and materials to make this floating bead necklace:
1: Pliers. To make this necklace you will need your cutting pliers and your flat nose pliers.

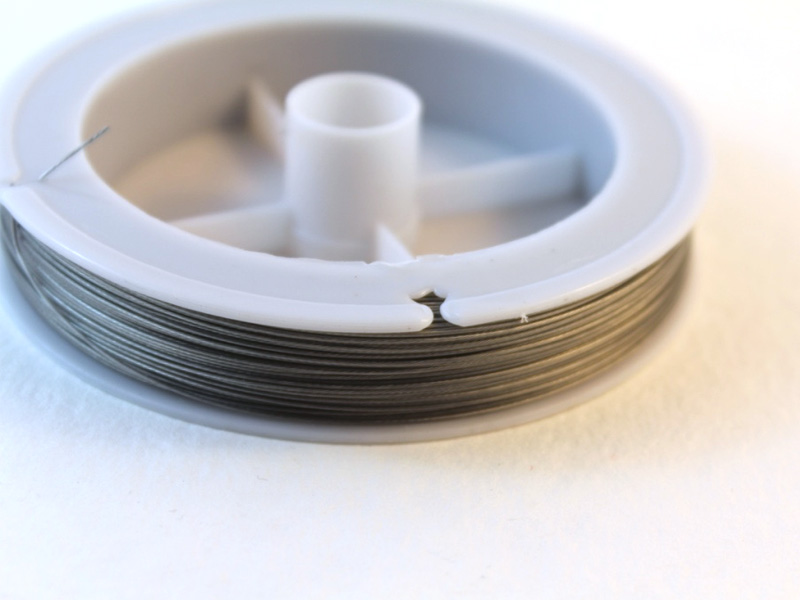
2: Tiger tail wire.
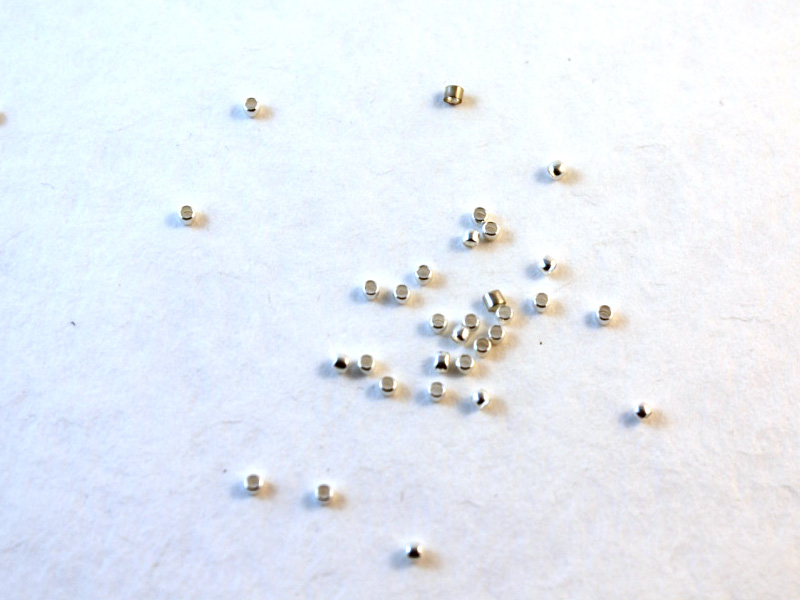
3: Crimp beads.
4: One lobster clasp.

5: One jump ring.

7: A ruler. You will need this to measure the distance between your beads.

8: Beads of your choice. I used some pearls as the centerpiece of this floating bead necklace and two hematite beads to finish off the ends of the necklace.


Pearls are the epitome of elegance, grab some pearls of your own right here:
The Steps:
1: Measure out a length of tiger tail wire to your desired necklace length. The effect of the floating beads will have a greater impact if you keep your necklace to a collar length.
2: Cut the length of tiger tail wire using the cutting pliers.

3: Take one bead and thread it onto the tiger tail strand. Pull it through until it is at the center of the piece of tiger tail wire.

4: Add a crimp bead to either side of the center bead.

5: Use the flat nose pliers to carefully squash the crimp beads either side of the center bead to secure it in place in the middle of the tiger tail wire.


6: Add another crimp bead and use the ruler to work out where to place your next bead. I placed my beads roughly 3cm (approx 1.4 inches) apart.

7: Carefully squash the next crimp place before adding the second bead and crimp bead.

8: Squash the crimp on the other side of the second bead to secure it in place. If you are using pearls like I did be careful not to damage the surface with the pliers.

9: Repeat steps 6 to 8 for the remaining beads, placing them either side of the first center bead that you added to the strand.


10: Once all your beads have been secured in place, add two crimp beads followed by a hematite bead and a final crimp as well as the lobster clasp to the end of the wire. Fold the end of the wire around the lobster clasp and through the crimps and bead.

11: Carefully squash the crimps on either side of the hematite bead to secure the clasp in place.


12: Once the crimps have been secured, use the cutting pliers to trim the excess tiger tail wire.

13: Repeat steps 10 to 12 to secure the jump ring to the other side of the necklace.

14: Once the clasp and jump ring has been secured in place your delicate floating bead necklace is complete. Pop it on for an elegant addition to your daily style.

How will you style this sweet and dainty necklace? Get creative with your style and have fun making!
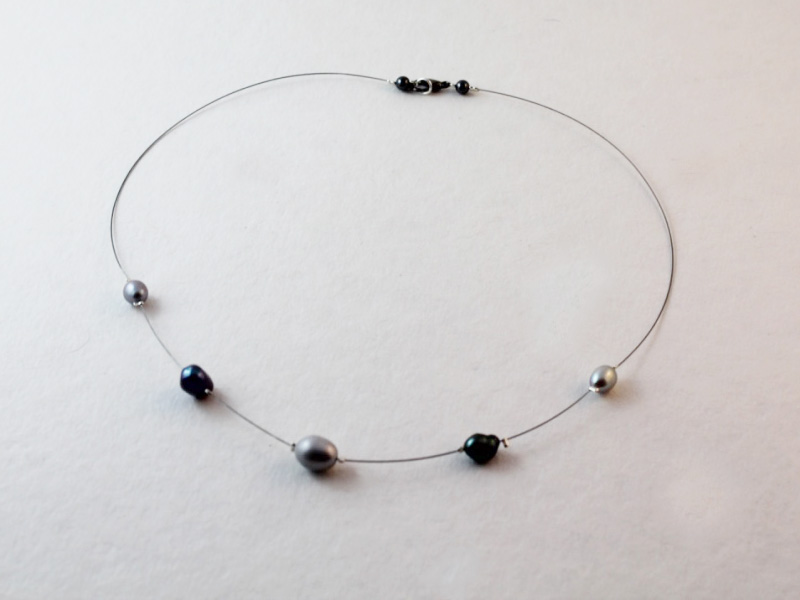

If you are a lover of modern pearl jewelry, we have a load of amazing tutorials for you:
- Dangly pearl and shell earrings
- Pink pearl and rainbow bead anklet
- Rainbow pearl beaded necklace
- Multi-color beaded pearl hoops
- Pearl tassel hoop earrings
- Plastic and pearl stud earrings
- Chilli and pearl single statement earring
- Brightly colored pearl drop earrings
- Faux pearl bobby pin
- Simple silver pearl threader earrings
- A delicate pearl earring for double pierced earrings
- Faux pearl charm necklace
- Pearl lariat necklace
- Faux pearl and rhinestone statement ring
-
How to Make Some Simple and delightful Earrings
Do your ear lobes look a little bare? Do you need some new earrings? DIY Jewelry Hub has all the information you need on how to make earrings and it really couldn’t be any easier! Follow these step-by-step instructions and you’ll have your own pair unique earrings to dangle from your ears in no time.
You will need the following tools and materials to make these earrings:
1. Pliers
To make these earrings you will need your flat nose pliers, round nose pliers and cutting pliers.

2. Two head pins

3. Earring Hooks

4. Beads of your choice.
For these earrings I used some square amethyst beads and some hematite accent beads.


The Steps
1. Add beads to the head pins


2. Once all your beads are on the pins, bend them on a right angle using the round nose pliers.


3. Trim each pin so that they there is 1cm protruding from where the beads end. Make sure you hold onto the pin to prevent the cut end from flying away from you.
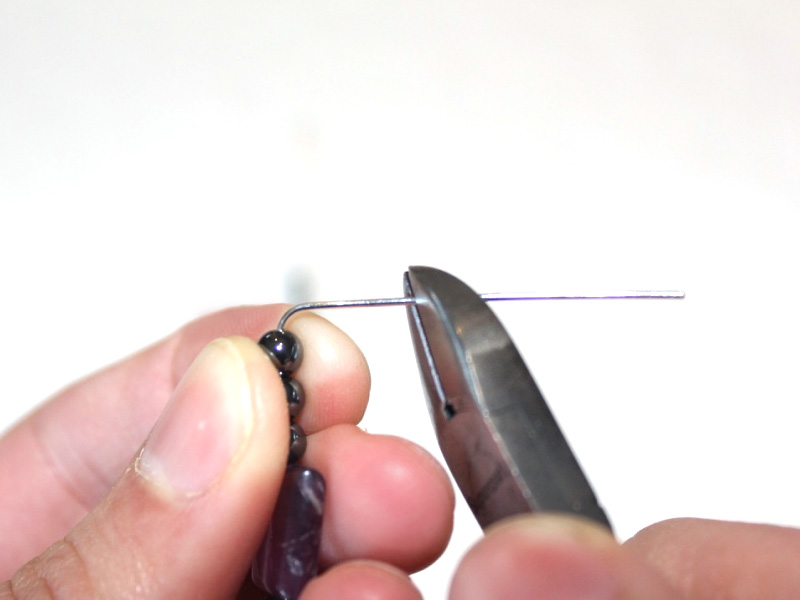
4. Bend the trimmed pins using the round nose pliers to form a circular loop, to do this you need to bend the pin around one of the round nose barrels in the opposite direction to the previous bend you made. Make sure you do this for both earring charms.

5. Use pliers to open the earring hooks.

6. Slip a beaded charm onto each earring hook.


7. Once your charms have been attached you can close the loops so that they are secure.

8. Well done, Now your earrings are complete! You can put them on right away and wait for the compliments to roll in.