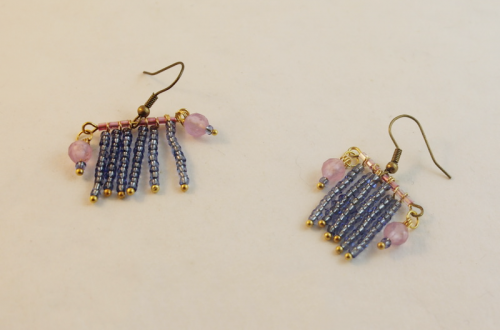
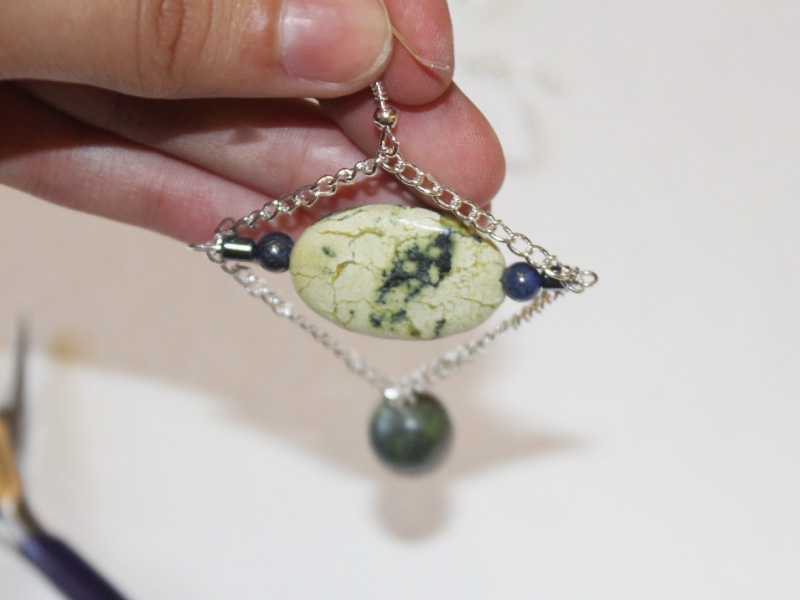
-
Want a new pair of hoops? Here’s how to turn two pieces of wire into a unique pair of wiggle hoop earrings.
Want to work with metal but don’t want to invest in all the equipment? Then this tutorial is for you! Follow along to make a unique pair of wiggle hoop earrings using pliers and some wire. I love how simple but stunning this tutorial is. Please note that this tutorial contains affiliate links from which we may receive a small commission.
You’ll need the following tools and materials to make your wiggle hoop earrings:
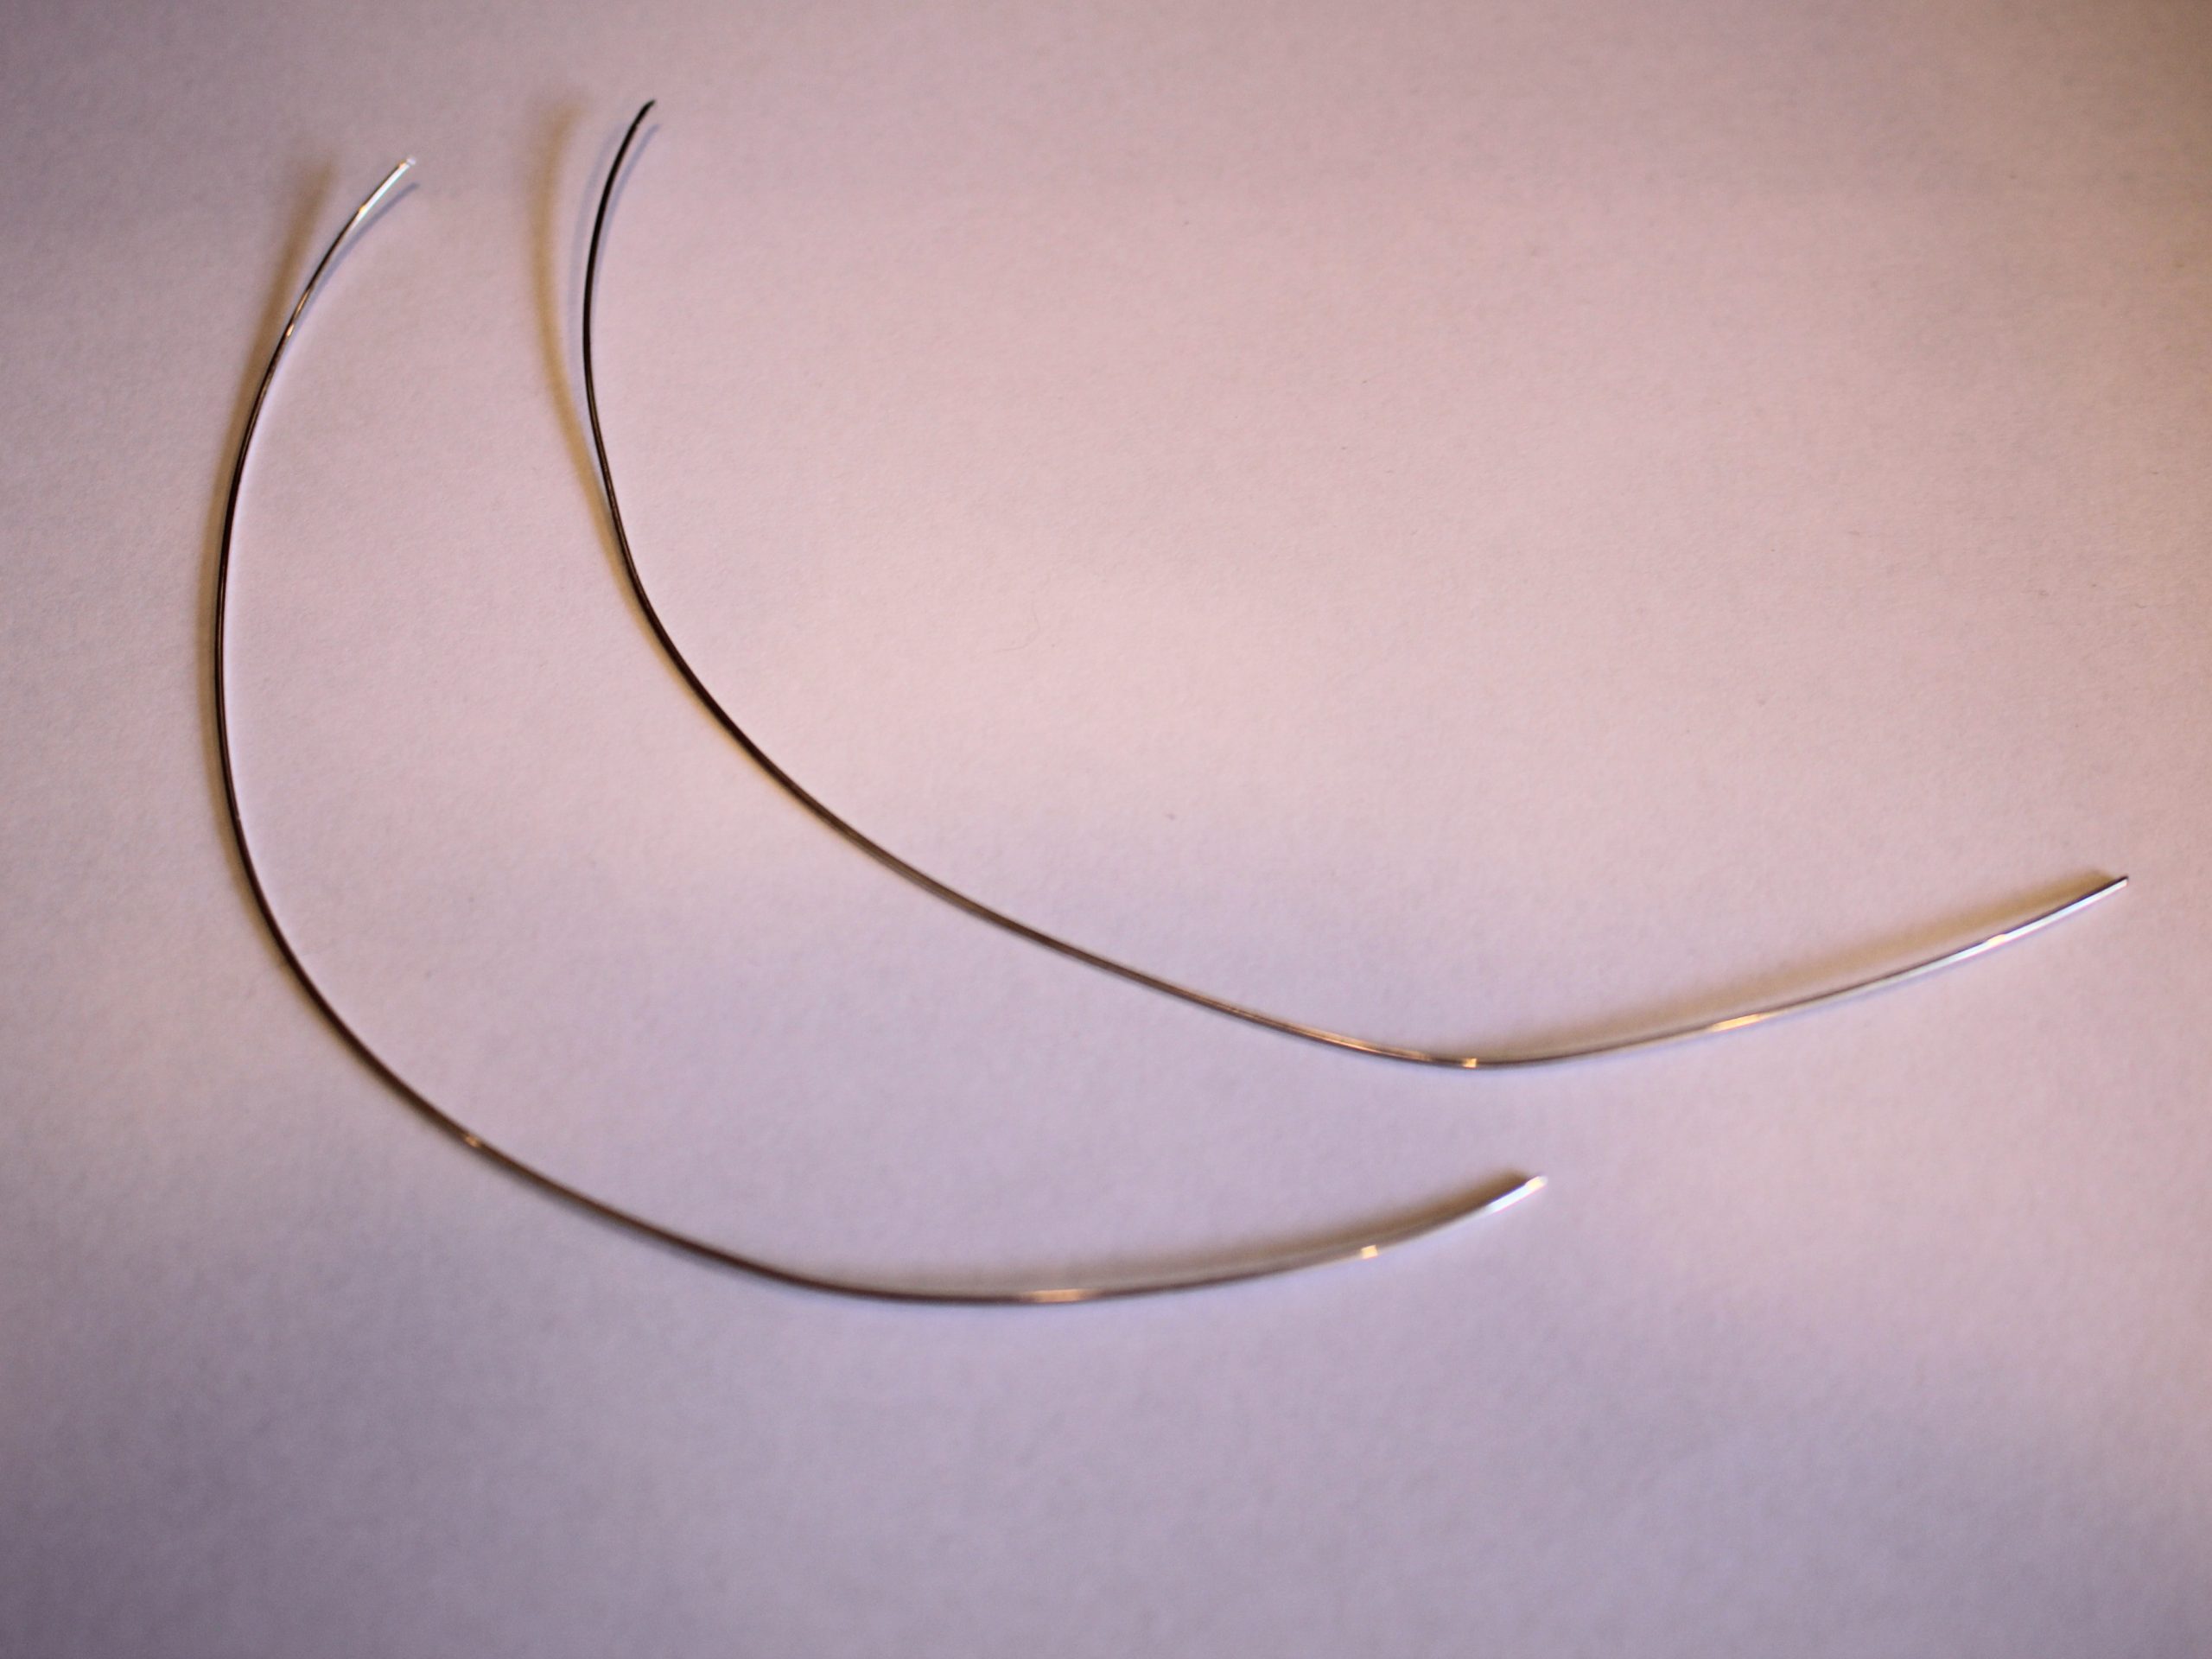
1: Two pieces of wire, I used 0.8mm diameter sterling silver and cut mine to be about 18cm long each.

You can get silver wire here:
If you’re feeling fancy, you can get solid gold wire here:
2: A jewellery file or emery paper to ensure that the ends of the wire aren’t too sharp.

You can get a jewellery file here:

I have my emery paper attached to a stick for more control. You can get some here:
3: Half round-Flat pliers. These pliers have a half-round side and a flat side to make curves.

You can get a pair here:
4: Round-flat pliers.

You can get a pair here:
5: Parallel pliers.

You can get some here:
6: A bangle mandrel or something else that is the right diameter so you can shape your earrings into a circle.

You can get one here:
7: Butterfly backs.

You can get butterfly backs here:
8: A nylon or leather hammer for shaping the earrings against the mandrel (Don’t use this if you are shaping your earrings around something breakable).

You can get a hammer here:
9: Sticky tape. I used plastic tape but masking tape would likely be more suitable.
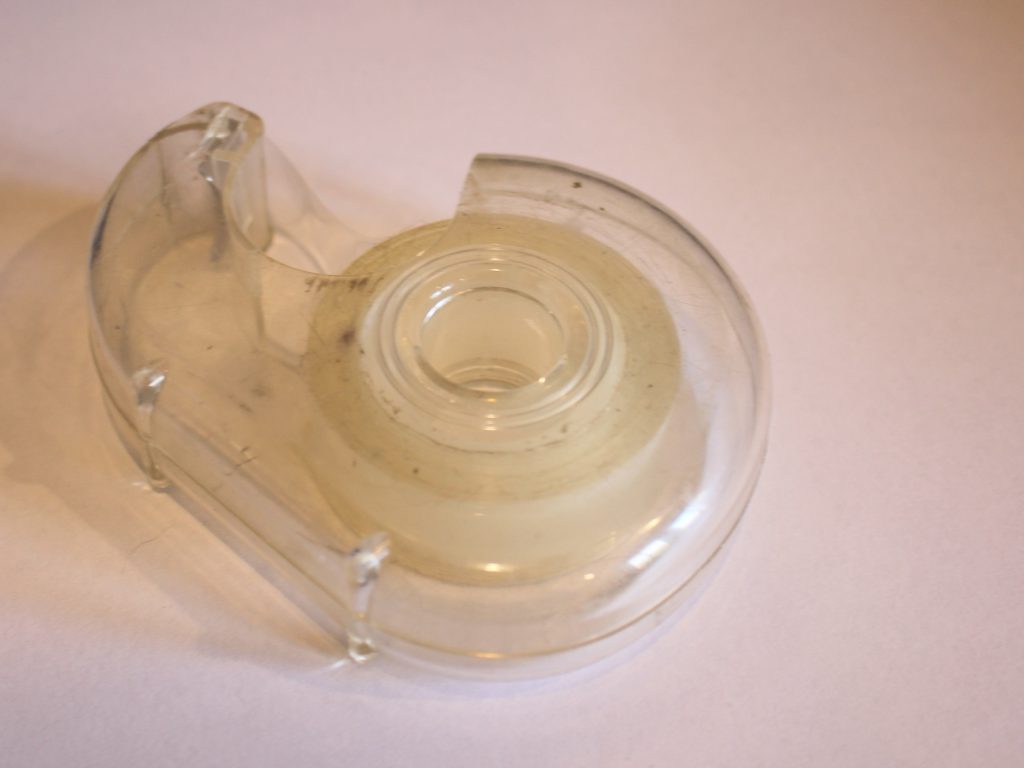
You can get masking tape here:
Follow these steps to make your own pair of hoop earrings:
1: File the ends of the wire so that they are flat and have no sharp edges.

2: If you have emery paper, sand the ends as well to further break down any sharp ends.
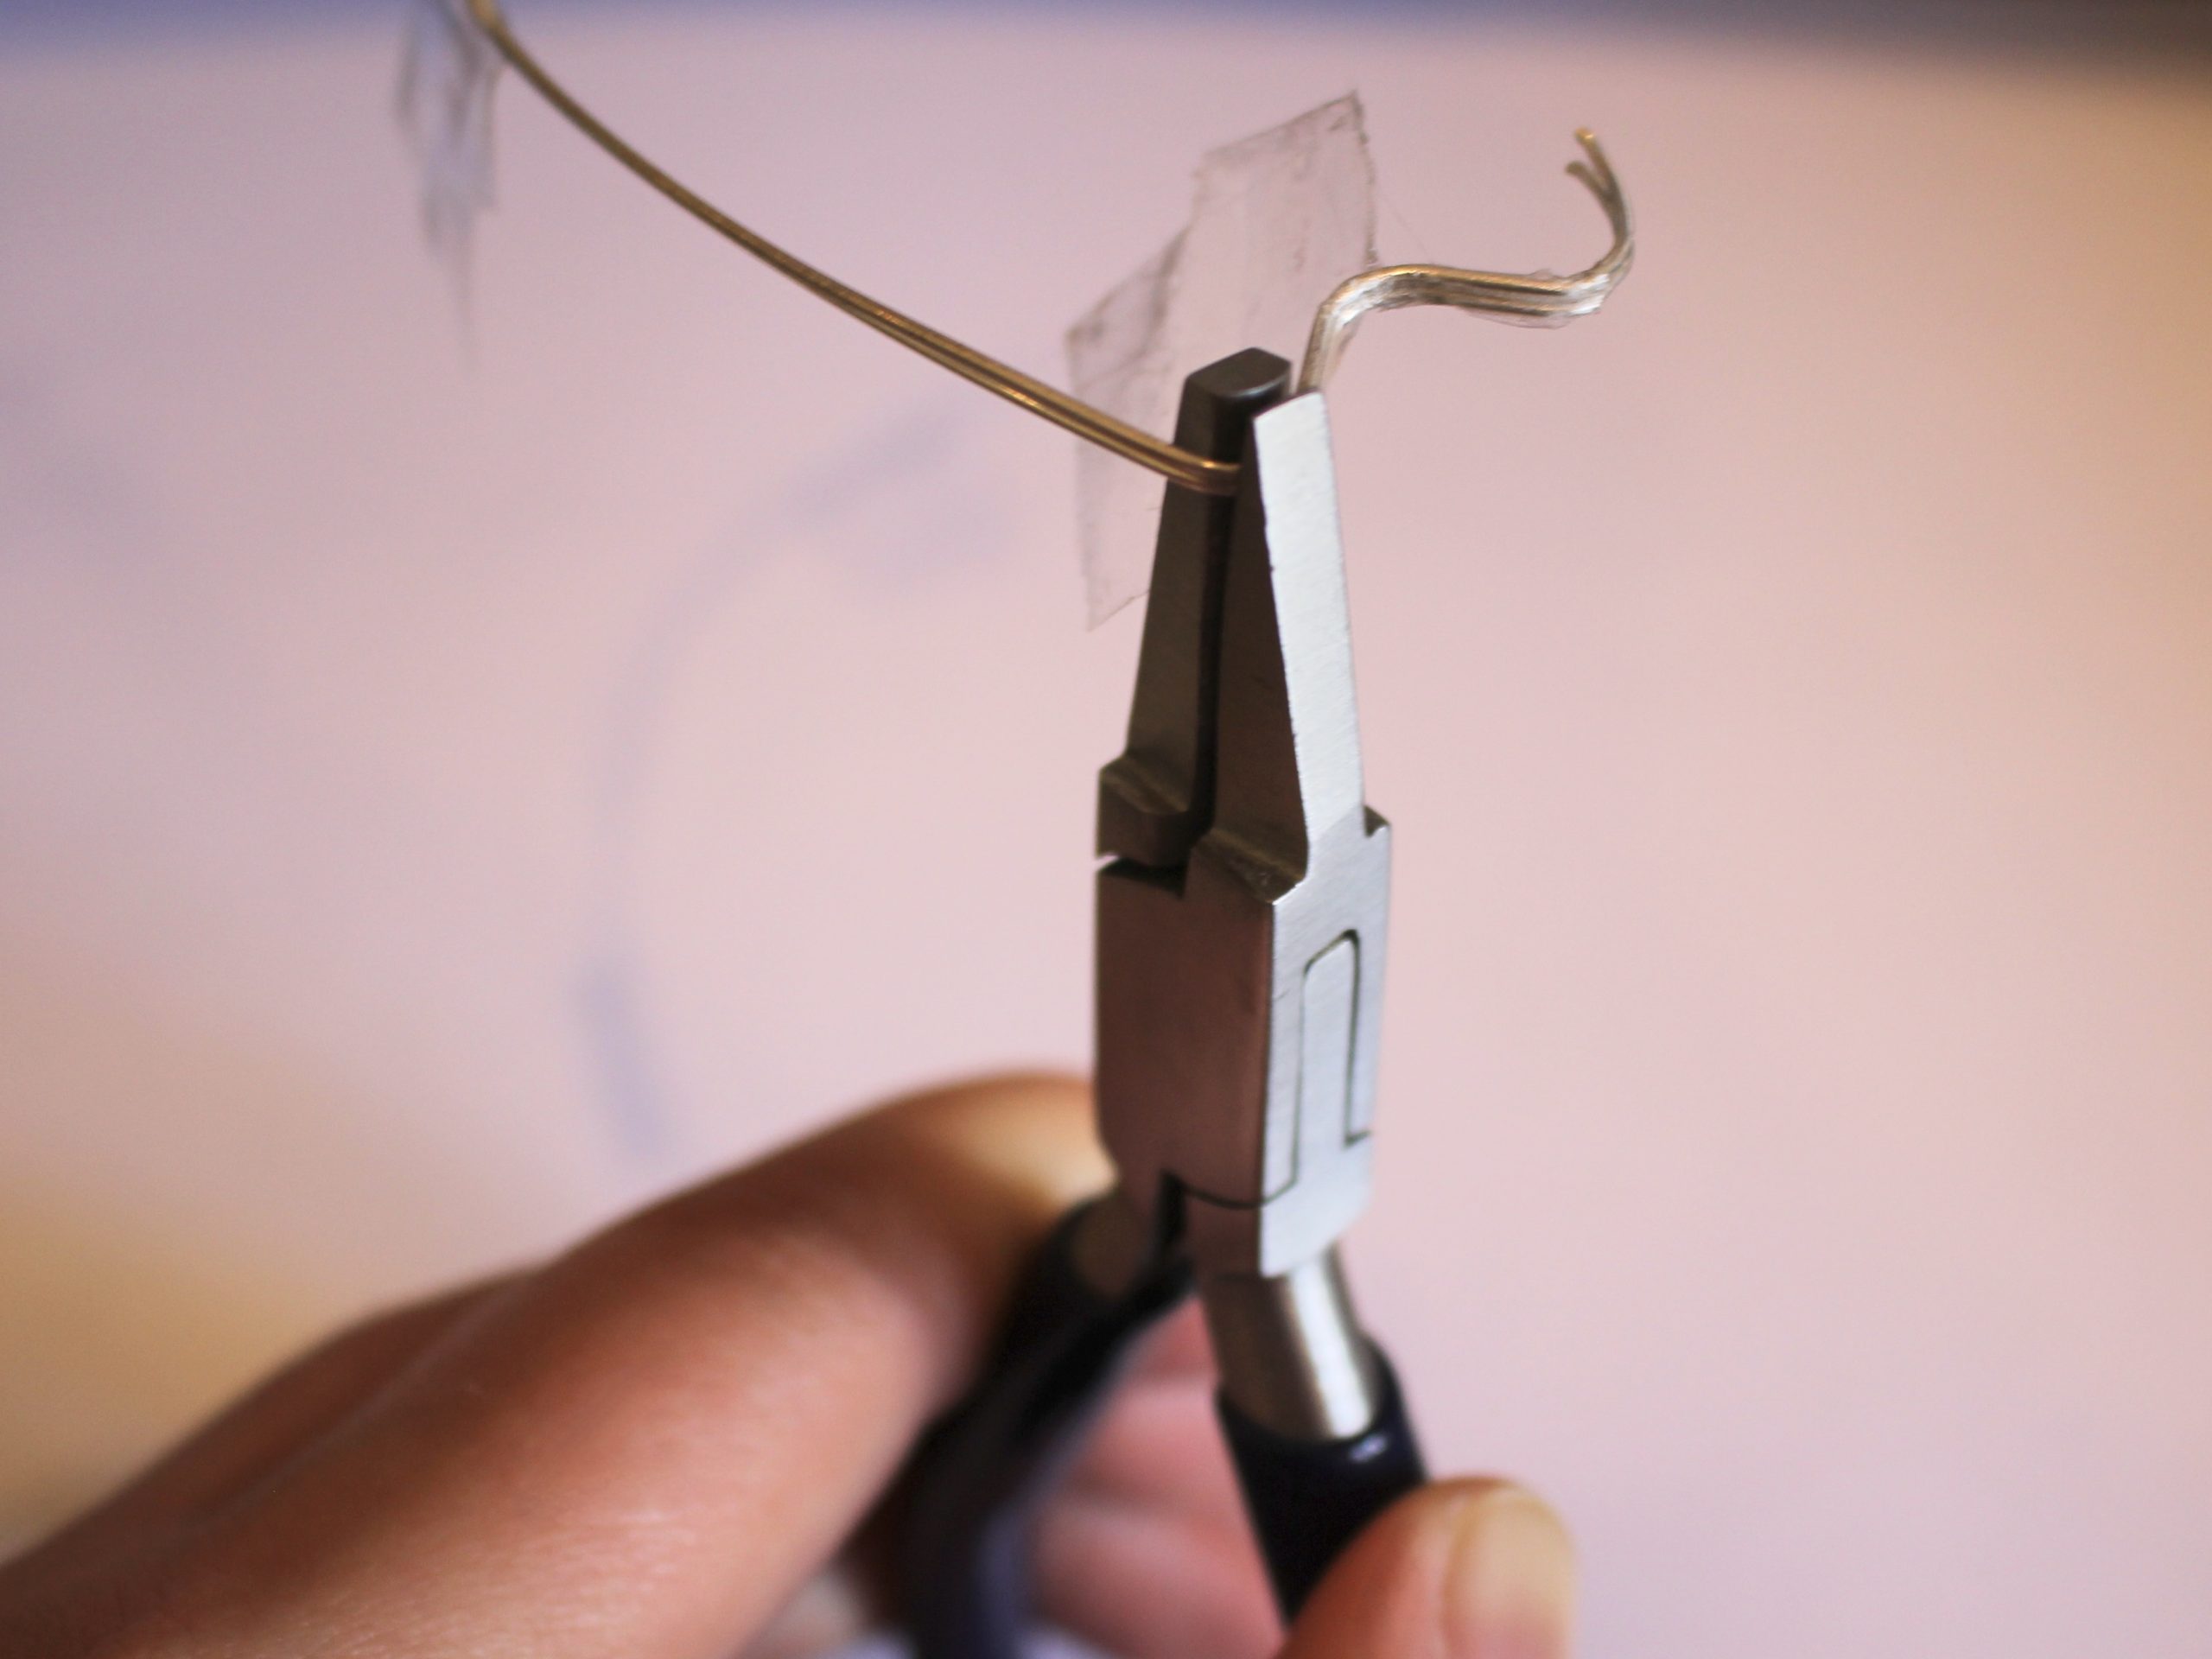
3: Tape the two pieces of wire together.

4: Take your half round-flat pliers and create the first bend at the end of the wire by clamping the wire into the jaws of the pliers and pressing them together.

5: Flip the pliers around and place them on the other side of the wire and repeat step 4 to make a curve in the wire in the opposite direction.

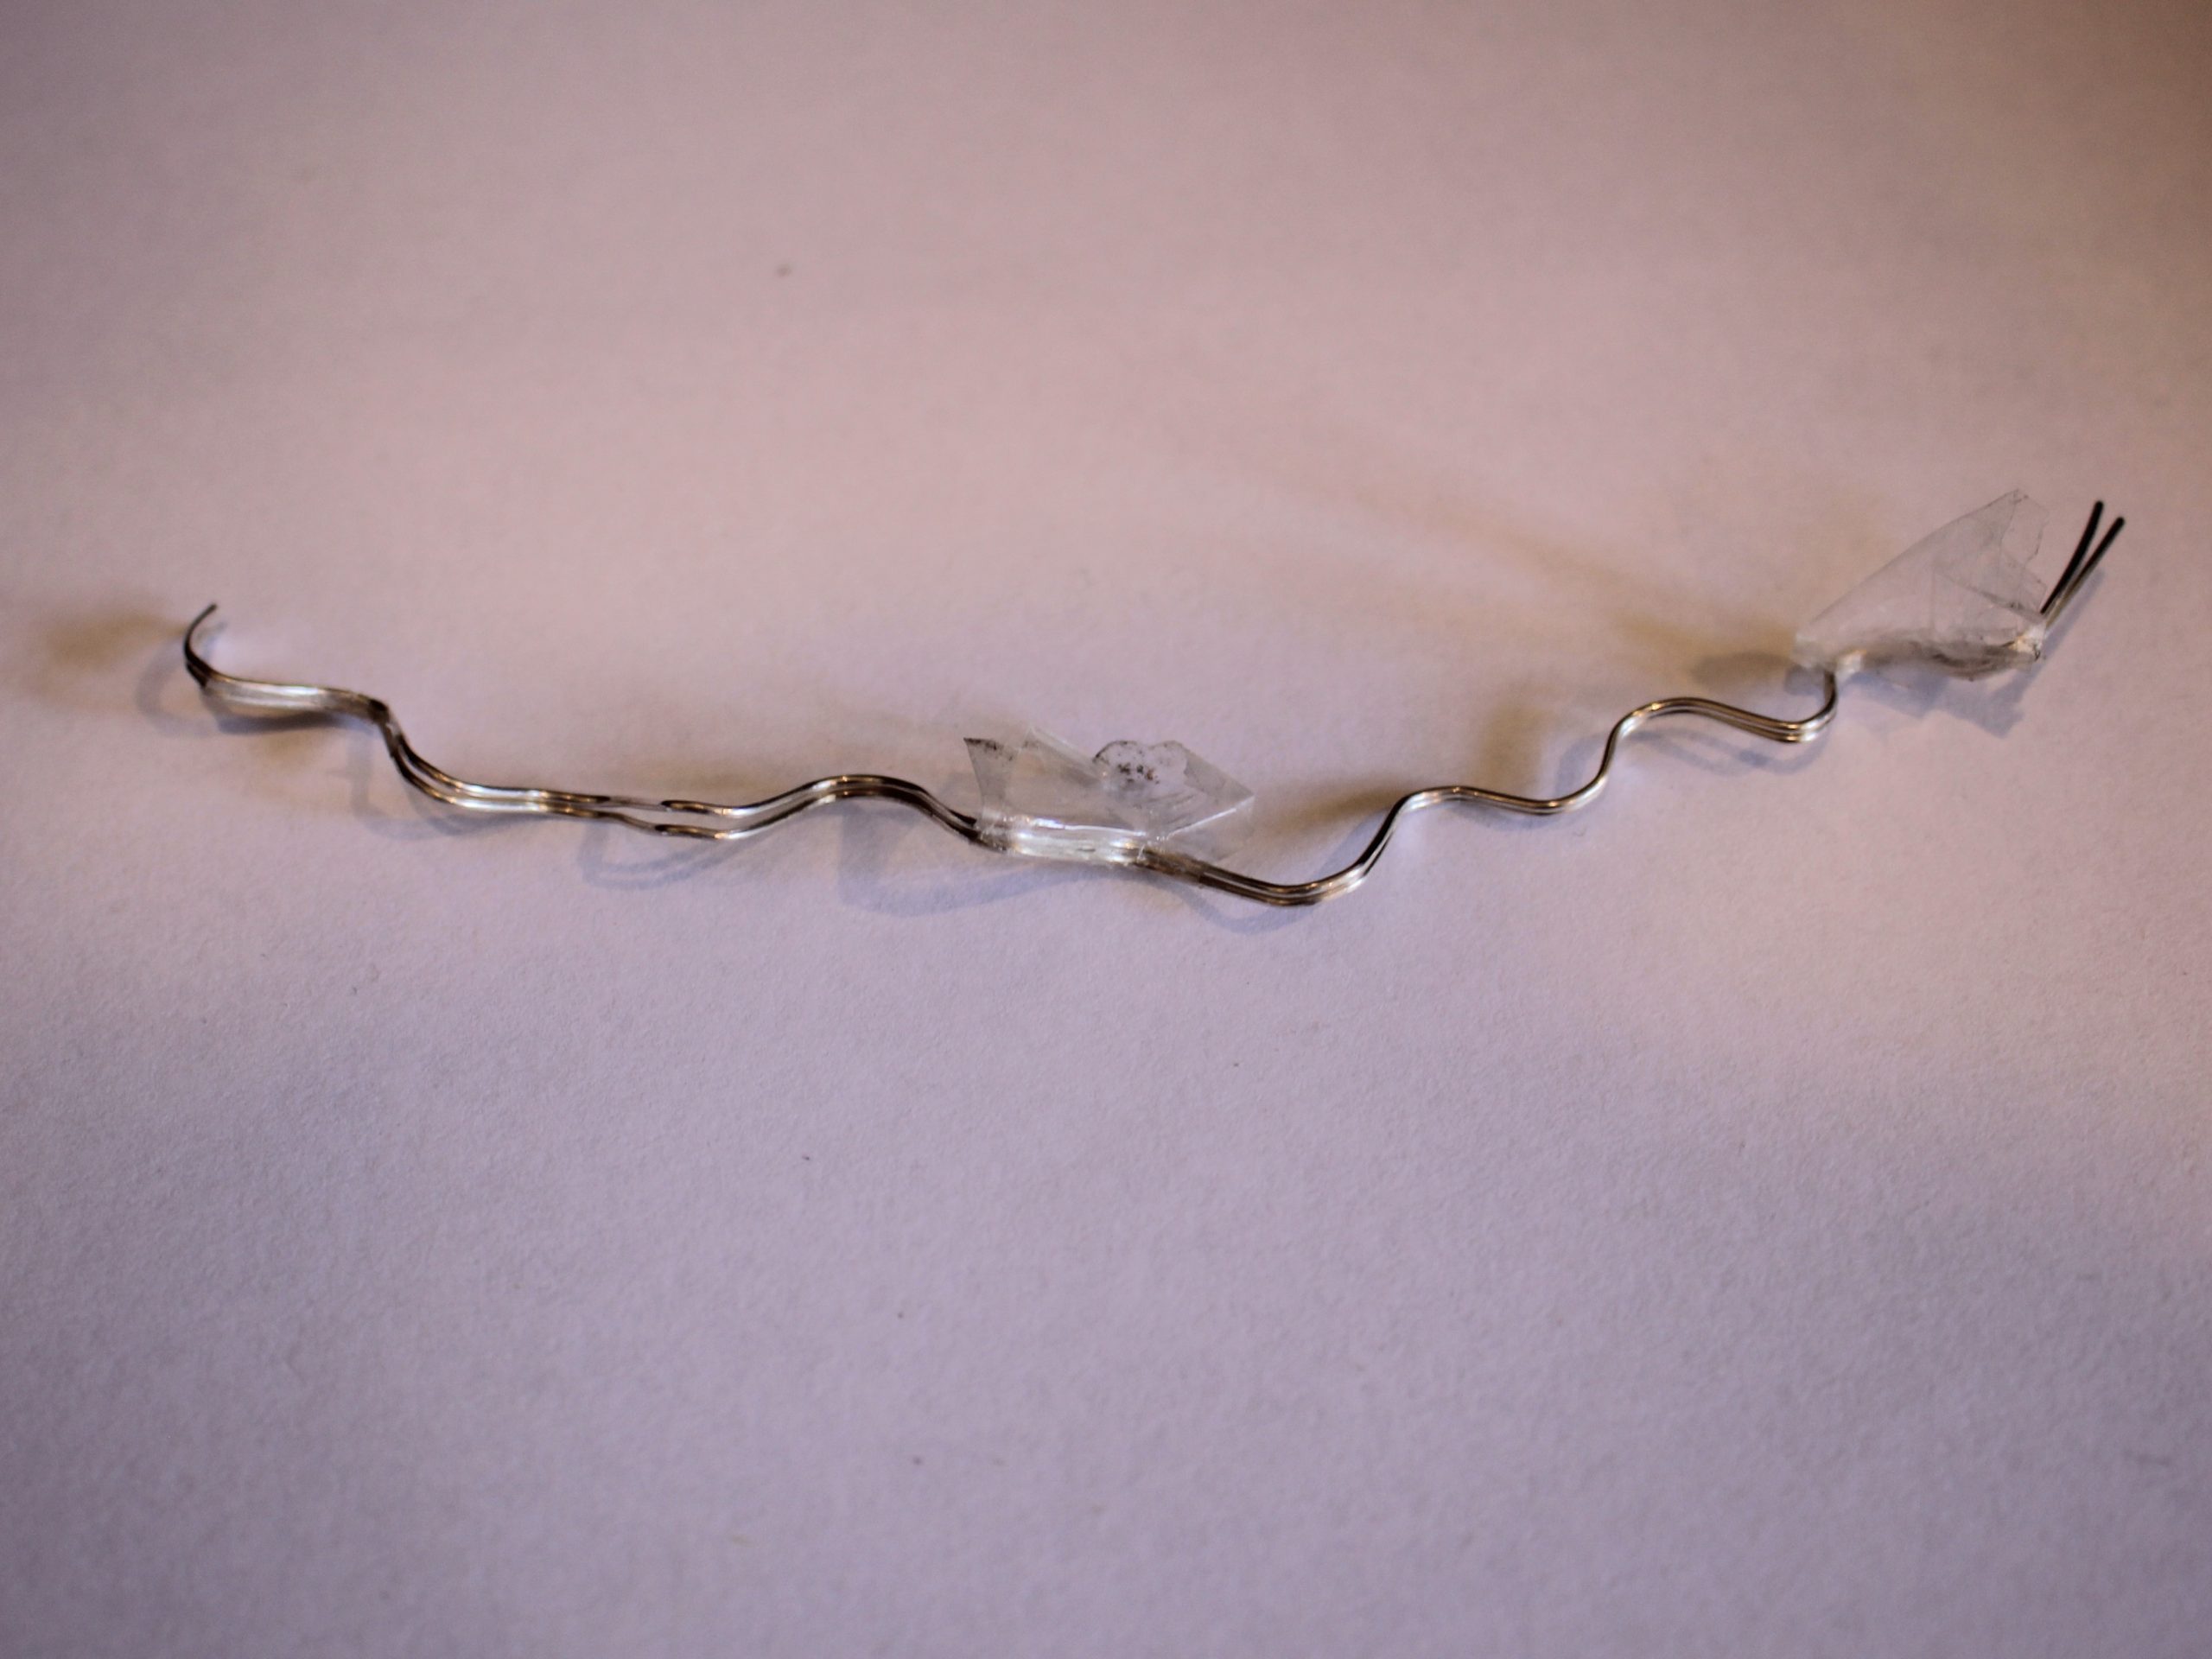
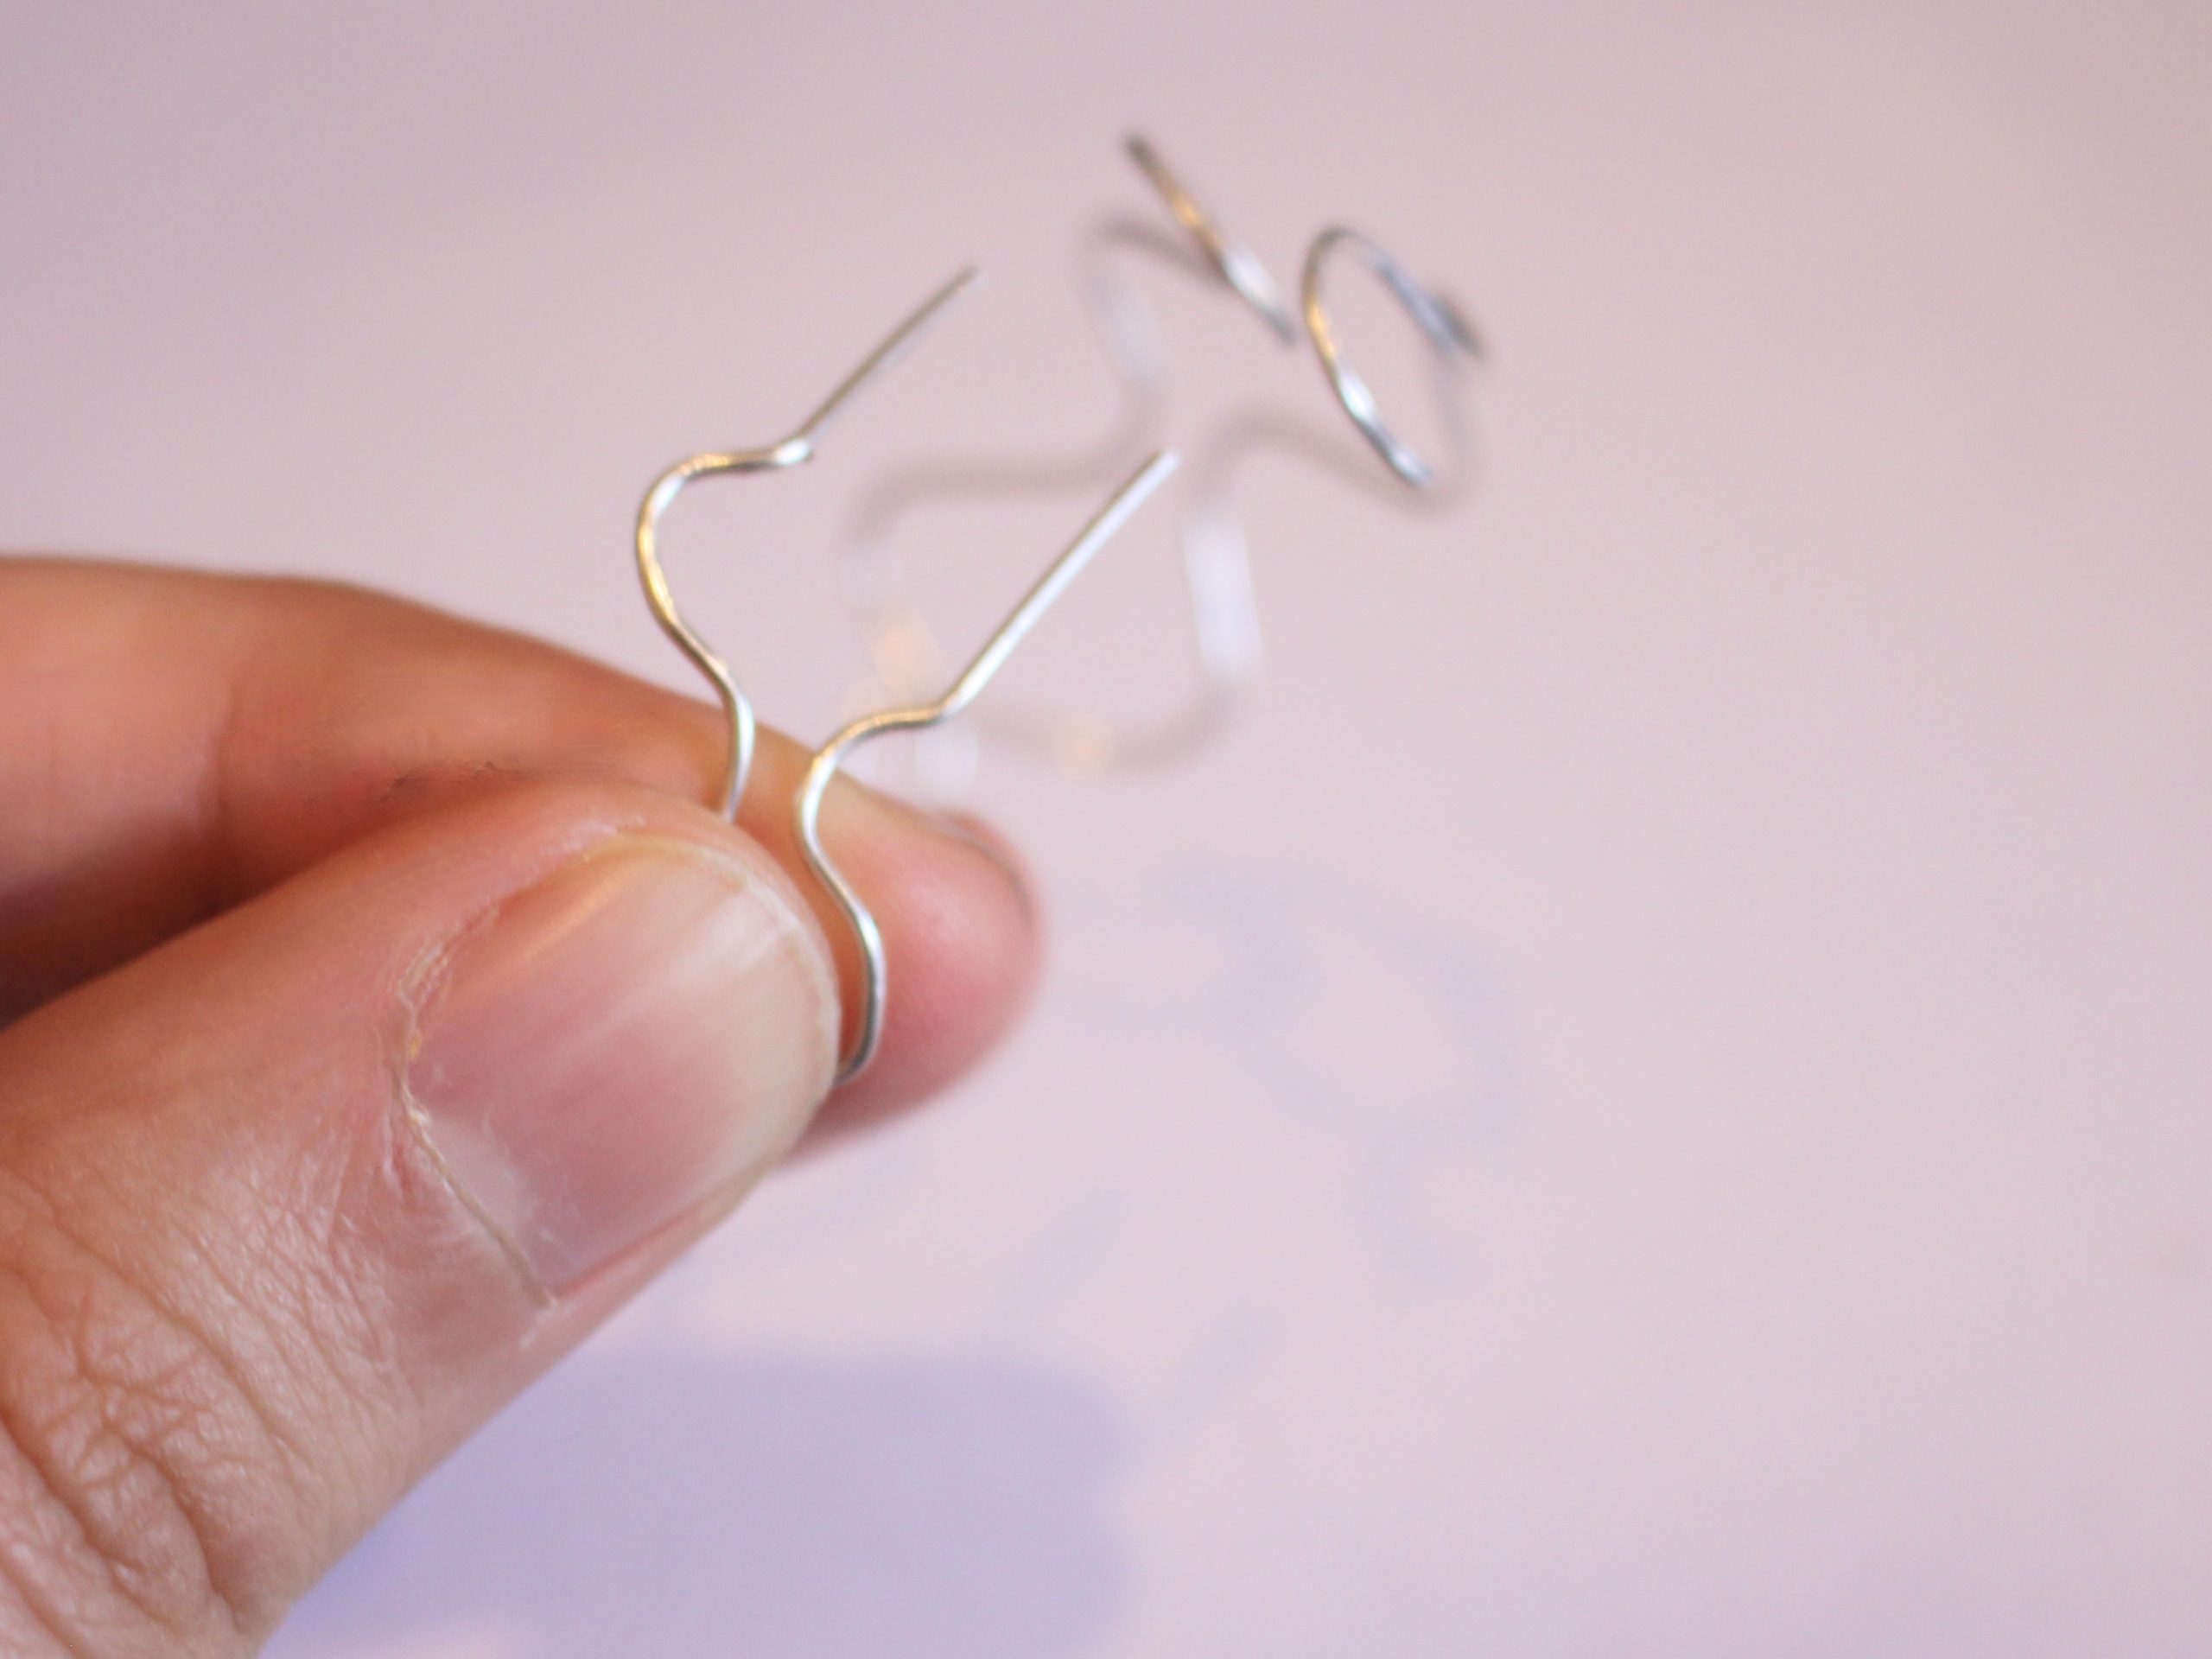
6: Repeat steps 4 and 5 until your pieces of wire are formed into a squiggle shape, but leave about 1cm at the end for the earring post.


7: Remove the tape and separate the wires.
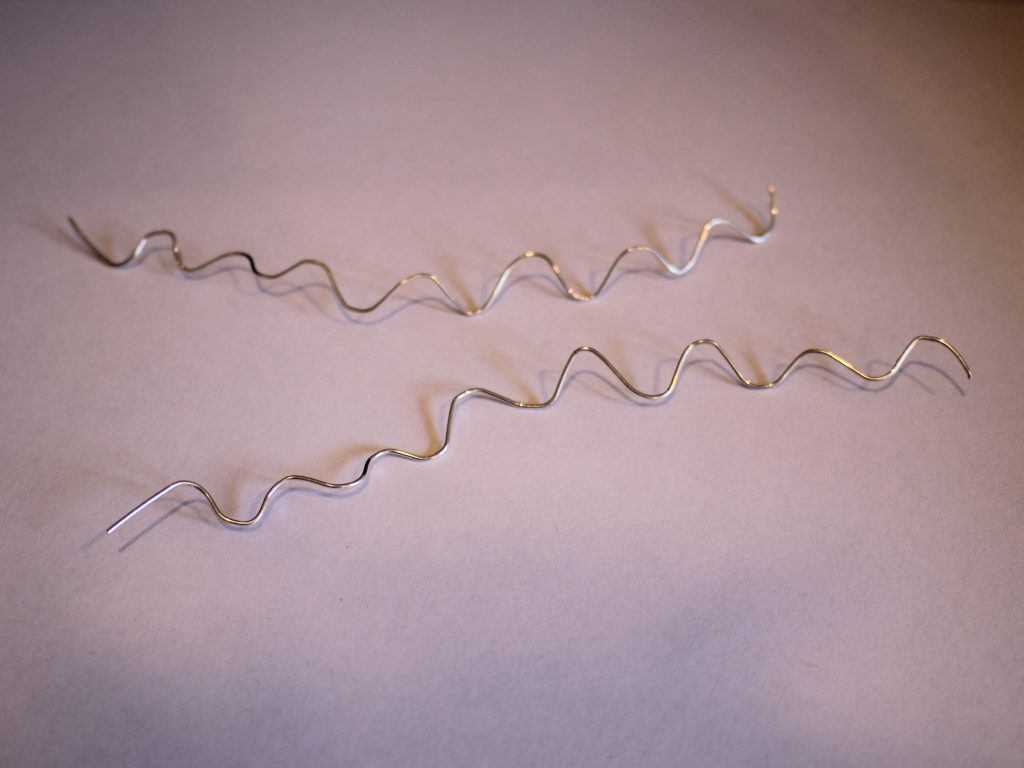
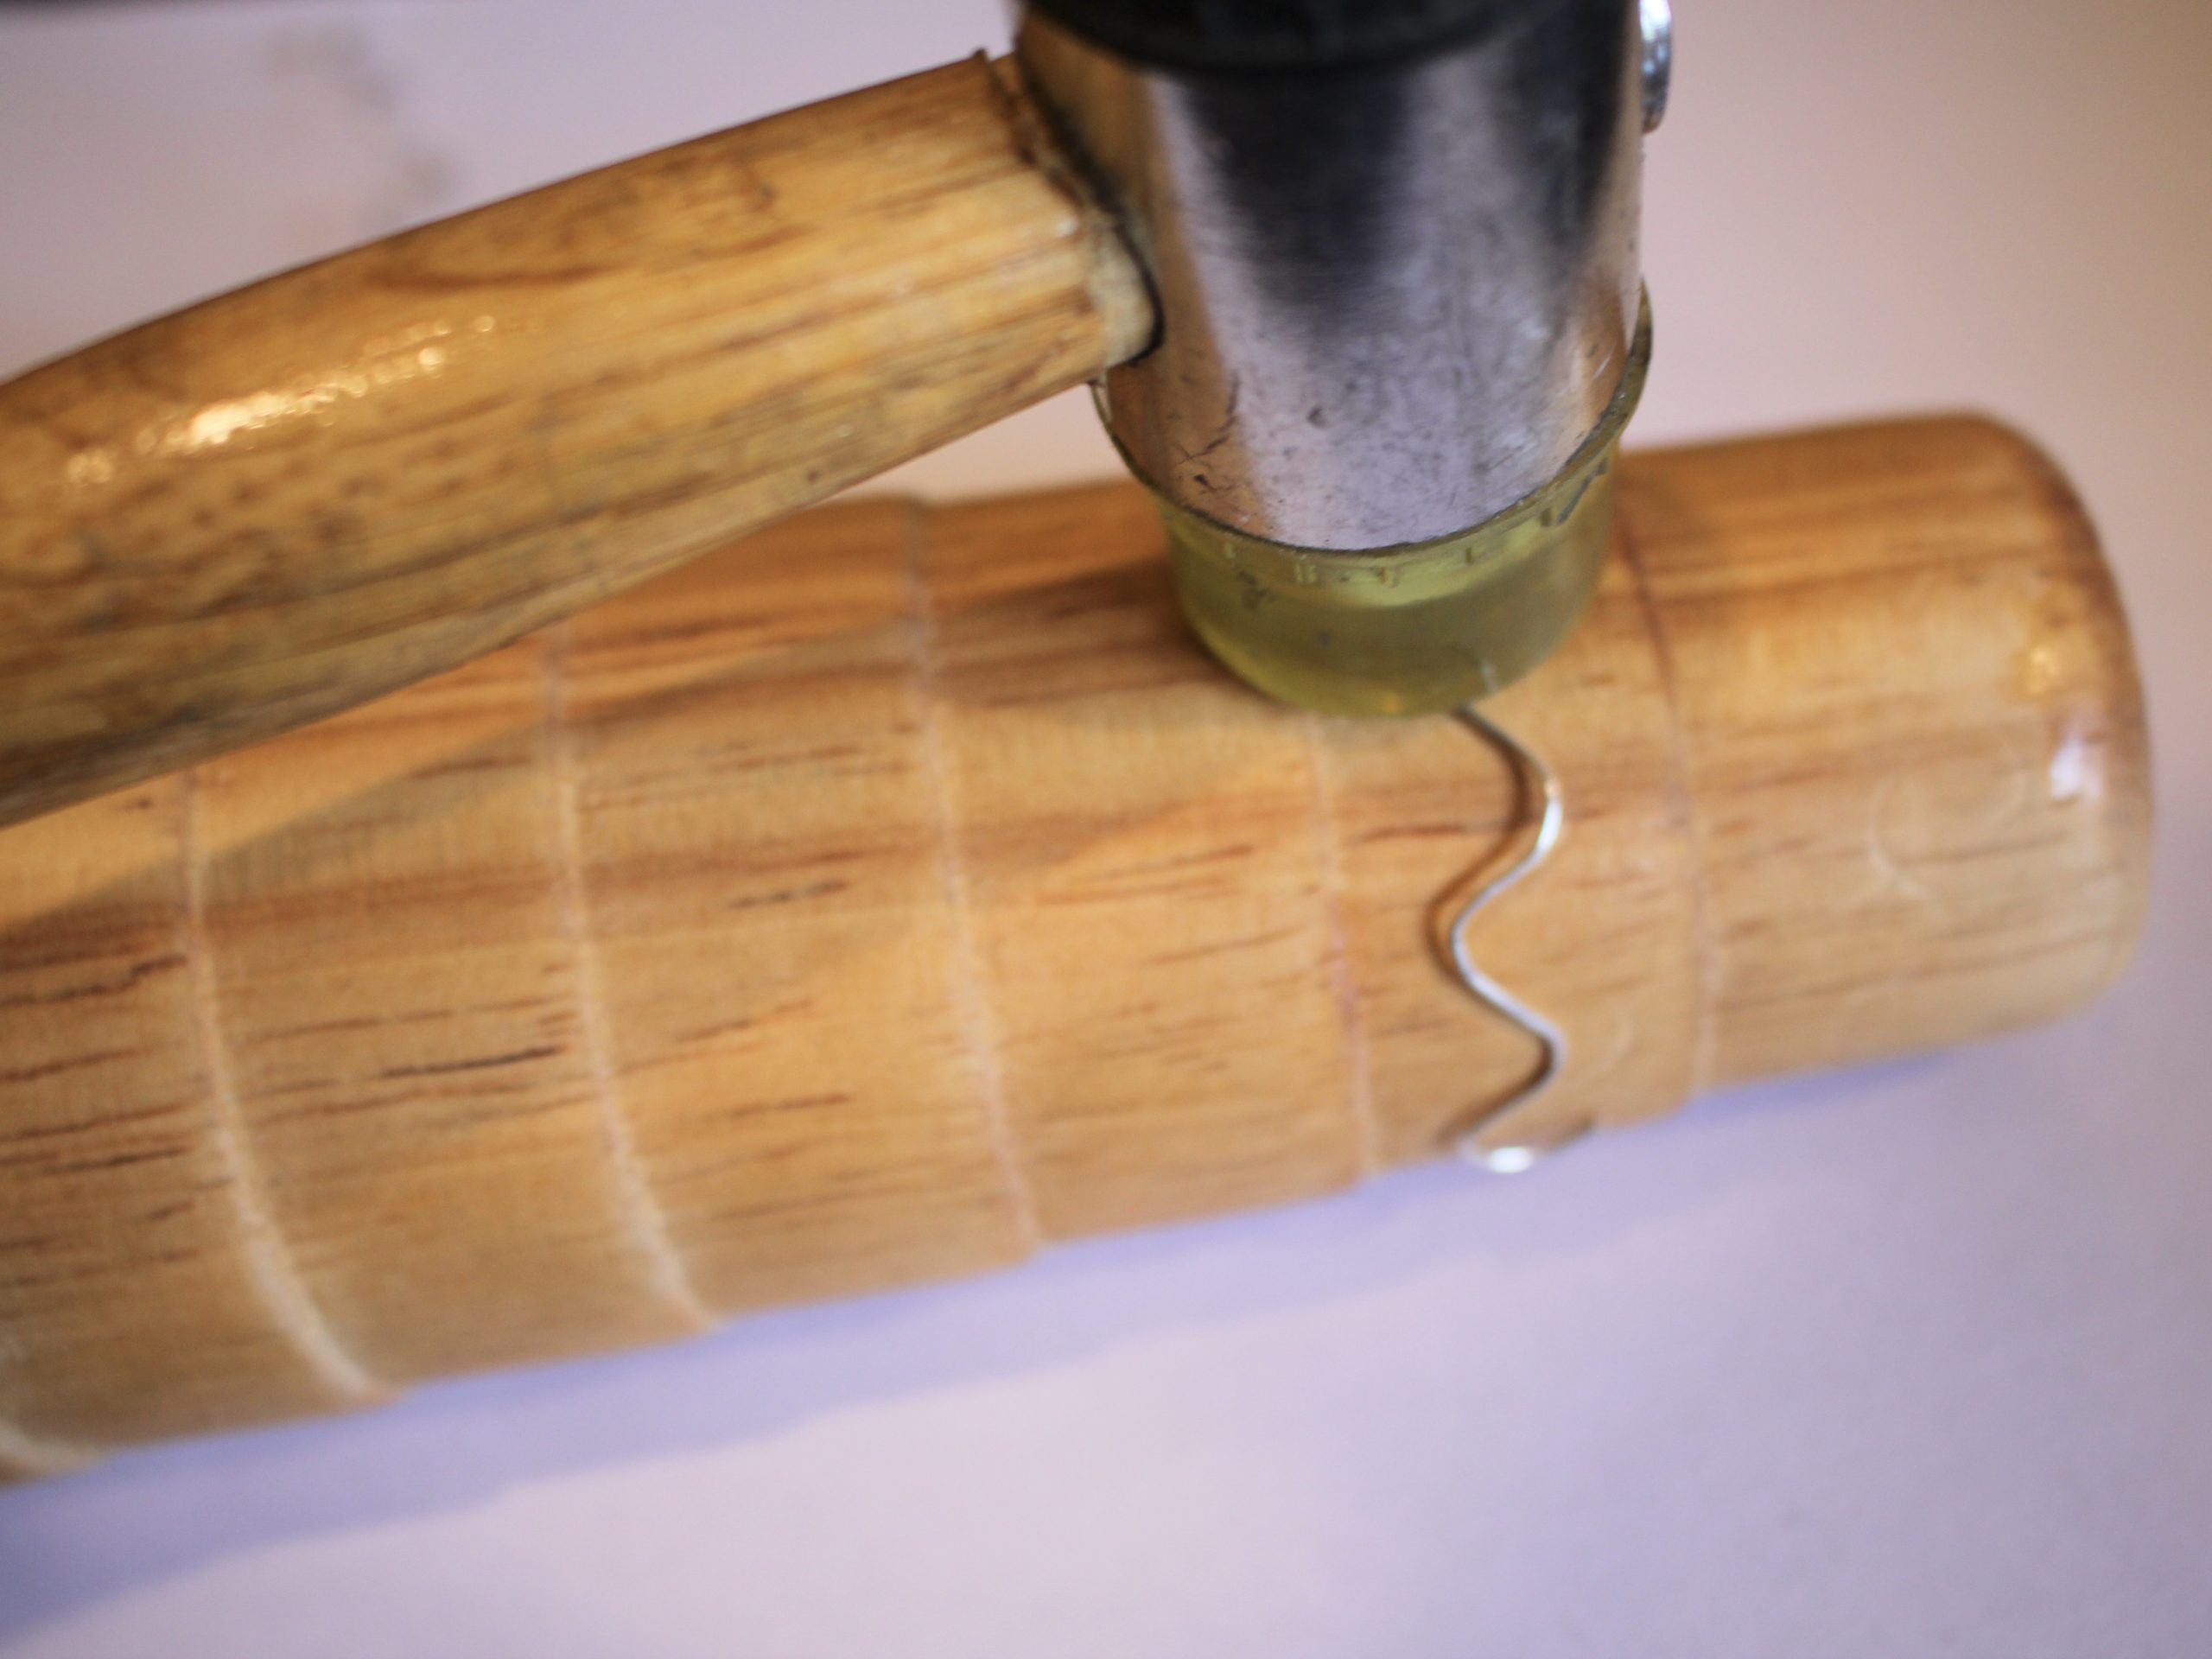
8: Wrap the wire around the bracelet mandrel to form it into the earring shape. Use the nylon hammer to hammer it into shape. Repeat this for both of the earrings.


9: You can further adjust the shape of the earrings by pressing the half round-flat pliers around the earring, making sure to match the curve of the pliers with the inner curve of the earrings. Doing this will add more tension to your earrings to help them hold their shape.
10: When you are happy with the shape of your hoops, Take the round flat pliers and push the straight ends of the wire around so they sit sideways.


11: Then take your parallel pliers and use them to adjust the straight ends of each earring so that they are centered in the middle of the wiggle to sit evenly in your ears.


12: Once you have adjusted the ends, your earrings are finished and ready to wear. Pop the butterfly backs on to secure them on your lobes.

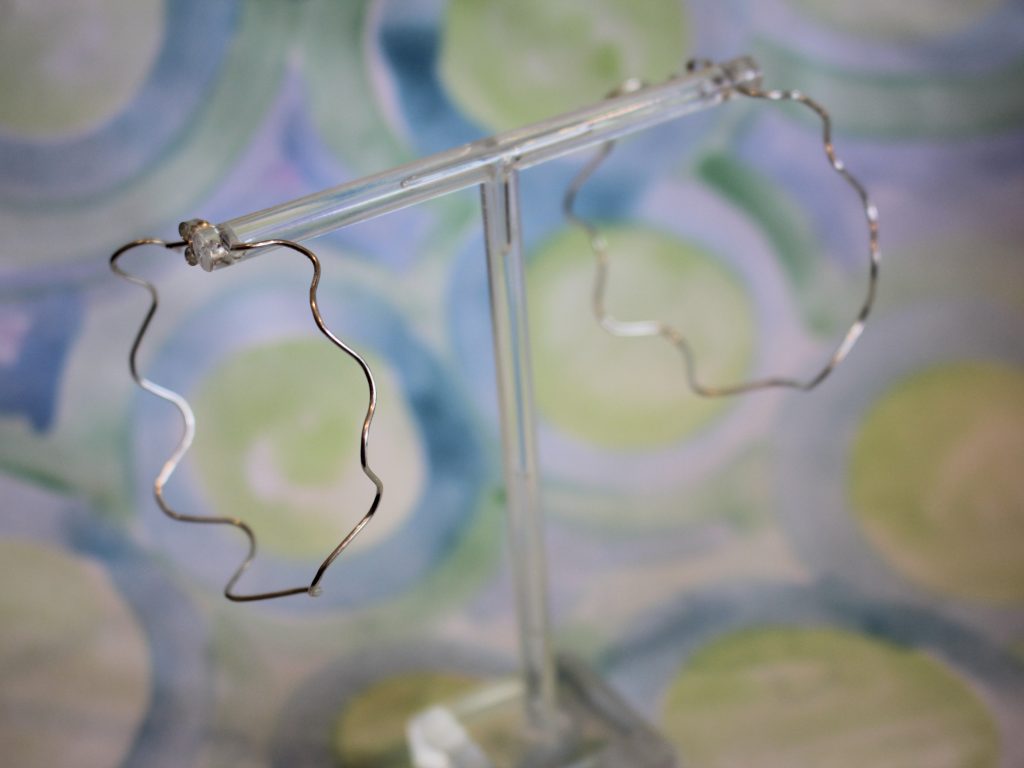
Here’s how the finished product looks! How will you style yours?


-
How to make some stud earrings at home out of wire.
These wire earrings are super cute! Hammer some wire flat and then curl the ends to create some adorable little stud earrings that you can stack in multiple piercings.
You’ll need these tools and materials to make these stud earrings:
1: Cutting pliers, flat nose pliers and round nose pliers.

2: A hammer.

3: A steel hammering block.
4: Two small pieces of wire, around 4-5cm long. I used this rose gold filled wire.

5: A file or some sandpaper.
Follow these steps to make your cute little stud earrings.
1: Take the wires and place them on the hammering block.
2: Hammer one end of the wires flat using the hammer. Leave 1cm untouched.


3: Bend the wires at a right angle using the flat nose pliers. Bend at the point where the flat side ends.


4: Curl the flattened ends around the round nose pliers to form a little loop.


5: File or sandpaper the ends of the wires so that they are smooth and comfortable to wear.
6: Pop some butterfly backs onto each earring to finish them off.

Now your cute little curled wire earrings are finished and ready to wear! Super adorable and fun.

-
How to make a charm embellished threader earring…
Are you looking for a way to use the charm you made in this tutorial? Why not make a cool single statement threader earring. This earring looks so cool in a second piercing or worn on its own! This tutorial contains affiliate links.
The Materials
You’ll need the following tools and materials to make this earring:
1: Pliers. I used my round nose pliers and cutting pliers.


2: A piece of wire at your choice of length, mine was approximately 6.5cm long. My wire was a piece of rose gold-filled wire approximately 0.65mm wide.

3: A pen or something else round to form your earring wire around.

4: A file or course sandpaper to smooth the ends of the wire.
5: The charm you made in this tutorial.

The Steps
Follow these steps to make your single charm threader earring:
1: Cut your wire to the desired length using cutting pliers.
2: Place your wire on the pen and gently bend it around to form a curve that will allow it to stay in your lobe. I made it so that one side was longer than the other.


3: Create a loop on the short end of the bent wire using the round nose pliers.

4: Open the loop slightly to attach the charm. Close it using your pliers to secure it in place.

5: File or sand the end of the wire so that it isn’t sharp any more.
Now your cute little charm threader earring is ready to wear!


Here’s another pair of charm threader earrings I made using silver wire and a square bending technique. The gemstone beads on this design are made of moonstone (the white round ones) and malachite (The green chip beads). I like to wear these next to each other in my double piercings, they look really cool when paired together.

Here are some other wire threader earring tutorials:
- Minimalist silver threader earrings
- Hammer texture arch earrings
- Rounded threader earrings
- Beaded threader earrings with hammered ends
This tutorial contains affiliate links.
-
I really love this design! Make your own gemstone arch earrings.
These arch earrings are really really cool! You make them by hammering some pretty wire and add your fave gemstones to make your own version. I used some cute pink rhodonite gemstone chip beads, what kind of beads will you use? This tutorial contains affiliate links.
Here are the tools and materials I used to make my gemstone arch earrings:
1: Pliers. I used cutting pliers for this design. I also used flat nose and round nose pliers on the jump rings.
2: Two pieces of wire. I used some gold-filled wire, approximately 8cm long.

3: A file or sandpaper for getting rid of the rough edges of the wire.
4: A hammering block.

5: A hammer. I used a normal hammer but a jewelry specific hammer might be better ;).
6: Earring findings. I used these gold-tone stud earrings.

7: Two jump rings.

8: Beads. As mentioned before, I used eight rhodonite gemstone chip beads.

9: Something round to bend your wires around. I used a permanent marker.

Follow these steps to make your own wire arch earrings:
1: Hammer one end of each of the wires. Hammer on the steel block and hit the wire on both sides so that it becomes wide and flat.


2: Add four beads to each of the wires.
3: Push the beads to the hammered ends of the wires.

4: Hammer the other end of the wires the same way as you did in step 1. Make sure you make the wires wide enough so that your beads don’t slip off.

5: File or sandpaper the ends of the hammered wires so that they aren’t sharp.
6: Take your wires, find the mid point and bend them around the permanent marker to form an arch shape.


7: Add the earrings to each of the arches using the jump rings.


Now your arch earrings are finished!


Here’s another pair I made with some round gemstone beads.

Here’s a pendant version with thicker wire and glass beads.

This tutorial contains affiliate links.
-
Here’s how to make some cute studs out of some wire!
These tiny studs are made using a hammer and some gold-fill wire, I love them!

You will need the following tools and materials to make your wire stud earrings.
1: Two short pieces of wire. I used some rose-gold fill wire.

2: A steel block.

3: A hammer.

4: Some plastic nose pliers for bending the wire.

5: A file.
Follow these steps to make your wire stud earrings:
1: Place the wires on the steel block and hammer one side of each wire flat.


2: File the ends of the wires so that they are smooth.
3: Fold the wires around the pliers. Make sure you leave the posts long enough to fit in your lobes. I had to adjust mine a little bit after I took this photo.


4: Add the earring backs and now you’re done! How cute are these little guys?

Here’s another pair I made using thicker gold-fill wire.