-
Glasses Holders

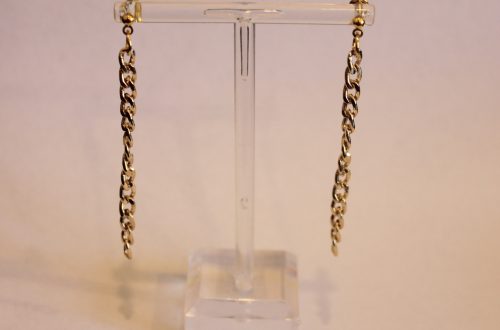
These findings are great for attaching to chains to make useful glasses holders. Great for making sure that you don’t lose your glasses during fun summer activities.
Here are some glasses chain tutorials:
-
These triangle earrings are SICK! Make yours today!
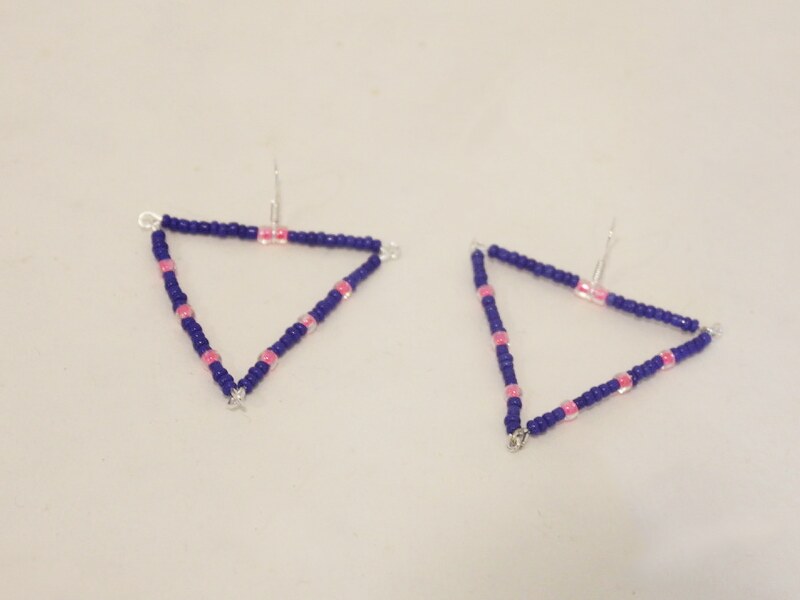
Remember the tutorial for these triangle earrings? Here’s another way to make some cool triangle dangles.
You will need the following tools and materials to make your earrings:
1: Pliers. You will need your round nose pliers and flat nose pliers.


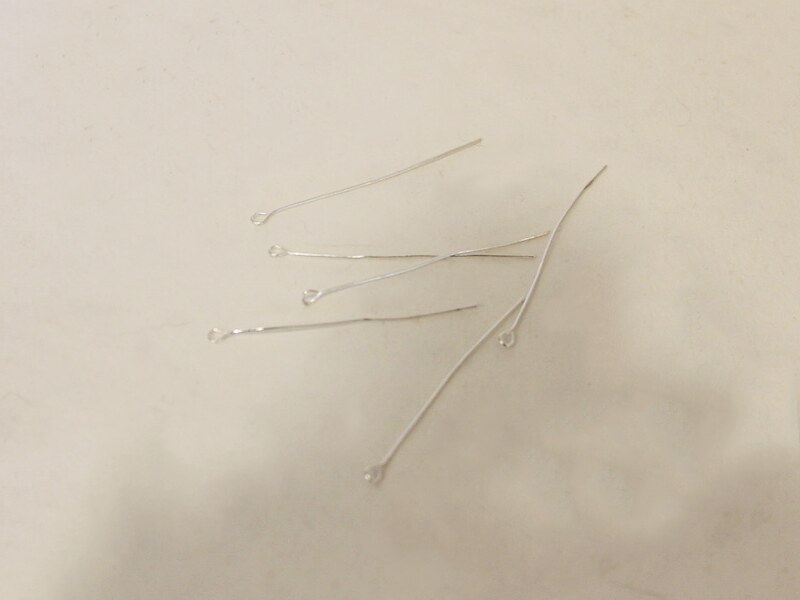
2: Six eye pins.
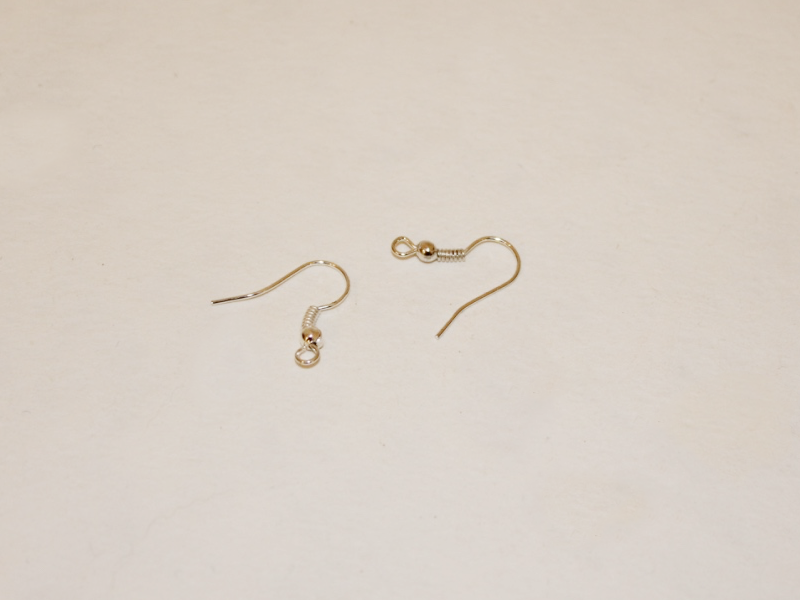
3: Two earring hooks.
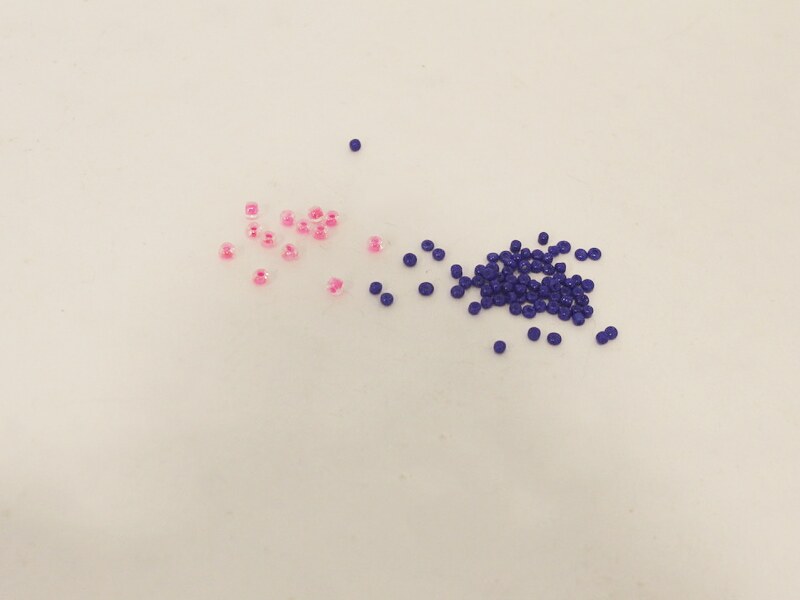
4: Beads of your choice. I used these blue and pink glass seed beads.
Follow these steps to make your triangle earrings:
1: Add beads to one of the eye pins in a pattern of your choice.
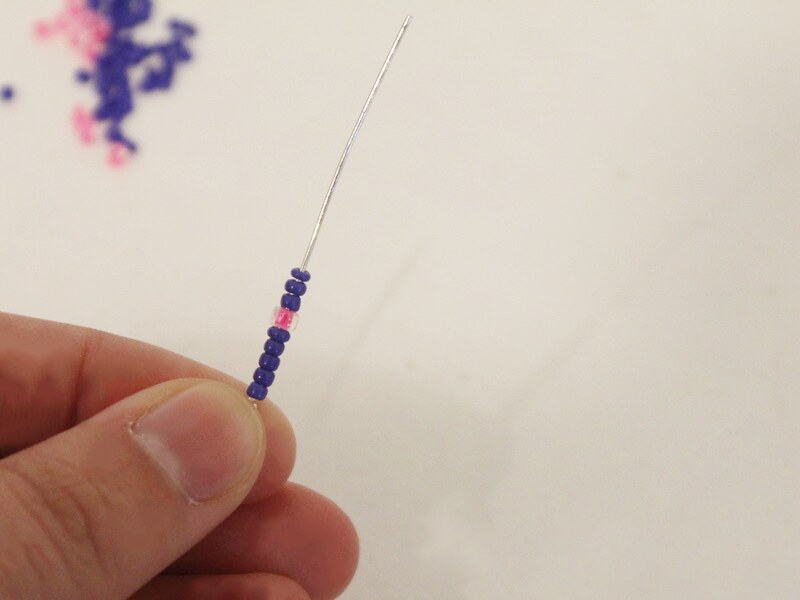
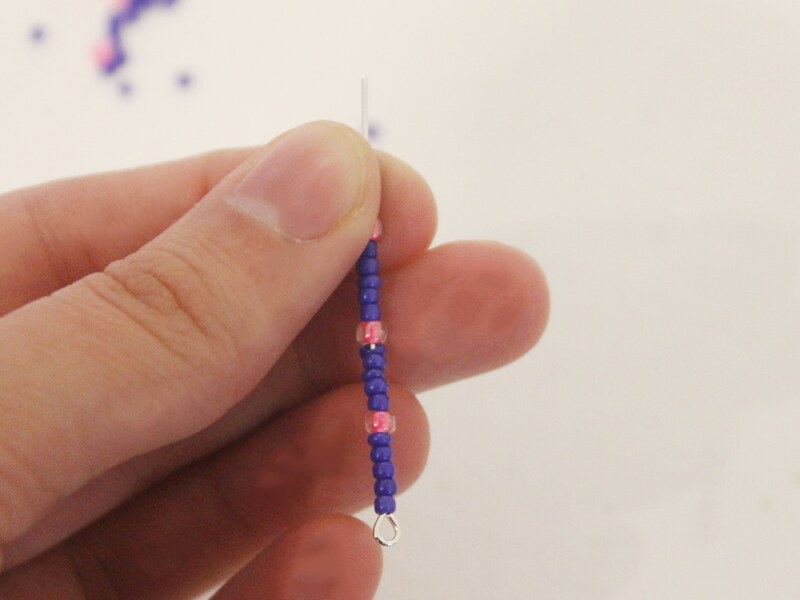
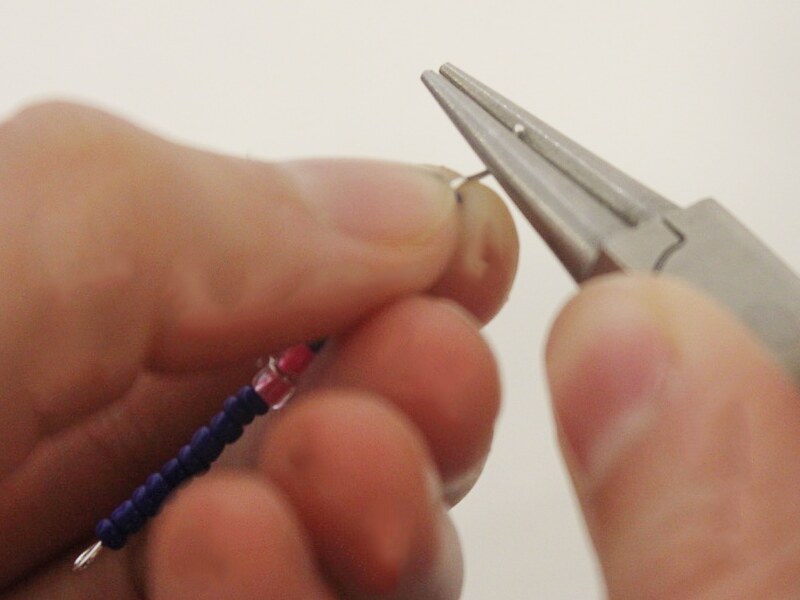
2: Bend the end of the pin to a right angle.
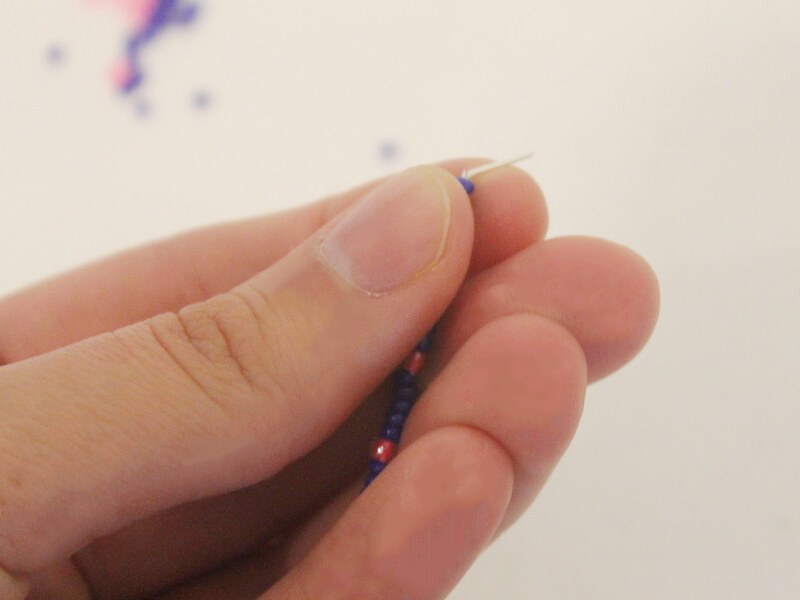
3: Loop the end of the pin using round nose pliers.
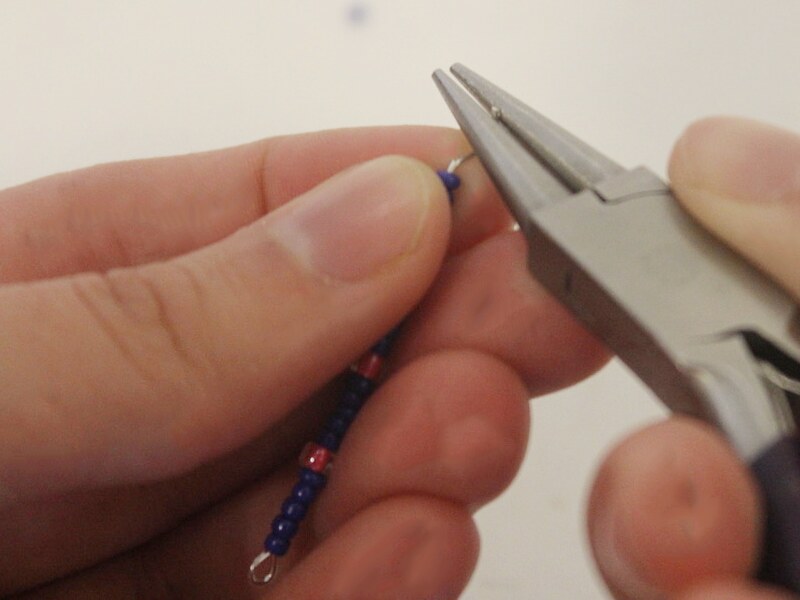
4: Repeat steps 1-3 for three more of the eye pins.
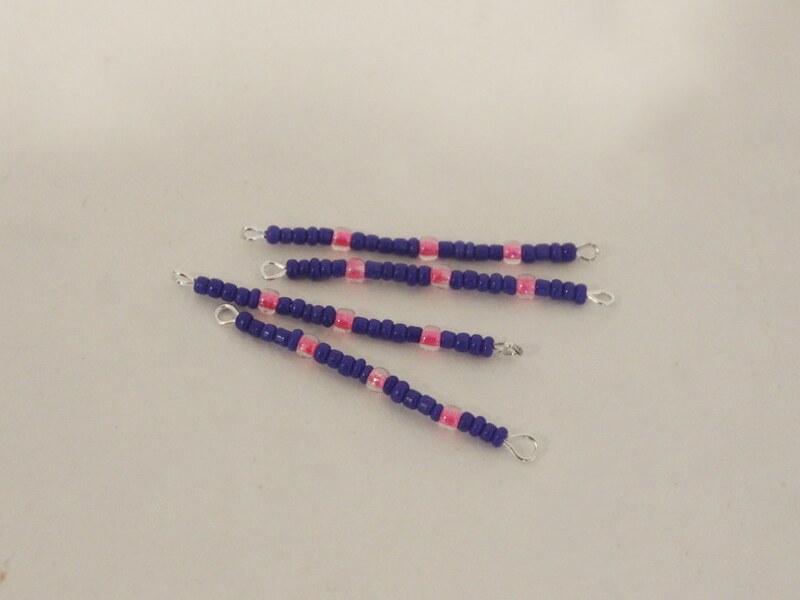
5: Add beads to one of the remaining eye pins, I added around 11 beads.
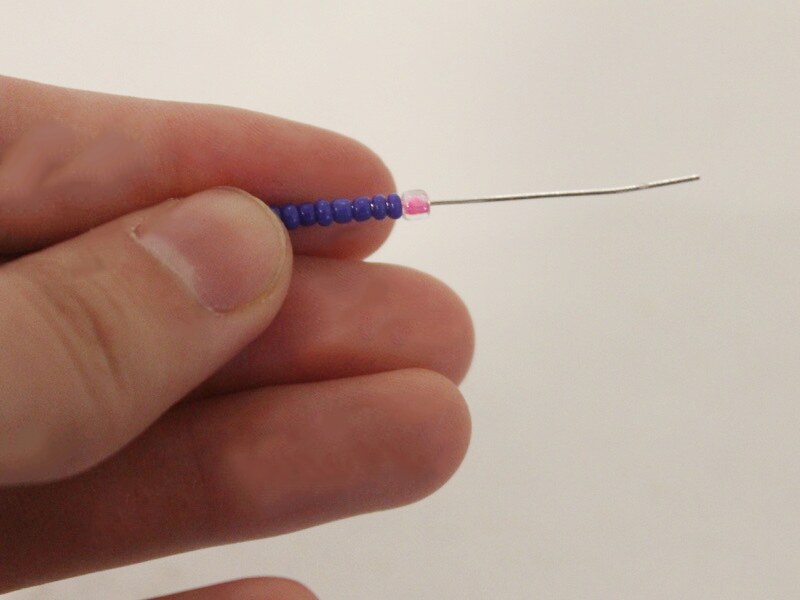
6: Add one of the earring hooks to the pin.
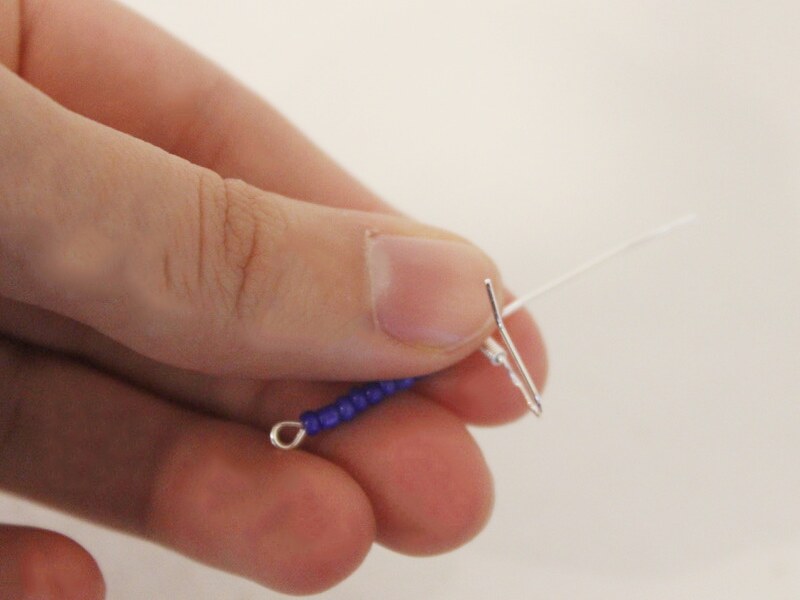
7: Add beads to the other side of the hook so that it is secured halfway across the pin.
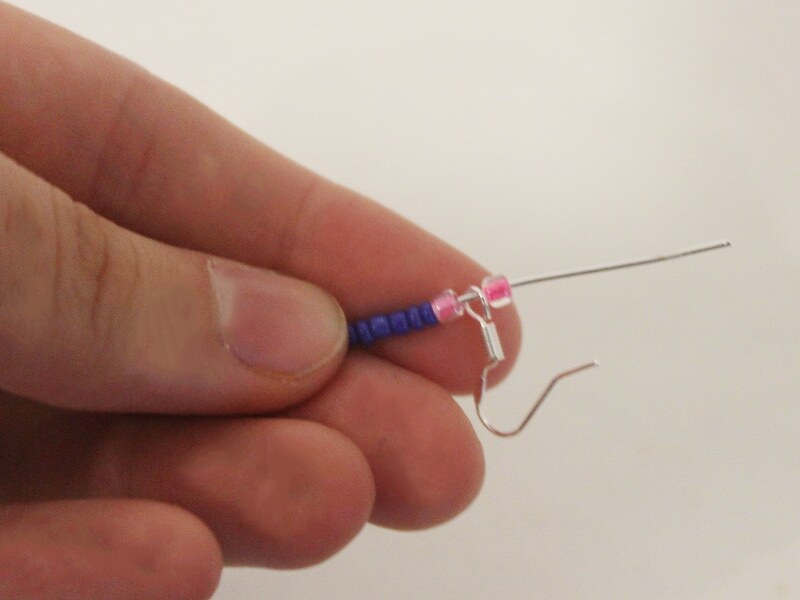
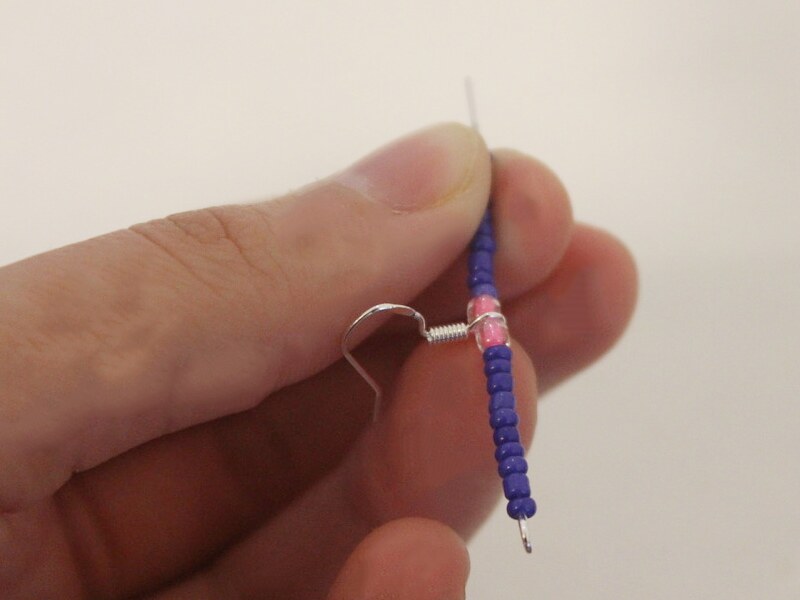
8: Create a loop at the end of the pin to secure the beads and earring hook in place.
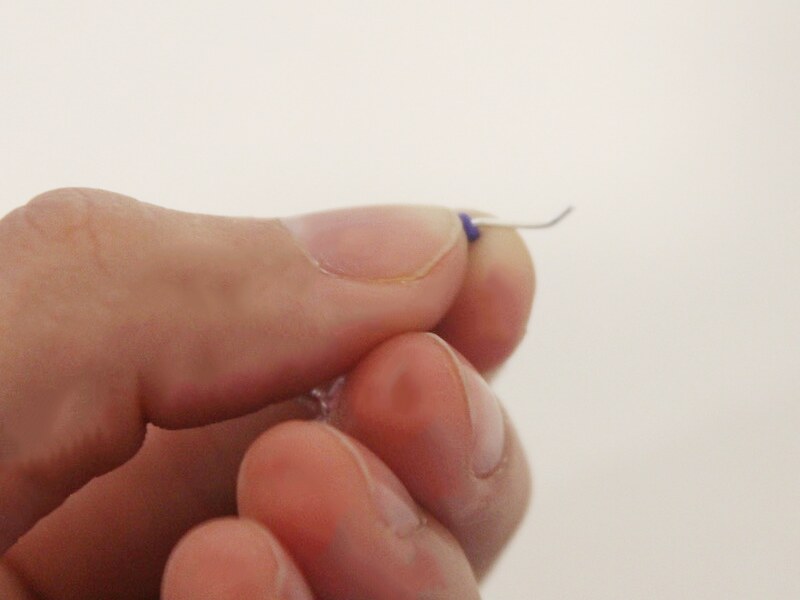
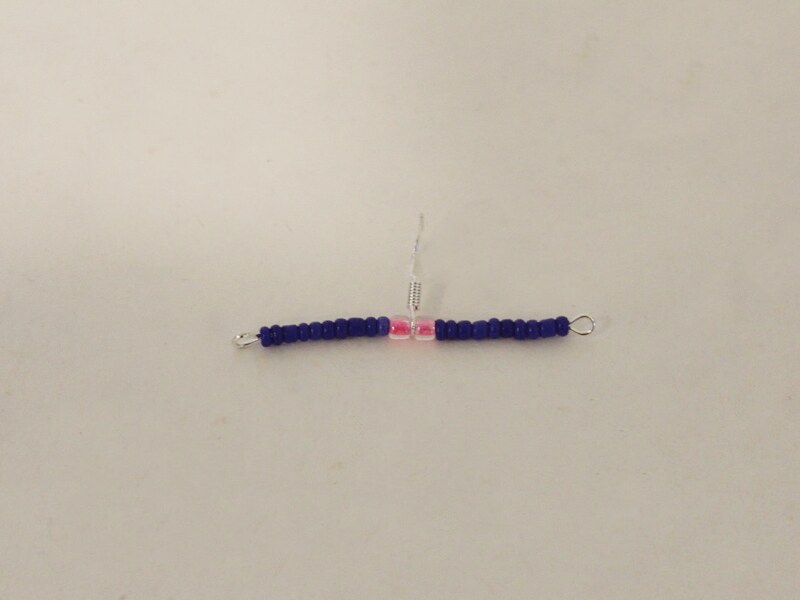
9: Repeat steps 5-8 for the last eye pin.
10: Once you’ve finished beading all the pins you can start putting them together.
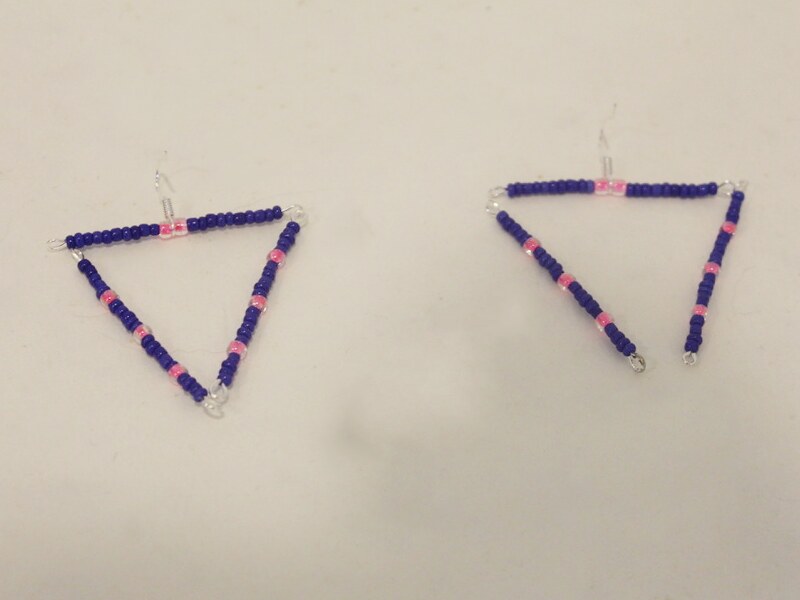
11: Attach the ends of three of the pins (two of the first pattern, and one with the earring hook) together to form a triangle.
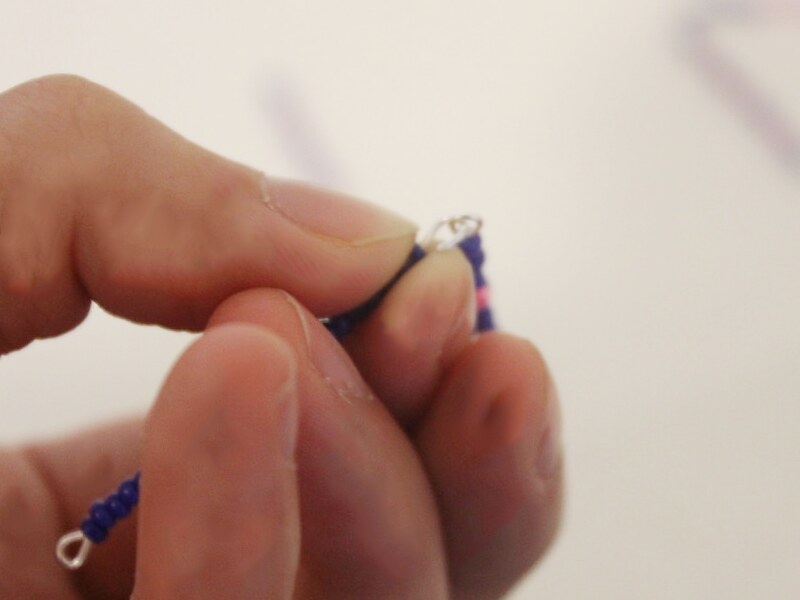
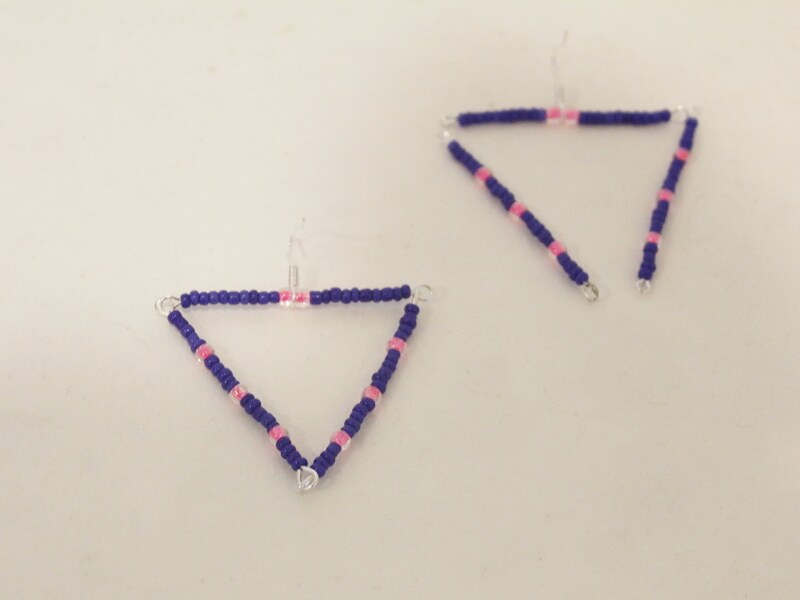
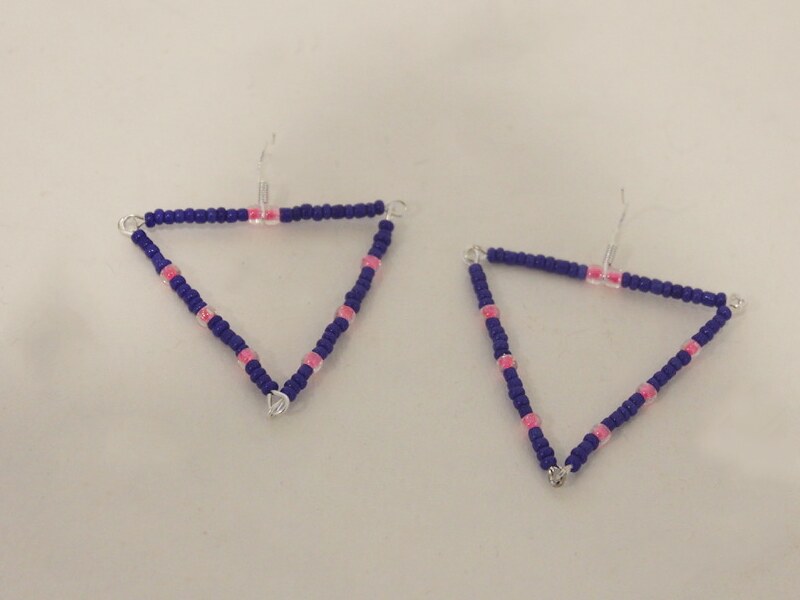
12: Repeat step 11 for the other earring to complete the design.
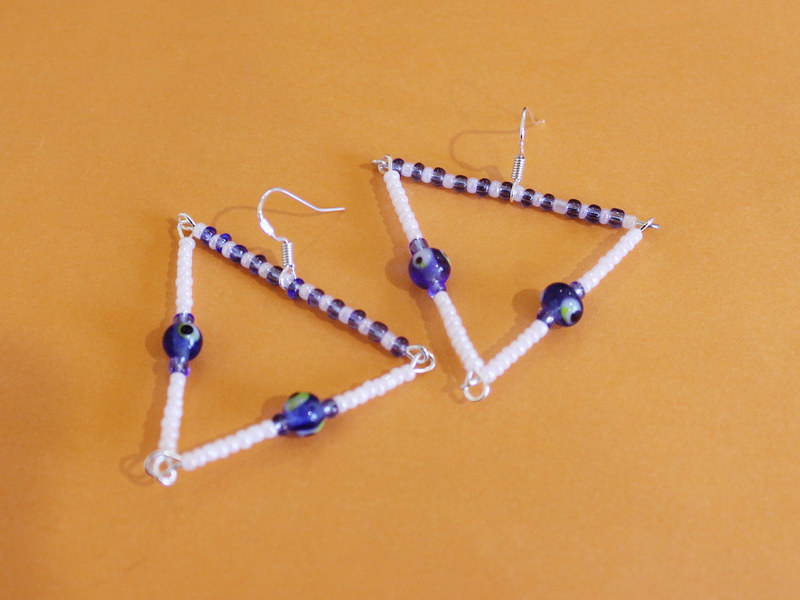
Here’s another pair I made using some seed beads and some glass eye beads.

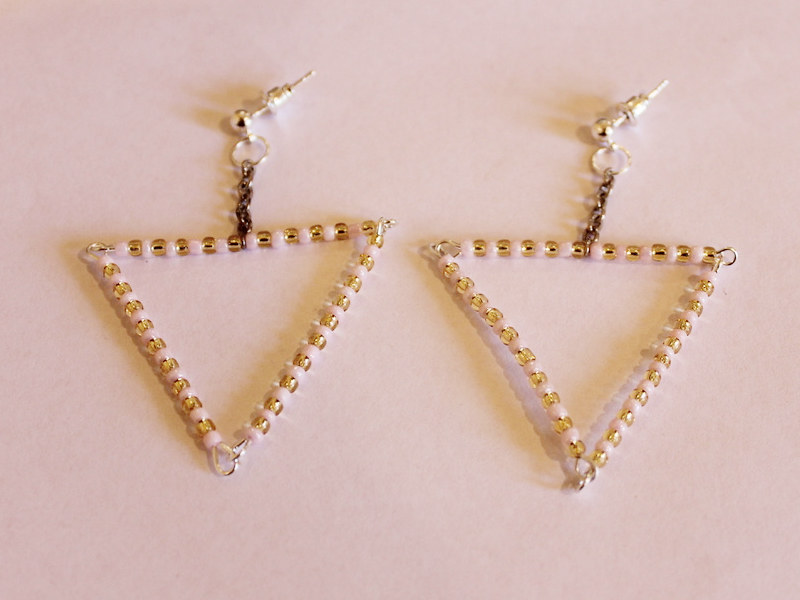
And another pair made with chains and charm connector studs instead of earring hooks.
-
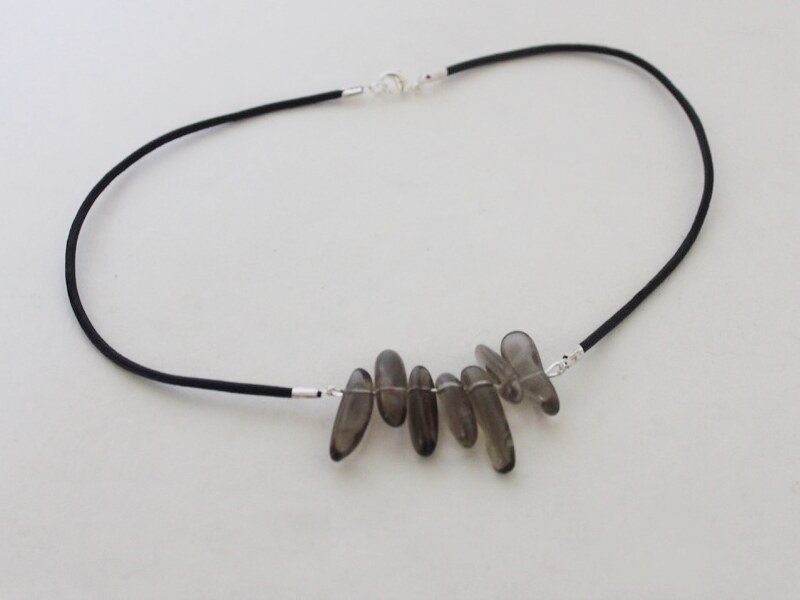
Need something tough but healing? Make this crystal choker necklace!
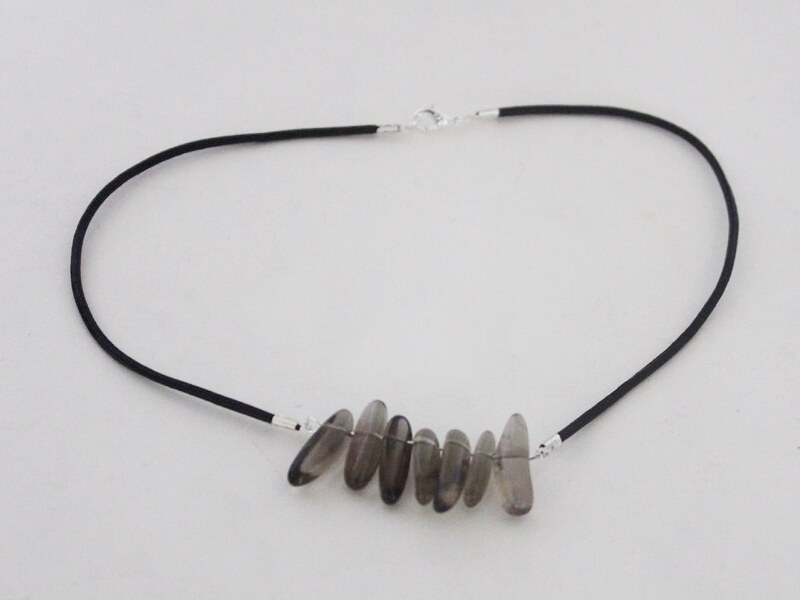
Do you need a cute new accessory to jazz up your jewelry collection? Make this awesome crystal choker necklace.
You will need the following tools and materials to make your crystal choker necklace:
1: Pliers. You will need your cutting pliers, flat nose pliers and round nose pliers.
 2: A long eye pin.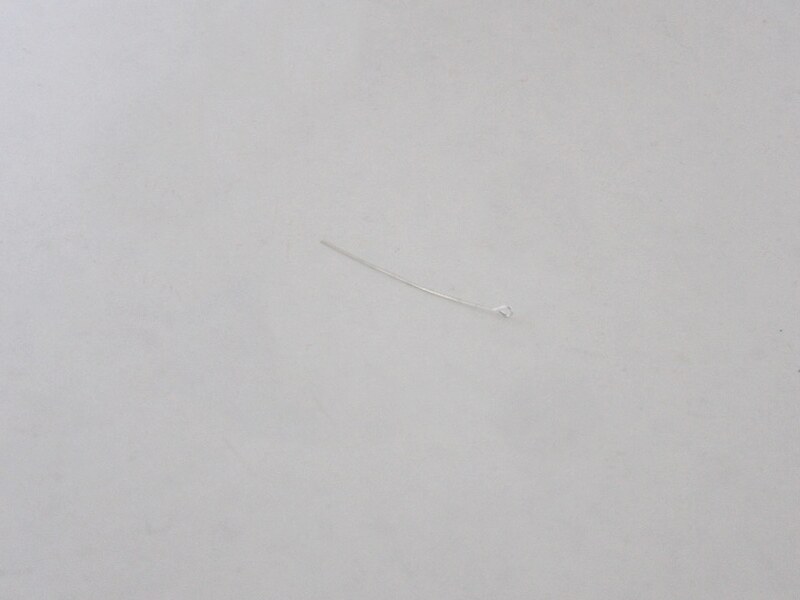
3: Gemstone beads. I used these smoky quartz beads.

4: Two pieces of leather cord. Approximately 15.5 cm long.
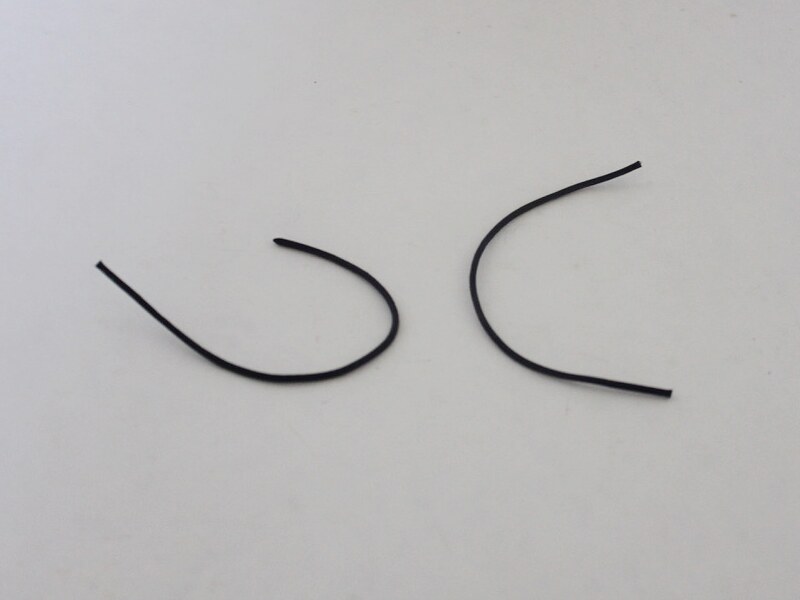
5: Four leather crimp ends.

6: Two jump rings.

7: A lobster clasp.

Follow these steps to make your crystal choker:
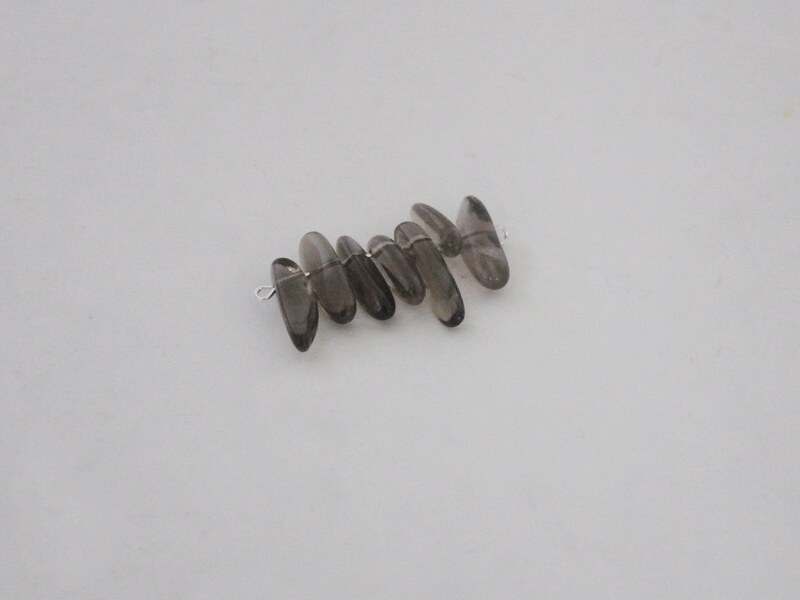
1: Add the beads to the eye pin.
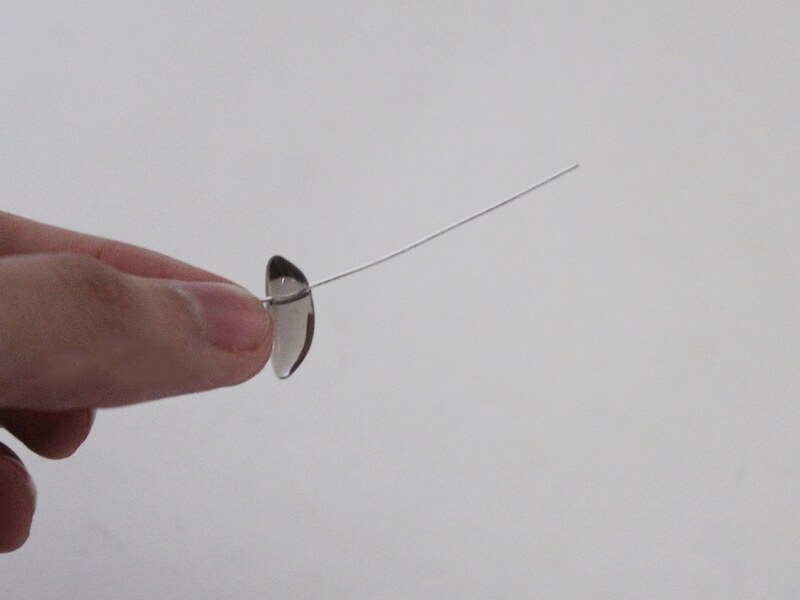
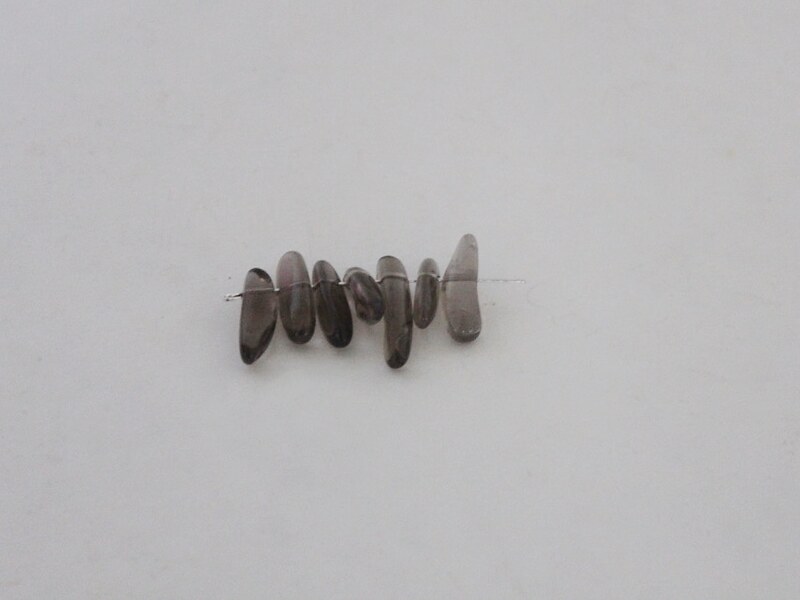
2: Bend the end of the pin to form a right angle using the round nose pliers.
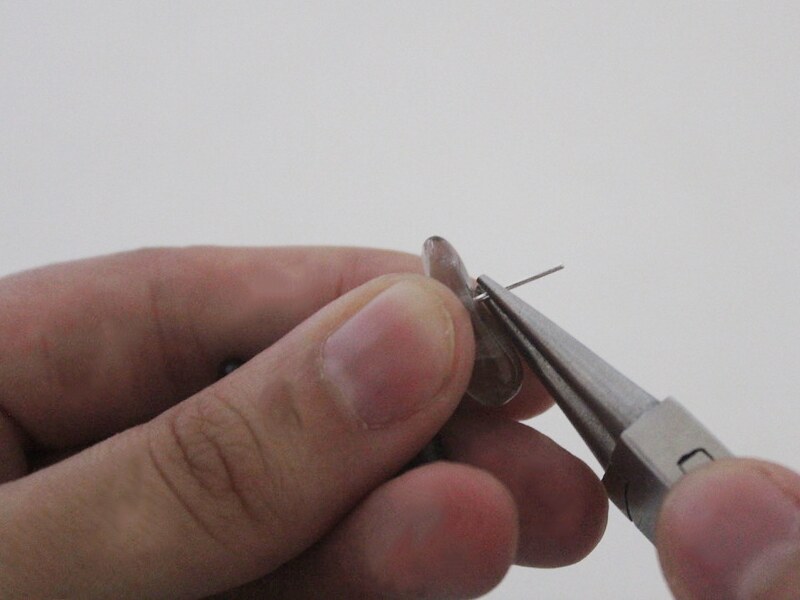
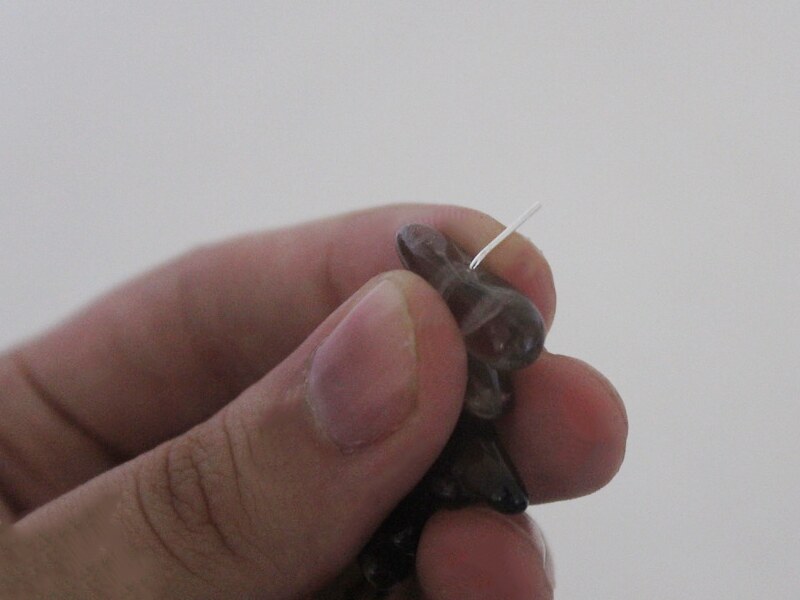
3: Create a loop at the end of the pin using the round nose pliers. This will secure the beads on the pin.
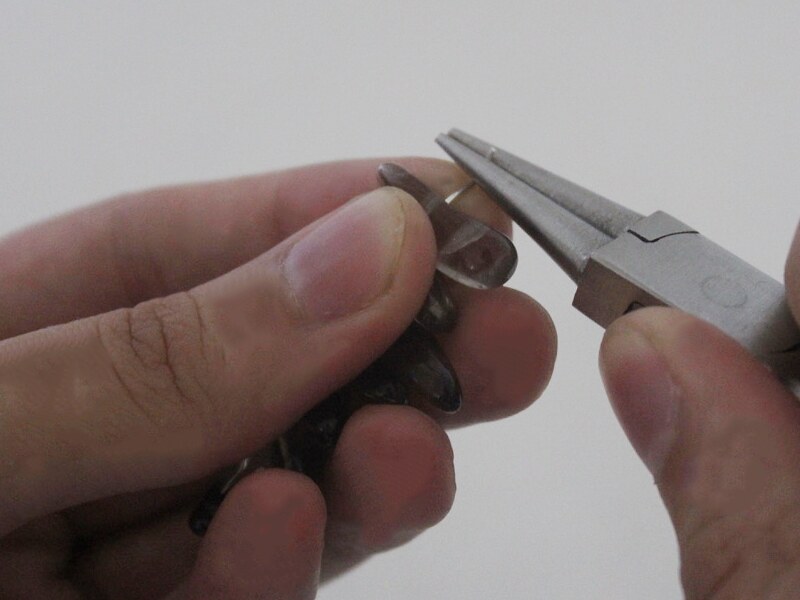
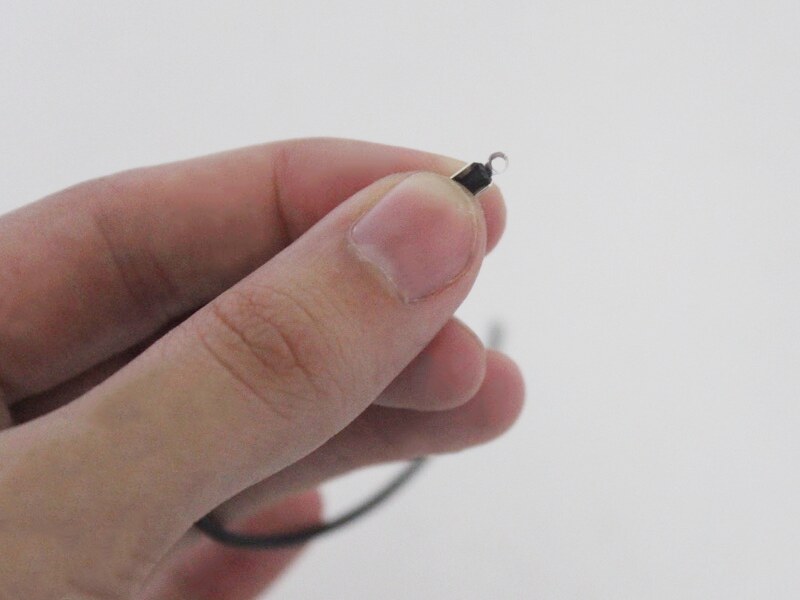
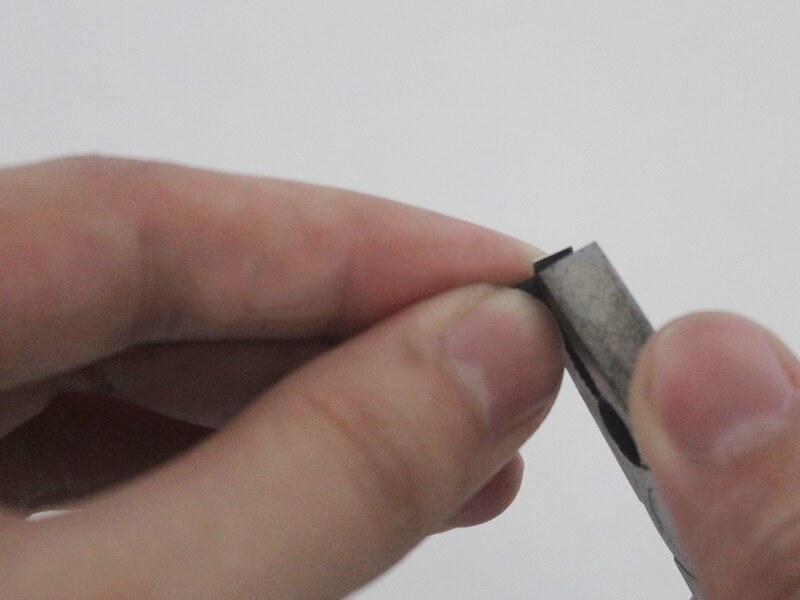
4: Add each of the crimp ends to the ends of the leather. Fold each side of the crimps around the leather using the flat nose pliers.
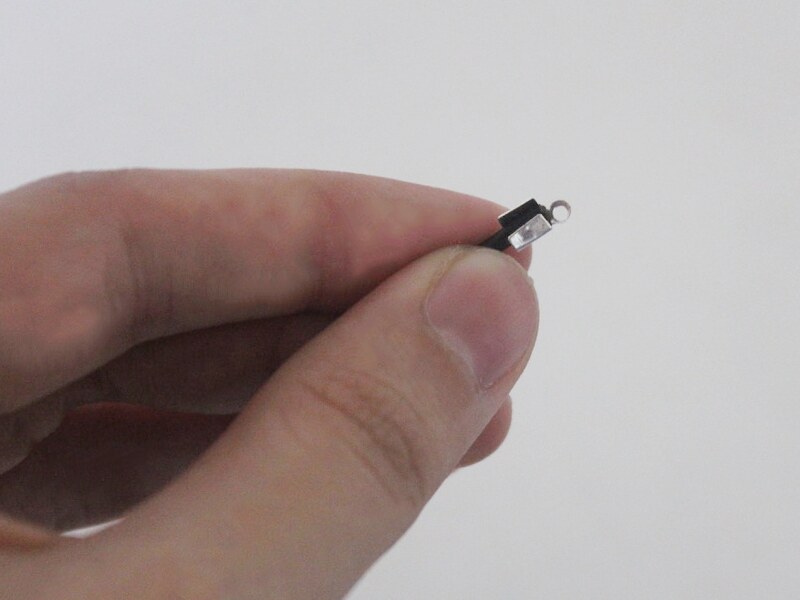
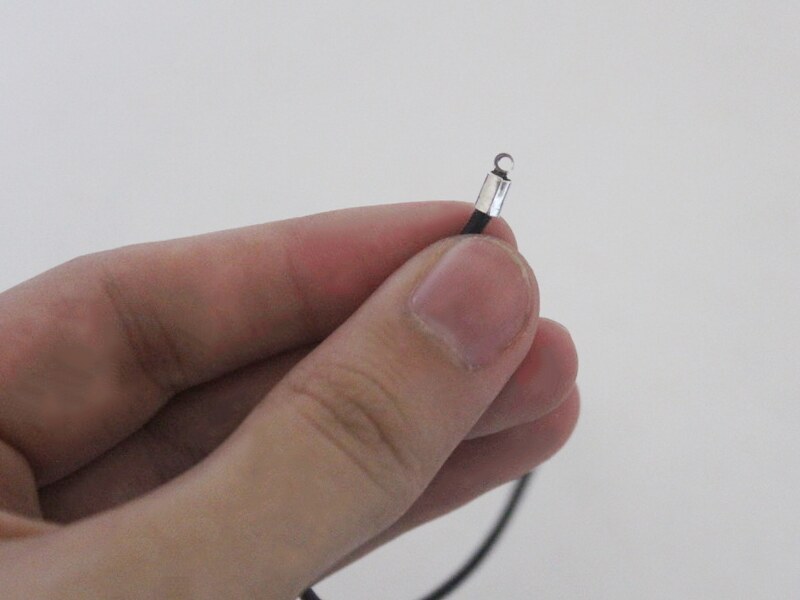
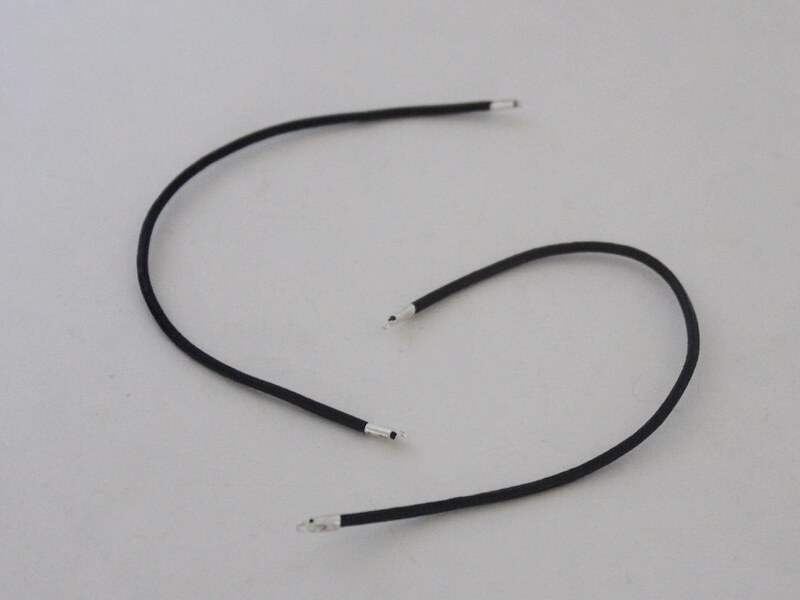
5: Attach a piece of leather to each side of the crystal beaded pin.
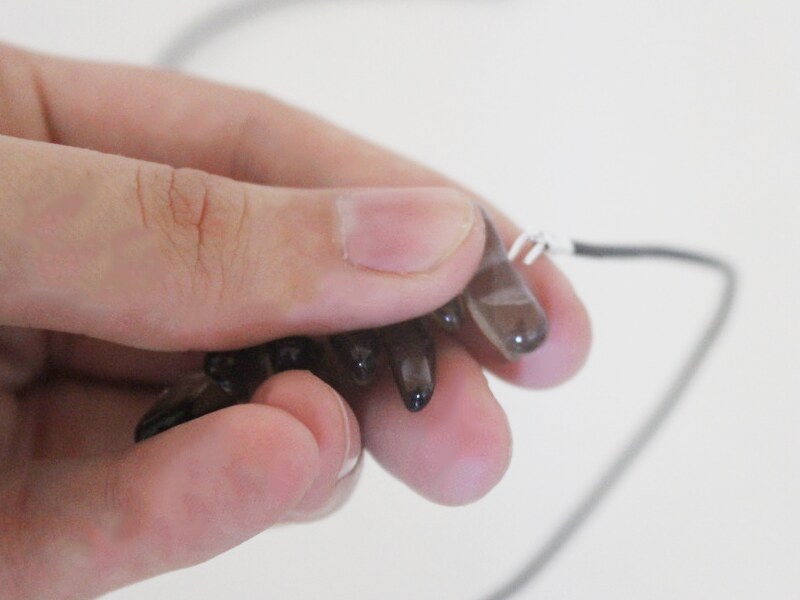
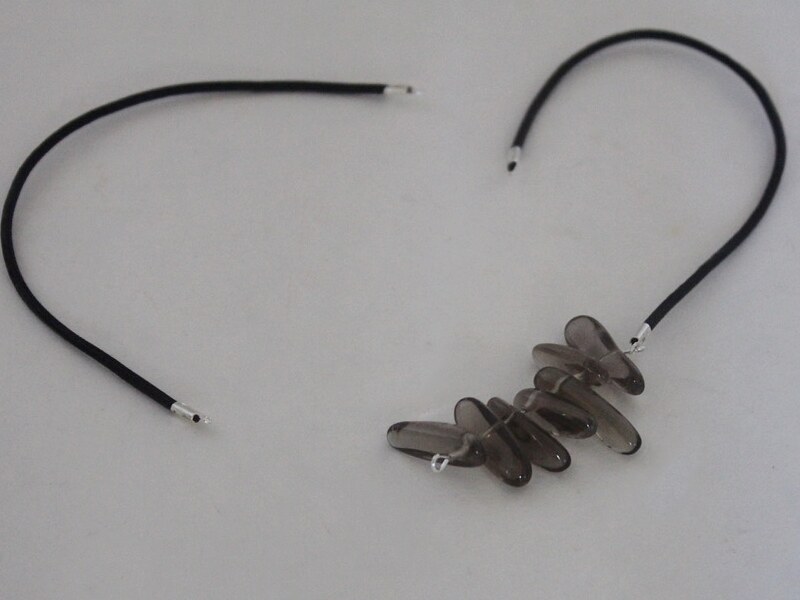
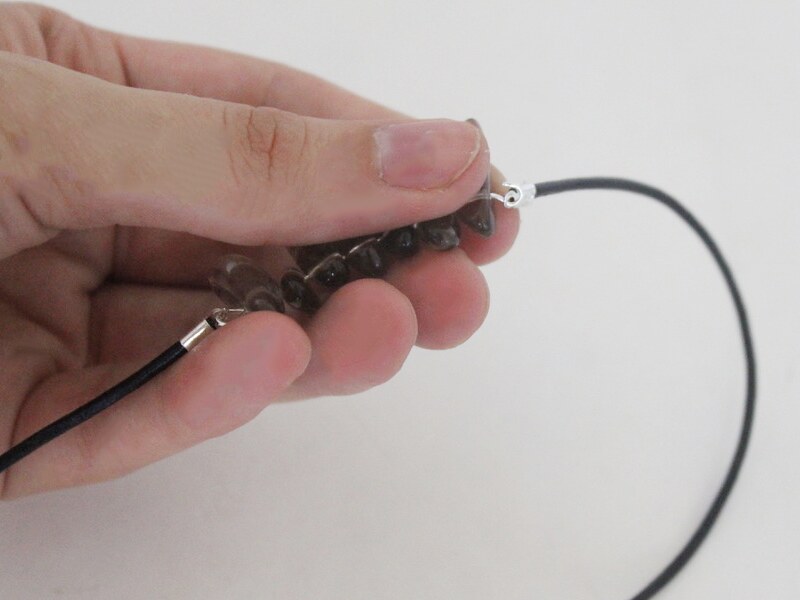

6: Add a lobster clasp to one side of the necklace using one of the jump rings.
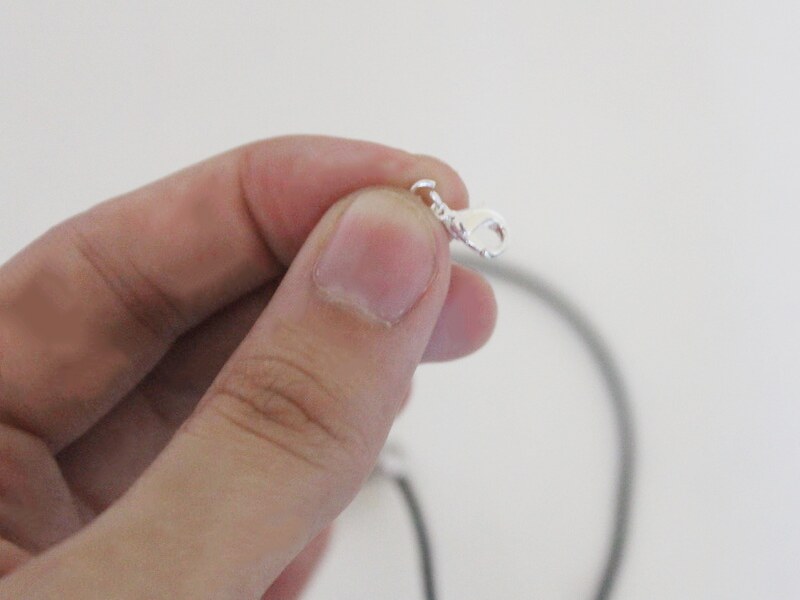
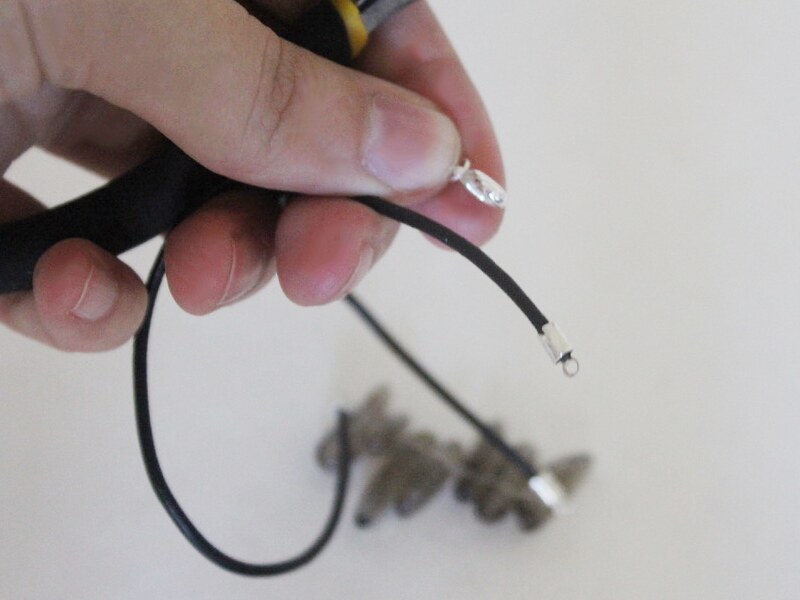
7: Add the remaining jump ring to the other side of the necklace to finish your necklace.
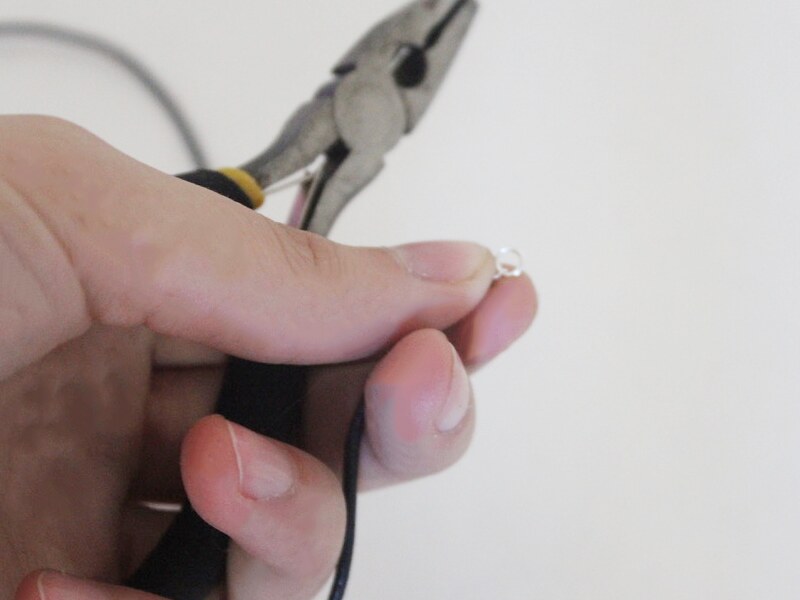
Now it’s ready to wear… a perfect combination of tough and whimsical!
-
Here’s How to Make a Funky Rhinestone Brooch For Shining up Your Fave Old Outfit!

Do you need a little brooch to brighten up your favorite outfit or trusty winter scarf? This piece is super easy to make and looks great.
You will need the following tools and materials to make this brooch:
1: A glue-on brooch pin.

2: Araldite 2-part glue.

3: A skewer.

4: A scrap piece of paper.

5: A flat piece of plastic to make the base of your brooch. I used this green piece of laser-cut acrylic.

6: Some assorted rhinestones with flat-back settings. I also used a small round mirror to decorate my brooch.

Follow these steps to make your brooch:
1: Mix up the glue on some scrap paper. To do this you will need to squeeze out equal parts from the tube and mix them well using the skewer.



2: Add glue to the backs of the rhinestones and apply them to the piece of acrylic in any pattern you choose. I made the mirror the center of my brooch and added an extra rhinestone on top.


3: Wait for the glue on the rhinestones to dry. You might need to mix some extra glue to use to attach the brooch pin.
4: Add the glue to the brooch pin and place it carefully on the back side of your plastic base. If your base is translucent like mine you might want to ‘hide’ your pin behind the decorations on the front.


Once the glue on the pin is dry your brooch is finished and ready to wear! How easy was that?
Here are some other brooch DIY’s that you can try:
-
Here’s Some Cute Finger Bling, Make Yourself A Button Ring!

Do you have any random plastic decorations lying around? Why not use them to make some cute rings? All you need are your fave buttons, a ring finding and some trusty araldite! This tutorial contains affiliate links.
You will need the following tools and materials to make your button ring:
1: A button or plastic cabochon of your choice. I used this pink rose-shaped button, I recommend using something that already has a flat back so you don’t need to go through the hassle of cutting the button loop off.

2: A ring finding.

4: Araldite glue.
5: A piece of scrap paper.

6: A Skewer.
Follow these steps to make your ring:
1: Squeeze out the glue and mix it using the skewer.
2: Add the glue to the ring using the skewer.

3: Place the ring on the back of the button and let it dry. You might need to check it to make sure that the ring doesn’t slide out of place.

Once your ring is dry it is ready to wear! Cute!!

-
Make those delicate chains work in special ways with this bar charm necklace
This necklace design uses eye pins and chains in some clever ways to create a special and delicate piece of jewelry. Pick out some of your favorite beads to make this wonderful necklace design your own. I used some beautiful orange coral beads to make this pretty looped chain necklace.
You will need the following tools and materials to make this pretty chain necklace:
1: Pliers. You will need your flat nose pliers and round nose pliers to make this necklace.
2: Two pieces of chain, one long enough to fit around your neck and another shorter piece.

3: One eye pin.

4: Two jump rings
5: One lobster clasp
6: Beads of your choice. I used these coral beads.

Follow these easy steps to make this beautiful chain necklace.
1: Add your beads to the eye pin. Try to use the full length of the pin, leaving enough room to make a loop at the end.


2: Using the round nose pliers, bend the end of the eye pin at a right angle to the beaded section.
3: Use the round nose pliers again to create a loop at the end of the pin to secure the beads in place.


4: Open one of the loops at one end of the pin and slide the end of each chain onto the pin. Once the chains are in place, close the pin loop end again using your pliers.


5: Repeat step 4 for the other side of the pin attaching the opposite ends of the chain.

6: Split the longer chain in two, separating the chain using your flat nose pliers.

7: Add a jump ring and lobster clasp to one side of the split chain.

8: Attach another jump ring at the other end of the necklace opening.

9: Once your lobster clasp is in place your necklace is complete. I love this design, it is simple, elegant and easy to make!


-
Bling Up Your Look With This Epic Statement Ring
This DIY jewelry tutorial is a little different, instead of relying on beads, pins and wire to create a ring, this design uses a flat bed ring finding and an assortment of bright and shiny materials to make a statement. All you need to construct a ring like this are your materials and some strong glue.
To make this design you will need to use the following tools and materials:
1: Glue. When I am working with translucent materials I prefer to use Araldite glue. Using super glue or hot glue from a glue gun can affect the appearance of your materials and the finish of your overall design.
2: A skewer or stick for mixing and applying the glue.
3: A piece of paper or plastic to mix your glue on.
4: A flat bed ring finding.
5: A base piece to build your decoration on. In this design I used a piece of green laser cut acrylic.

6: Decorations. For this design I used two faux pearls and a large pink rhinestone.


The Steps:
1: Squeeze some glue out of the tube, Araldite is a two part glue that requires mixing to make it set. You might need to mix a few batches as the glue can harden while you are waiting for your components to dry. I recommend using this glue in a well ventilated area.
2: Mix the glue carefully using the skewer.
3: Add some glue to the end of the skewer and carefully apply it to the pink rhinestone centerpiece.

4: Carefully place the rhinestone onto the green backing piece. Once the piece is in place, begin adding glue in the same manner to the pearl decorations, placing them either side of the pink rhinestone centerpiece.

5: Once all your decorations are in place, let the piece sit for a few minutes to dry. Try to keep the piece flat to prevent the decorations from sliding around on the base piece.

6: Once the ring decoration is dry, turn it over to prepare for the attachment of the ring finding.

7: Add some glue to the flat part of the ring finding. You might have to mix up some more glue at this stage as your initial batch may have hardened.

8: Carefully place the ring finding onto the backside of the base piece so that it sits directly behind the pink rhinestone centerpiece.


9: You might need to hold the piece still until it begins to dry. Alternatively, you can prop it up, being careful to keep the piece straight so that the ring finding doesn’t move and set in the wrong spot.
Once all the components are dry and set in place your stunning statement ring is ready to wear!


-
How to Make Hoop Earrings And Then Kill it in the style stakes!
Want to take your DIY earring designs to the next level? DIY Jewelry Hub has another tutorial on how to make earrings. Follow these step-by-step instructions to make your own dangly beaded hoop earrings.
You will need the following tools and materials to make these earrings:
1. Pliers
To make these earrings you will need flat nose pliers, round nose pliers and cutting pliers.
2. Two head pins.
3. Two hoop findings.

4. Two earring hooks.

5. Feature beads for the hoops.
In this design I used six coral beads, three on each hoop.

6. Seed beads.
I used white seed and clear seed beads in this design.


7. Two feature beads.
I used two green labradorite beads in this design.

The Steps:
1. Open one of the earring hoops.

2. Begin adding beads to the hoop. Continue adding beads to create your desired pattern.


3. Continue beading the hoop until only a small part is left bare and then lace this end back into the top attachment. Tip: Add a little glue to this end to ensure that it doesn’t pop out while you are wearing your earrings! Repeat these steps for the second hoop.

4. Once your hoops have been completed, take your feature beads and thread them onto the head pins.


5. Bend each pin at a right angle to the bead using the round nose pliers.

6. Trim both pins so that there is approximately 1cm (0.39 inches) protruding from the bead.
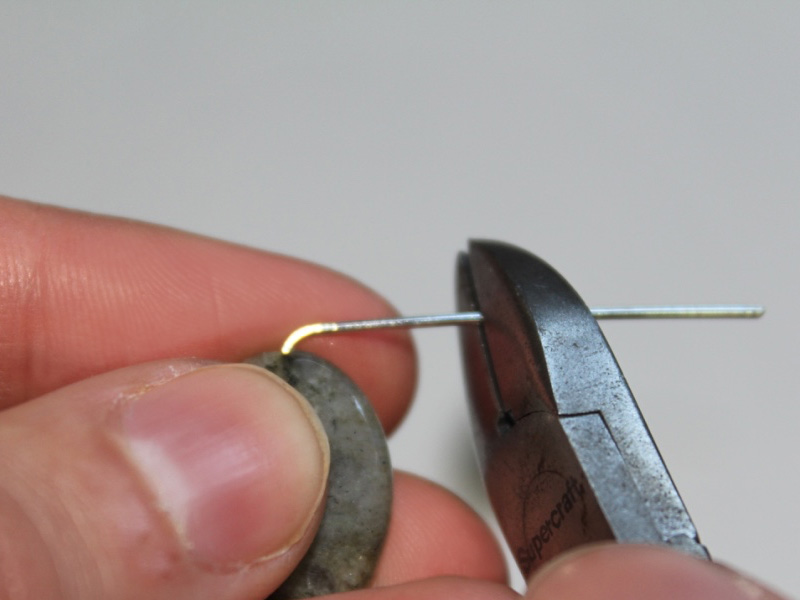
7. Once your pins have been trimmed, create a loop using the round nose pliers.


8. Once you loops have been created, open them slightly and slide the feature bead into the center of your earring hoop.

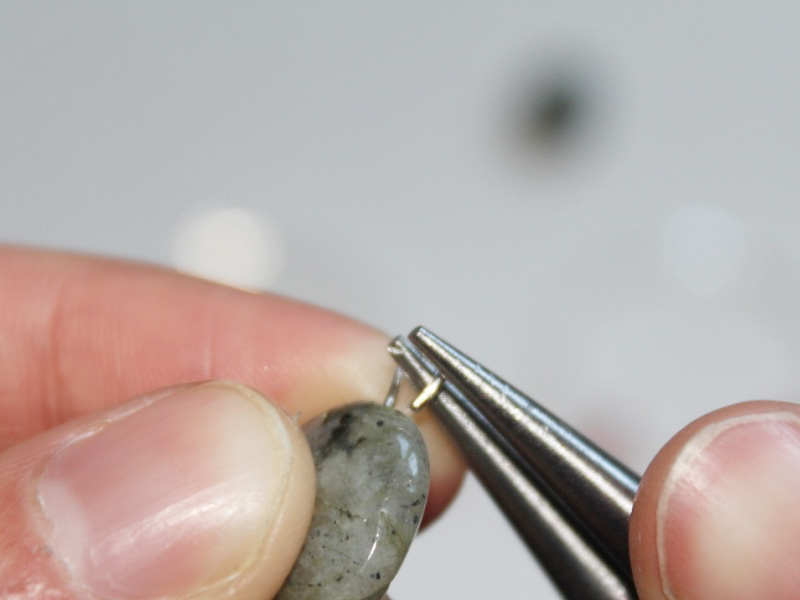
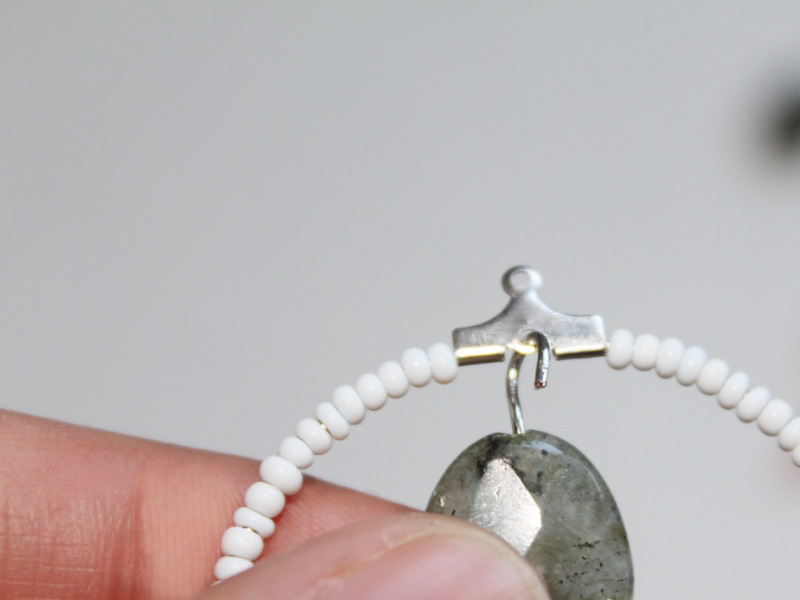
9. Close the bead loop using the round nose pliers. Make sure you repeat this for both of your earrings.
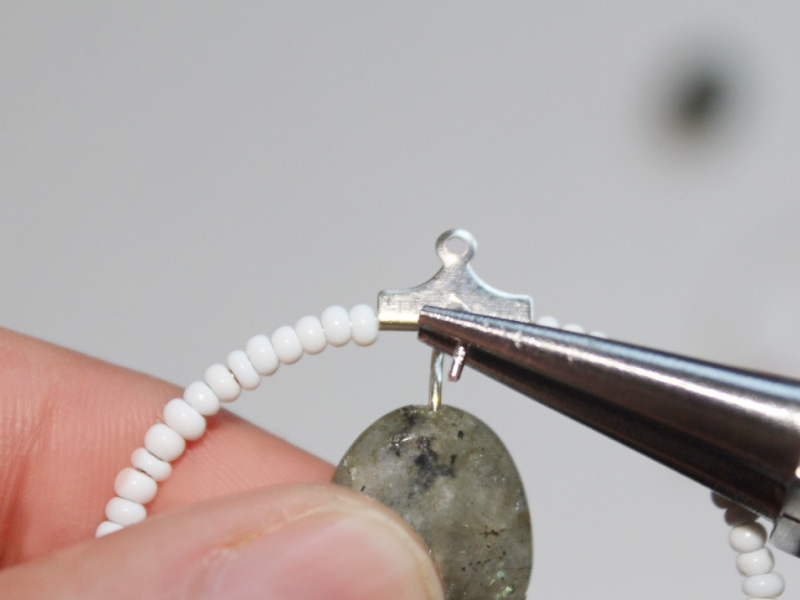

10. Open the loop at the bottom of the earring hooks using the round nose pliers.


11. Slide the open loop into the top of your beaded earring hoop and then close. Repeat this step for both earrings.
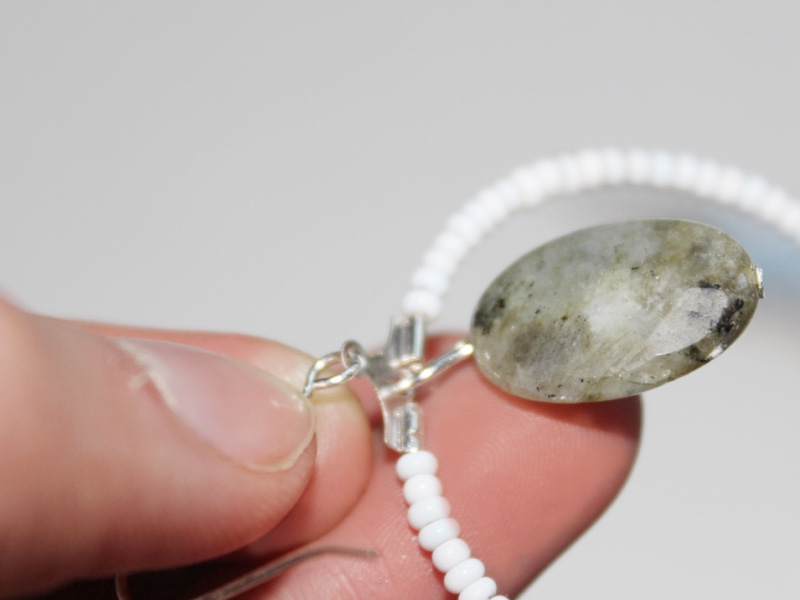
12. Your earrings are done! Now all that is left to do is wear them.

-
Ring Findings

Here are some examples of pre-fabricated ring findings that you can use to make DIY jewelry. You can customize these findings to make your own rings by attaching the decorations of your choice in different ways; by attaching beaded head pins (the silver ring) or gluing decorative elements in place.

This ring is made using a ring finding to which an array of glass beads are attached using head pins. Learn how to make a beaded ring like this one in our how to make a beaded feature ring tutorial.

This ring was made by gluing a range of decorations to an existing ring finding. Here are some ring tutorials that use ring findings:
-
Crimps
Crimp Beads
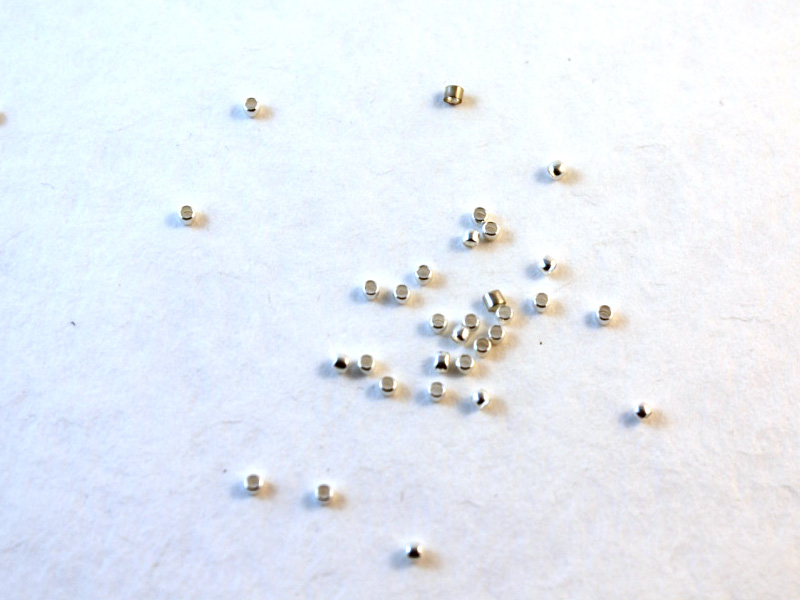
Crimp beads are small metal ‘beads’ that are attached to the end of your DIY beaded necklaces, bracelets or anklets and squashed using pliers to keep your beads securely in place. You can learn all about how to use crimp beads for making DIY jewelry in my beaded necklace and beaded charm bracelet tutorials!
You can buy some here:
Pinch Ends

Pinch ends are an alternative to crimps. They are gently ‘pinched’ around the ends your beaded strands and feature a loop that can be used for attaching clasps or charms.
Flat crimps

These are great for adding ribbons to your jewelry designs.
Here’s where you can buy some. They come in different sizes too!