-
Here’s how to make a cute two-tone beaded necklace!
This tutorial is a simple beaded necklace with a twist, one half is finished with pearl beads and the other features small glittering glass beads. You can use whatever beads you like to make this lovely design. How will you design yours?
Please note that this tutorial contains affiliate links for which we may receive a commission.
You’ll need the following tools and materials to make your necklace:
1: Tigertail wire.

You can get some here:
2: Pliers. I used my cutting pliers and flat nose pliers.


You can get pliers here:
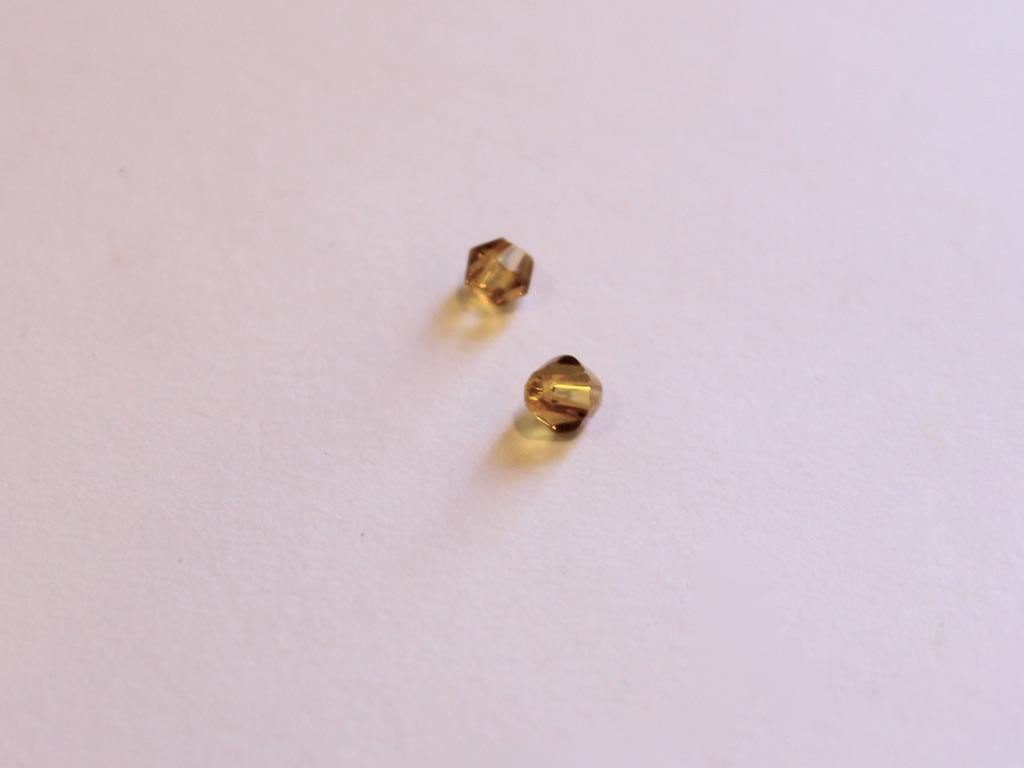
3: Beads. I used chunky pearl beads and some small green bugle beads.

You can get similar beads here:

You can get baroque pearls here:
4: Sterling silver jump rings.

You can get some here:
5: Sterling silver crimp beads.

You can get some here:
6: Sterling silver clasp. I used a bolt-ring clasp.

You can get a bolt ring clasp here:
7: Optional: A pendant that will fit over the beads. I used this pink stone pendant.

You can get something similar here:
Here are the steps to follow to make your own two-tone beaded necklace:
1: Cut a length of tigertail wire to your desired necklace length (remember to add a few extra cm so you have excess for securing the ends.

2: Add a crimp bead and jump ring to the end of the wire. Make sure the jump ring is closed before you do this.

3: Loop the end of the wire around the jump ring and back through the crimp bead.

4: Squash the crimp bead using the flat nose pliers.


5: Begin adding beads.

6: Continue beading until you have reached half of your desired necklace length.

7: Switch to the other beads and continue beading until you have half of each type of bead.


8: Add the second crimp bead.

9: Add the second closed jump ring.

10: Loop the end of the wire around the jump ring and back through the crimp and end bead.

11: Pull the wire tight and squash the crimp to secure it in place.

12: Trim the excess wire using the cutting pliers.


13: Add the clasp to the end of the necklace and close the ring using your pliers to secure it in place.


Now your necklace is done, if you like, you can add a pendant for added interest, or leave it plain to shine on its own.
Here’s the finished necklace.


And here’s the finished necklace with the pendant in place. How will you style yours?


If you like this design, here’s some similar designs you can make:
Turn two bracelets into a two-tone necklace
Make a necklace that is half chain half beads
-
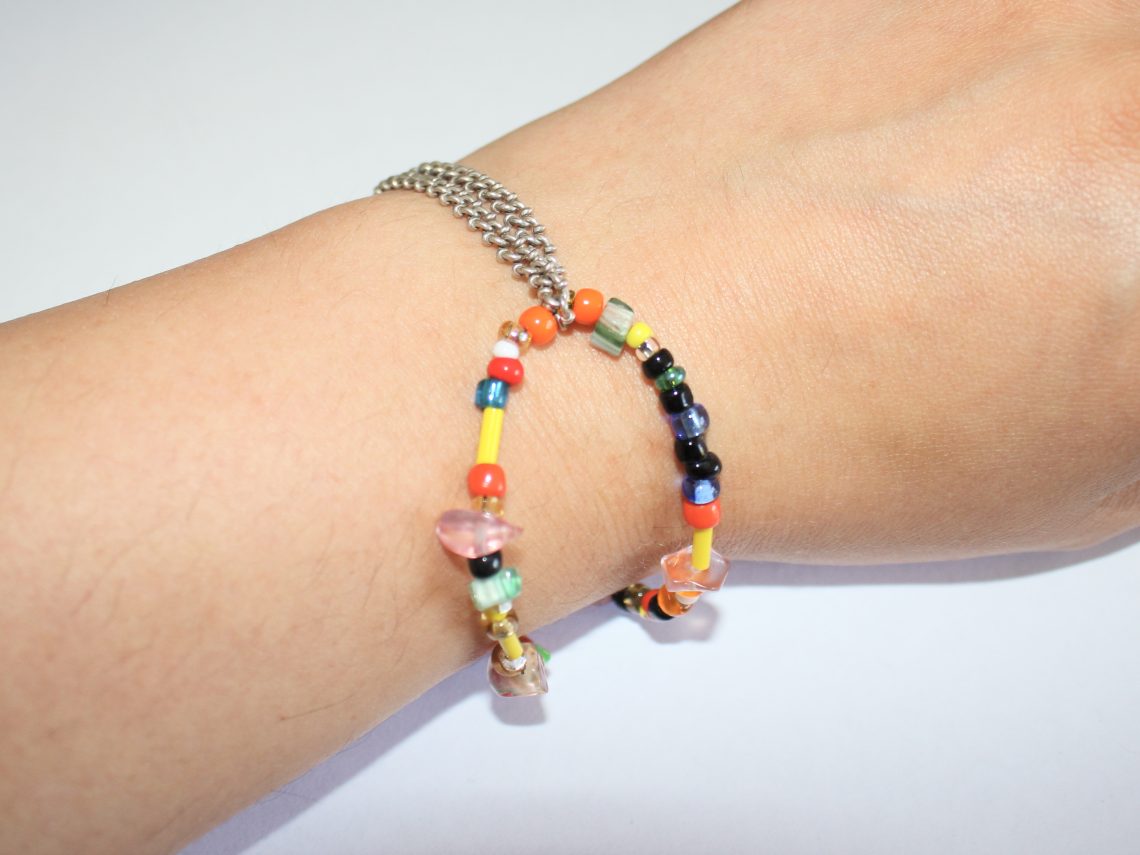
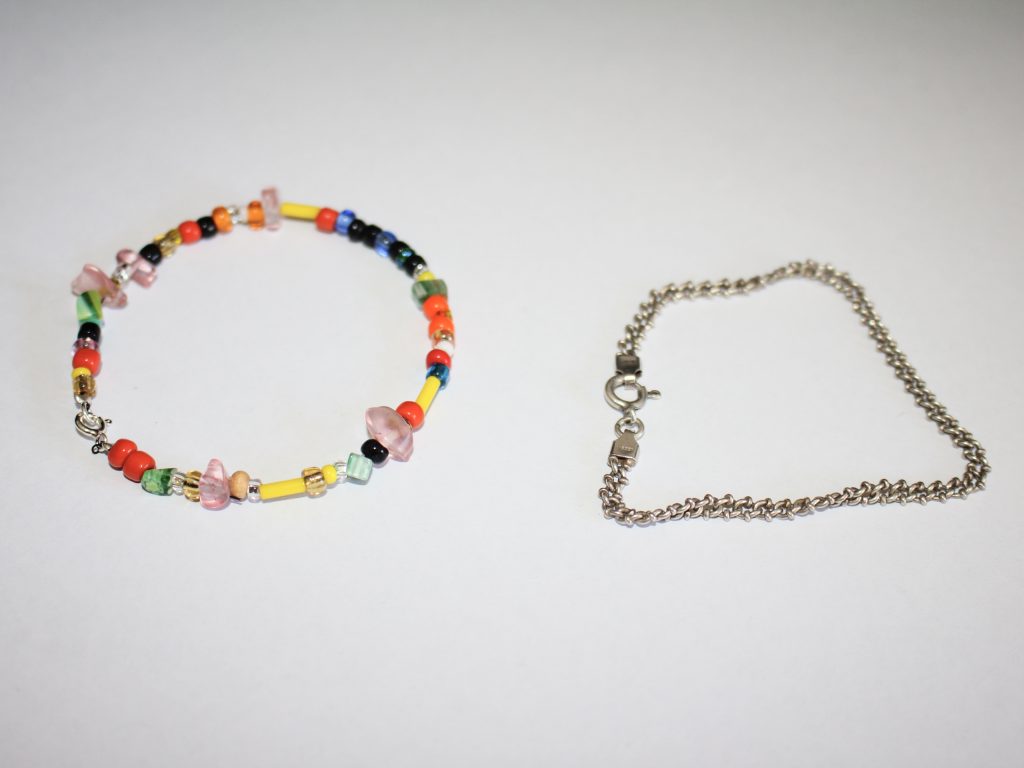
This tutorial shows you how to turn two bracelets into one interlocked statement bracelet!
Do you like it when you’re jewellery shows off different textures and colours? Me too! Sometimes it can be fun to hack you’re existing jewellery collection to make something look cute and new. This tutorial shows you how you can turn two of your favourite bracelets into a new statement bracelet! This tutorial is extra great because you don’t need any tools to make it! Please note that this tutorial contains affiliate links for which this website might receive a commission.
You’ll need the following tools and materials to make your interlocked bracelets:
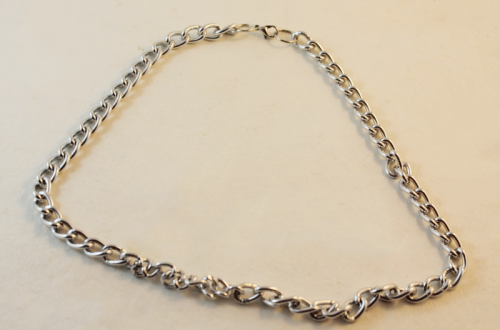
1: All you need for this tutorial is two bracelets. I used a sterling silver chain bracelet and a rainbow beaded bracelet. It is ideal if they are about the same length and each fit your wrist comfortably.
I made this rainbow beaded bracelet but here are some places you can get something similar:
Here are some sterling silver chain bracelets you can purchase:
Follow these steps to make your interlocked statement bracelet:
1: Undo the clasps on each bracelet.

2: Loop the bracelets around each other, folding them in the middle and clasping them together so they are attached.


3: Put it on your wrist, opening one of the clasps and closing it around its closure and the closure on the other bracelet. It can help to add an extender chain to one of the bracelets to make it easier to put on. You can get one here:

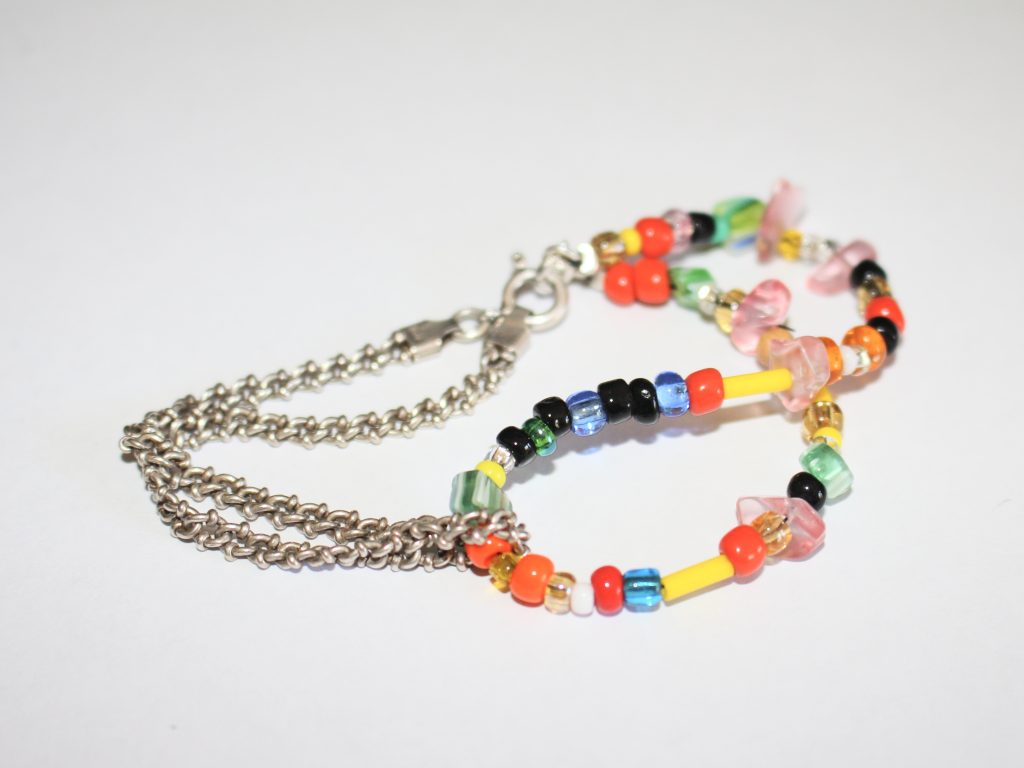
And that’s it! This tutorial is great for adding some spice to your existing jewellery collection. What bracelets will you use to make your own interlocked statement piece?
If you want this look but don’t want to use bracelets you already own, you can follow this tutorial that shows you how to make one from scratch: https://www.diyjewelryhub.com/how-to-make-a-beaded-double-loop-bracelet/
-
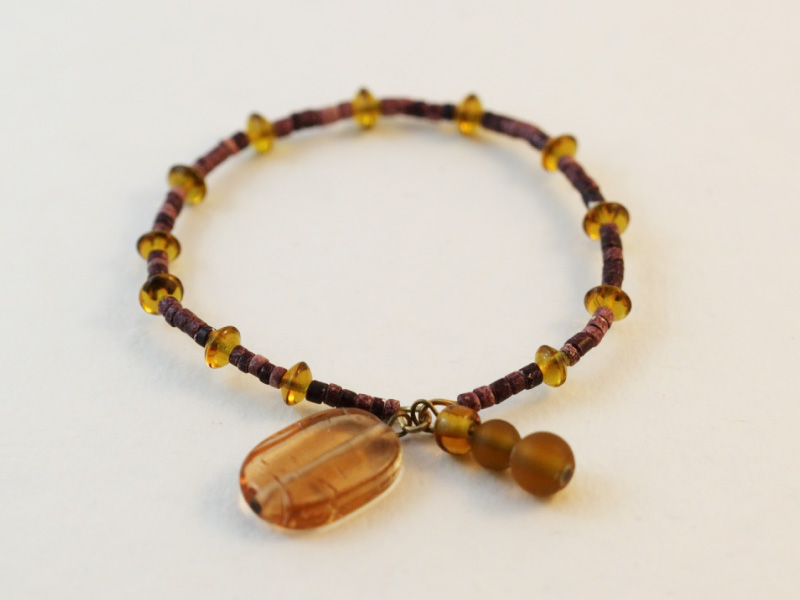
How to make a bracelet that combines leather and beads into one piece!
This tutorial is a bit of a recycling piece. I used some scrap leather combined with some beads I recycled from an old necklace to construct something new. I think this bracelet is a cute statement piece, but it can also be layered with other bracelets to make a cool stack. Please note that this tutorial contains affiliate links.
You’ll need these tools and materials to make your leather and bead bracelet:
1: A piece of leather, I used this scrap piece of leather that was about 1cm wide and 9cm long. If you don’t have any scrap leather you could also use some leftover ribbon or cord.

2: Some pliers. I used my flat nose pliers and round nose pliers for this piece.


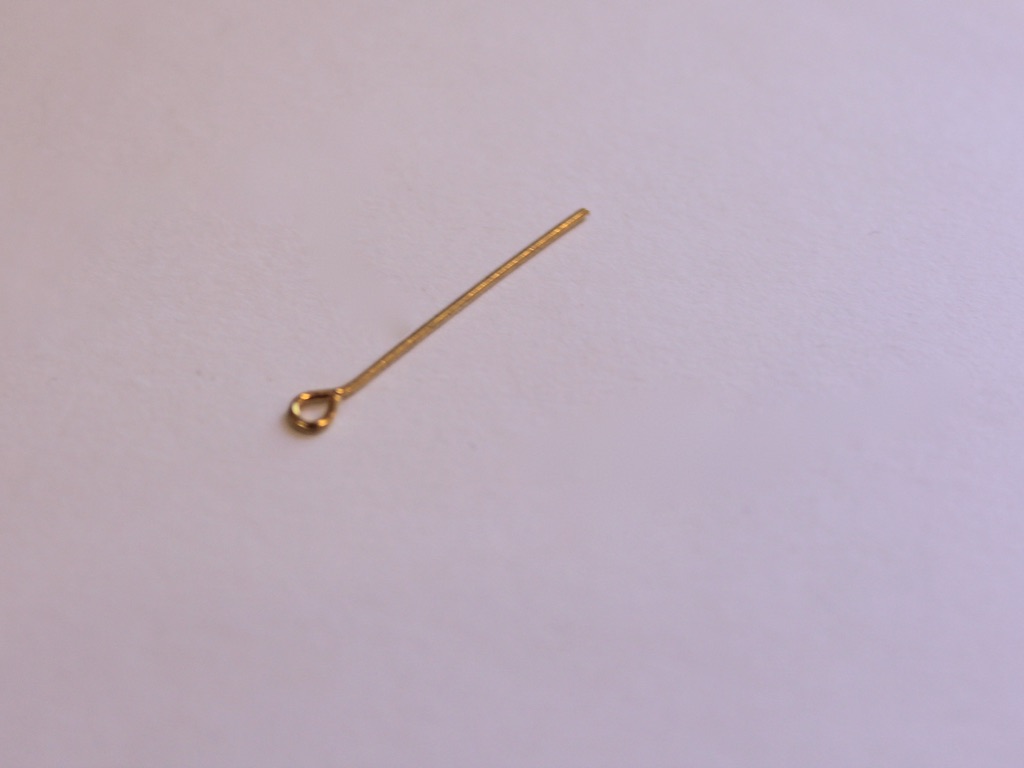
3: A bunch of eye pins. The number you will need will vary depending on the length of your bracelet and your piece of leather.

4: Two flat crimp ends.

5: Some beads. I used these timber beads I recycled from an old necklace.

6: Two jump rings.

7: A lobster clasp. I used this large one.

Follow these steps to make your own leather and bead bracelet:
1: Take your piece of leather and place one of the crimp ends on one end. Be careful to line up the edges.

2: Squash the crimp using the flat nose pliers.


3: Repeat steps 1 and 2 for the other end of the leather, attaching the other crimp.

4: Set the piece of leather aside.
5: Take one of the eye pins and add a bead.

6: Bend the pin to form an angle.
7: Use the round nose pliers to create a loop at the top of the pin, securing the beads in place.


8: Repeat steps 1-7 for another bead, before closing the loop, slide it onto the first charm you made. Close it to secure the charms together.

9: Repeat steps 1-8 for another bead.

10: Attach the small chain you made to one end of the piece of leather, this will help you keep track of the overall bracelet length.

11: Keep adding beads to the chain until your bracelet is long enough to fit around your wrist.

12: Attach the lobster clasp to the beaded end of the bracelet using one of the jump rings.

13: Attach the other jump ring to the other side of the bracelet to finish it off.

Now your bracelet is finished! How will you wear yours?


-
Here’s how to make a bead chain lariat
Bead chains are pretty cool, and a fun way to use any random beads you have lying around. I recently made this kitschy hodgepodge lariat necklace using the bead chain technique. This tutorial features affiliate links.
Here are the tools and materials you need to make your bead chain lariat:
1: Pliers. I used by round nose and flat nose pliers for this design.
2: An assortment of beads. I used a random assortment of plastic, timber and glass beads.

3: A bunch of eye pins.

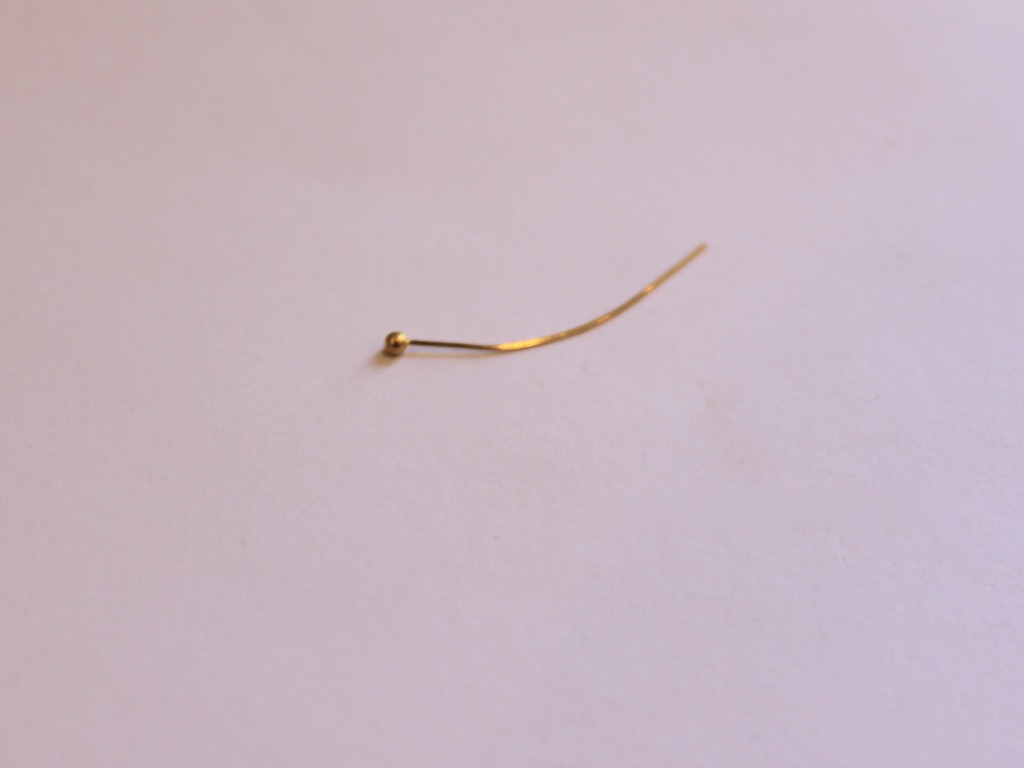
4: Two head pins.

5: A lobster clasp.

6: Two medium jump rings.

7: Two smaller jump rings.

Follow these steps to make your bead chain lariat:
1: Add some feature beads to one of the head pins. I used this silver plastic heart bead and some glass seed beads.

2: Bend the pin at a right angle and use the round nose pliers to form the top into a loop.


3: Set this pin aside.
4: Begin adding beads to the eye pins.

5: Once each pin is beaded, bend the top to form a loop using round nose pliers. This will secure the beads in place.

6: Repeat this step for the other pins, attaching the pins together by opening one of the loops and sliding it through another to form the chain.


7: Once you have a chain long enough to fit your neck, attach the two ends together using one of the larger jump rings.


8: Create a few extra links and attach them to the middle of the necklace, finishing with the first head pin you beaded.


9: Split the top of the chain opposite the lariat chain you just attached.

10: Attach the clasp to the chain using one of the smaller jump rings and add another jump ring to the other side.


11: Bead the other head pin, looping it at the top as you did the others. Attach this pin to the chain behind the clasp using the other larger jump ring.


Now your necklace is finished! So fun!


This tutorial contains affiliate links.
-
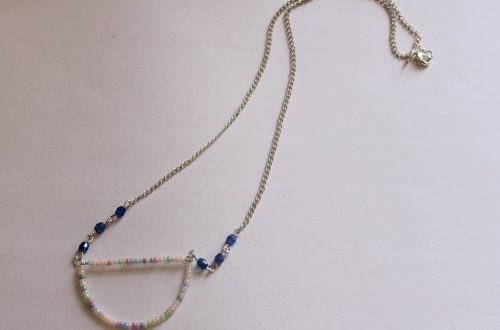
Half and Half for the best of both worlds? Here’s how to make a half bead half chain necklace!
This necklace is really cool! It is made using different materials for a half-half look. One side of the necklace is made with delicate chain while the other half features a rainbow of glass seed beads.
The Materials
You’ll need the following tools and materials to make your half and half necklace:
1: Pliers. I used my cutting pliers, round nose pliers and flat nose pliers.

2: A piece of tiger-tail wire.

3: Four crimp beads.

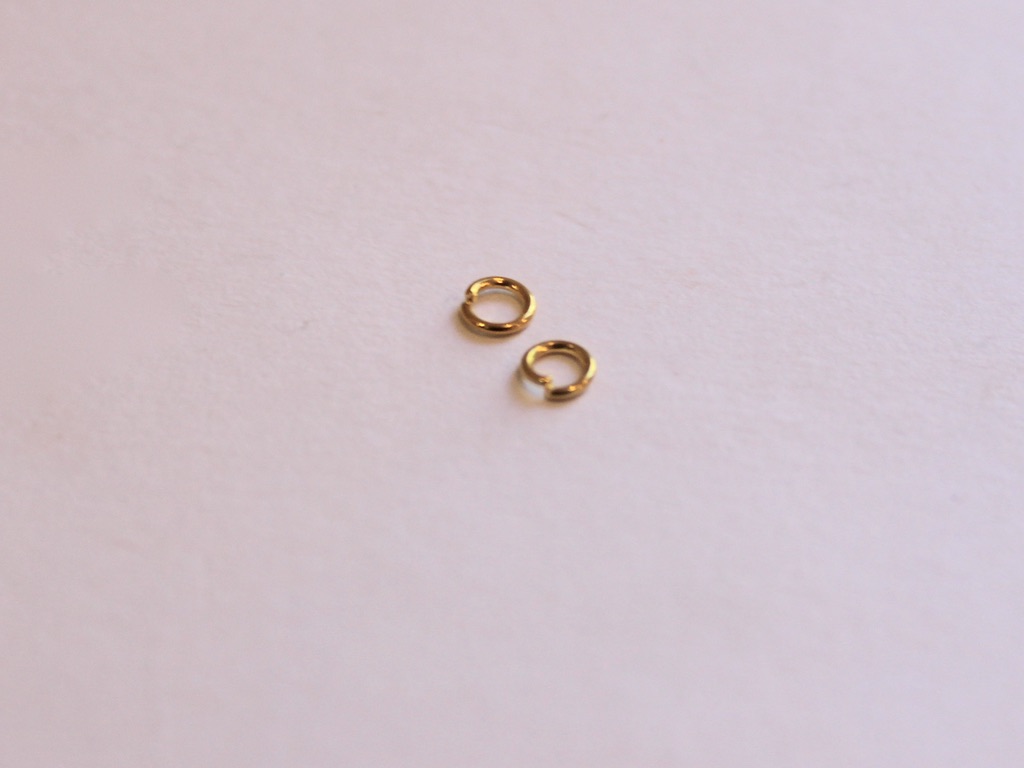
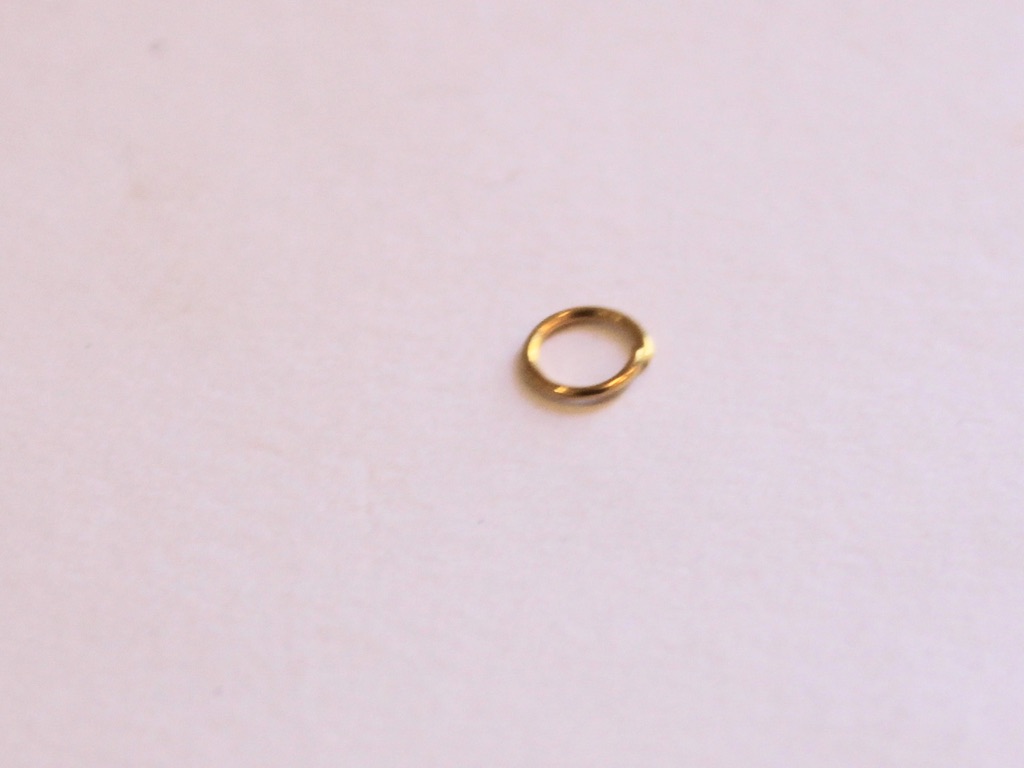
4: Three jump rings.

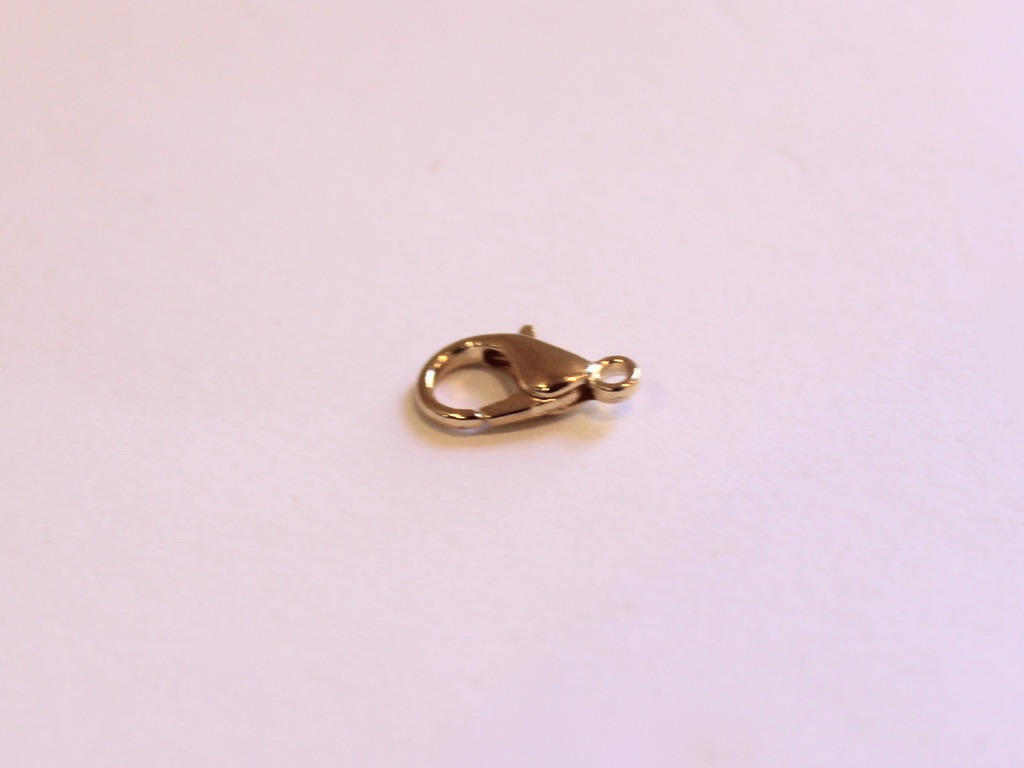
5: A lobster clasp.

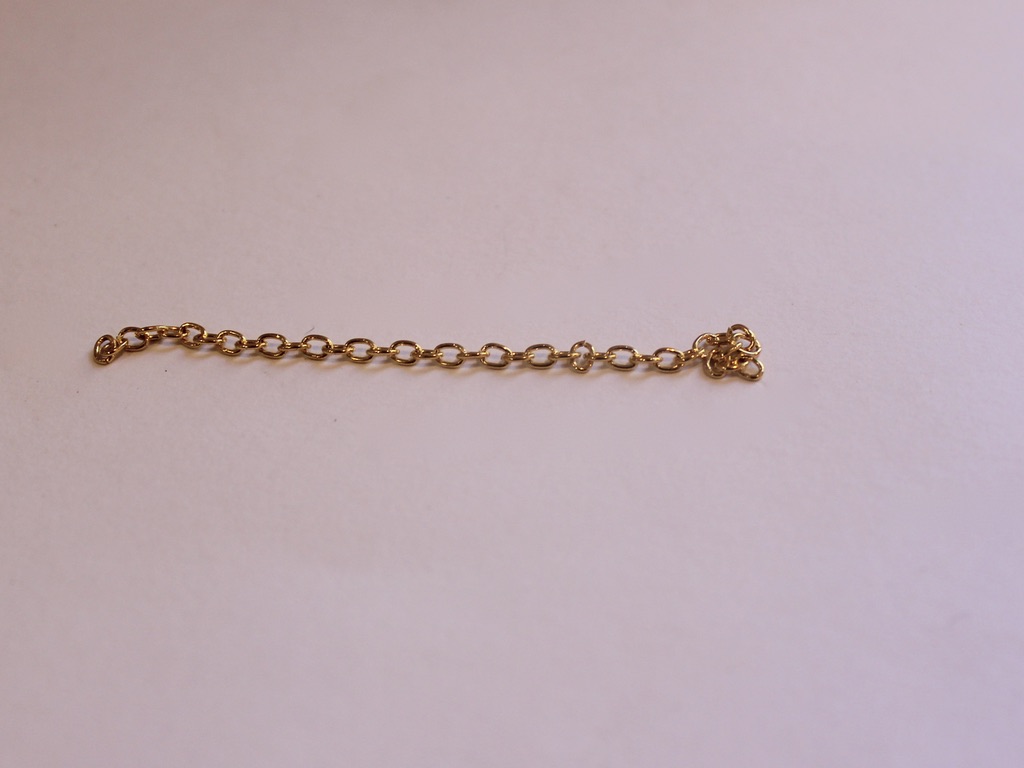
6: Some chain. I used gold-tone rolo chain.

7: Beads. I used some mixed glass seed beads in different colors.

The steps
Follow these steps to make your half and half necklace:
1: Add two of the crimp beads and a jump ring to one end of the wire.

2: Fold the short end of the wire around it and back through the crimp beads.

3: Squash the crimp beads using the flat nose pliers.

4: Add beads and continue beading until you have a beaded section that is around half the length you want your necklace. I checked my length by measuring it against my neck, holding the secured end at the back of my neck and wrapping it loosely around the font of my neck.


5: Add two more crimp beads to the wire and a second jump ring.

6: Bend the wire around the jump ring and pull it tightly back through the crimps and a few of the beads.

7: Squash the crimp beads using the flat nose pliers again.

8: Trim the excess tiger tail wire using the cutting pliers.

9: Open a jump ring on one side of the beaded strand and attach one end of the chain.

10: Measure the chain so that it is the same length as the beaded strand and trim it.

11. Add the remaining jump ring to the other end of the chain, using it to secure the lobster clasp in place.

Now your half and half necklace is finished!


You can even add a charm to the middle to add some extra interest. I added this yellow clay and resin charm to mine.


This tutorial contains affiliate links.
-
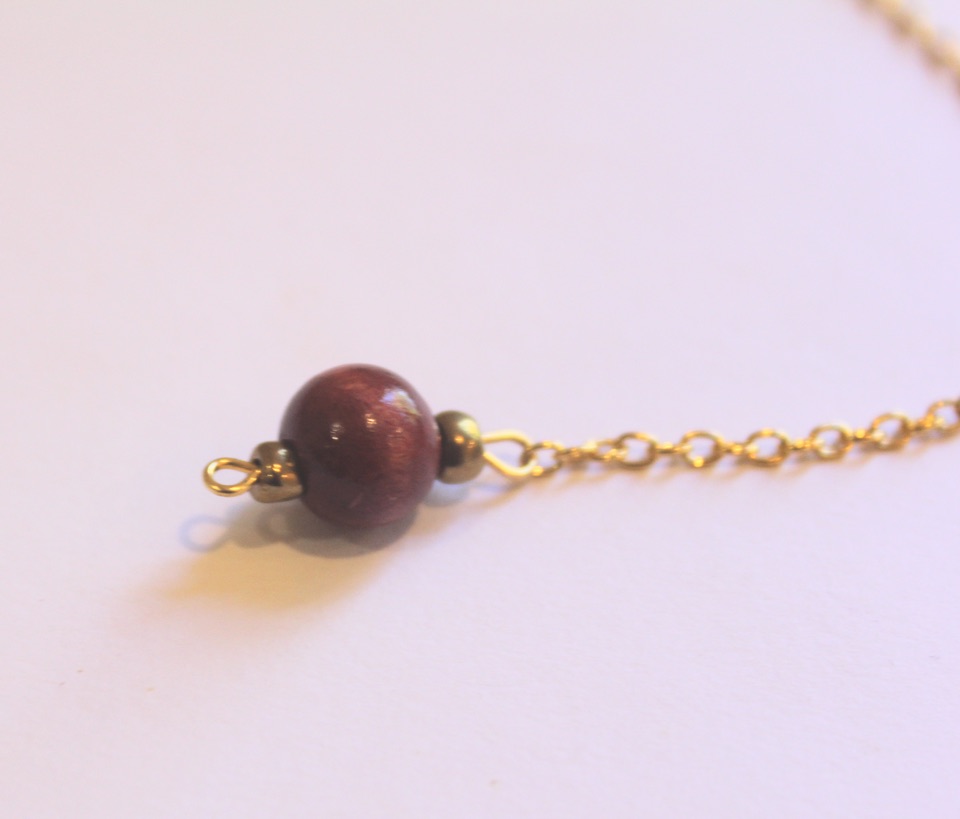
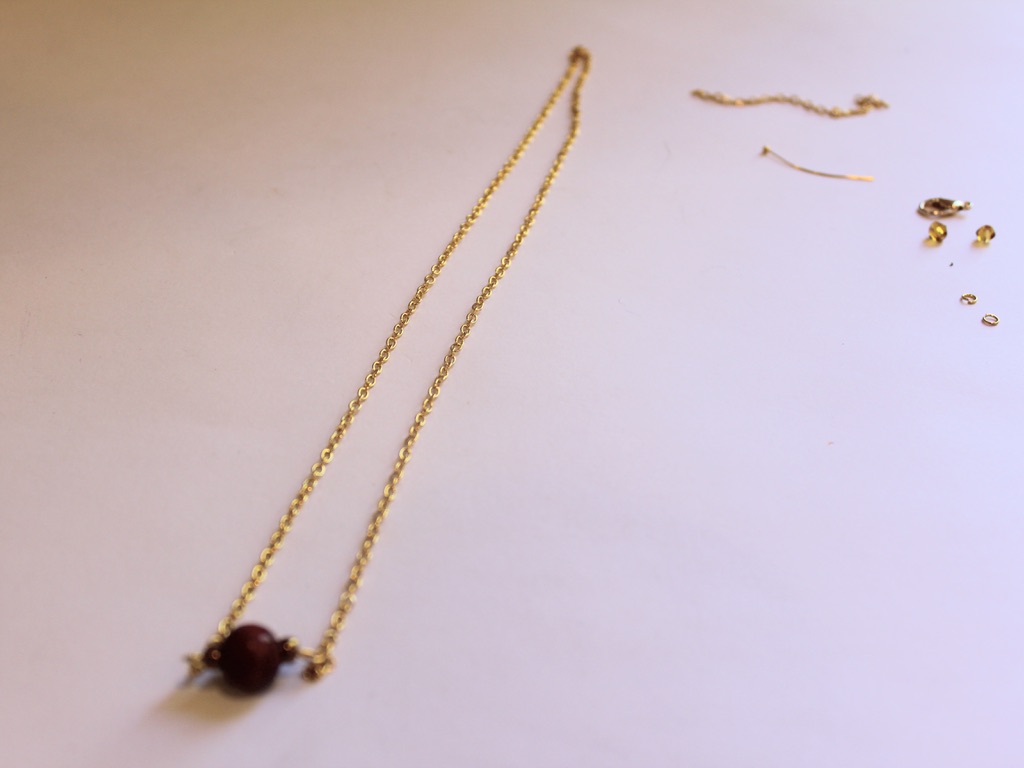
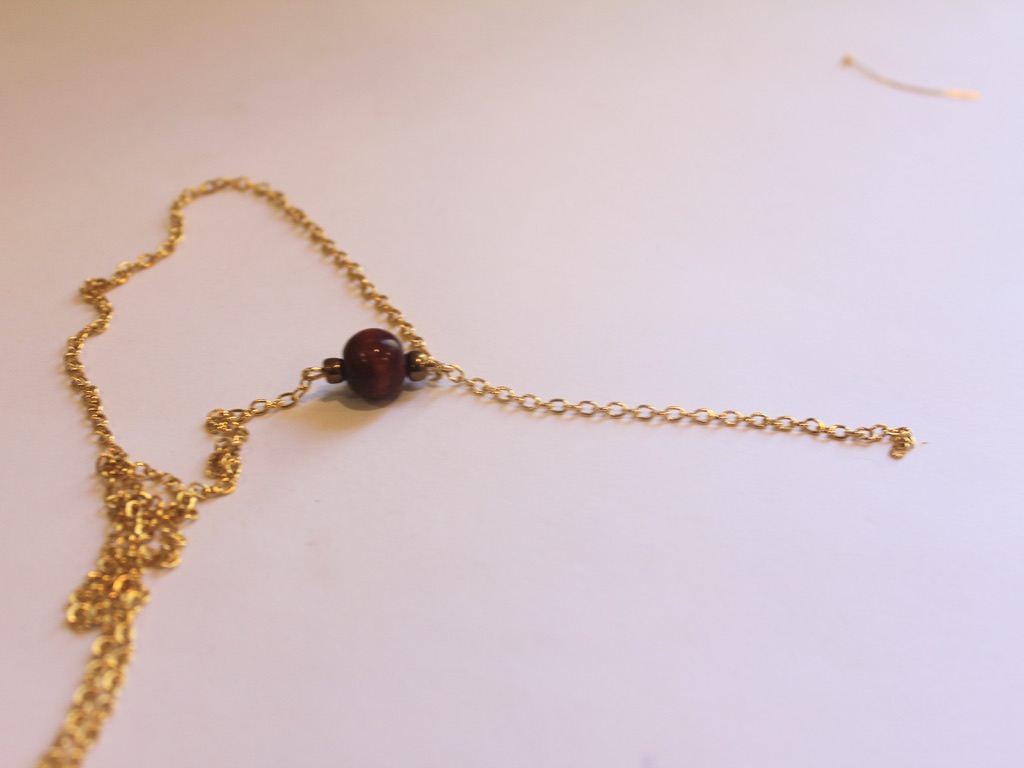
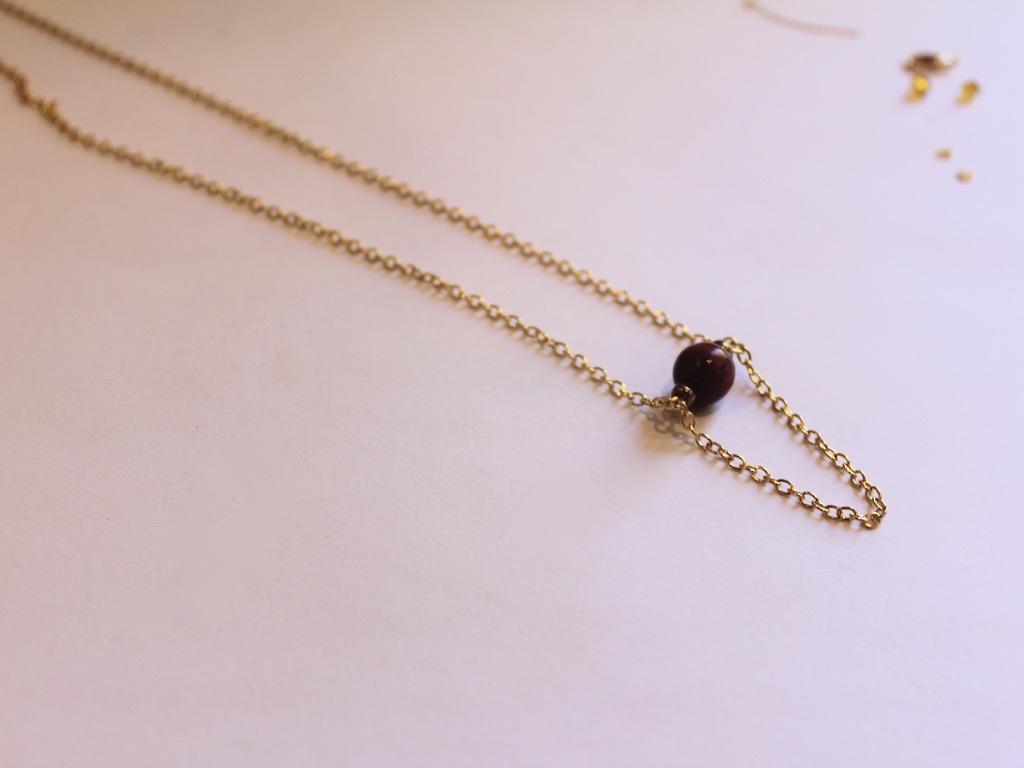
This necklace is kind of cute. It features a looped chain charm for something a little different.
I really like this necklace, it uses chains and pins to create a fun layered charm look. I used lots of different bead materials in this design, what kind of beads will you use? This tutorial contains affiliate links.
You’ll need these tools and materials to make this necklace:
1: Pliers. I used my round nose and flat nose pliers.
2: A necklace length chain and a shorter chain to make the bottom loop.
3: A lobster clasp that matches the metal tone of the chain.
4: Three jump rings, two small and one large.
5: One medium length eye pin.
6: One head pin.
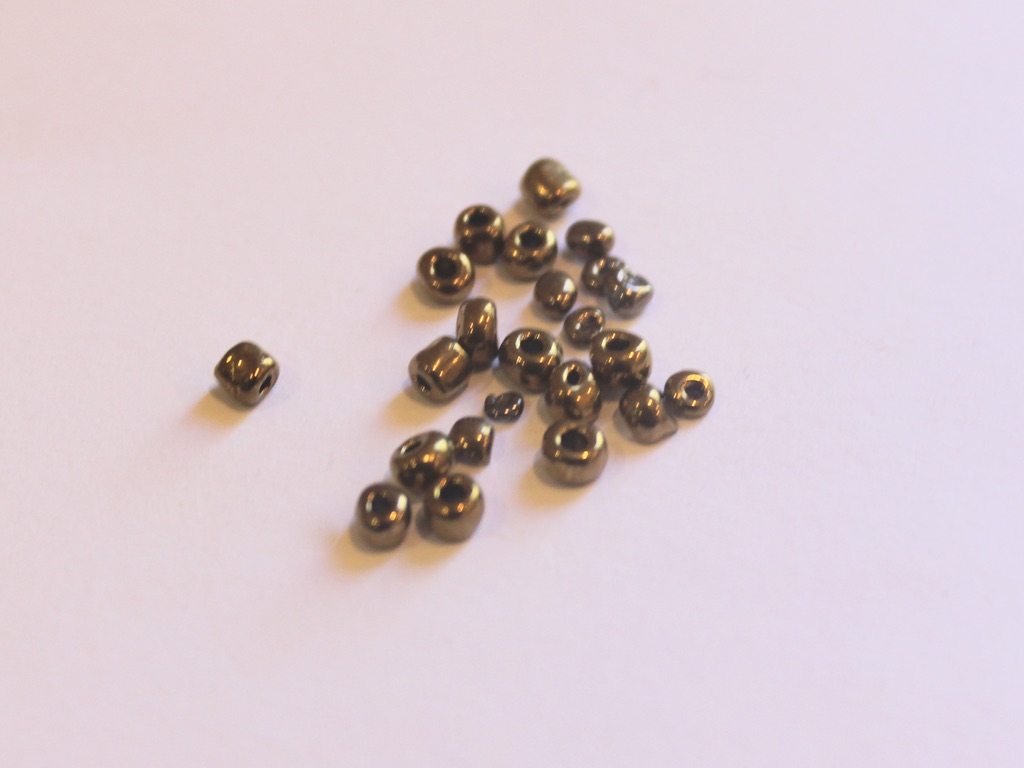
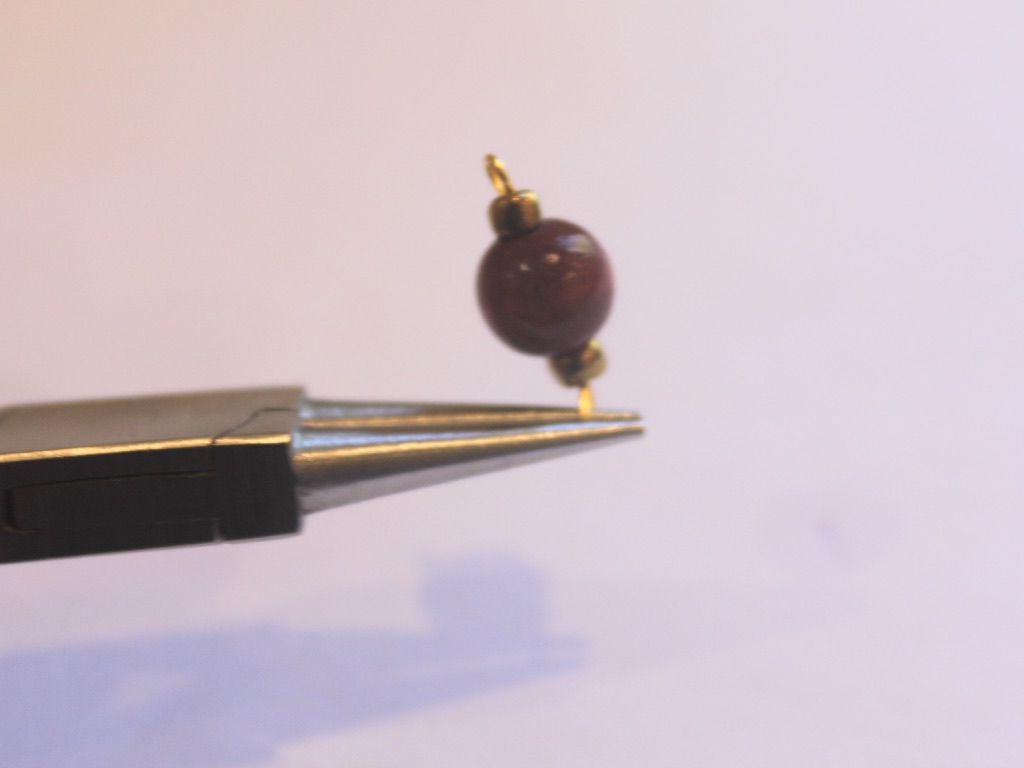
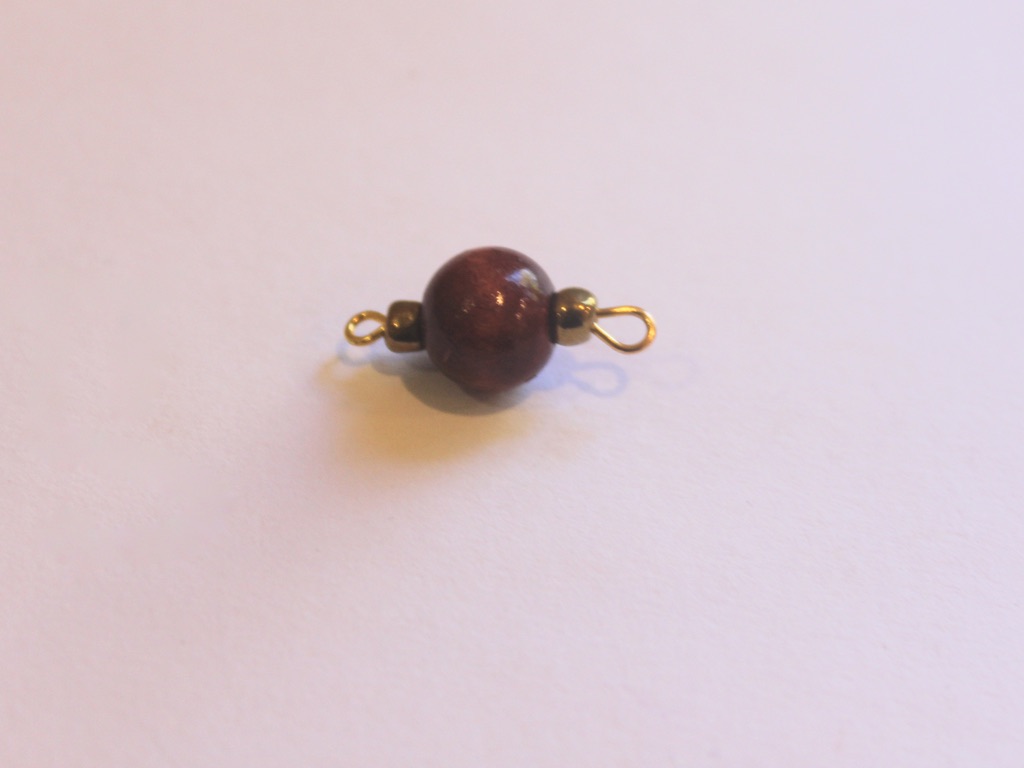
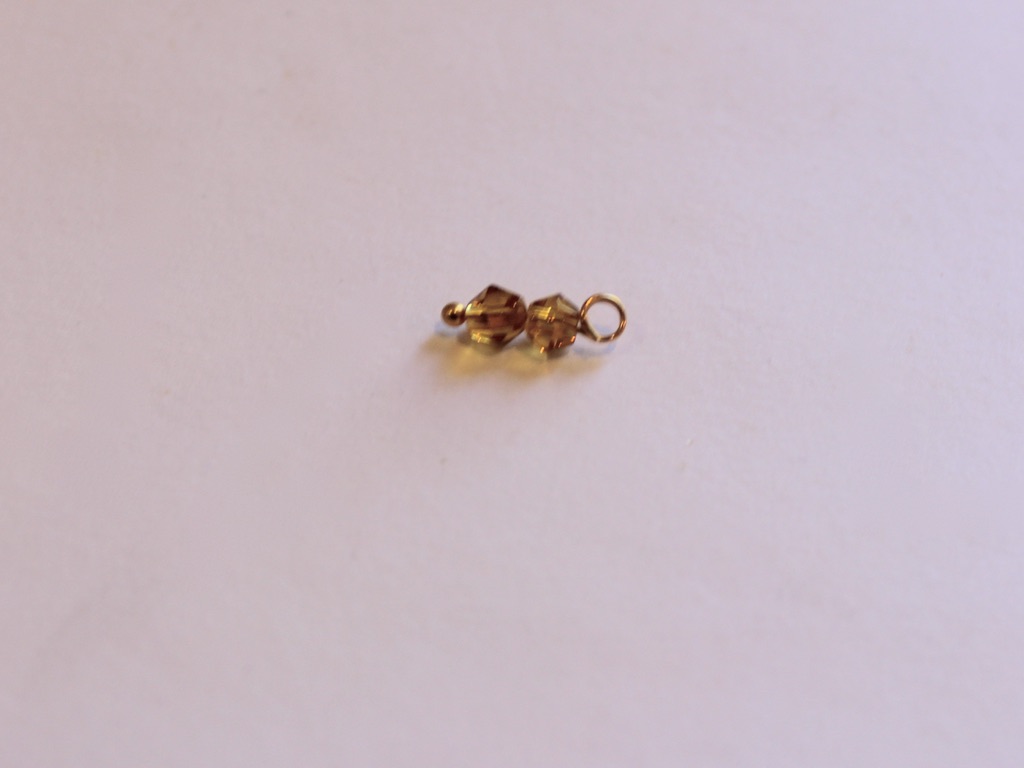
7: Beads. I used one red wooden bead, bronze tone e-beads and two yellow plastic faceted beads.
Follow these steps to make your new cute necklace:
1: Add the beads to the eye pin in your pattern of choice.

2: Bend the end of the pin into a loop using the round nose pliers.
3: Attach the long and short chains to the charm so that they fall either side of it.
4: Add the other beads to the head pin and curl the top of it to secure the beads in place.

5: Attach the charm to the middle of the short chain with the larger jump ring.
6: Split the necklace chain in the middle and use the small jump rings to secure the lobster clasp and a ring to close it on.
Now your new necklace is finished! I think this is a great design to showcase unique beads and charms.

This tutorial contains affiliate links.
-
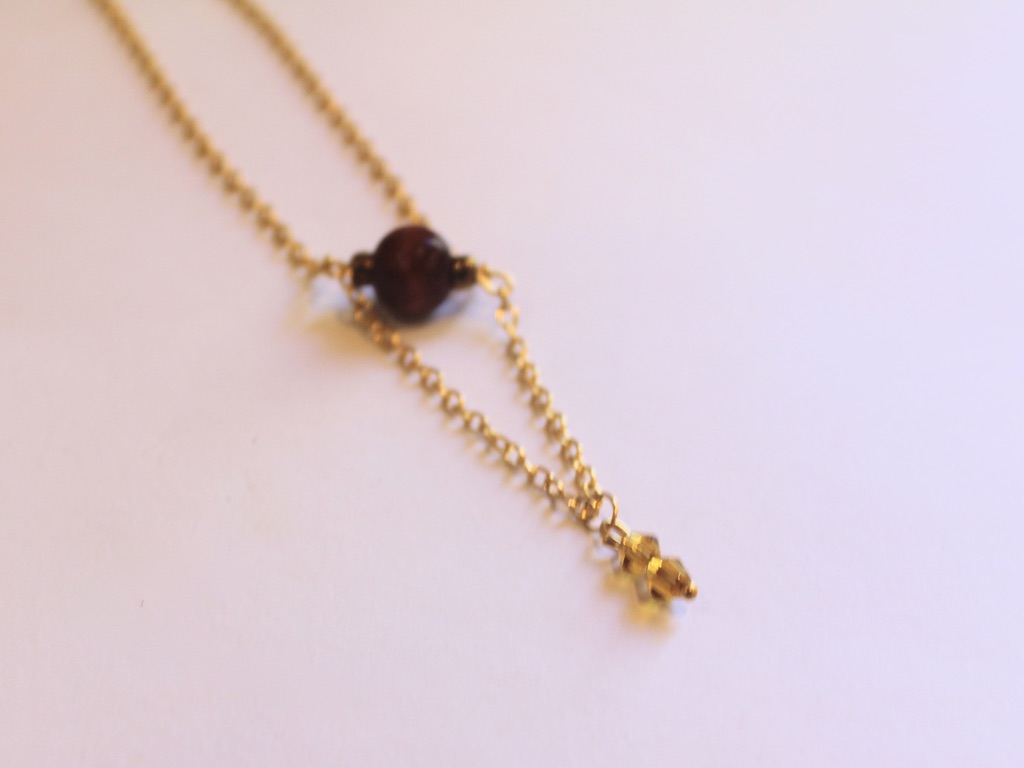
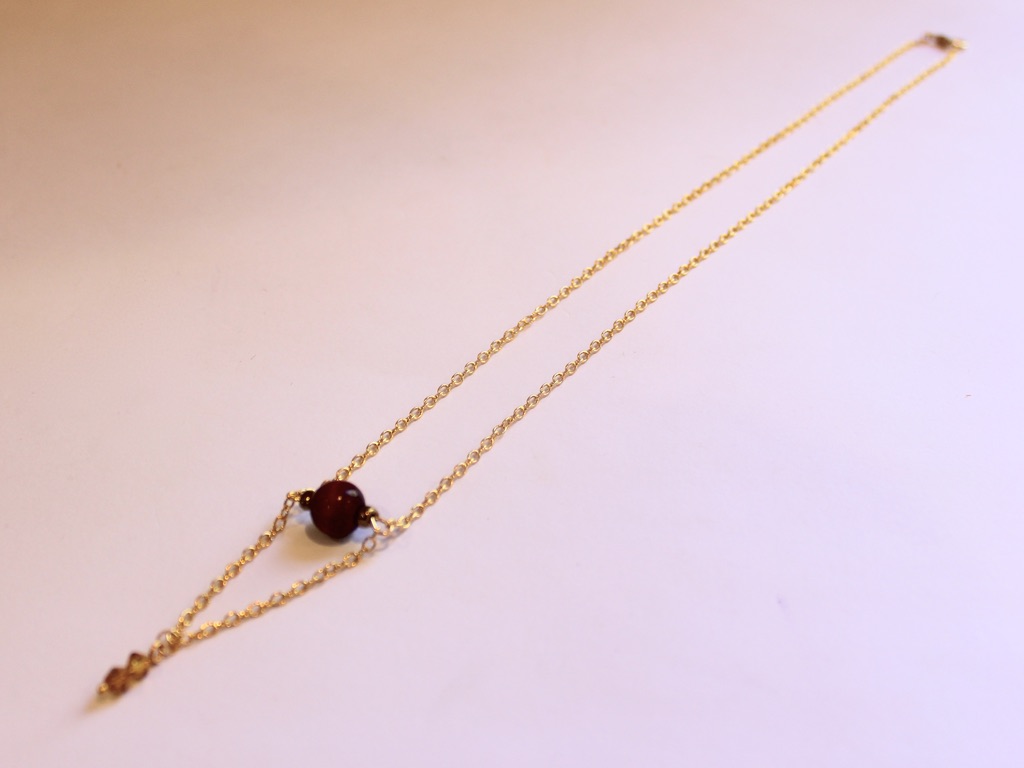
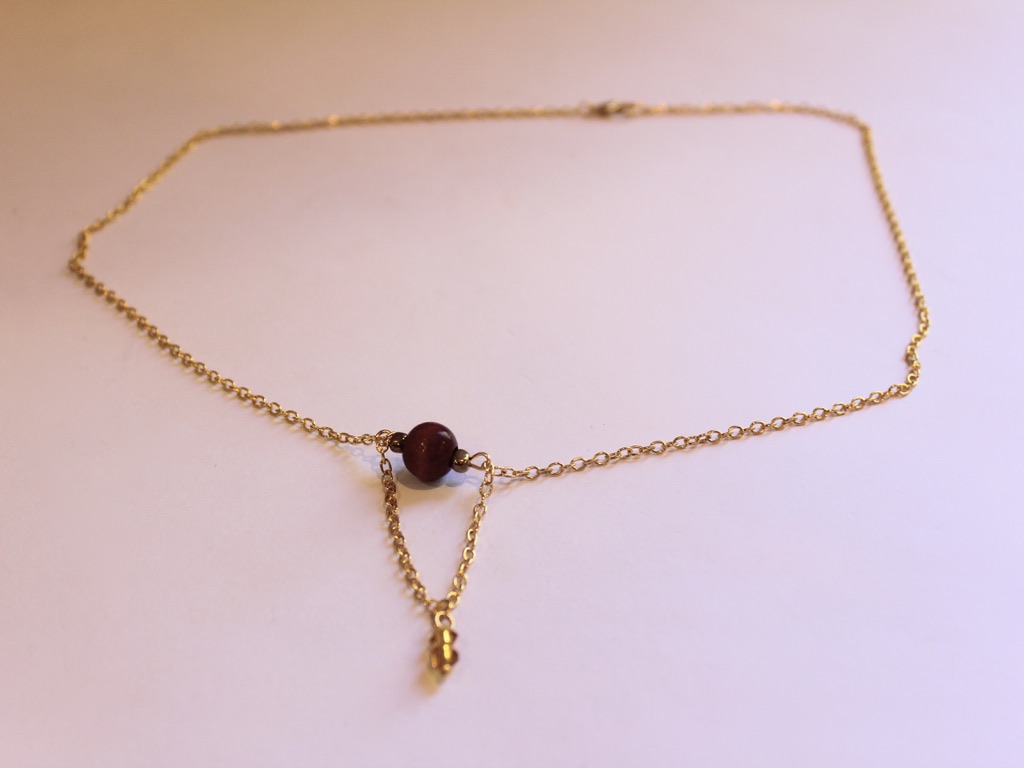
How to make a mixed material lariat necklace
Do you like lariat necklaces? I think they are really elegant and kind of sexy. We have done some lariat tutorials in the past but this one is a bit different. It is made using a small piece of chain which hangs in the middle of a beaded strand like a pendant. I really like beading projects because they take time and patience, perfect for passing the time inside. This tutorial contains affiliate links.
You’ll need the following tools and materials to make your mixed material lariat:
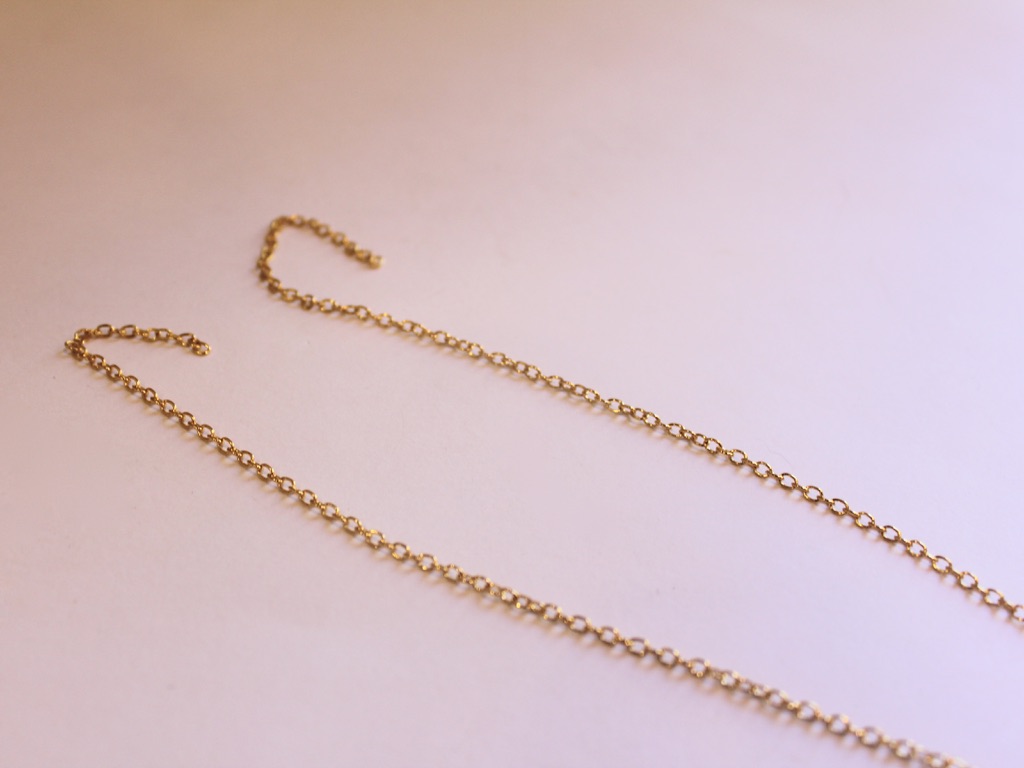
1: Tiger tail wire. Cut it to your desired length (plus a bit extra). I think lariat necklaces look best when not too long.

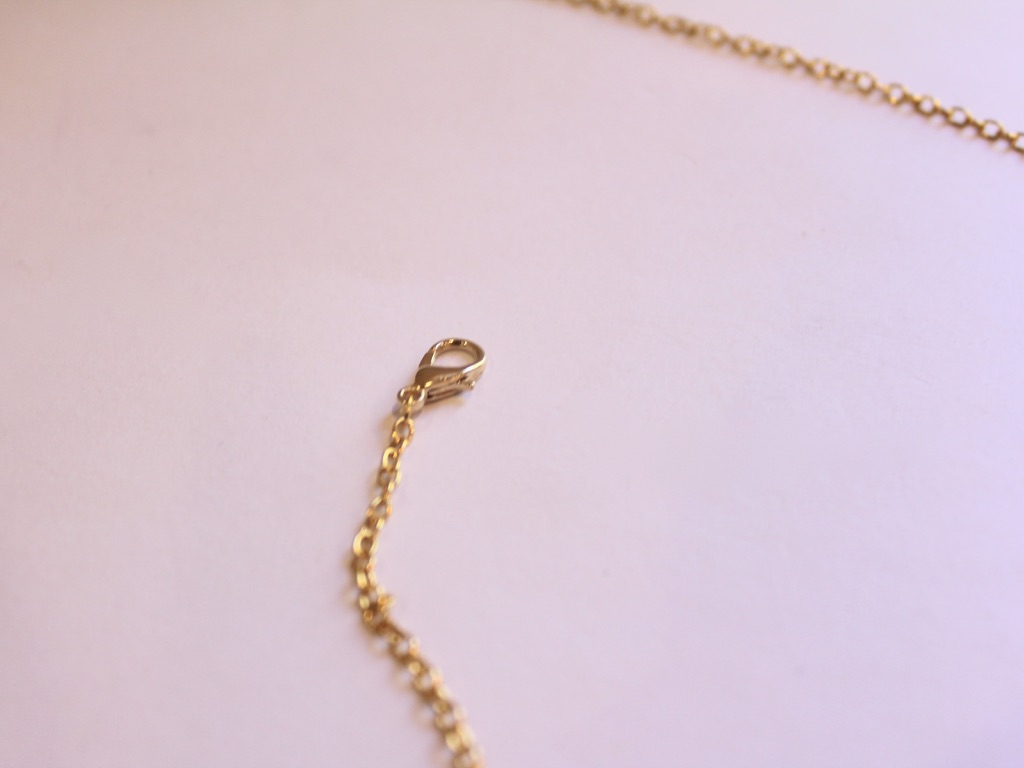
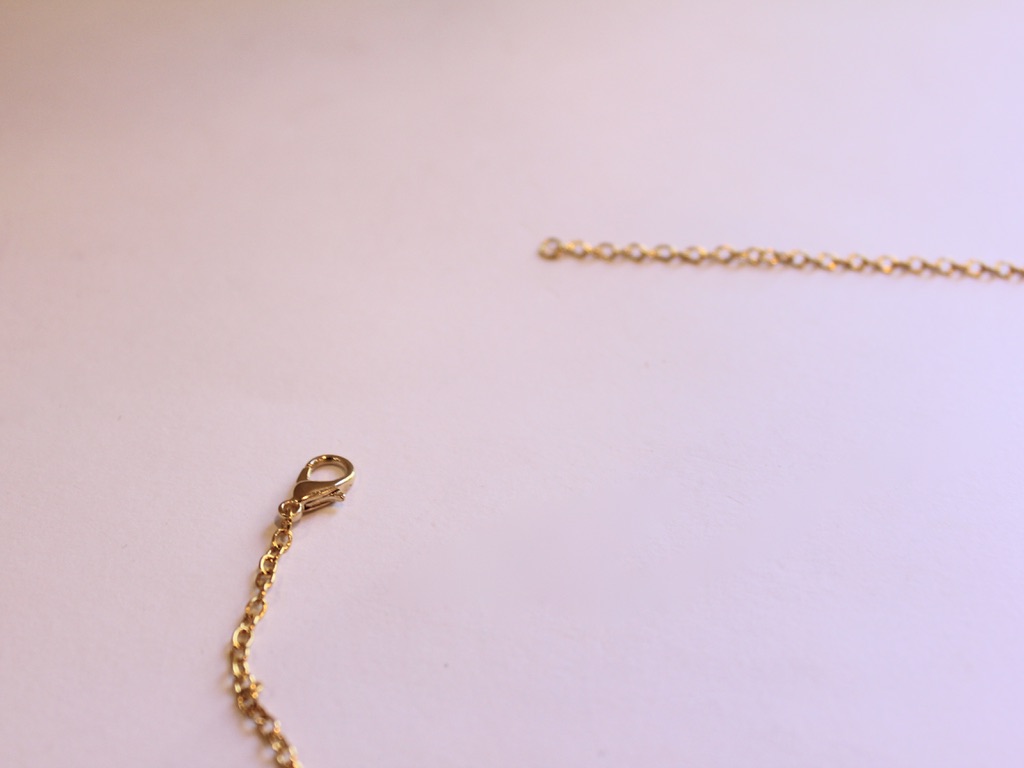
2: One lobster clasp.

3: Four crimp beads.

4: Three smaller jump rings. One slightly larger than the other two.

5: One large jump ring.

6: A length of chain, approximately 10cm long (3.9 inches).

7: Beads of your choice. I used green and yellow glass beads.

8: Pliers. I used cutting pliers, flat nose filers and round nose pliers.
Follow these steps to make your own mixed material lariat necklace:
1: Add crimps to the end of the wire.

2: Add a jump ring and fold the tiger tail wire around the jump ring. Thread the end of the wire through the crimp beads.

3: Squash the crimps using the flat nose pliers.


4: Add the beads in your desired pattern.


5: Once your strand is fully beaded add the remaining crimp beads.

6: Add the other small jump ring and thread the end of the wire back through the crimp beads and the first few glass beads.


7: Squash the crimp beads using the flat nose pliers.

8: Trim the remaining wire using the cutting pliers.

9: Add the clasp to one side of the beaded strand.

10: Add the third smaller jump ring to one end of the necklace.

11: Add the large jump ring to the top of the piece of chain and then close it.


12: Add the chain to the beaded strand to finish the necklace off.

Now your necklace is finished! What colour will you make yours in?


Here is another one I made using mixed glass seed beads.

Here are some other lariat tutorials:
- Circle charm lariat
- Beaded triangle lariat
- Clip on lariat charm
- Belt/lariat tutorial
- A leather wrap lariat
- Pearl charm chain lariat
This tutorial contains affiliate links.