-
Got a ring that doesn’t fit anymore? Turn it into a fun pendant!
I popped this ring on the other day… and it got stuck on my finger! After panicking a little I managed to get it off and decided it needed a new life as a pendant rather than a ring. Here’s how to transform your too small ring into a cool necklace pendant…
This tutorial contains affiliate links.
You’ll need the following tools and materials:
1: A ring that doesn’t fit you anymore. I used this steel ring.

Here’s something similar:
2: Pliers. I used my cutting pliers, round nose pliers and flat nose pliers.

3: Some tiger tail wire, long enough to make a necklace.

4: Four crimp beads.

5: Two small jump rings.

6: A lobster clasp.

7: Beads. I used this mix of pastel glass seed beads. I also used six larger beads to fit over the folded tiger tail wire.


Follow these steps to make your ring pendant necklace:
1: Add two of the crimp beads and a jump ring to one end of the tiger tail wire.


2: Loop the end of the wire around the jump ring and back through the crimp beads, pull the wire tight.

3: Squash the crimp beads using the flat nose pliers.


4: Bead the wire in any pattern you wish. I beaded mine randomly with no particular pattern.


5: Once you have your necklace at the length you want it, add the remaining crimp beads and jump ring.

6: Loop the end of the wire around the second jump ring and back through the crimp beads and the last few glass beads, pull it tight.

7: Squash the crimps using the flat nose pliers and then trim the excess tiger tail wire using the cutting pliers.


8: Add the ring to the strand.

9: Attach a lobster clasp to one of the end jump rings to finish it off.

Now your ring pendant necklace is finished and ready to wear!


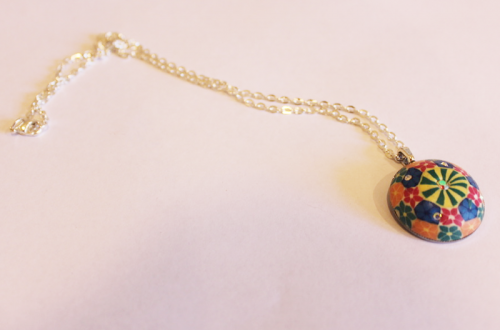
Here’s another idea, pop your rings onto a chain. Here’s one I made with two brass rings on a silver-tone chain.

Here are some other ways to use rings in your jewellery:
- How to turn a ring into the central feature of a choker necklace
- Here’s how to turn a costume ring into a different kind of pendant
This tutorial contains affiliate links.
-
Here’s another way you can use memory wire to make jewelry…
Did you like our D-shaped earrings tutorial? Well here is how you can use a similar technique to make a beaded D-shaped pendant. This design includes a beaded chain accent as well. I really like this design and have made a few versions of it! Maybe you’ve seen some on my Instagram, @hfgjewelsbalmain ?
This tutorial contains affiliate links.
You’ll need these tools and materials to make this D-shaped beaded pendant necklace:
1: Pliers. I used cutting pliers, flat nose pliers and round nose pliers.
2: Half a coil of bracelet length memory wire.

3: One long eye pin.

4: Two pieces of chain.

5: A lobster clasp.

6: Six small eye pins.

7: A couple of jump rings.

8: Beads. I used six shiny blue plastic beads and a selection of pastel-tone glass seed beads.


Now here are all the steps to follow to make your D-shaped beaded pendant:
1: Add the blue beads to each of the small eye pins.


2: Create loops at the top of each pin to secure the beads in place.


3: Attach three of the bead charms together to form a short chain.

4: Repeat for the remaining three charms so that you have two small chains.

5: Set the bead chains aside.
6: Create a loop at one end of the memory wire.


7: Add the beads to the memory wire until there is only 1cm left without beads.


8: Create another loop at the other end of the memory wire to secure the beads on.


9: Add beads to the long eye pin and create a loop at the other end as you did with the memory wire.


10: Attach either end of the long eye pin to the loops at the end of the memory wire to form the D shape.


11: Attach each of the bead chains to either side of the D charm.


12: Attach a piece of chain to each of the bead chains to form the full length necklace chain.


13: Attach a lobster clasp to one side of the necklace using one of the jump rings.


14: Attach the other jump ring to finish the necklace.

Now it is finished and ready to wear! How will you customise this design?


Here are some other versions I have made:


This tutorial contains affiliate links.
-
This video will show you how to make a tassel pendant necklace
This tassel pendant tutorial is another one of those simple DIY’s that have MAXIMUM impact! How cute is that dangling tassel? I am super stoked on this design and I hope you enjoy it too. This design is versatile, wear it to spice up all kinds of different outfits.
You’ll need some tools and materials to make this tassel pendant necklace, here are some links so you can find what you need:
1: Jewelry pliers including flat nose pliers, round nose pliers and cutting pliers.
2: A large tassel. I used a hot pink tassel.
3: An eye pin. I used a medium length silver-tone eye pin.
4: One spare bead. I used a yellow glass e-bead but you can use whatever you have lying around.
5: Necklace chain. Here’s a link to a simple silver chain.
6: A hot glue gun with glue. Don’t worry, you won’t need much messy hot glue to make this tassel pendant :).
I hope you enjoy this video tutorial and make yourself some super cute tassel jewelry!
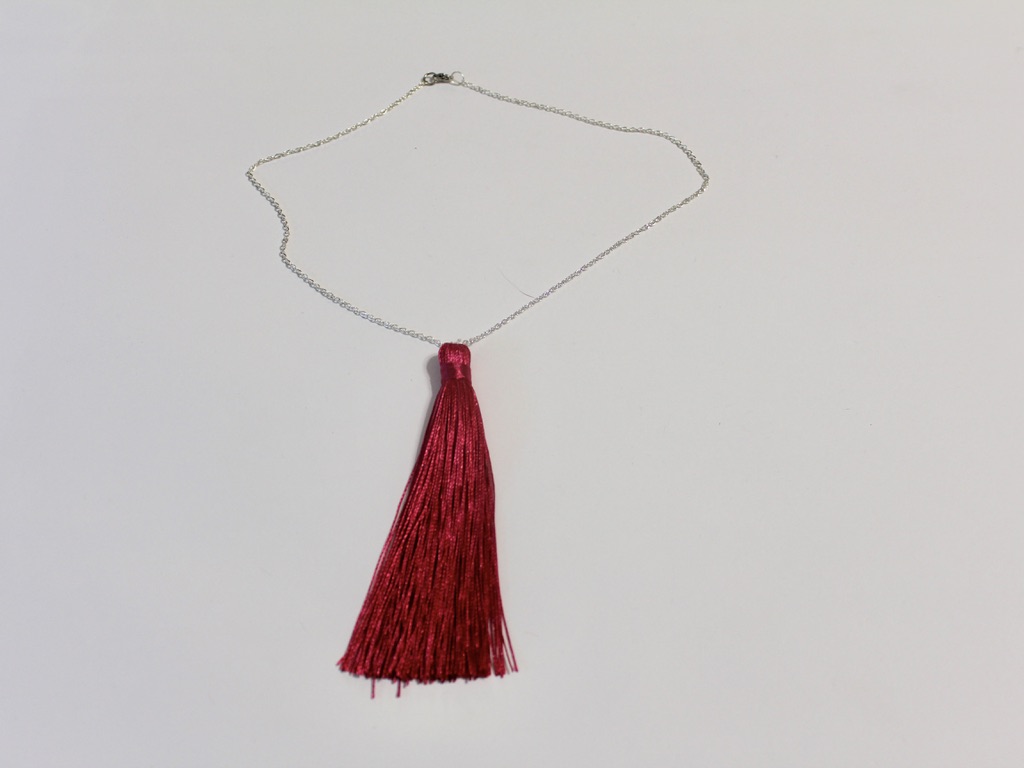
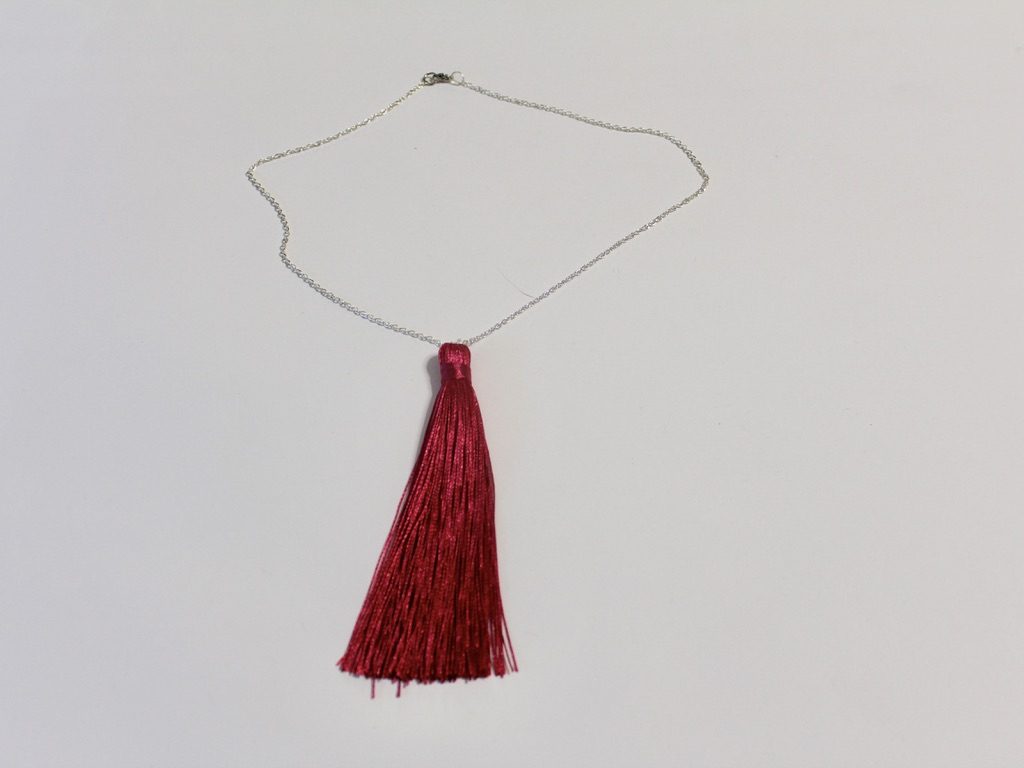
Here’s the finished product! Attach the tassel pendant to a chain for a simple and elegant look.
And here is another tassel pendant attached to a yellow beaded memory wire choker. I love this version, especially the combination of yellow and pink. Yellow and pink is such a cheery and high impact color combination. Perfect for adding an extra punch to a blah outfit!
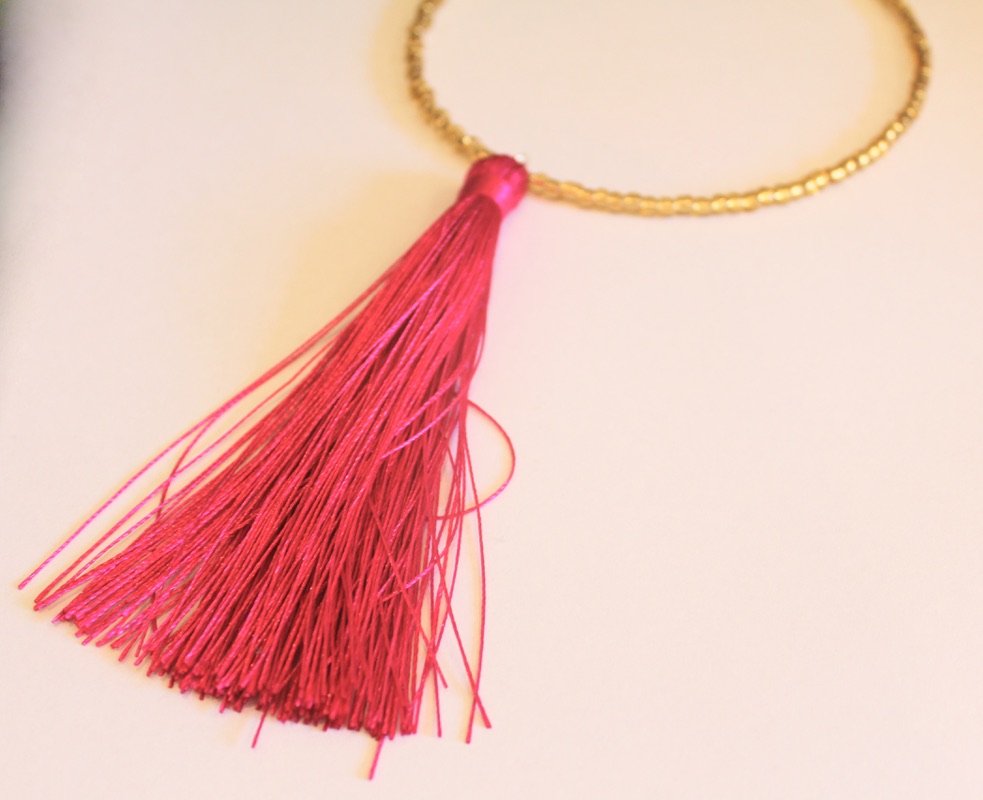
You can buy memory wire and glass beads here to make a choker necklace like the one pictured above:
If you are into tassel jewelry here are some other tutorials:
- Beaded tassel hoop earrings
- Chain tassel necklace
- Tassel and gemstone earrings
- Beaded tassel earrings
- Beaded tassel wrap necklace
- Beaded tassel pendant necklace
This tutorial post contains affiliate links.