-
Here’s how to make a beaded necklace out of wire!
If you want to make a beaded chain necklace, but don’t have any head pins, or if you want to add some handmade flair to your work, here’s how you can use wire instead! This necklace tutorial uses the clasp from last month’s tutorial, you can follow it here.
Please note that this tutorial contains affiliate links
You’ll need these tools and materials to make your necklace:
1: Some wire. I used some copper wire that was about 1mm in diameter.

Here’s some silver wire if you prefer it: https://amzn.to/3M8DgL0
2: A clasp. I used the clasp made in this tutorial.

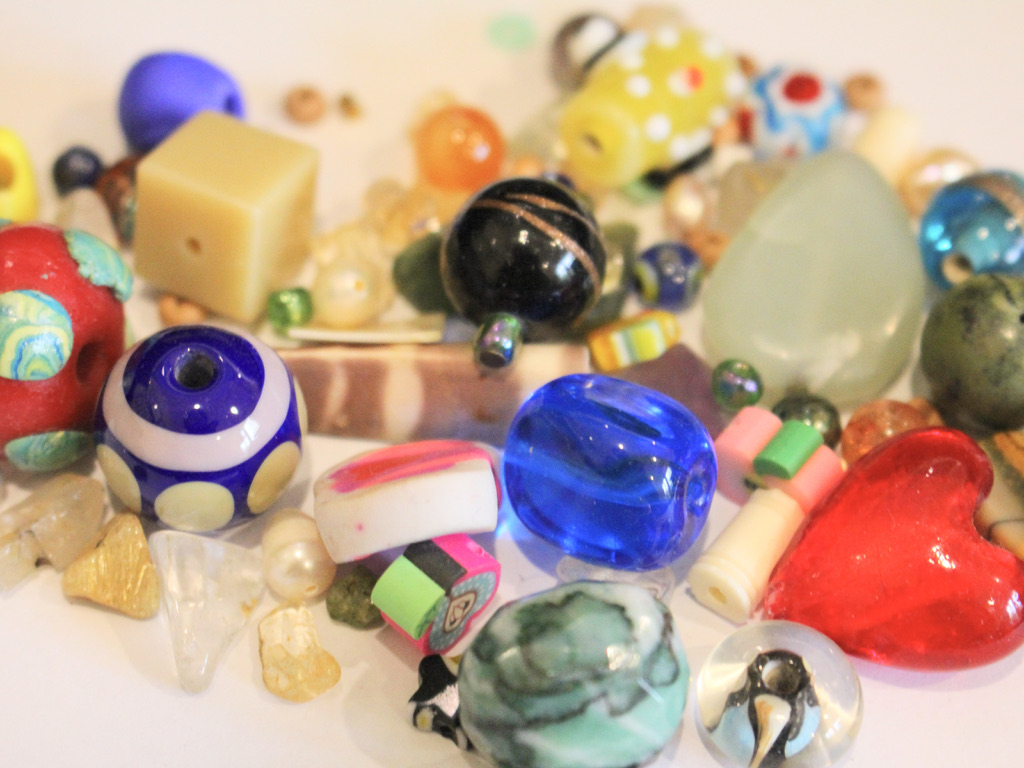
3: A selection of beads. I used a random selection of glass, plastic and clay beads.
4: A pair of flat-round pliers.

5: A pair of cutting pliers.

6: A pair of flat nose pliers or flat nose parallel pliers.

7: A file in case you want to smooth the ends of your wire. This isn’t totally necessary but adds to giving your work a quality finish.

Follow these steps to make your beaded wire chain necklace:
1: Bend the end of the wire using the flat nose pliers to form a right angle.


2: Loop the end of the wire using the round-flat pliers.

3: Add your first bead to the wire.

5: Trim the wire. I measured where to trim by holding the wire with the flat nose pliers and then cutting next to it.


6: At this point, you can file the end of the wire to flatten it, or you can simply create a loop at the top of the bead using the flat-round nose pliers.


7: Repeat steps 1-6 for the next bead link for the necklace. Once the link is formed, use the flat nose pliers to open the jump ring, slide it onto the first charm and close the link to start forming the chain.


8: Repeat these steps until you have a length you like for a necklace.


9: Open one of the loops at the end of the necklace and attach the clasp. Close the loop to secure the clasp in place. Add the clasp ring to the other side of the necklace to finish it off.


Now your necklace is finished! How fun to make your own jewellery without any pre-made findings?!


-
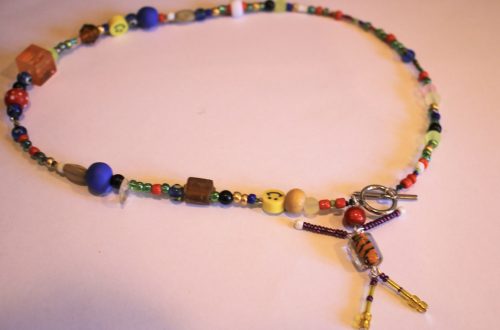
Here’s how to make a necklace strand for your cute beaded person charm…
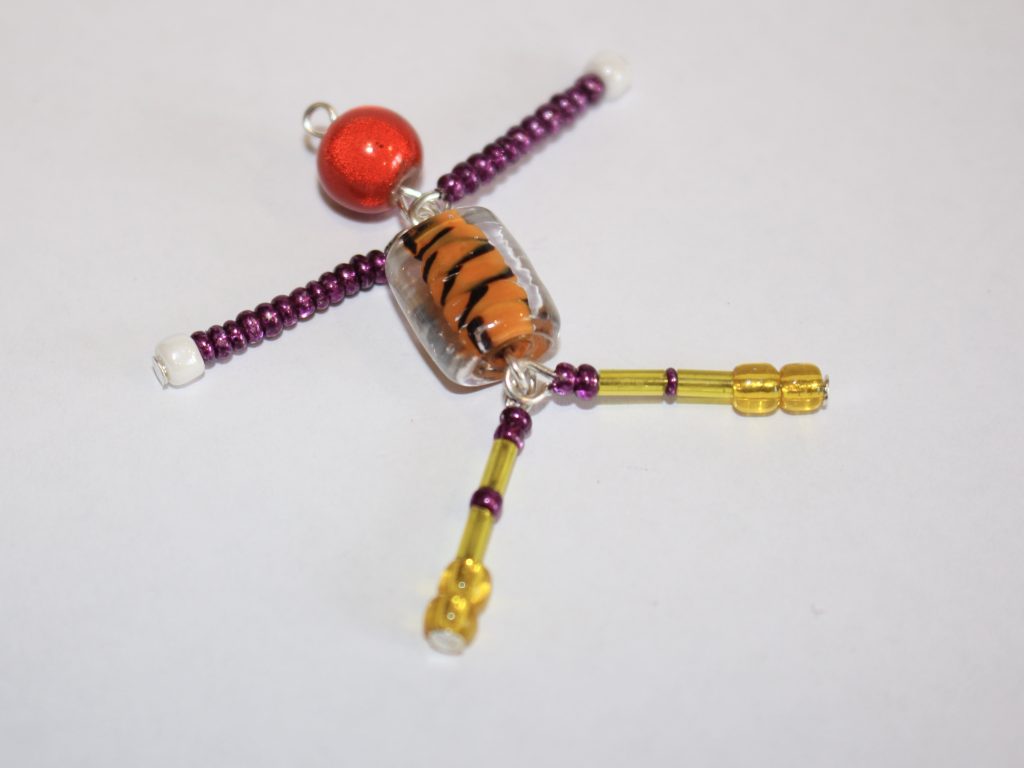
Remember this charm? Here’s how to make a crazy mixed bead necklace to hang it on and wear about! This tutorial makes use of those random mixed beads you aren’t sure what to do with! Please note, this tutorial contains affiliate links.
You’ll need these tools and materials to make your beaded necklace:
1: A person charm, you can follow the tutorial here.
2: A piece of tigertail wire, long enough for your desired necklace length, plus a few extra centimetres.

3: Four crimp beads.

4: A toggle clasp.

5: Two jump rings.

6: Pliers.

7: A selection of beads.

Follow these steps to make your necklace for your cute person charm:
1: Take the tigertail wire an add two crimps to one end.

2: Add a jump ring to the end of the wire.

3: Fold the end of the wire around the jump ring and through the crimp beads.

4: Squash the crimp beads using the flat nose pliers.


5: Begin adding beads.

6: Continue adding beads until you have a length you like.

7: Add the second set of jump rings to the other end of the necklace.

8: Add the second jump ring.

9: Loop the end of the wire around the jump ring and back through the crimp beads and the last couple of beads on the strand. Pull the wire tight.

10: Squash the crimp beads to secure the jump ring in place at the end of the necklace.

11: Trim the excess wire.

12: Open one of the jump rings using pliers and add the person charm.

13: Add the circle side of the toggle clasp and close the jump ring to secure the components together.


14: Add the other side of the toggle clasp and close the jump ring to finish the necklace off.


Now your adorable person charm necklace is finished and ready to wear! How cute!!


-
Here’s how you can make a fun mixed bead bracelet to show off your personality!
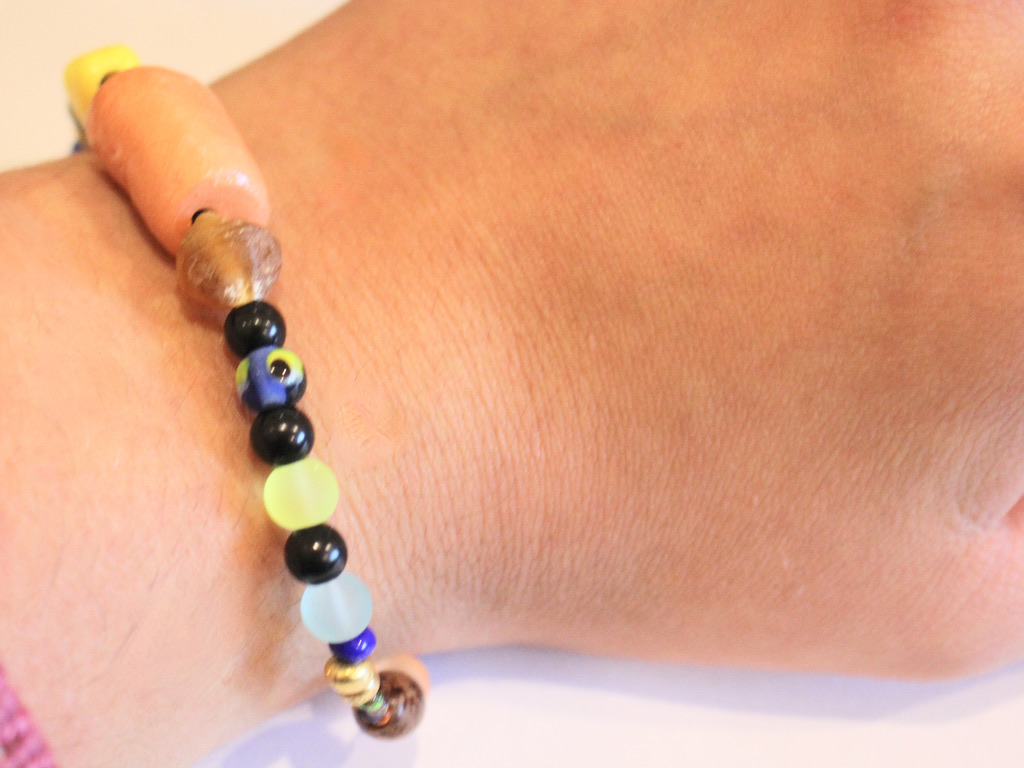
I love the trend towards the craft-core bead explosion designs in jewellery! I’ve shared a few other similar tutorials in the form of mixed bead anklets and necklaces, but this one is a bracelet! This bracelet features a mixture of handmade, recycled and new beads for a unique look! What beads will you use in yours? Please note that this tutorial contains affiliate links.
You’ll need these tools and materials to make your own mixed bead bracelet:
1: Some tiger tail wire cut to a length that will fit your wrist plus a few extra cm.

2: A selection of beads. I used a mix of plastic, clay and glass beads from different sources, recycled, new and handmade.

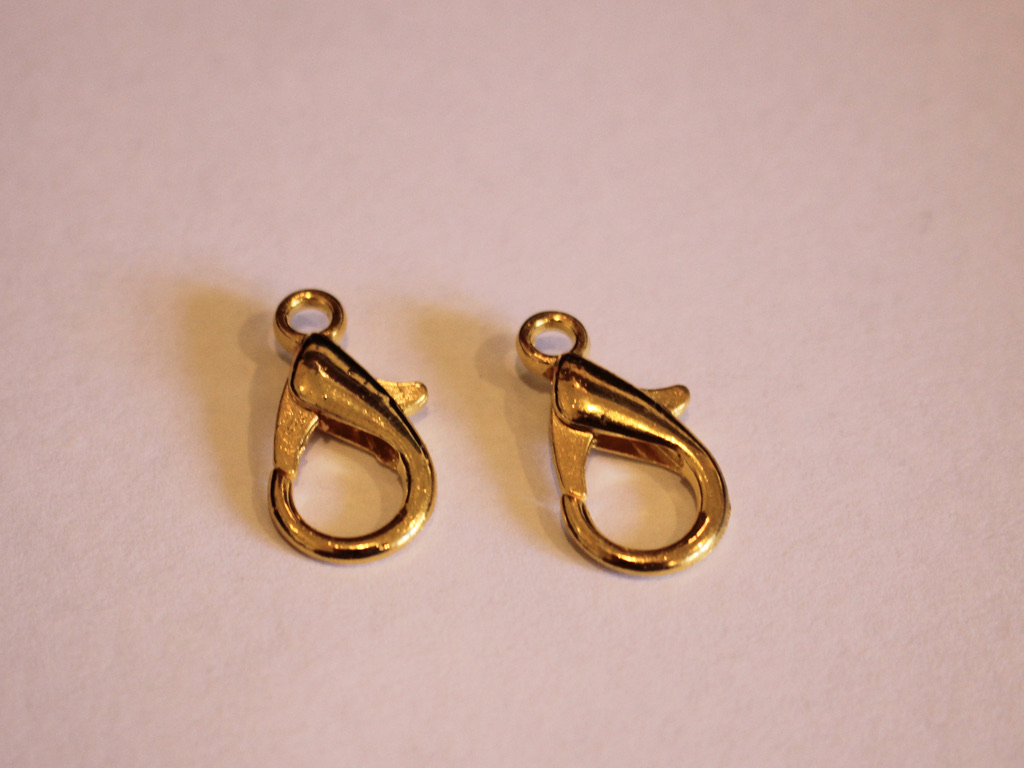
3: A clasp. I used this gold-tone parrot claw clasp.

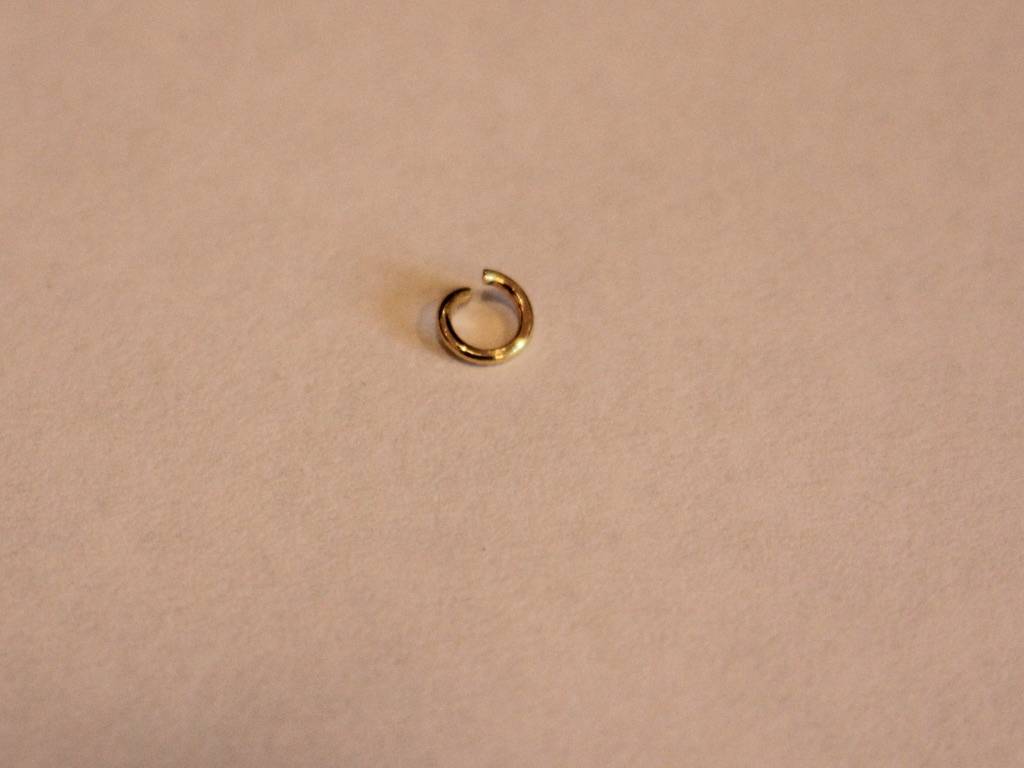
4: A jump ring.
5: Four crimp beads.

6: Pliers. I used cutting pliers to cut the wire, flat nose pliers and round nose pliers.
Cutting pliers, round nose pliers, flat nose pliers. Follow these steps to make your crazy mixed bead bracelet:
1: Take the tiger tail wire and add two of the crimp beads.

3: Add the clasp to the wire and loop the end of the wire back through the crimp beads.

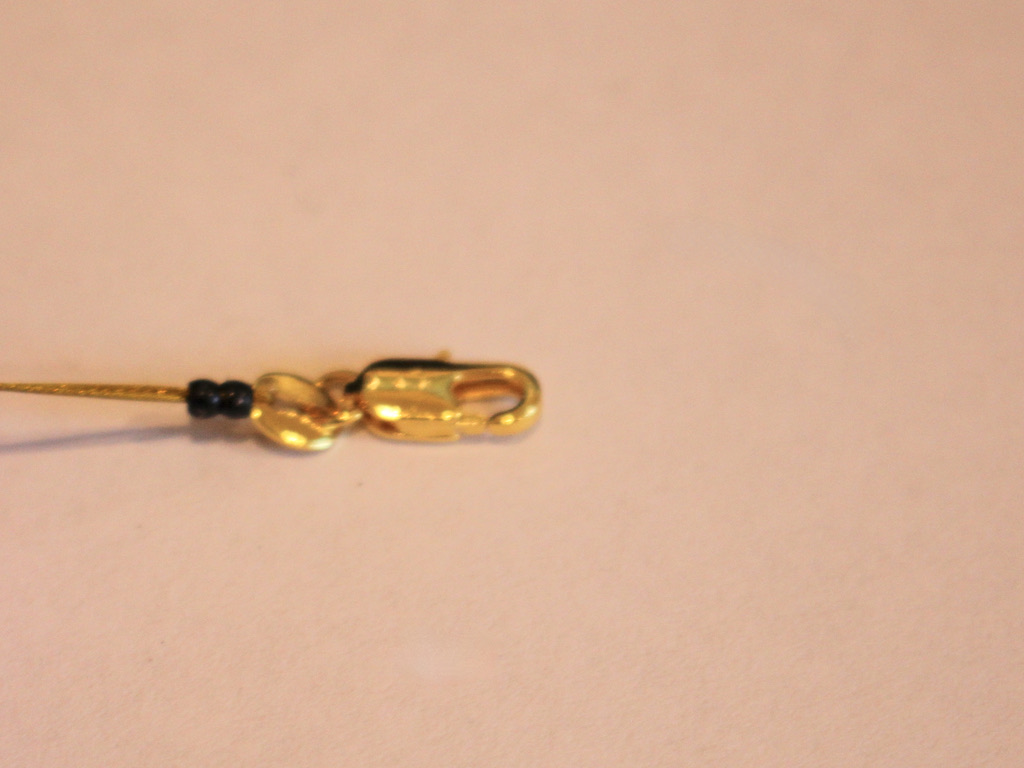
4: Squash the crimp beads using the flat nose pliers.

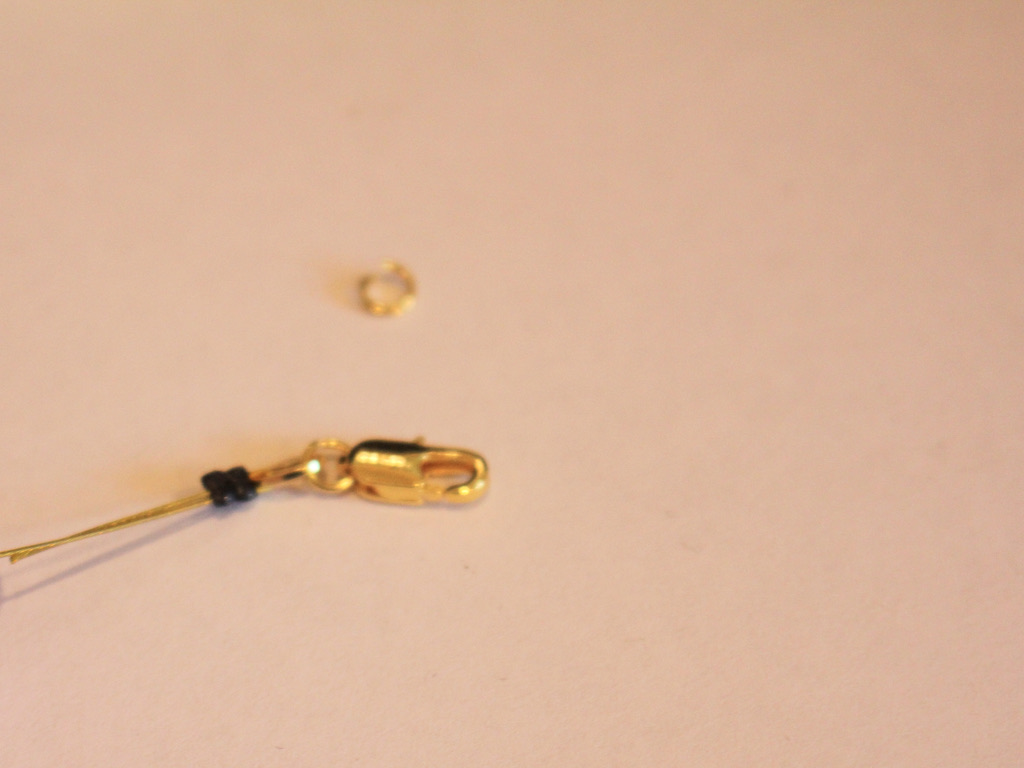
5: Begin adding beads to the wire in random order.
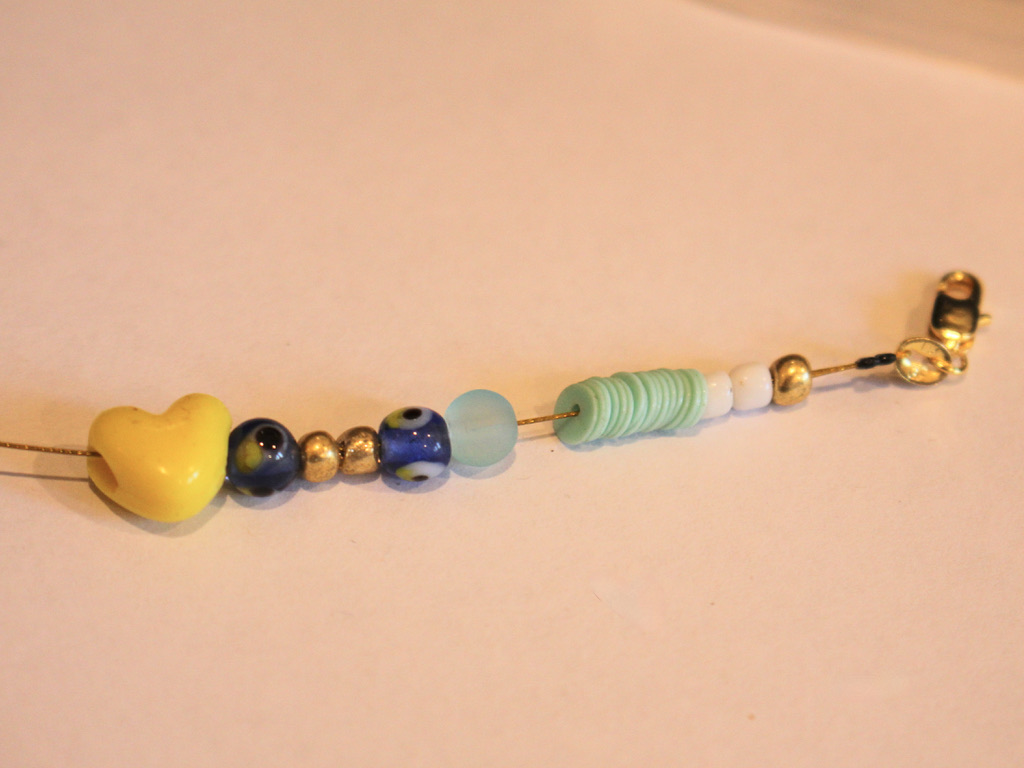
6: Continue adding beads until you get it to the length that feels comfortable around your wrist.
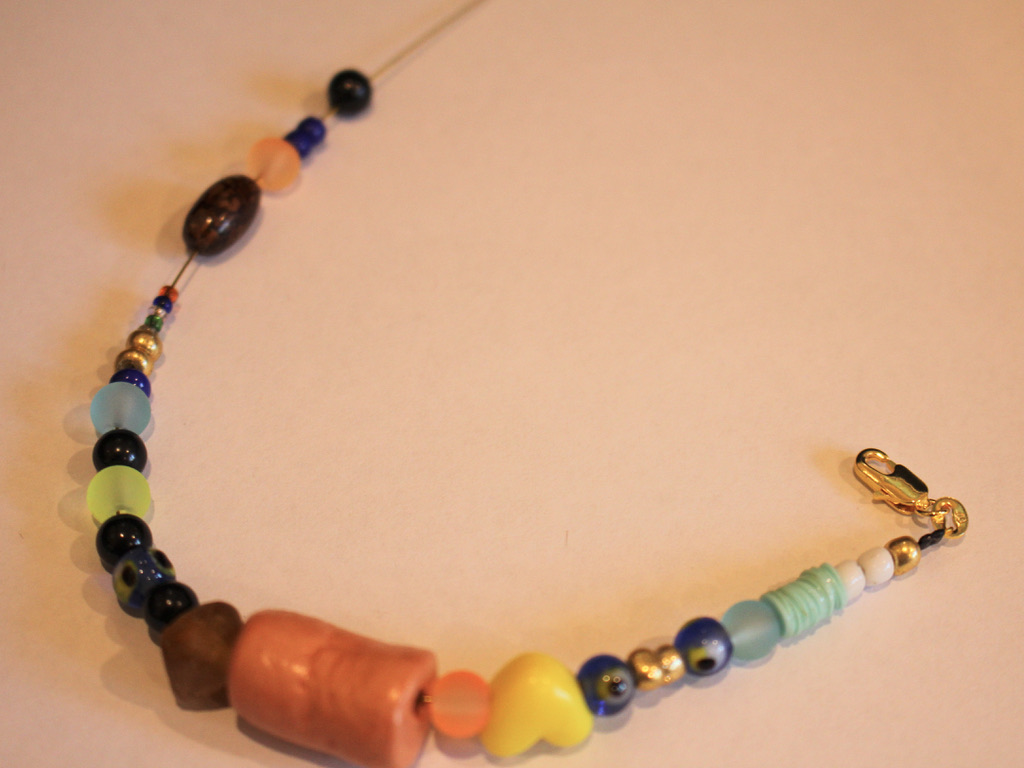
7: Add the second set of crimp beads to the wire.
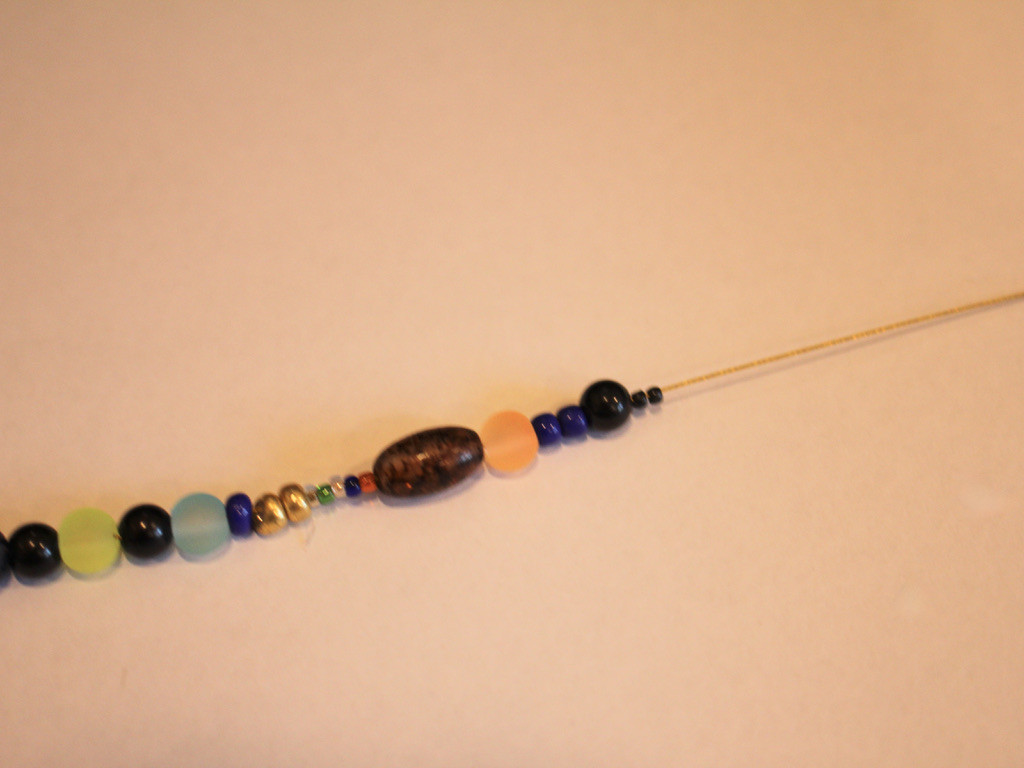
8: Add the jump ring to the wire.
9: Loop the wire around the jump ring and back through the crimp beads and the first few beads at the end of the bracelet.
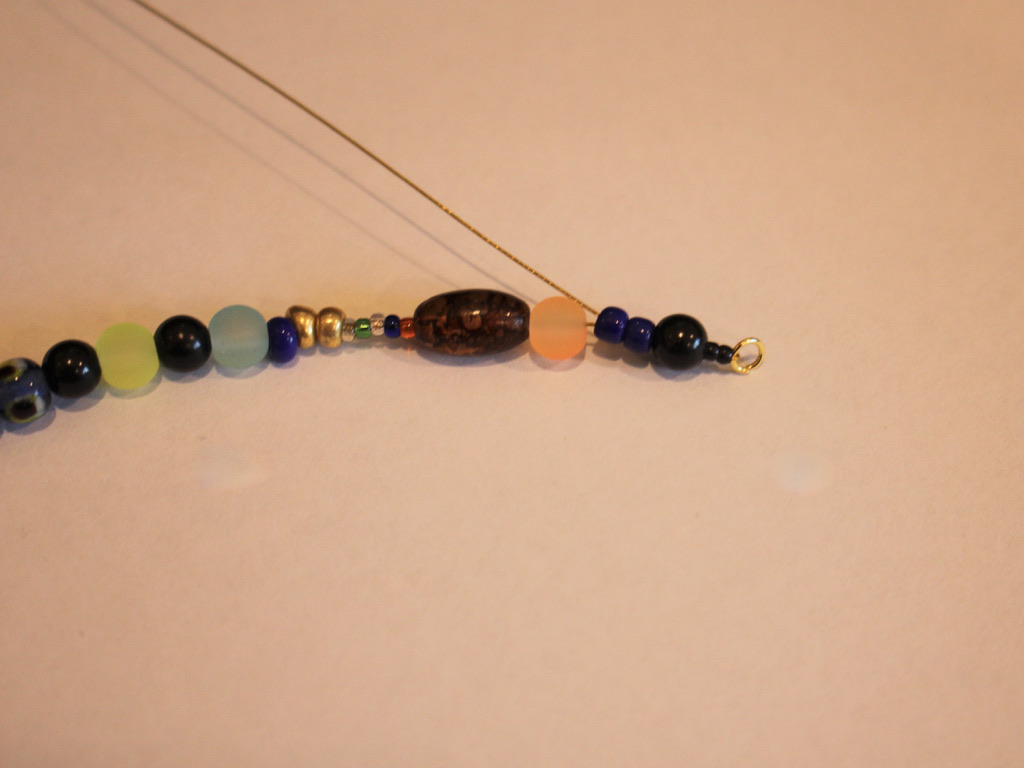
10: Pull the wire tight.
11: Squash the crimp beads using the flat nose pliers.
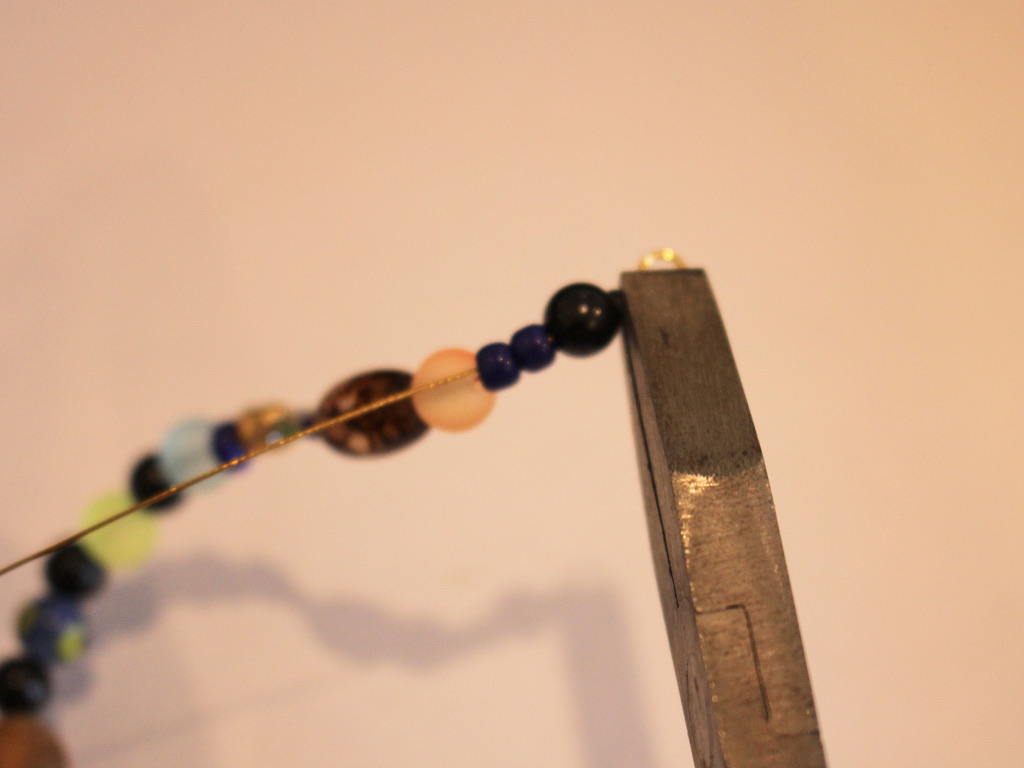
12: Trim the excess wire using the cutting pliers.


13: Now your bracelet is finished and ready to wear!


Here are some other mixed bead, craft-core tutorials for you to follow:
- A crazy mixed bead necklace
- A mixed bead necklace with letter beads
- This special mixed bead shoe chain that can also be worn as an anklet
- A simple mixed bead anklet
If you love the clay bead featured on this bracelet, here’s a tutorial that you can follow to make your own.
-
Here’s a wild beaded anklet that can also be worn as a shoe chain!
I love jewelry that can be worn multiple ways, so I created a tutorial that shows you how to make a beaded shoe chain that can also be worn as an anklet! It features clasps on either end so that it can be clipped to your shoelaces as a shoe decoration, or to each other to create an anklet effect. Please note that this tutorial contains affiliate links. Here’s a fun detail. This tutorial makes use of beads I made in this tutorial… so if you follow both you can have a completely custom piece of jewelry!
You’ll need these tools and materials to make this multi-use shoe chain/anklet:
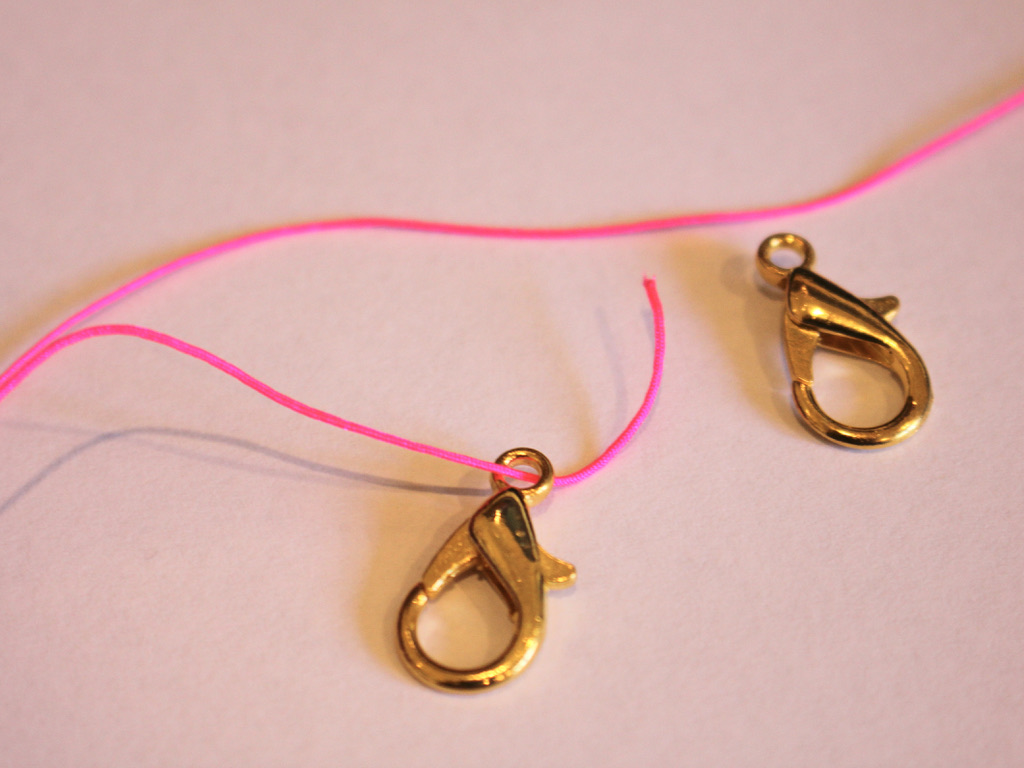
1: Some beading thread, I used this hot pink nylon string. Make it long enough to fit your ankle plus a bit extra.

2: A pair of large clasps. I used these gold-tone clasps.
3: A selection of beads. I used a mixture of handmade resin and polymer clay beads, and other plastic beads.

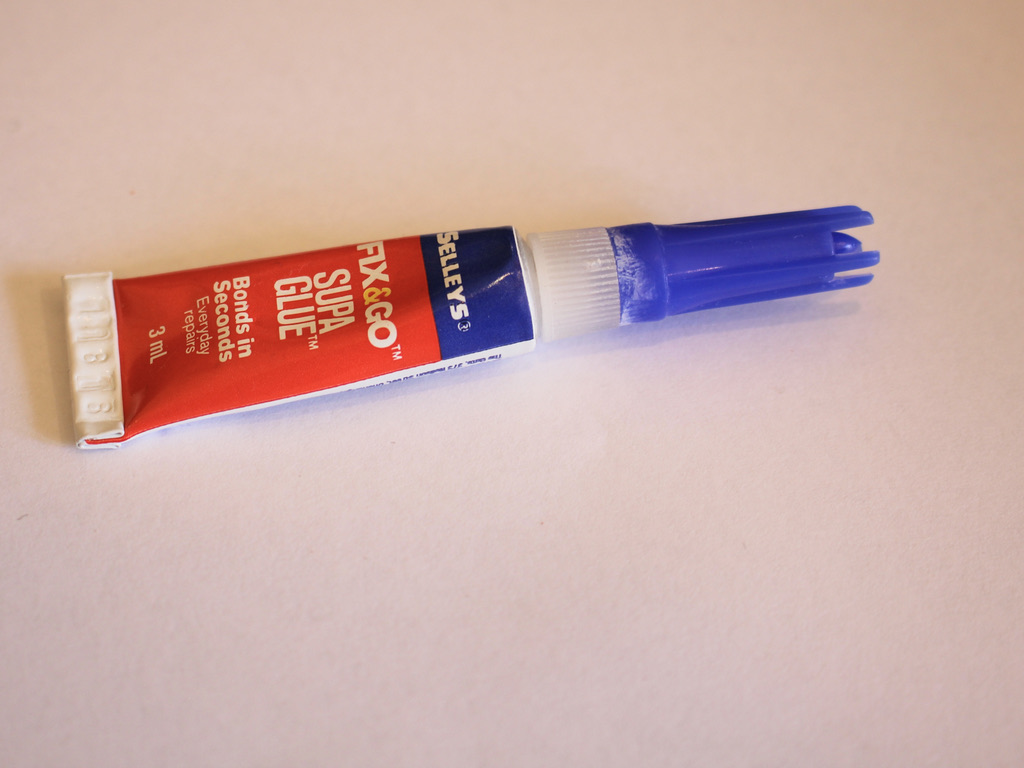
4: Super glue for securing the knots.
5: Some scissors for trimming the string.

Follow these steps to make your multi-purpose anklet shoe chain:
1: Tie the string to one of the clasps. Wrapping the string around the clasp a few times and making multiple knots can help keep it more secure for longer.

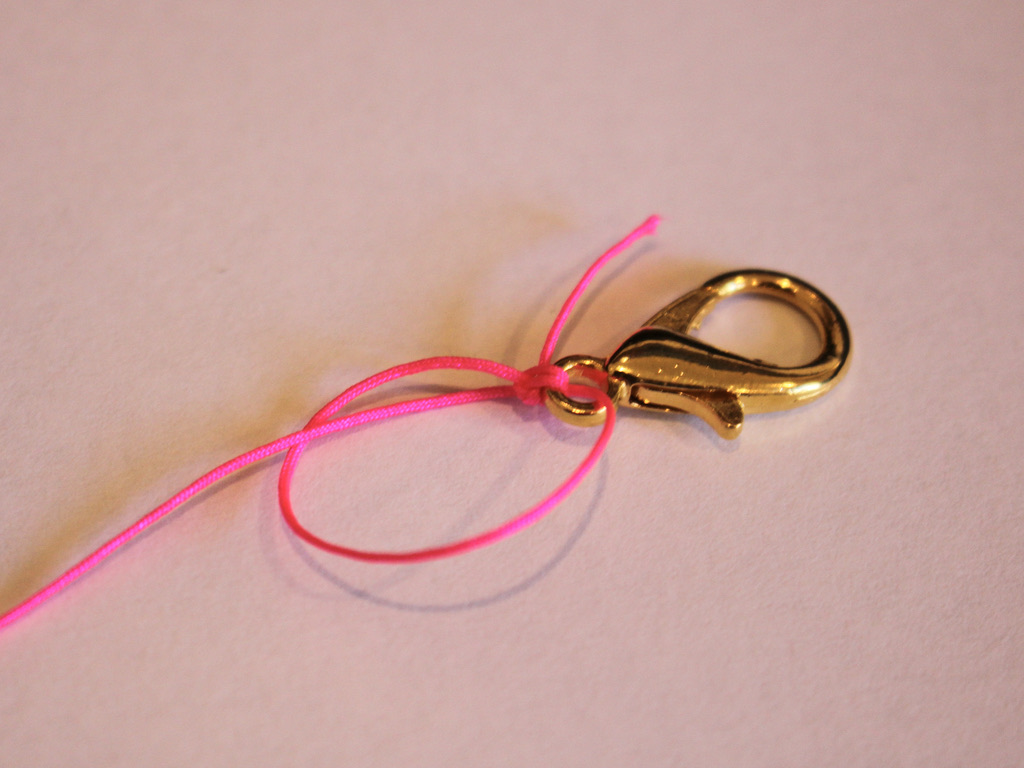


2: Add beads to the string in your chosen pattern. I added mine in random order.

3: Continue beading until you have a length you like. Then tie a knot at the end to secure the last bead in place

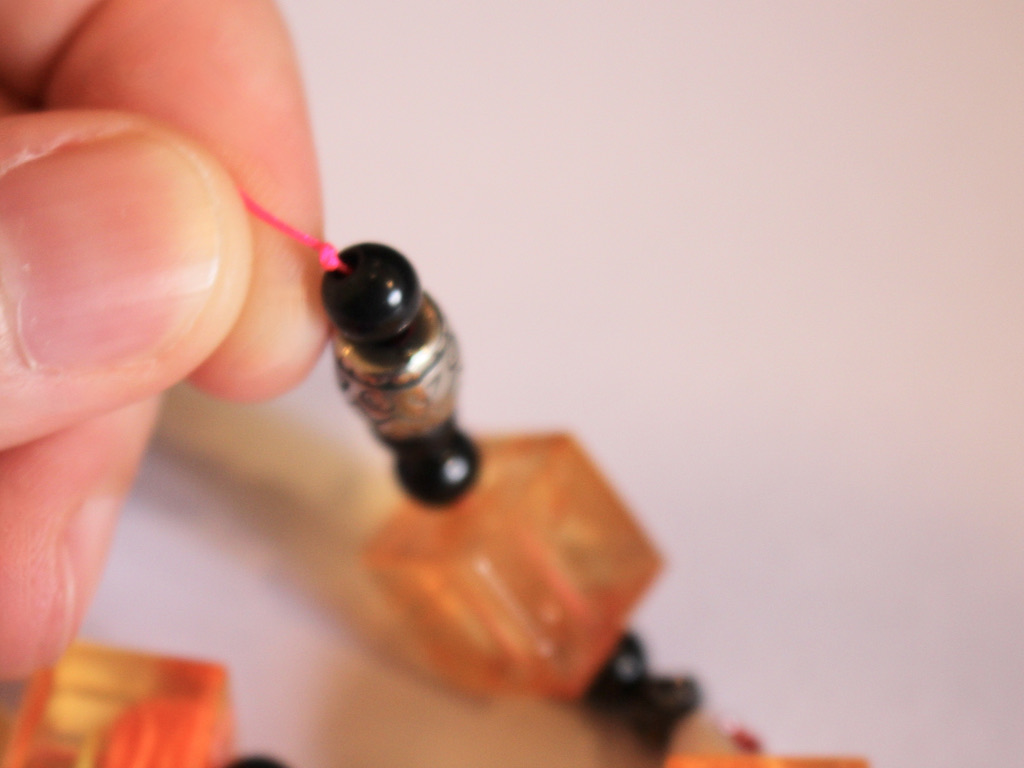
4: Add the second clasp to the end of the string.
5: Knot the second clasp in place, remembering to wrap the string through the end of the clasp a few times and securing it with multiple knots.


6: Trim the excess string on both ends of the shoe chain anklet.
7: Add a dab of superglue to each knot to keep it secure and set it aside to dry.

Once the glue is dry, your anklet is ready to wear! Which shoes will you clip yours to?
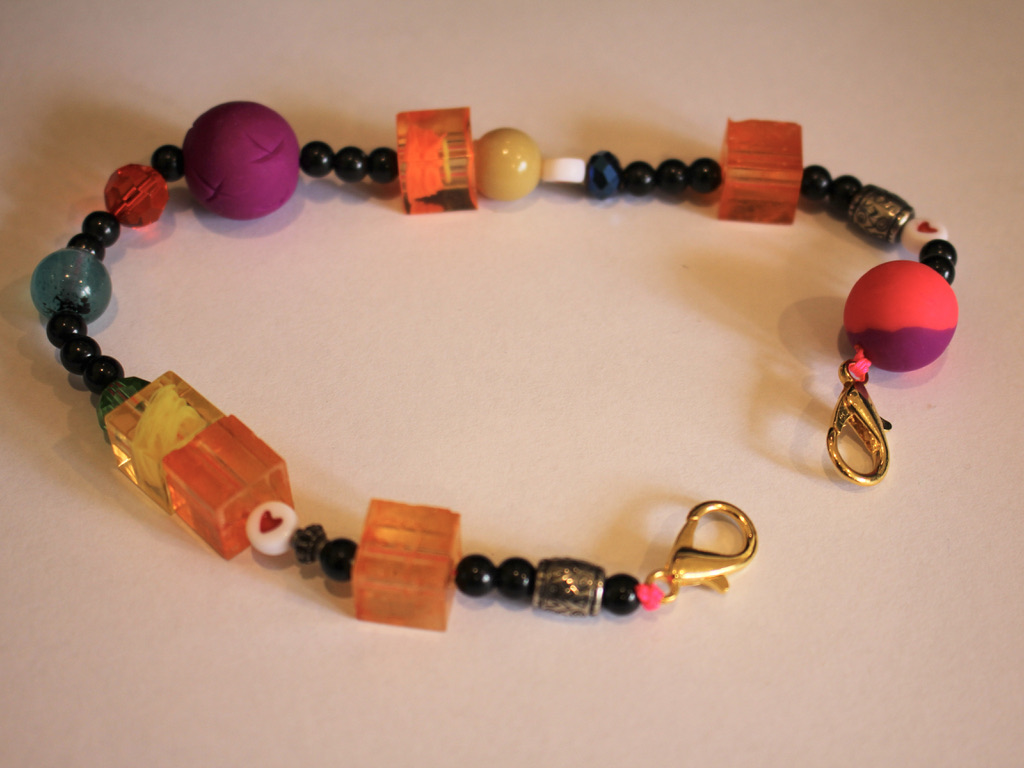
And here’s what it looks like (On some dirty old converse haha)

Here is the design as a shoe chain attached on one side to the lower laces 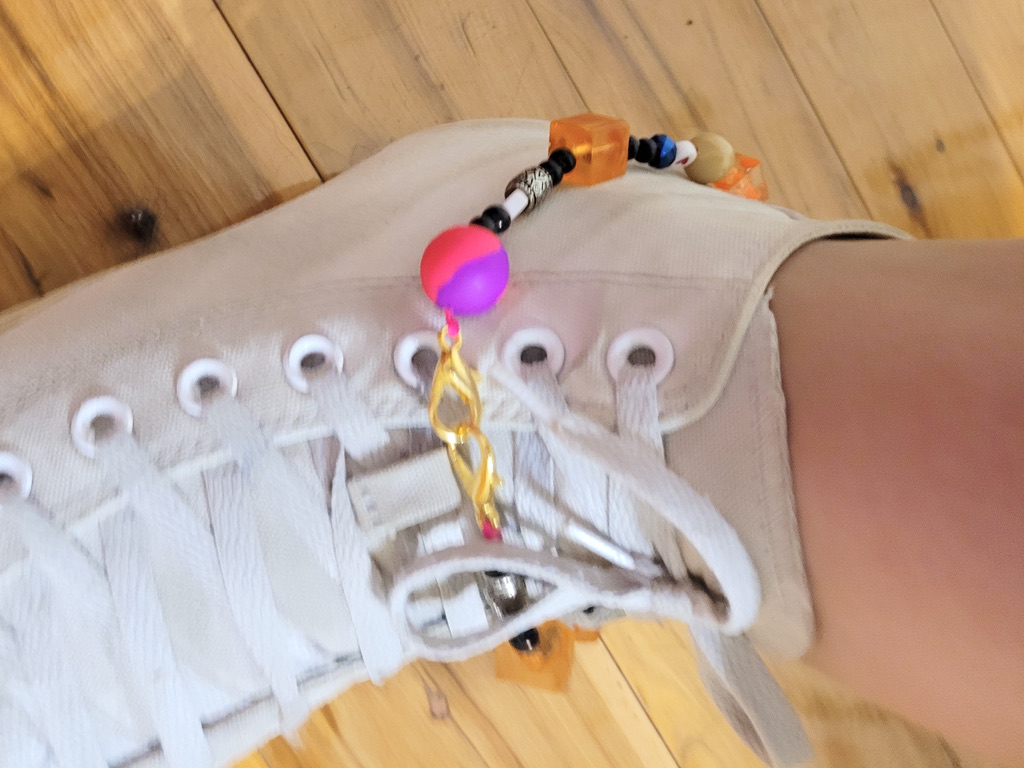
Here it is worn as an anklet over the shoe. 
Here is the design as a shoe chain attached on one side to the lower laces Here are some other shoe chain tutorials you can follow if you want to make some more:
-
Love the nostalgic craft-core style? If that sounds like you, here’s the perfect tutorial for you to follow.
The craft-core trend that sees beads combined in crazy combinations for a playful, handmade vibe. I super love this trend because its easy to recreate at home! Why fork out a few hundred dollars for something you can put together at home in about an hour for a fraction of the price?! Please note that this tutorial contains affiliate links.
You’ll need these tools and materials to make your fun mixed bead necklace that features a letter bead message:
1: A bunch of mixed beads. I used the beads I made in this tutorial in the selection.

2: A selection of letter beads that spell out your chosen word. I chose to spell ‘TIRED’.

3: Some tiger-tail wire, long enough to fit comfortably around your neck, plus about 5cm extra.

4: Four crimp beads.

5: A lobster clasp and jump ring for each end.

6: Pliers. I used my cutting pliers, round nose pliers and flat nose pliers.
Follow these steps to make your own crazy letter bead necklace:
1: Add two crimp beads to one end of the tiger-tail wire.

2: Add the jump ring and loop the wire around it and back through the crimp beads.

3: Squash the crimp beads using the flat nose pliers.


4: Add beads in your choice of pattern. I added mine pretty randomly. I continued beading until I reached close to the middle. I check for the length I like by holding the beaded section against my neck, with the clasp wrapped around, mimicking how I would wear it. (Remember to tuck the end of the wire into the beads at the end, I hadn’t done that yet in this picture).

5: Now it’s time to add your letters. I added the word ‘TIRED’ and a love heart letter bead.

6: Continue adding beads to the other side of the necklace until you have it at an even length to the other side.
7: Add two more crimps to the end of the wire.

8: Add the clasp to the end of the wire.

9: Loop the wire around the clasp end and back through the crimps and the end beads.

10: Squash the crimp beads using the flat nose pliers.

11: Trim the wire using the cutting pliers.

Now your beaded necklace is finished and ready to wear! How fun to make your own twist on the craft-core beading trend.


You May Also Like
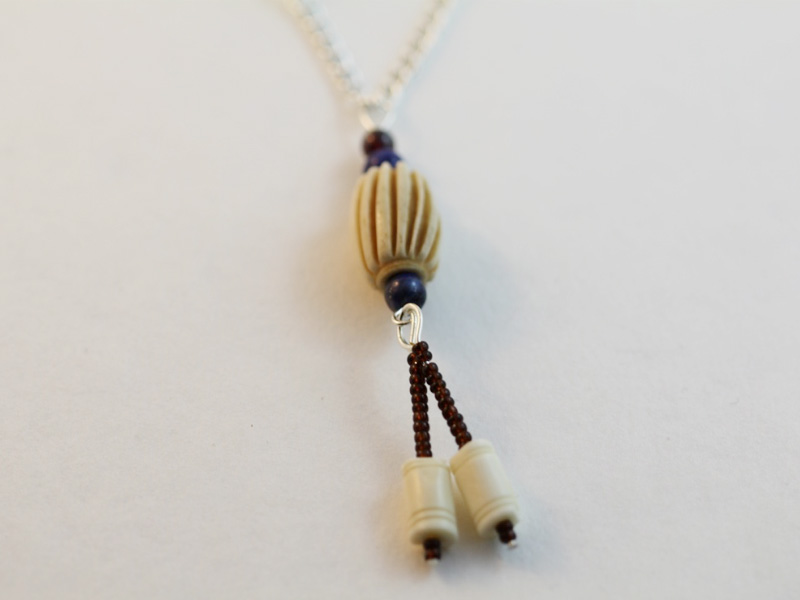
How to Make a Chain Necklace (With A stunning pendant in the middle)

Here’s how to make a 2-tone necklace that clips together for a customisable look.

I keep hearing that chunky chain necklaces are trendy right now… here’s how to make a gold chunky chain necklace that makes a statement.
-
How to make a super cute letter bead necklace! Add your word to a chain for a cute twist on the y2k jewelry trend!
This is a super cute necklace design that you can personalise to suit your preference. I’m stuck in lockdown right now so I decided to make sure everyone knows that I am ‘BORED’ haha. This super cute design is simple to construct and looks great worn on its own or layered with your other pieces. Maybe you can make a high-low statement by wearing this with your fine jewelry! Please note that this tutorial contains affiliate links.
You will need these tools and materials to make your letter bead necklace:
1: You’ll need two pieces of chain that make up your preferred necklace length. Please note that adding the letter bead chain will make it a little longer.

2: Enough eye pins for the length of your word. I used seven.

3: Enough small jump rings for the length of your word plus one extra. I used eight.

4: Two larger jump rings.

5: A lobster clasp.

6: Letter beads. I used seven beads, five to spell out the word BORED and a couple of white letter beads with hearts on them.

7: Pliers. I used my round nose and flat nose pliers to open and close jump rings and eye pins to complete this necklace.

Follow these steps to make your own letter bead necklace:
1: Add one of the letter beads to one of the eye pins.

2: Bend the pin using the round nose pliers to form a loop. This will secure the bead onto the pin.


3: Repeat this steps for the remaining letter beads until they are all secured onto eye pins.

4: Attach the beads together in order using the small jump rings, you should have two left over for each end of the letter bead chain to attach the necklace chains.


5: Add one of the remaining small jump rings to one end of the letter bead chain.

6: Attach one of the long necklace chains and secure it by closing the jump ring.

7: Repeat steps 5 and 6 for the second side of the necklace.

8: Add one of the larger jump rings to one end of the necklace and slide on the clasp. Close the jump ring to secure the clasp in place.


9: Add the second large jump ring to the other side of the necklace to finish it off!

Now your necklace is complete and ready to wear! What message will you send with yours? Hopefully it is more positive than mine!! 😉


Here are some other letter bead pieces you can make if you loved this one!
-
Here’s how you can make a y2k inspired anklet with a mix of random beads!
These craft-core y2k inspired designs are so popular right now. A mix of beads including glass, polymer clay, semi-precious gemstones and pearls come together to create a chaotic but stylish look! This is perfect for using those random beads in your stash that you aren’t sure how to use! Please note that this tutorial contains affiliate links.
You’ll need these tools and materials to make this cute y2k nostalgia anklet:
1: Some tiger tail wire, cut it about 5cm longer than the length you need to fit loosely around your wrist.

2: Pliers. I used my round nose pliers (middle), flat nose pliers (right) and cutting pliers (left).
3: A selection of beads. I used some glass beads, some polymer clay beads, plastic beads, pearls, gemstone chip beads and timber beads.

4: A charm. I used this gold strawberry charm.

5: Four crimp beads.

6: Two small jump rings.

7: One larger jump ring.

8: A lobster clasp.
Follow these steps to make your y2k inspired anklet:
1: Add two of the crimp beads to the piece of tiger tail wire.

2: Add a jump ring.

3: Fold the end of the wire around the jump ring and through the crimps.

4: Squash the crimps using the flat nose pliers.


5: Add beads until you have the length you like to fit around your ankle.


6: Add the second set of crimp beads to the wire.

7: Add the second small jump ring.
8: Loop the wire around the jump ring and back through the crimps and the end bead. Pull the wire tight.

9: Squash the crimp beads using the flat nose pliers again.

10: Trim the excess wire.

11: Add the lobster clasp to one end of the anklet. Attach it by opening the jump ring and sliding the clasp on.

12: Close the jump ring.

13: Attach the charm to the bracelet using the larger jump ring.


Now your y2k inspired anklet is finished and ready to wear! How cute?!


-
How to make a cute pair of beaded statement earrings!
These earrings are really cute, they are a twist on the typical beaded hoop, as they feature a beaded bar in the centre and are slightly oval in shape. I used some green and blue beads to make this pair of earrings. Please note that this tutorial contains affiliate links.
You’ll need these tools and materials to make these earrings:
1: Two pieces of bracelet sized memory wire, one coil for each earring.

2: Two long eye pins.

3: Two jump rings.

4: Two earring hooks.

5: Beads. I used four plastic blue beads and some green glass beads.

https://www.ebay.com.au/itm/263927947665?hash=item3d7354e191:g:cjMAAOSwrKBgh0ma&frcectupt=true

6: Pliers. I used my cutting pliers, round nose pliers and flat nose pliers.
Follow these steps to make your statement earrings:
1: Add beads to the eye pins in your chosen pattern.

2: Bend the top of the pin to form an angle.

3: Loop the top of the pin using the round nose pliers.


4: Repeat steps 1-3 for the second eye pin.

5: Take one of the pieces of memory wire and loop one end using the round nose pliers.


6: Add beads to the wire. Bead to about half-way through the hoop.

7: Add one of the eye pins to the wire.

8: Add beads to the rest of the memory wire, leaving about 1cm without beads.

9: Loop the other end of the wire using the round nose pliers again. Thread it through the first loop you made before closing it fully.

10: Open the top loop of the eye pin and thread it through the two loops at the top of the hoop. Close it to secure the pin in place.

11: Repeat steps 1-10 for the second earring.

12: Attach an earring hook to each hoop using the jump rings.


Now your statement earrings are finished and ready to wear!! So cute and pretty!


-
Personalised jewelry is so special. Here’s how to make your own with cute colourful letter beads.
I think personalised jewelry will always be timeless and this tutorial shows you how to put a fun twist on a classic! Using colourful letter beads you can make a bracelet that says whatever you want. I started with initials but your only limit is your wrist size ;). Please note that this tutorial contains affiliate links.
You’ll need these tools and materials to make your personalised bracelet:
1: Your pliers. I used cutting pliers (left), flat nose pliers (right) and round nose pliers (middle).
2: Tiger tail wire. I used some silver tone tiger-tail and cut it a little longer than the circumference of my wrist.

3: Four crimp beads.

4: Two jump rings.

5: A toggle clasp.

6: Letter beads to make your choice of word. I used some initials.

7: Beads to surround the letter beads. I used blue glass seed and green bugle beads.

Follow these steps to make your personalised bracelet:
1: Add two crimp beads and a jump ring to one end of the tiger tail wire.


2: Fold the end of the wire around the jump ring and back through the crimps. Pull the end tight to secure the jump ring.

3: Squash the crimps using flat nose pliers to secure the end of the bracelet.


4: Begin adding beads in your chosen pattern.


5: Once you have beaded to approximately half-way around your wrist (this will vary depending on the length of your chosen word but for three initials the length is approximately half-way), add your letter beads.

6: Continue adding beads in the pattern you established on the other side to complete beading the bracelet. Make sure it fits closely around your wrist at this stage.

7: Add the remaining crimp beads to the end of the bracelet.

8: Also add the second jump ring.
9: Loop the wire around the jump ring and back through the crimps.

10: Pull the end of the wire tight.
11: Squash the crimp beads to secure the wire.

12: Trim the excess tiger tail wire.


13: Attach each part of the toggle clasp to either end of the bracelet by opening the jump rings and sliding them on. Close the jump rings to secure the clasp components in place.


Now your personalised bracelet is finished and ready to wear! Super cute and a great gift idea for a best friend or other loved one.

You can get these beads in a white tone as well, but I like the rainbow beads because they make your designs even more fun! What words will you add to your collection of personalised jewelry? Maybe a cute nickname or funny in joke?
This is our first letter bead tutorial, but I have used cute love heart beads in a similar shape to make another design, here it is:
-
Here’s how to make a bead chain lariat
Bead chains are pretty cool, and a fun way to use any random beads you have lying around. I recently made this kitschy hodgepodge lariat necklace using the bead chain technique. This tutorial features affiliate links.
Here are the tools and materials you need to make your bead chain lariat:
1: Pliers. I used by round nose and flat nose pliers for this design.

2: An assortment of beads. I used a random assortment of plastic, timber and glass beads.

3: A bunch of eye pins.

4: Two head pins.

5: A lobster clasp.

6: Two medium jump rings.

7: Two smaller jump rings.

Follow these steps to make your bead chain lariat:
1: Add some feature beads to one of the head pins. I used this silver plastic heart bead and some glass seed beads.

2: Bend the pin at a right angle and use the round nose pliers to form the top into a loop.


3: Set this pin aside.
4: Begin adding beads to the eye pins.

5: Once each pin is beaded, bend the top to form a loop using round nose pliers. This will secure the beads in place.

6: Repeat this step for the other pins, attaching the pins together by opening one of the loops and sliding it through another to form the chain.


7: Once you have a chain long enough to fit your neck, attach the two ends together using one of the larger jump rings.


8: Create a few extra links and attach them to the middle of the necklace, finishing with the first head pin you beaded.


9: Split the top of the chain opposite the lariat chain you just attached.

10: Attach the clasp to the chain using one of the smaller jump rings and add another jump ring to the other side.


11: Bead the other head pin, looping it at the top as you did the others. Attach this pin to the chain behind the clasp using the other larger jump ring.


Now your necklace is finished! So fun!


This tutorial contains affiliate links.