-
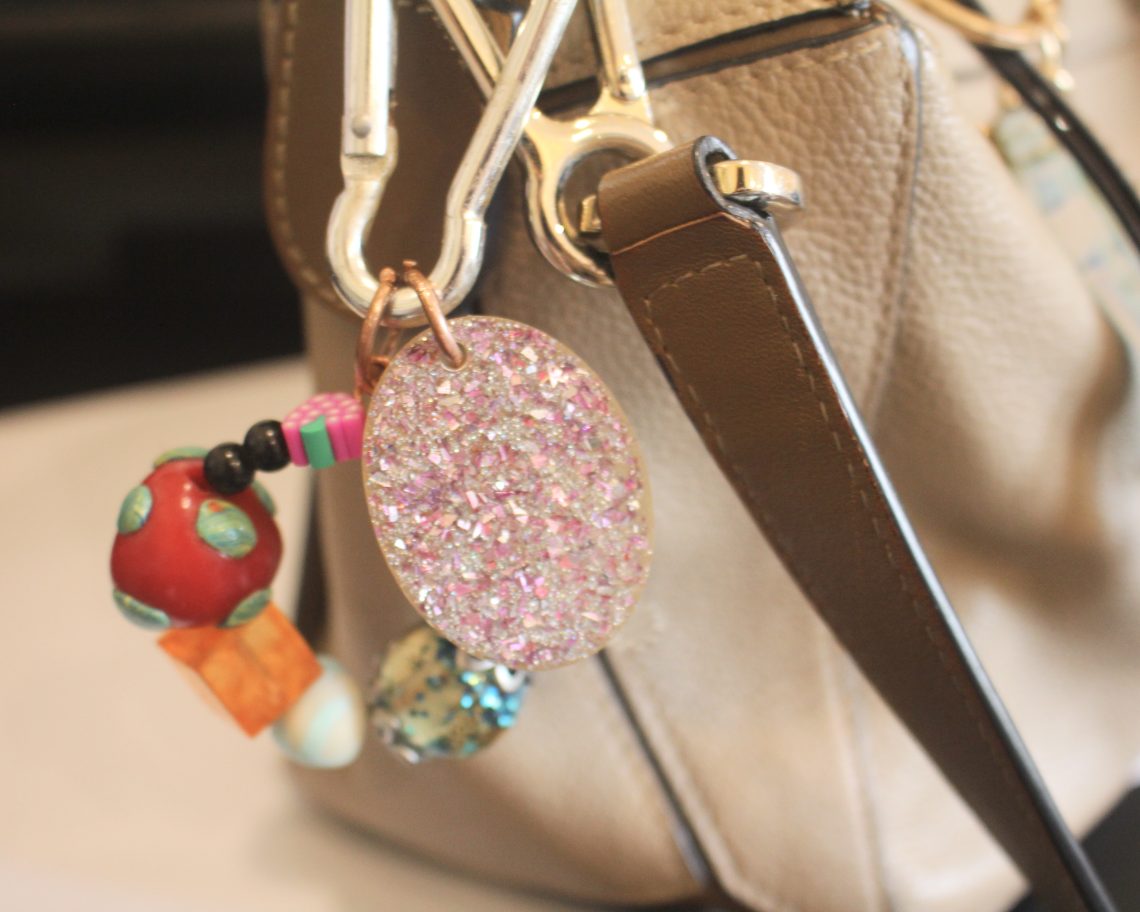
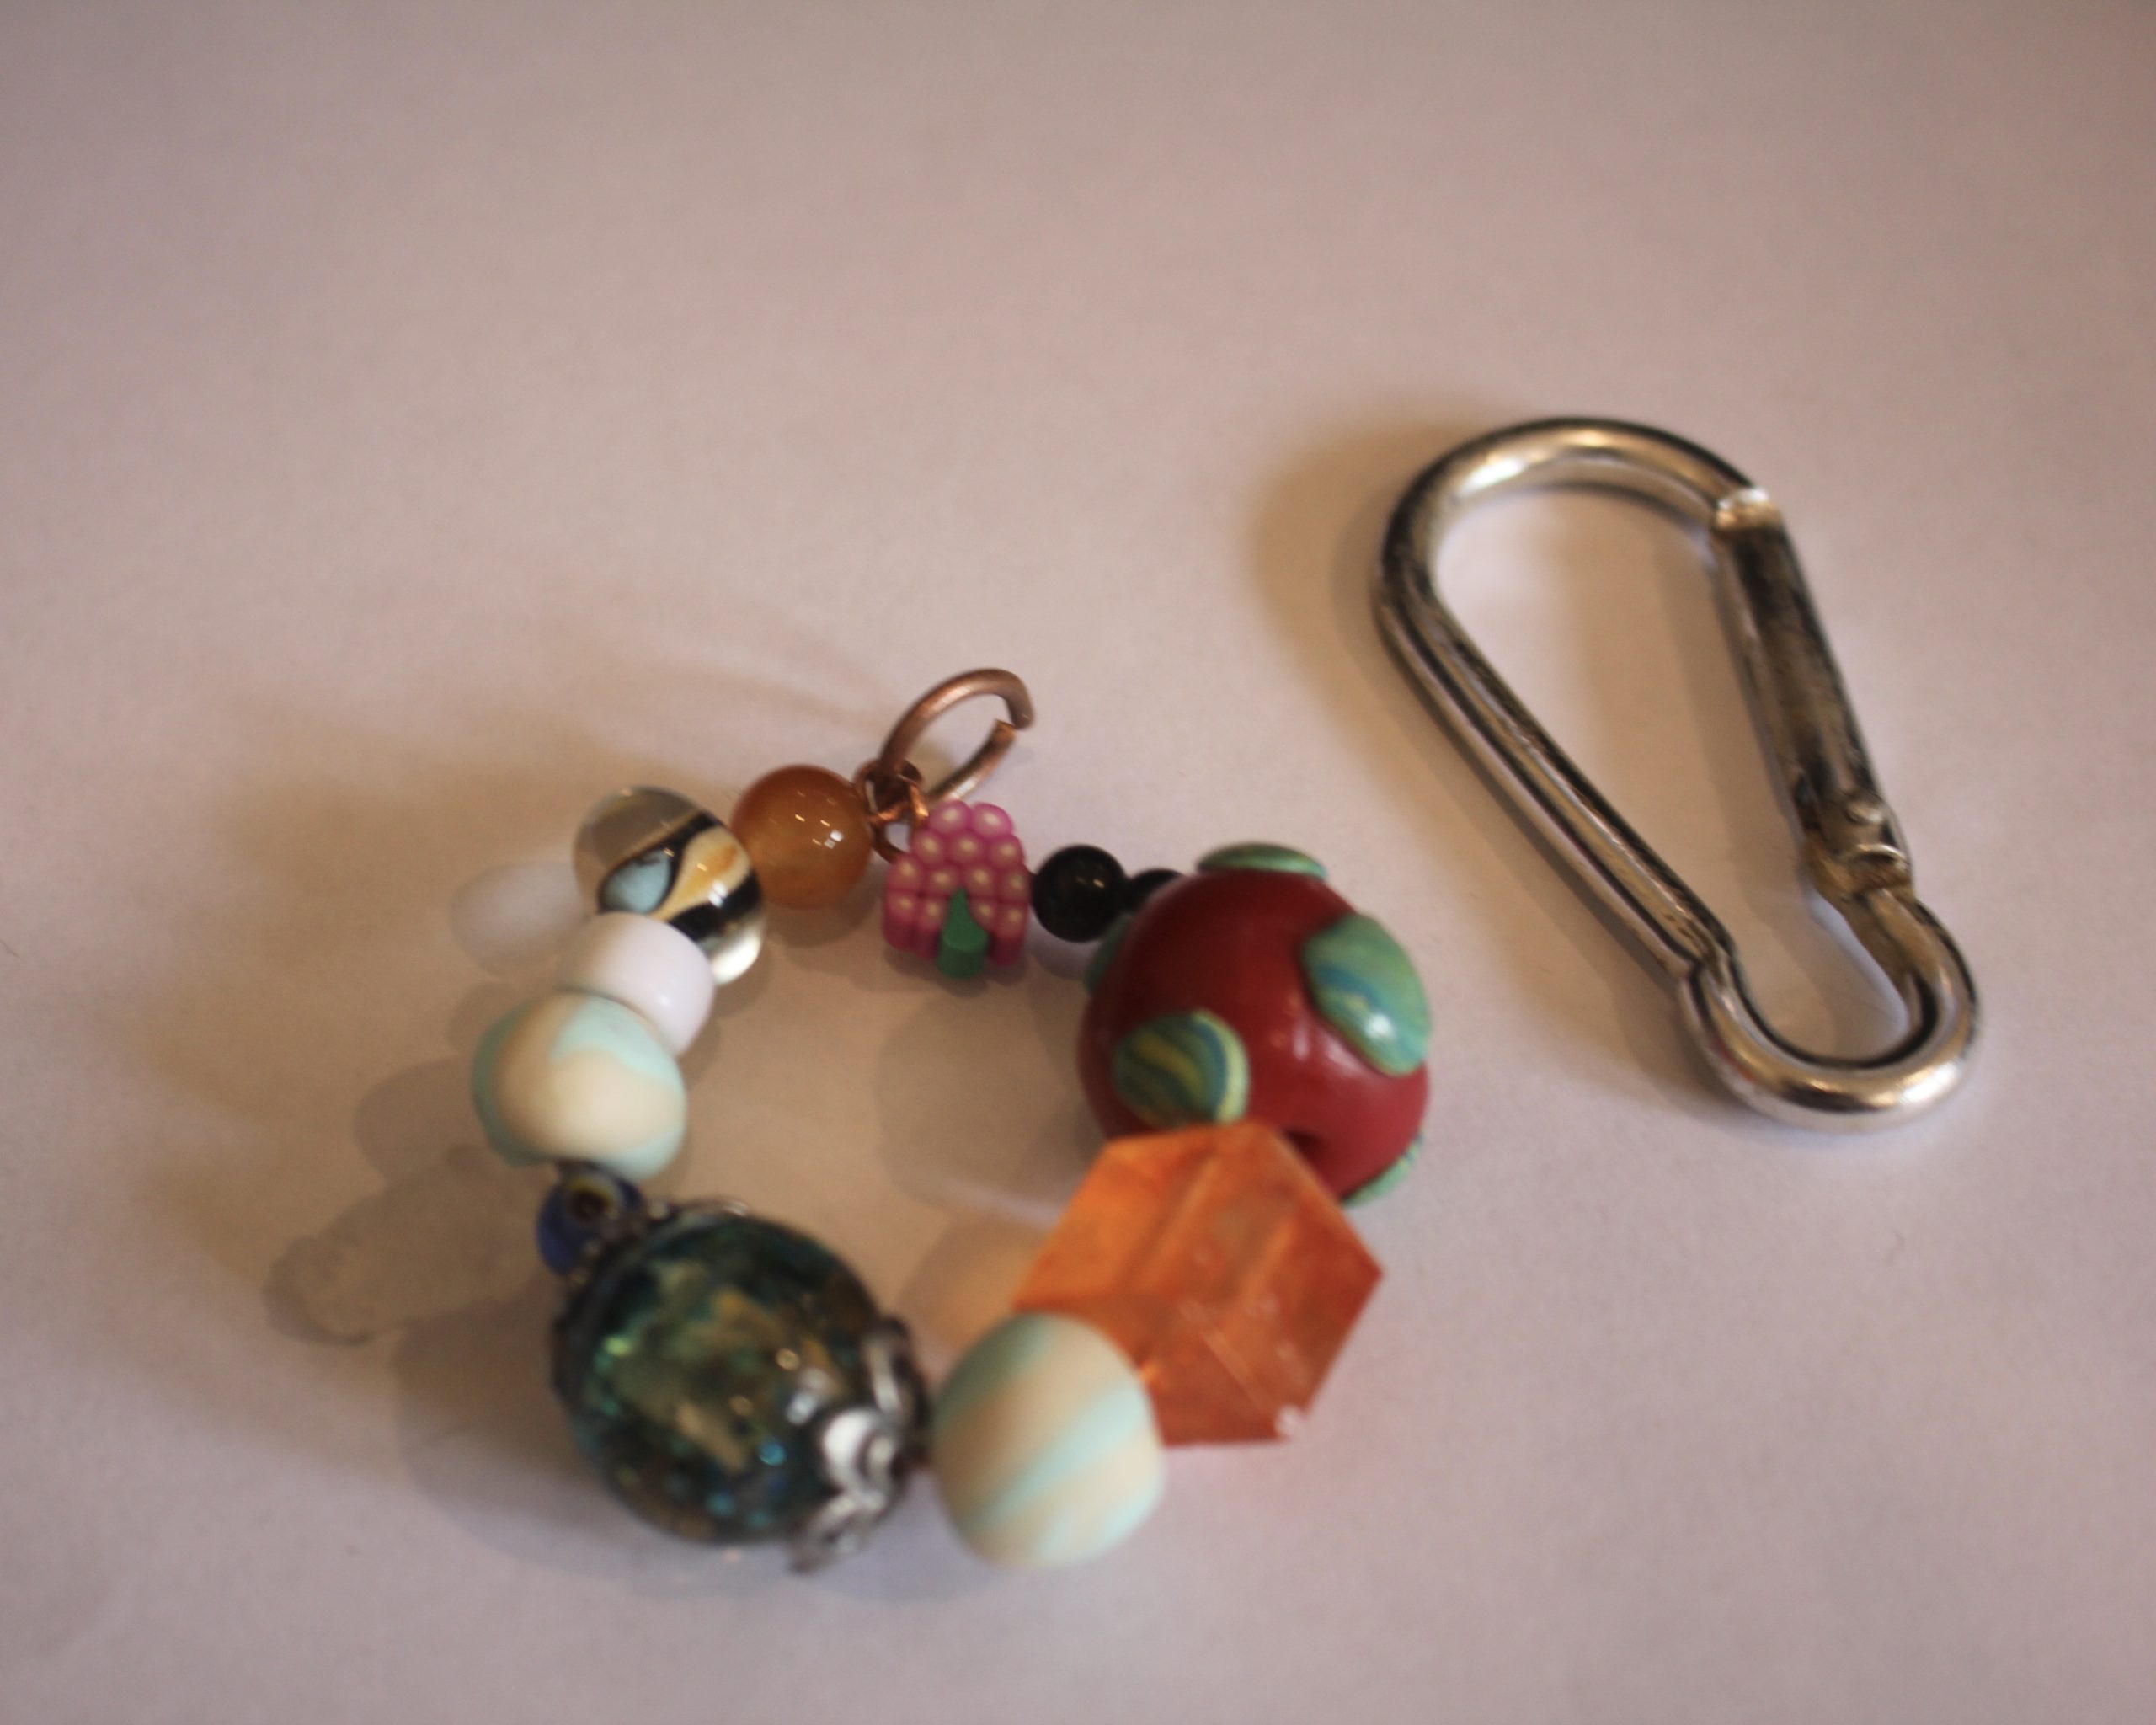
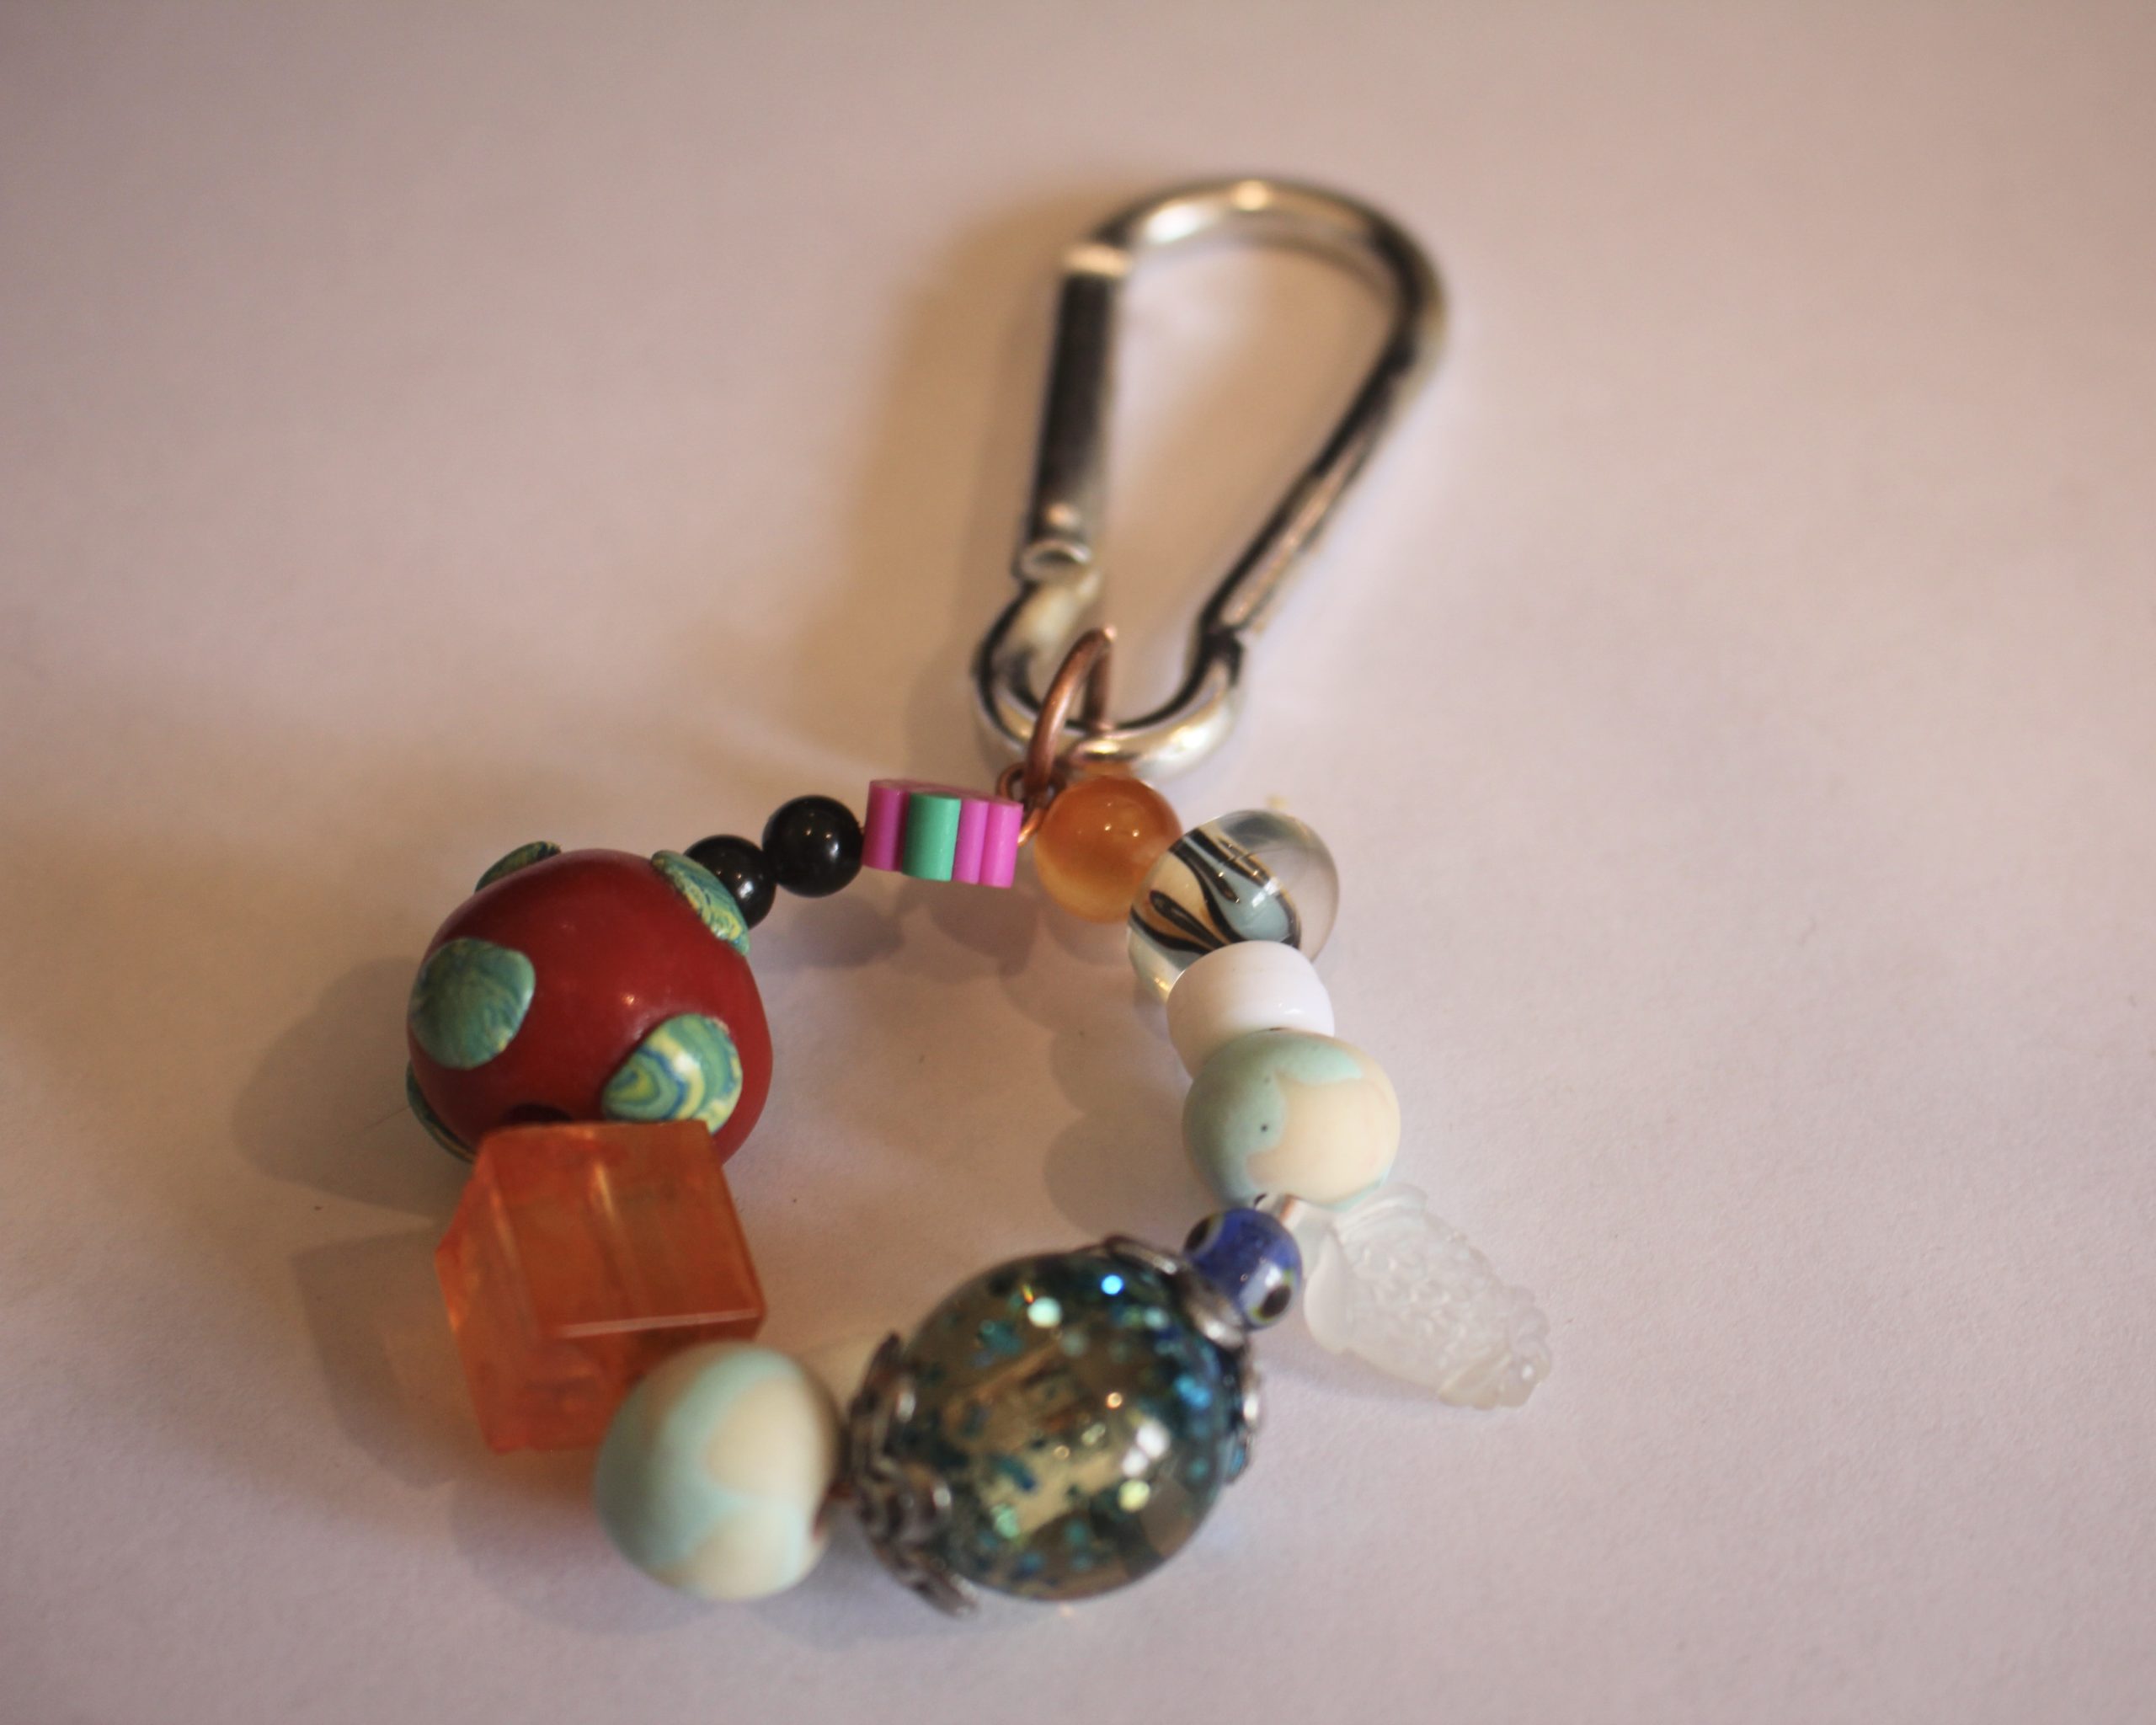
How to make a clip on beaded bag charm! This is such a fun project
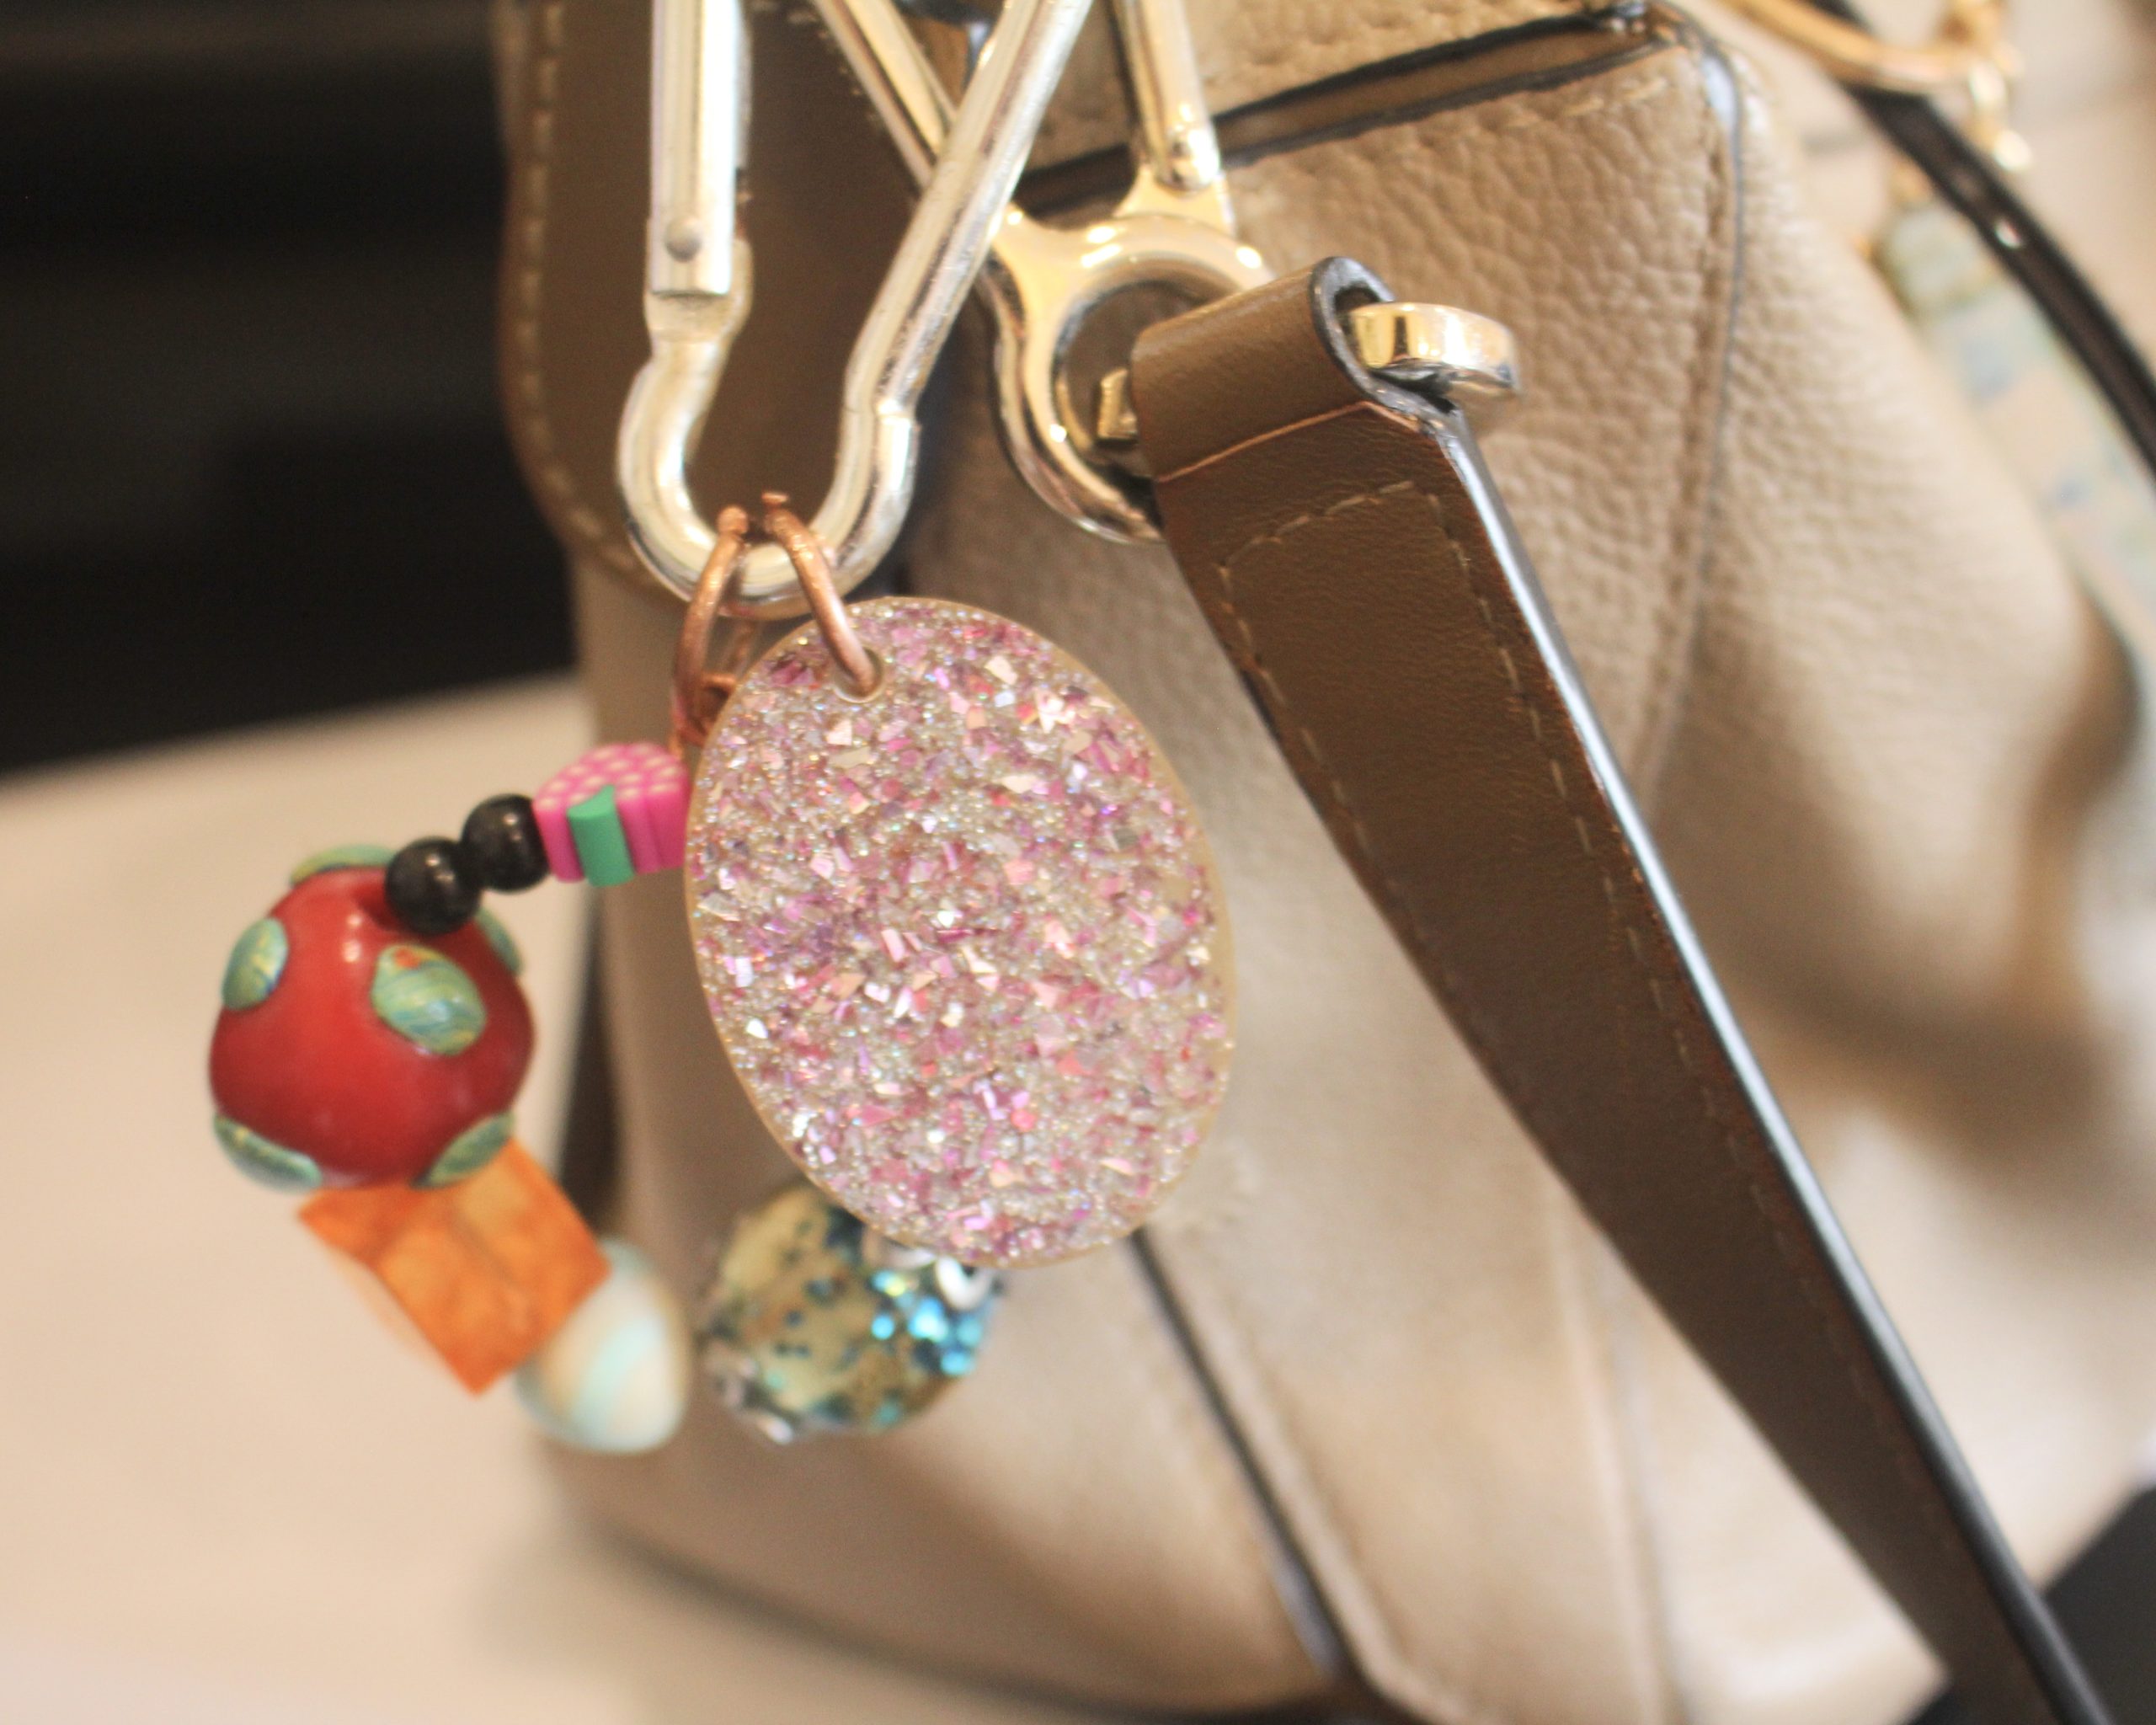
Bag charms are everywhere at the moment and if you prefer something a little more personal to adorn your fave handbag, this tutorial is for you. This bag charm features a fun smattering of beads and a resin charm to add some personal pizzaz to your outfit. Super simple but super high impact!
Please note that this tutorial contains affiliate links for which we may receive a commission.
You’ll need the following tools and materials to make this beaded bag charm:
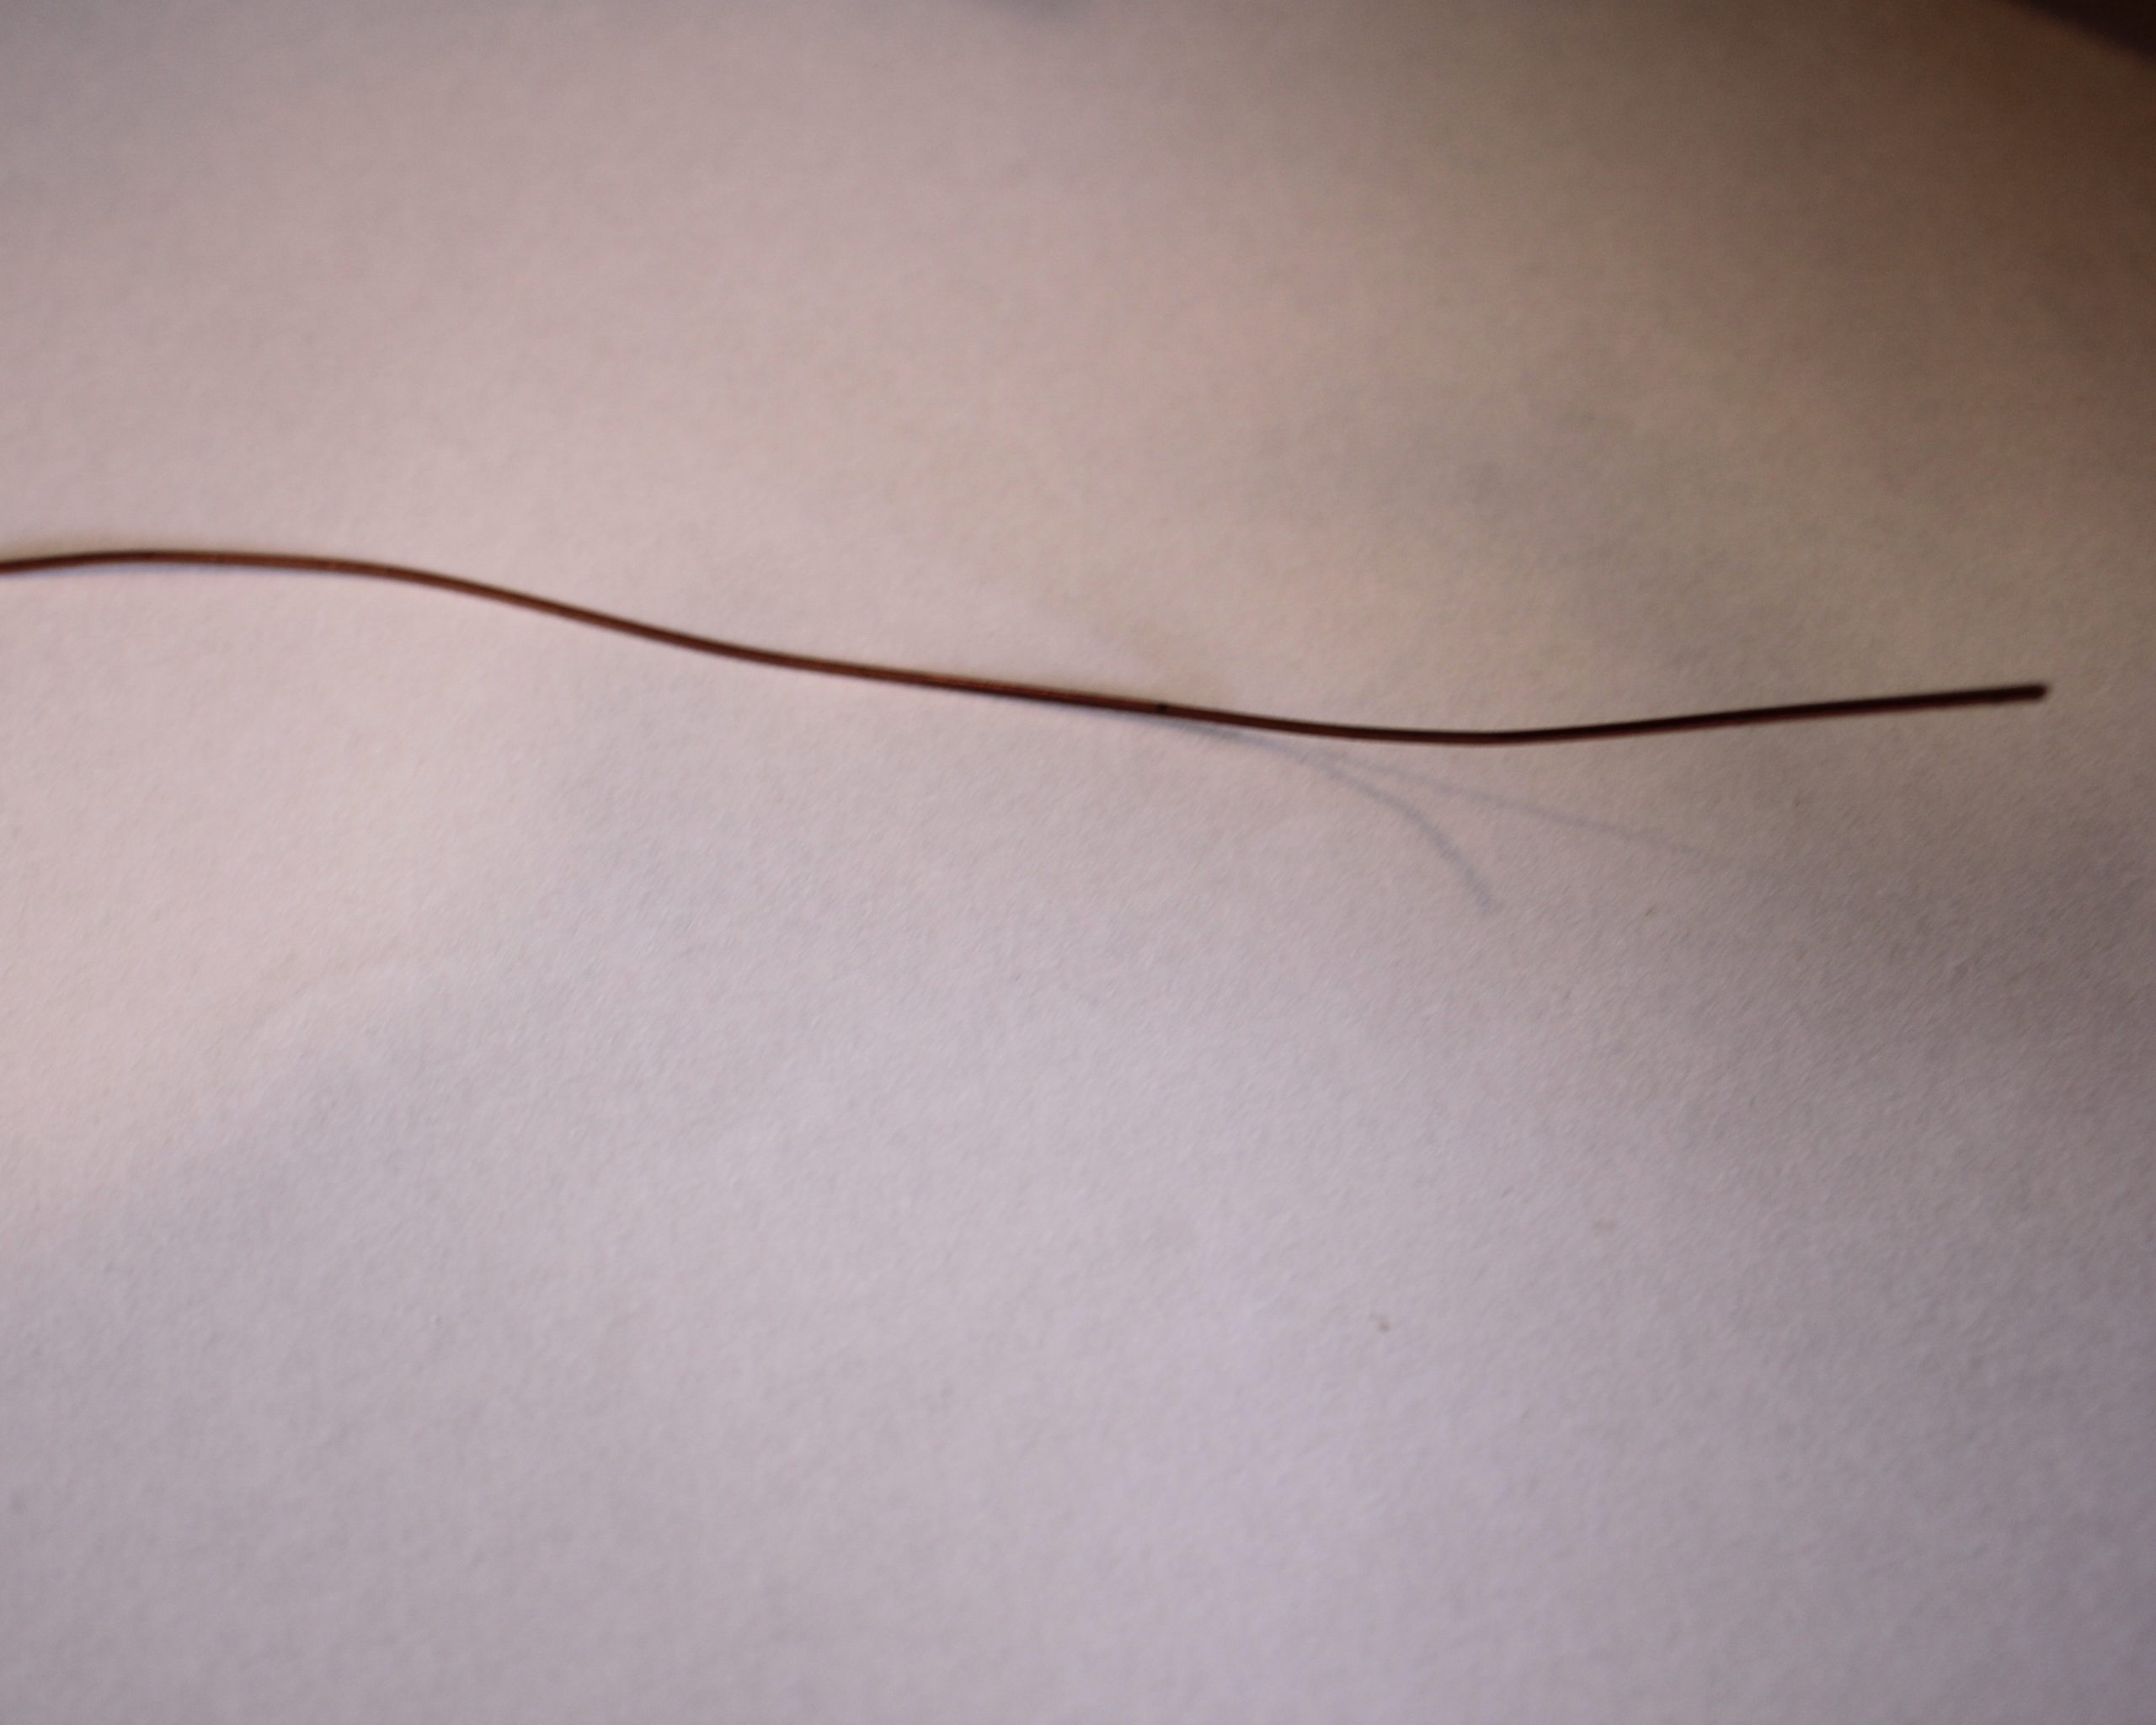
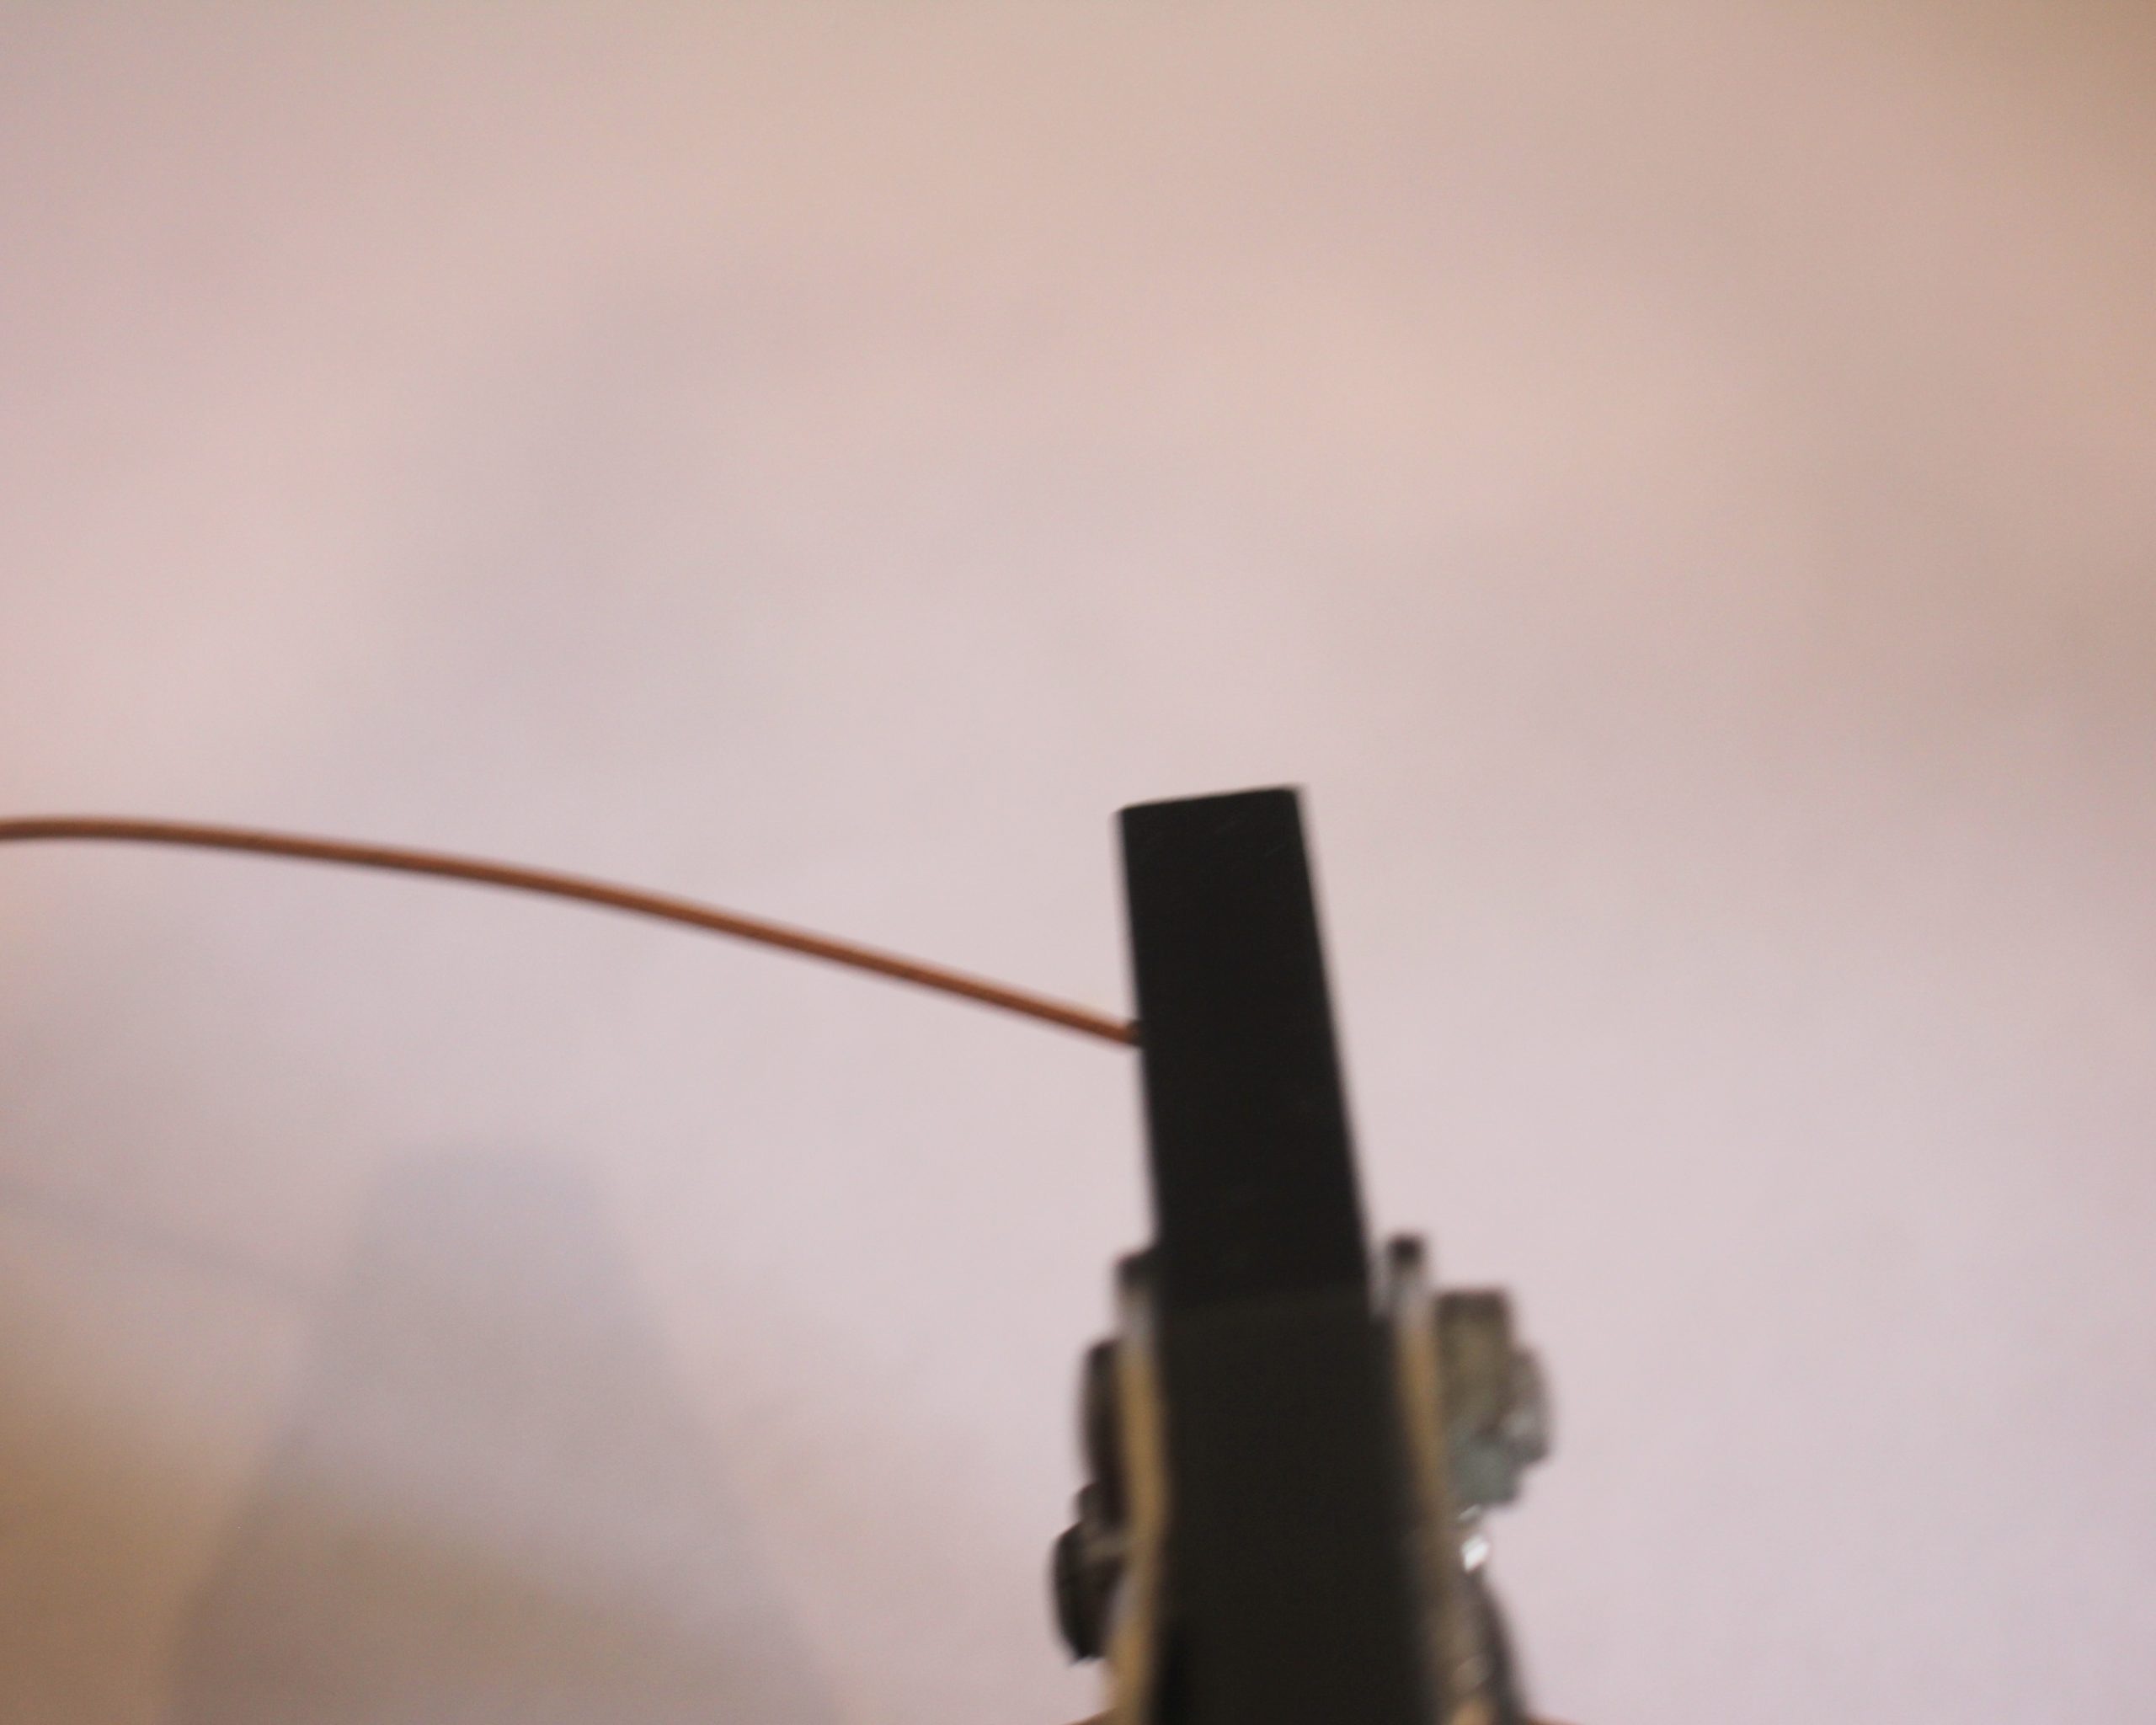
1: Some wire. I used this copper wire.

You can get some copper wire here:
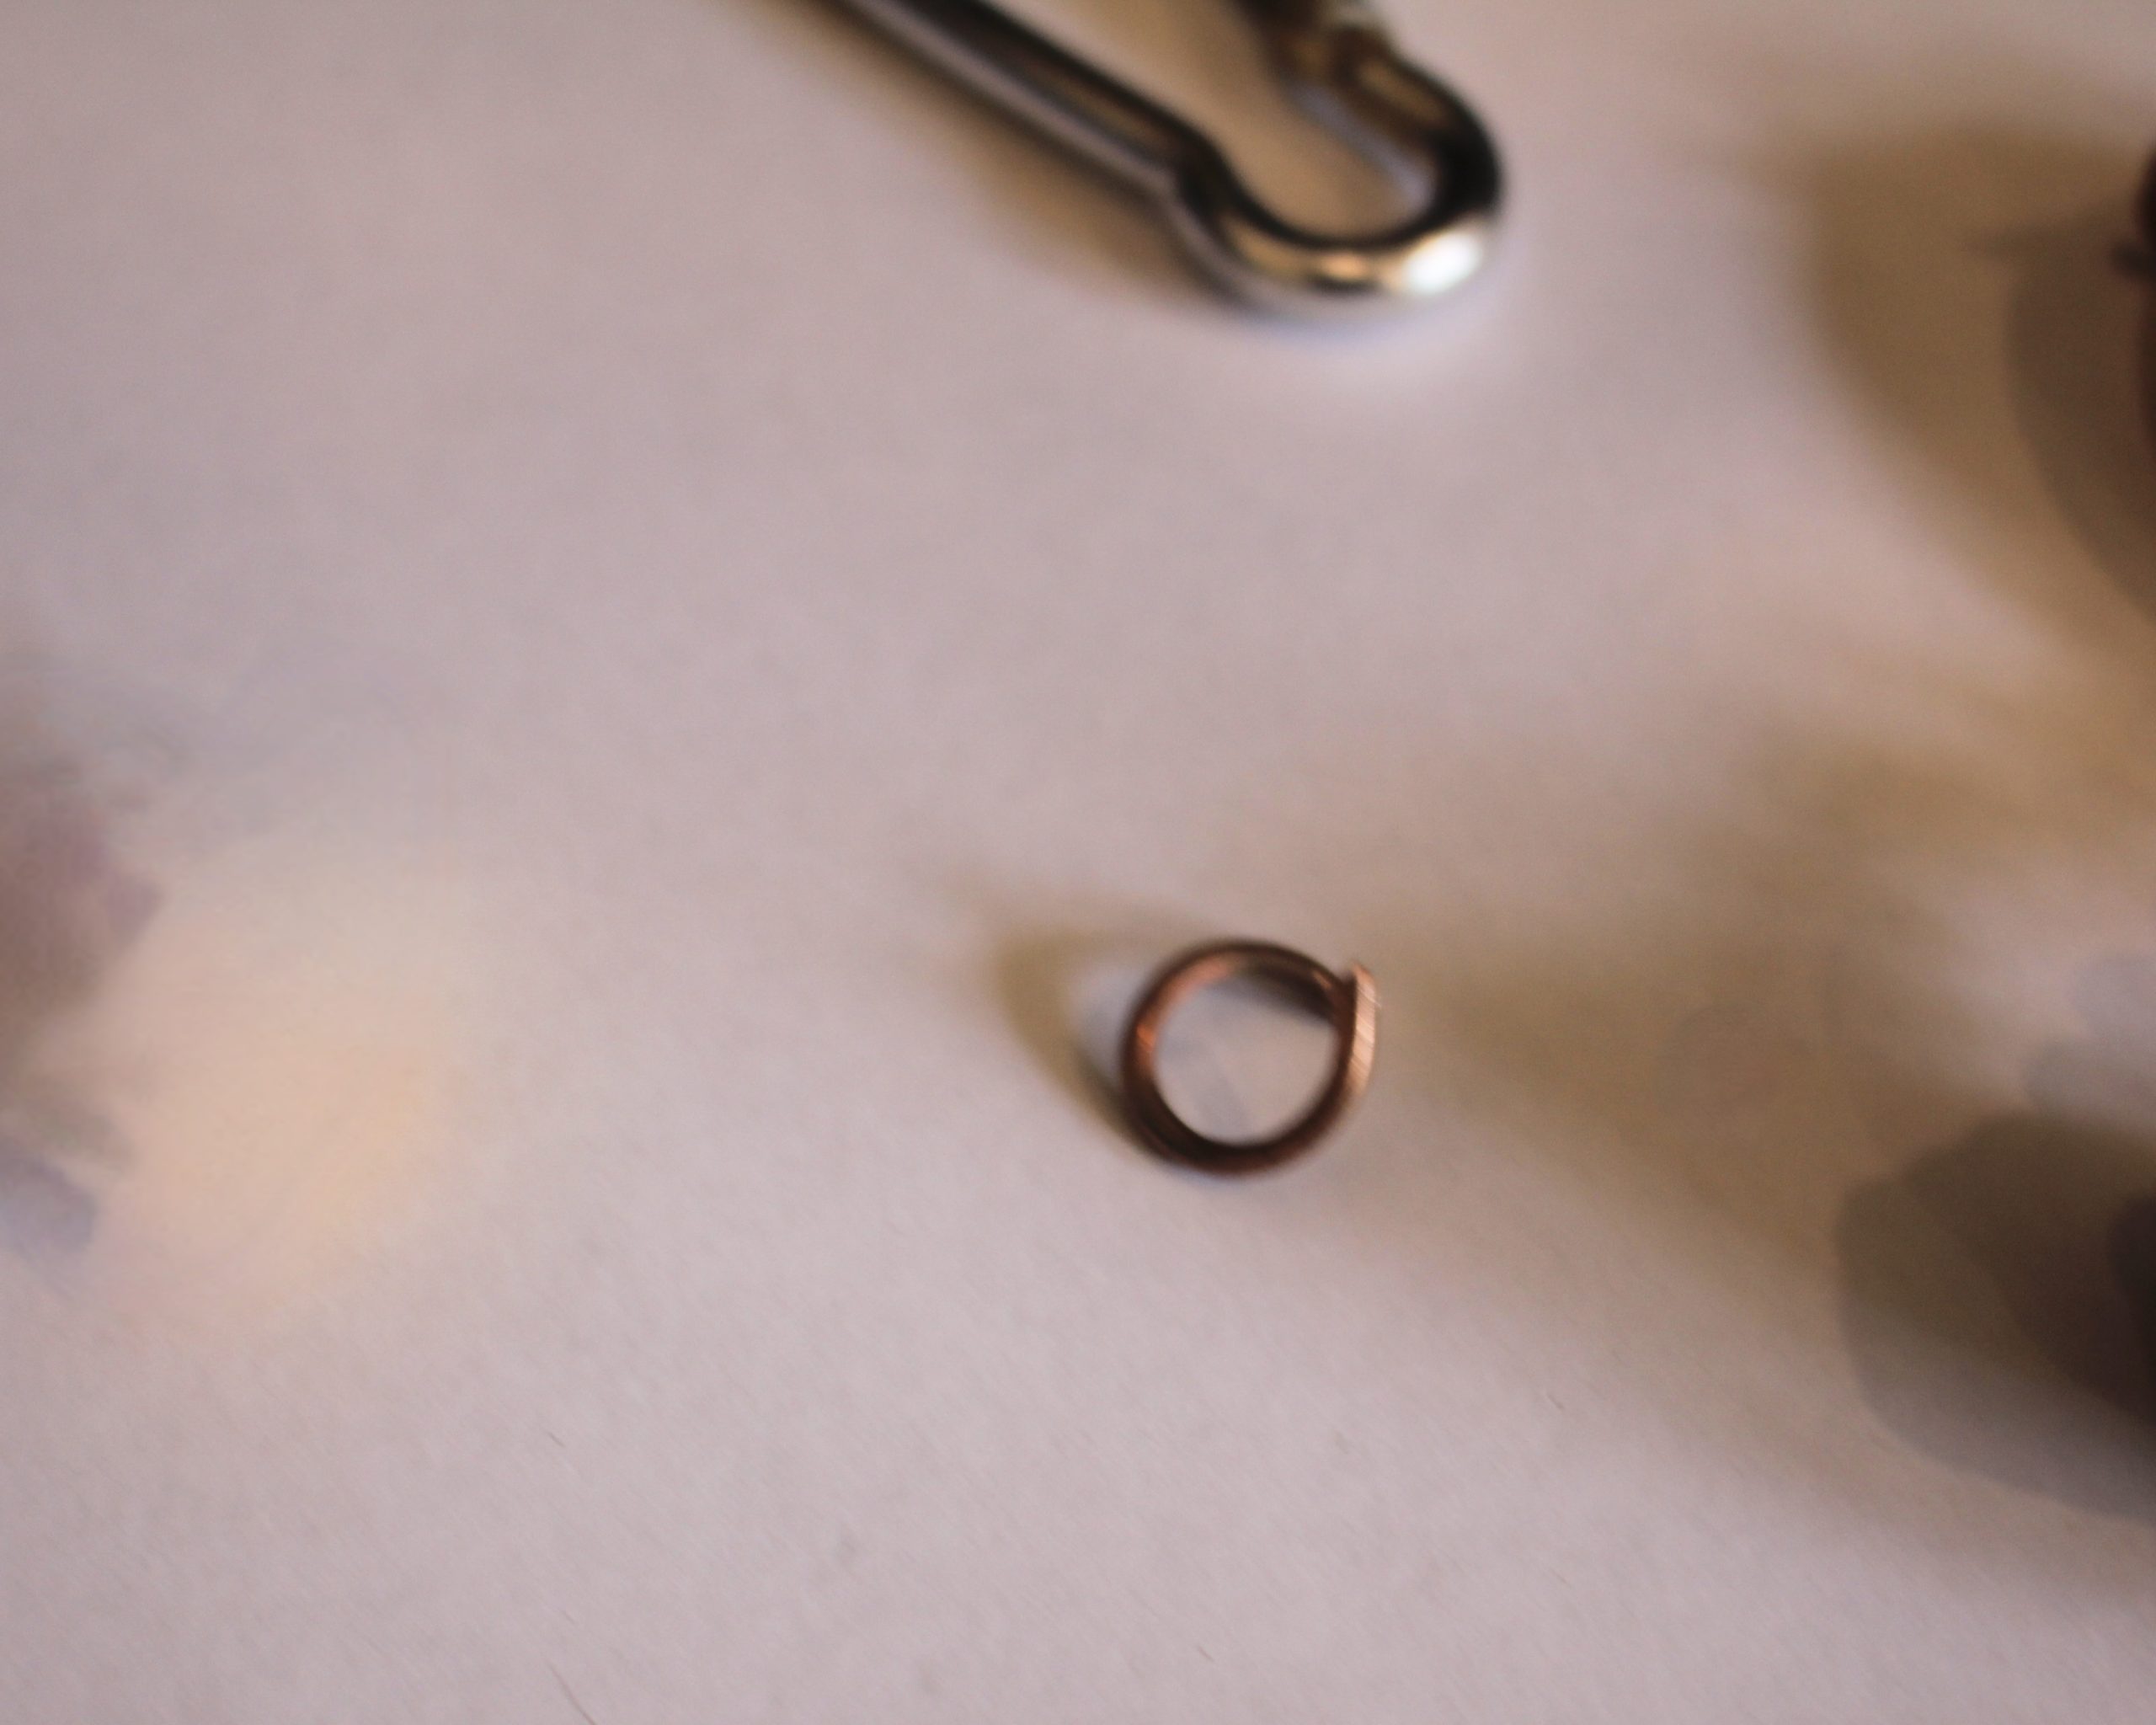
2: A large jump rings. I used a copper one.
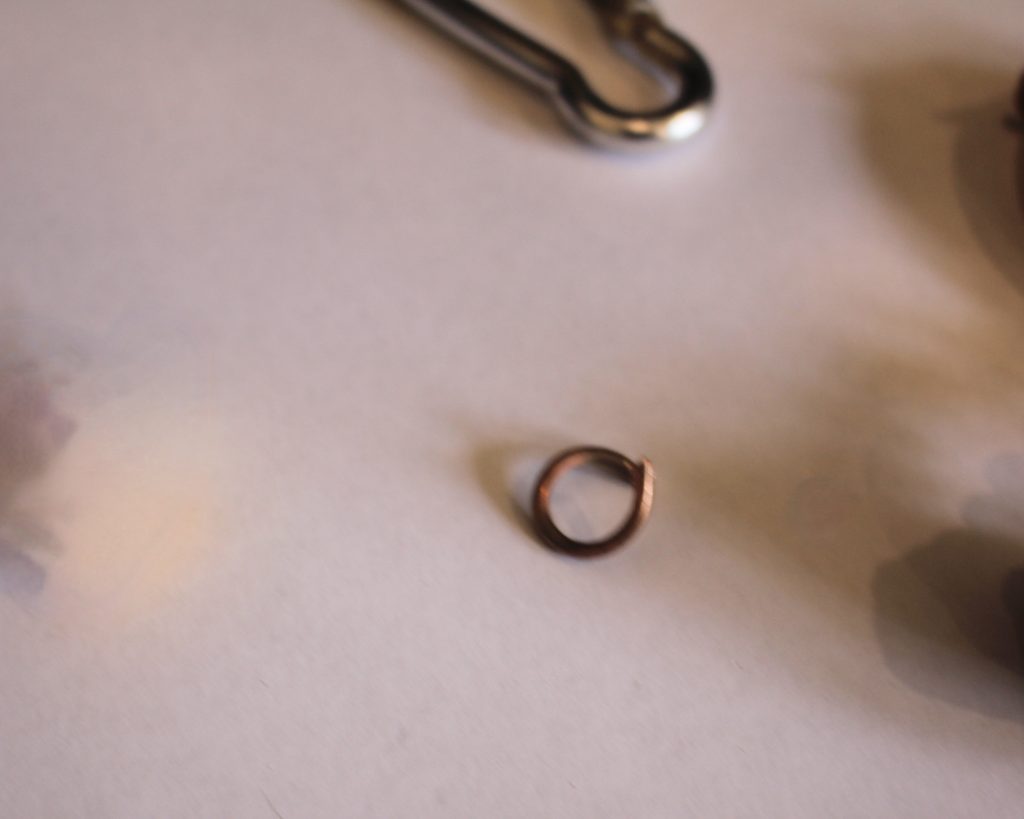
You can get copper-tone jump rings here:
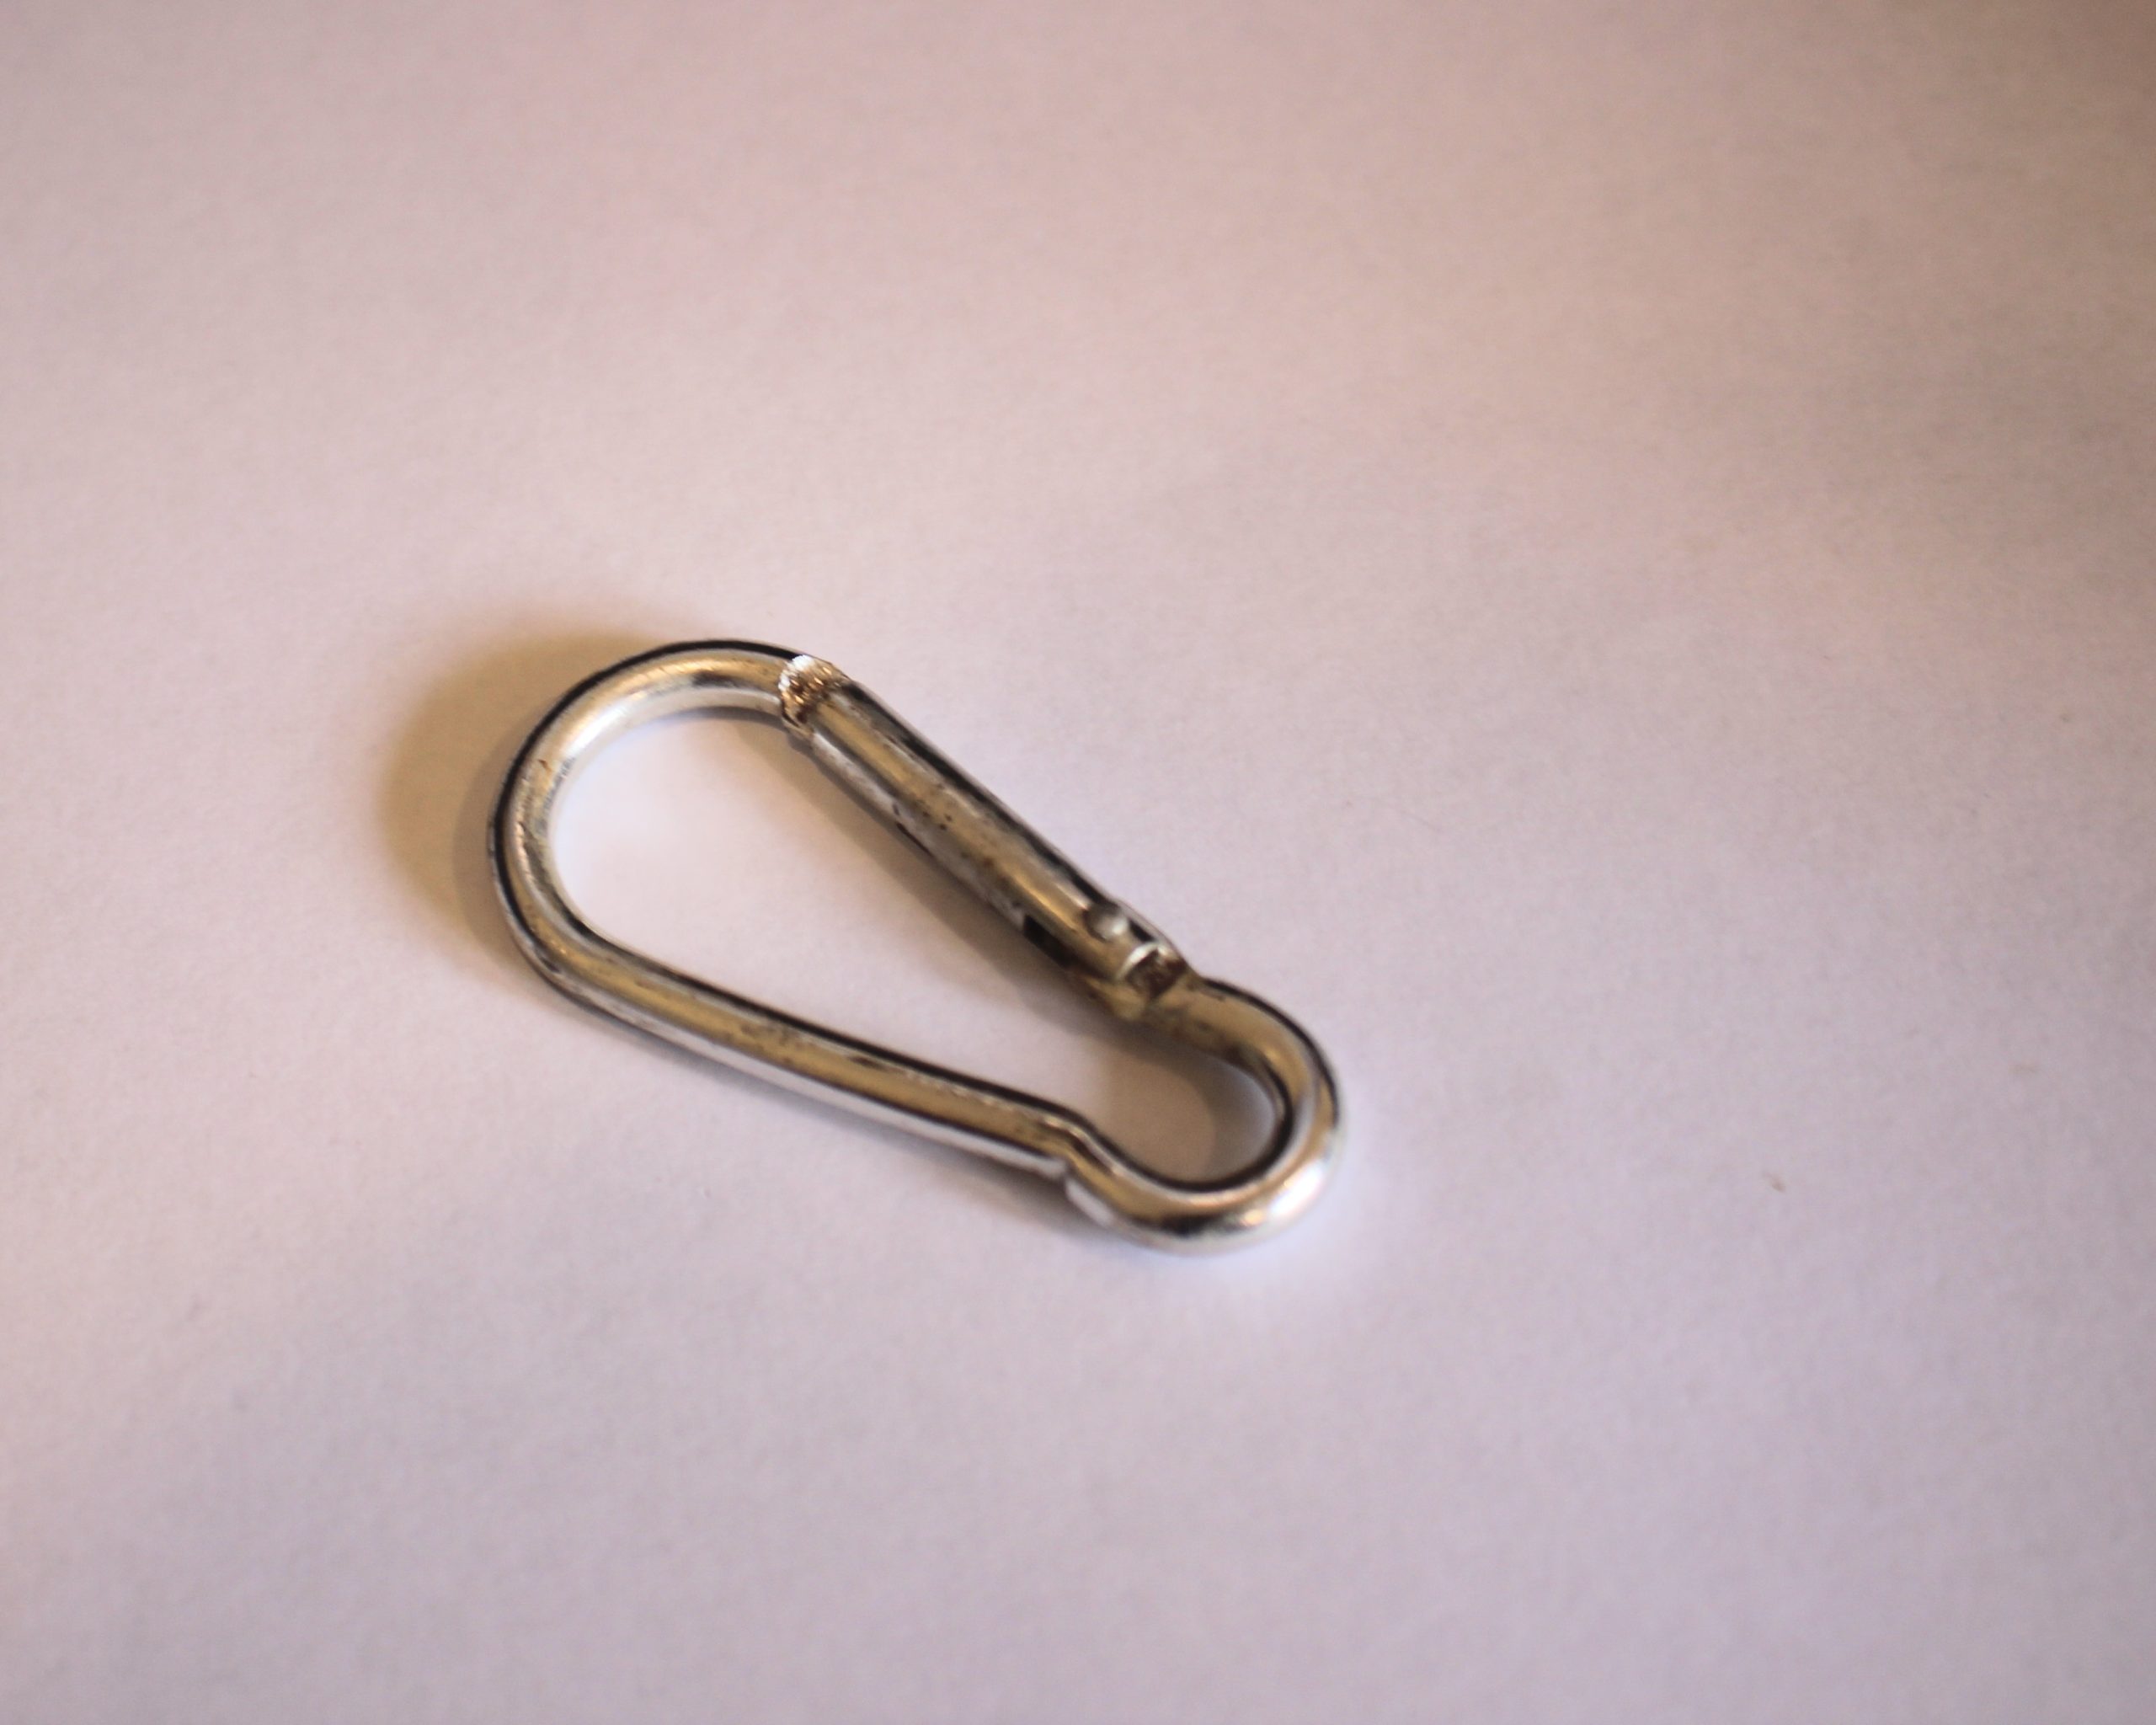
3: A carabiner. I used one recycled from a broken cord.
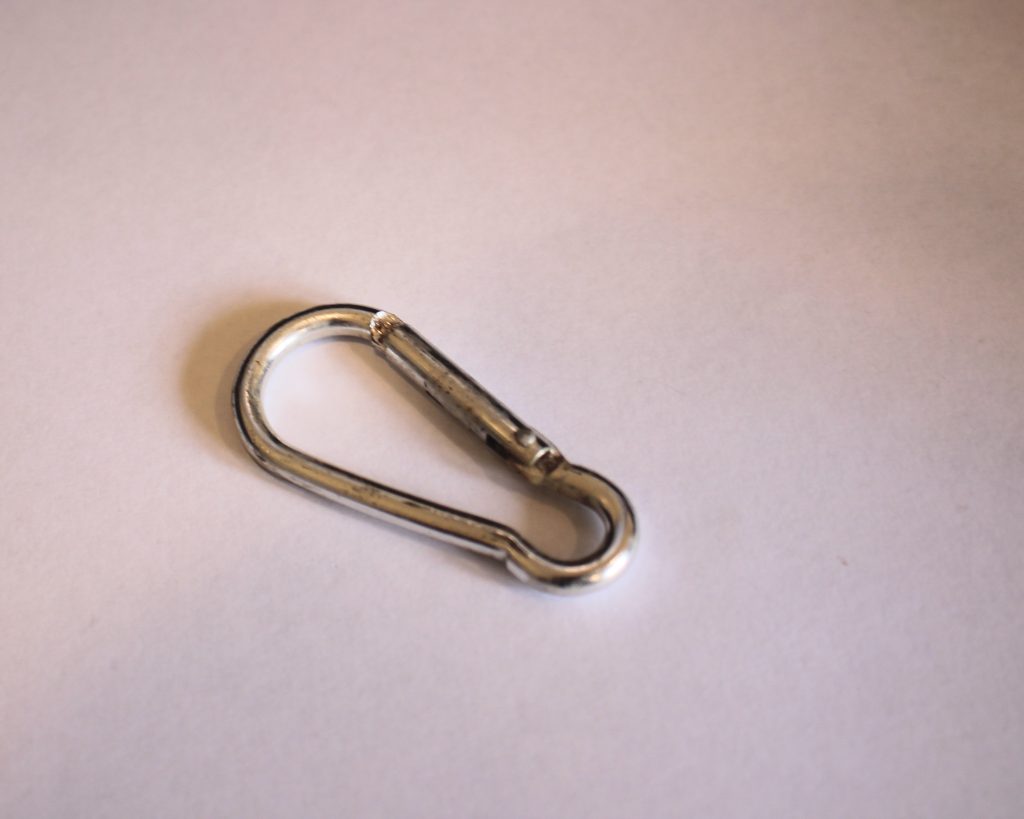
If you don’t already have one, you can get one here:
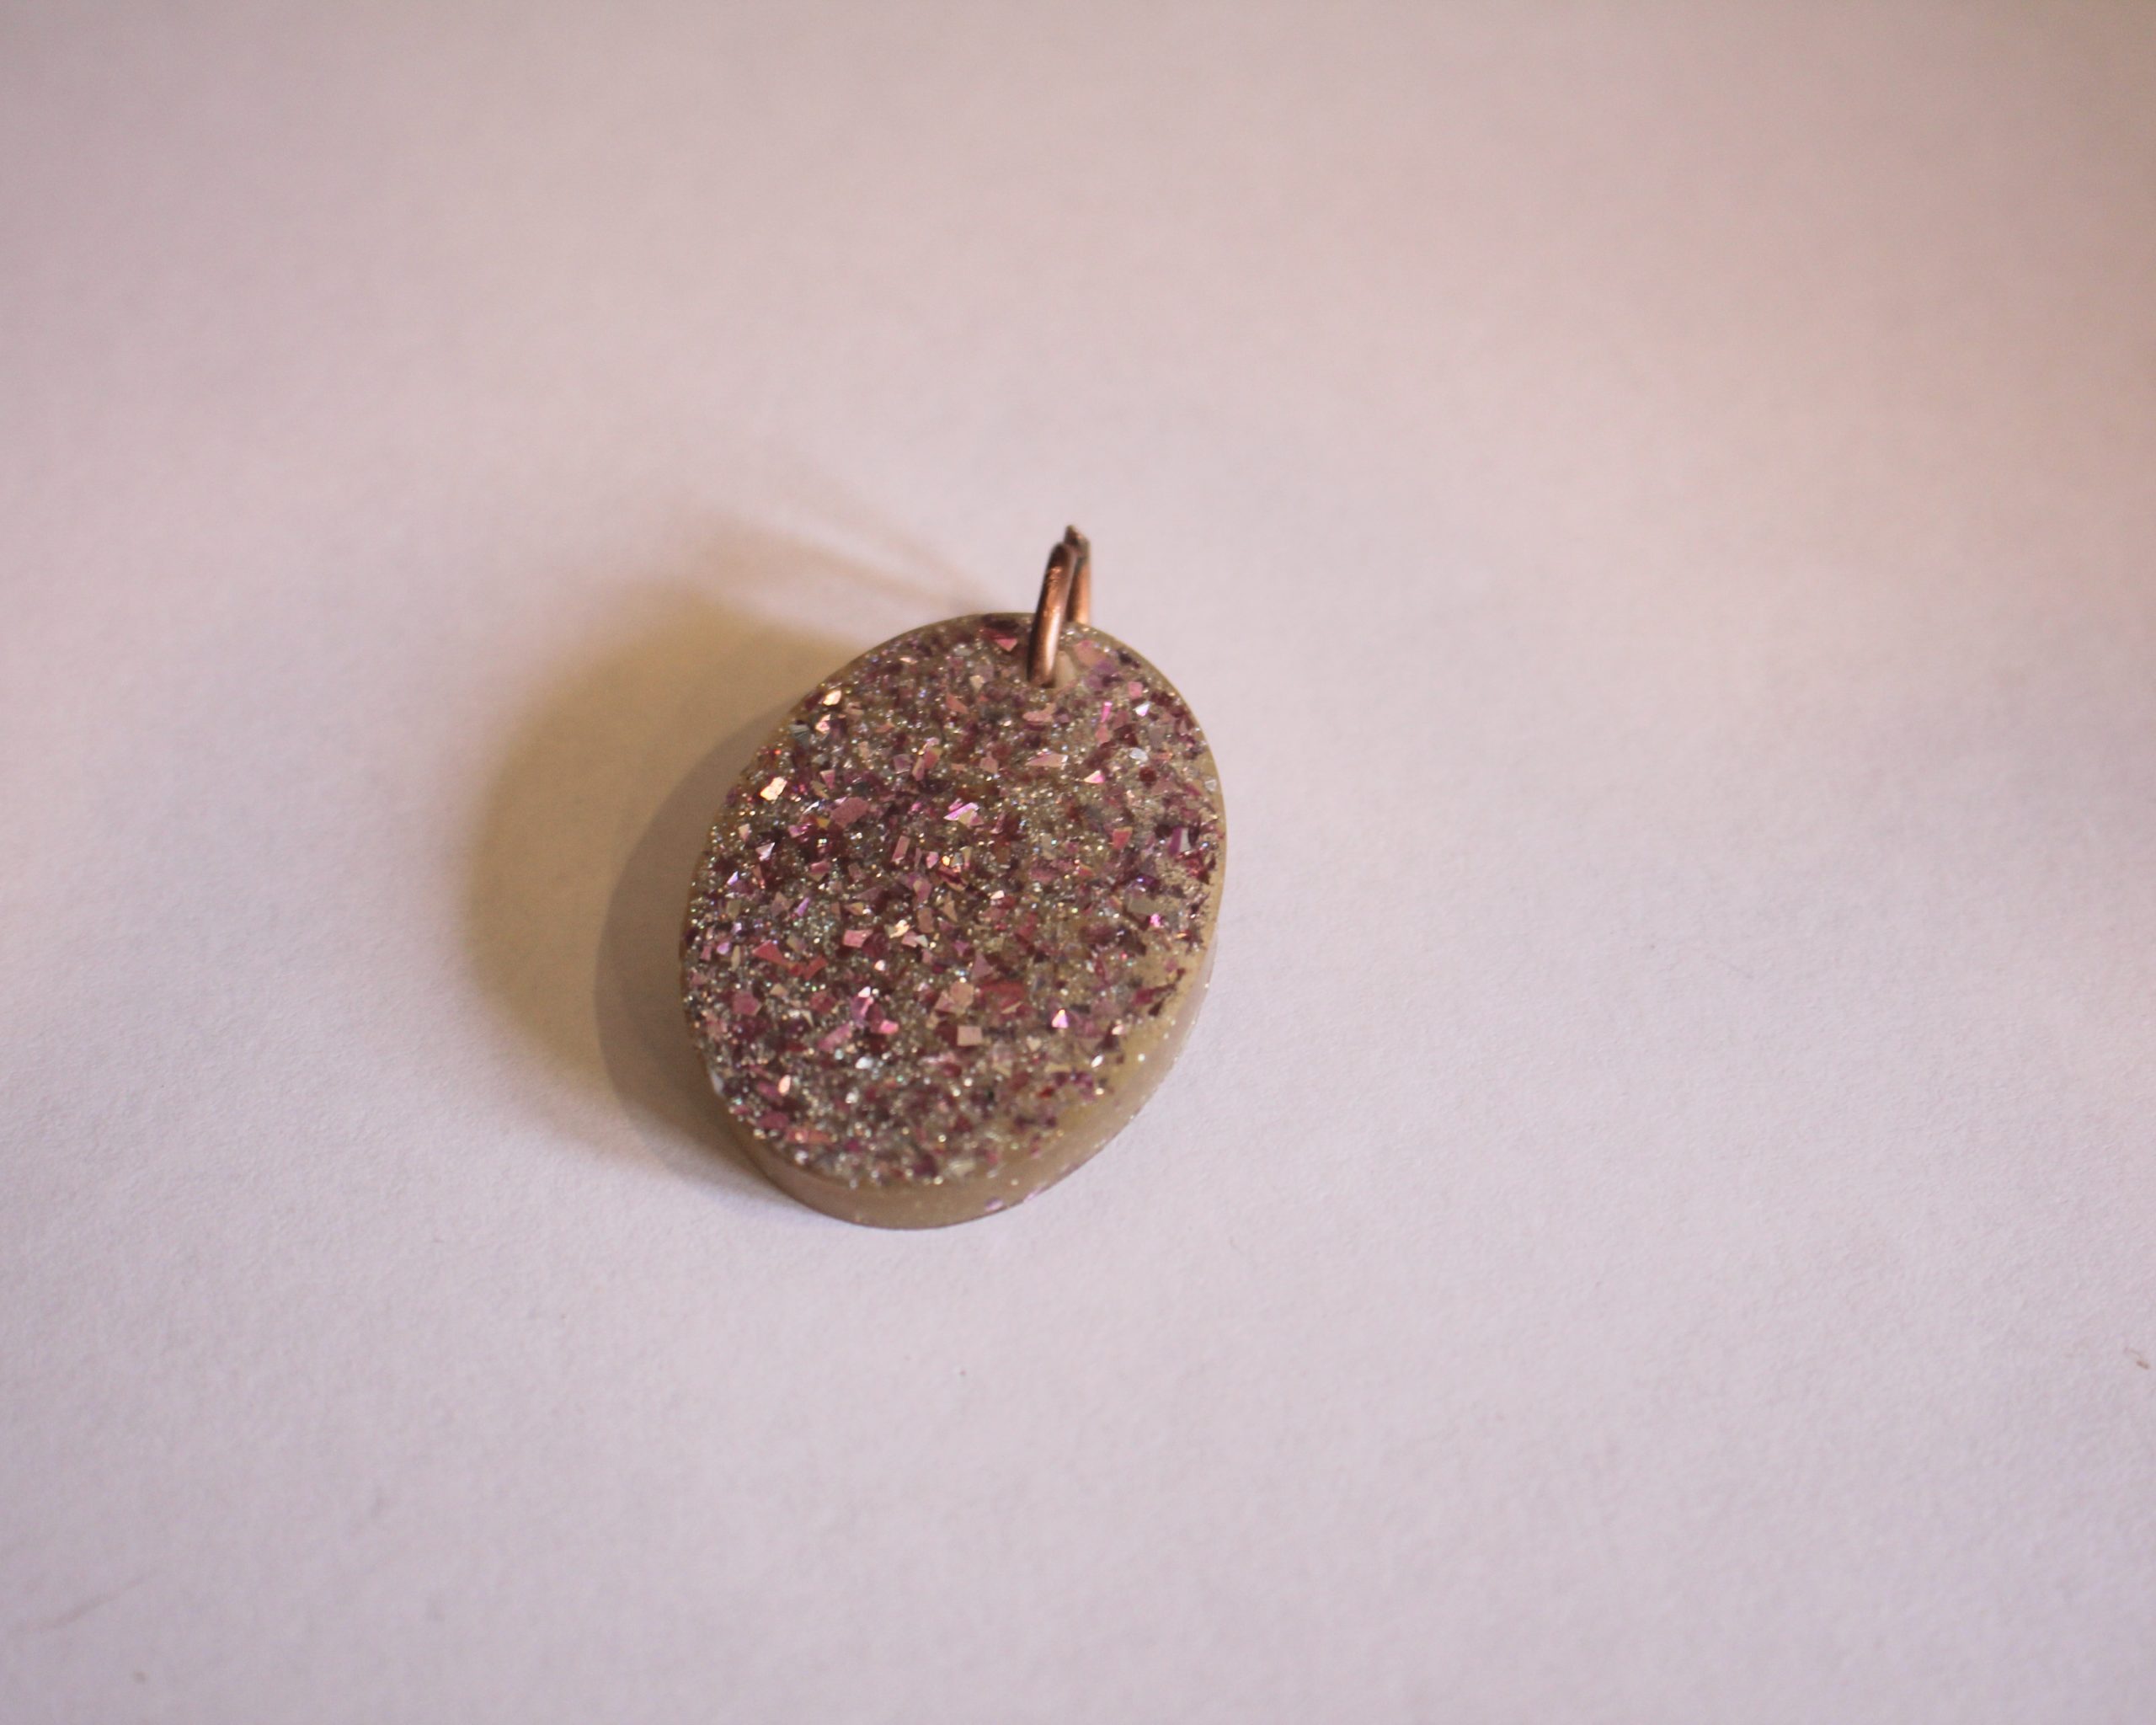
4: A charm. I used this pink resin glitter charm with a jump ring attached to the top.
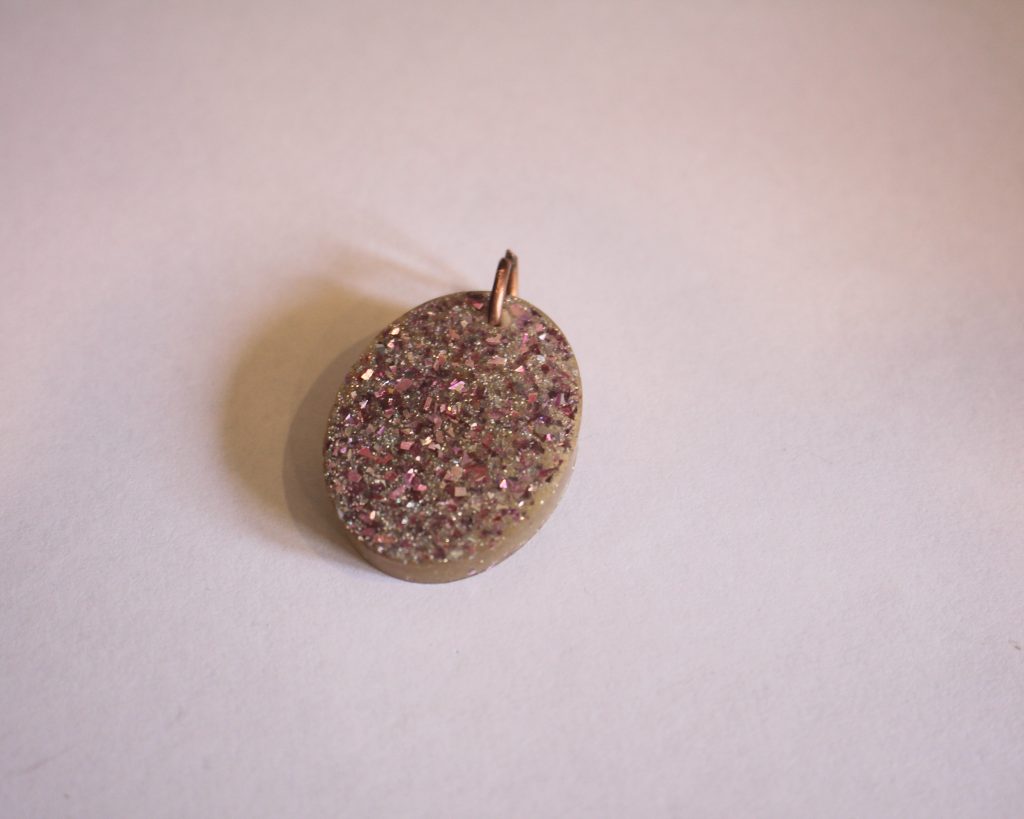
You can get pink resin charms here:
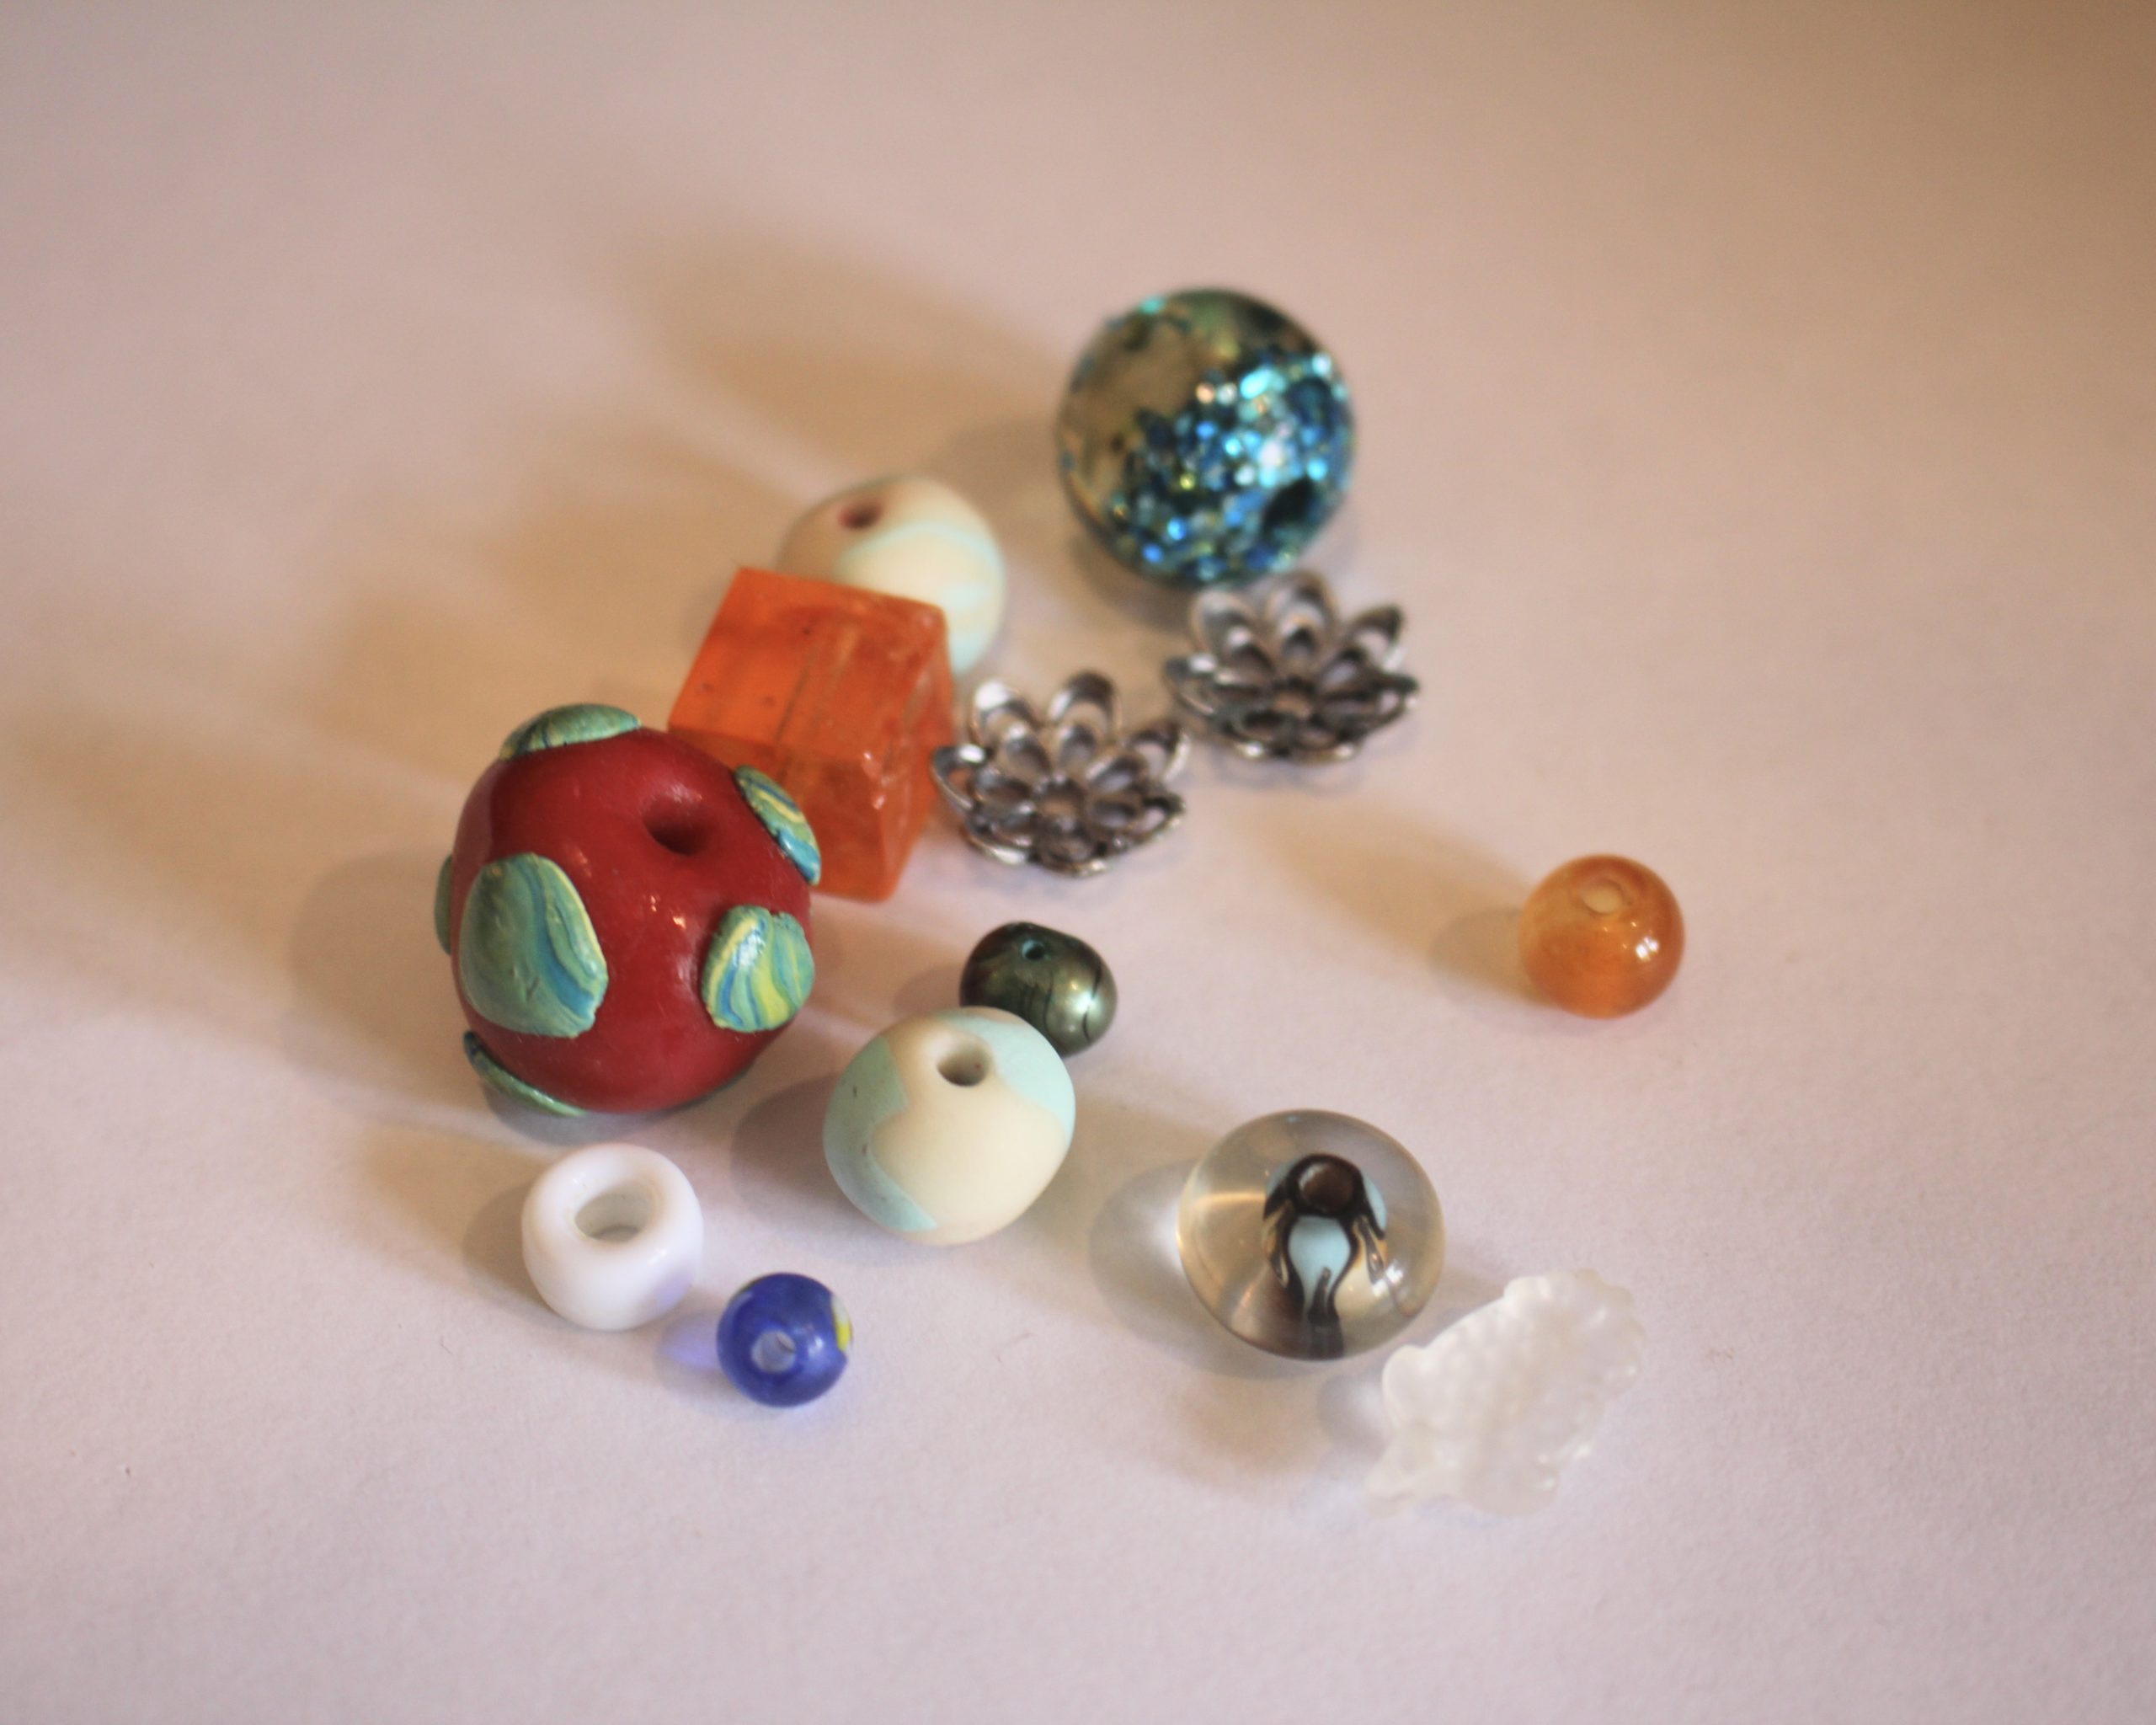
5: Some beads. I used a selection of random beads in different materials. This is a great project for using up and showcasing your eclectic bead collection.
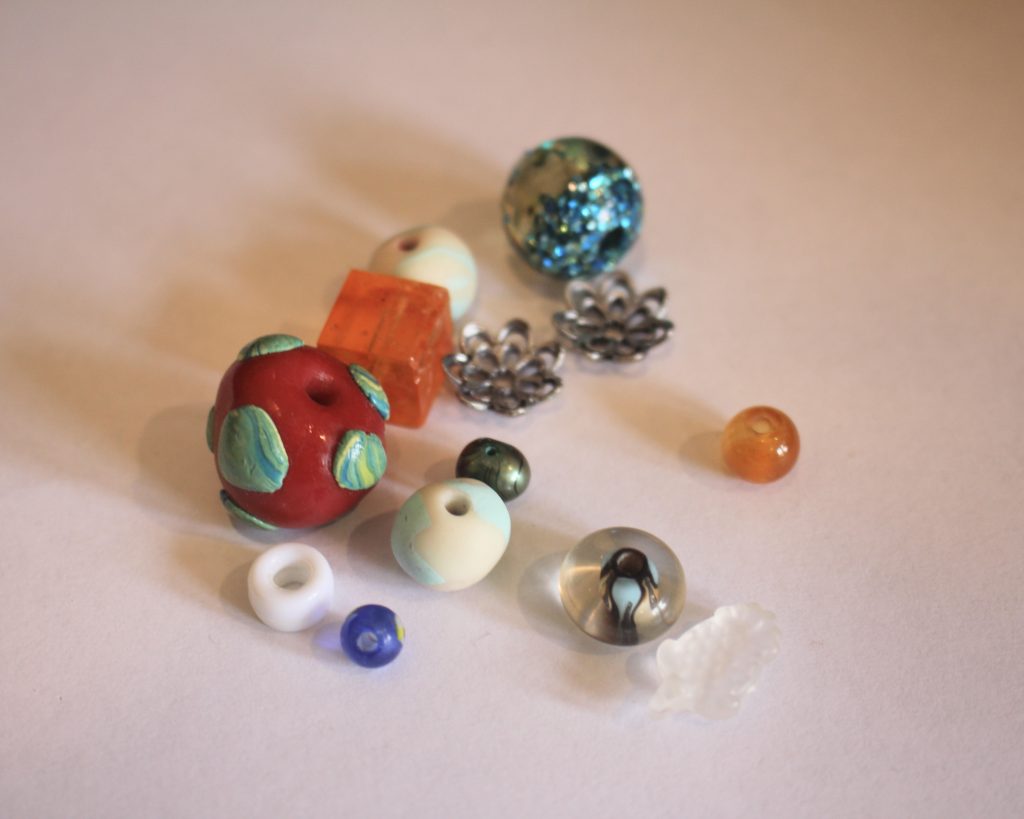
You can get a selection of mixed beads here:
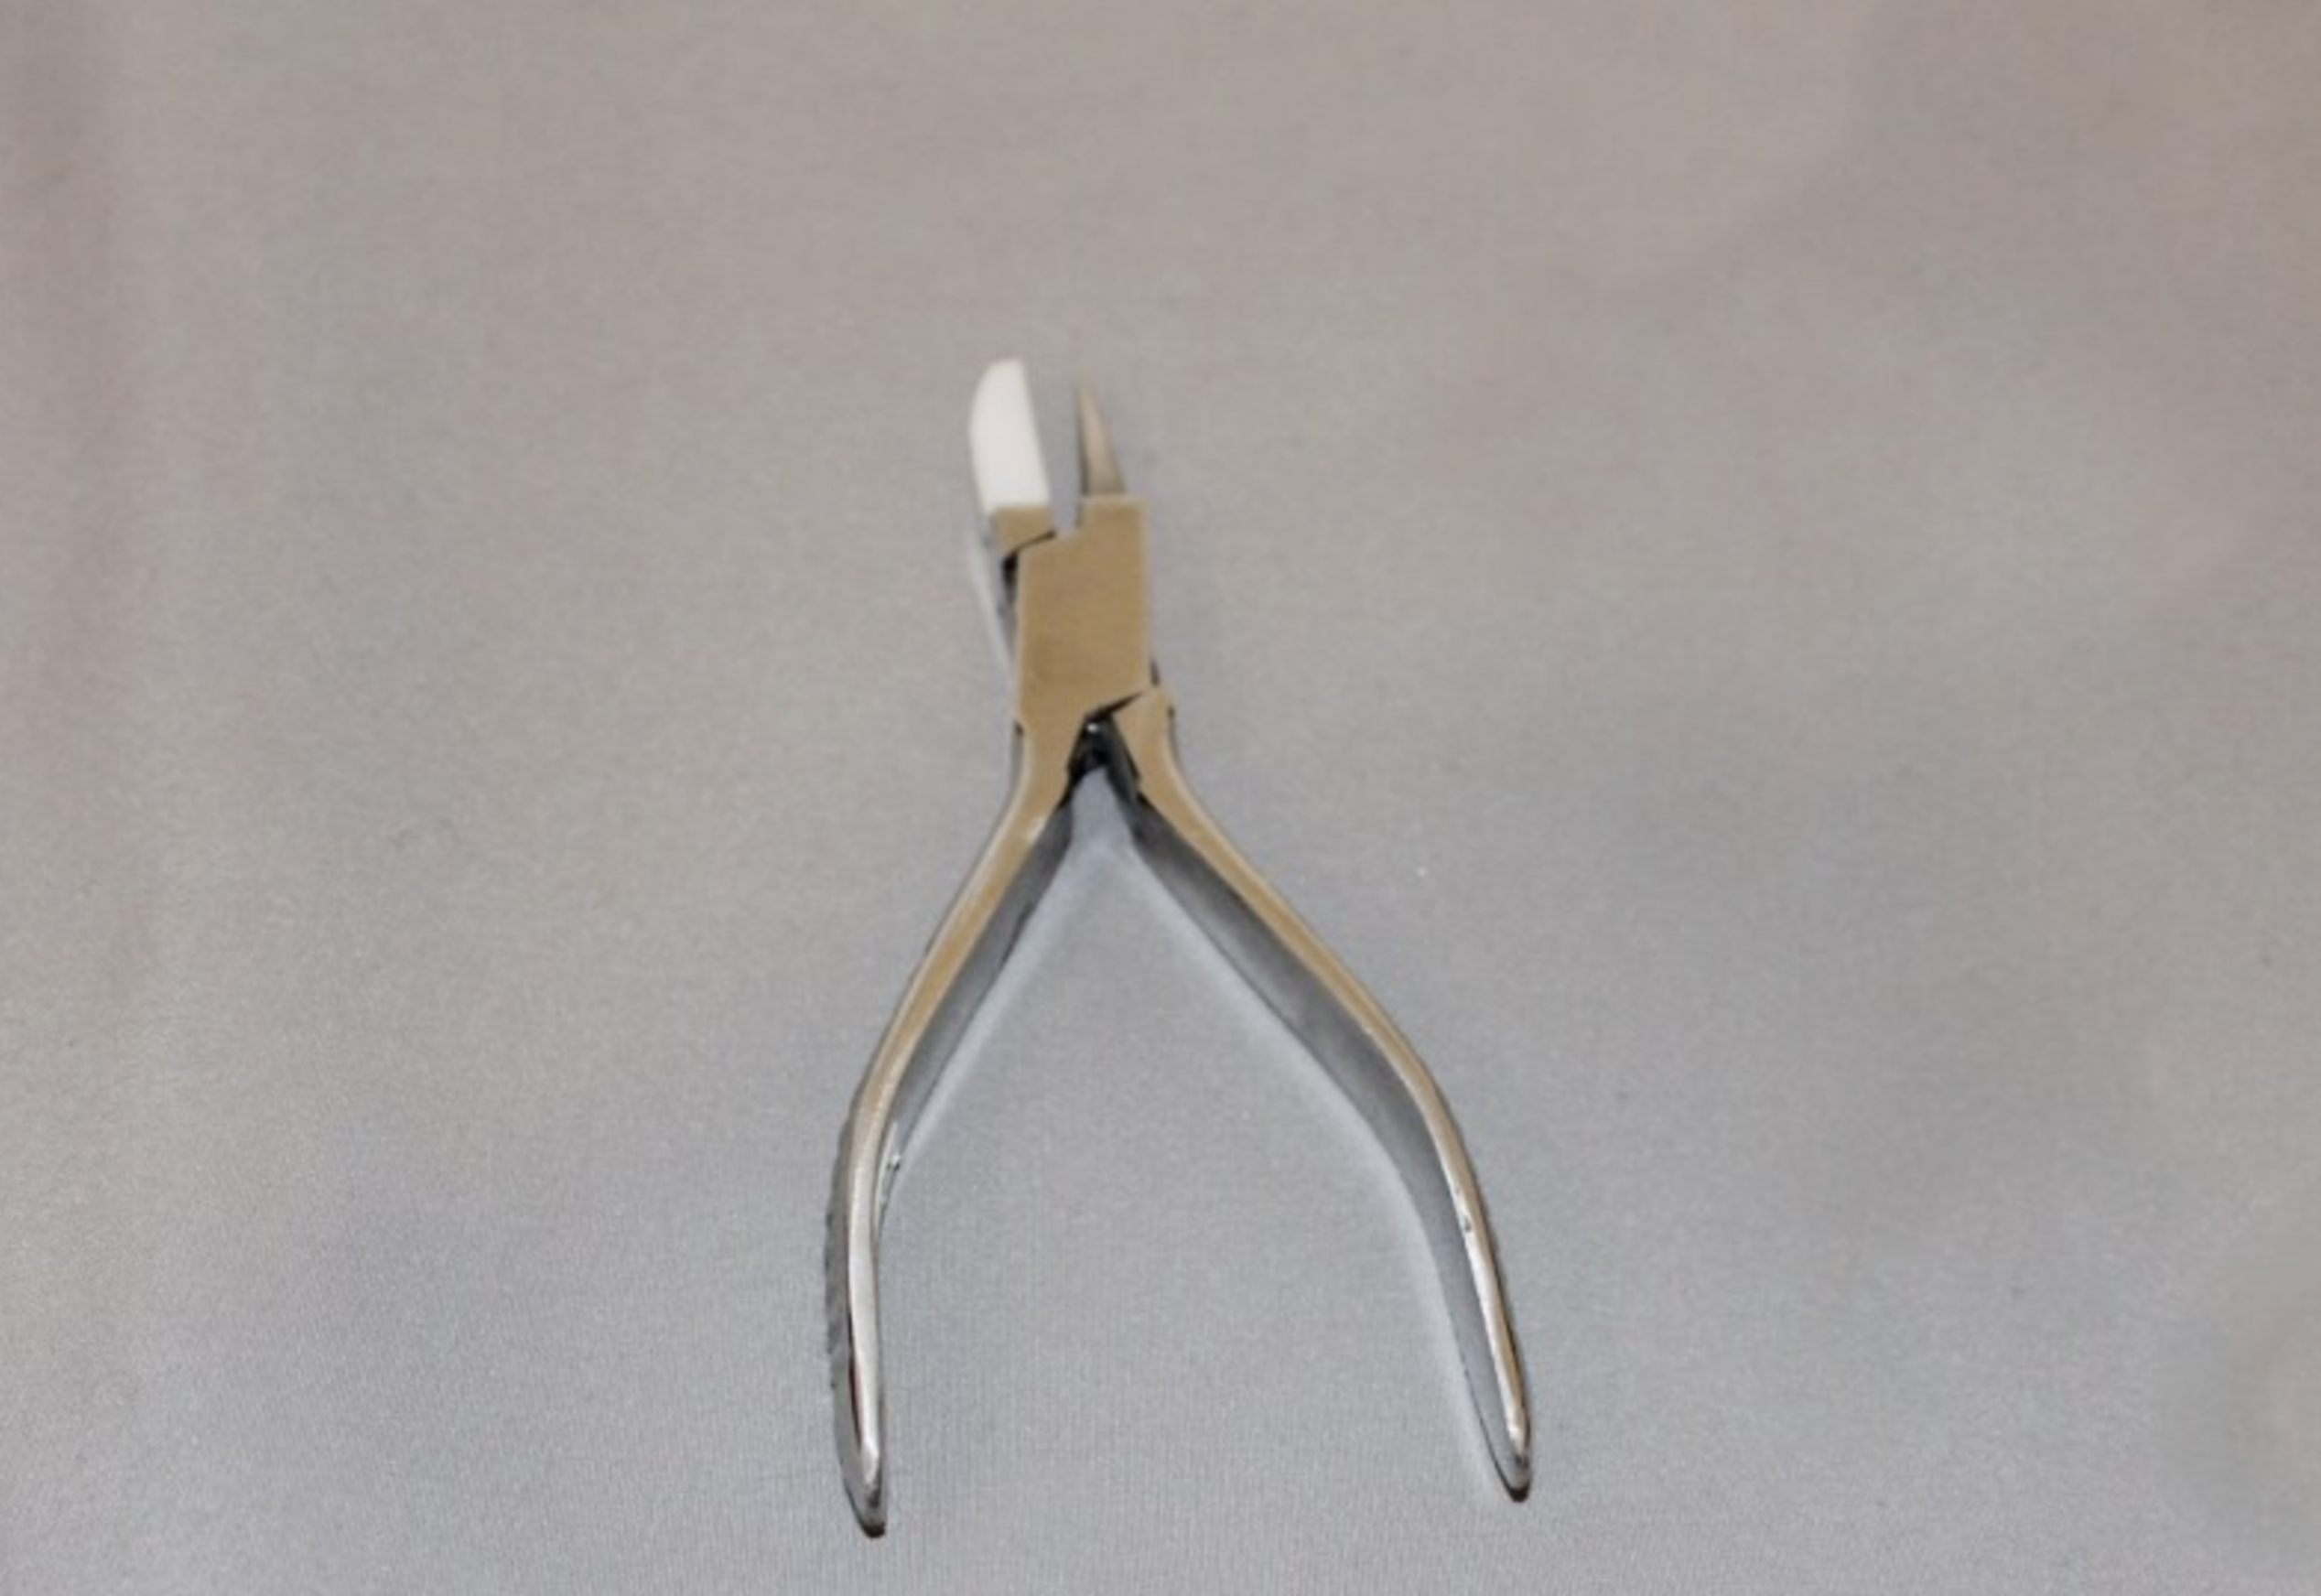
6: Pliers. I used my cutting pliers, round flat pliers, parallel pliers and flat nose pliers for this project.

You can get cutting pliers here:

You can get flat nose pliers here:
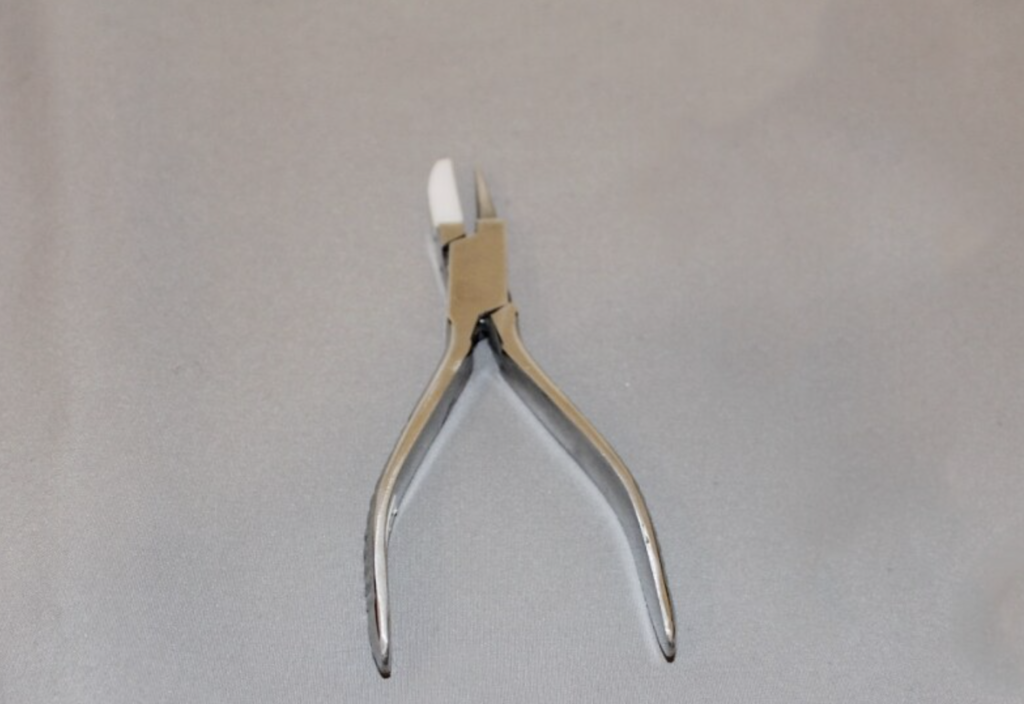
You can get round-flat nose pliers here:

You can get parallel pliers here:
Follow these steps to make your unique beaded bag charm:
1: Add a jump ring to the top of the charm if it doesn’t already have one.
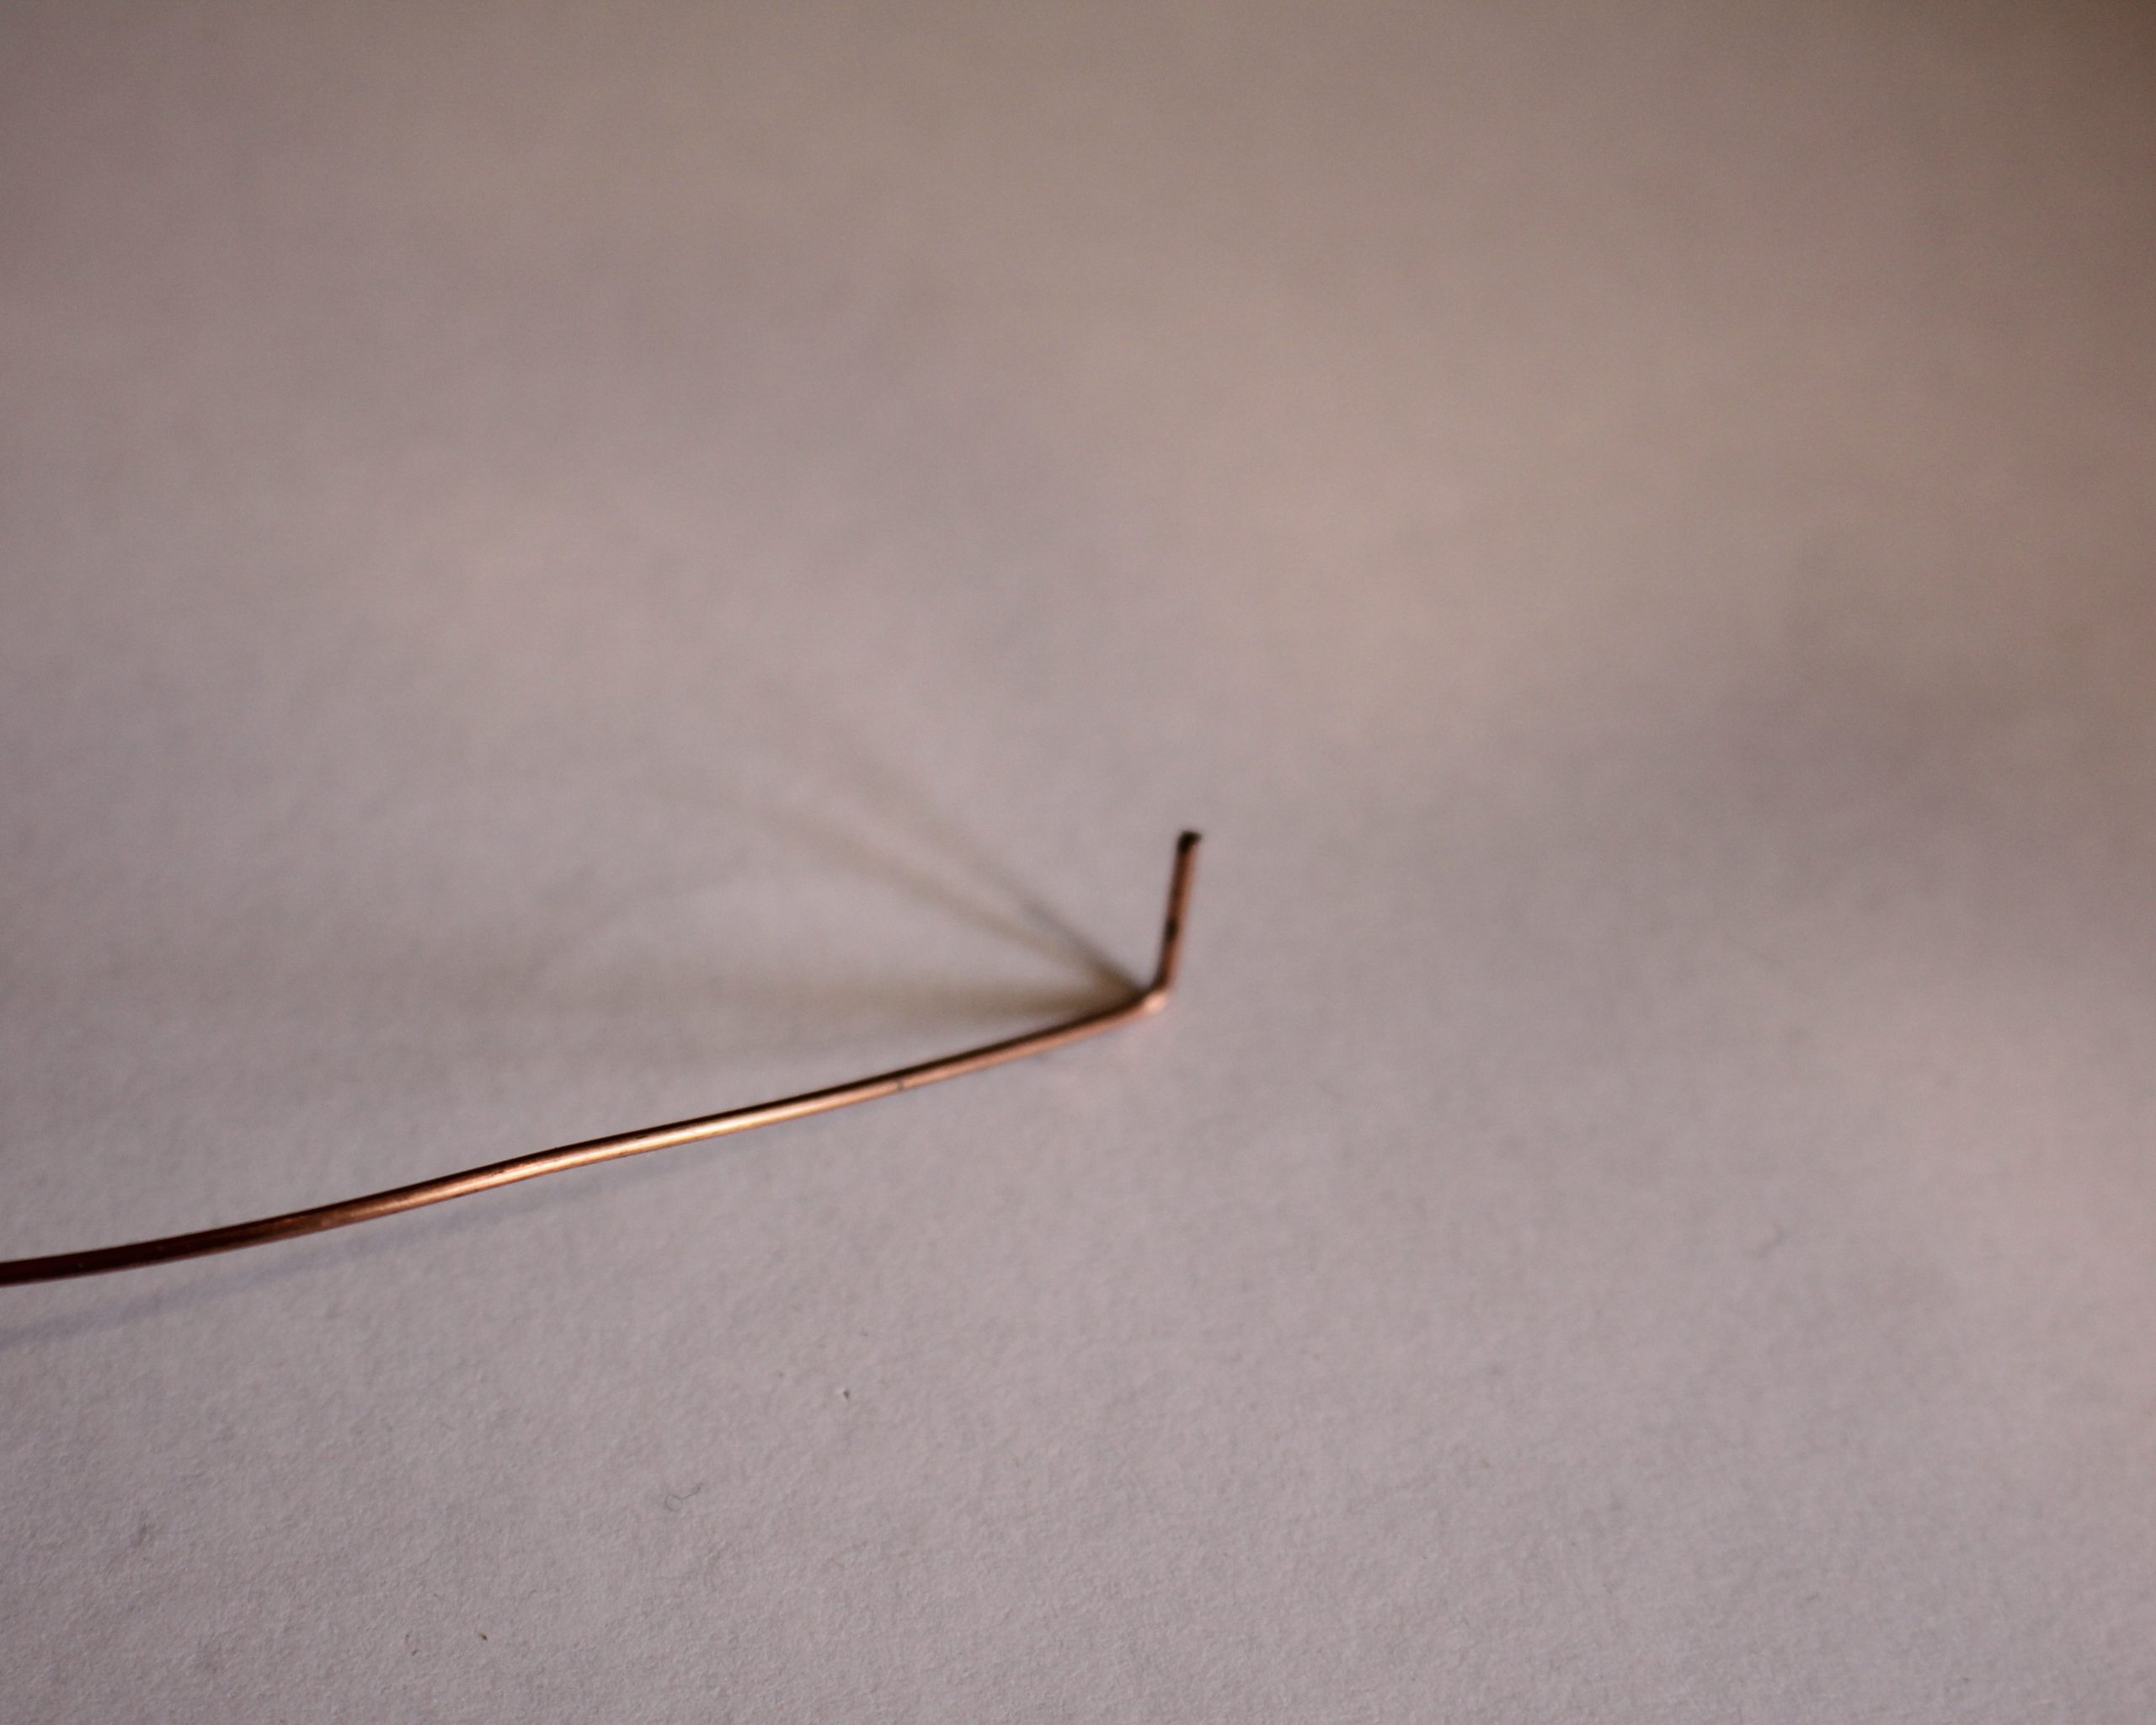
2: Take the wire and hold form the end into a right angle using the flat nose pliers.
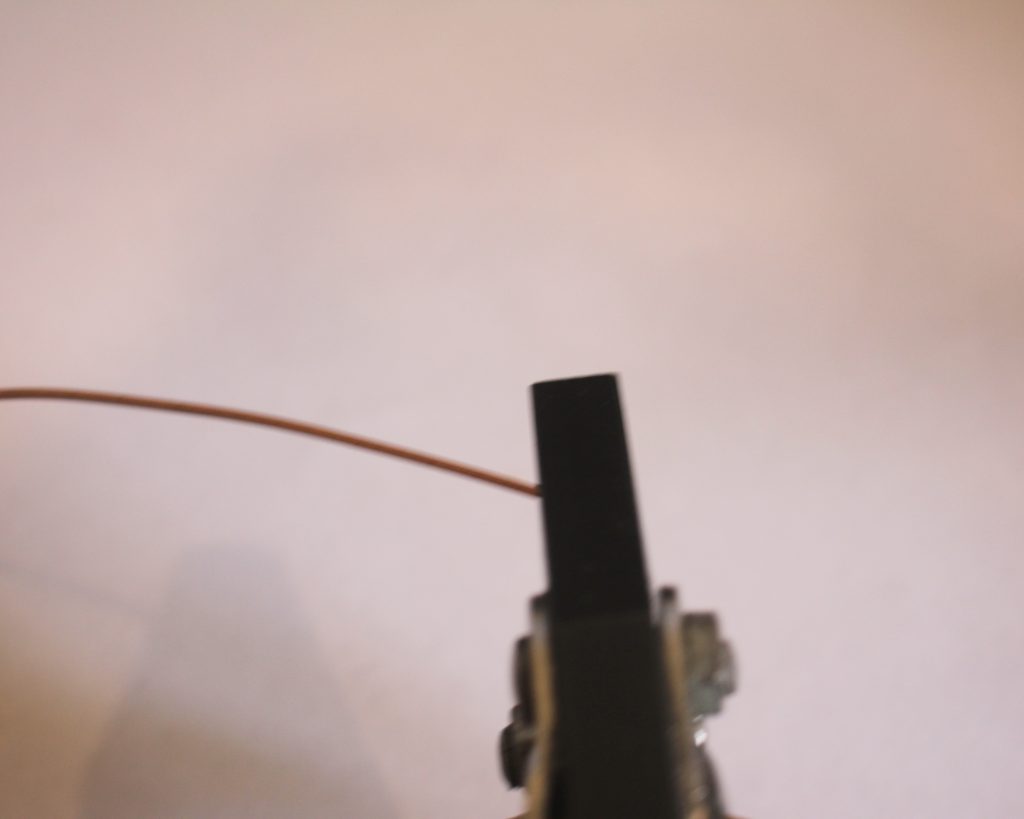
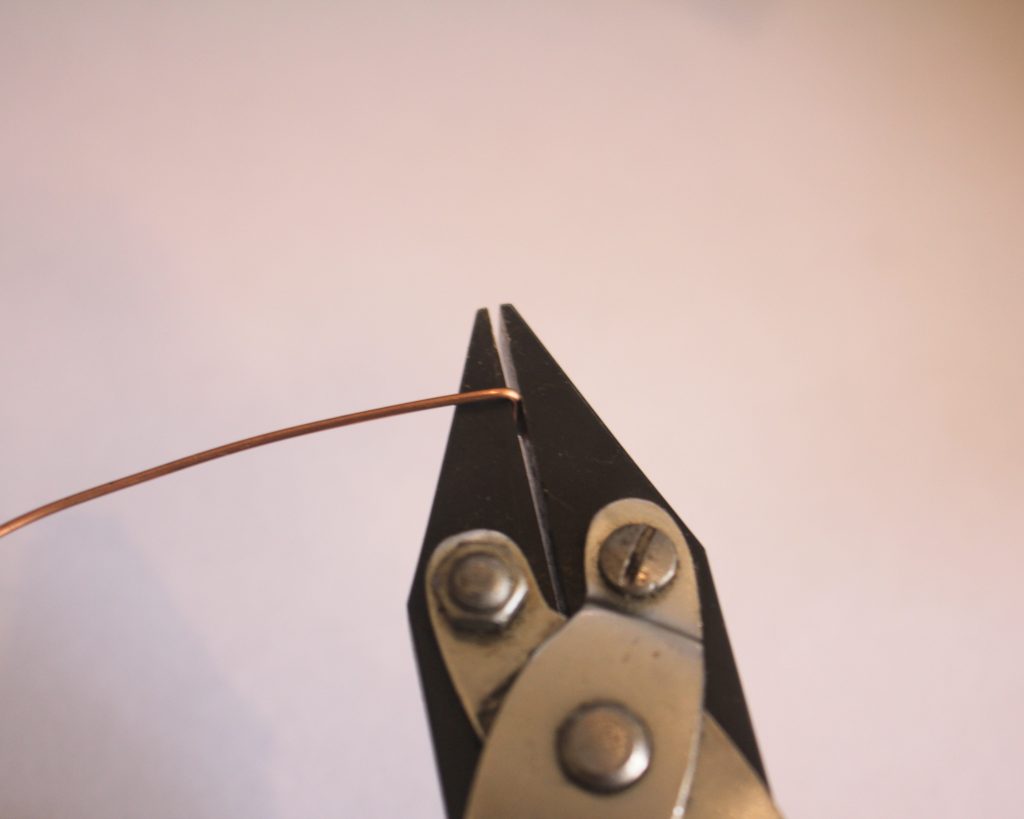
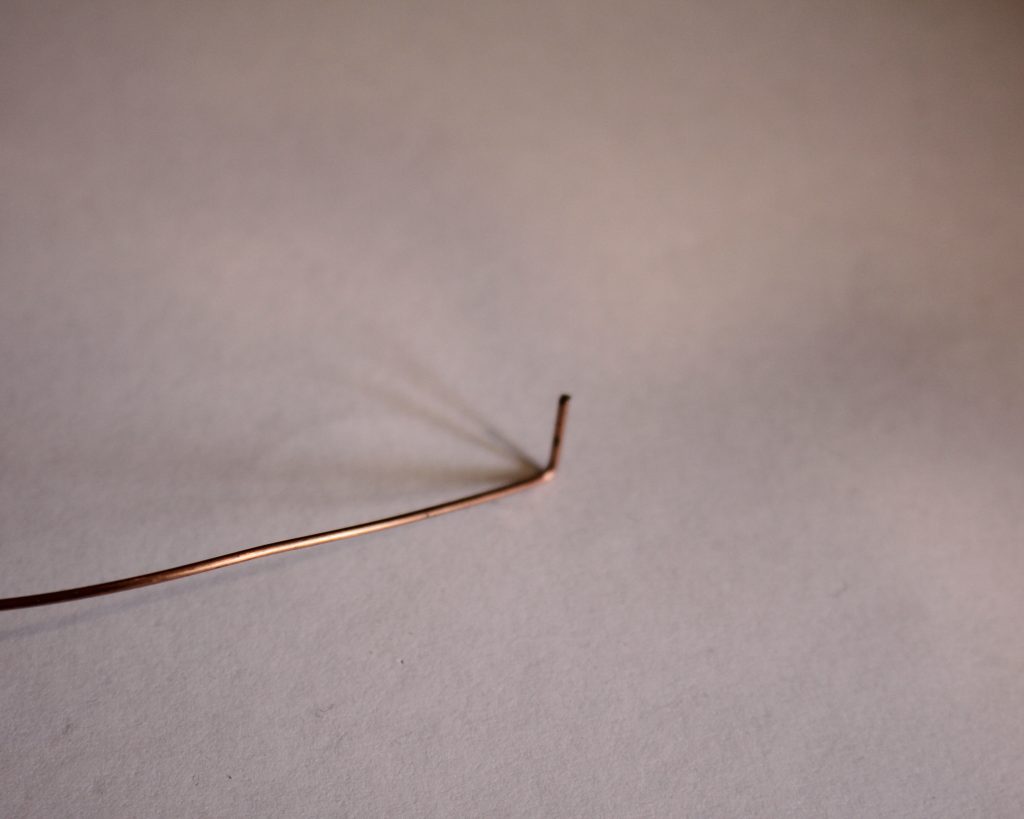
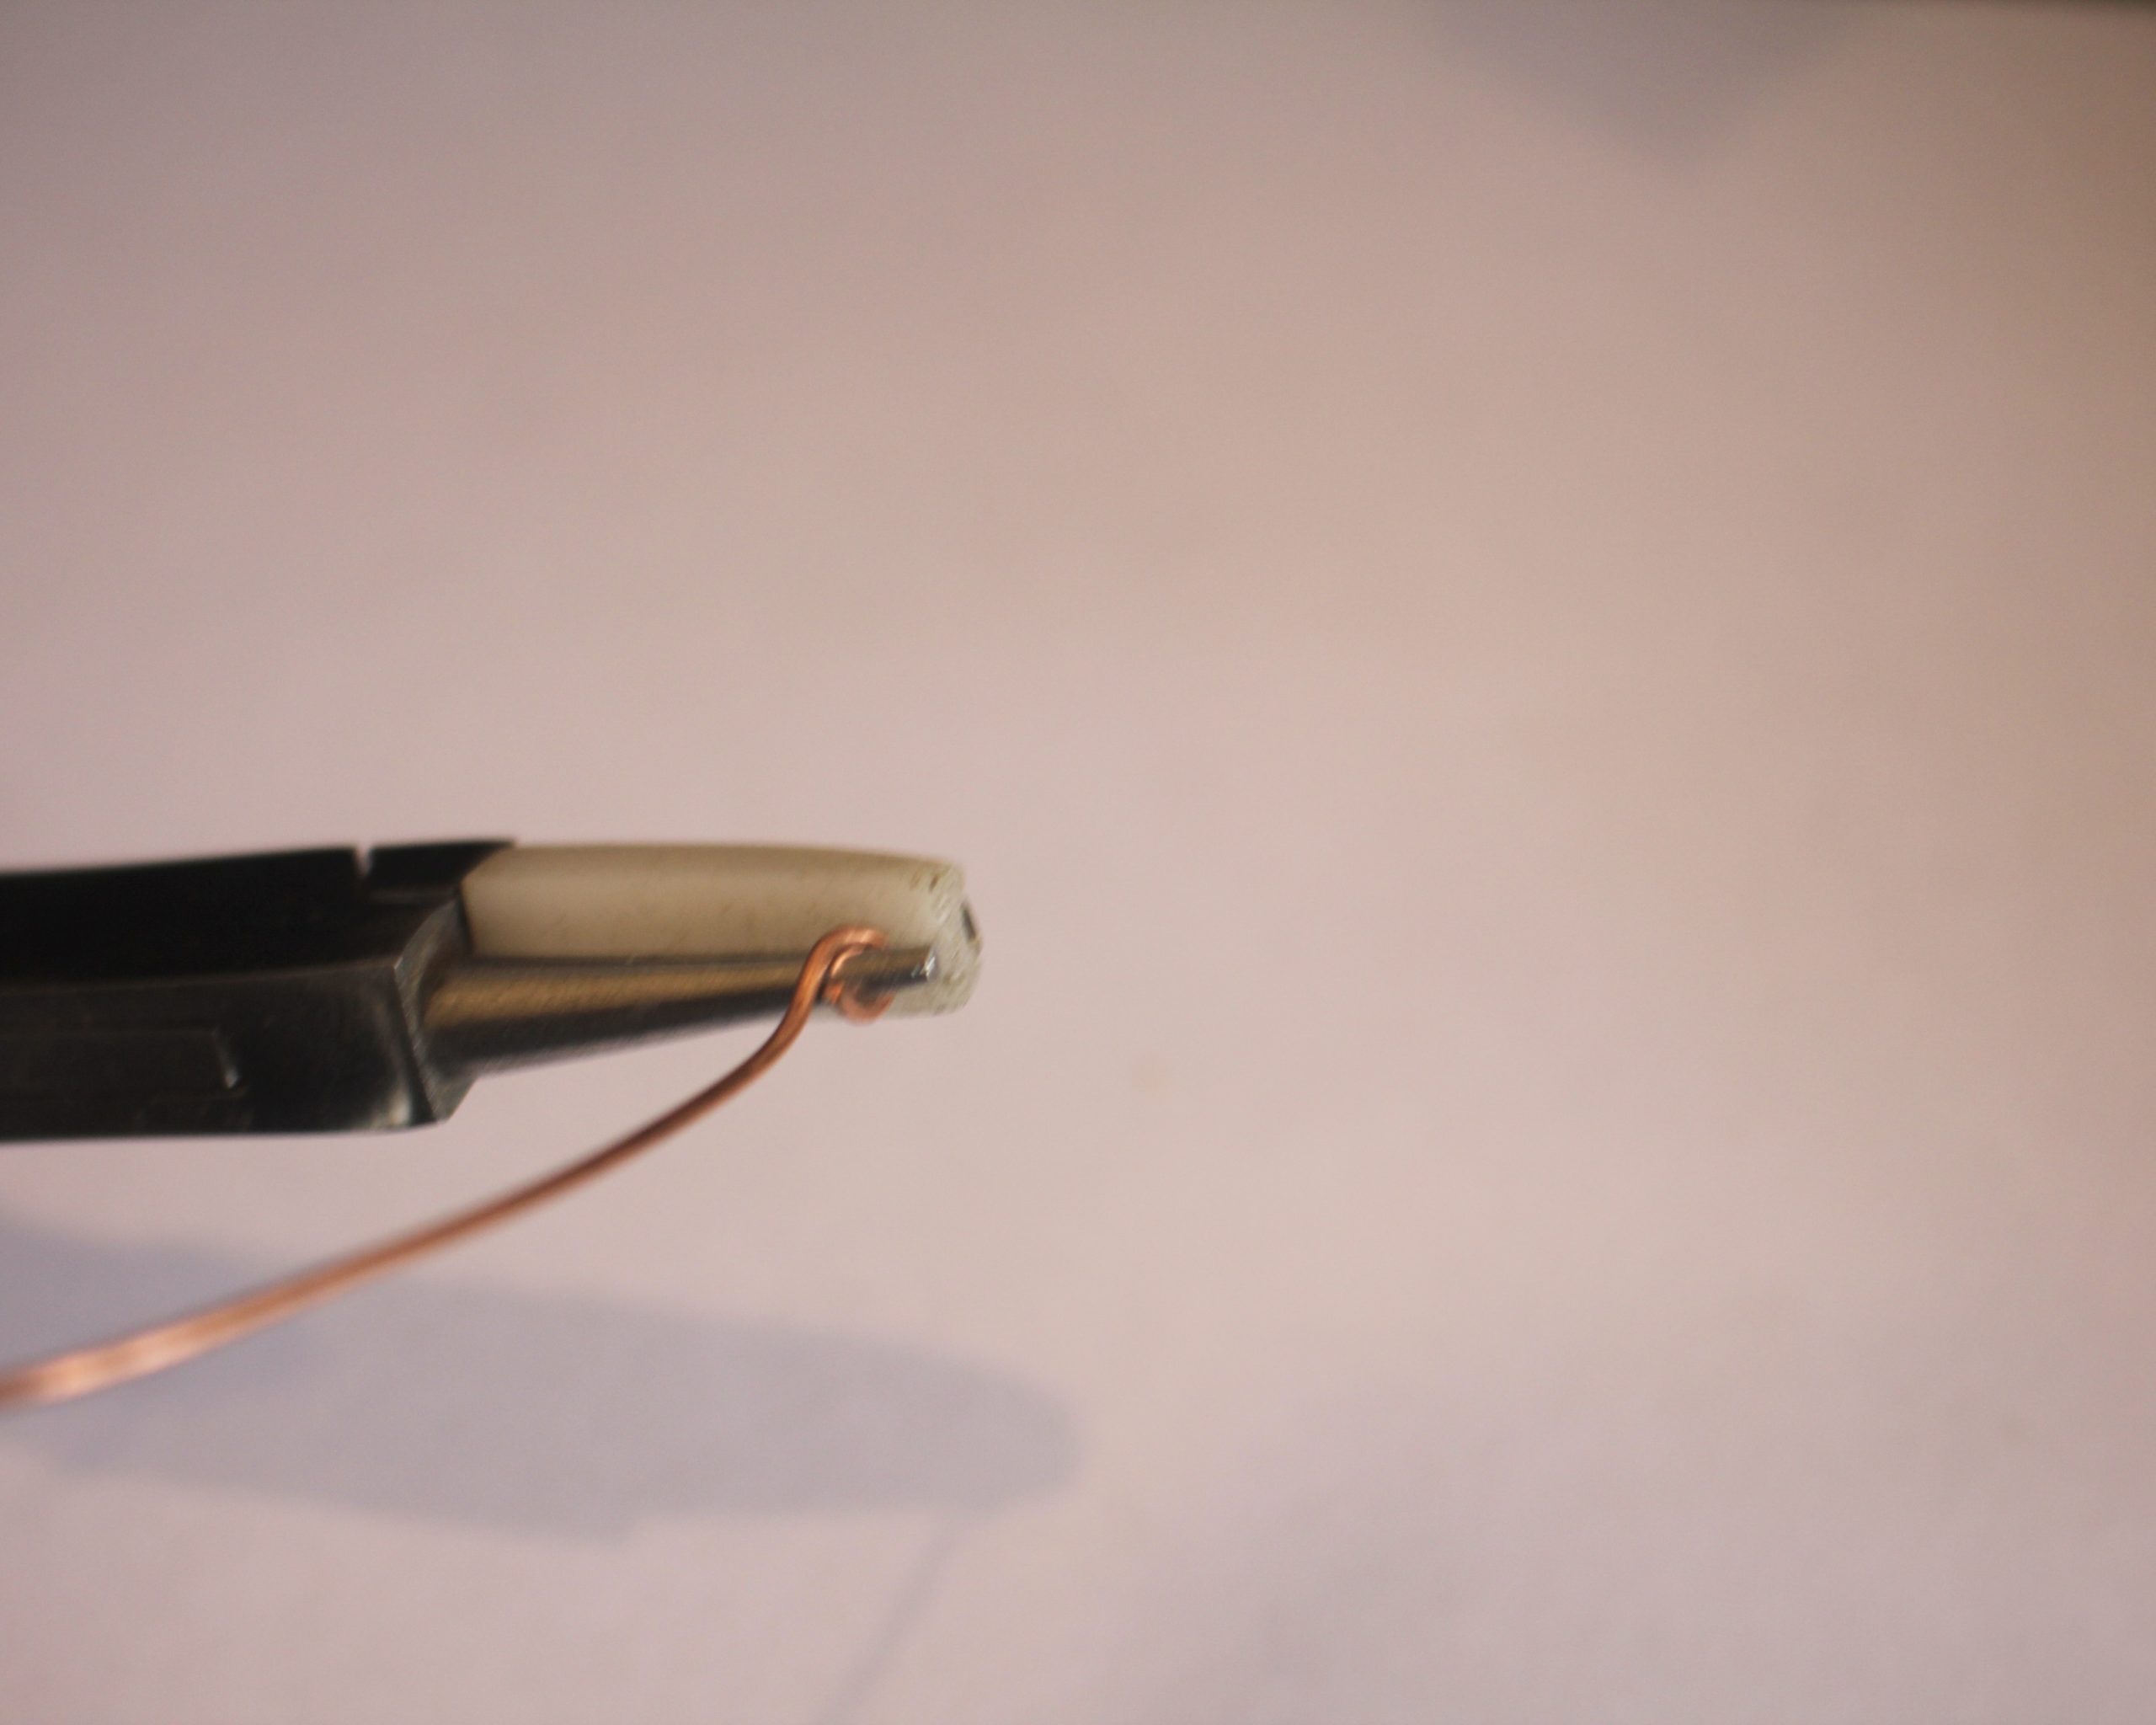
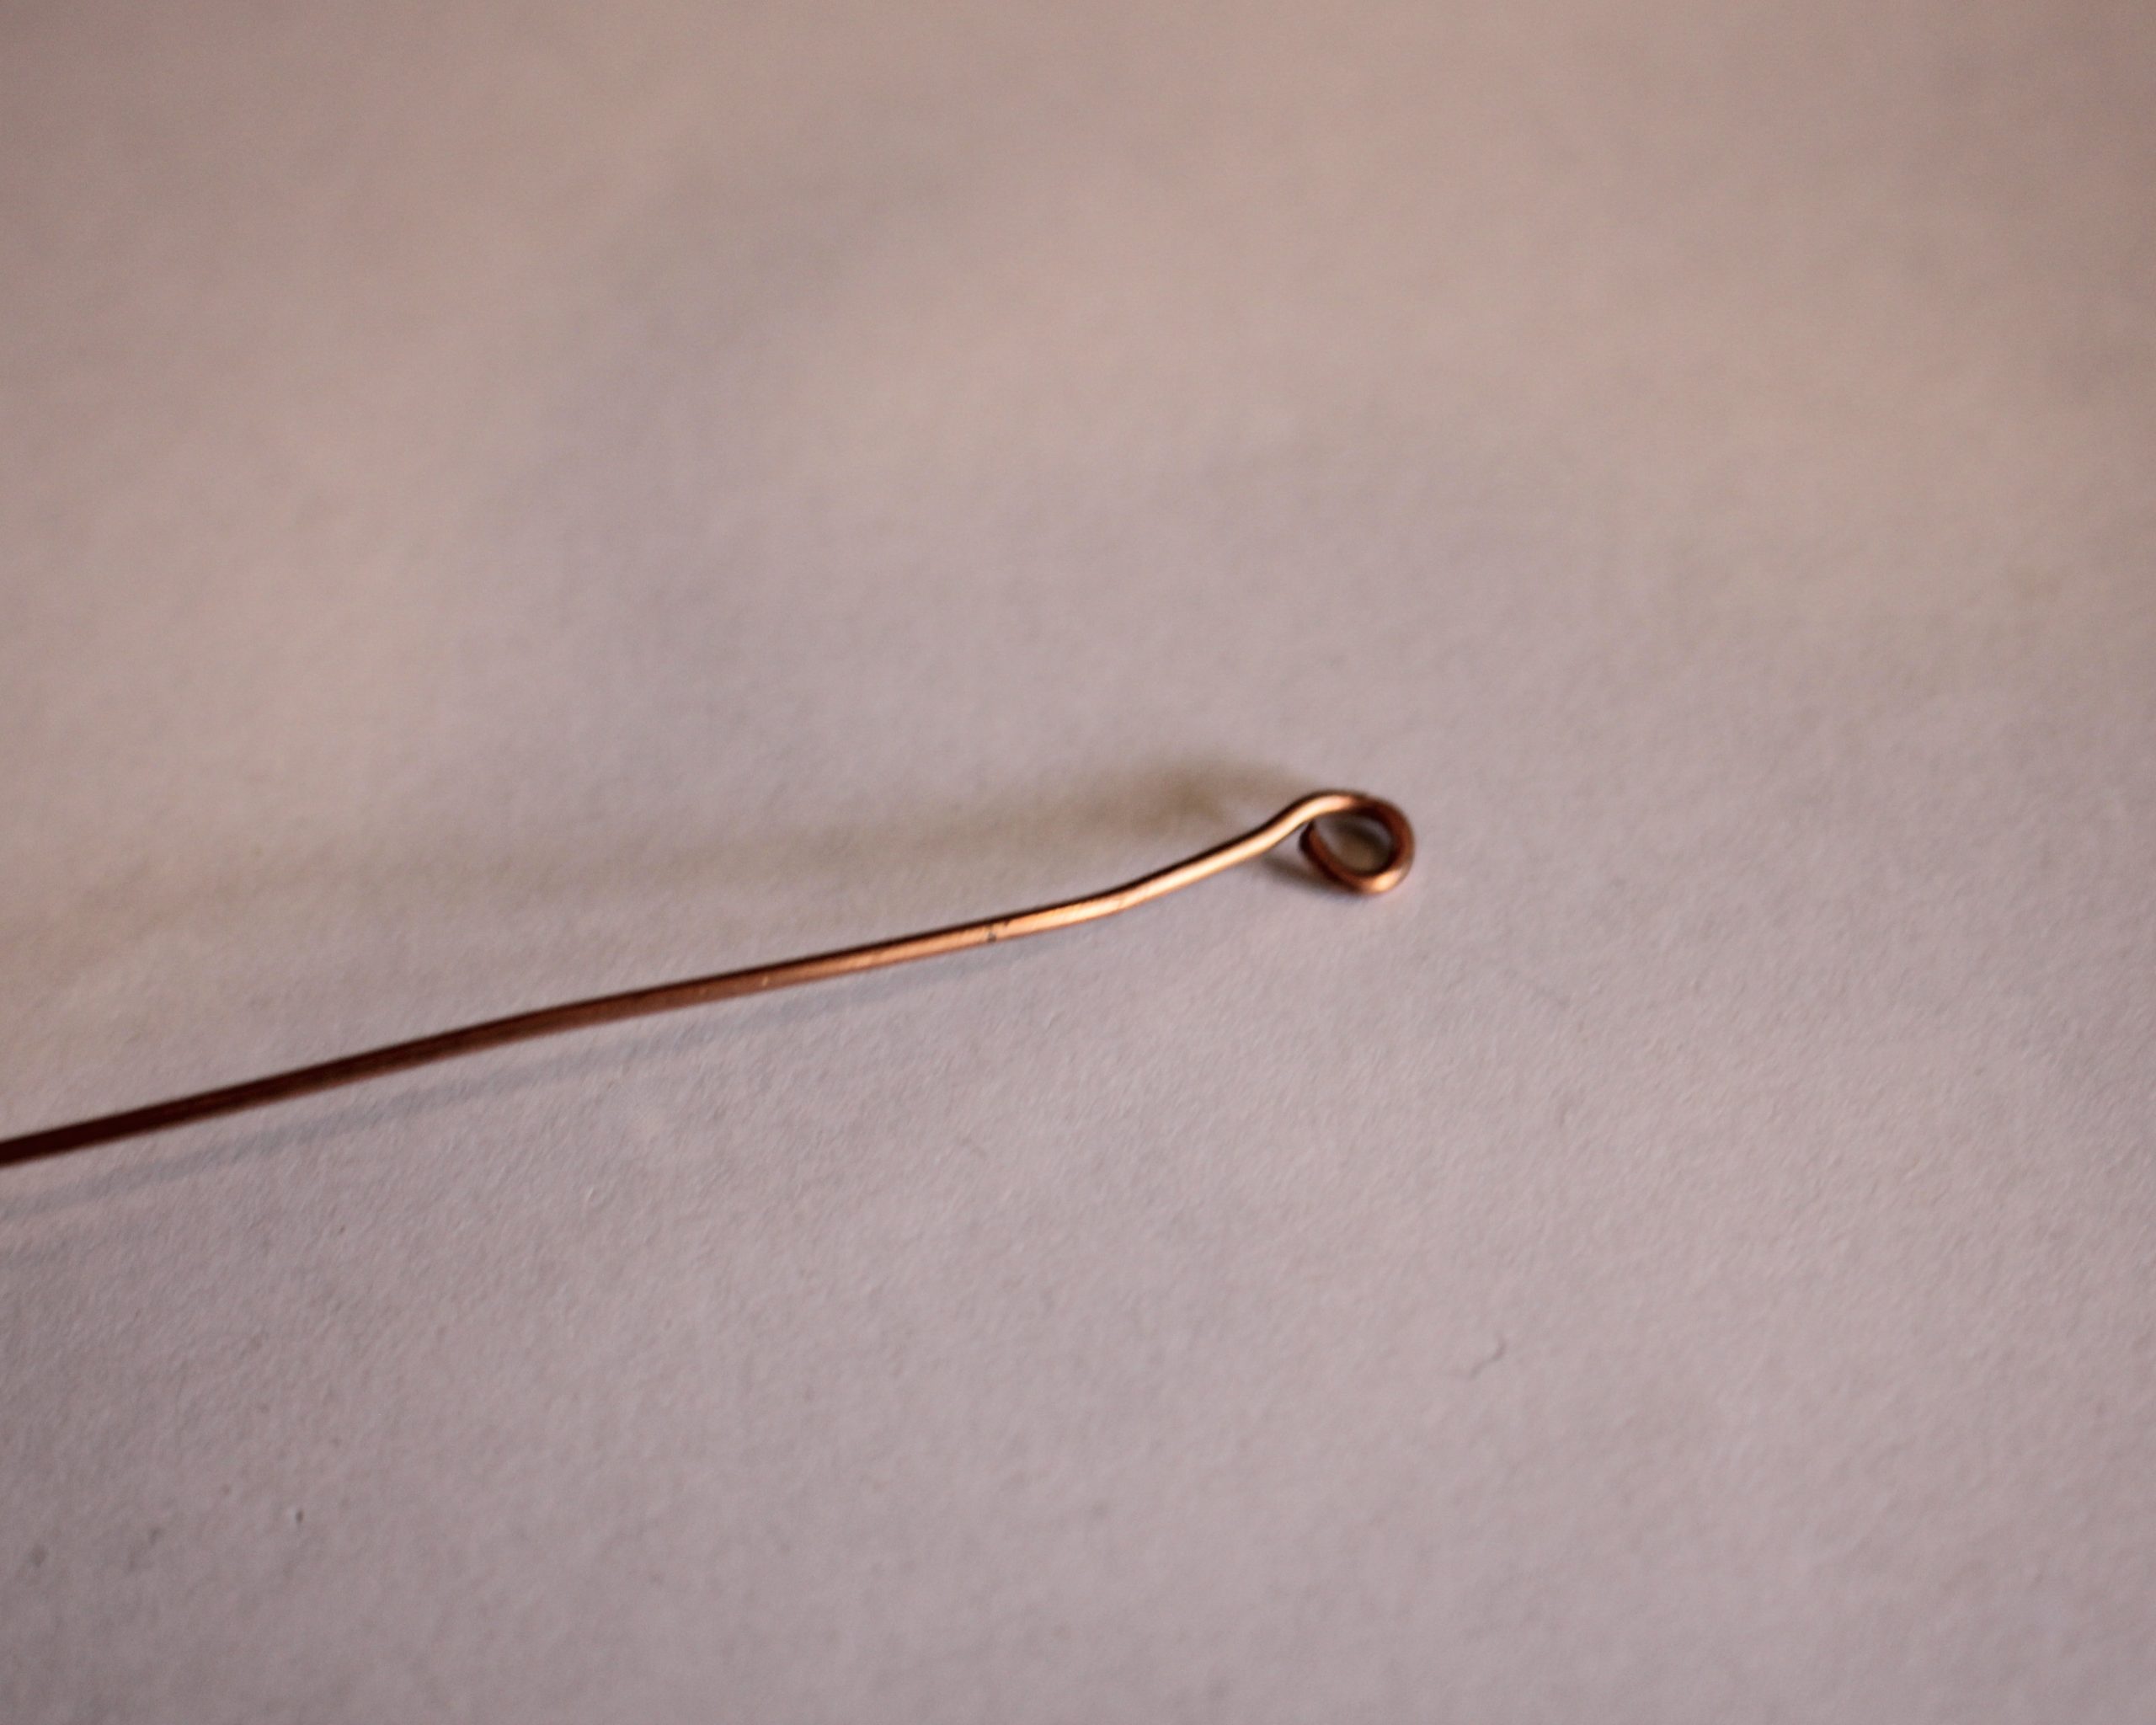
3: Use the round flat pliers to form the bent end into a loop.
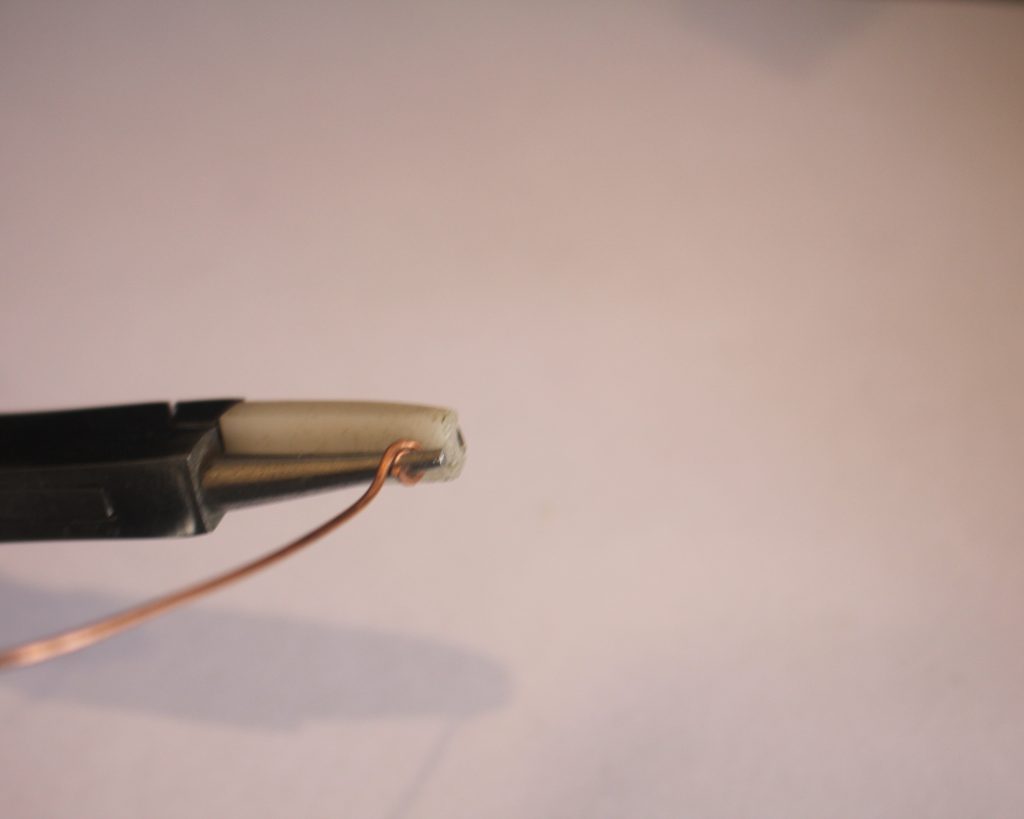
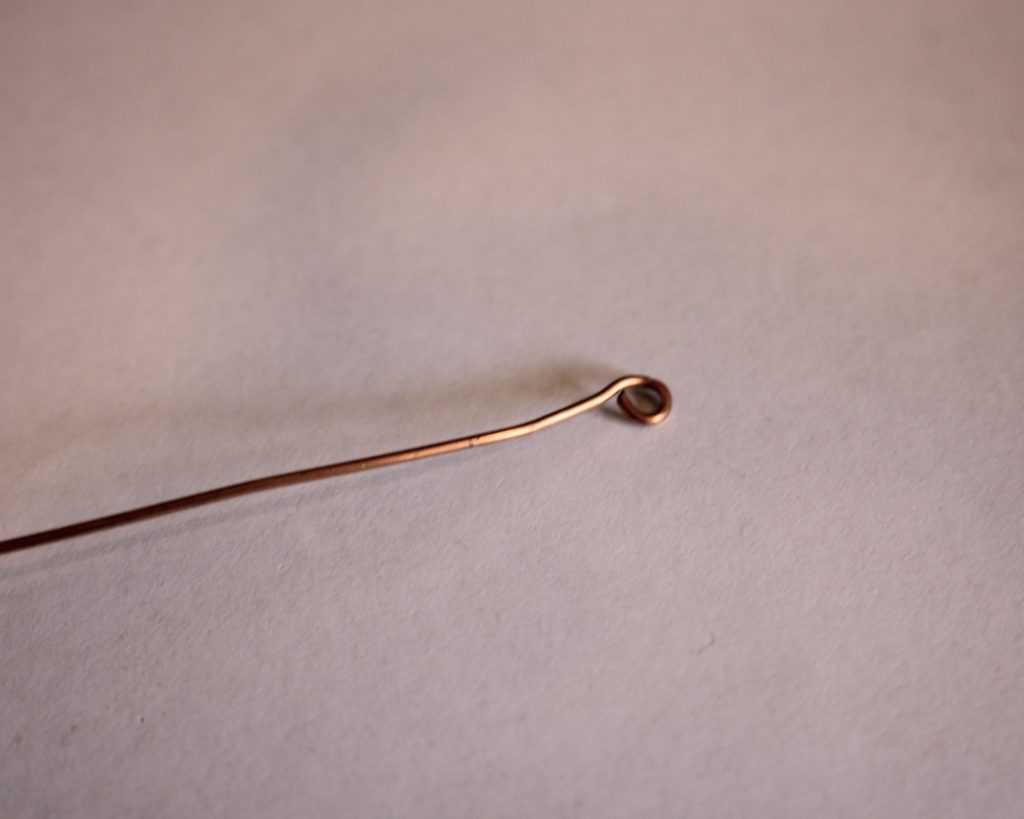
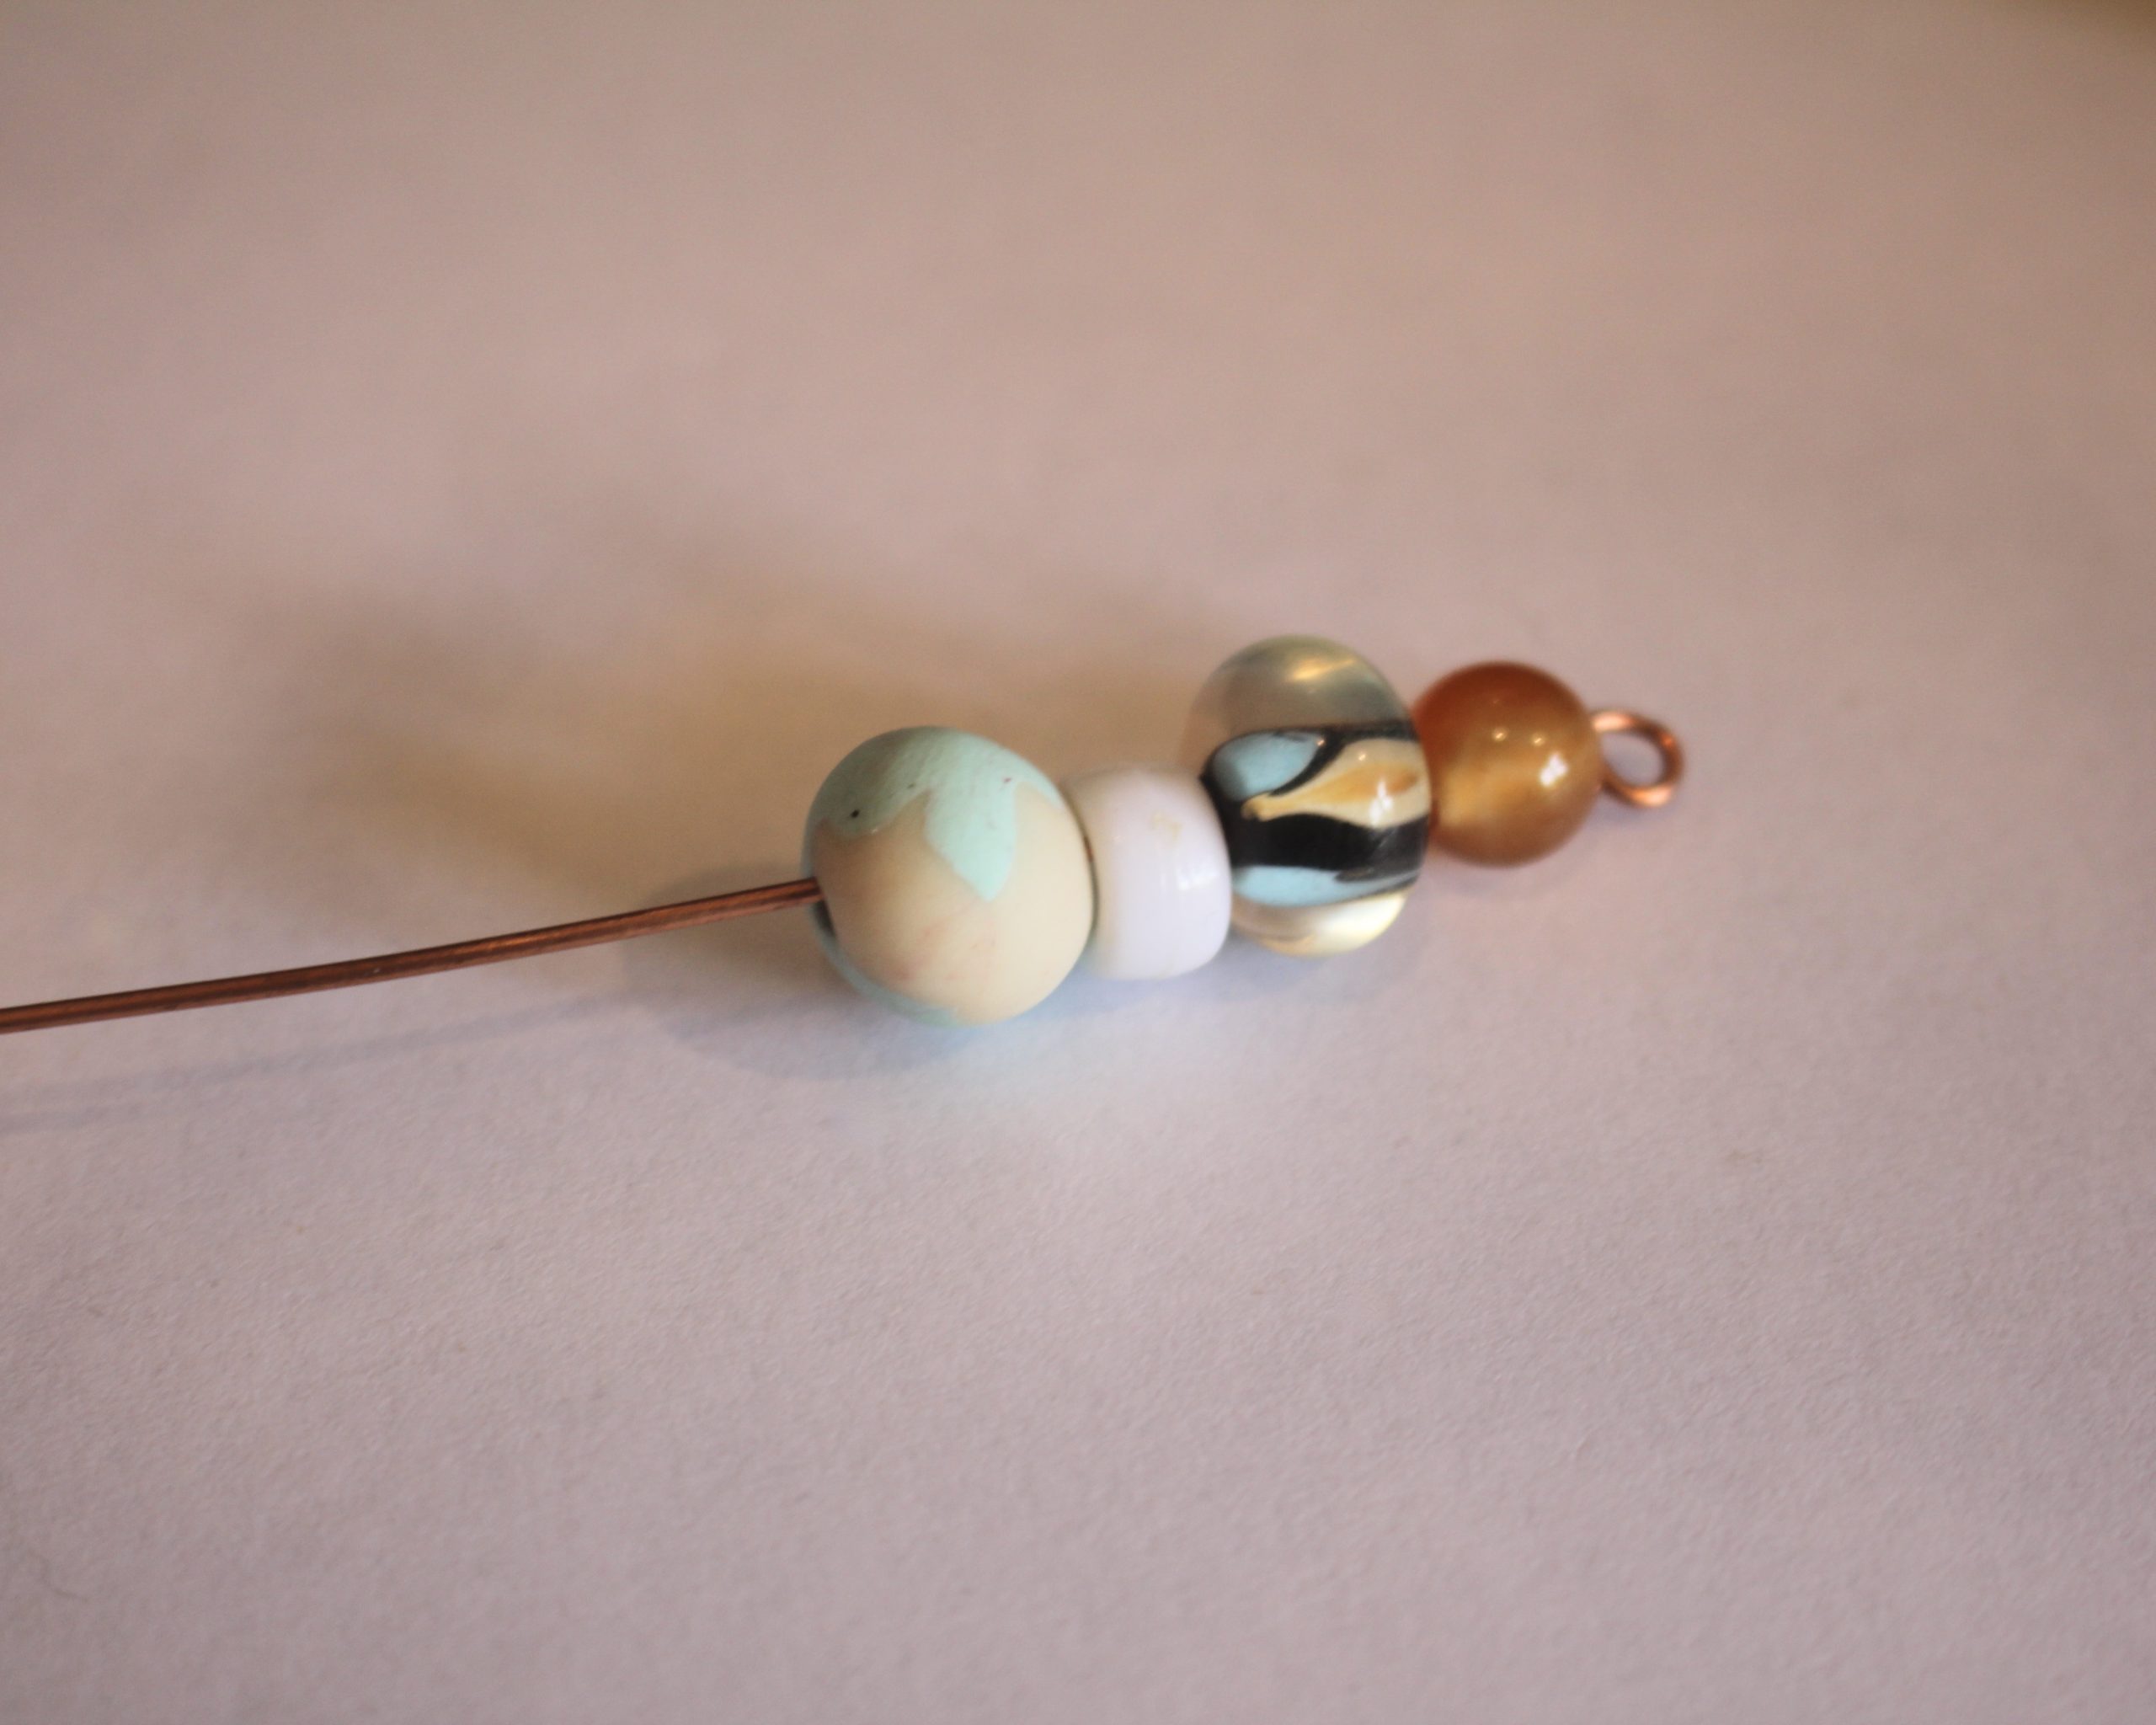
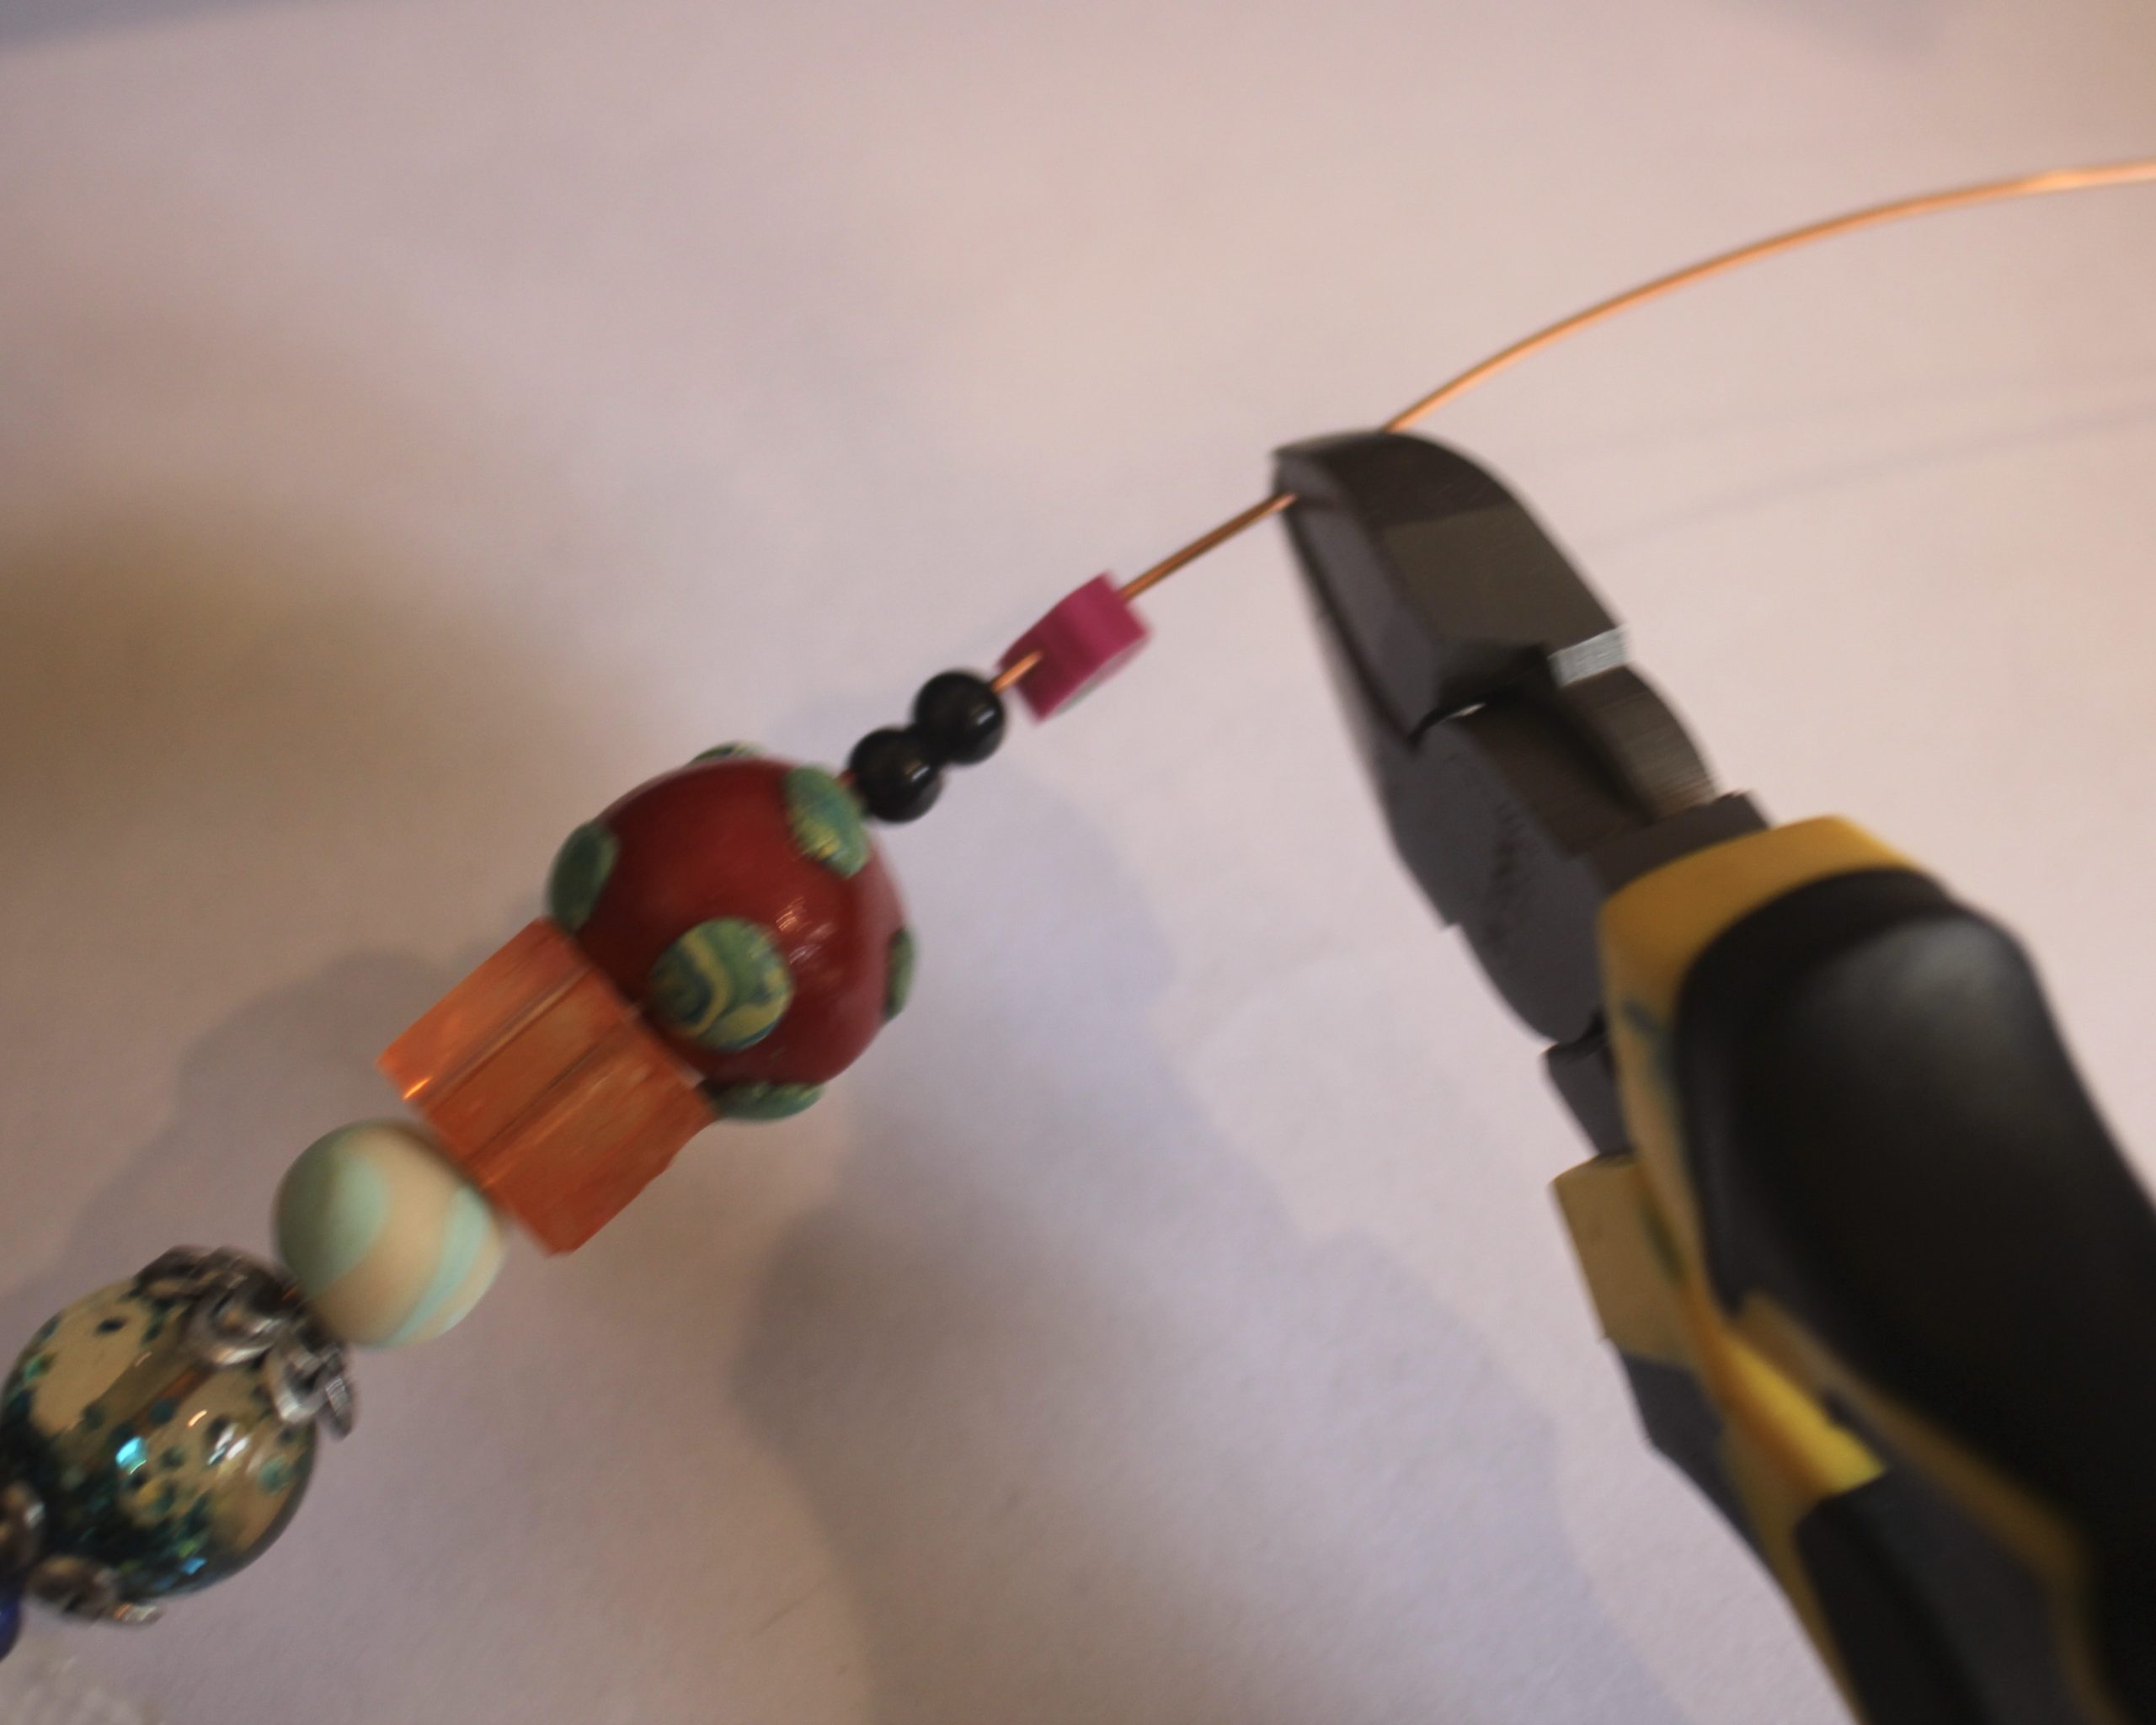
4: Begin adding beads until you have enough wire beaded to form a small loop. If you use bigger beads like I did, you will need to make a larger beaded length.
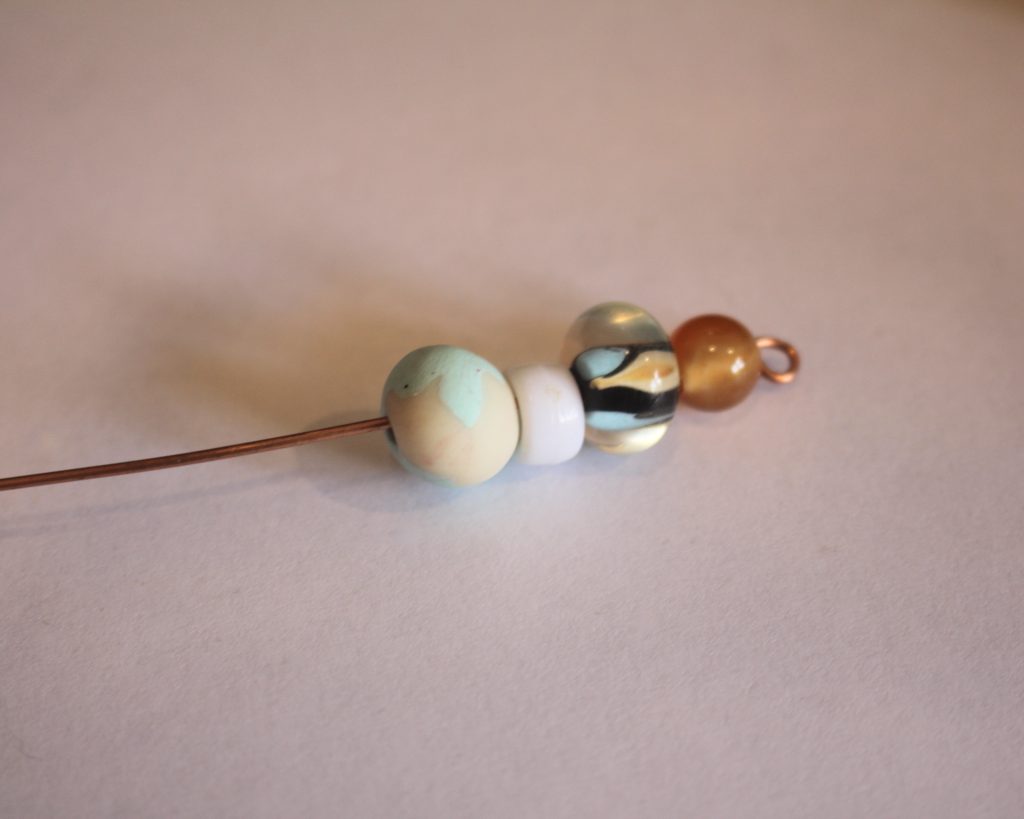
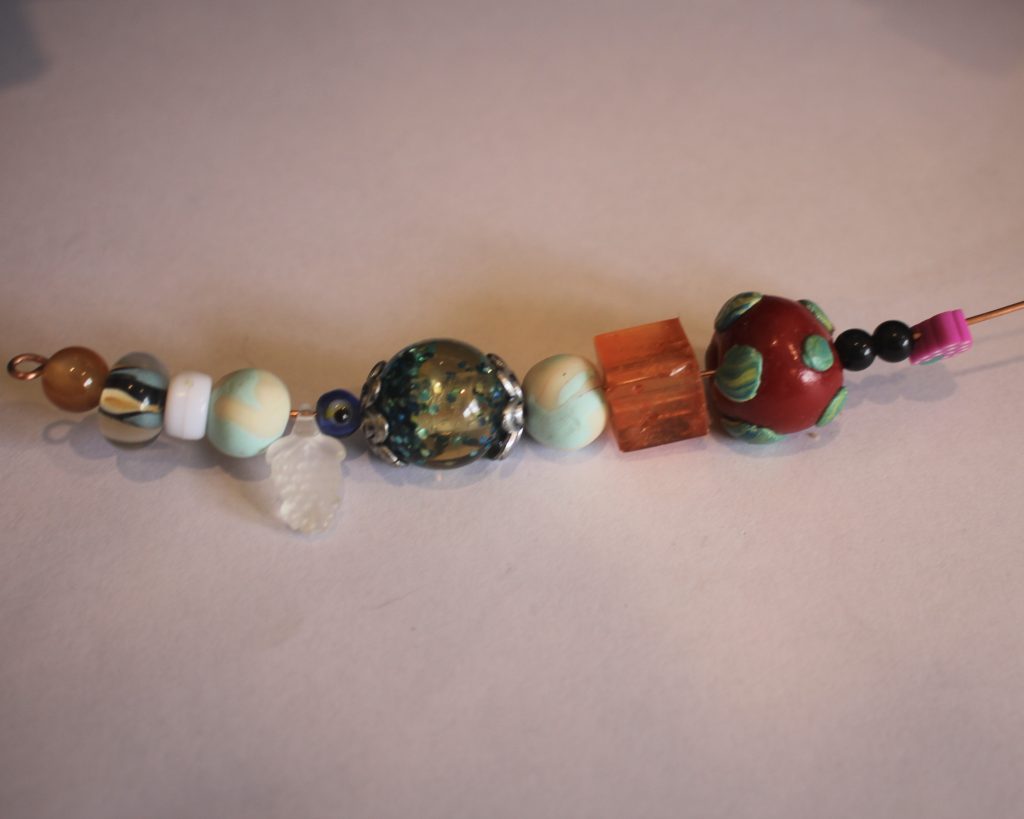
5: Trim the end of the wire using the cutting pliers.
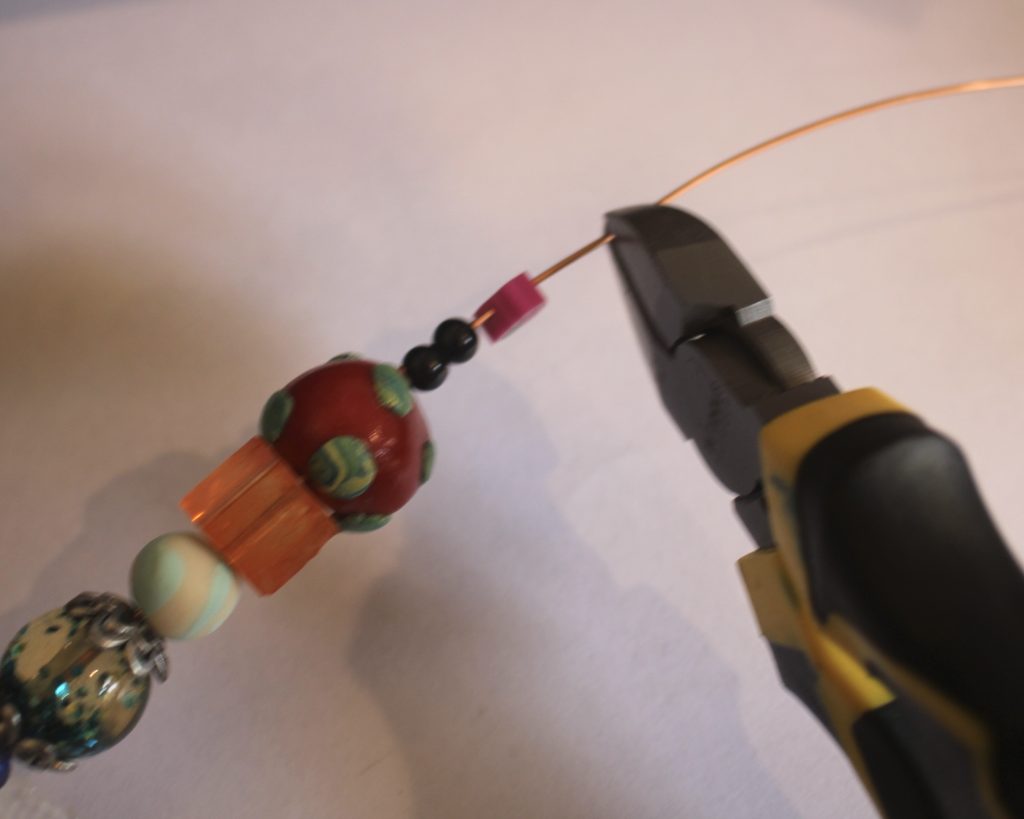
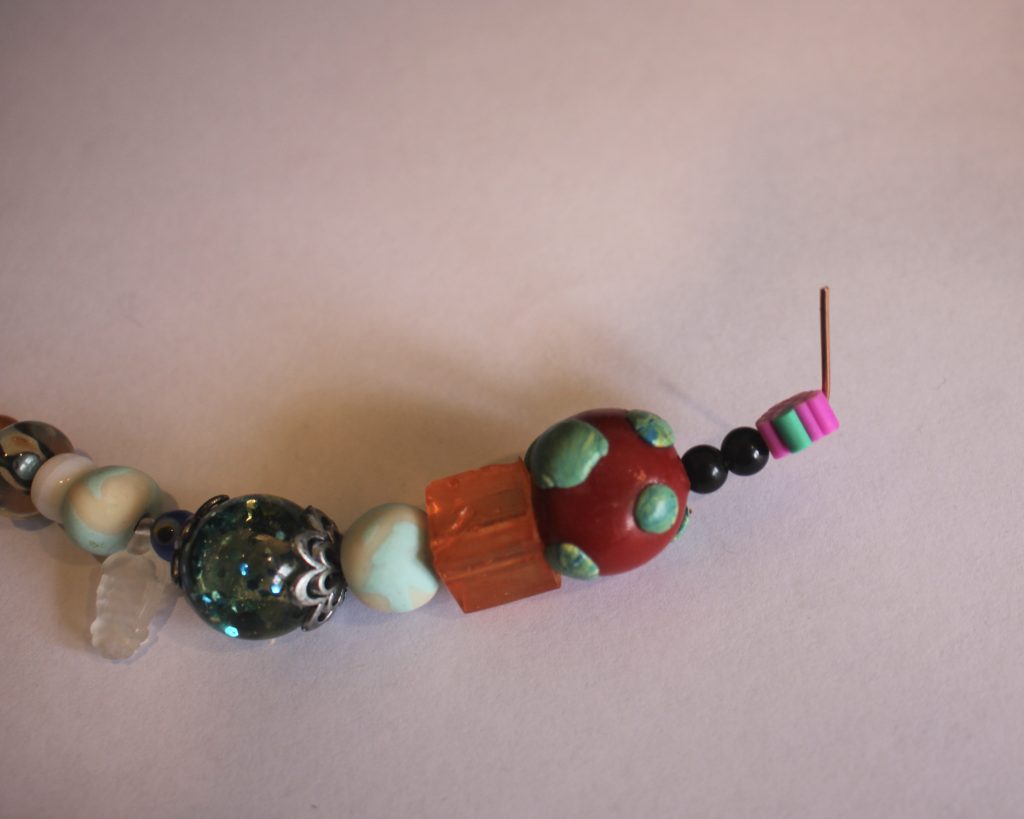
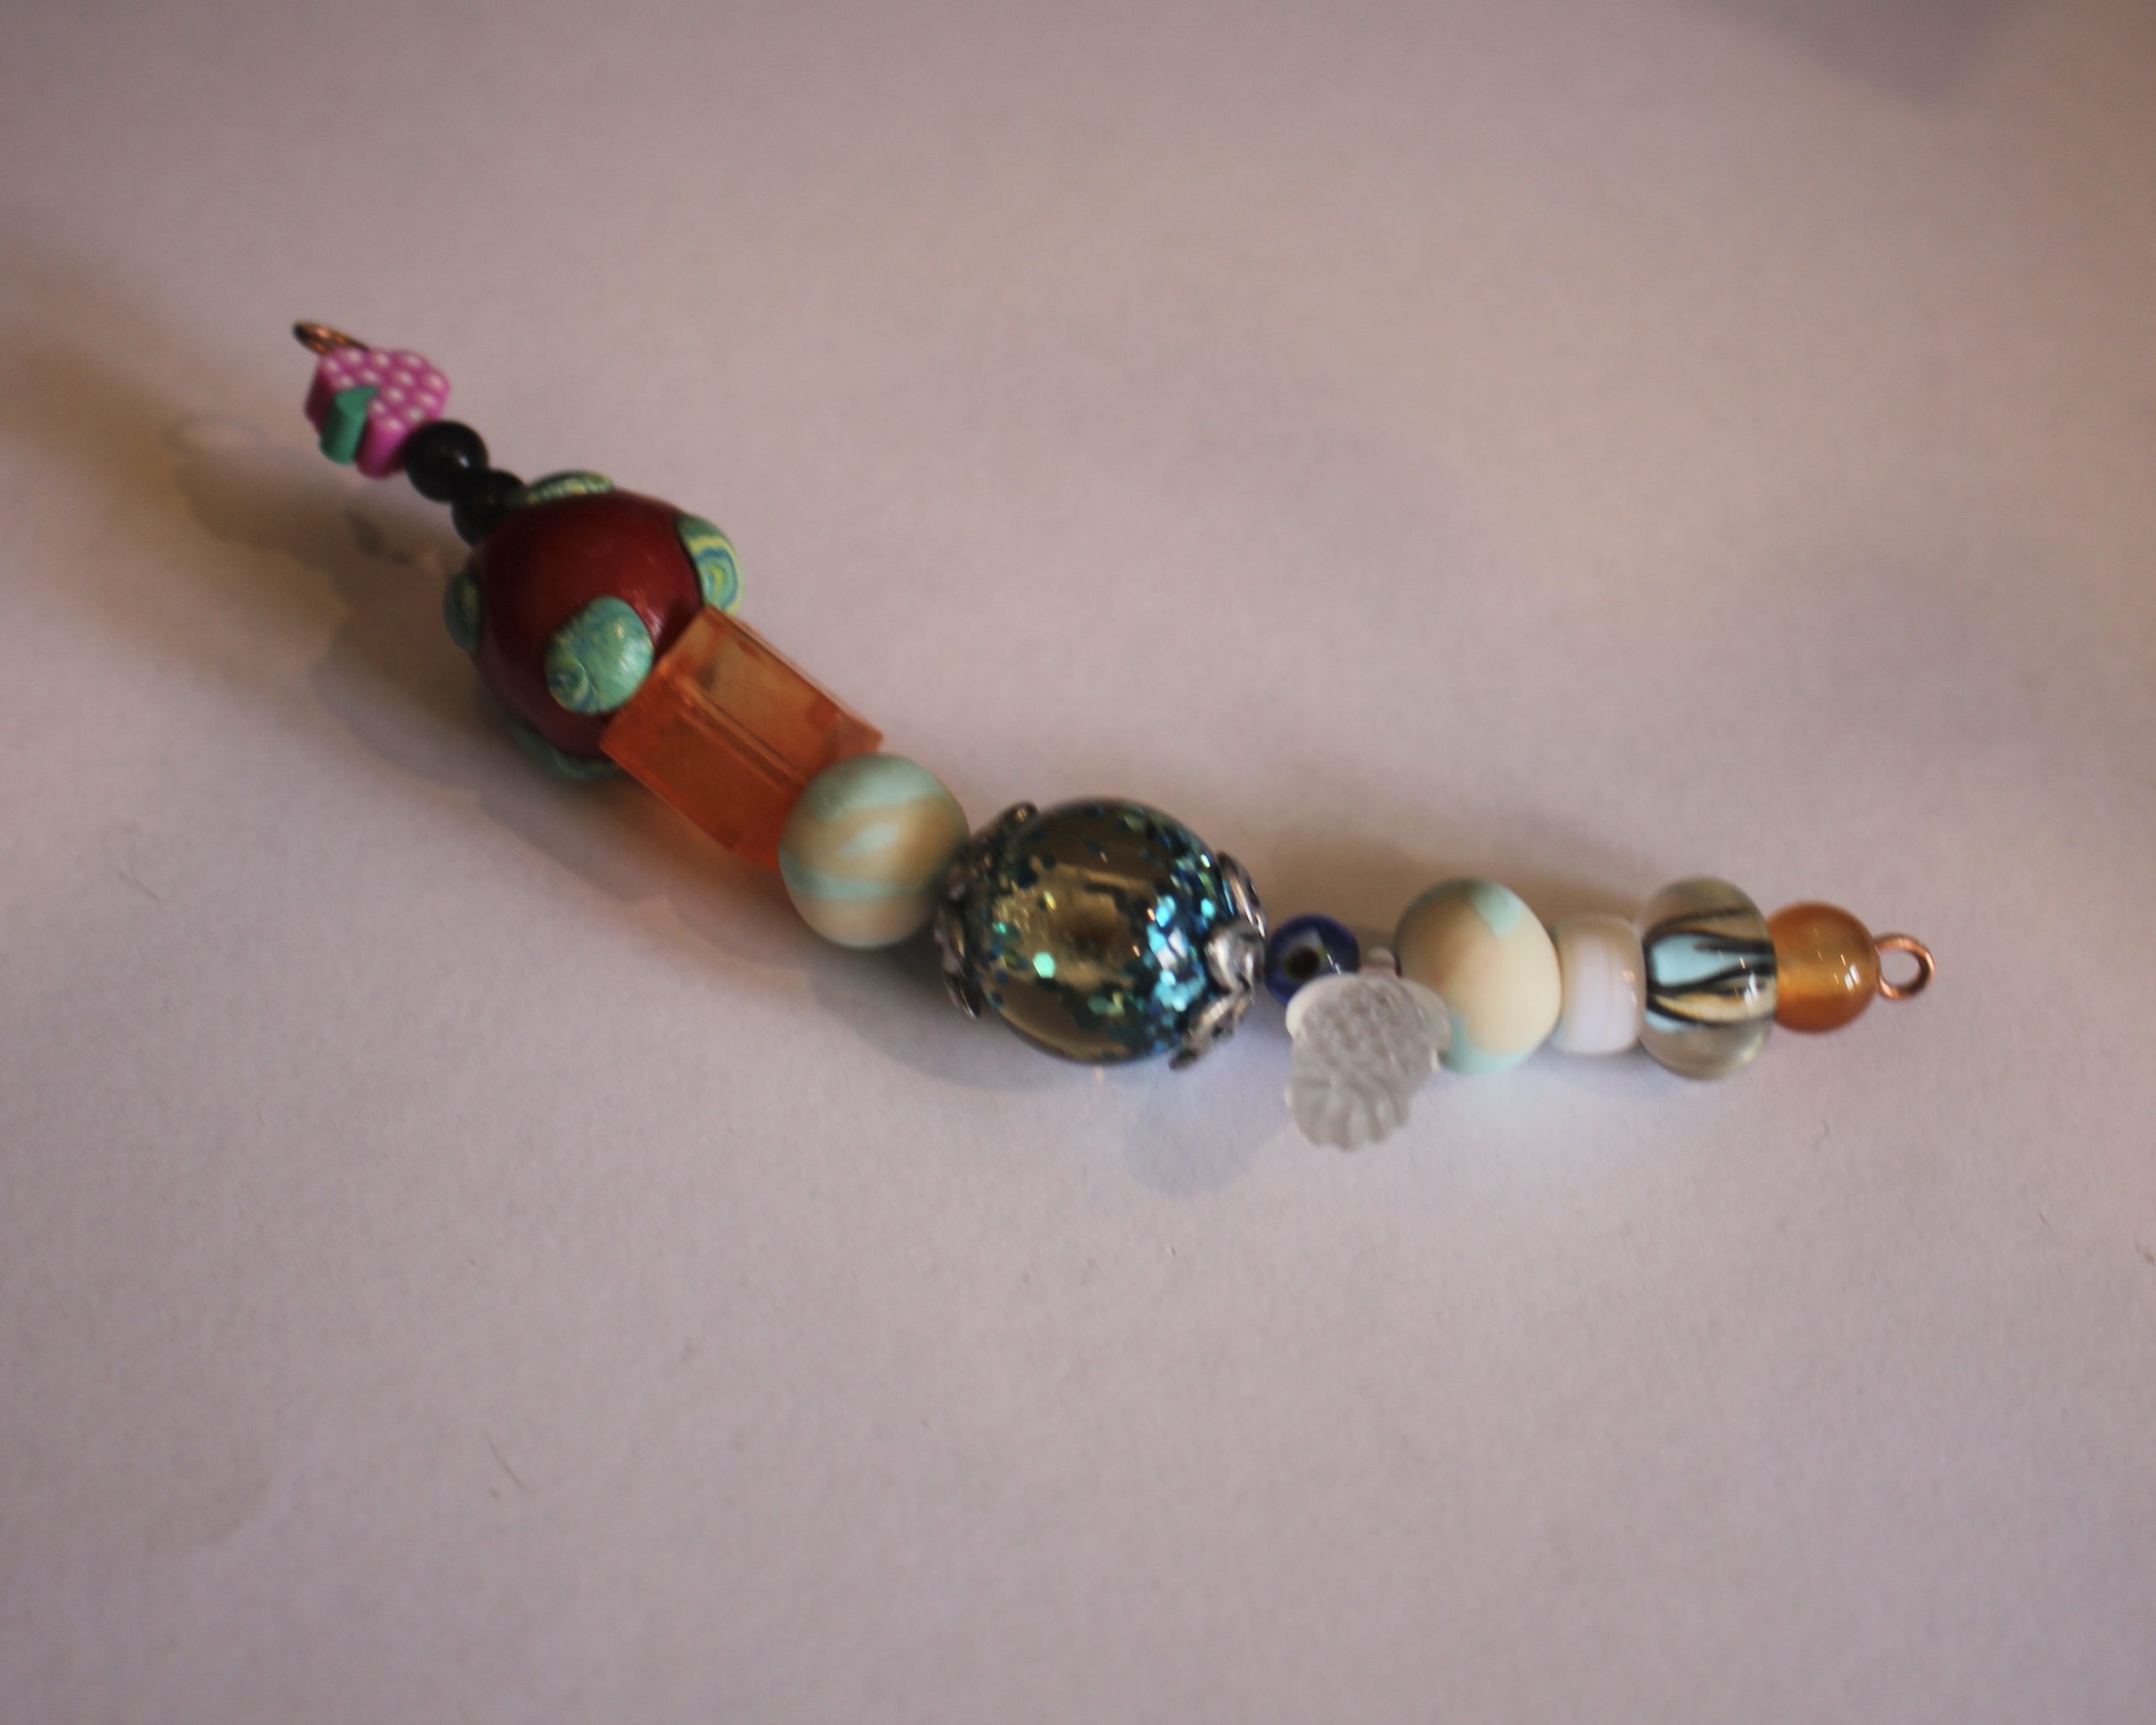
6: Loop the second end of the wire using the round flat pliers.
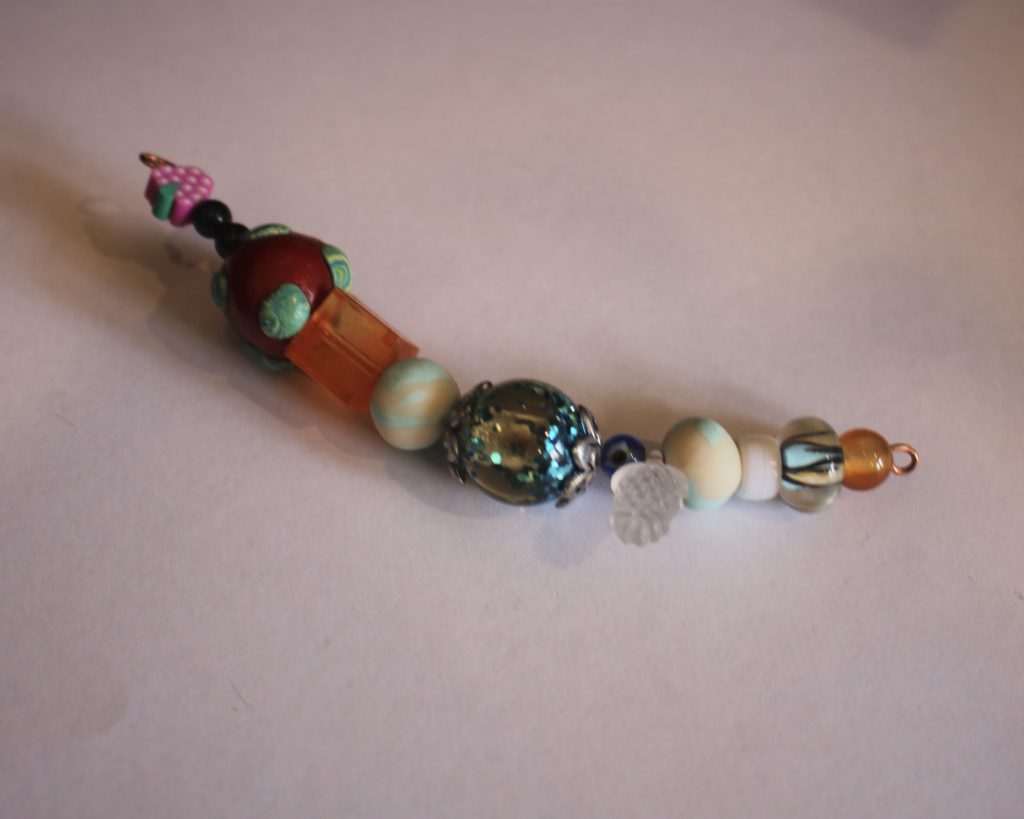
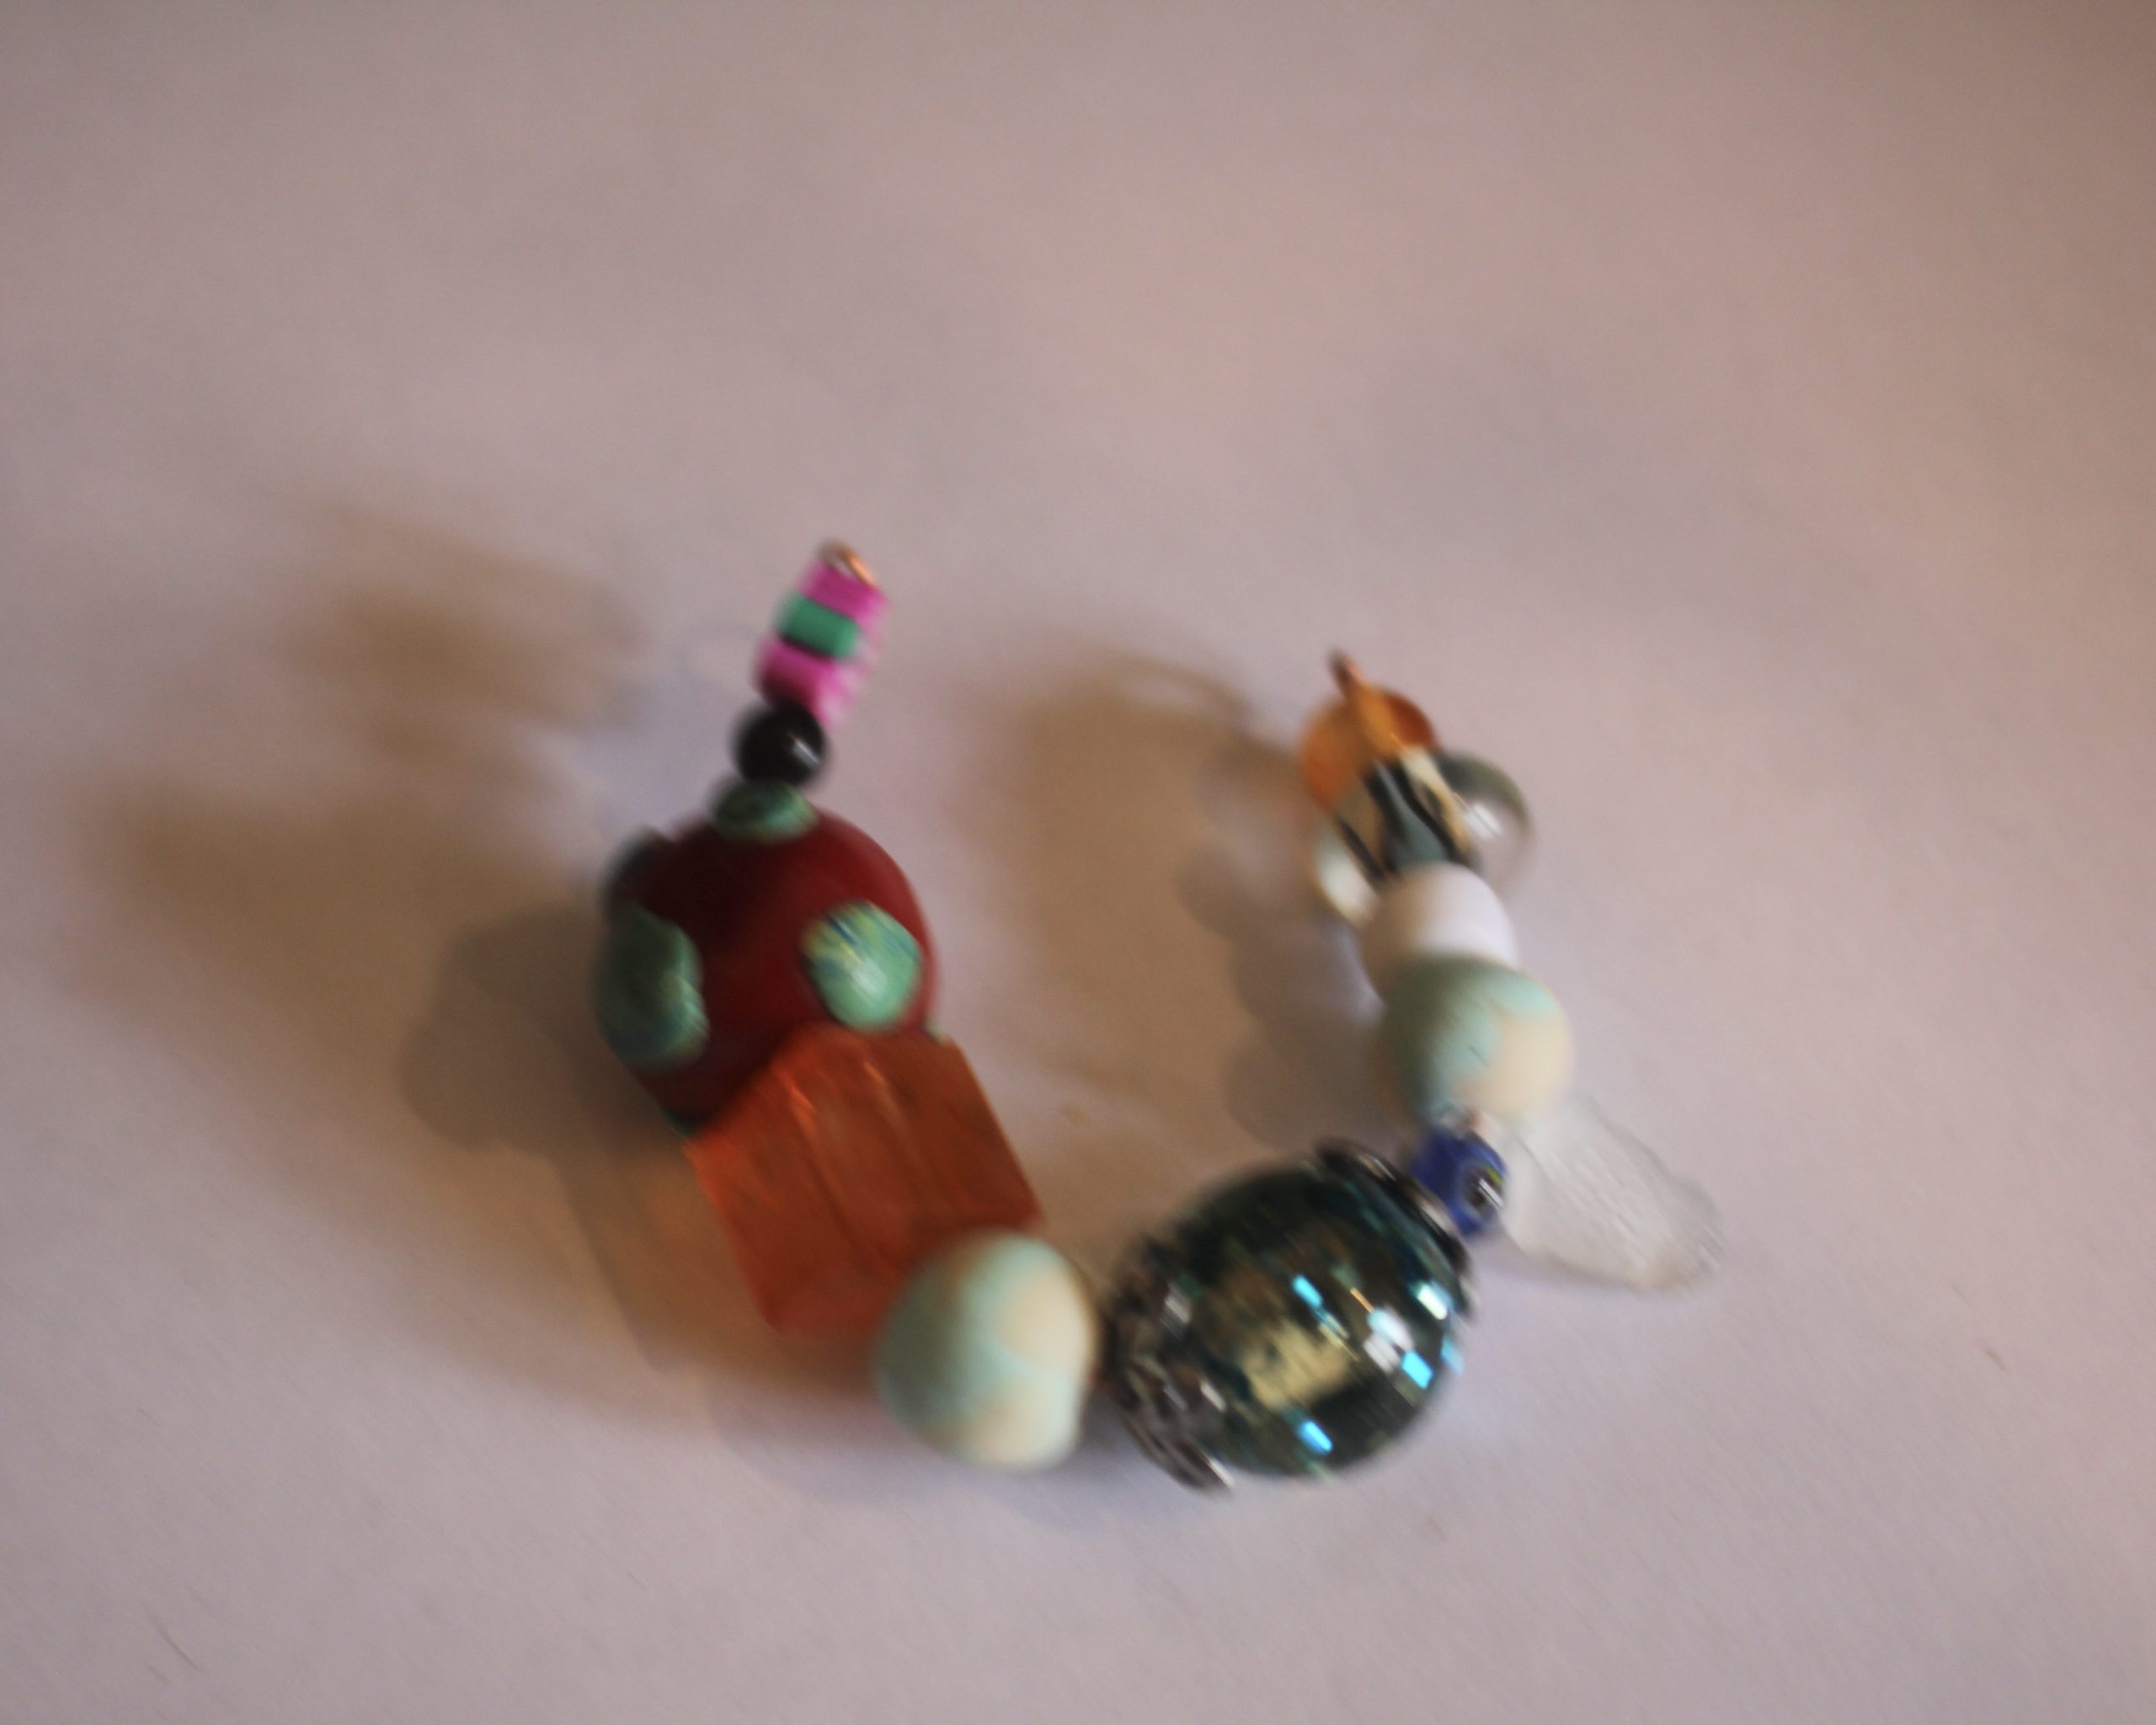
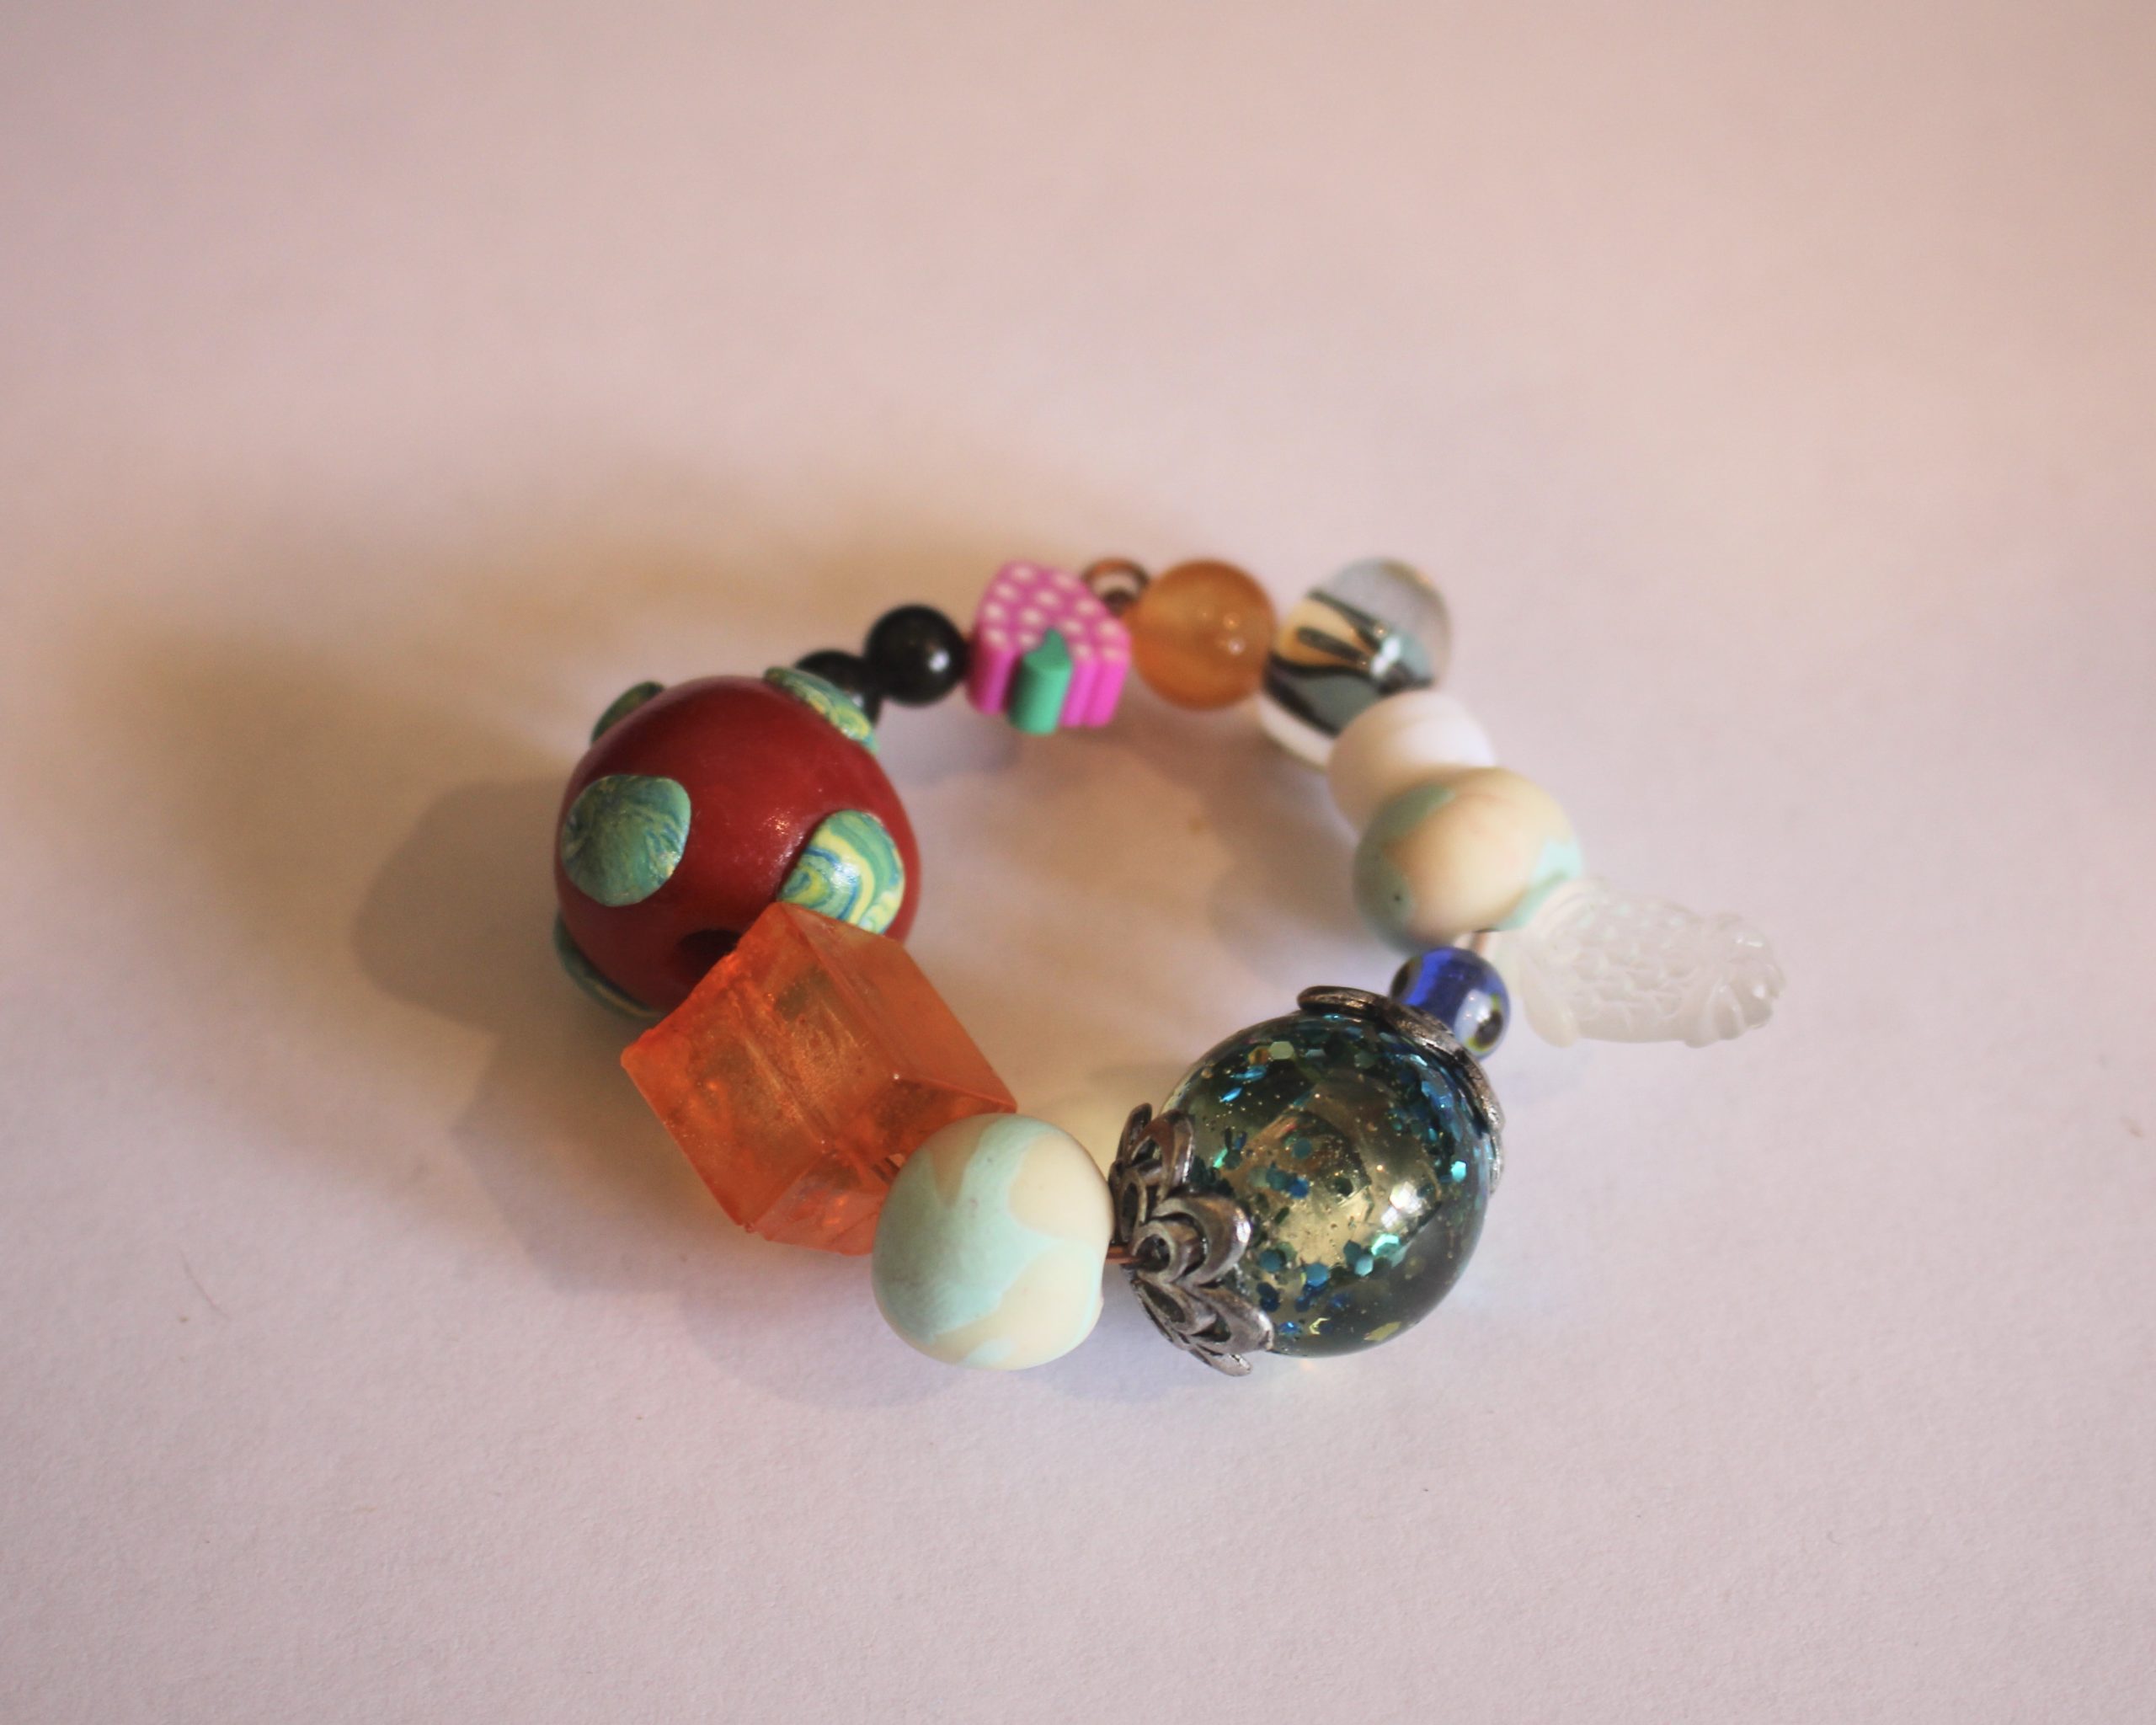
7: Connect the end loops together to form a circle shape of beads.
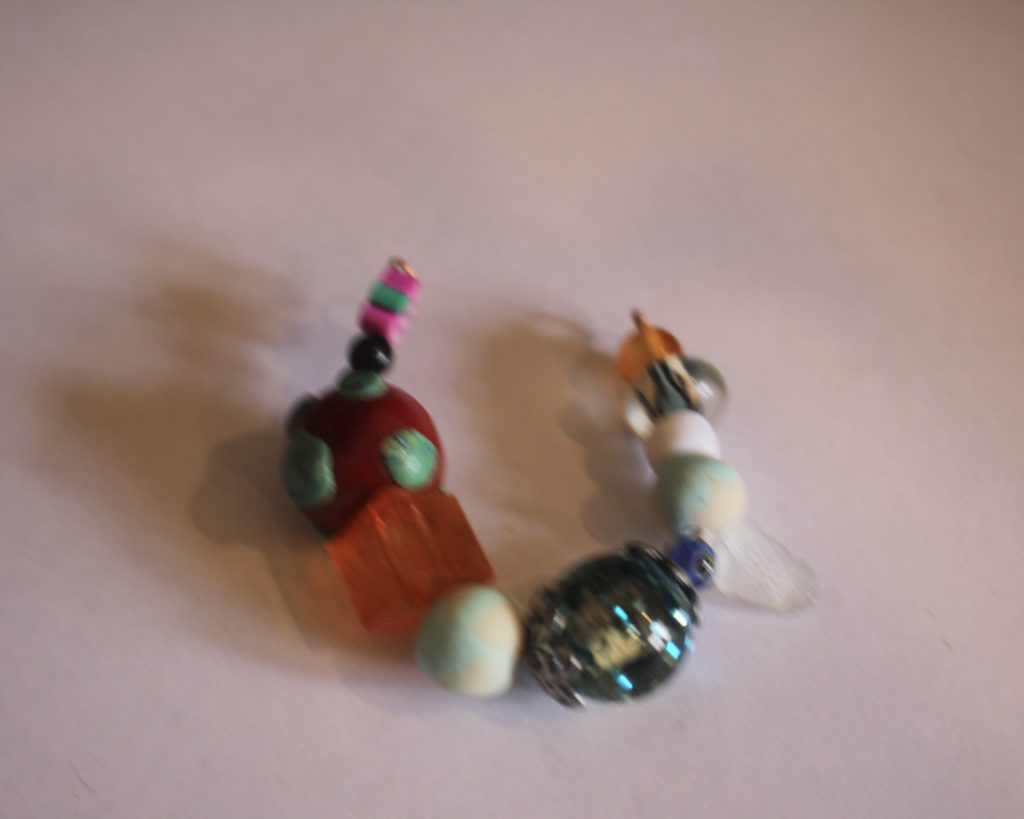
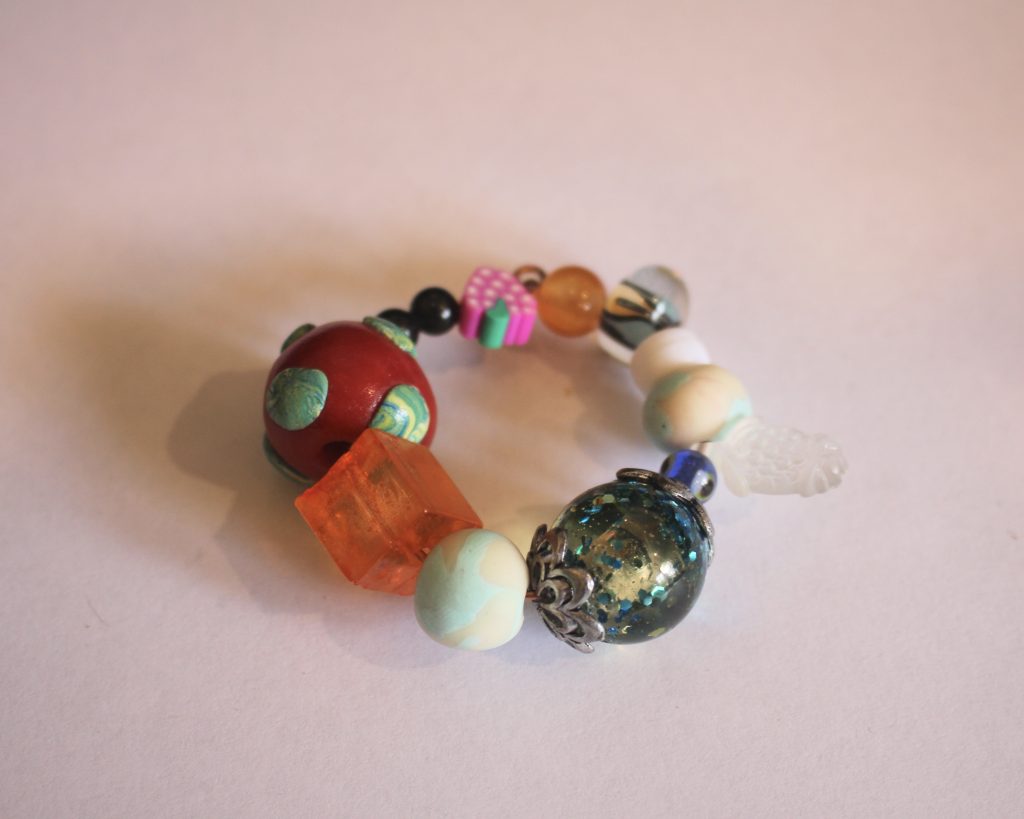
8: Attach the second jump ring to the top of the beaded loop and close it.
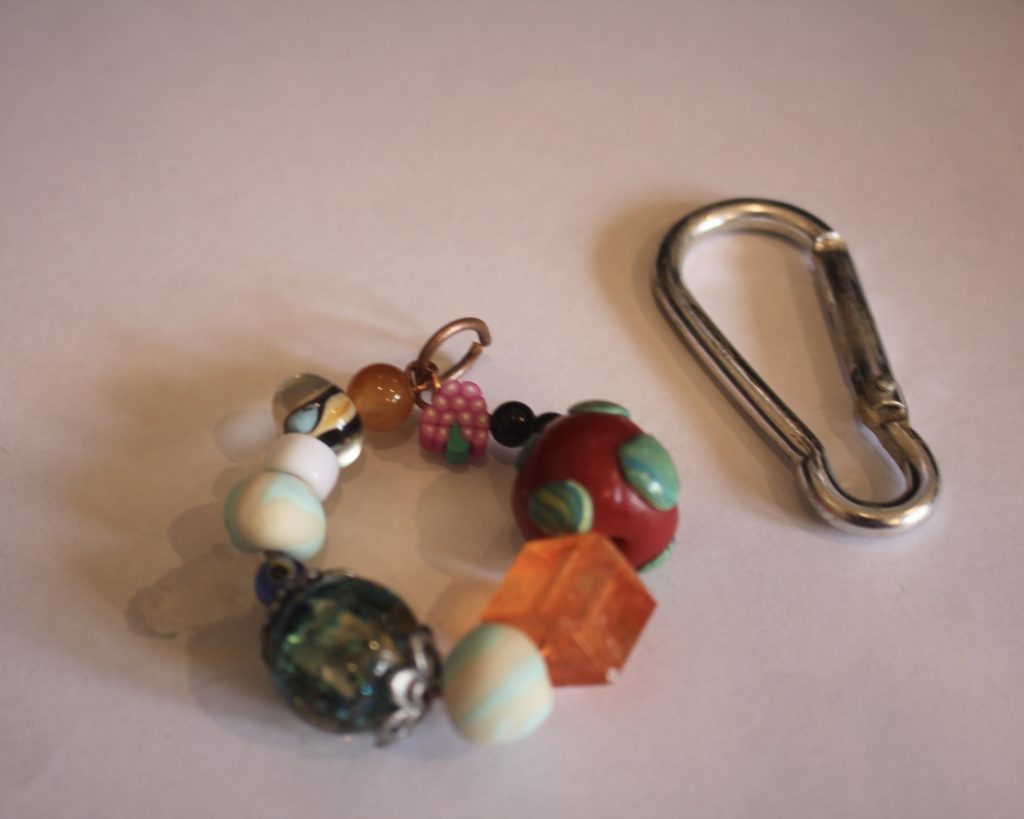
9: Slide the charms onto the carabiner to finish the bag charm off.
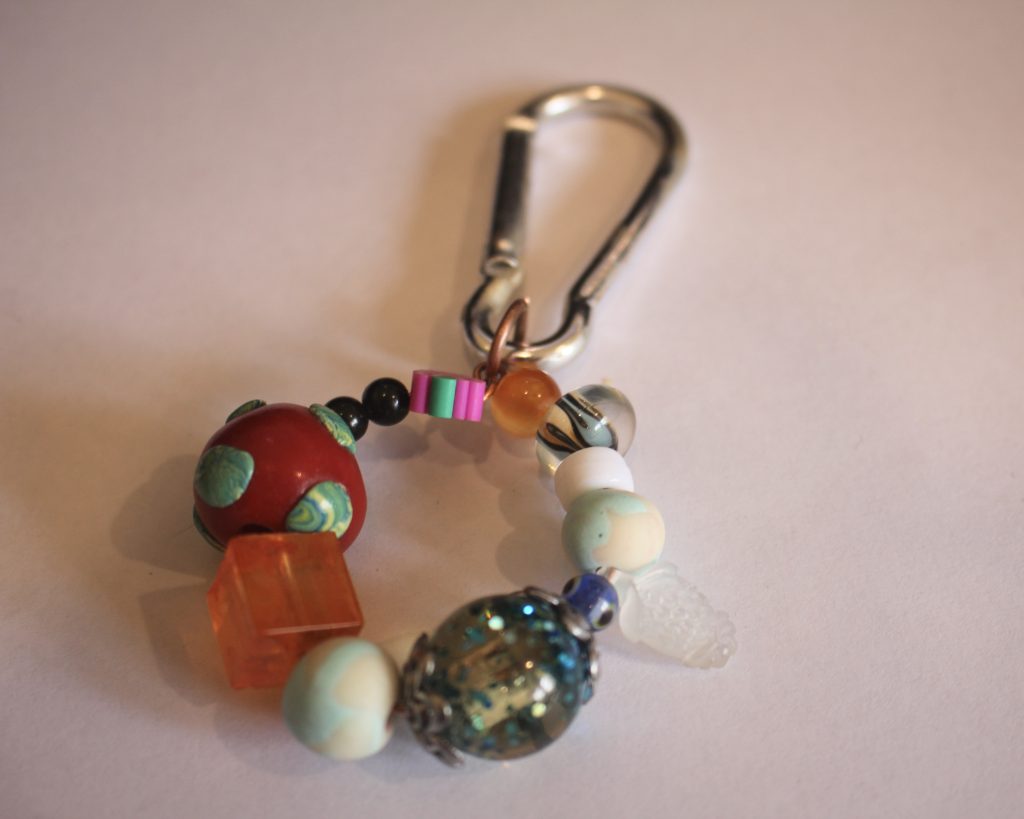
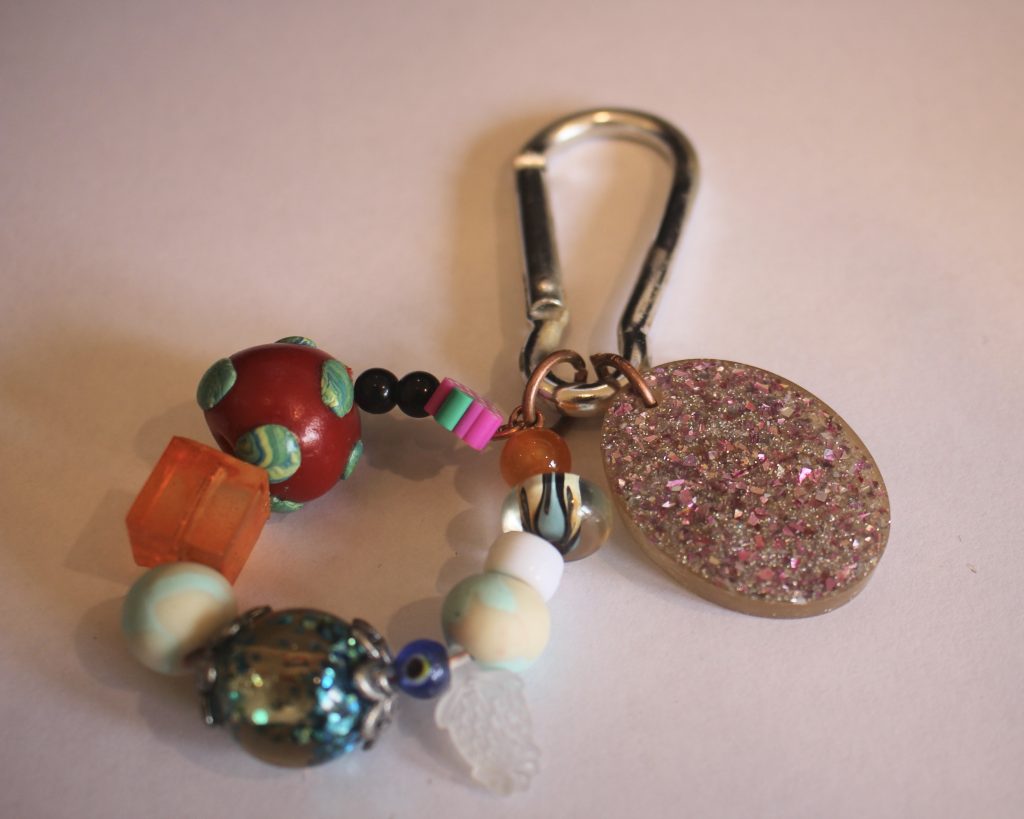
Now your bag charm is completed and ready to attach to your fave handbag!
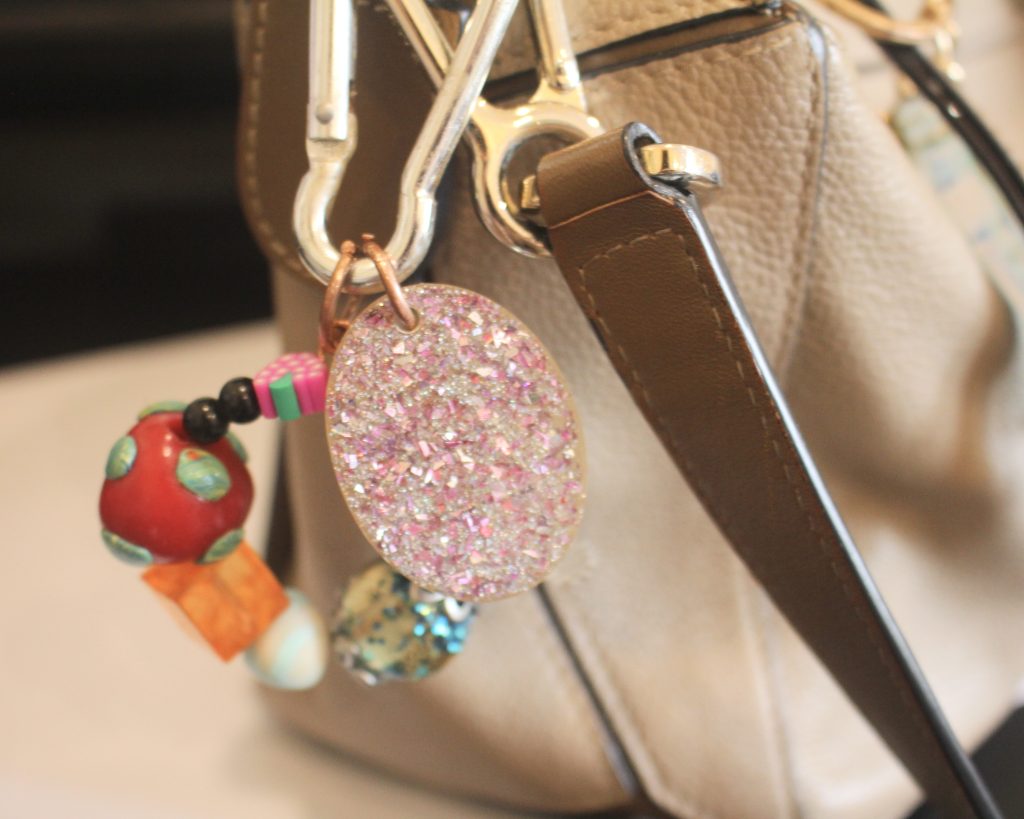
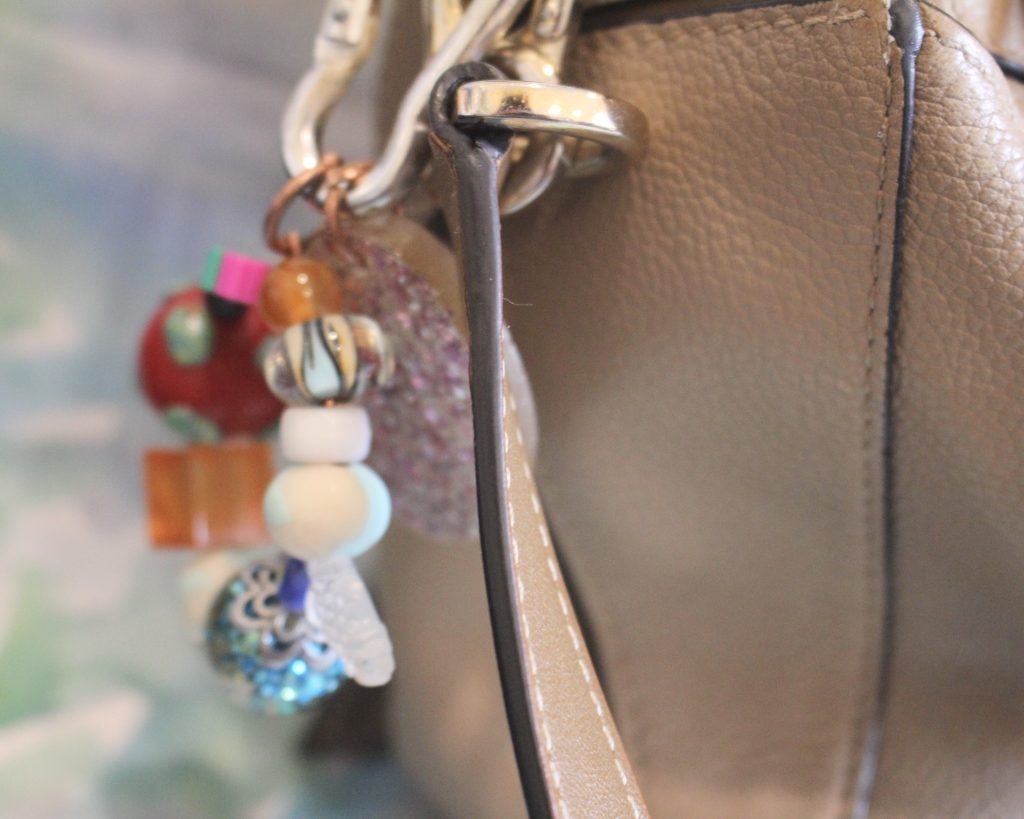
How will you style yours?
-
How to make a pair of triangle statement earrings!
Here’s how to make a cute pair of statement earrings, these are such a fun design that pack a bold punch with their size and colours. Please note that this tutorial contains affiliate links.
You’ll need these tools and materials to make these earrings:
1: Eight pieces of wire all the same length. I used 0.8mm copper wire.

Here’s a pre-made eye pin option if you don’t feel like making them yourself: https://tidd.ly/3WCad6D
2: Four statement beads. I used these polymer clay beads I made. Here’s a polymer clay bead tutorial for you.

3: Some accent beads. I used these timber beads.

4: A pair of earring hooks. If you don’t have any, you can find tutorials that show you how to make your own here, here and here.

5: Some flat nose pliers and round nose pliers. You will also need your cutting pliers if you are not using pre-made eye pins.

Follow these steps to make your amazing triangle statement earrings:
1: Bend the end of each wire to form a right angle using the flat nose pliers.


2: Loop the end of each wire using round nose pliers.

3: Add beads to two of the wires, these will form the bottom of your triangles. I added some statement beads to each of these wires.

4: Bend the ends of the beaded wires to form another right angle.


5: Loop the end of the wire using the round nose pliers. This will secure the beads in place.
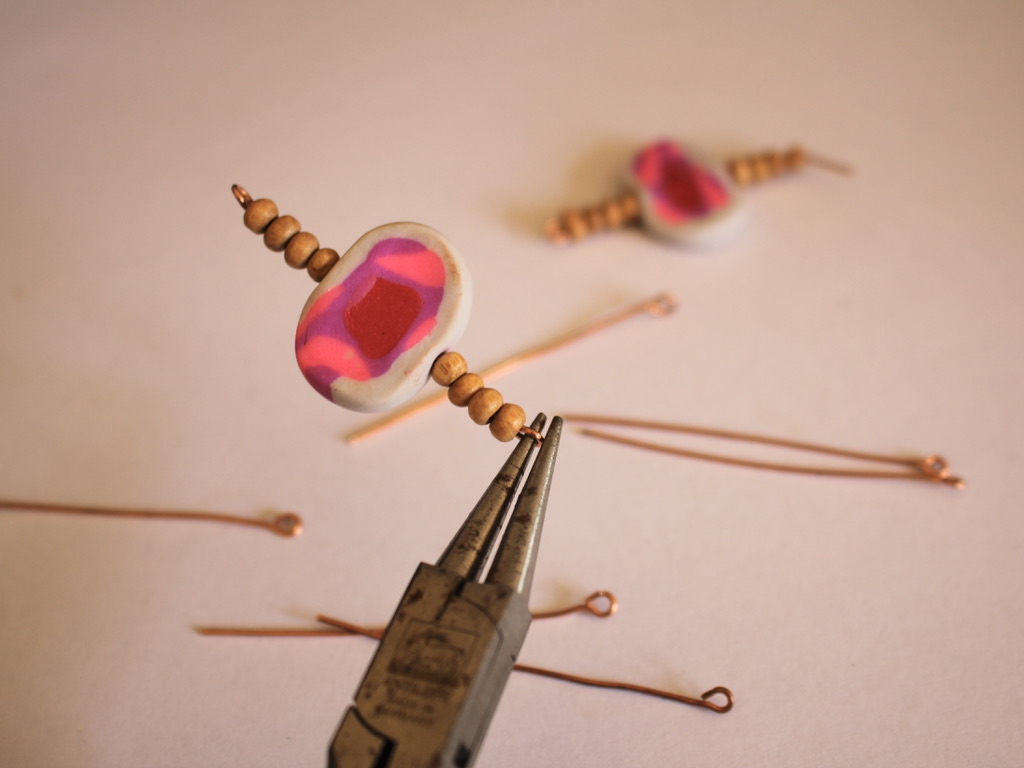

6: Repeat steps 3-5 for two more of the pins, these will be used to attach the triangles to the earring hooks.

7: Add your accent beads to the four remaining wires to create four solid beaded pins, secure the beads in place as you did in steps 4 and 5.

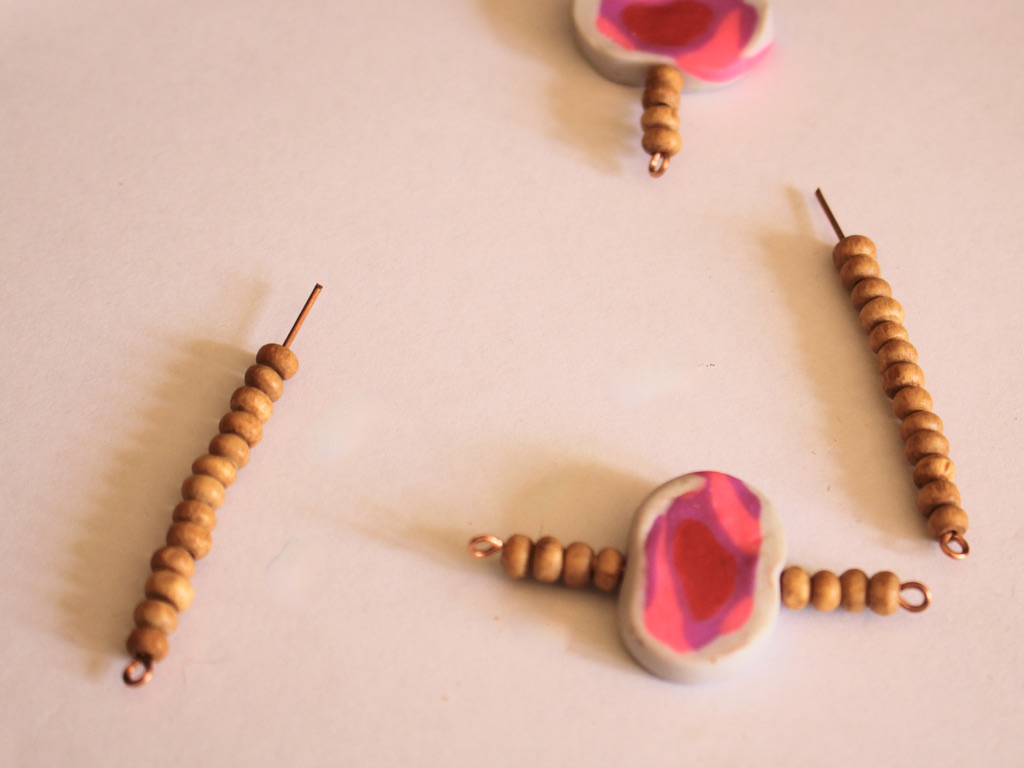


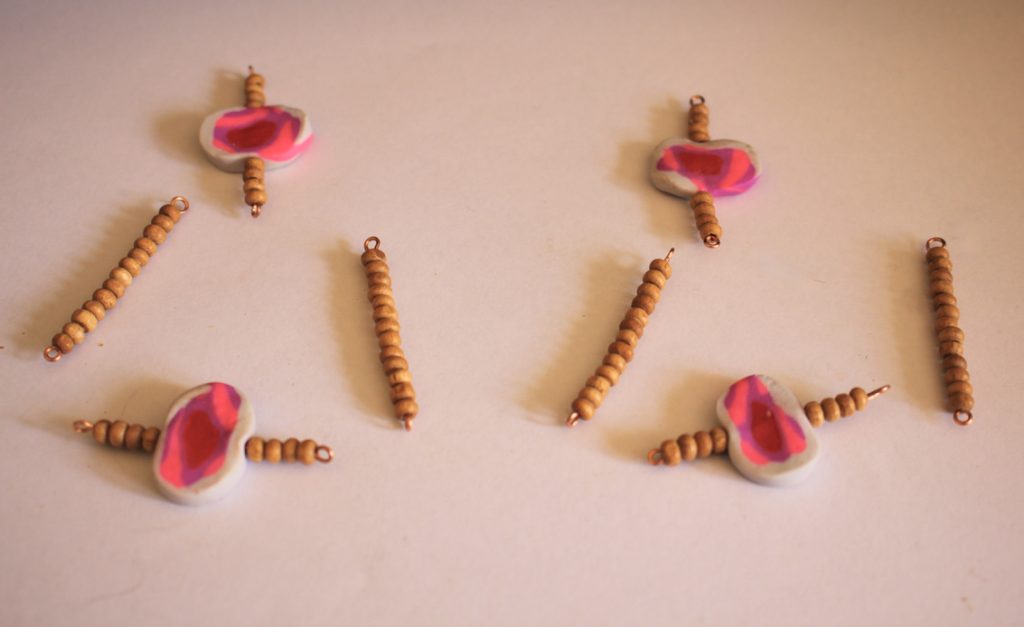
8: Now it is time to start assembling your earrings, Add one of the solid beaded wires to one of the accent beaded wires.
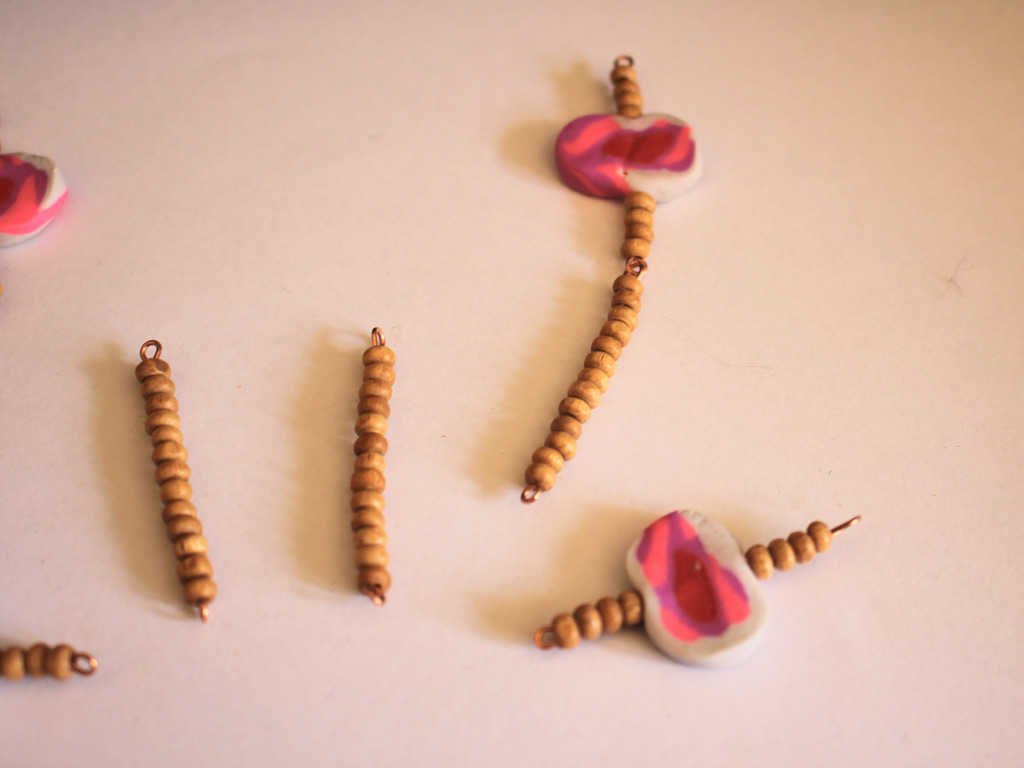
9: Add a second solid beaded wire to the first accent beaded wire, so you have one statement beaded wire with two solid beaded wires attached.
10: Add a second statement beaded wire to the earring, attaching each end to each of the solid beaded wires to form a triangle shape.


11: Repeat steps 8 to 10 for the second earring.

12: Attach each of the earring hooks to the triangle forms. Once both earring hooks are attached your earrings are finished and ready to wear out! How will you style yours?


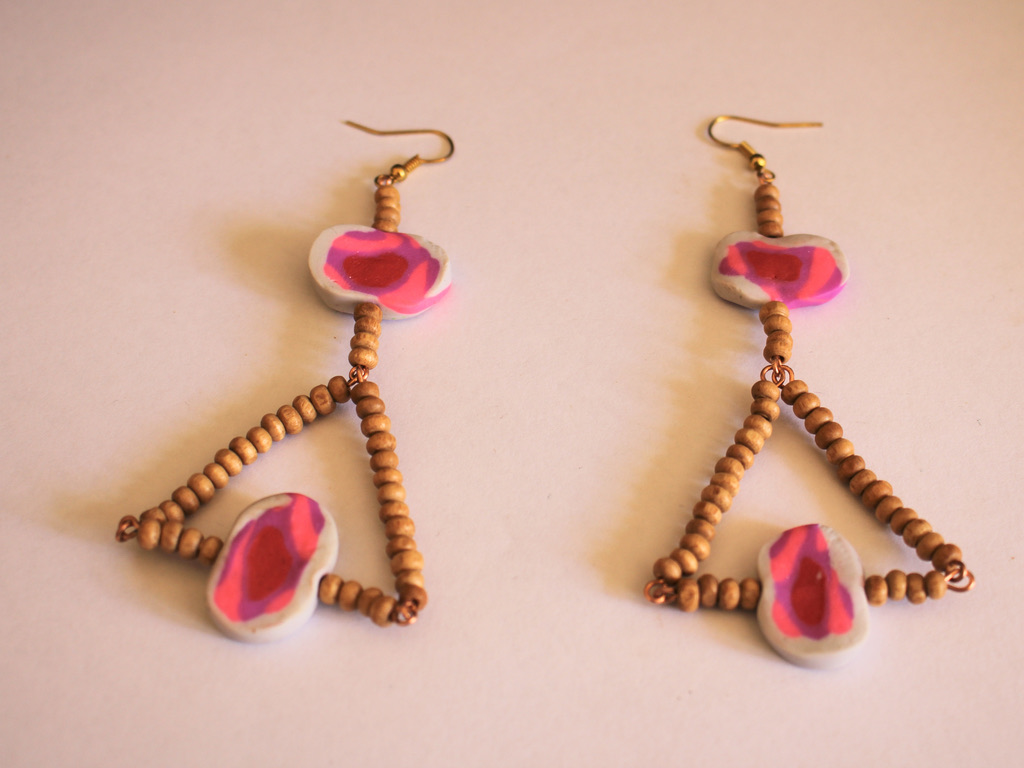
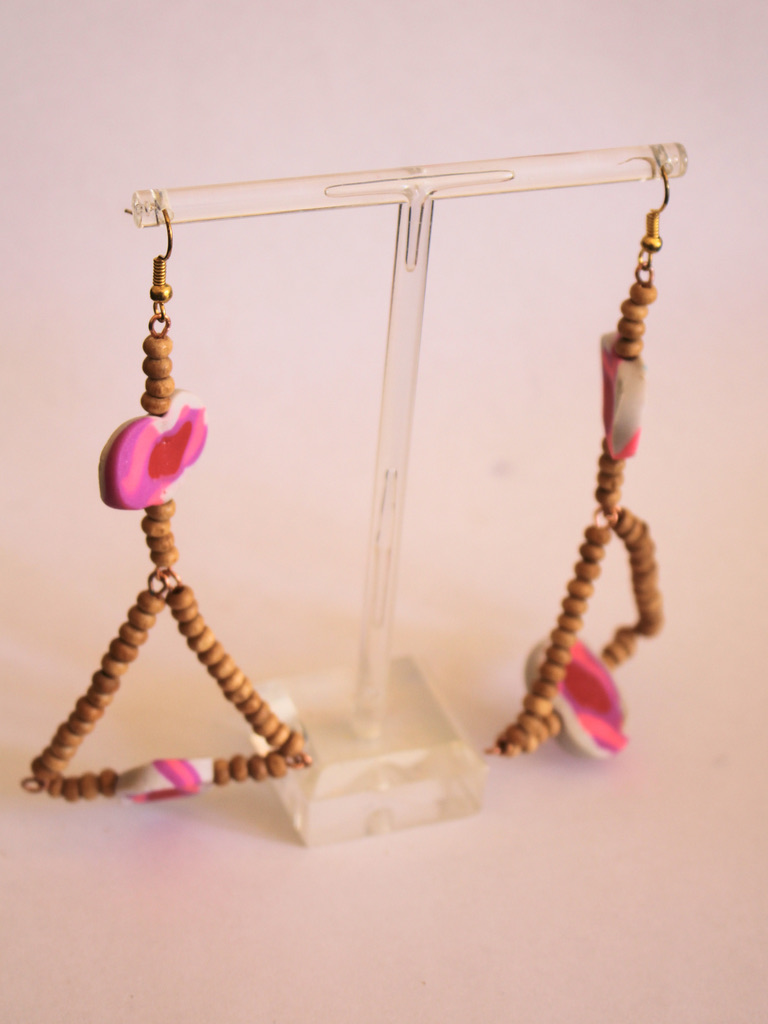
Here are the finished earrings!

-
Here’s how to make some statement beaded earrings. These babies are special!
Do you love statement earrings? These statement earrings feature some gorgeous beads and some clever wire work to make a cute pair of bold earrings to wear on your next outing. Please note that this tutorial contains affiliate links.
You’ll need these tools and materials to make these earrings:
1: Two pieces of tiger tail wire about 20cm long.

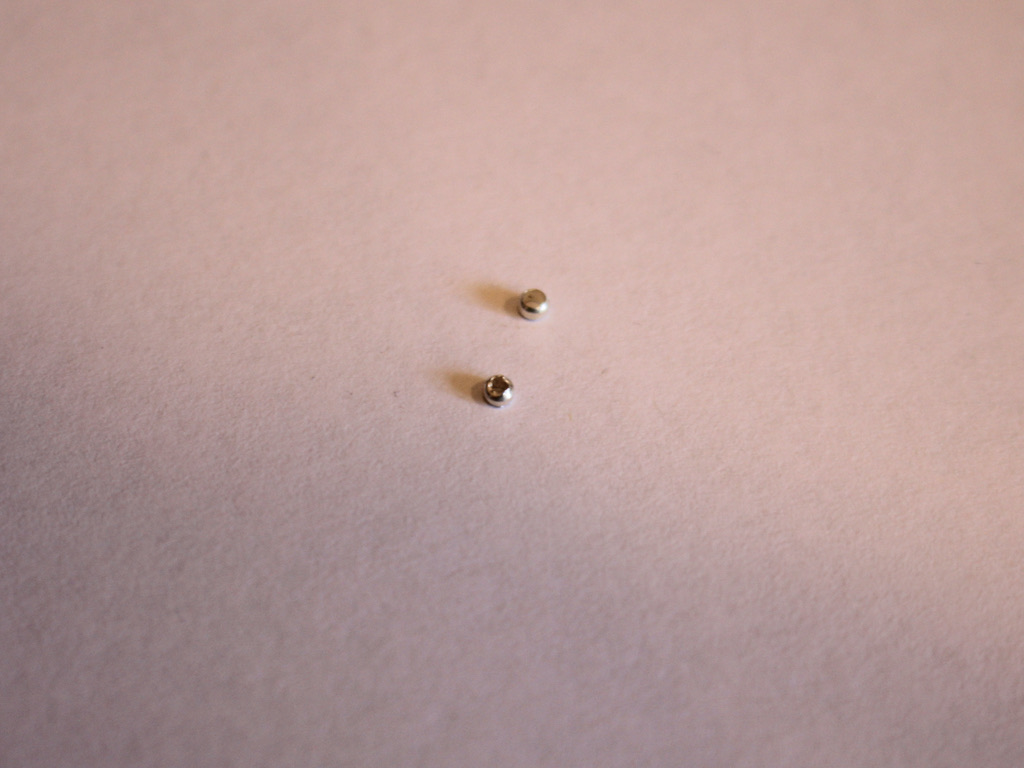
2: Two crimp beads.
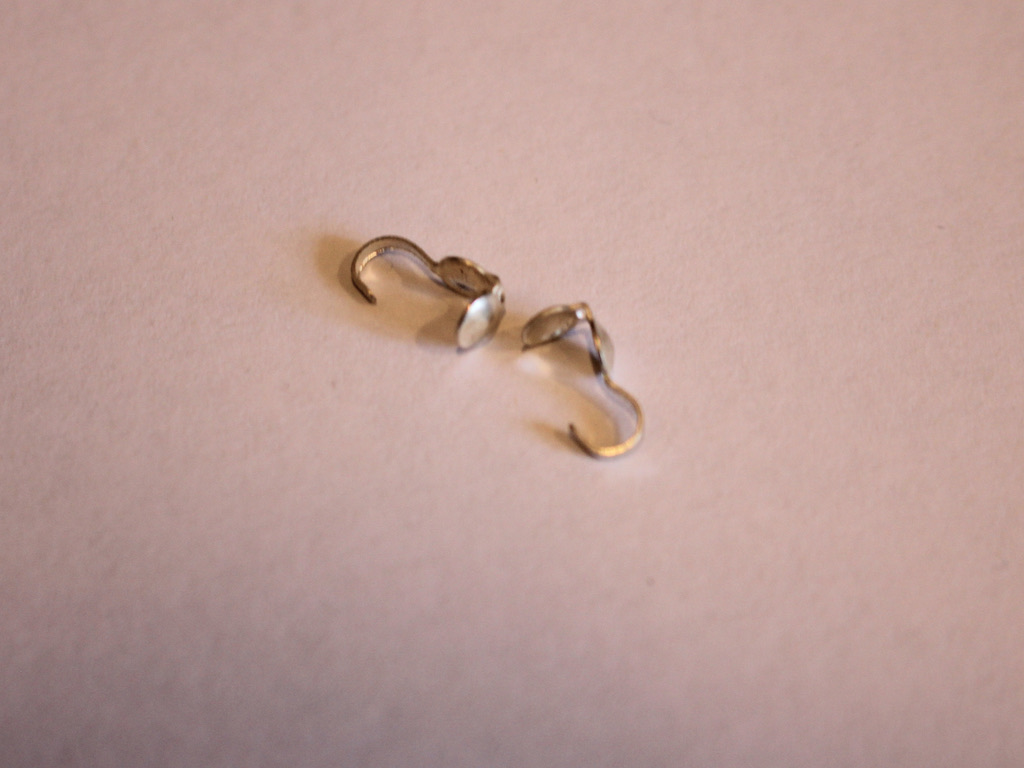
3: Two crimp cover ends.
4: A pair of earring hooks.

5: Pliers. I used my flat nose, cutting and round nose pliers.

6: Beads. I used some resin cube beads, some handmade polymer clay beads (tutorial for these here), and some timber beads.


Follow these steps to make your statement earrings:
1: Add one of the cube beads to the middle of the wire.
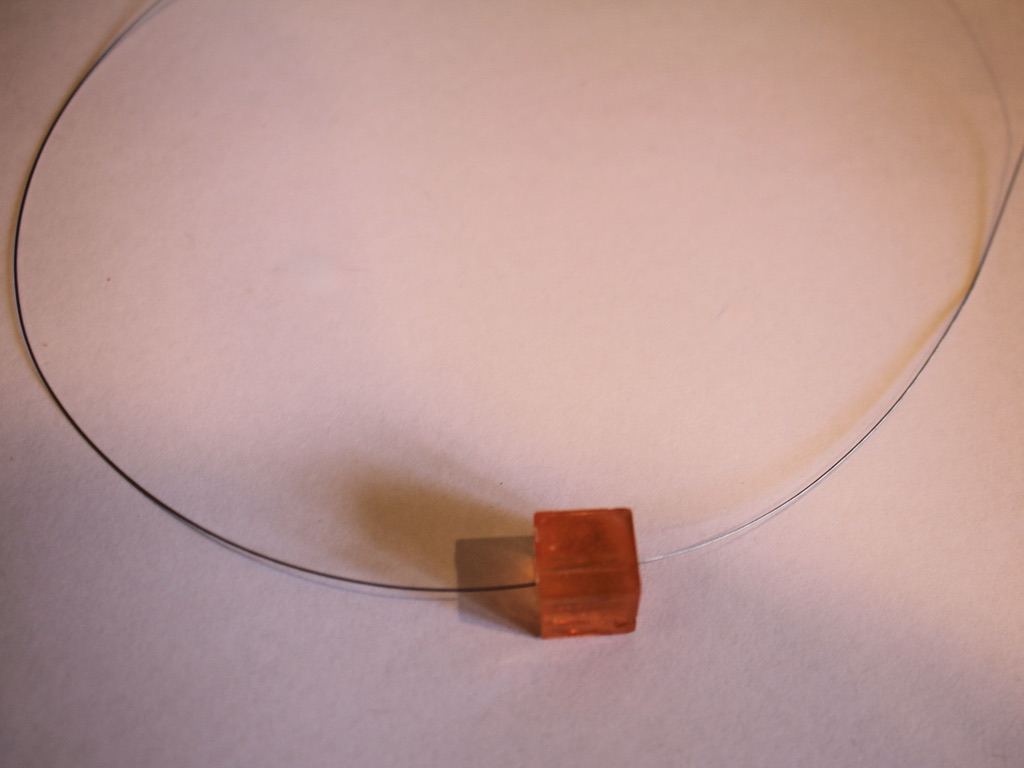
2: Add the smaller timber beads either side of the cube bead, I added 10 to each side, but you can add more or less depending on the size of the beads you are using. You’ll want to get a circle about 2.5cm in diameter.

3: Add one of the polymer clay beads to one side of the wire.
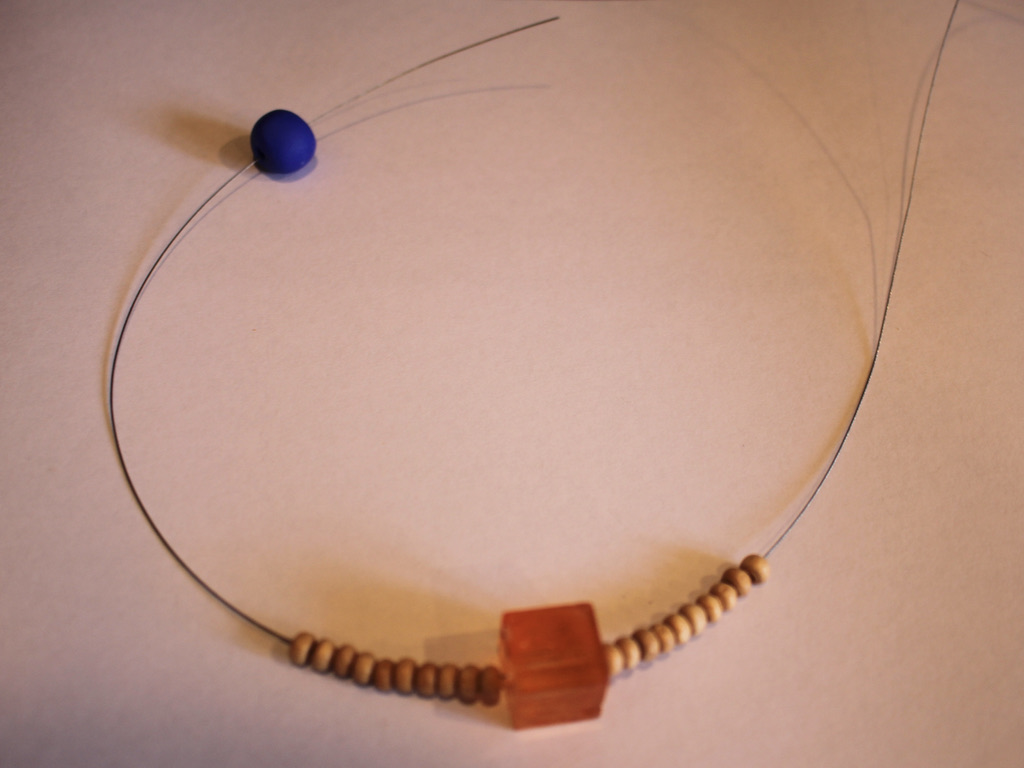
4: Thread the other side of the wire through the polymer clay bead to create a loop.


5: Add another four beads to each end of the wire.

6: Add the crimp cover to the two wires held together.
7: Keeping the crimp cover open, add a crimp bead to the wire.
8: Squash the crimp bead using flat nose pliers.

9: Trim the excess wire.


10: Squash the crimp cover around the crimp bead using the flat nose pliers.

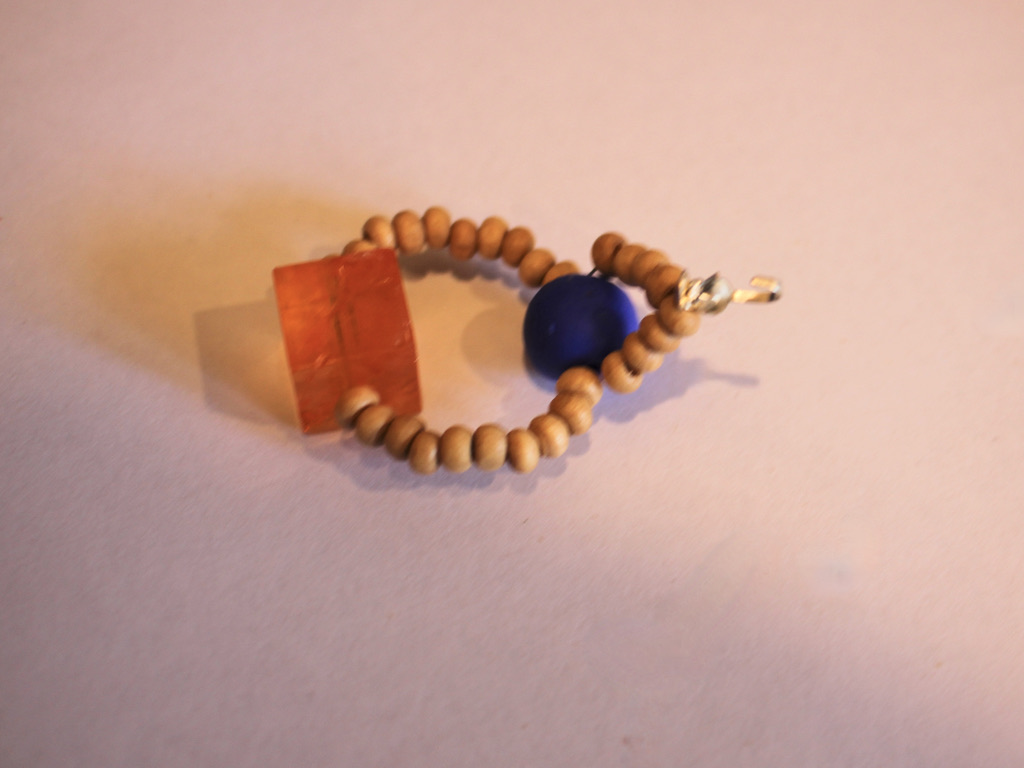
11: Use the wire at the end of the crimp cover to create a loop, thread on an earring hook and close it to secure the earring to the beaded design.
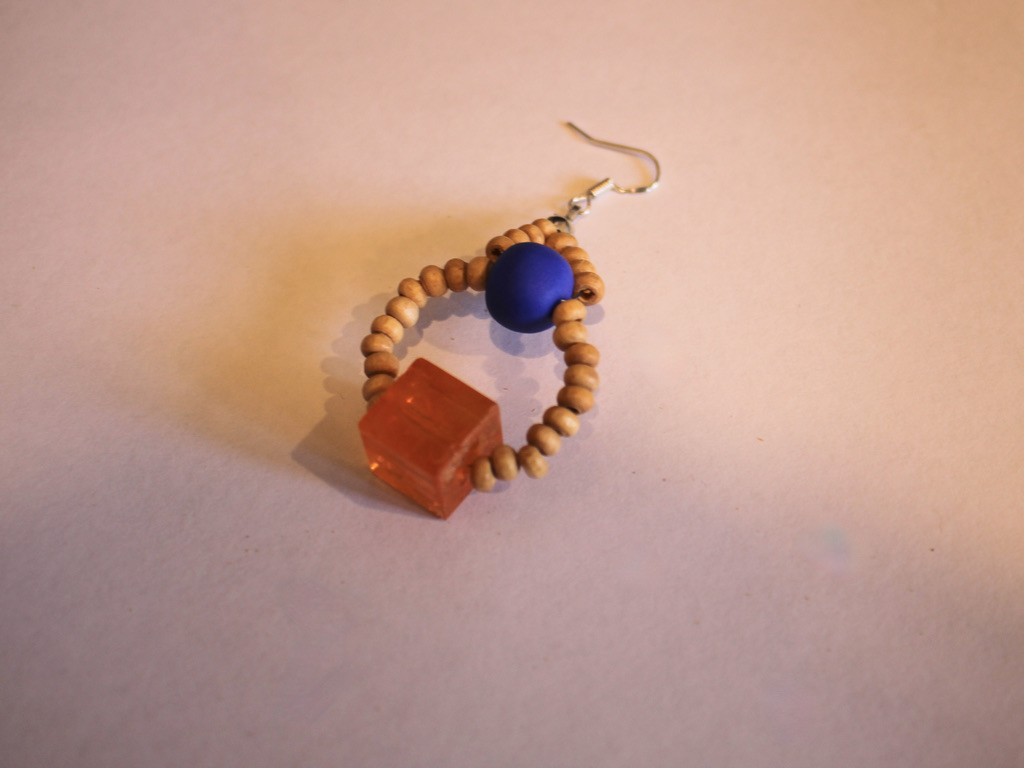
12: Repeat steps 1-11 for the second earring.
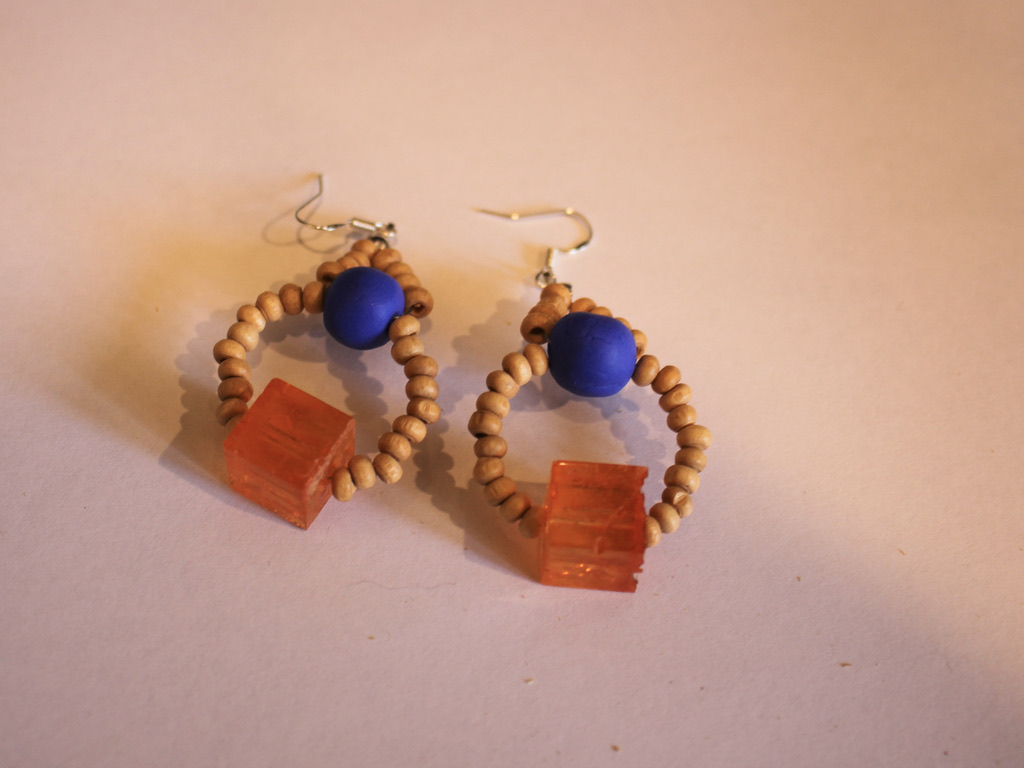
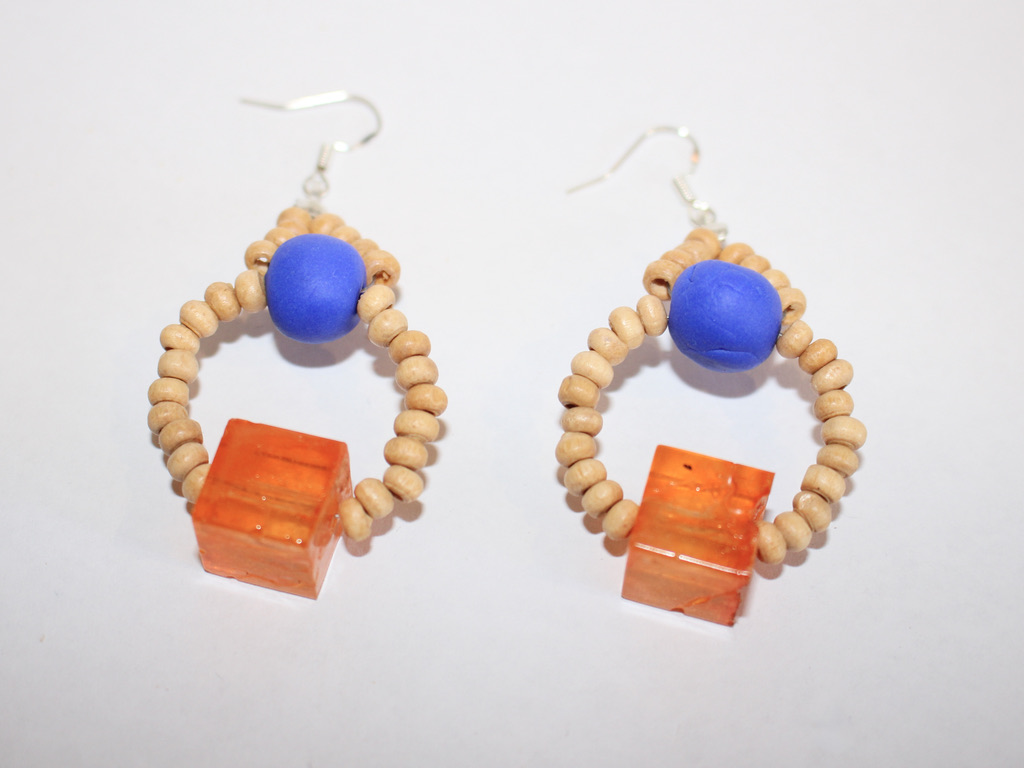
Now your beaded statement earrings are complete and ready to wear!


-
Here’s a wild beaded anklet that can also be worn as a shoe chain!
I love jewelry that can be worn multiple ways, so I created a tutorial that shows you how to make a beaded shoe chain that can also be worn as an anklet! It features clasps on either end so that it can be clipped to your shoelaces as a shoe decoration, or to each other to create an anklet effect. Please note that this tutorial contains affiliate links. Here’s a fun detail. This tutorial makes use of beads I made in this tutorial… so if you follow both you can have a completely custom piece of jewelry!
You’ll need these tools and materials to make this multi-use shoe chain/anklet:
1: Some beading thread, I used this hot pink nylon string. Make it long enough to fit your ankle plus a bit extra.

2: A pair of large clasps. I used these gold-tone clasps.
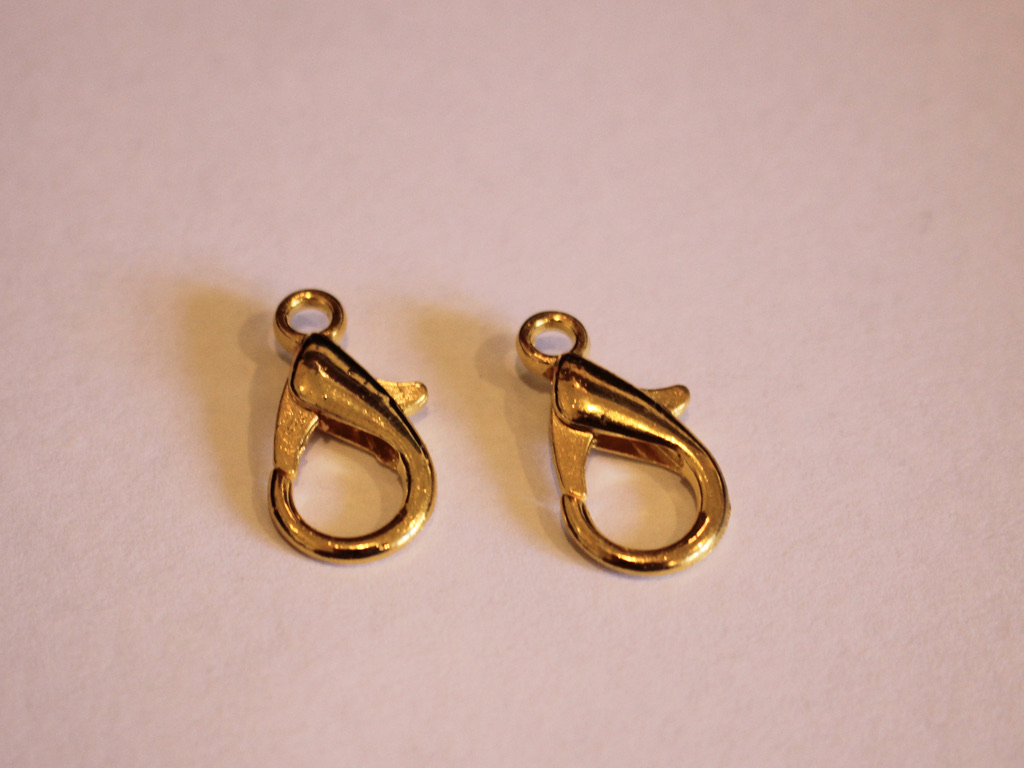
3: A selection of beads. I used a mixture of handmade resin and polymer clay beads, and other plastic beads.

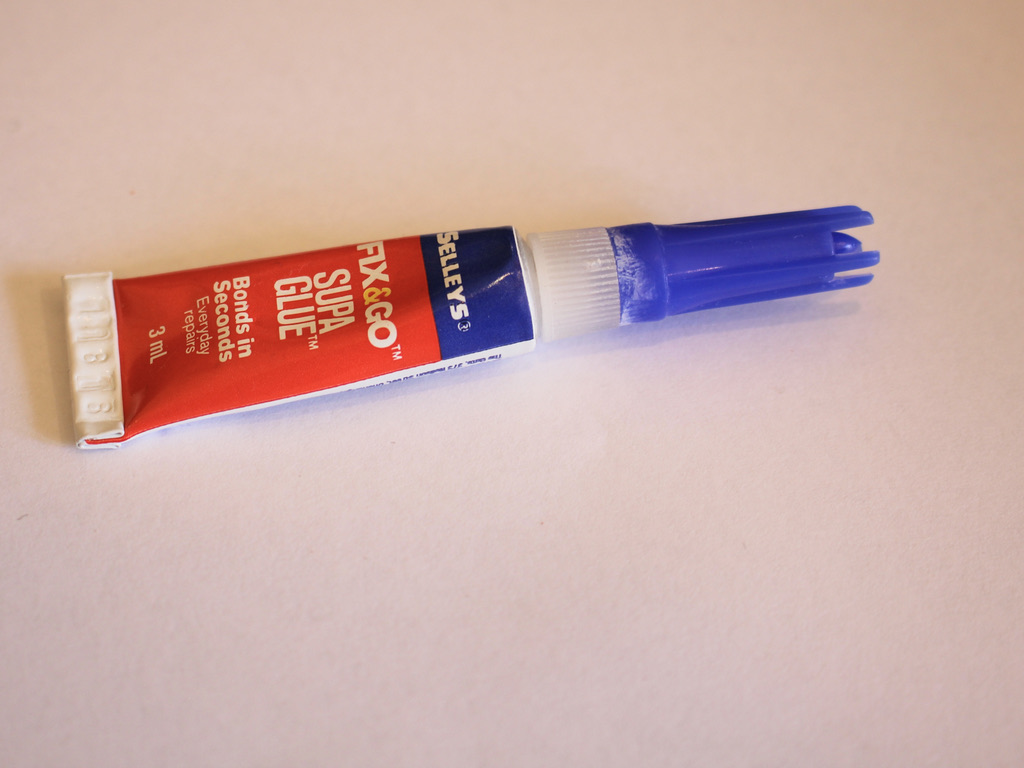
4: Super glue for securing the knots.
5: Some scissors for trimming the string.

Follow these steps to make your multi-purpose anklet shoe chain:
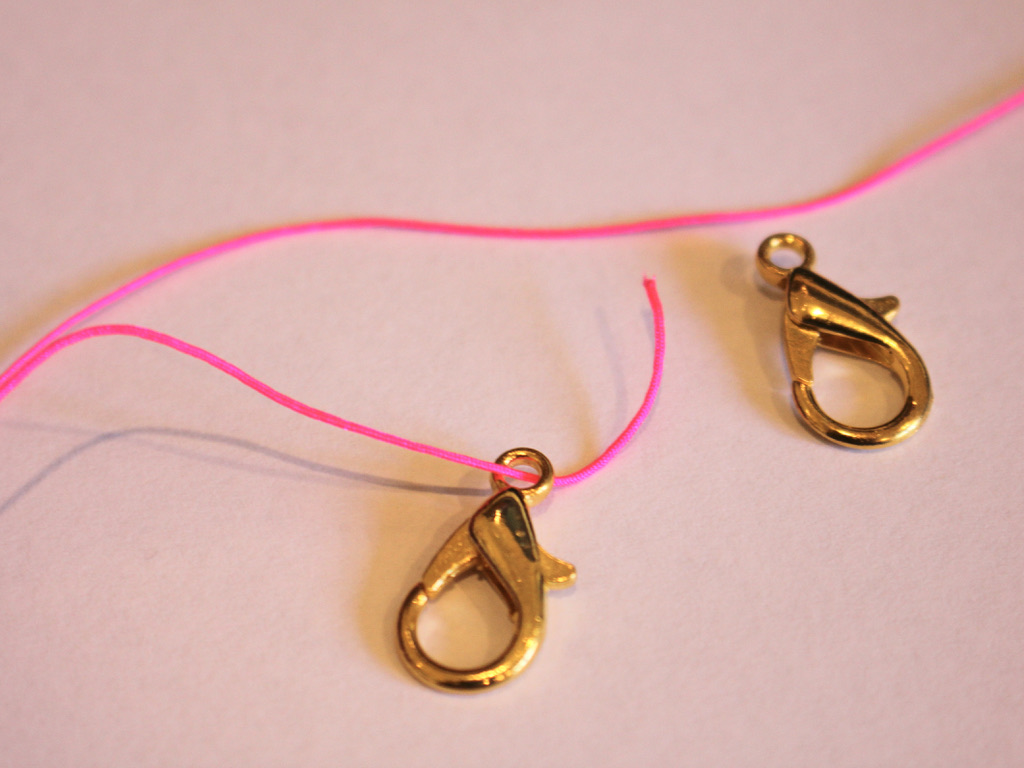
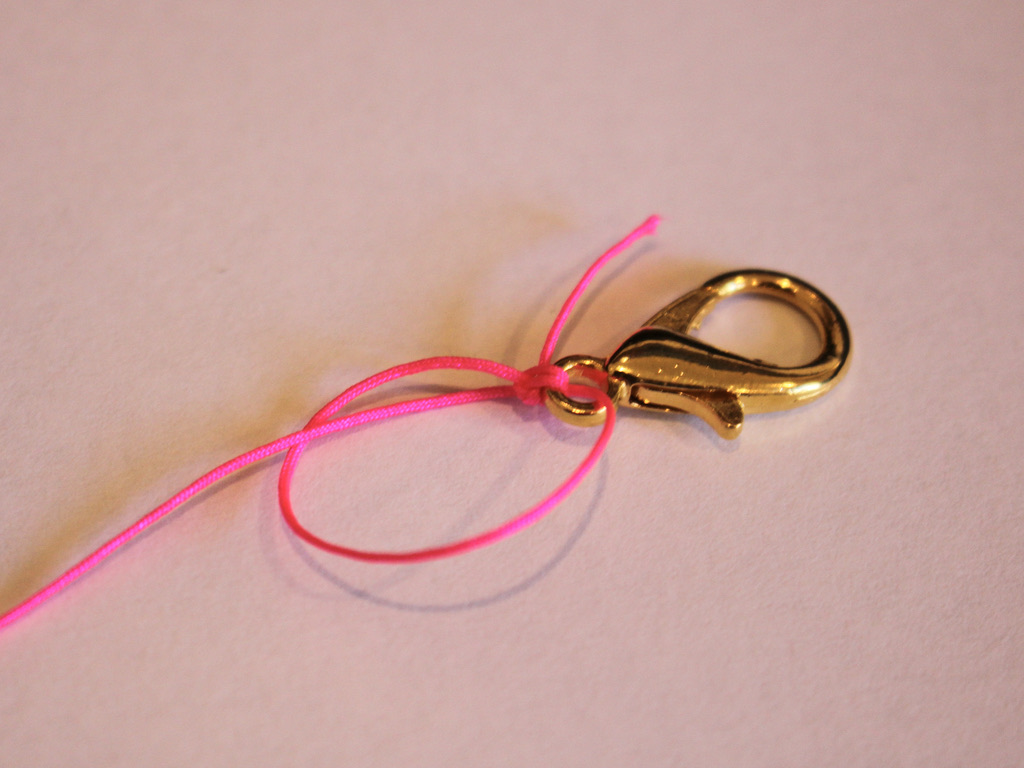
1: Tie the string to one of the clasps. Wrapping the string around the clasp a few times and making multiple knots can help keep it more secure for longer.



2: Add beads to the string in your chosen pattern. I added mine in random order.

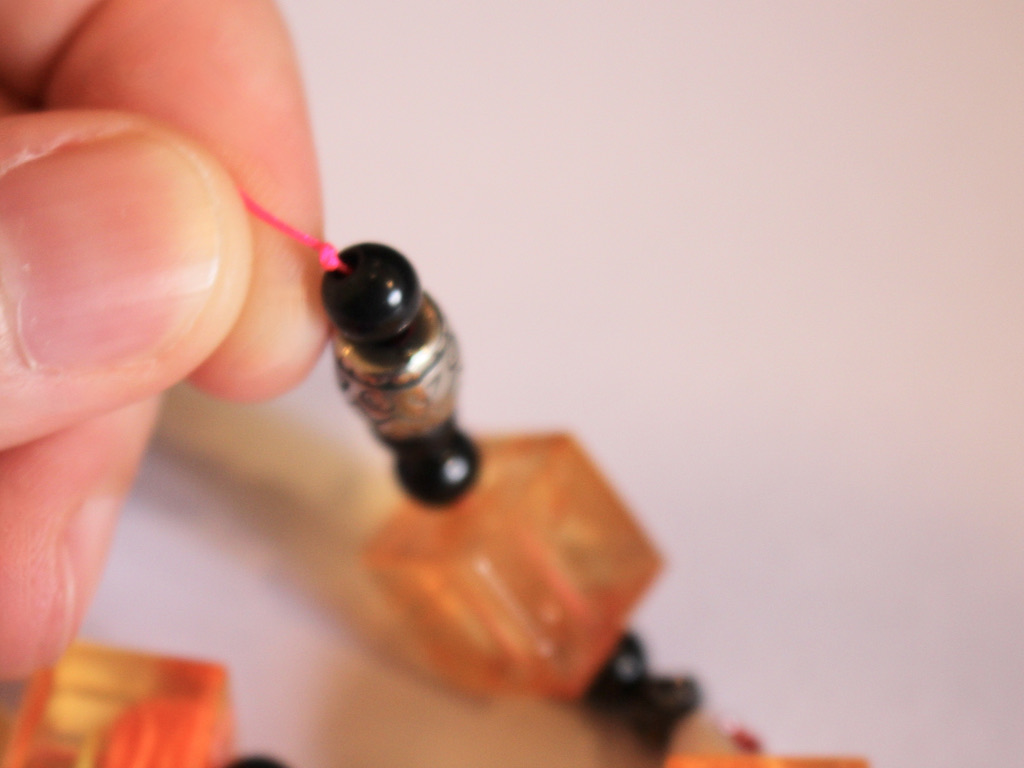
3: Continue beading until you have a length you like. Then tie a knot at the end to secure the last bead in place

4: Add the second clasp to the end of the string.
5: Knot the second clasp in place, remembering to wrap the string through the end of the clasp a few times and securing it with multiple knots.


6: Trim the excess string on both ends of the shoe chain anklet.
7: Add a dab of superglue to each knot to keep it secure and set it aside to dry.

Once the glue is dry, your anklet is ready to wear! Which shoes will you clip yours to?
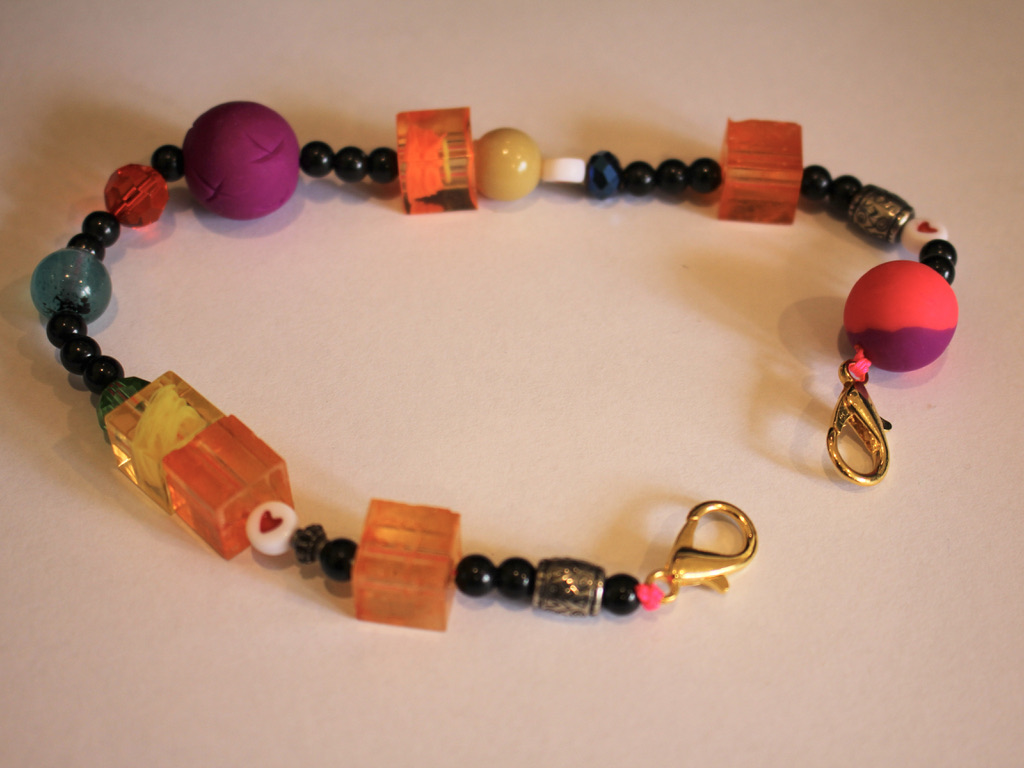
And here’s what it looks like (On some dirty old converse haha)

Here is the design as a shoe chain attached on one side to the lower laces 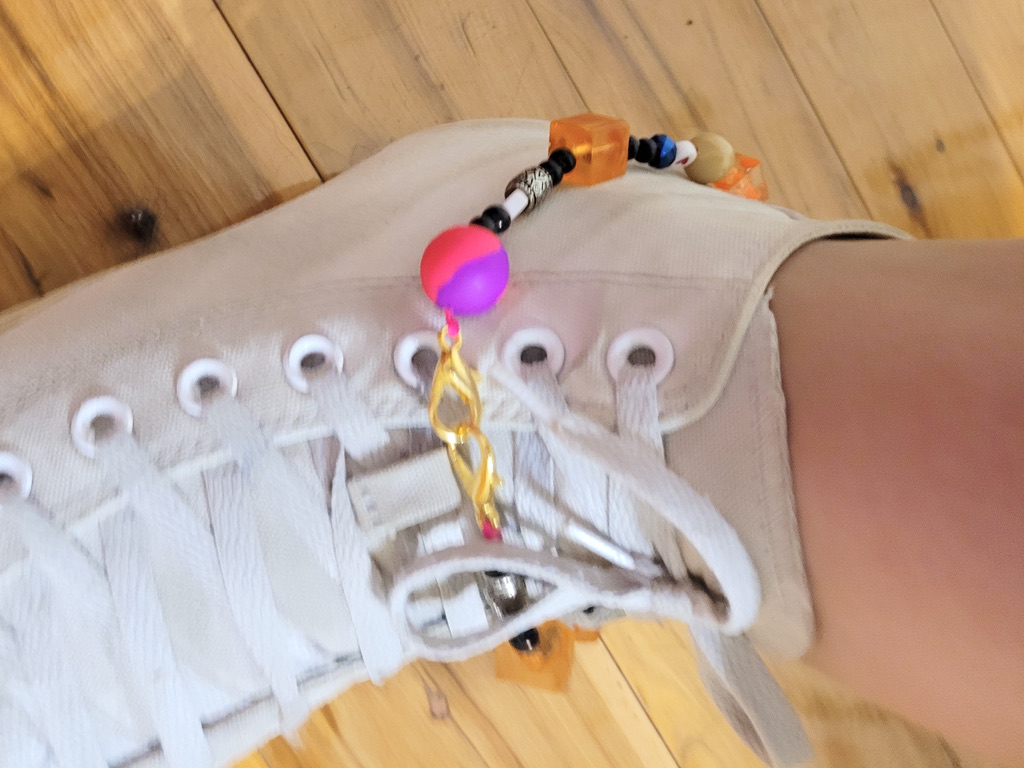
Here it is worn as an anklet over the shoe. 
Here is the design as a shoe chain attached on one side to the lower laces Here are some other shoe chain tutorials you can follow if you want to make some more:
-
Love the nostalgic craft-core style? If that sounds like you, here’s the perfect tutorial for you to follow.
The craft-core trend that sees beads combined in crazy combinations for a playful, handmade vibe. I super love this trend because its easy to recreate at home! Why fork out a few hundred dollars for something you can put together at home in about an hour for a fraction of the price?! Please note that this tutorial contains affiliate links.
You’ll need these tools and materials to make your fun mixed bead necklace that features a letter bead message:
1: A bunch of mixed beads. I used the beads I made in this tutorial in the selection.

2: A selection of letter beads that spell out your chosen word. I chose to spell ‘TIRED’.

3: Some tiger-tail wire, long enough to fit comfortably around your neck, plus about 5cm extra.

4: Four crimp beads.

5: A lobster clasp and jump ring for each end.

6: Pliers. I used my cutting pliers, round nose pliers and flat nose pliers.
Follow these steps to make your own crazy letter bead necklace:
1: Add two crimp beads to one end of the tiger-tail wire.

2: Add the jump ring and loop the wire around it and back through the crimp beads.

3: Squash the crimp beads using the flat nose pliers.


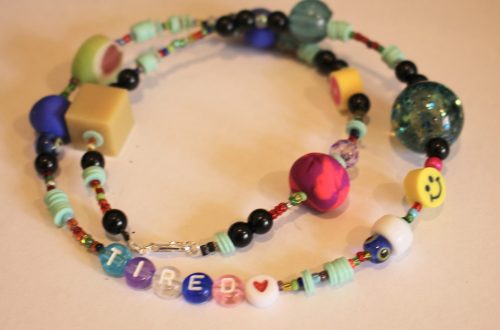
4: Add beads in your choice of pattern. I added mine pretty randomly. I continued beading until I reached close to the middle. I check for the length I like by holding the beaded section against my neck, with the clasp wrapped around, mimicking how I would wear it. (Remember to tuck the end of the wire into the beads at the end, I hadn’t done that yet in this picture).

5: Now it’s time to add your letters. I added the word ‘TIRED’ and a love heart letter bead.

6: Continue adding beads to the other side of the necklace until you have it at an even length to the other side.
7: Add two more crimps to the end of the wire.

8: Add the clasp to the end of the wire.

9: Loop the wire around the clasp end and back through the crimps and the end beads.

10: Squash the crimp beads using the flat nose pliers.

11: Trim the wire using the cutting pliers.

Now your beaded necklace is finished and ready to wear! How fun to make your own twist on the craft-core beading trend.


-
Here’s how to make round polymer clay beads using a bead maker!
I’m no expert on polymer clay, but I do like using it from time to time. I recently received this polymer clay bead maker as a gift and I thought it would be fun to try it out and take you along for the ride! So here’s how to make some cute round polymer clay beads using a special bead maker! Please note that this tutorial contains affiliate links.
You’ll need these tools and materials to make some polymer clay beads with me:
1: Some polymer clay.

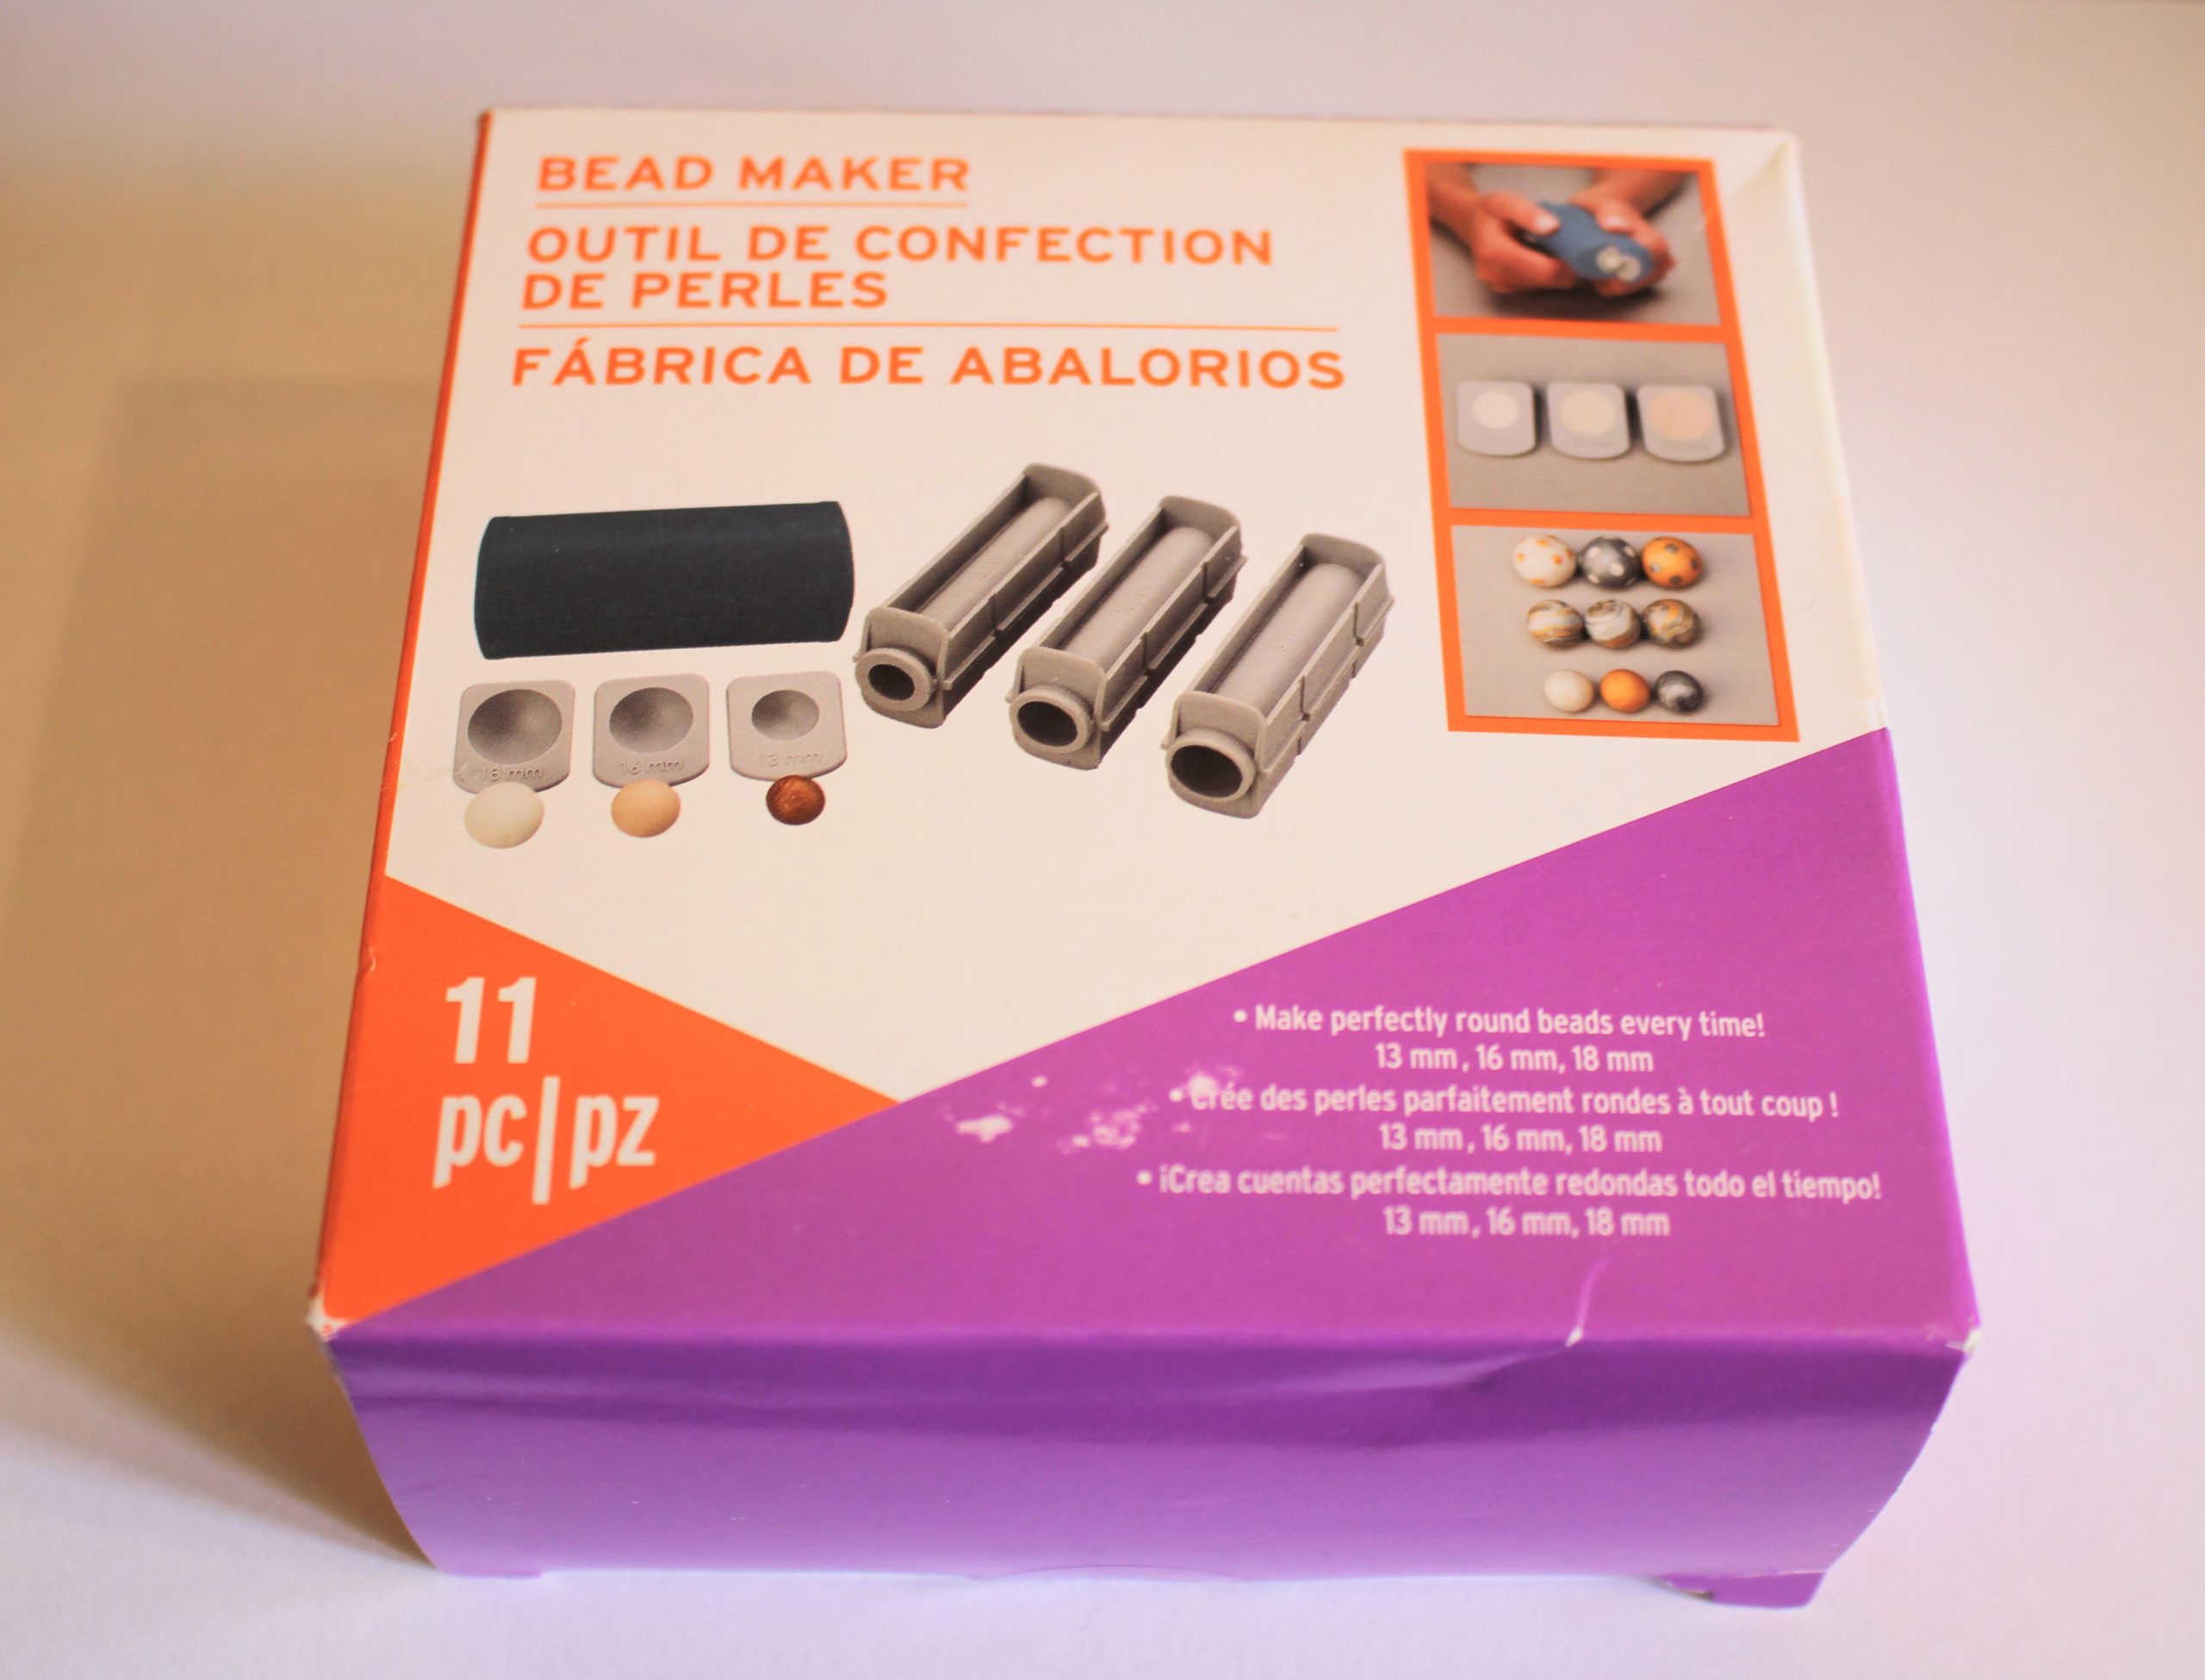
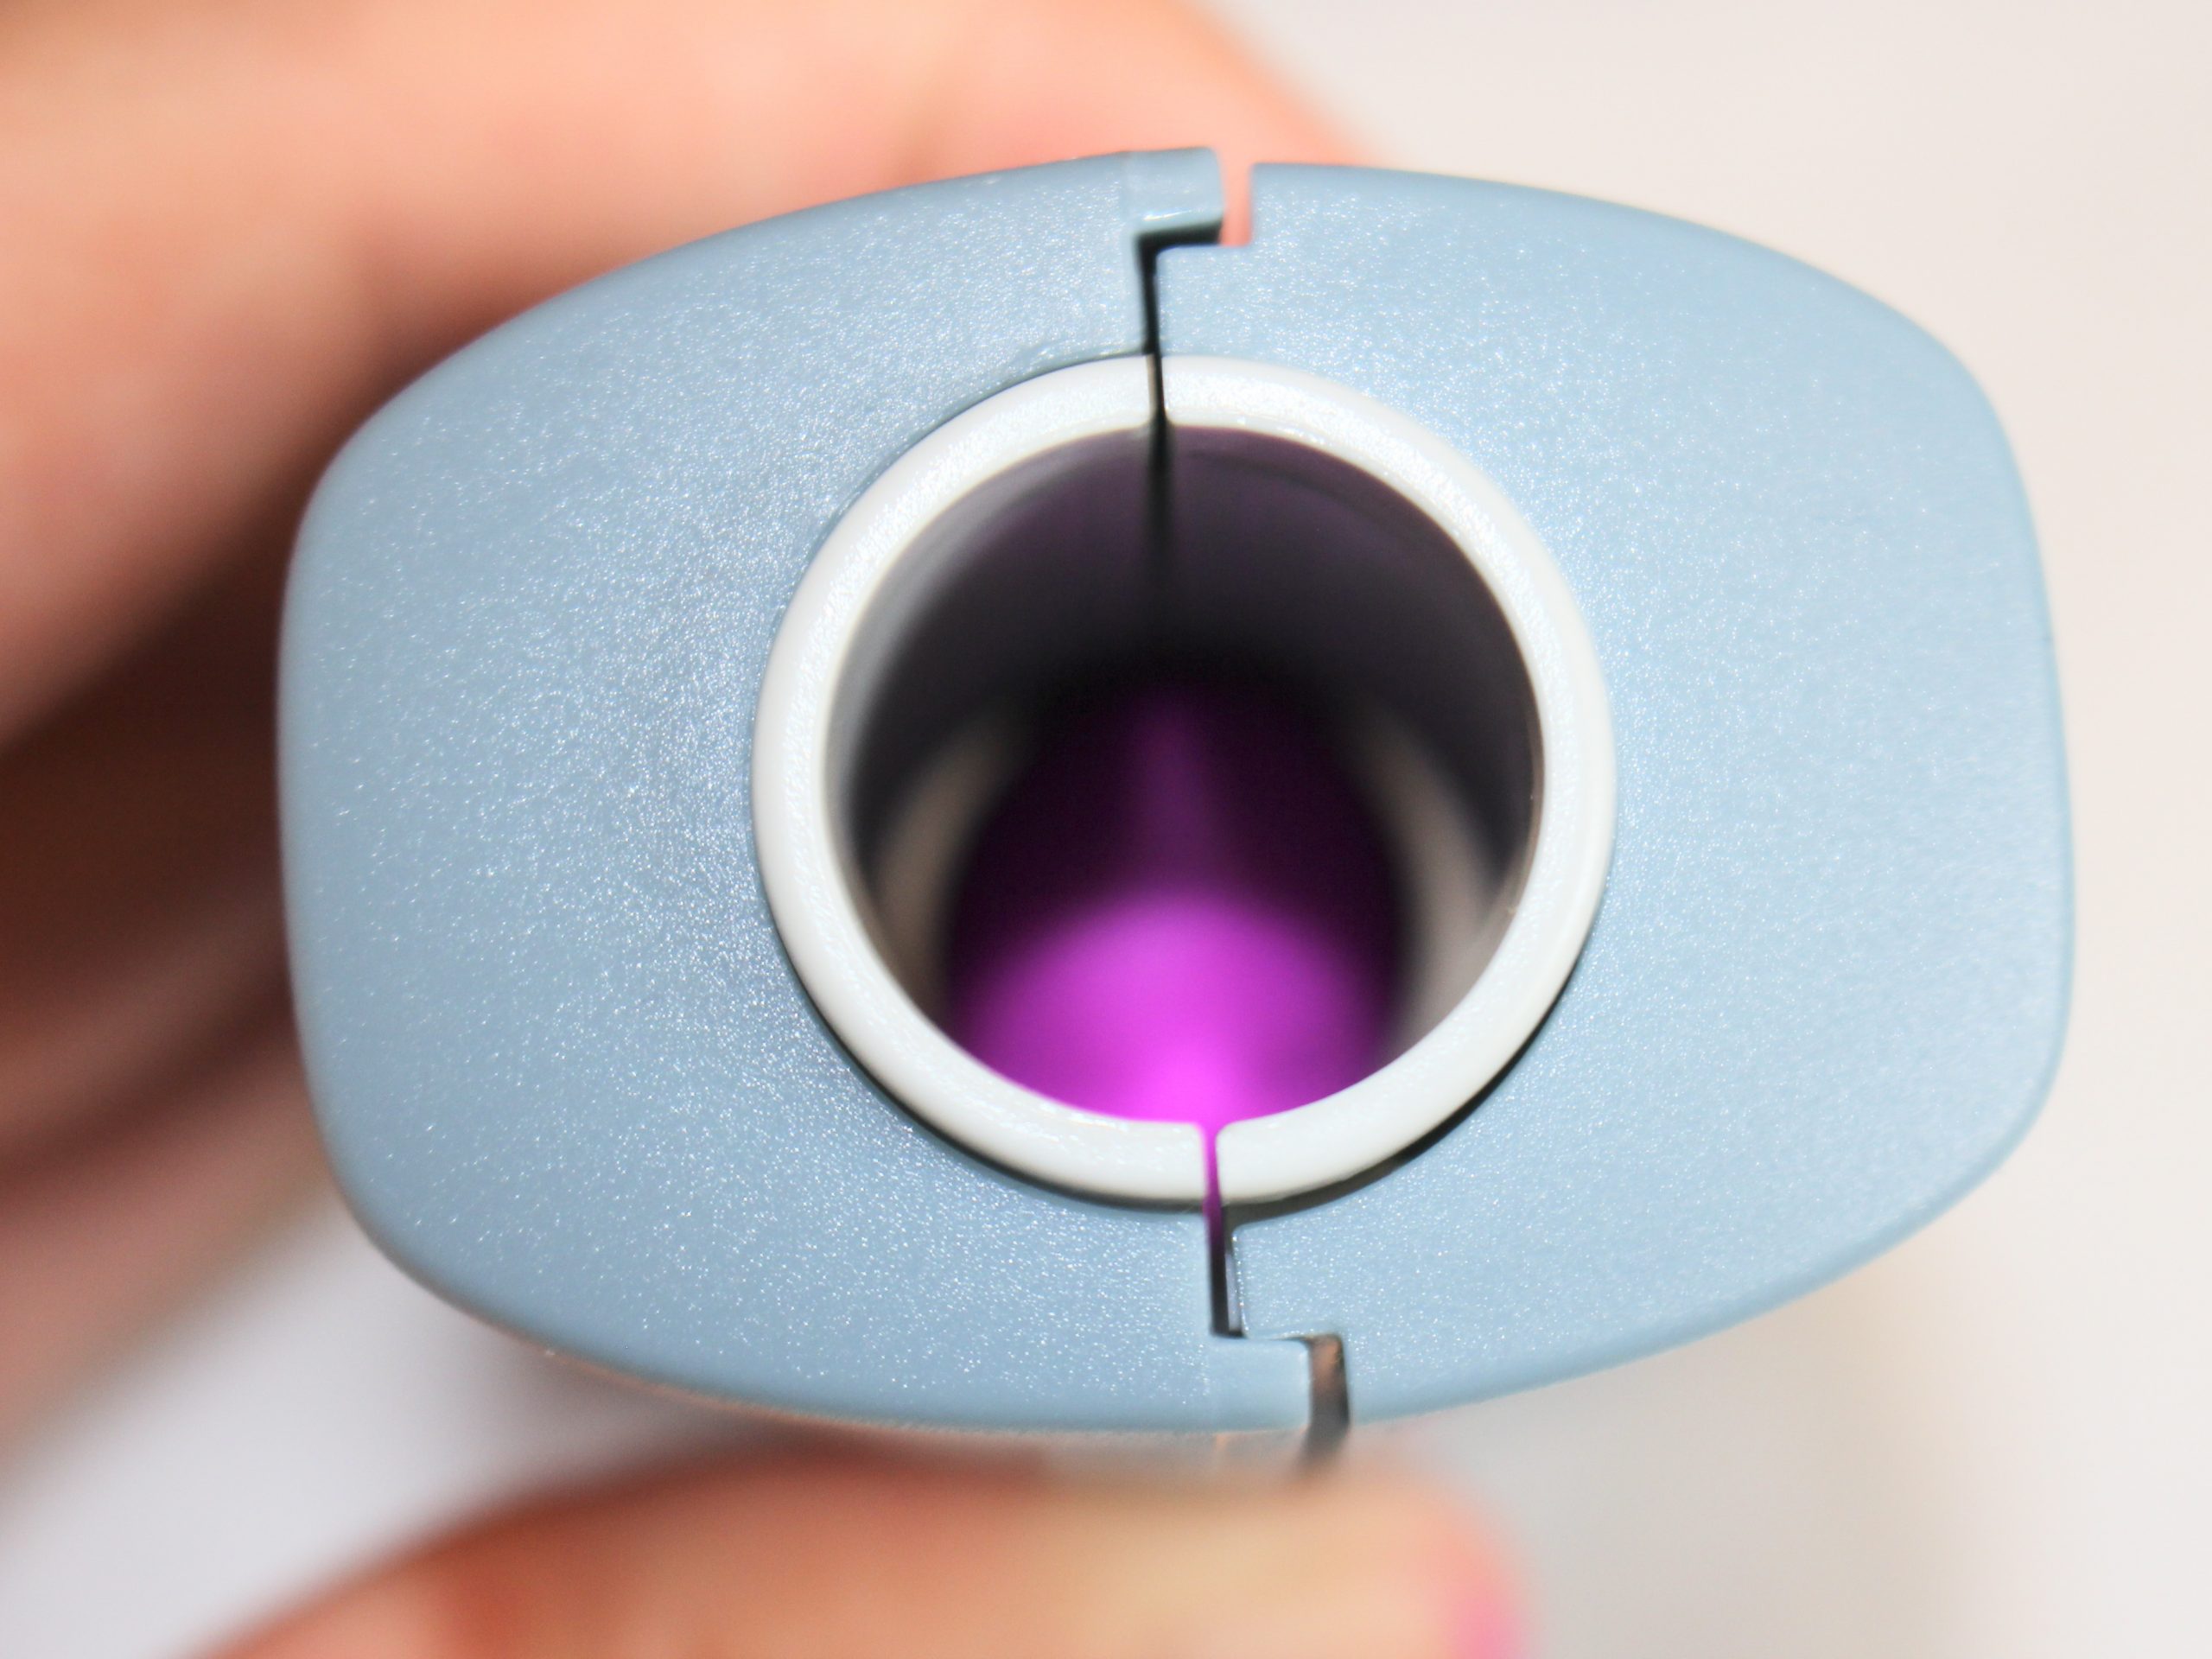
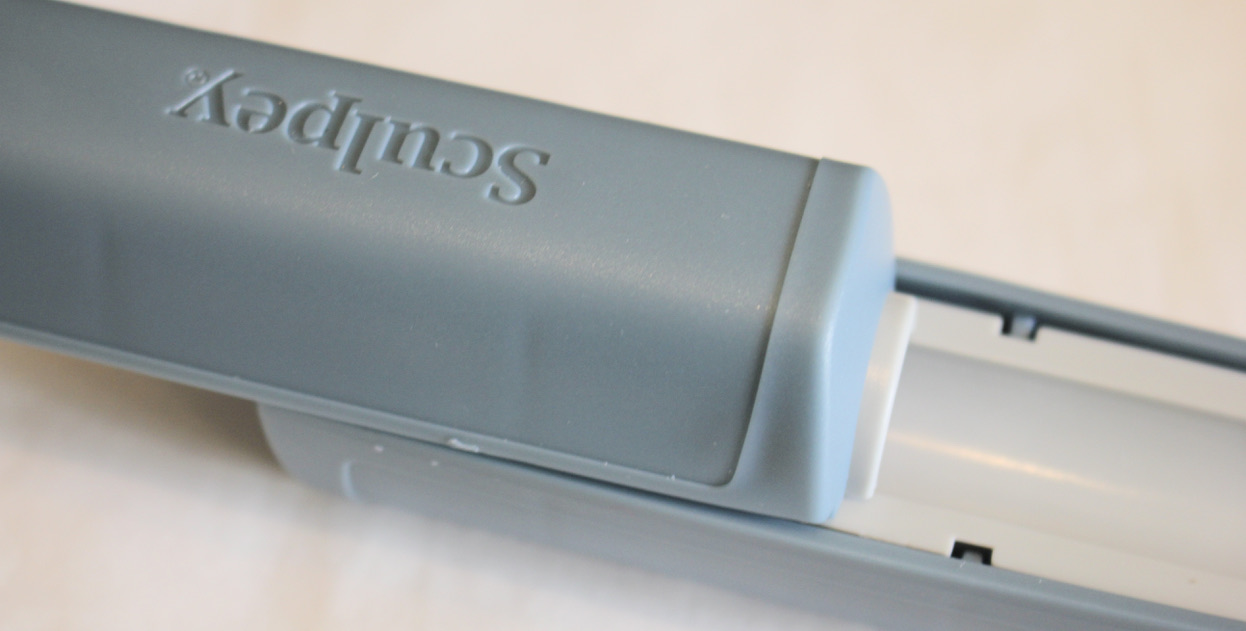
2: A polymer clay bead maker. I used this Sculpey Tools branded one.

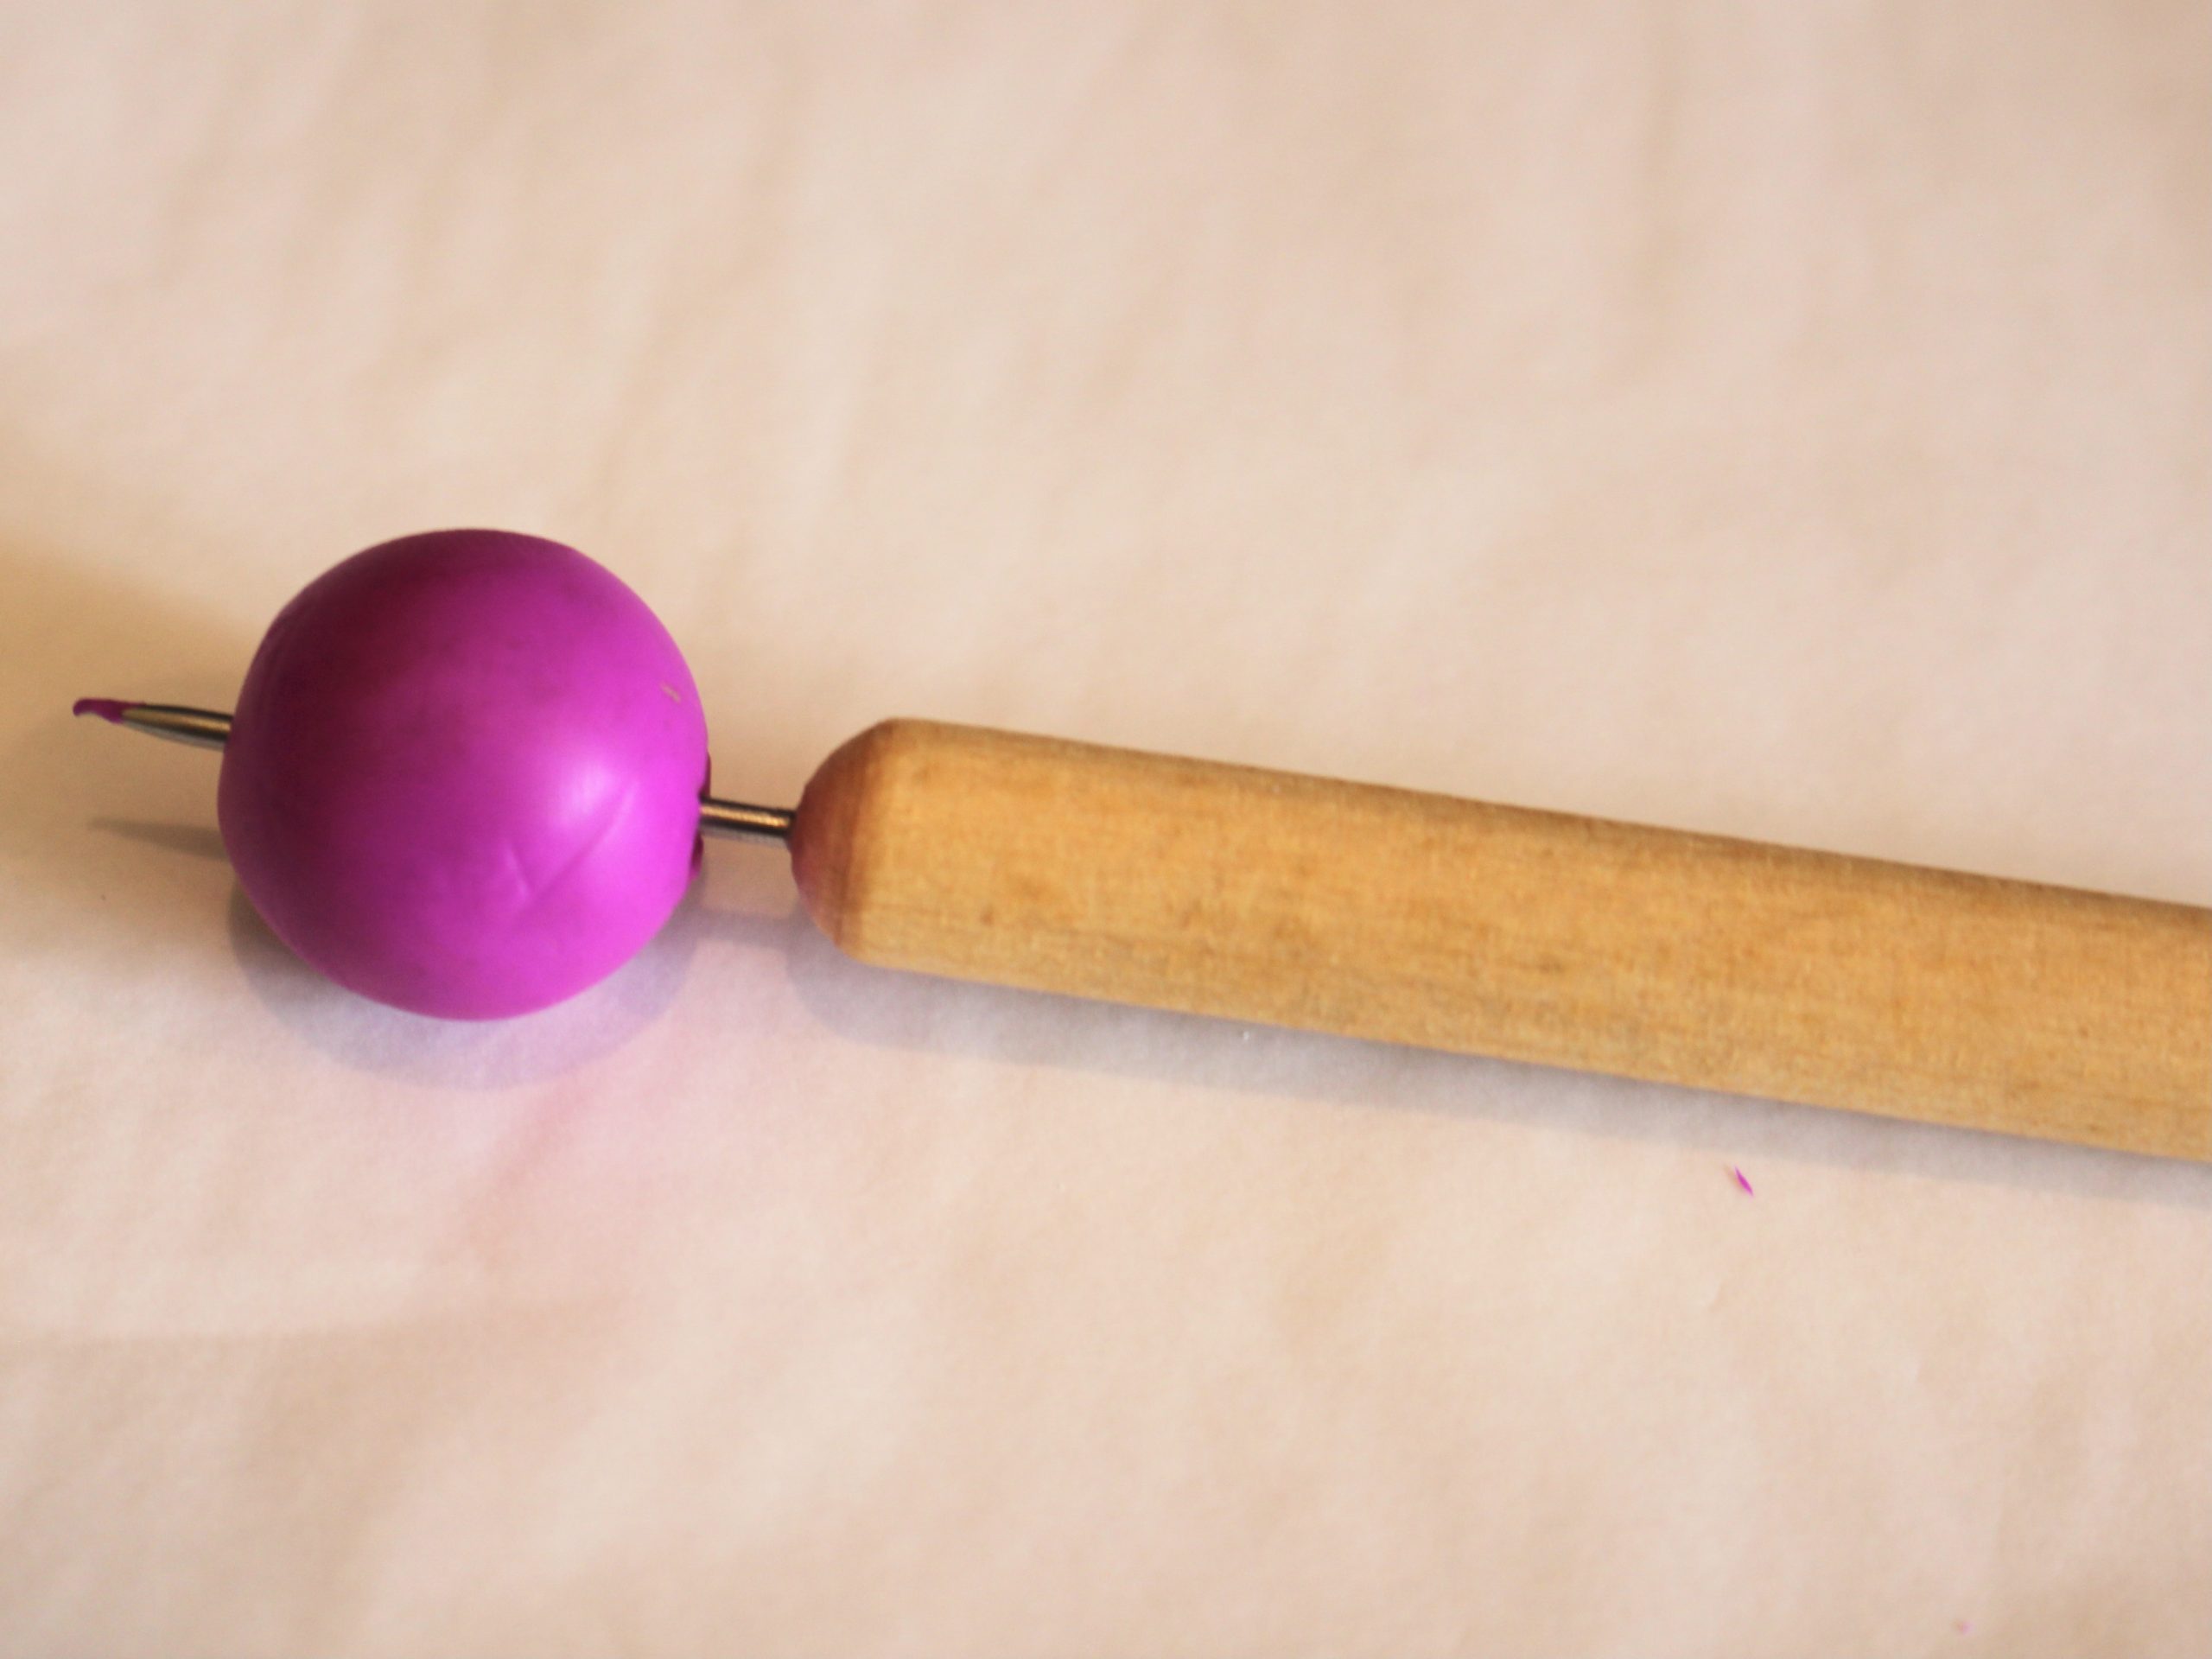
3: A carving tool or something similar that has a long pin on it for making the bead hole.
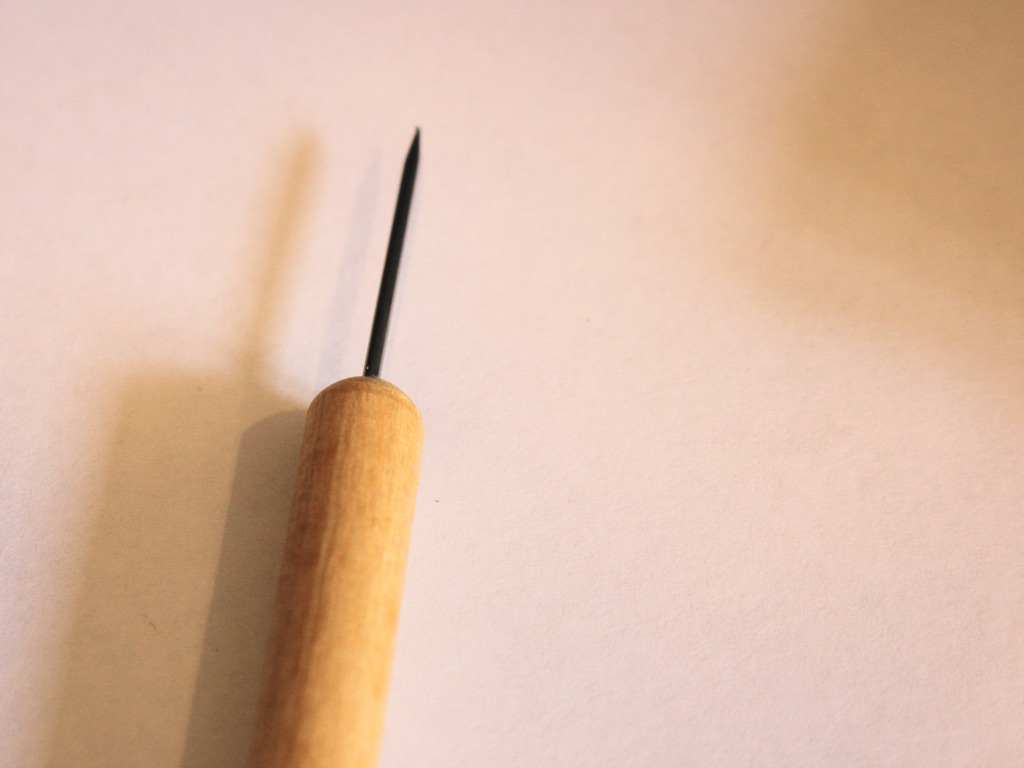
4: Some baking paper and foil for working on and baking. It is best to use a baking surface just for polymer clay and not trays you prepare food in. I like to fashion a little tray out of foil and then recycle it when I’m done.


5: An oven.
Follow these steps to make your polymer clay beads:
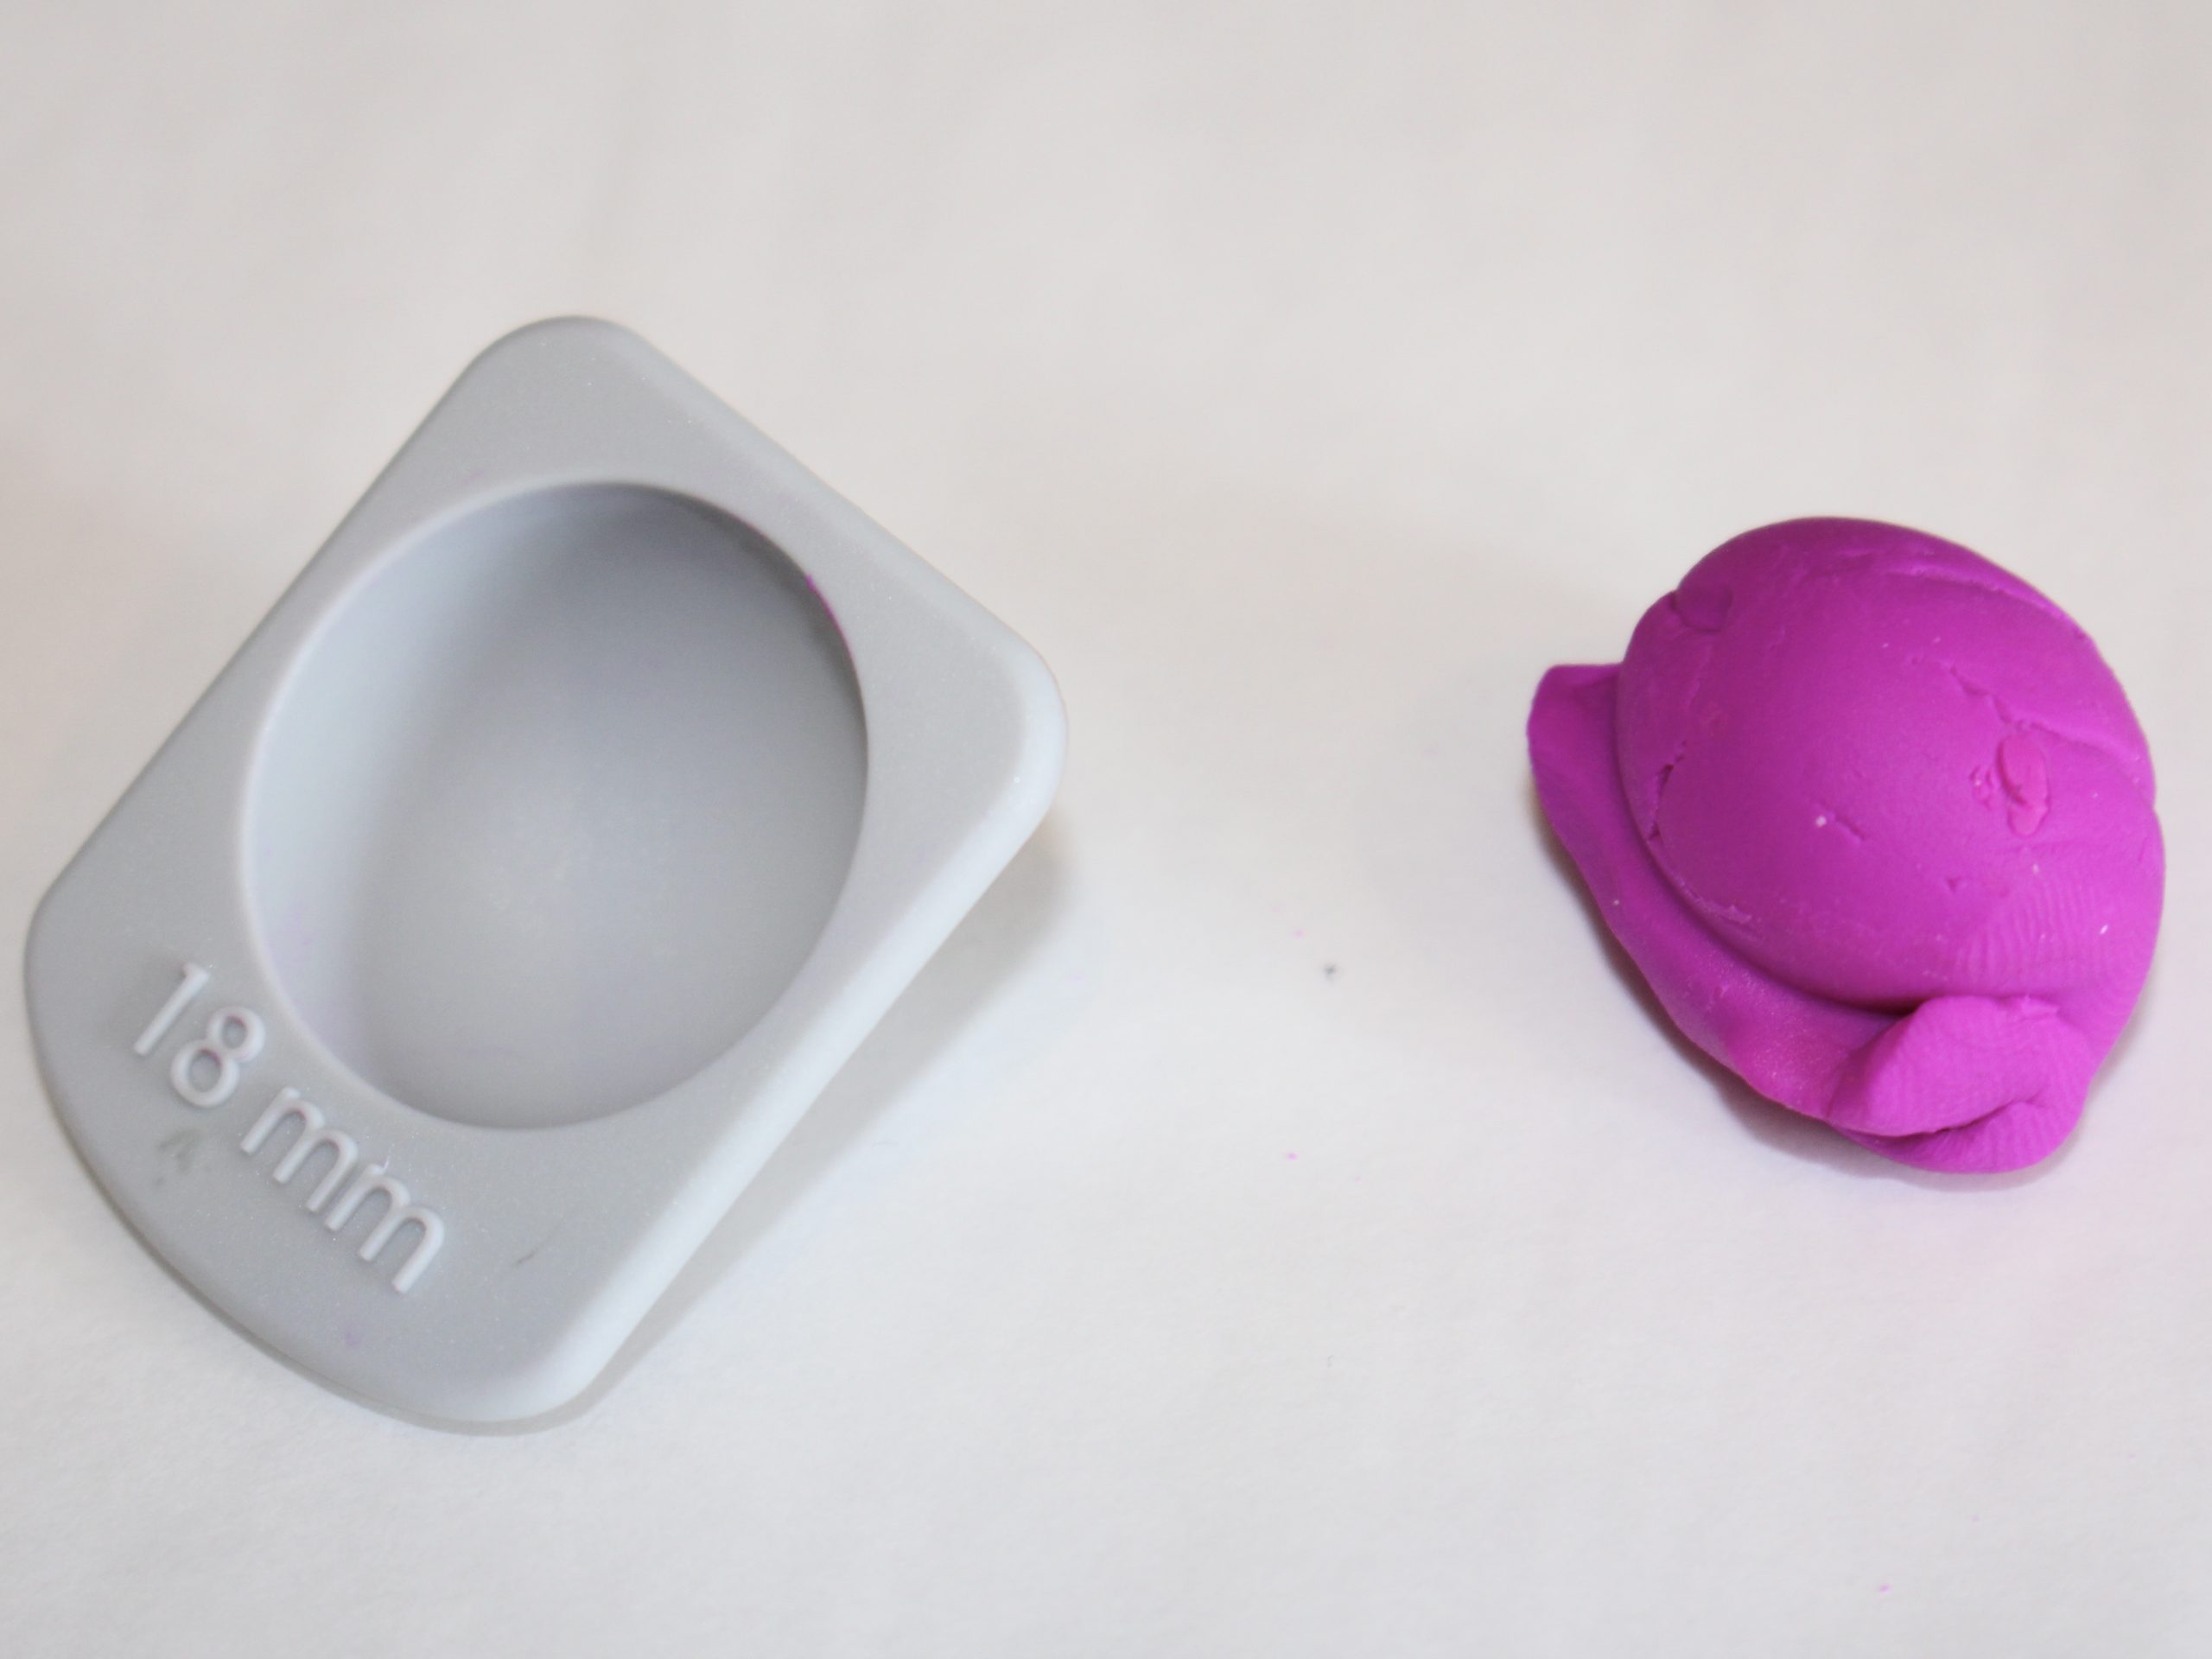
1: Choose the size of bead you want to make and fill the corresponding measuring cup with polymer clay. I chose 18mm.
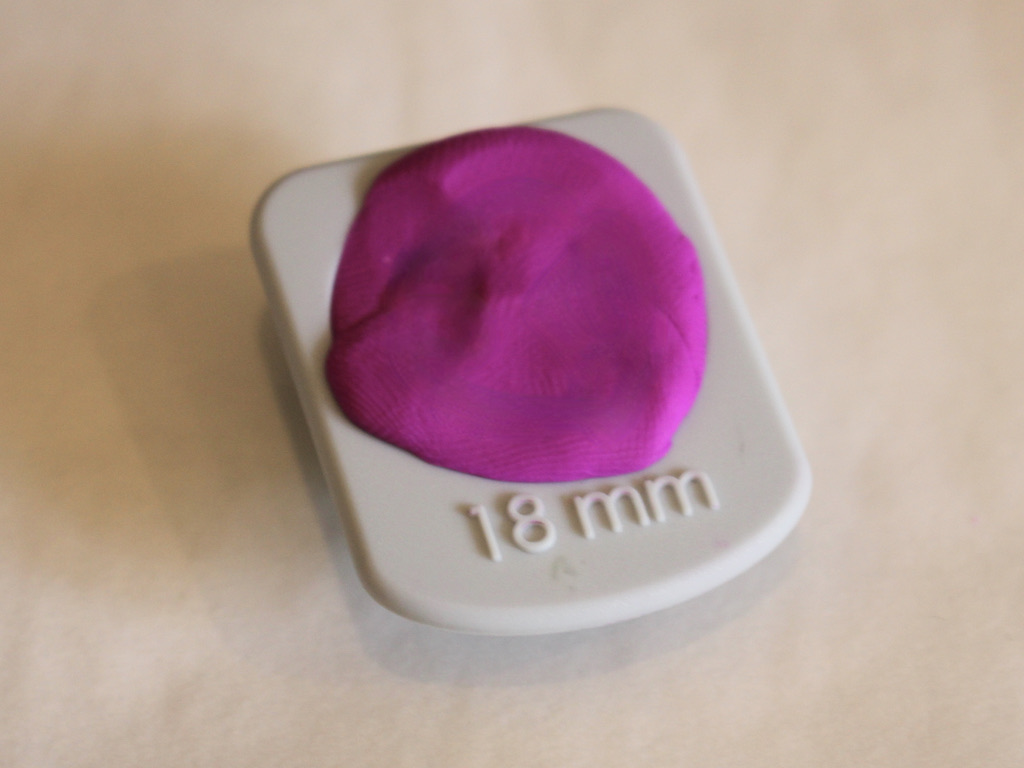
2: Scrape off excess clay so that the clay sits flush in the cup.
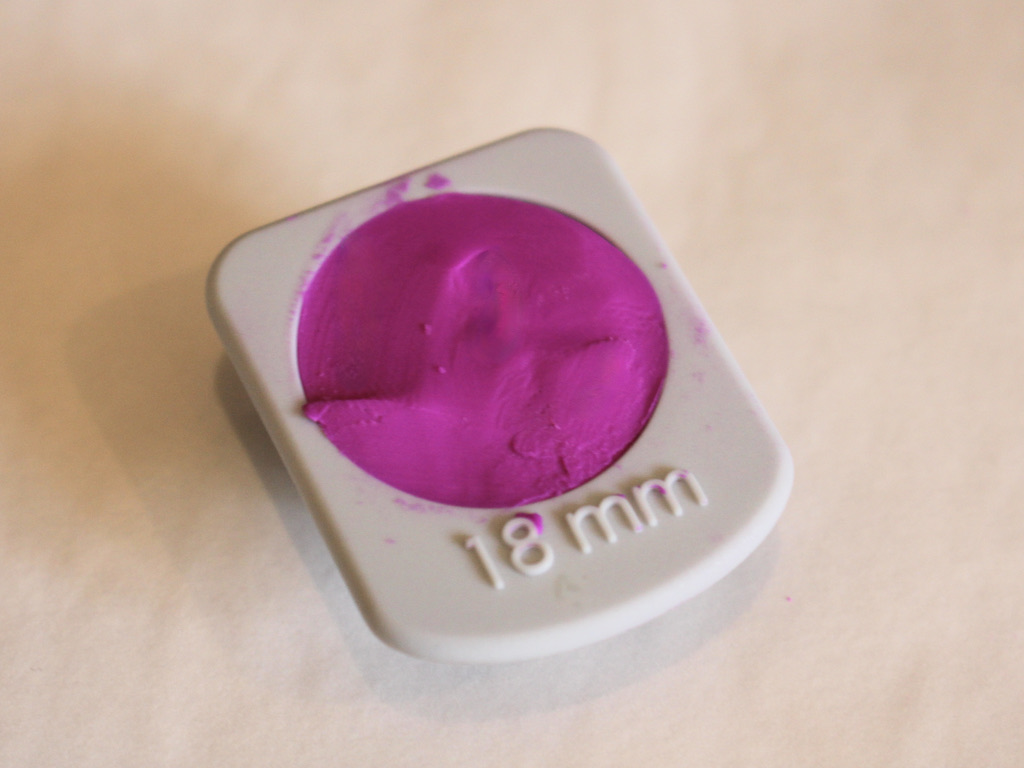
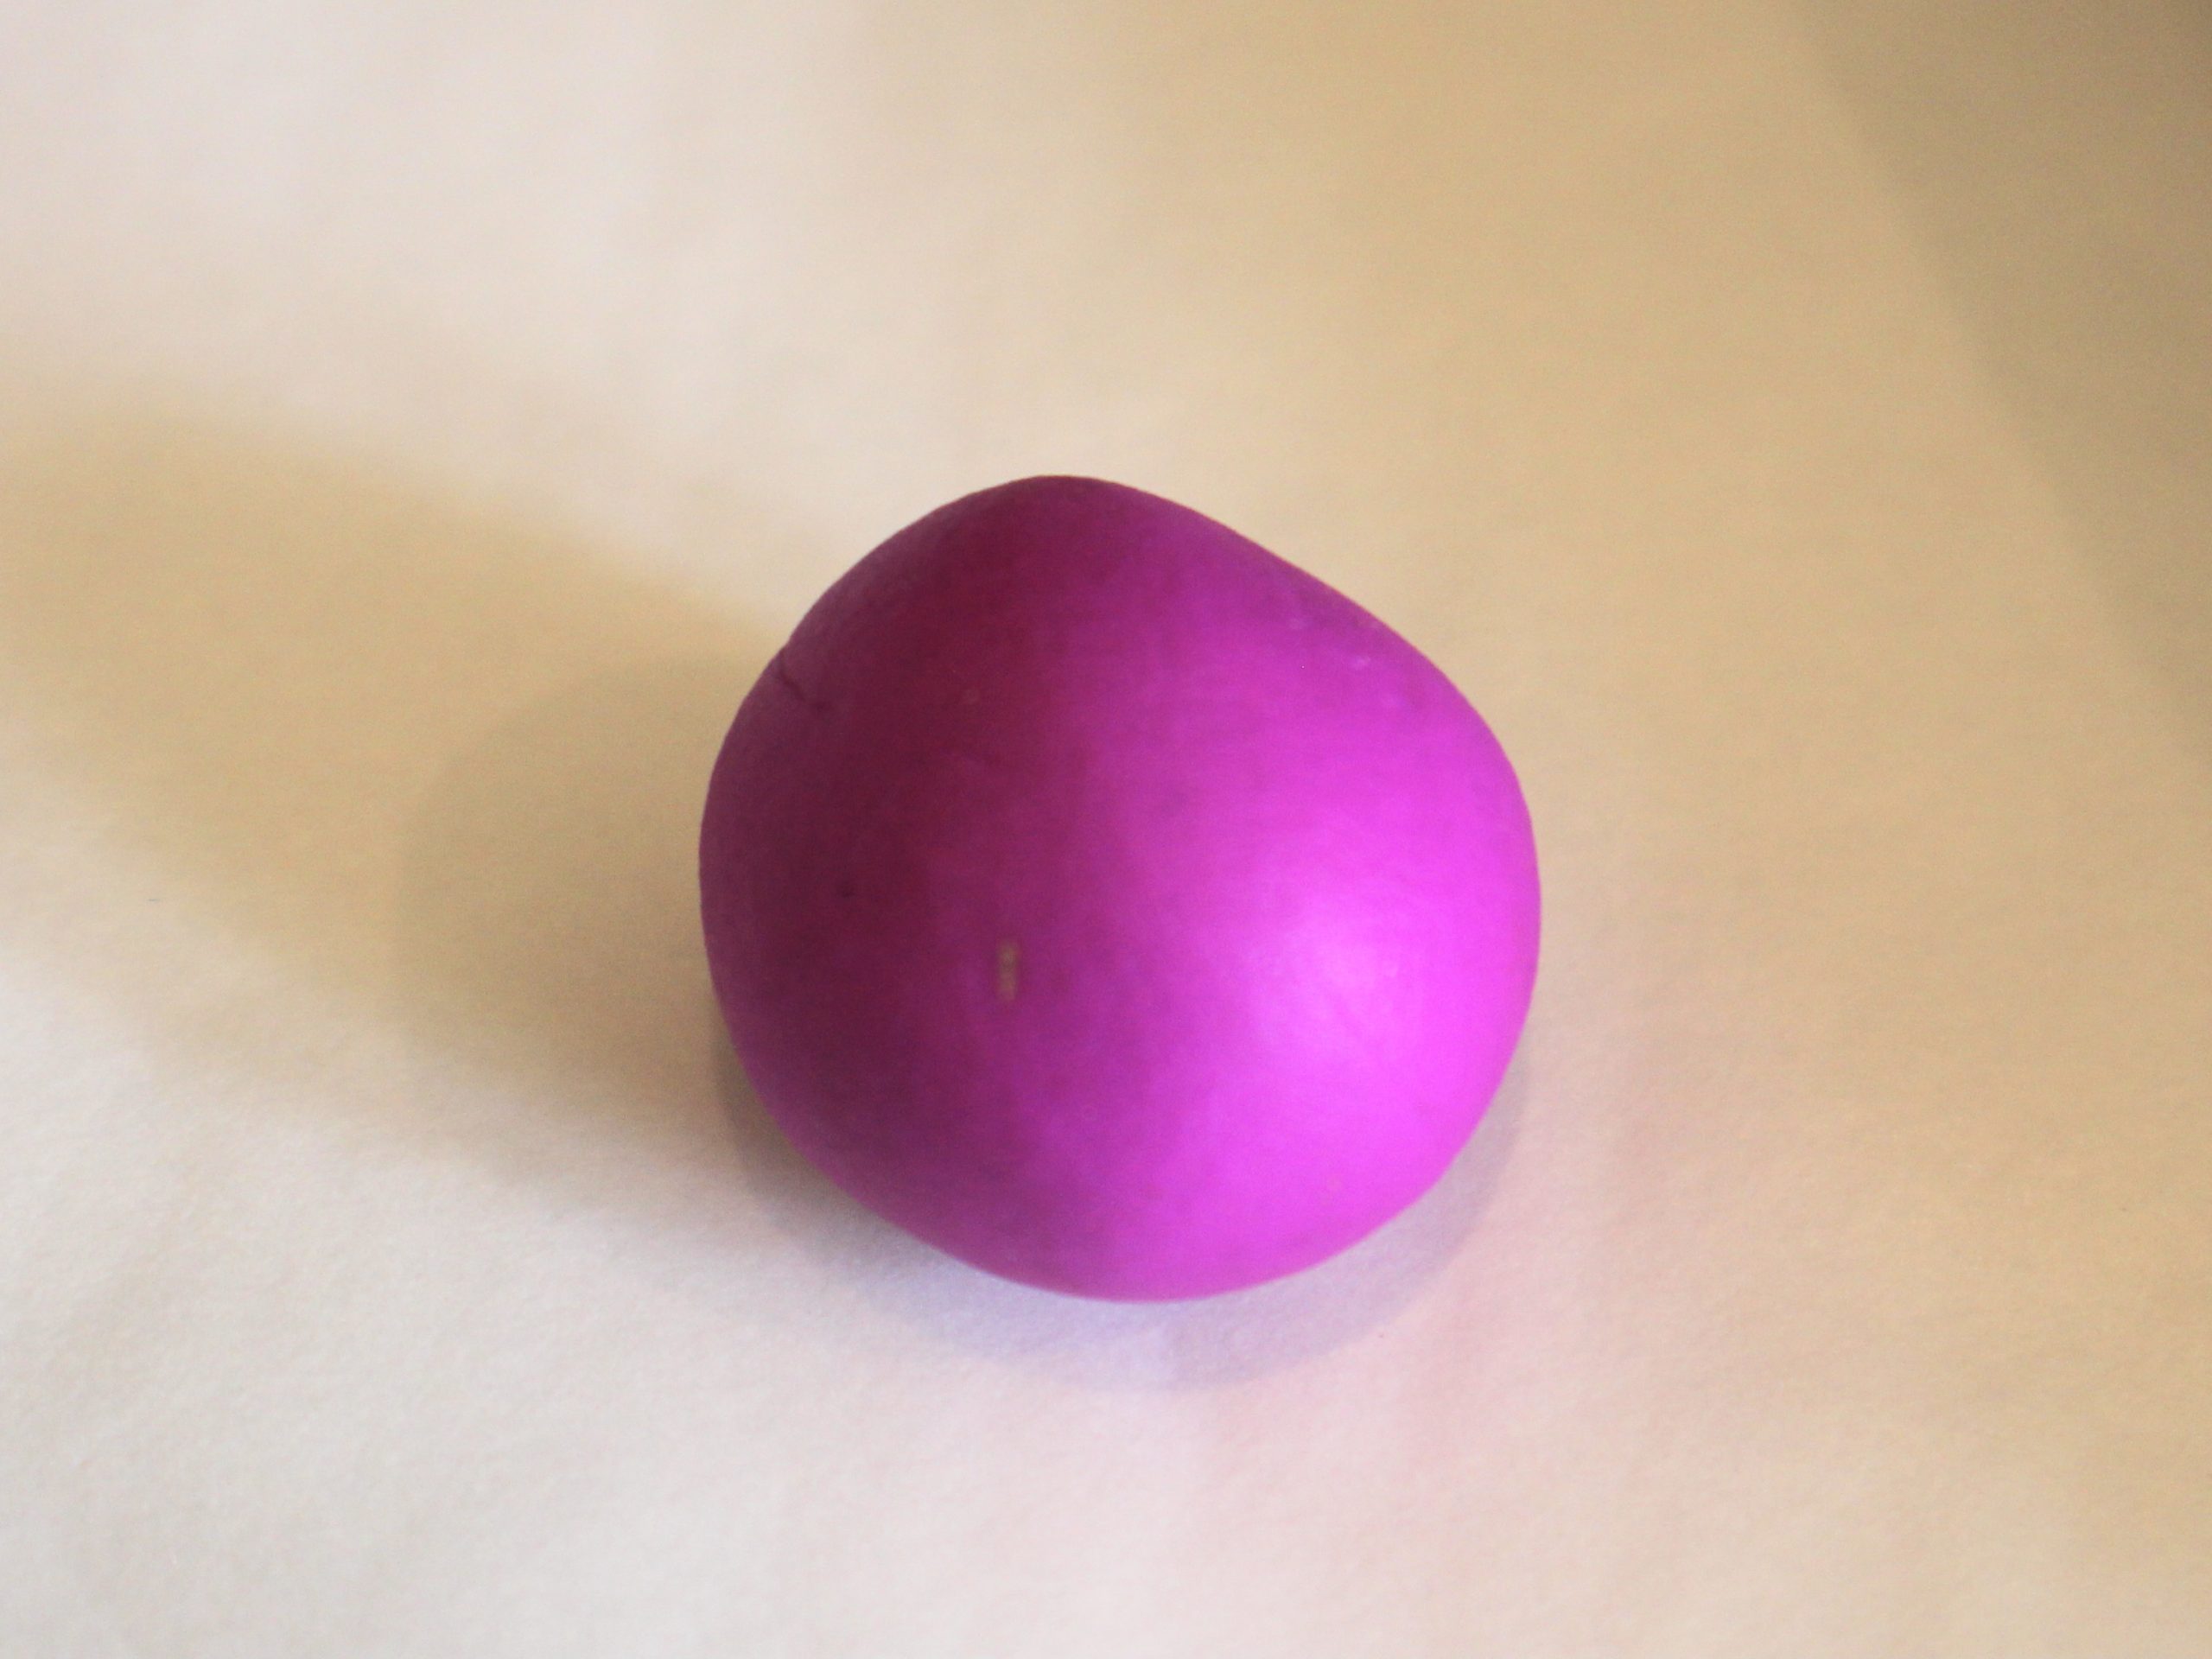
3: Take the clay out of the cup and then roll it into a ball shape.
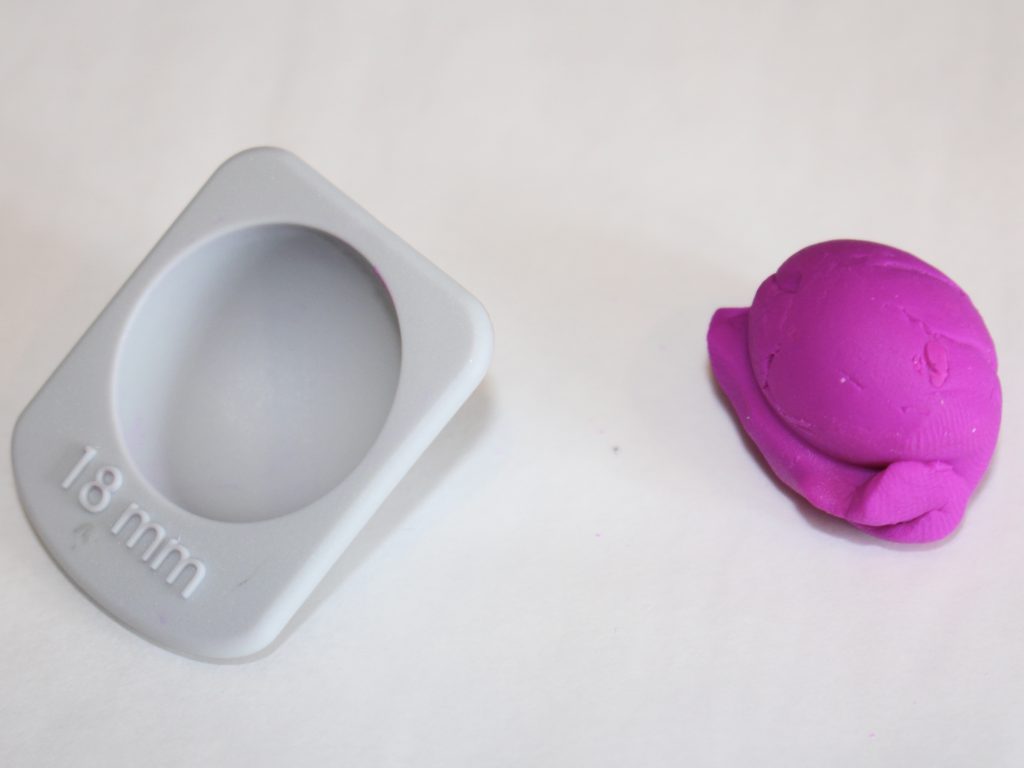
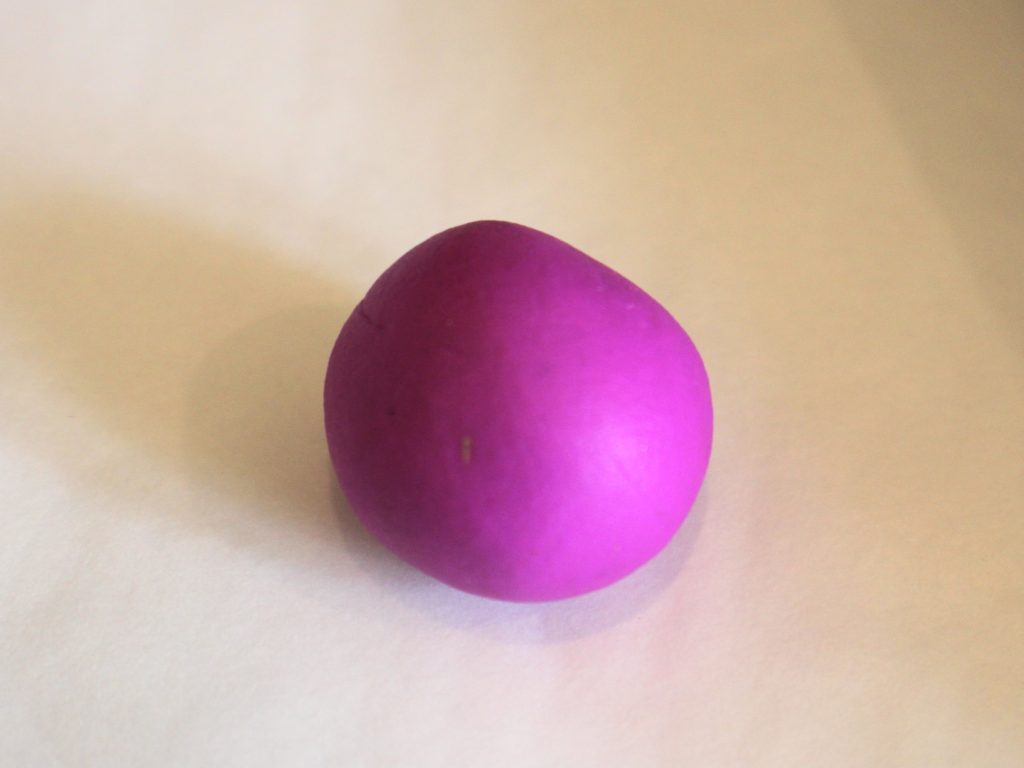
4: Put the the bead roller inserts that are the right size for your bead into the roller base. I used 18mm rollers.
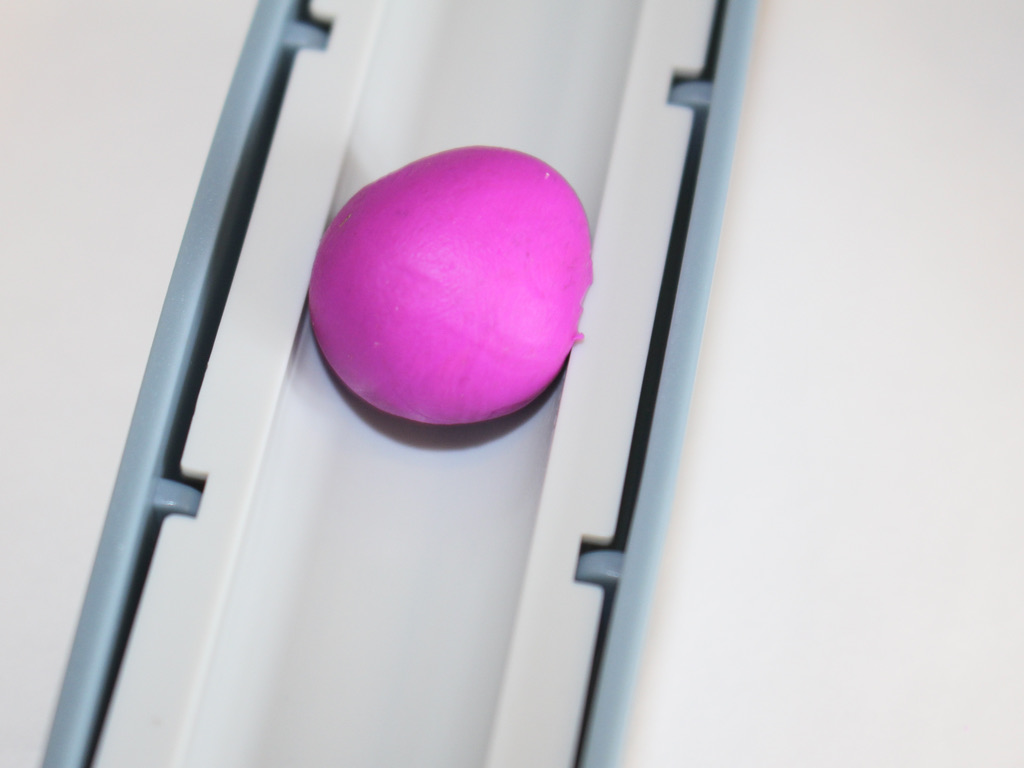
5: Put the polymer clay ball between the two rollers.

6: Push the rollers back and forth with the polymer clay inside to make the ball round.

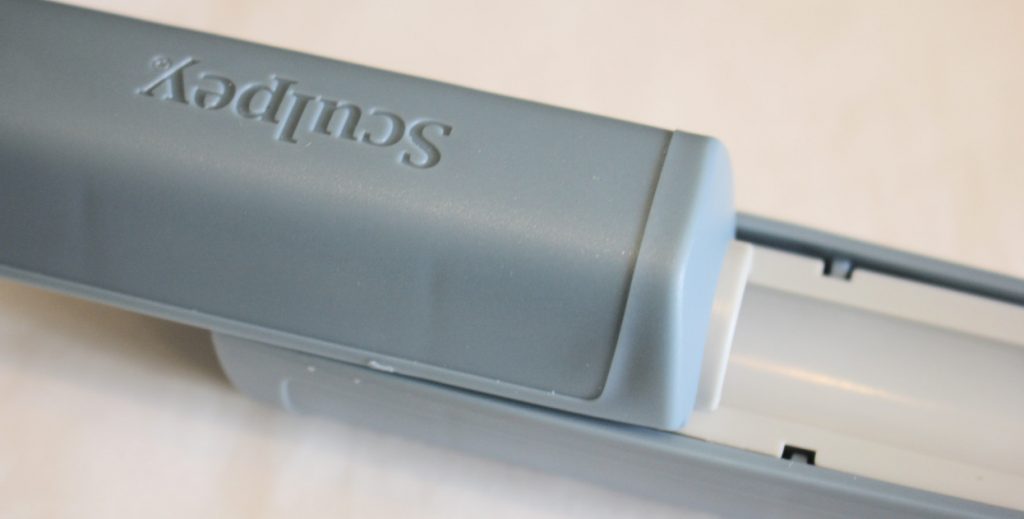
7: Take the ball out of the rollers and poke a hole through it using the poker tool.
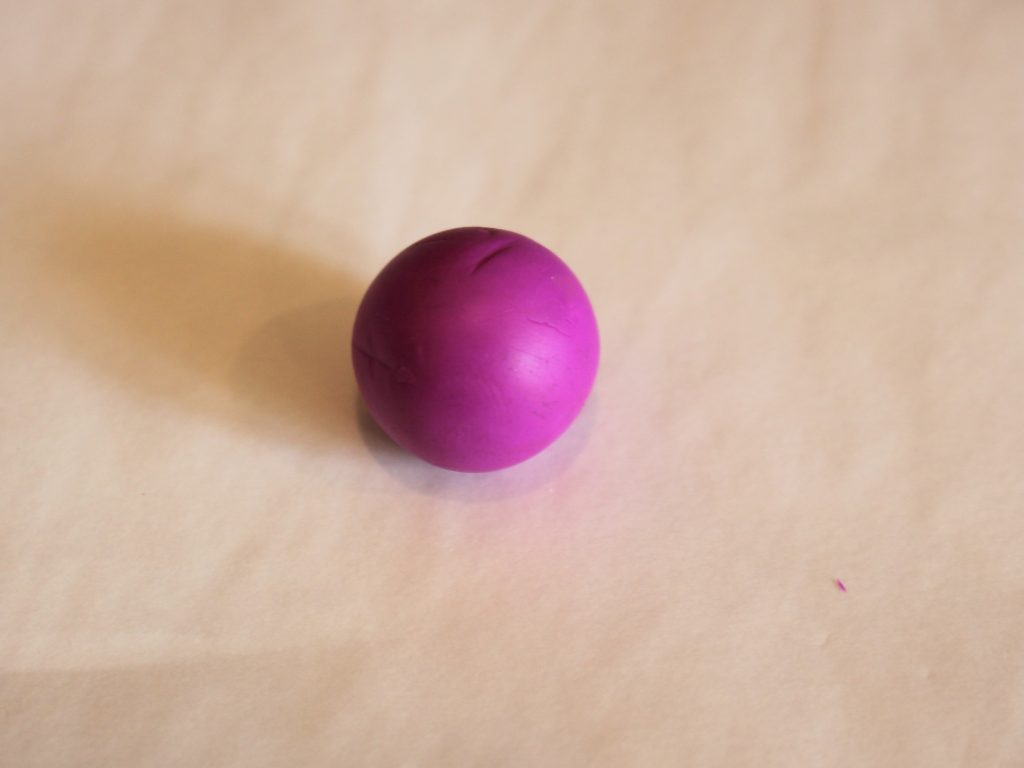
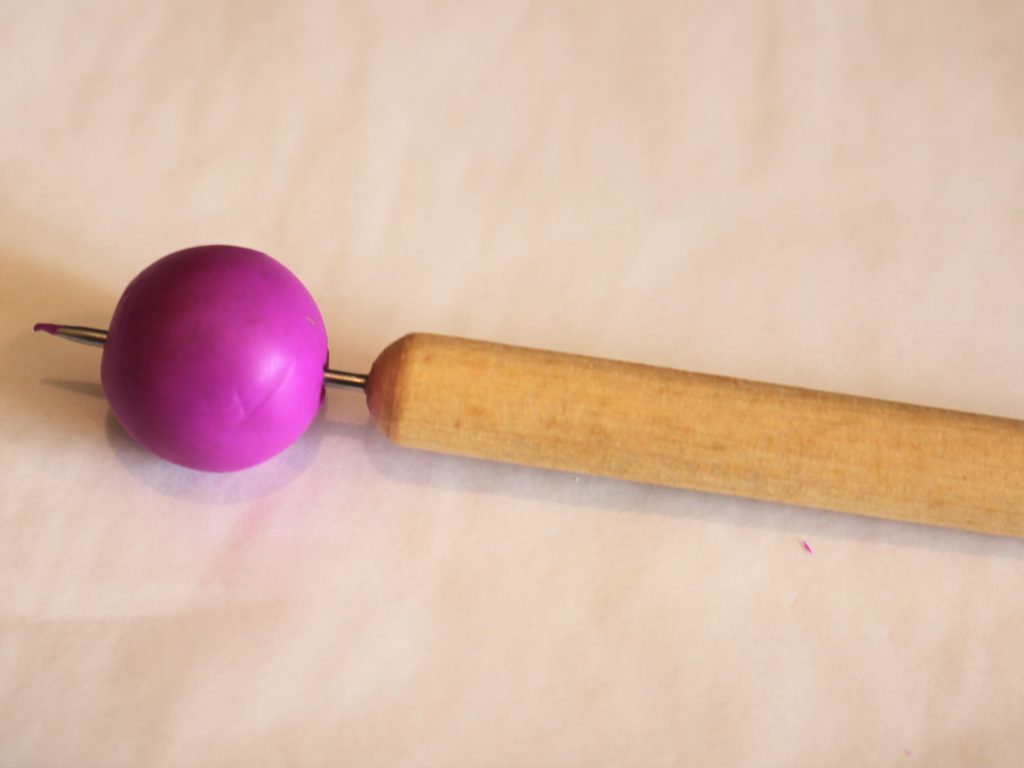
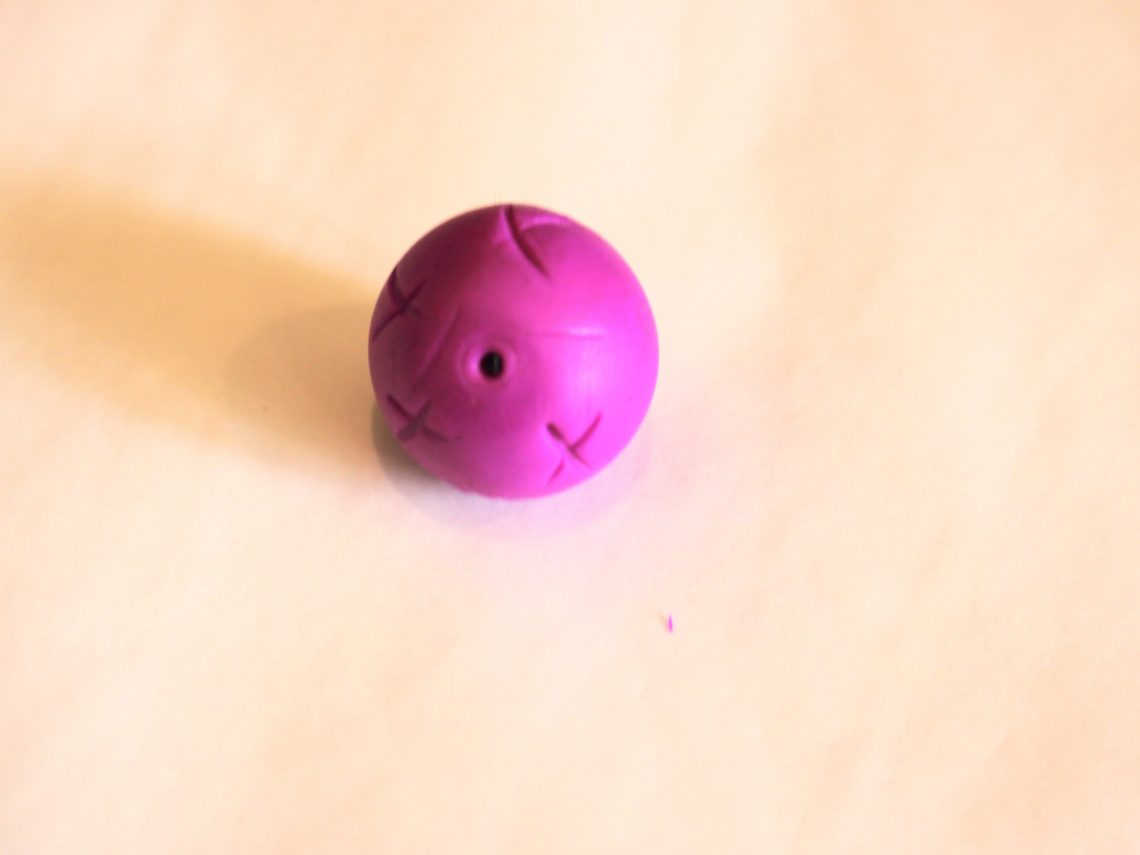
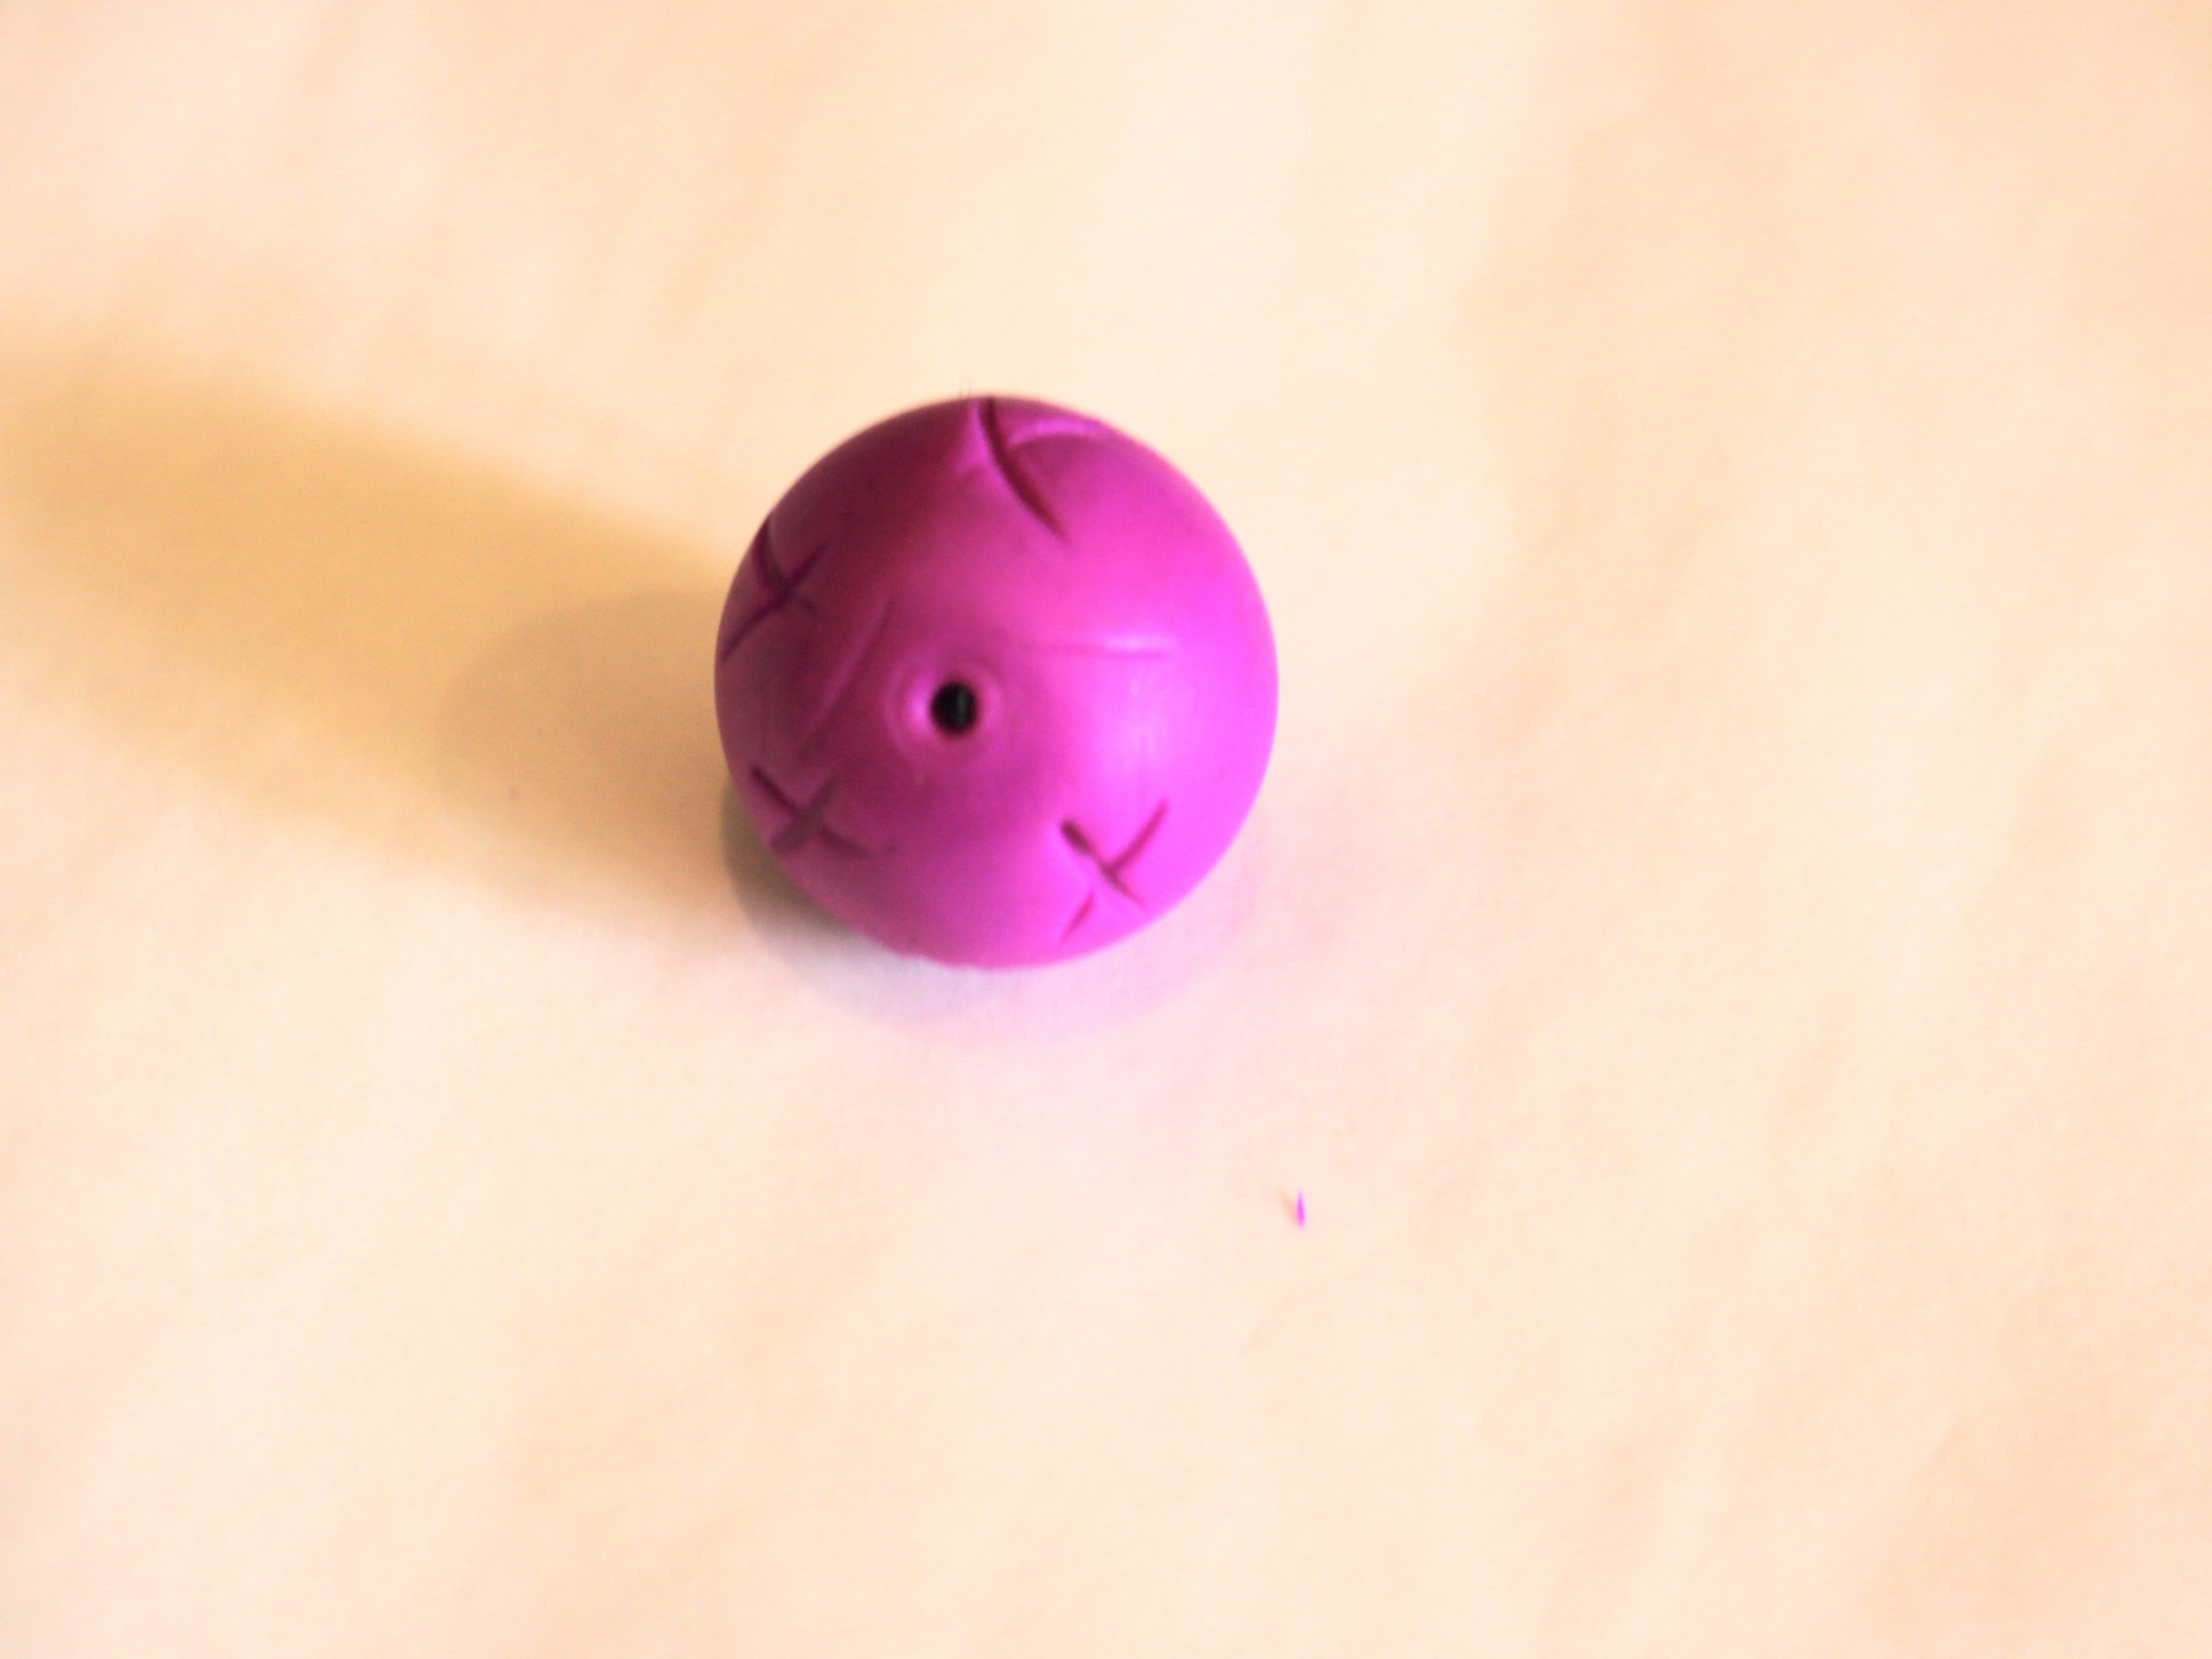
8: Now you can decorate your ball, you might want to roll it again gently to reshape it after making the hole. I used the other end of my poker tool to add some cross designs on my bead.

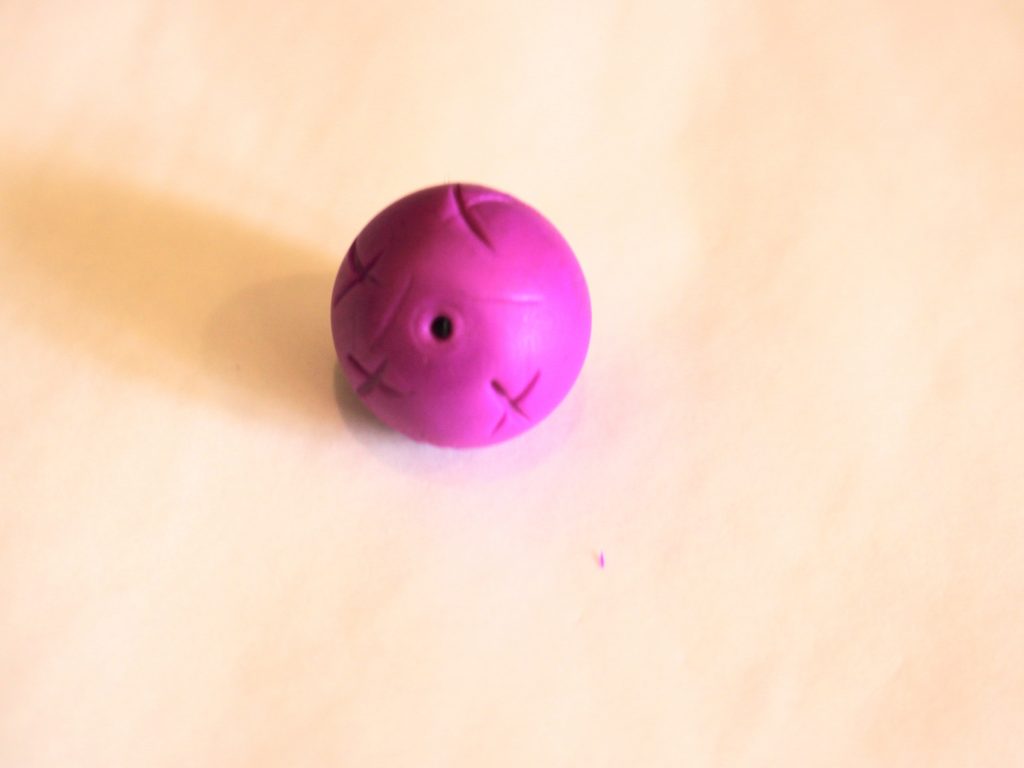
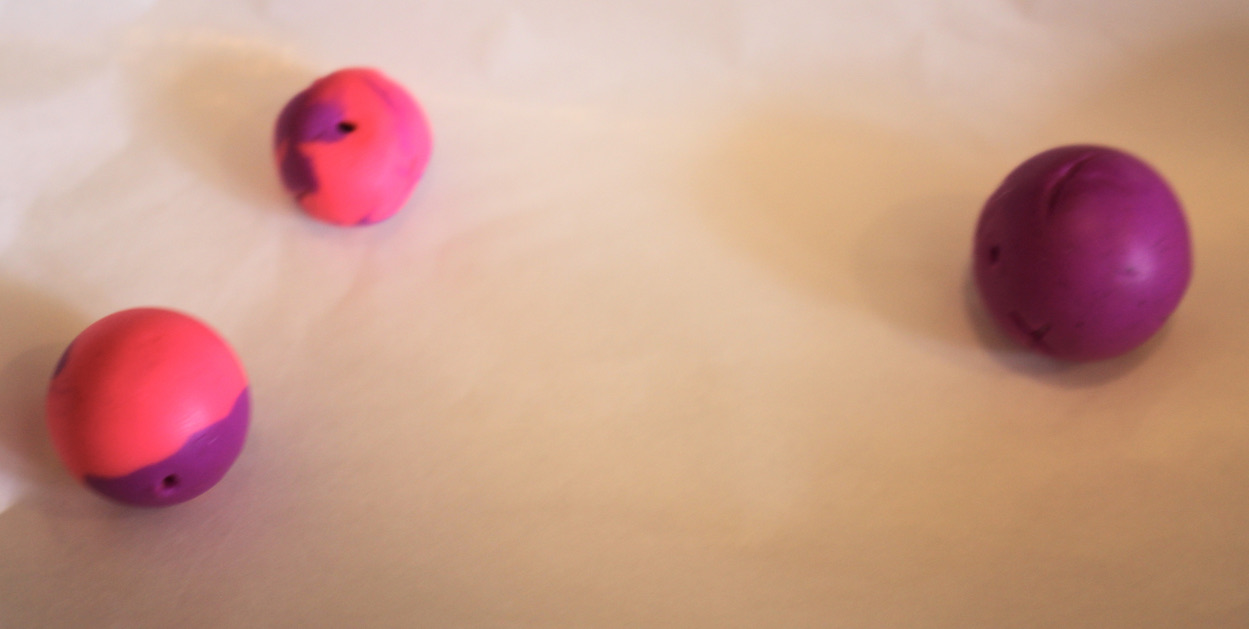
9: Bake the bead according to the instructions on the package of your chosen brand of polymer clay. I made a couple more beads before I baked them. Here they are before being baked.
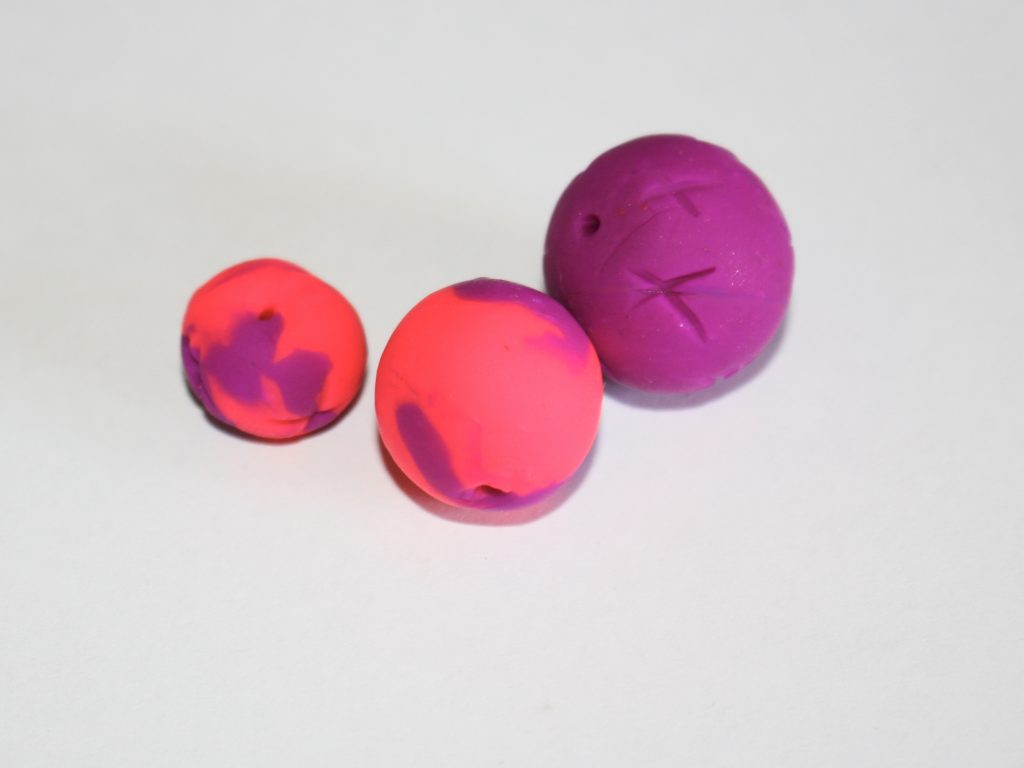
Once your bead is baked it is ready to use in your jewellery designs! Stay tuned for a tutorial where I use my polymer clay beads in a design!

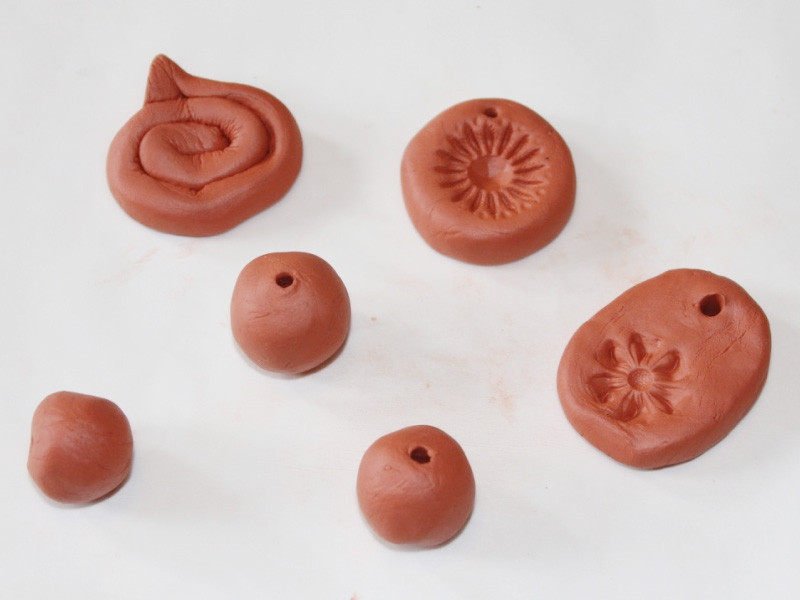
Here are the baked beads. If you liked this tutorial, here are some other ways to make polymer clay pieces to include in your jewelry designs:
- Here’s how to make polymer clay earrings with a beaded tassel
- Here’s how to make polymer clay charms for long statement earrings
And here are some pieces that make use of polymer clay beads and charms:
- A bracelet made using polymer clay beads and beading thread
- Maybe you’ll make a funky beaded lanyard with polymer clay beads?
- Make a cute charm bracelet with your handmade polymer clay beads.
- Use some cube shaped polymer clay beads to make a fun stacking ring
- Add some polymer clay beads to a funky beaded phone strap
- Or use polymer clay beads to make a unique anklet
- Maybe you’ll add polymer clay beads to an amazing mixed bead statement necklace.
If you want to make beads in other materials here are some tutorials:
-
Here’s how to make a bracelet using beading thread and a needle!
I’m loving using nylon beading thread at the moment, so I thought I’d make a tutorial showing how to use it to make a cute beaded bracelet! Here are all the instructions plus some affiliate links so you can buy the materials to make your own.
You’ll need these tools and materials to make this beaded bracelet:
1: Some nylon beading thread. I used some thread that was cut to about 1m long.

2: A clasp. I used this sterling silver parrot clasp.

3: A jump ring. I used a sterling silver jump ring.
4: Beads. I used these handmade polymer clay beads and some red glass seed beads.

5: Scissors to cut the thread.
6: Super glue.
7: A beading needle with a thin loop of thread tied around the bottom.

Follow these steps to make your beaded bracelet:
1: Fold the piece of thread in half, loop and knot it around the jump ring.

2: Slide the thread through the needle loop and begin adding beads.


3: Add beads in your desired pattern.


4: Once you have your bracelet at a length you like, tie a knot to the end so the beads won’t slide off.
5: Tie the end of the string to the jump ring on the parrot clasp, be sure to do a few knots and loops around the clasp for a strong tie.


6: Trim the excess thread.

7: Add a dab of superglue to each knot and set the bracelet aside to dry.

8: Once the superglue is dry, your bracelet is finished! How sweet is it to learn how to use new beading materials?


If you like using beading thread, here’s a tutorial that shows you how to use it to make a beaded necklace.
-
How to make a sweet fruity necklace with beads and some chain!
This necklace is super duper cute! Add some fruity polymer clay beads to eye pins and chain to create a fun beaded chain necklace perfect for adding some color and summer vibes to your wardrobe. Please note that this tutorial contains affiliate links.
You’ll need these tools and materials to make your fruity necklace:
1: A selection of polymer clay fruit beads.

2: The same number of eye pins.

3: Two pieces of chain slightly shorter than the necklace you want to make (The bead elements will make the necklace longer).

4: Two jump rings.

5: A lobster clasp.

6: Some pliers. I used my round nose and flat nose pliers for this piece.

Follow these steps to make your fruit necklace:
1: Add one of the beads to one of the eye pins.

2: Bend the pin to form an angle with the bead.
3: Loop the end of the pin using the round nose pliers. This will secure the bead onto the pin.


4: Repeat steps 1-3 for the rest of the fruit beads.

5: Attach all the fruit beads on their pins together to form a chain. Do this by slightly opening the loops with your pliers and then closing them again after sliding a charm onto the open loop.

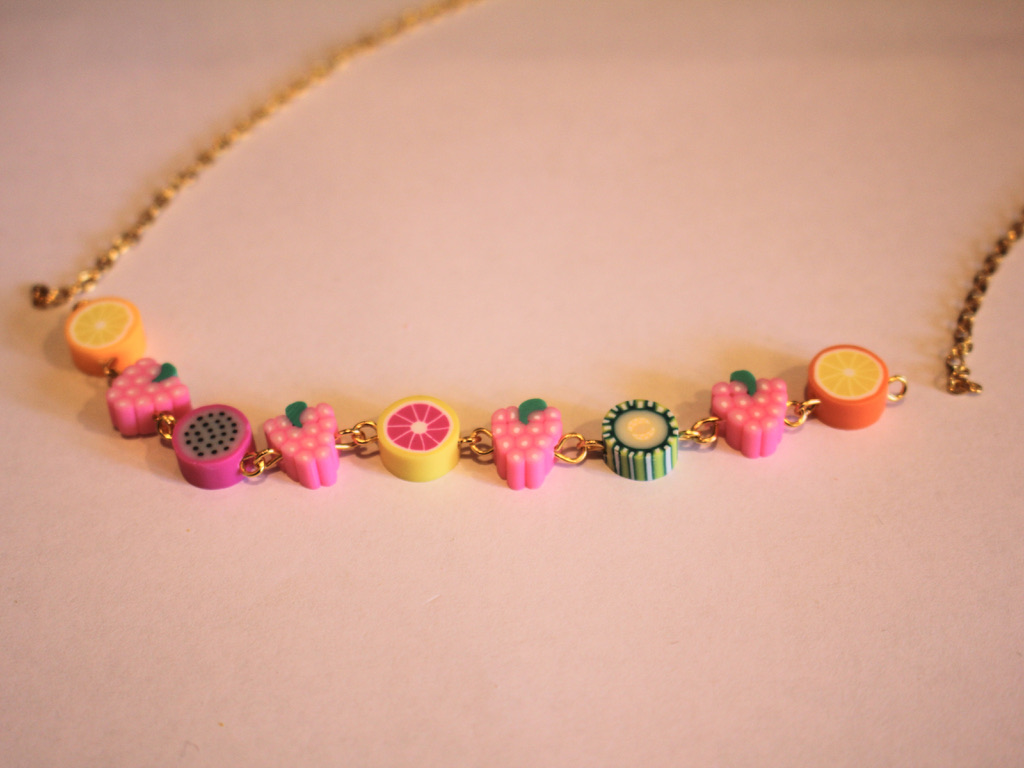
6: Add one side of the chain to one end of the fruit chain you have just made attaching it as you did the fruit links in step 5.


7: Add the other side of the chain to the other side of the fruit section as you did in step 6.

8: Add a jump ring to one end of the chain and add the lobster clasp before closing it.

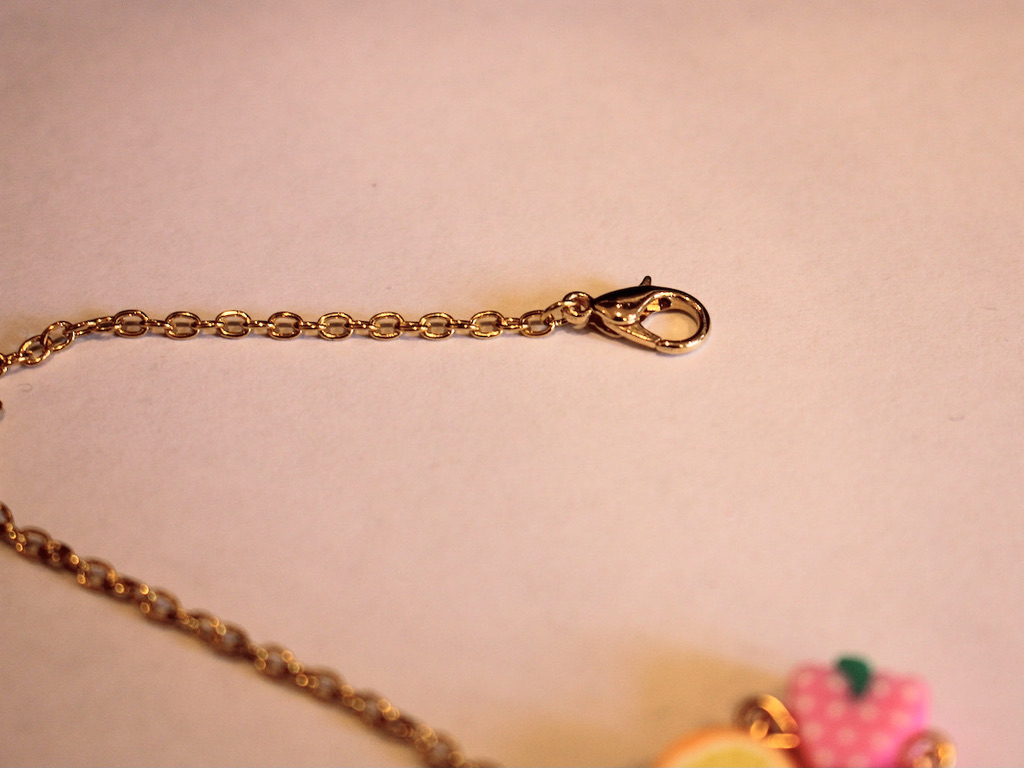
9: Add the other jump ring to the other side of the jump ring to finish it off.

Now your necklace is finished! How perfect and cheerful is this fruity design?!


Here are some other fruity jewelry tutorials you can make if you loved this one:
- A fruit themed waist chain
- Beaded hoops with glass fruit charms
- This perfectly simple apple bracelet
- This cute peachy anklet
- Strawberry dangle charm earrings
- Hot hot hot, a single chilli and pearl earring
- Orange threader earrings
- This yummy bell pepper necklace
- Fruit also features on this mixed bead necklace
- And on this simple strawberry necklace
- This letter bead bracelet has a happy banana on it
-
How to make a smiley good vibes necklace!
This necklace has been designed to give you some good vibes, it features a yellow polymer clay smiley bead and a black tourmaline for good feelings! Black tourmaline is believed to be a gemstone that protects people against negative energies. So by that logic, this necklace will save you from negative vibes and send a smile to people around you! Please note that this tutorial contains affiliate links.
You’ll need these tools and materials to make your good vibes necklace:
1: A chain necklace thin enough to fit the bead.

2: Pliers to remove and replace the end of the chain.
3: A smiley face polymer clay bead.

4: A black tourmaline bead.

5: A large jump ring.

Here’s how to put your necklace for positivity together:
1: Remove the jump ring or tag at the end of the necklace using your pliers.

2: Slide the bead onto the chain.

3: Add the tourmaline bead onto the jump ring.

4: Close the jump ring using your pliers.

5: Add the tourmaline charm to the necklace.

6: Replace the jump ring or tag to the end of the chain to finish the necklace off.


Now your super cute smiley good vibes necklace is finished and ready to wear!


-
How to make a beaded phone strap using a piece of string!
Beaded phone straps are a bit of a trend right now, and here’s a down and dirty way to make one! Really all you need is some string and some beads. I added a large lobster clasp as well, you can use it to attach the strap to your phone or to add some keys or other important charms to your design! Please note that this tutorial contains affiliate links.
You will need these tools and materials to make your own beaded phone strap:
1: A piece of string. I cut mine to be about 40cm long but I suggest going longer, maybe 50-60cm.

2: A selection of beads. Make sure they have holes big enough to fit over the string. I used a mix of handmade polymer clay beads, glass beads, resin beads, timber beads and plastic beads.

3: A large lobster clasp.

4: A pair of scissors for cutting and trimming your string.
Follow these steps to make your phone strap:
1: Fold the string in half.

2: Take the folded end and create a knot, I made mine a little small, I suggest creating the knot about 8-10cm down the string. After you pull the knot tight you will have a loop and two separate strings.


3: Begin adding beads to one of the strings until you have most of the string beaded.


4: Add beads to the other side, beading the second string to the same length as the first.

5: Tie the ends of each string together, adding the lobster clasp before securing the knot.


6: Add an accent bead to one of the tails of the loop and knot the end to secure the bead in place.


7: Repeat step 6 for the second tail of the beaded phone strap.

Now your phone strap is finished! This is a bit of a down and dirty DIY but the results are pretty cute and you can personalise it to your liking!