-
How to make a rhinestone glasses chain!
I think glasses chains are so cool! This glasses chain design is super glam, made from a sparkly rhinestone string for some practical glamour! Please note that this tutorial contains affiliate links.
You’ll need these tools and materials to do this DIY:
1: A length of rhinestone chain at a length you like. Check this by wrapping it around the back of your neck and seeing where it falls against your chest.

2: Pliers. I used my cutting pliers to cut the rhinestone chain. I also used my flat nose pliers and round nose pliers.

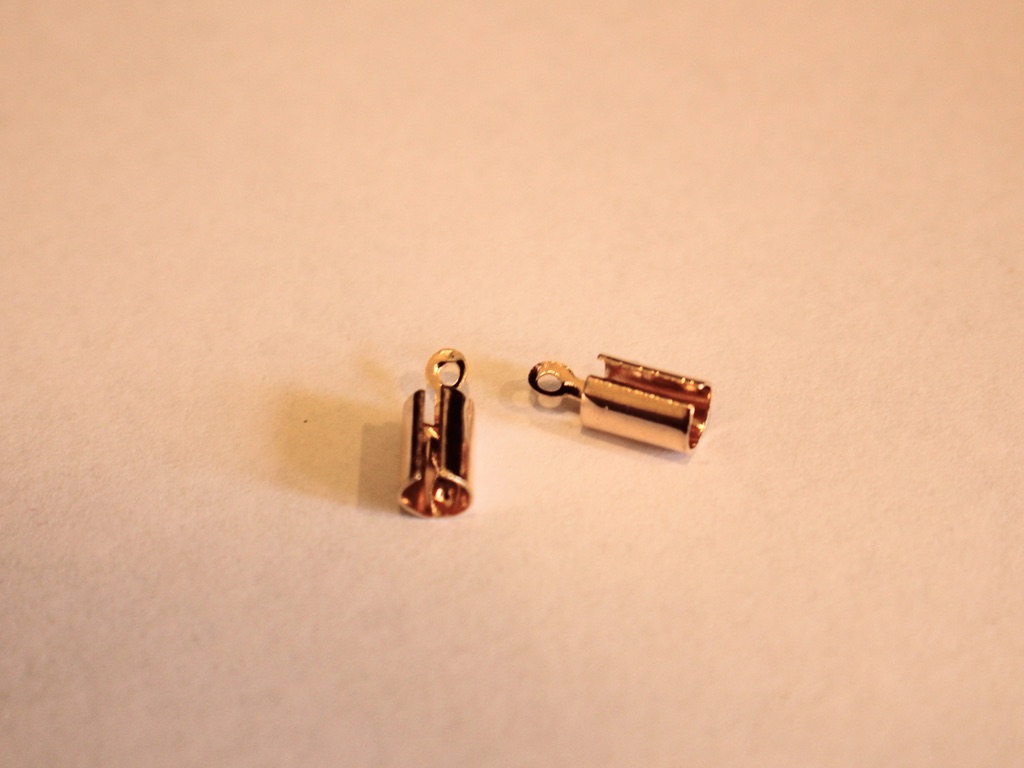
3: Crimp ends that fit around the rhinestones. I used these rose gold coloured ones.
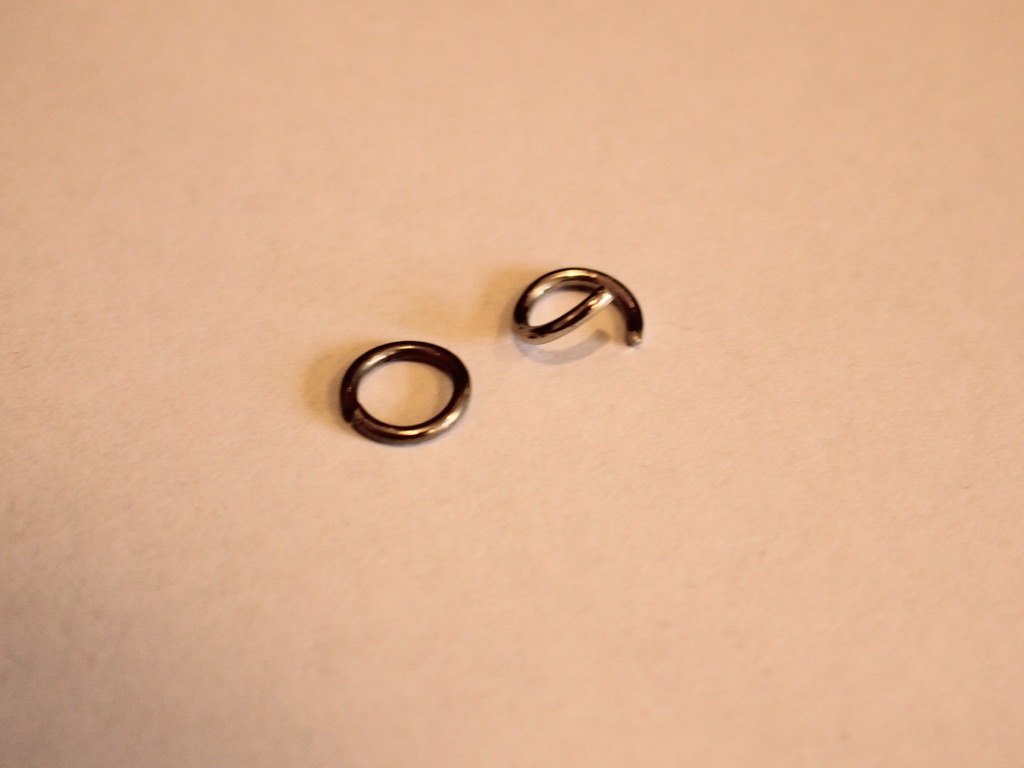
4: Two jump rings.
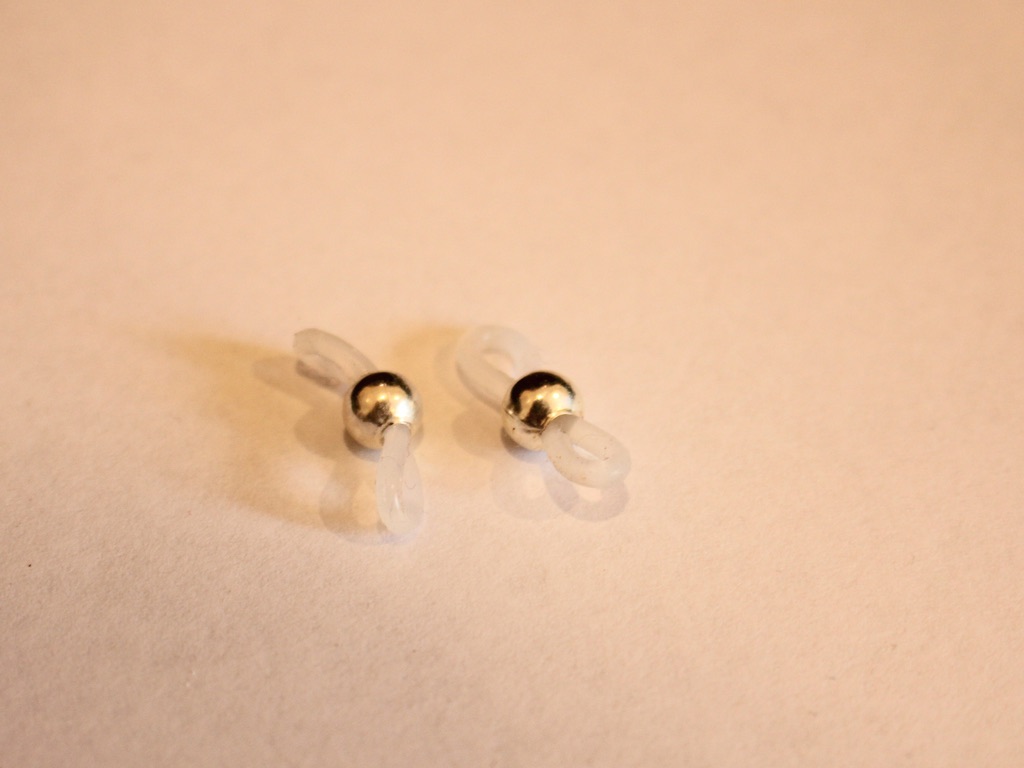
5: Two rubber glassses holders.
Follow these steps to make your cute rhinestone glasses chain:
1: Take one end of the rhinestone chain and place it inside one of the crimp ends.
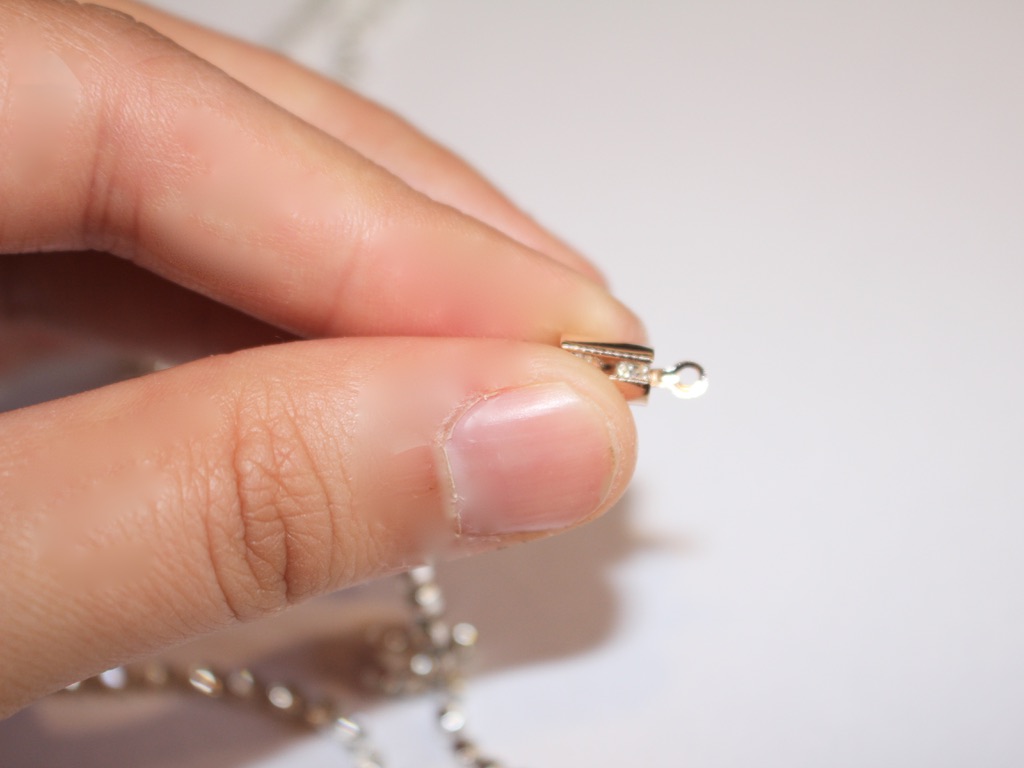
2: Squash one side of the crimp end around the rhinestone strand using the flat nose pliers. Be careful here because the rhinestones like to pop out.
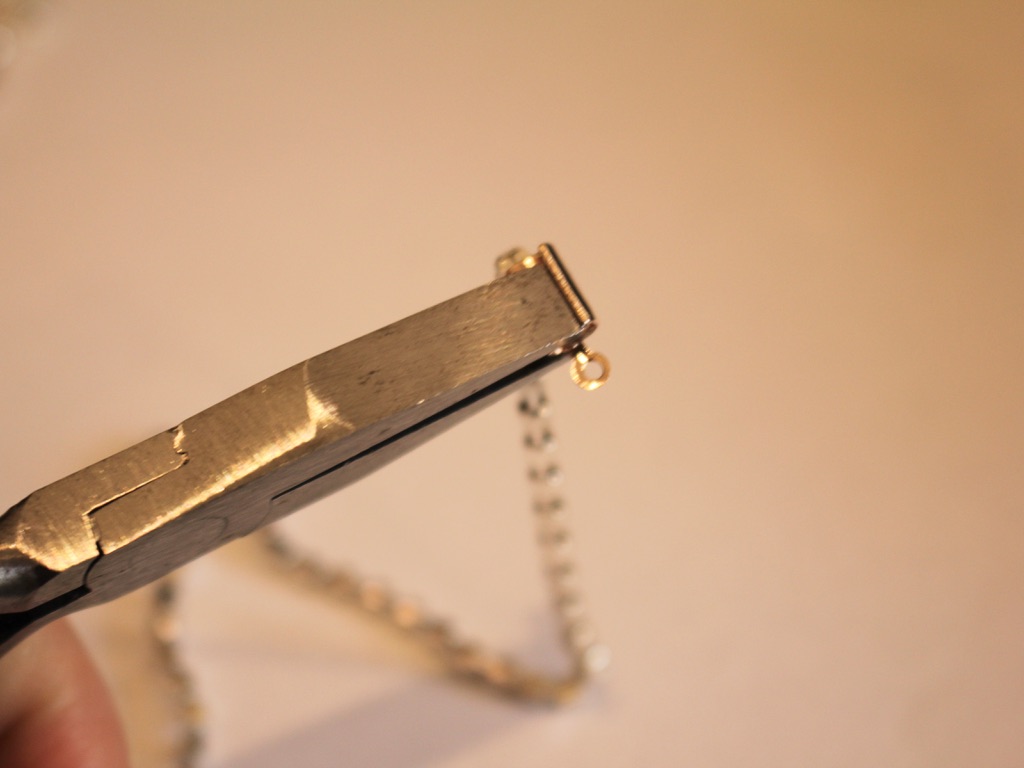
3: Squash the other side of the crimp around the rhinestones and the first side using the flat nose pliers again. Now your crimp end should be secured onto the strand.
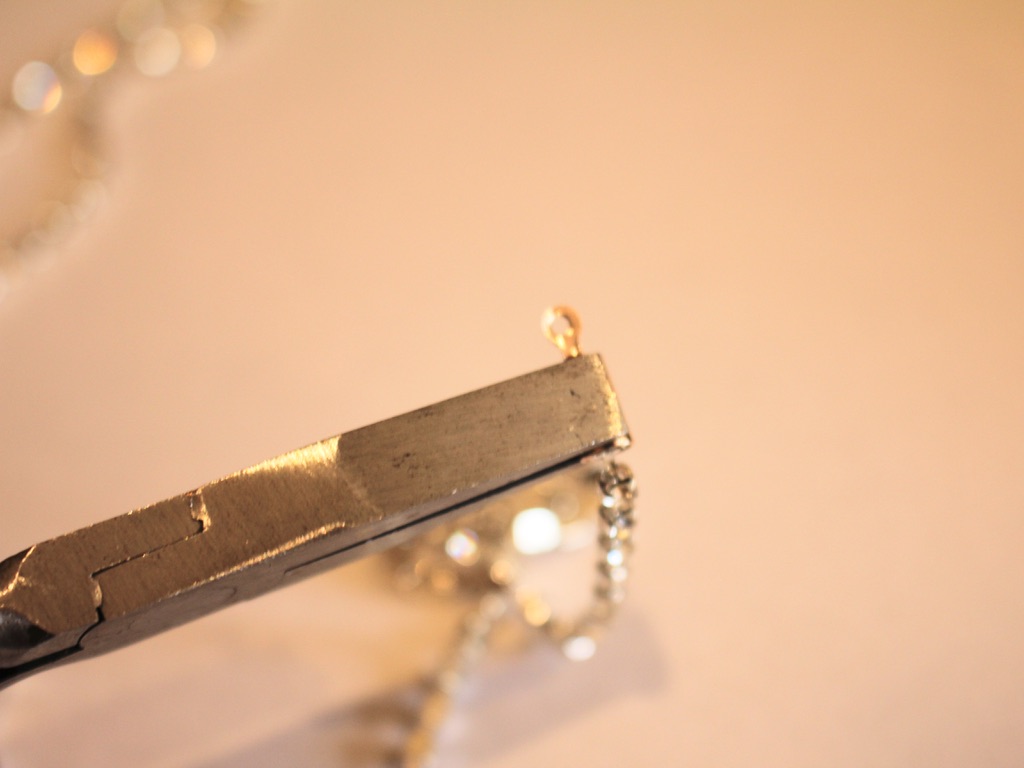
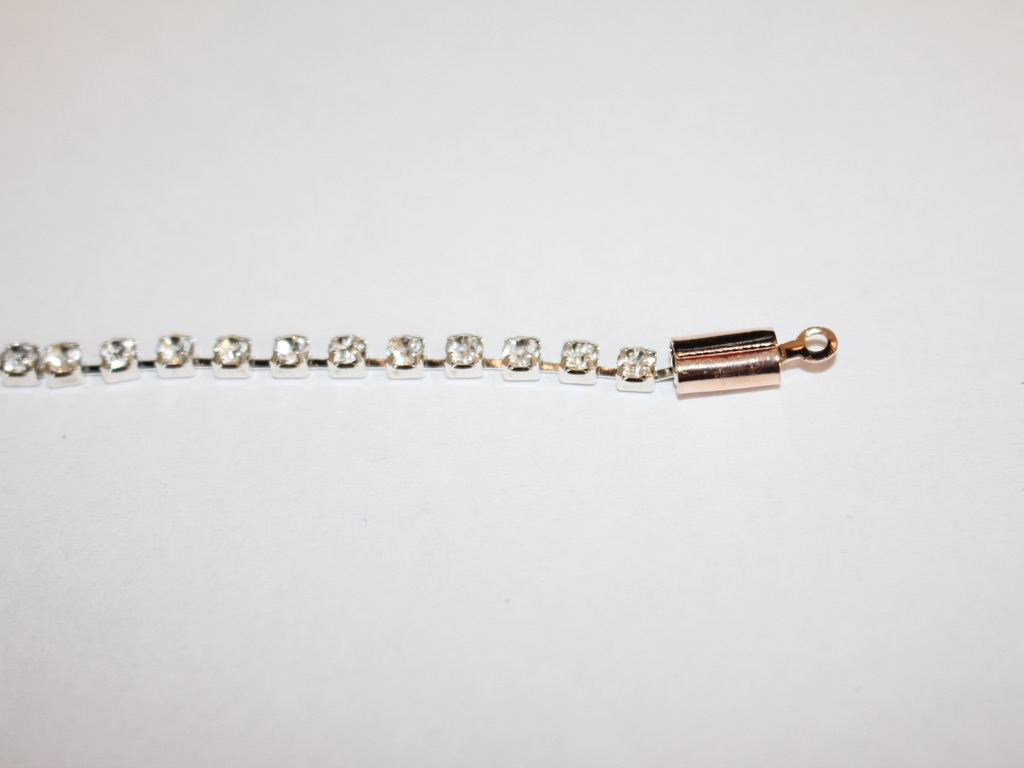
4: Repeat step 3 for the second crimp end on the other side of the rhinestone chain.
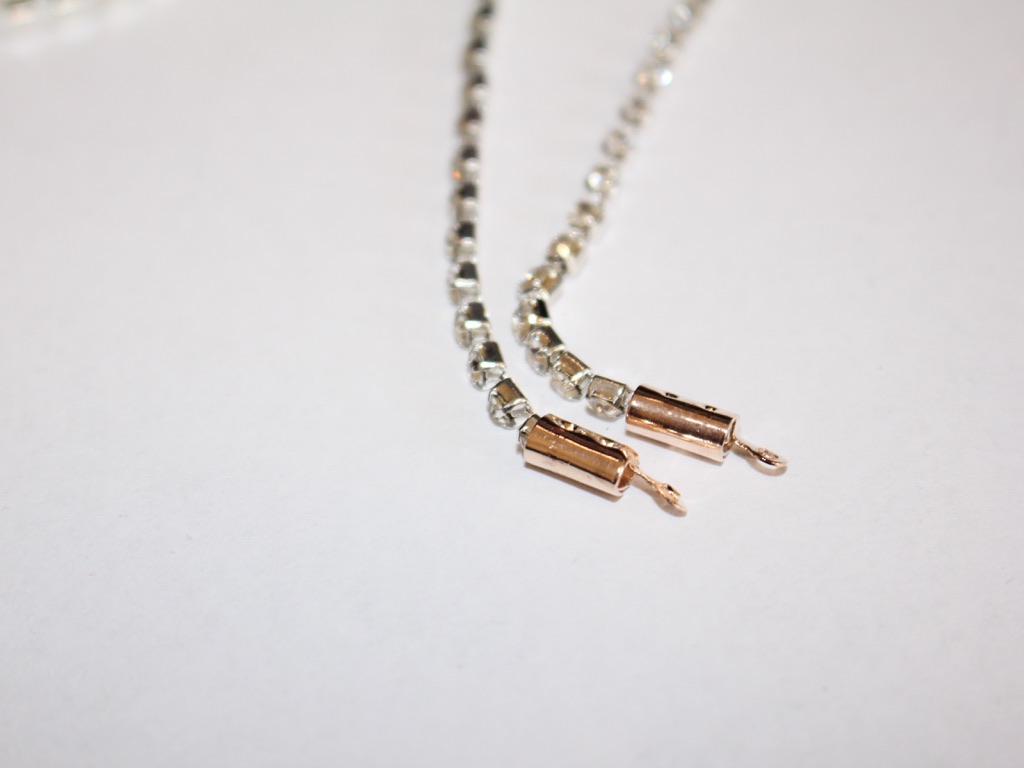
5: Add a jump ring to one end of the chain and use it to secure the rubber glasses holder in place. Repeat this for the other end of the chain to finish your DIY off.
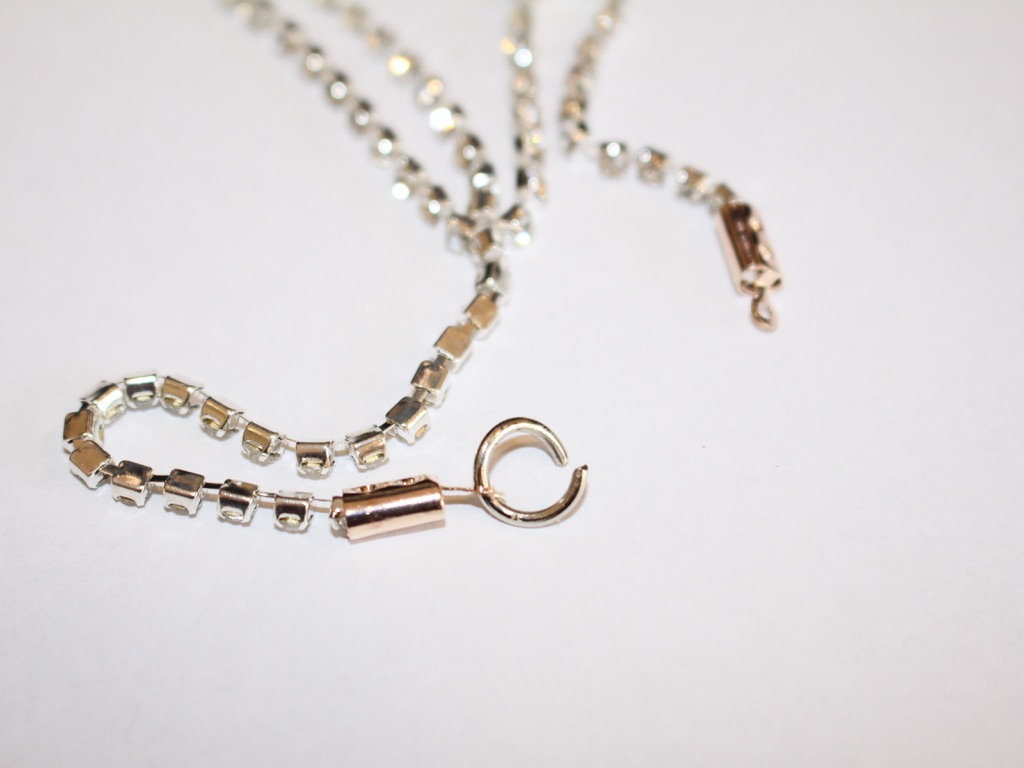
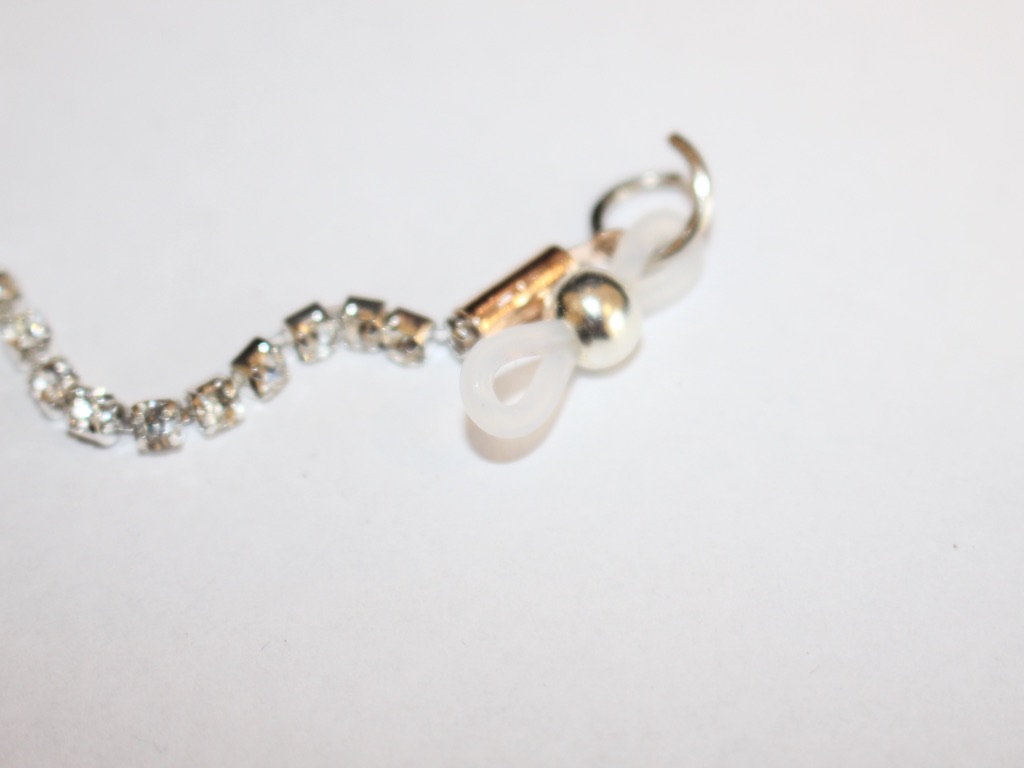
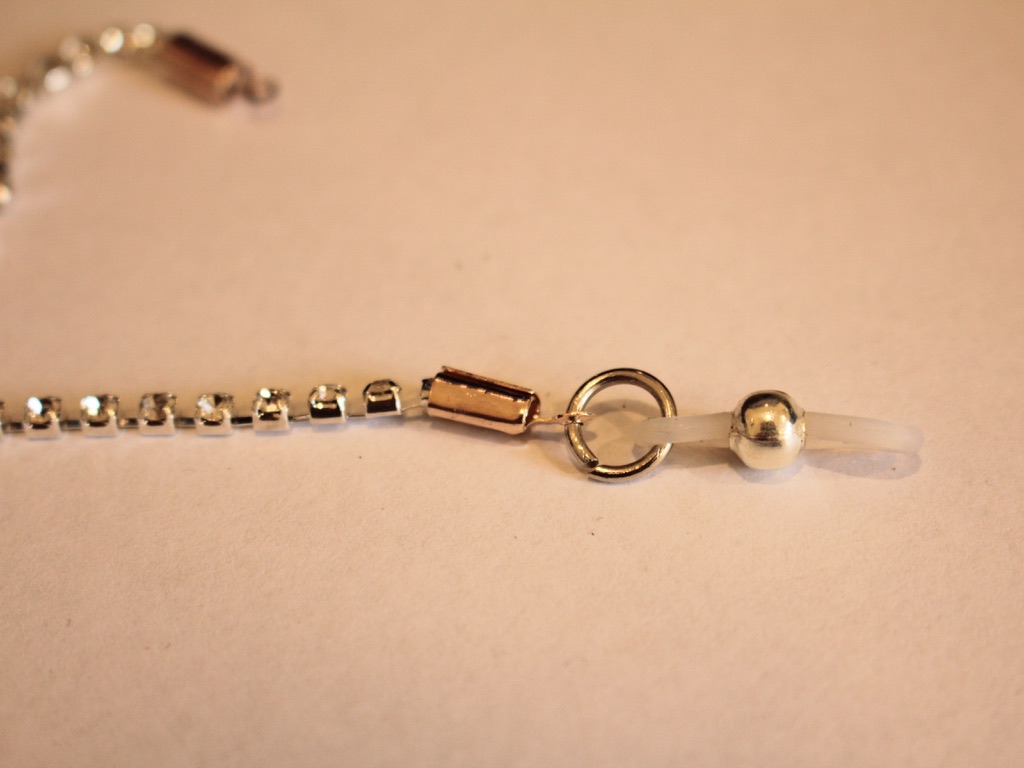
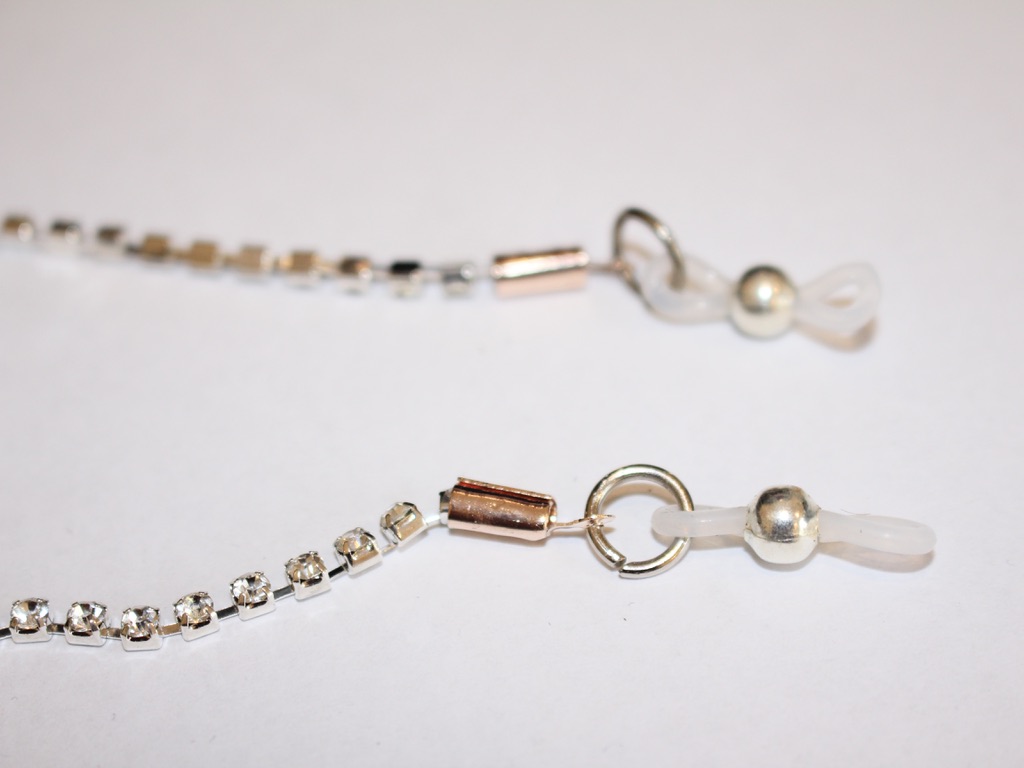
Now your rhinestone glasses chain is ready to use! Pop them onto your favorite spectacles or sunnies and shine on.
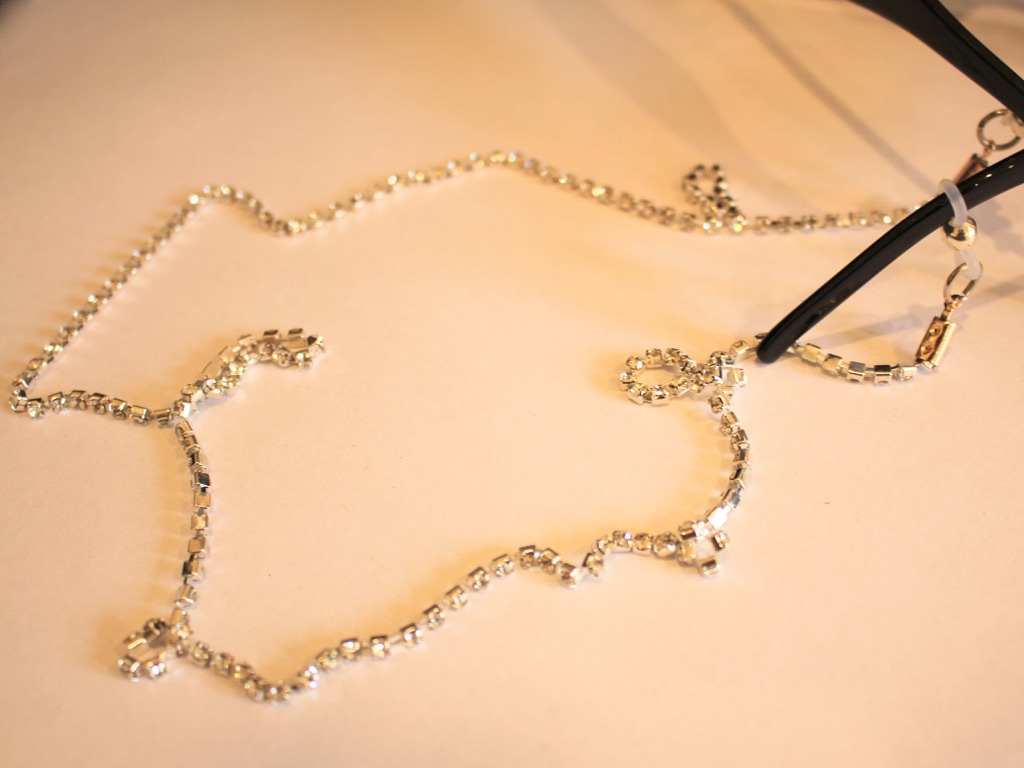
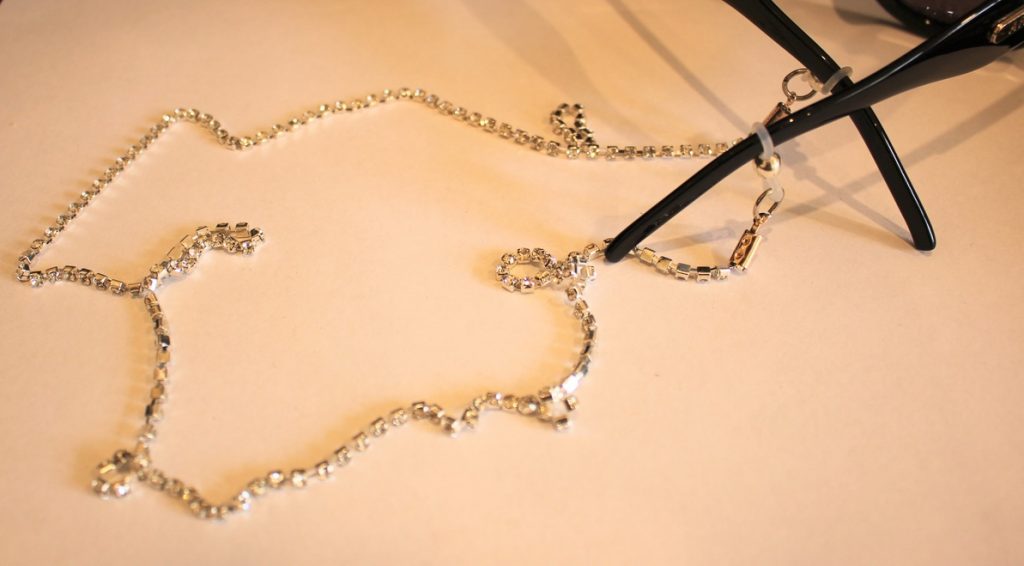

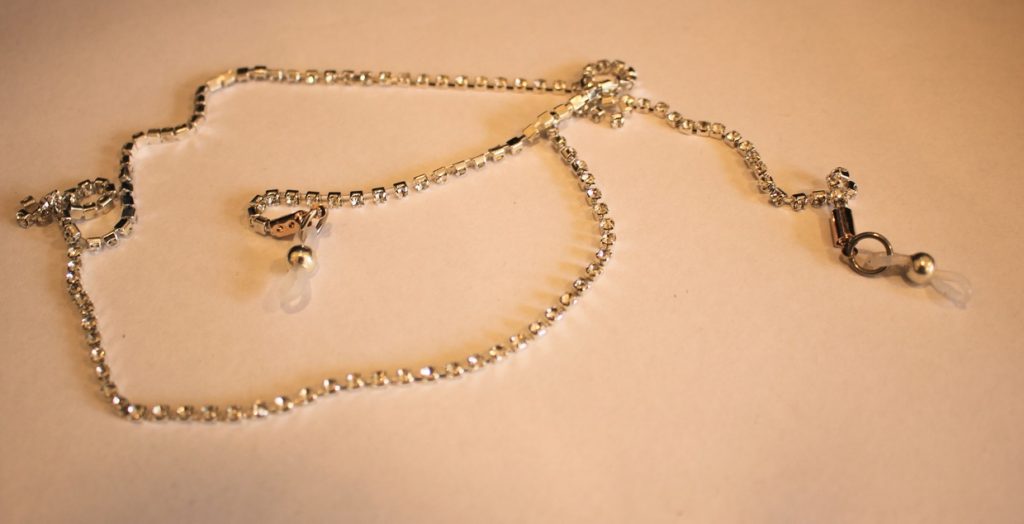
Here are some other rhinestone DIY’s you can make:
- A rhinestone embellished hair comb
- This cute pair of rhinestone alligator hair clips
- These two different rhinestone headbands
- Some crazy rhinestone statement earrings, check them out here and here
- An amazing rhinestone brooch
-
Need a sparkly accessory to cheer up the 2020 silly season? Make this waist chain in time for Christmas this year!
2020 has been wild and hard for lots of people. Some sparkly accessories might not fix anything, but they might help cheer you up a little bit! Please note that this tutorial contains affiliate links.
Here are all the things you need to make this waist chain:
1: Some rhinestone chain long enough to fit comfortably around your waist.

2: Pliers. I used my cutting pliers to cut my chain to length. I also used my flat nose and round nose pliers.
3: A couple of jump rings.

4: Two crimp ends.

5: A large lobster clasp.

Follow these steps to DIY your own fun sparkly waist chain:
1: Add one of the crimp ends to one end of your chain, holding it in place around the chain.

2: Squash one side of the crimp around the rhinestone chain using the flat nose pliers. Be careful with this step to ensure that the chain doesn’t pop out of the crimp.

3: Squash the other side of the crimp to secure it onto the strand.

4: Repeat steps 2 and 3 using the other crimp on the other side of the rhinestone strand.

5: Add a jump ring to one end of the strand and attach the lobster clasp. Secure the clasp in place by closing the jump ring.


6: Add the remaining jump ring to the other side of the waist chain to finish it off. Now your rhinestone waist chain is finished and ready to wear! I hope it brings some necessary sparkle into your life!


-
Are you sick of the hair accessory trend yet? If not, why not make a rhinestone hair comb?

This rhinestone hair comb is super easy to make and is the perfect way to add some sparkle to your hair! I love this cute piece so much, I wear it at the back of my head to add some style to my messy bun, just tuck it into your hair! So comfortable and cute.
Please note that this tutorial contains affiliate links for which we may receive a commission.
You will need the following tools and materials to make this rhinestone hair comb:
1: A metal hair comb.

You can get hair combs here:
2: Rhinestones. I used three of these silver backed rhinestones.

You can get something similar here:
3: Two-part epoxy glue, I used Araldite.

You can get glue here:
4: A skewer.

You can get skewers here:
5: Scrap paper.

Follow these steps to make your rhinestone comb:
1: Squeeze out the glue in equal parts onto the scrap paper.


2: Mix the glue using the skewer.

3: Add glue to the top of the comb where you want to place your rhinestones.

4: Add glue to the back of the rhinestones and place them on the comb.


5: Set the comb aside to dry.
Once the glue is dry your rhinestone embellished hair comb is ready to use!
Here’s another one that I made using resin charms.

Here are some other rhinestone hair accessory tutorials:
- Rhinestone embellished hair clips
- A headband with a rhinestone crown
- Upgrade an old headband with statement rhinestones
This tutorial contains affiliate links
-
I am loving rhinestone right now! Here’s how to DIY a rhinestone headband

I love this headband! Such a cool hair accessory, simple and sparkly… what more could you ask for?
You’ll need the following tools and materials to make this headband:
1: A headband. I used this one covered in a red ribbon.
2: A strand of rhinestones long enough to cover the headband.

3: Superglue.

Follow these steps to make your rhinestone headband:
1: Add some glue to the end of the headband.

2: Place the end of the rhinestone strand on the glued part to secure it in place. Be careful not to glue your fingers!

3: Add some more dabs of glue along the headband securing the rhinestones down as you go.

4: Secure the other end of the rhinestone strand down at the other end of the headband to finish it off!


Now it’s ready to wear!
-
Make this cutie-pie bracelet using a charm connector today!
Have you ever seen a charm that has two loops rather than one? That’s a charm connector! These charms let you join two different strands to create unique pieces of jewelry. I have already shown you how to make a braided friendship bracelet using a charm connector, in this tutorial I will give you all the knowledge you need to make a beaded bracelet that features a pretty silver charm connector.
You will need the following tools and materials to make this charm connector bracelet:
1: Pliers. You will need your cutting pliers and your flat nose pliers to make this bracelet.


2: Tiger tail wire.
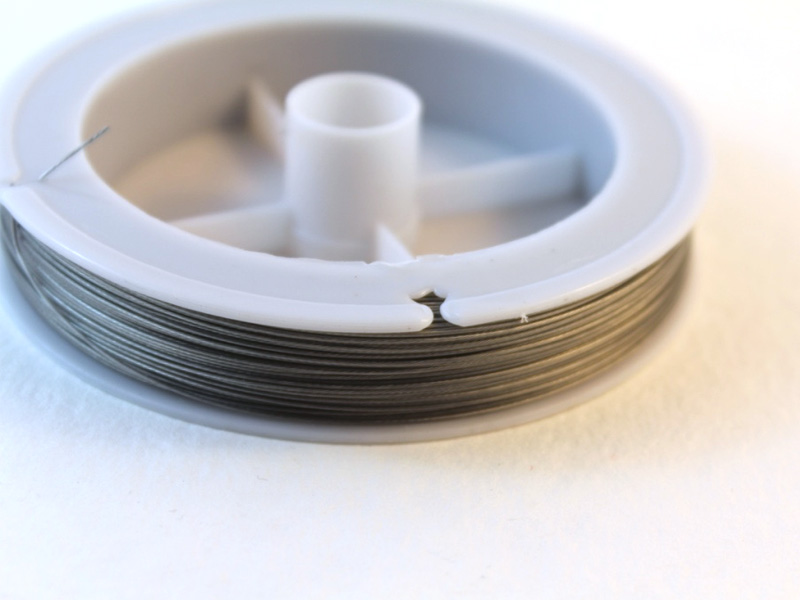
3: Eight crimp beads.

4: A toggle clasp.


6: Beads of your choice. I used some pink glass bugle beads and some blue glass seed beads.


The Steps:
1: Use your cutting pliers to cut two lengths of tiger tail wire long enough to fit halfway around your wrist. I cut mine with a little extra length to ensure that my bracelet would fit.


2: Take one piece of tiger tail wire and add two crimp beads to the end, then fold the end of the wire around one loop on the charm connector.


3: Squash the crimp beads to secure the wire and charm together using the flat nose pliers.
4: Repeat steps 2 and 3 for the second tiger tail strand attaching it to the other side of the charm connector.

5: Begin adding beads to one side of the bracelet. I started with the pink bugle beads.

6: Continue adding beads until the beaded section reaches approximately half way around your wrist.

7: Add two crimp beads to the strand.

8: Add one side of the toggle clasp to the strand as well, fold the wire around the clasp and back through the crimp beads.

9: Squash the crimp beads using the flat nose pliers to secure the strand.

10: Trim the excess wire using the cutting pliers.

11. Repeat steps 5 and 6 for the second strand. Continue beading until the second strand is approximately the same length as the first.


12: Add two more crimp beads and the other end of the toggle clasp to the end of the second strand.

13: Bend the wire around the clasp and back through the crimps as you did the first strand.

14: Secure the strand by squashing the crimp beads using the flat nose pliers.

15: Trim the excess wire close to the crimp beads using the cutting pliers.
16: Once all the extra wire has been trimmed your bracelet is finished and ready to wear! This is such a cute way to make a stunning bracelet. Charm connector bracelets look great stacked with other beaded bracelet designs! Style yours up any way you like.


Here are some other beaded charm connector bracelet designs. You can get really experimental and creative with charm connectors. Happy making!


Here are some other charm connector tutorials on DIY Jewelry Hub
- A delicate charm connector anklet
- A charm connector bangle
- Charm connector statement earrings
- Braided charm connector bracelets
Please note that this tutorial contains affiliate links.
-
Bling Up Your Look With This Epic Statement Ring
This DIY jewelry tutorial is a little different, instead of relying on beads, pins and wire to create a ring, this design uses a flat bed ring finding and an assortment of bright and shiny materials to make a statement. All you need to construct a ring like this are your materials and some strong glue.
To make this design you will need to use the following tools and materials:
1: Glue. When I am working with translucent materials I prefer to use Araldite glue. Using super glue or hot glue from a glue gun can affect the appearance of your materials and the finish of your overall design.
2: A skewer or stick for mixing and applying the glue.
3: A piece of paper or plastic to mix your glue on.
4: A flat bed ring finding.

5: A base piece to build your decoration on. In this design I used a piece of green laser cut acrylic.

6: Decorations. For this design I used two faux pearls and a large pink rhinestone.


The Steps:
1: Squeeze some glue out of the tube, Araldite is a two part glue that requires mixing to make it set. You might need to mix a few batches as the glue can harden while you are waiting for your components to dry. I recommend using this glue in a well ventilated area.
2: Mix the glue carefully using the skewer.
3: Add some glue to the end of the skewer and carefully apply it to the pink rhinestone centerpiece.

4: Carefully place the rhinestone onto the green backing piece. Once the piece is in place, begin adding glue in the same manner to the pearl decorations, placing them either side of the pink rhinestone centerpiece.

5: Once all your decorations are in place, let the piece sit for a few minutes to dry. Try to keep the piece flat to prevent the decorations from sliding around on the base piece.

6: Once the ring decoration is dry, turn it over to prepare for the attachment of the ring finding.

7: Add some glue to the flat part of the ring finding. You might have to mix up some more glue at this stage as your initial batch may have hardened.

8: Carefully place the ring finding onto the backside of the base piece so that it sits directly behind the pink rhinestone centerpiece.


9: You might need to hold the piece still until it begins to dry. Alternatively, you can prop it up, being careful to keep the piece straight so that the ring finding doesn’t move and set in the wrong spot.
Once all the components are dry and set in place your stunning statement ring is ready to wear!