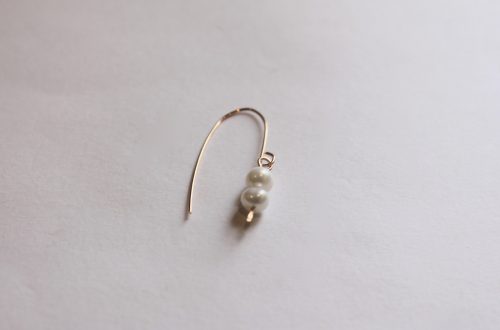
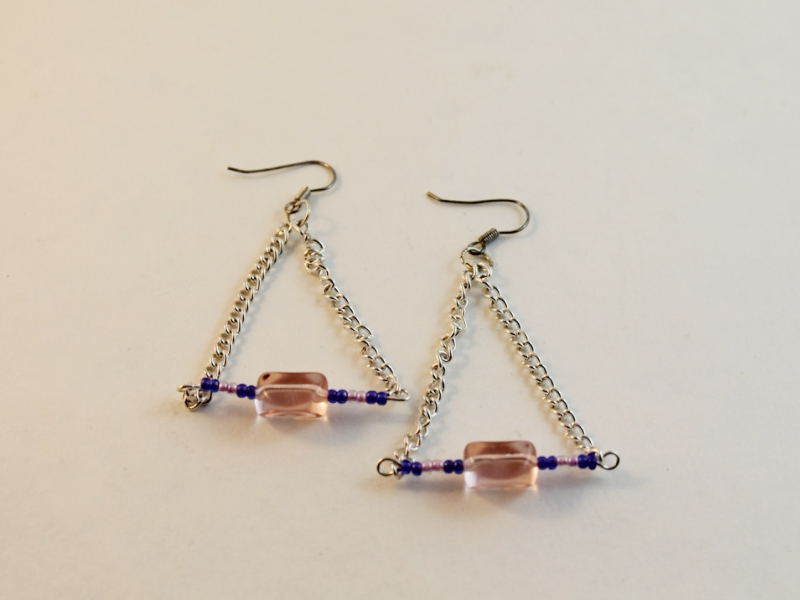
-
Here’s how to add a clasp to any charm to make it a clip on charm!
I like to switch my jewellery around, adding charms to different chains to suit my needs. For this tutorial, I’ll show you how to attach a charm to a bolt ring clasp so that you can clip it easily to another charm, chain, bracelet or earring depending on your desires! Please note that this tutorial contains affiliate links.
You’ll need these tools and materials to make your clip on charm:
1: A bolt ring clasp. I used one made from sterling silver to match my charm.

2: A charm. I used this sun charm that was a gift from my grandmother.

3: An existing necklace, bracelet or earring. I attached my charm to this snake chain necklace with a fluorite and silver charm.

4: A pair of flat nose pliers for closing the clasp.

Follow these steps to create your clip on charm:
1: Slide the charm onto the open ring at the bottom of the bolt ring clasp.

2: Close the ring using the flat nose pliers.

3: Now you can attach your charm to any piece you like. Here’s mine attached to the fluorite charm and to the chain. How great to add some versatility to your jewelry collection?!

Opening the clasp to attach it to the necklace. 
Here is the charm clipped to the fluorite charm. 


Here’s the charm attached to the snake chain. A note for future posts, I will be posting monthly for the foreseeable future. I hope you continue to enjoy my tutorials.
-
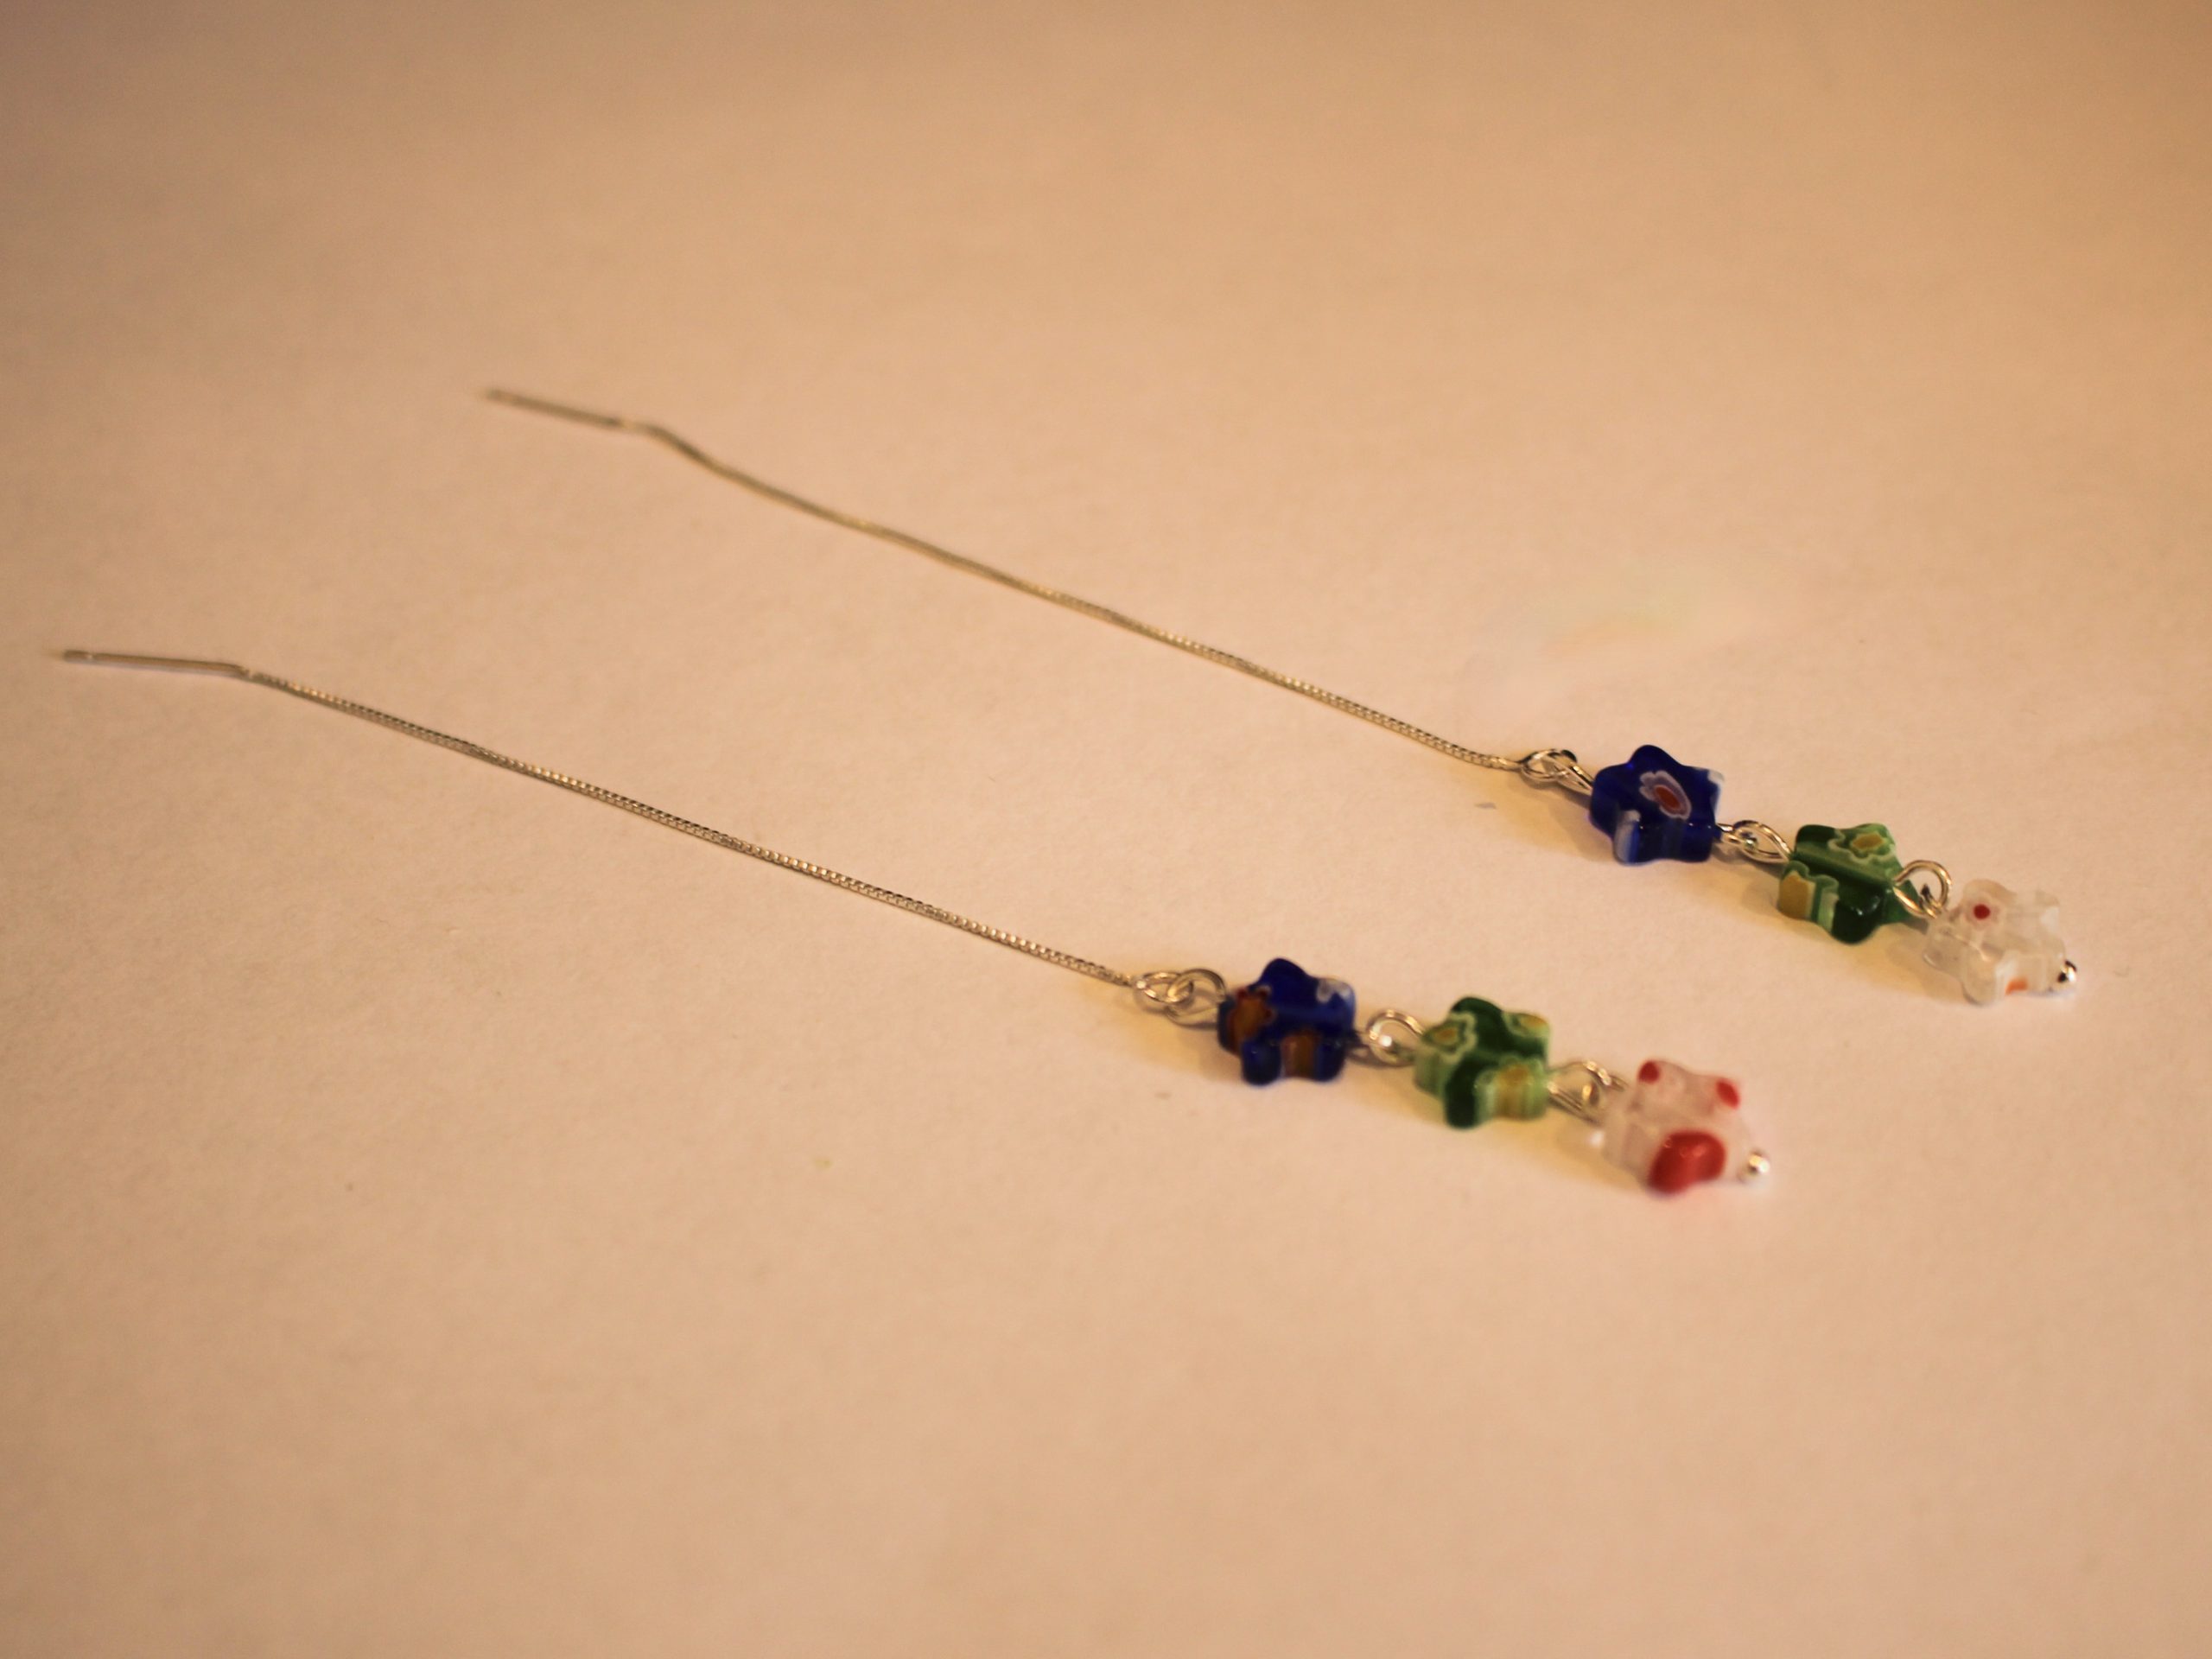
How to make some dangling star threader earrings!
Threader earrings are really cool! This design uses some cute glass star-shaped beads for an adorable effect. Please note that this tutorial features affiliate links.
You’ll need these tools and materials to make your star embellished threader earrings:
1: Pliers. I used my flat and round nose pliers.


2: Two threader earrings with charm connectors at one end.

3: Four eye pins the right length for the beads you are using.

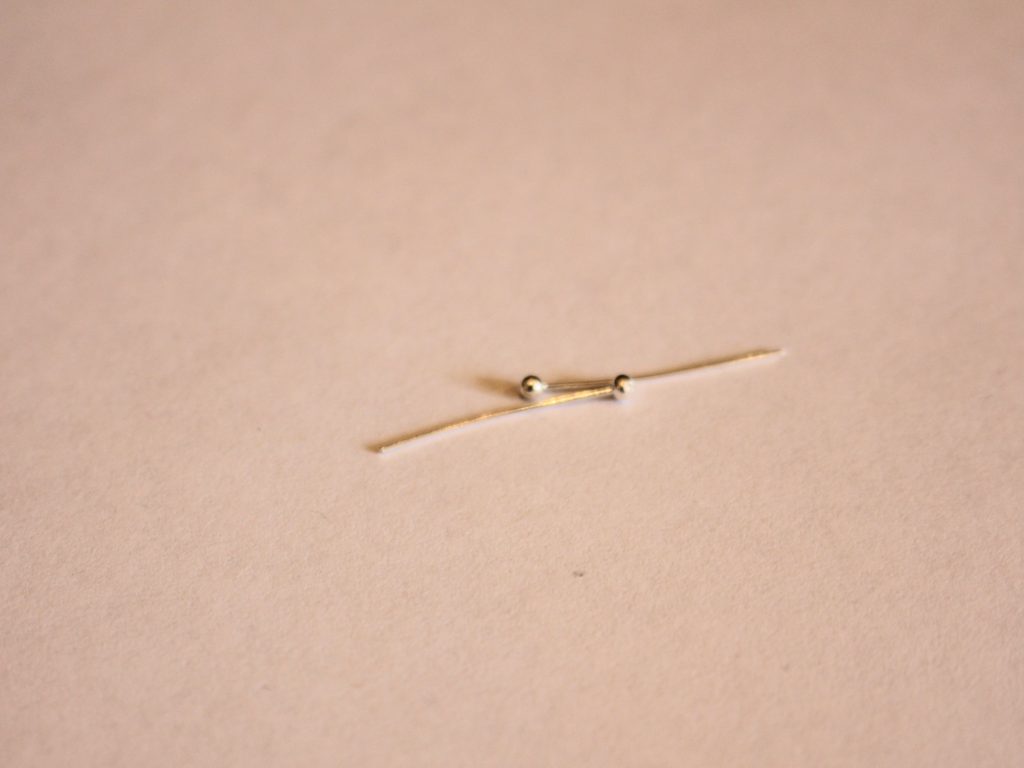
4: Two small head pins.
5: Six star beads, three matching pairs.

Follow these steps to make your star threader earrings:
1: Add two beads to each of the head pins.

2: Bend the top of one pin to form a right angle.

3: Loop the top of the pin using the round nose pliers to secure the bead in place.

4: Repeat steps 2 and 3 for the other bead.

5: Add another bead to one of the eye pins and repeat steps 2 and 3 to secure the bead on the pin.
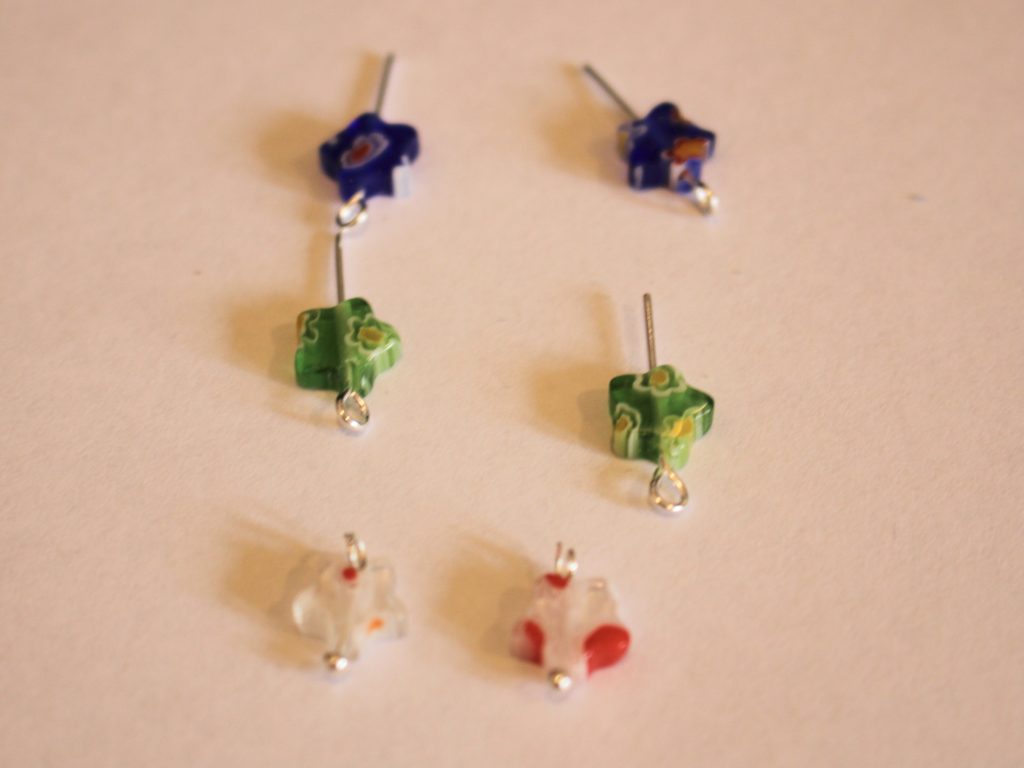
6: Open one of the loops on the eye pin and attach it to one of the head pin charms you made.


7: Add another bead to a pin in the same manner and attach it to the other two so that you have a chain of three stars.

8: Repeat for the other three beads so that you have two little star chains.

9: Attach each of the star chains to each of the threader earring findings using your flat nose pliers to open and close the jump rings.


10: Now your star threader earrings are finished and ready to put on. Perfect for some zoom earring fun!


If you like this design here are some other treader earring tutorials:
-
These Pom Pom hoop earrings are the CUTEST!

Here’s a quick tutorial that shows you all the steps to make a pair of adorable and colorful pom pom hoop earrings. Contains affiliate links.
You will need the following tools and materials to make your pom pom hoop earrings:
1: Small pom poms. I added four to each earring.

2: Two hoop earrings.

3: A cutting mat.

4: A pointed tool for poking a hole in each pom pom (be careful!)

Follow these steps to make your pom pom hoop earrings:
1: Using your cutting mat, carefully poke a hole in the first pom pom. If you puncture it too close to the edge it will fall off the earring.


2: Carefully slide the punctured pom pom onto the hoop earring.

3: Continue puncturing 3 more pom poms and put them on the first earring.
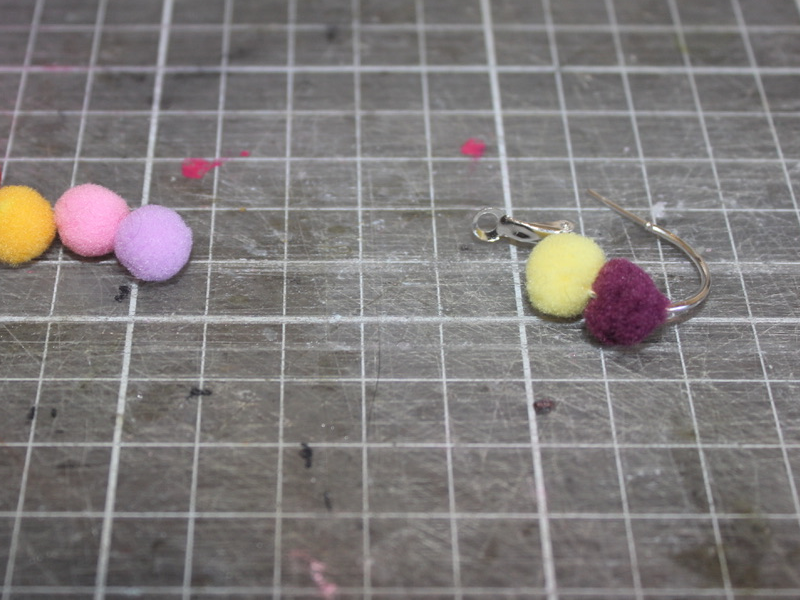

4: Repeat steps 1-3 for the remaining 4 pom poms and the second hoop earring.
Now your earrings are finished! How adorable are these fuzzy rainbow hoops?!
Here’s another pair made with matching pom poms.


-
Hop on the pearl trend with these beaded pearl hoop earrings!
I am loving the pearl jewelry trend right now! Here’s how you can DIY your way into unconventional pearl earrings. Contains affiliate links.
You will need the following tools and materials to make your beaded pearl hoops:
1: Pliers. I used cutting pliers to cut my wire, round nose pliers and flat nose pliers.

2: Some wire. I used this wire that I reclaimed from an old jewelry project.

3: Charm connector stud earrings.

4: Two small jump rings.

5: Two medium jump rings.

6: Two larger jump rings.

7: Two small head pins.

8: Two pearl beads. I used these freshwater pearl beads.

9: Seed beads. I used these mixed glass seed beads.

Follow these steps to make your beaded pearl hoops:
1: Curl the end of the wire to form a loop using the round nose pliers.

2: Add the seed beads to the wire.

3: Once the wire is beaded and there is only about 1cm left of the wire left use the round nose pliers again to curl the end into a loop.

4: Repeat steps one to three for the second piece of wire.

5: Form the beaded wires into circle shapes.

6: Join the ends of the wires using the two small jump rings and then set the hoops aside.


7: Add the pearls to each of the head pins.

8: Create a loop at the top of each pin using the round nose pliers. This will secure the pearls on the pins.

9: Attach each of the pearl charms to the beaded hoops using the medium sized jump rings.


10: Attach the earring posts to the top of the hoops using the largest jump rings.

Once the earring posts are in place they are ready to wear! How cute are they?!

Here’s another pair I made with some green pearls.


-
How to Make Pearl Tassels for Your Hoop Earrings

These pearl tassel hoops are a fun way to get on the pearl jewelry trend! Contains affiliate links.
You’ll need the following tools and materials to make your pearl tassel earrings:
1: Pliers. You will need round nose pliers and flat nose pliers to make these earrings.
2: A pair of small hoop earrings. I used these skinny silver hoops.

3: Two eye pins.

4: Six head pins.

5: Two jump rings.

6: Two pearl beads.

7: Mixed beads for the tassels.


Follow these steps to make your pearl tassel earrings:
1: Add the pearls to each of the eye pins.

2: Loop the ends of the eye pins using the round nose pliers to secure the beads on the pin.

3: Add beads to each of the head pins in your chosen design. Make two of each tassel so that your earrings match.

4: Loop the ends of each head pin with the round nose pliers to secure the beads in place.


5: Add three head pins to one of the jump rings and attach the tassel to the bottom of the pearl charm.

6: Repeat step five for the remaining head pins attaching them to the other pearl charm.

7: Slide a tassel on each hoop earring to finish them off.

How cute are these little hoops? Pop them on and turn heads!
-
If you had a secret diary this lock and key tutorial is perfect for you!
For some reason I had a lock and key from my childhood diary lying around, so I decided to turn it into something nostalgic and wearable! This tutorial contains affiliate links.

You will need the following tools and materials to make your lock and key jewelry set:
1: Pliers. You will need your flat nose pliers and round nose pliers.
2: Two small pieces of chain.

3: One long piece of chain long enough to form a necklace.

4: Six jump rings.

5: A lobster clasp.

6: Two charm connector earrings.

7: Two keys and a lock. I used these ones from an old lockable diary.


Follow these steps to make your lock and key jewelry set:
1: Add a key to the end of each small piece of chain, securing them using two of the jump rings.


2: Add an earring finding to the top of the small pieces of chain using another two jump rings.


3: Now your earrings are finished, set them aside and start on the necklace!
4: Add the lock to the long piece of chain.

5: Add a jump ring to one side of the chain.
6: Add the lobster clasp to the open jump ring and close the ring to secure the clasp in place.

7: Add the other jump ring to the other side of the necklace chain to finish the necklace.
Now your lock and key set is finished and ready to wear! So cute!
You May Also Like
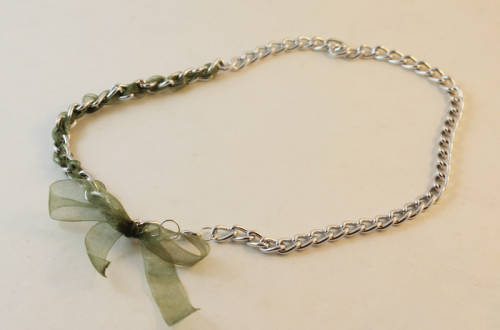
I am loving chunky chain necklaces at the moment, here’s how to do them with a cute twist.

Here’s another cute way to upcycle your broken headphones, a double strand necklace!
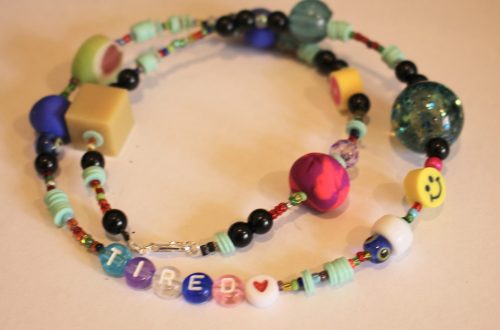
Love the nostalgic craft-core style? If that sounds like you, here’s the perfect tutorial for you to follow.
-
I am obsessed with fruit charms right now, here’s another way to use them!

These fruit threader earrings are amazing and super easy to make! Tutorial contains affiliate links.
You will need the following tools and materials to make your fruit threader earrings:
1: Pliers. You’ll need your round nose and flat nose pliers.
2: Two threader earring findings.

3: Two jump rings.

4: Two fruit charms. I used these glass orange charms.

Follow these steps to make your fruit threader earrings:
1: Add a charm to the bottom of the threader using one of the jump rings.

2: Close the jump ring to secure the charm in place.

3: Repeat steps 1 and 2 for the second earring.

That’s all! An amazing pair of earrings in three steps!
-
Want Something Simple and Delicate for Your Ear Lobes? Make Some Dainty Threader Earrings!
Threader earrings are simple to make and stunning to wear, these simple earrings thread right through your piercings and dangle delicately. Add your favorite gemstones to the end of your earrings for a unique and edgy look.
You will need the following tools and materials to make your earrings:
1: Pliers. You will need your round nose pliers for these earrings.
2: Two threader earrings with jump rings attached.
3: Two small head pins.

4: Beads of your choice. I used these grey freshwater pearls.

Follow these steps to make your threader earrings:
1: Add each bead to each of the head pins.


2: Bend each pin at a right angle to the bead using the round nose pliers.

3: Loop each head pin around the barrel of the round nose pliers to form a closed loop.


4: Open the jump ring at the end of the earring.

5: Add a bead charm to each of the threader earrings and close the jump ring to secure it in place.


Once your charms are in place your earrings are ready to go, thread them in and head on your way!


These threader earrings have multiple bead charms made with moonstone and garnet beads.


If you LOVE these threader earrings I have some more threader earring tutorials for you, check them out by clicking on the links below. I’ve got six more threaders waiting for you!
- Delicate shell threaders
- Silver textured wire arch threaders
- Rose gold curved threaders
- Beaded wire threaders
- Glass fruit threaders
- Minimalist silver wire threaders
This DIY jewelry tutorial contains affiliate links.