-
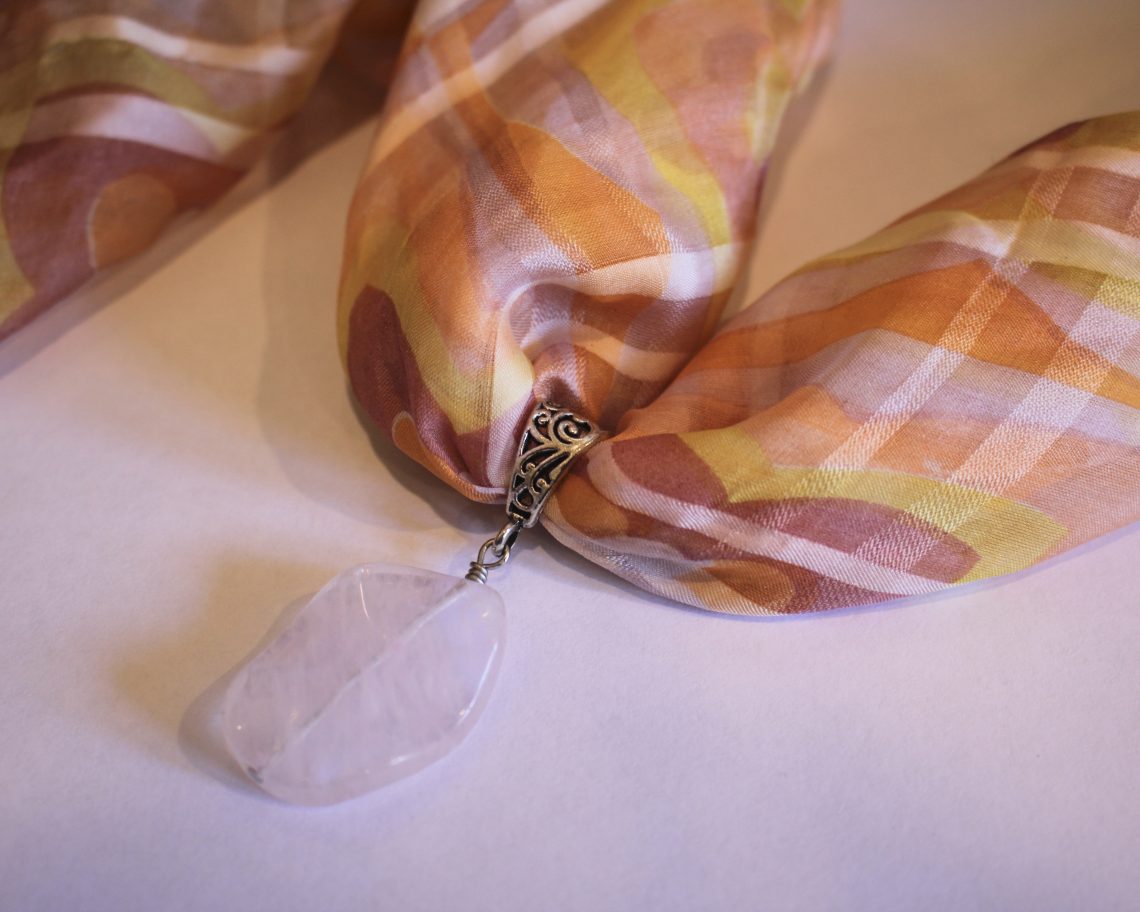
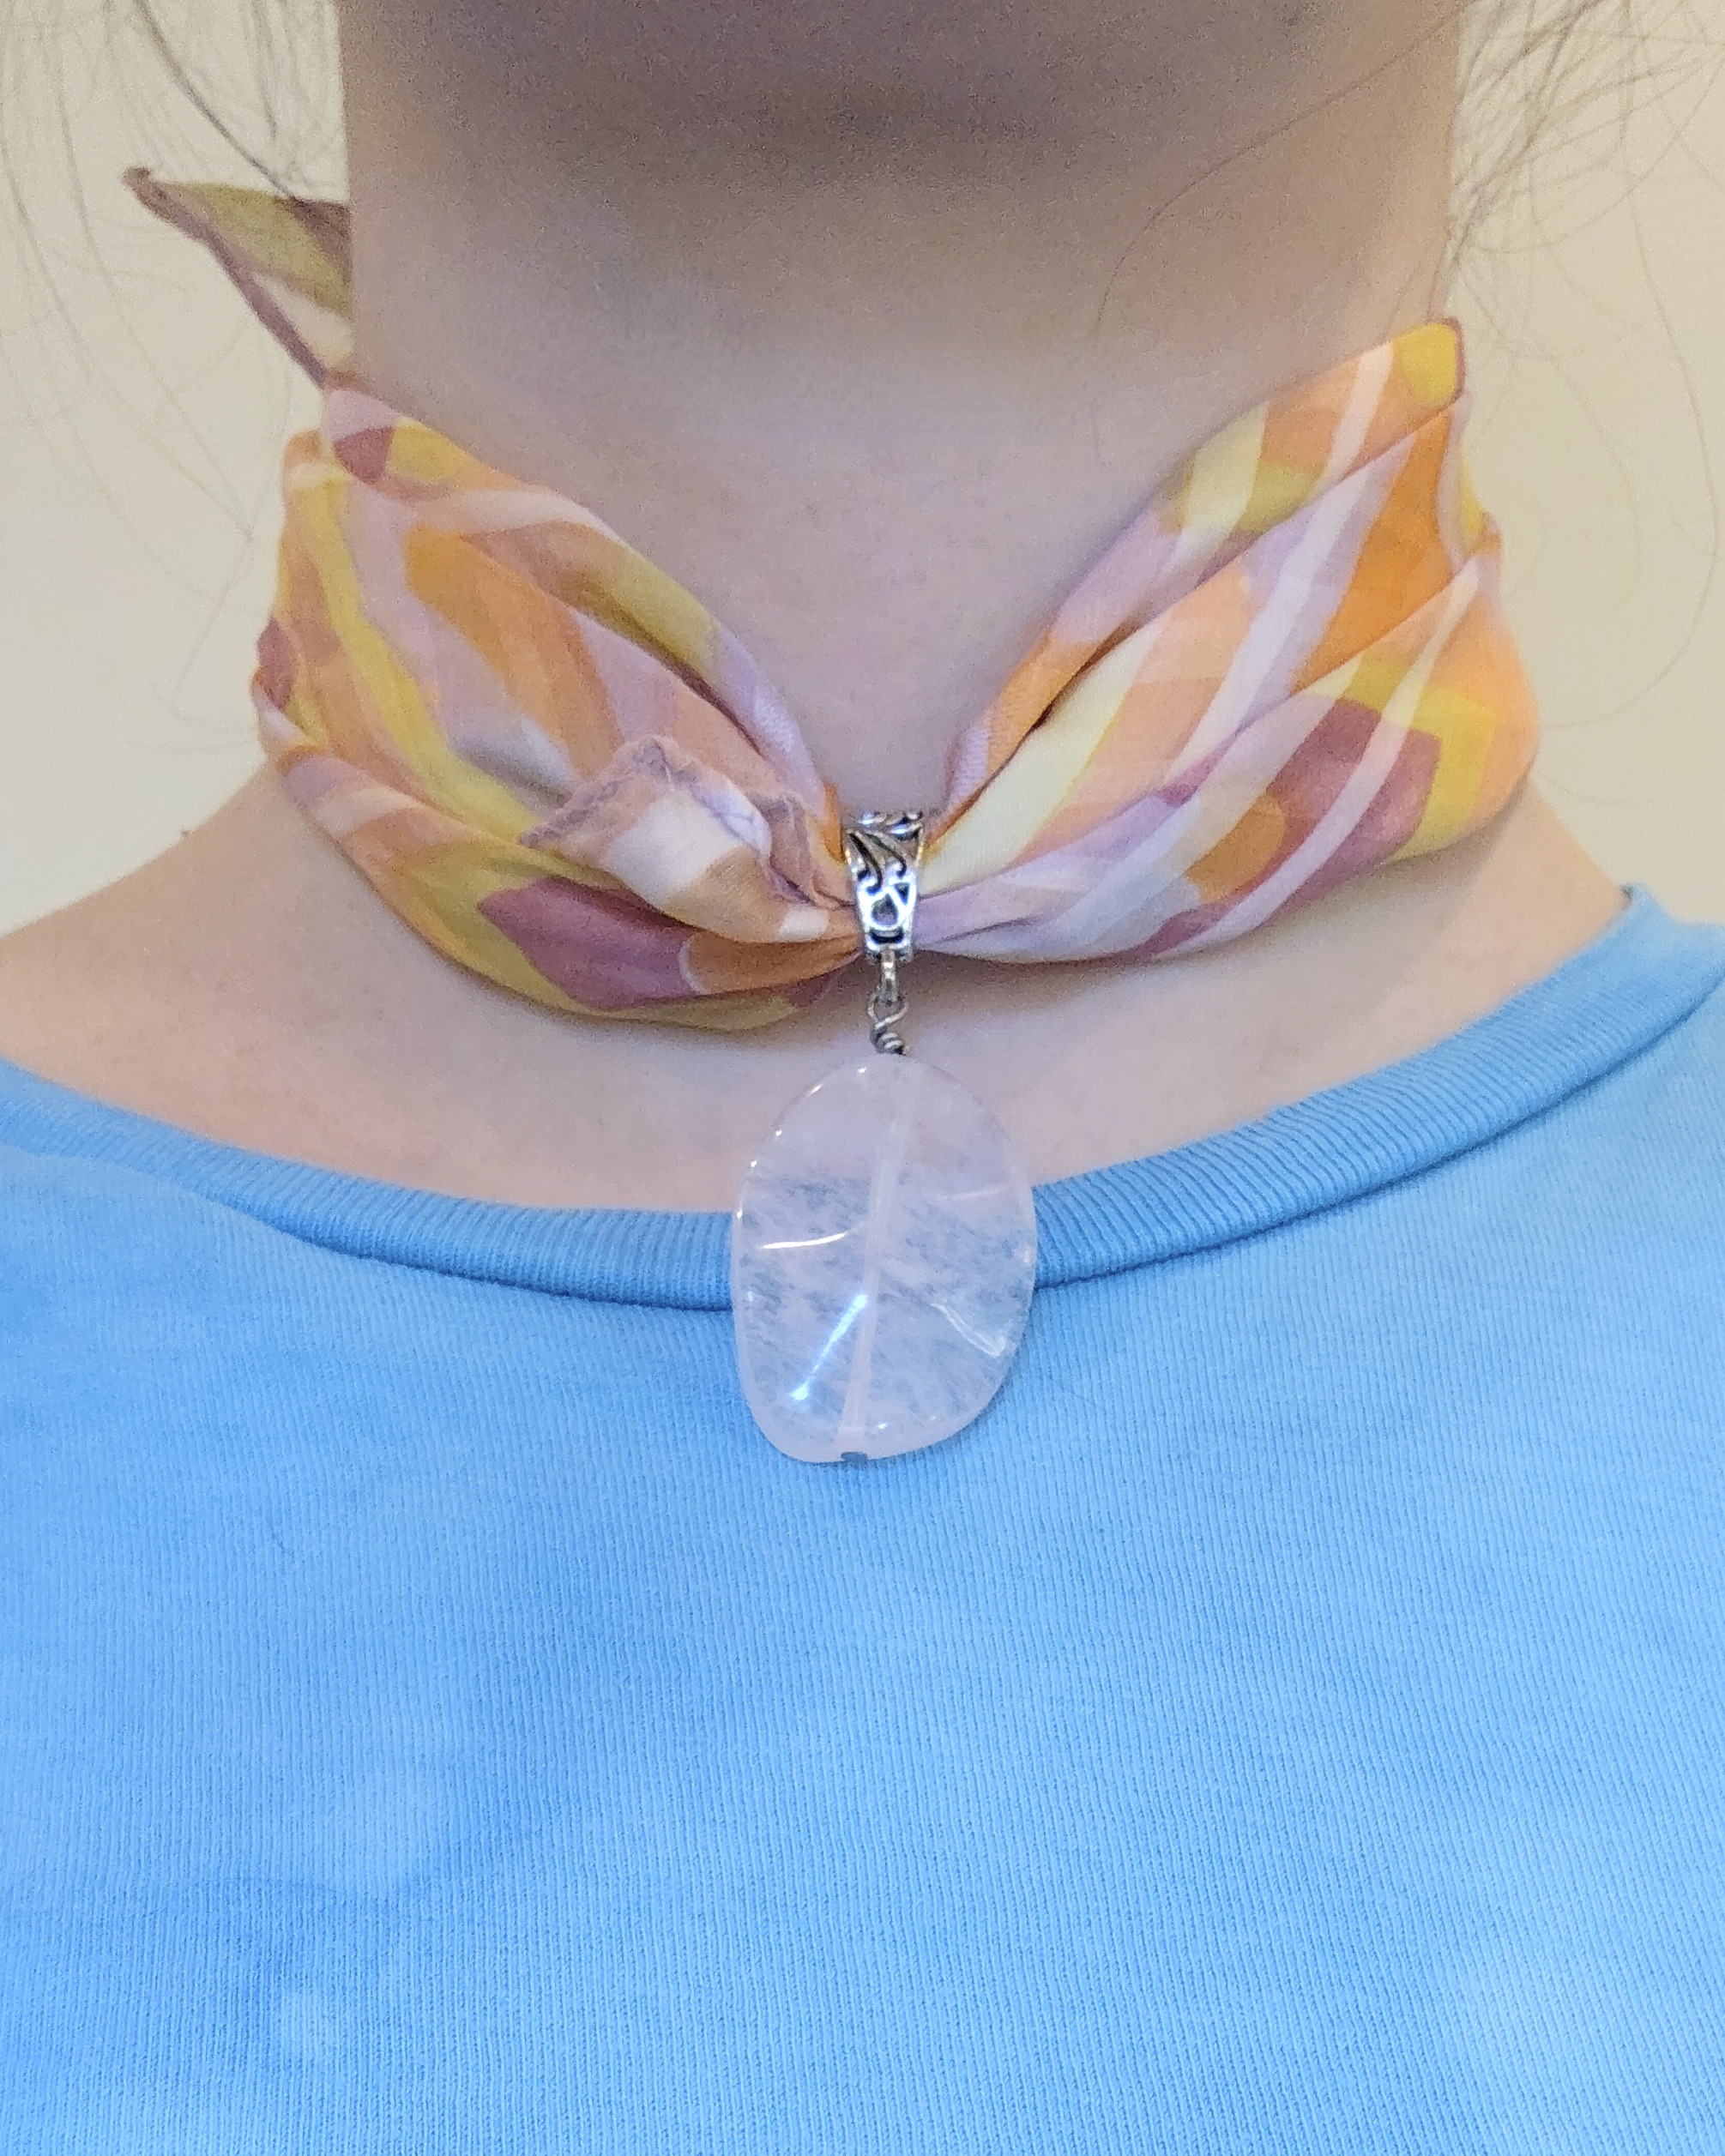
Here’s how to transform a simple silk scarf into an elegant necklace.
This is such a lovely way to showcase a pendant, and to accessories in an elegant way. I love this DIY so much and it is so quick to put together.
Please note that this tutorial contains affiliate links for which we may receive a commission.
You’ll need the following materials to make this scarf necklace:
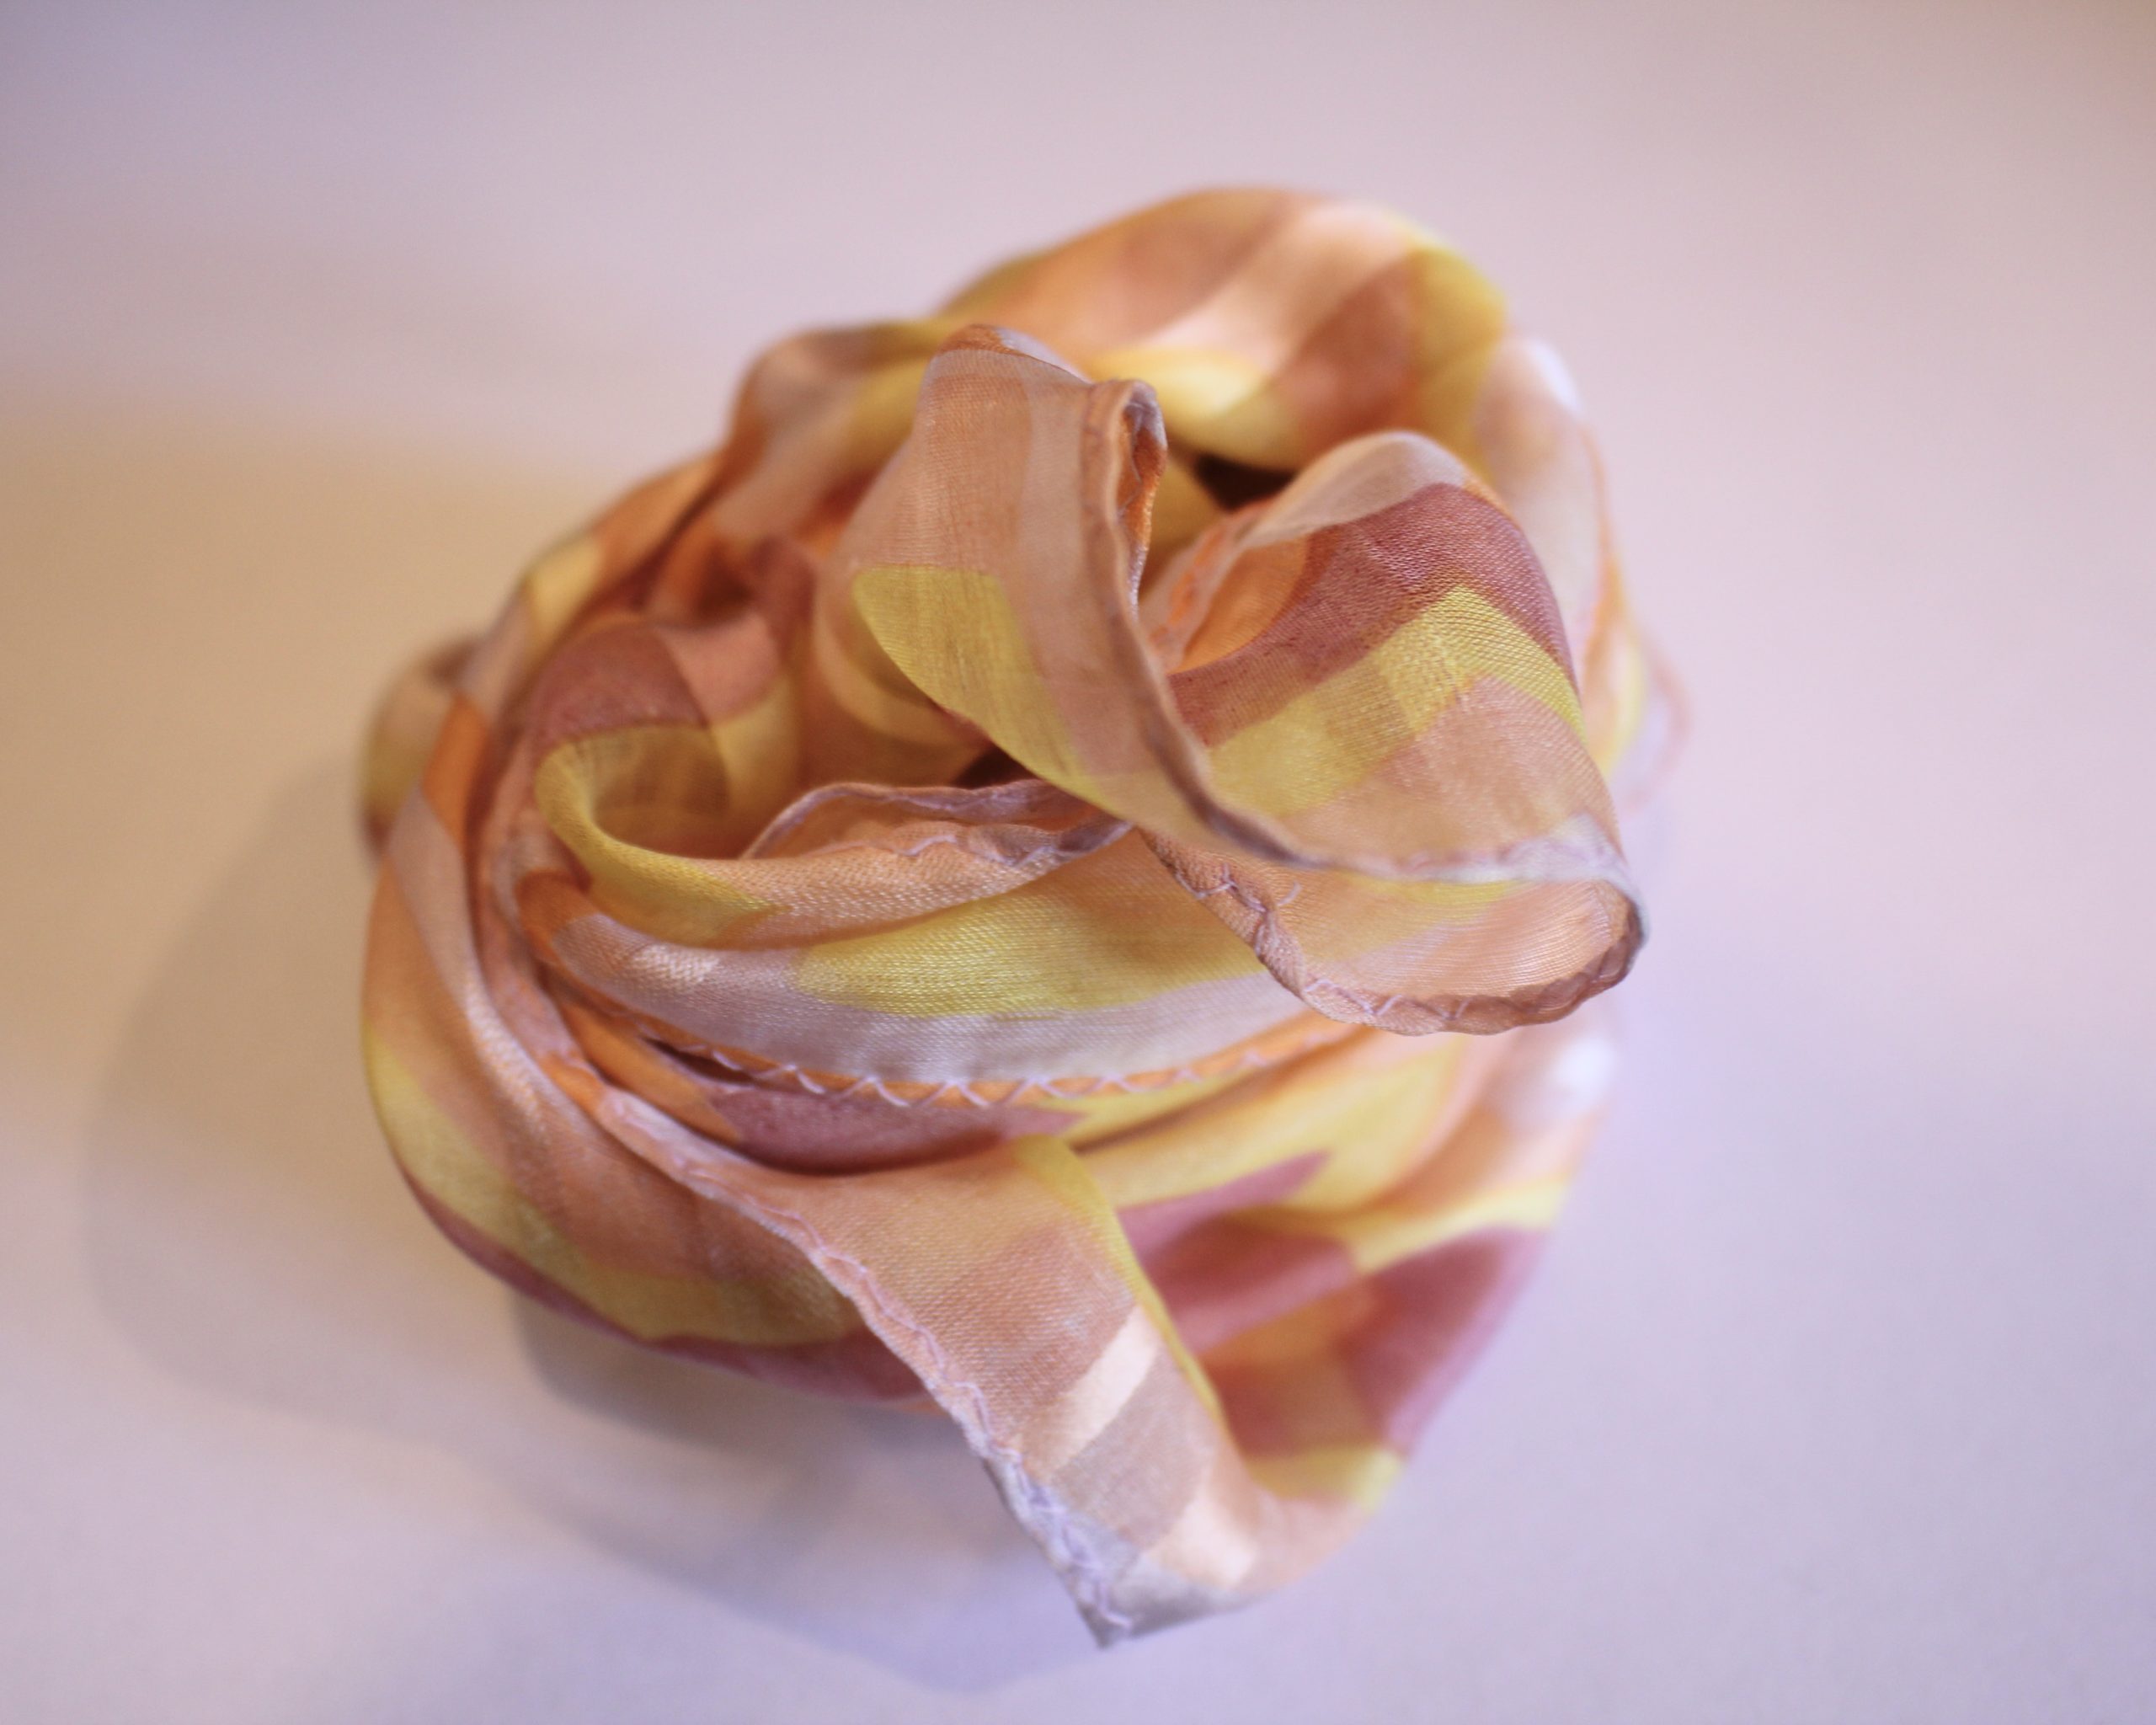
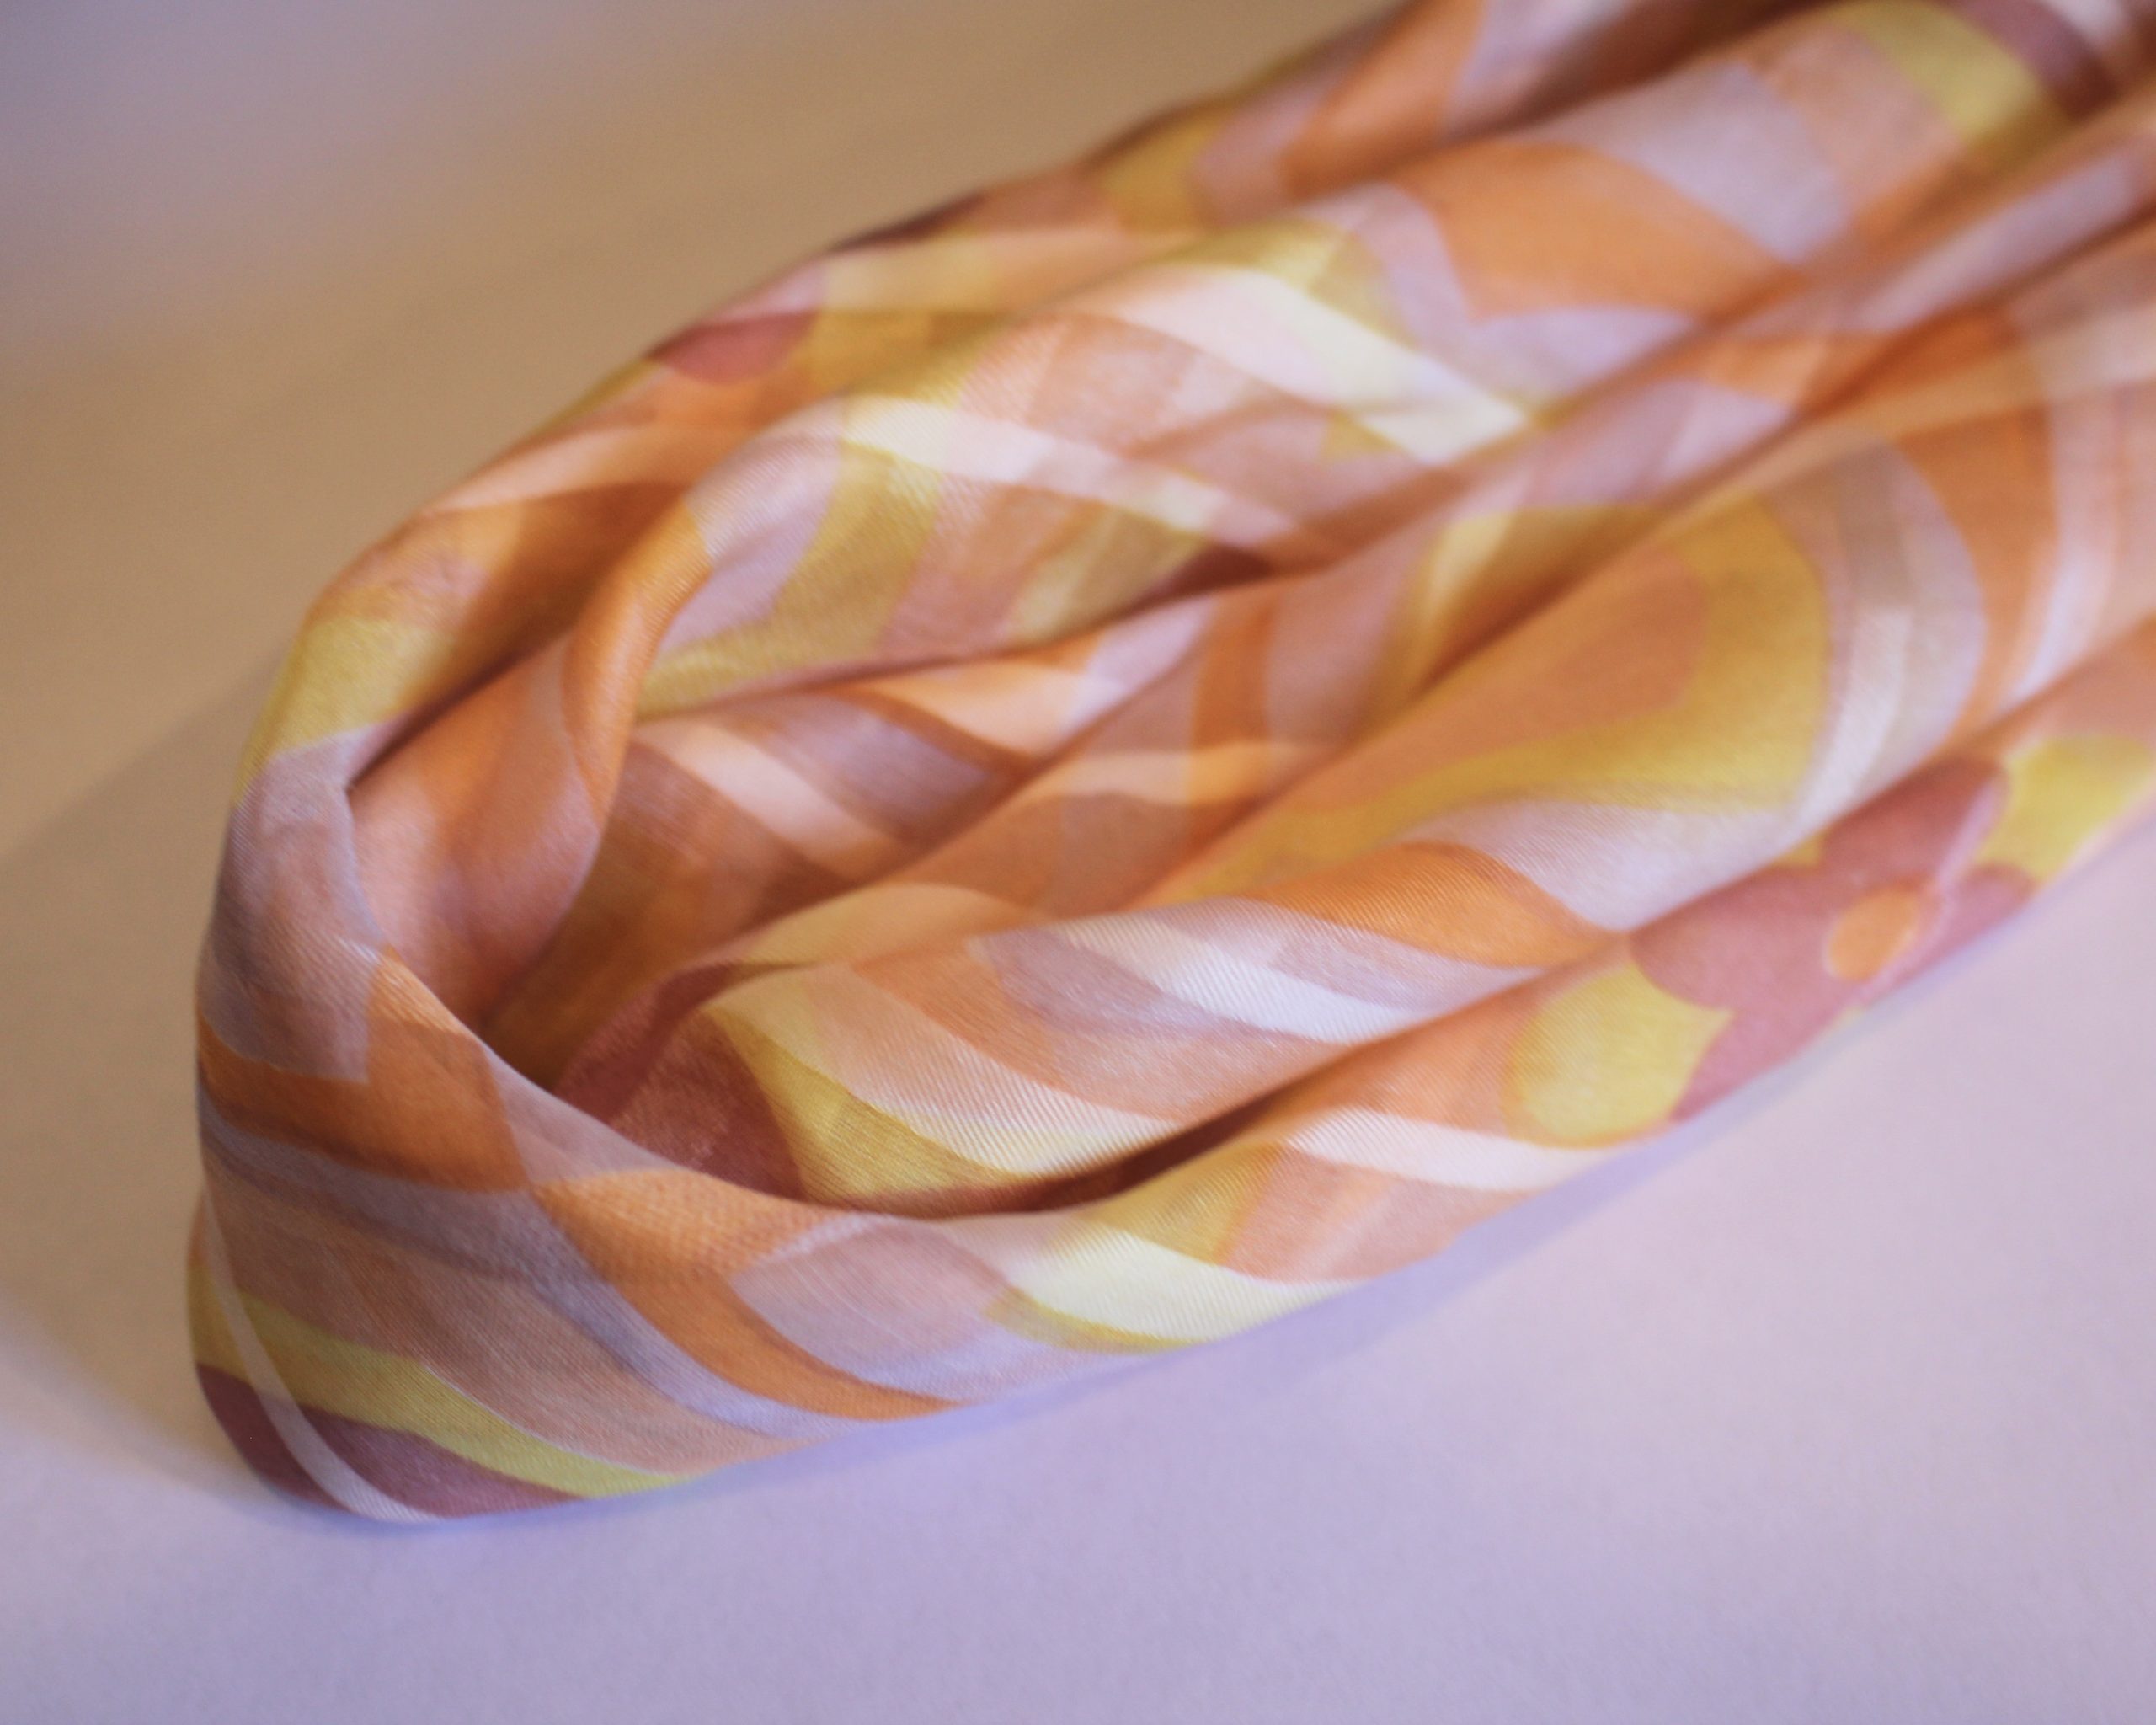
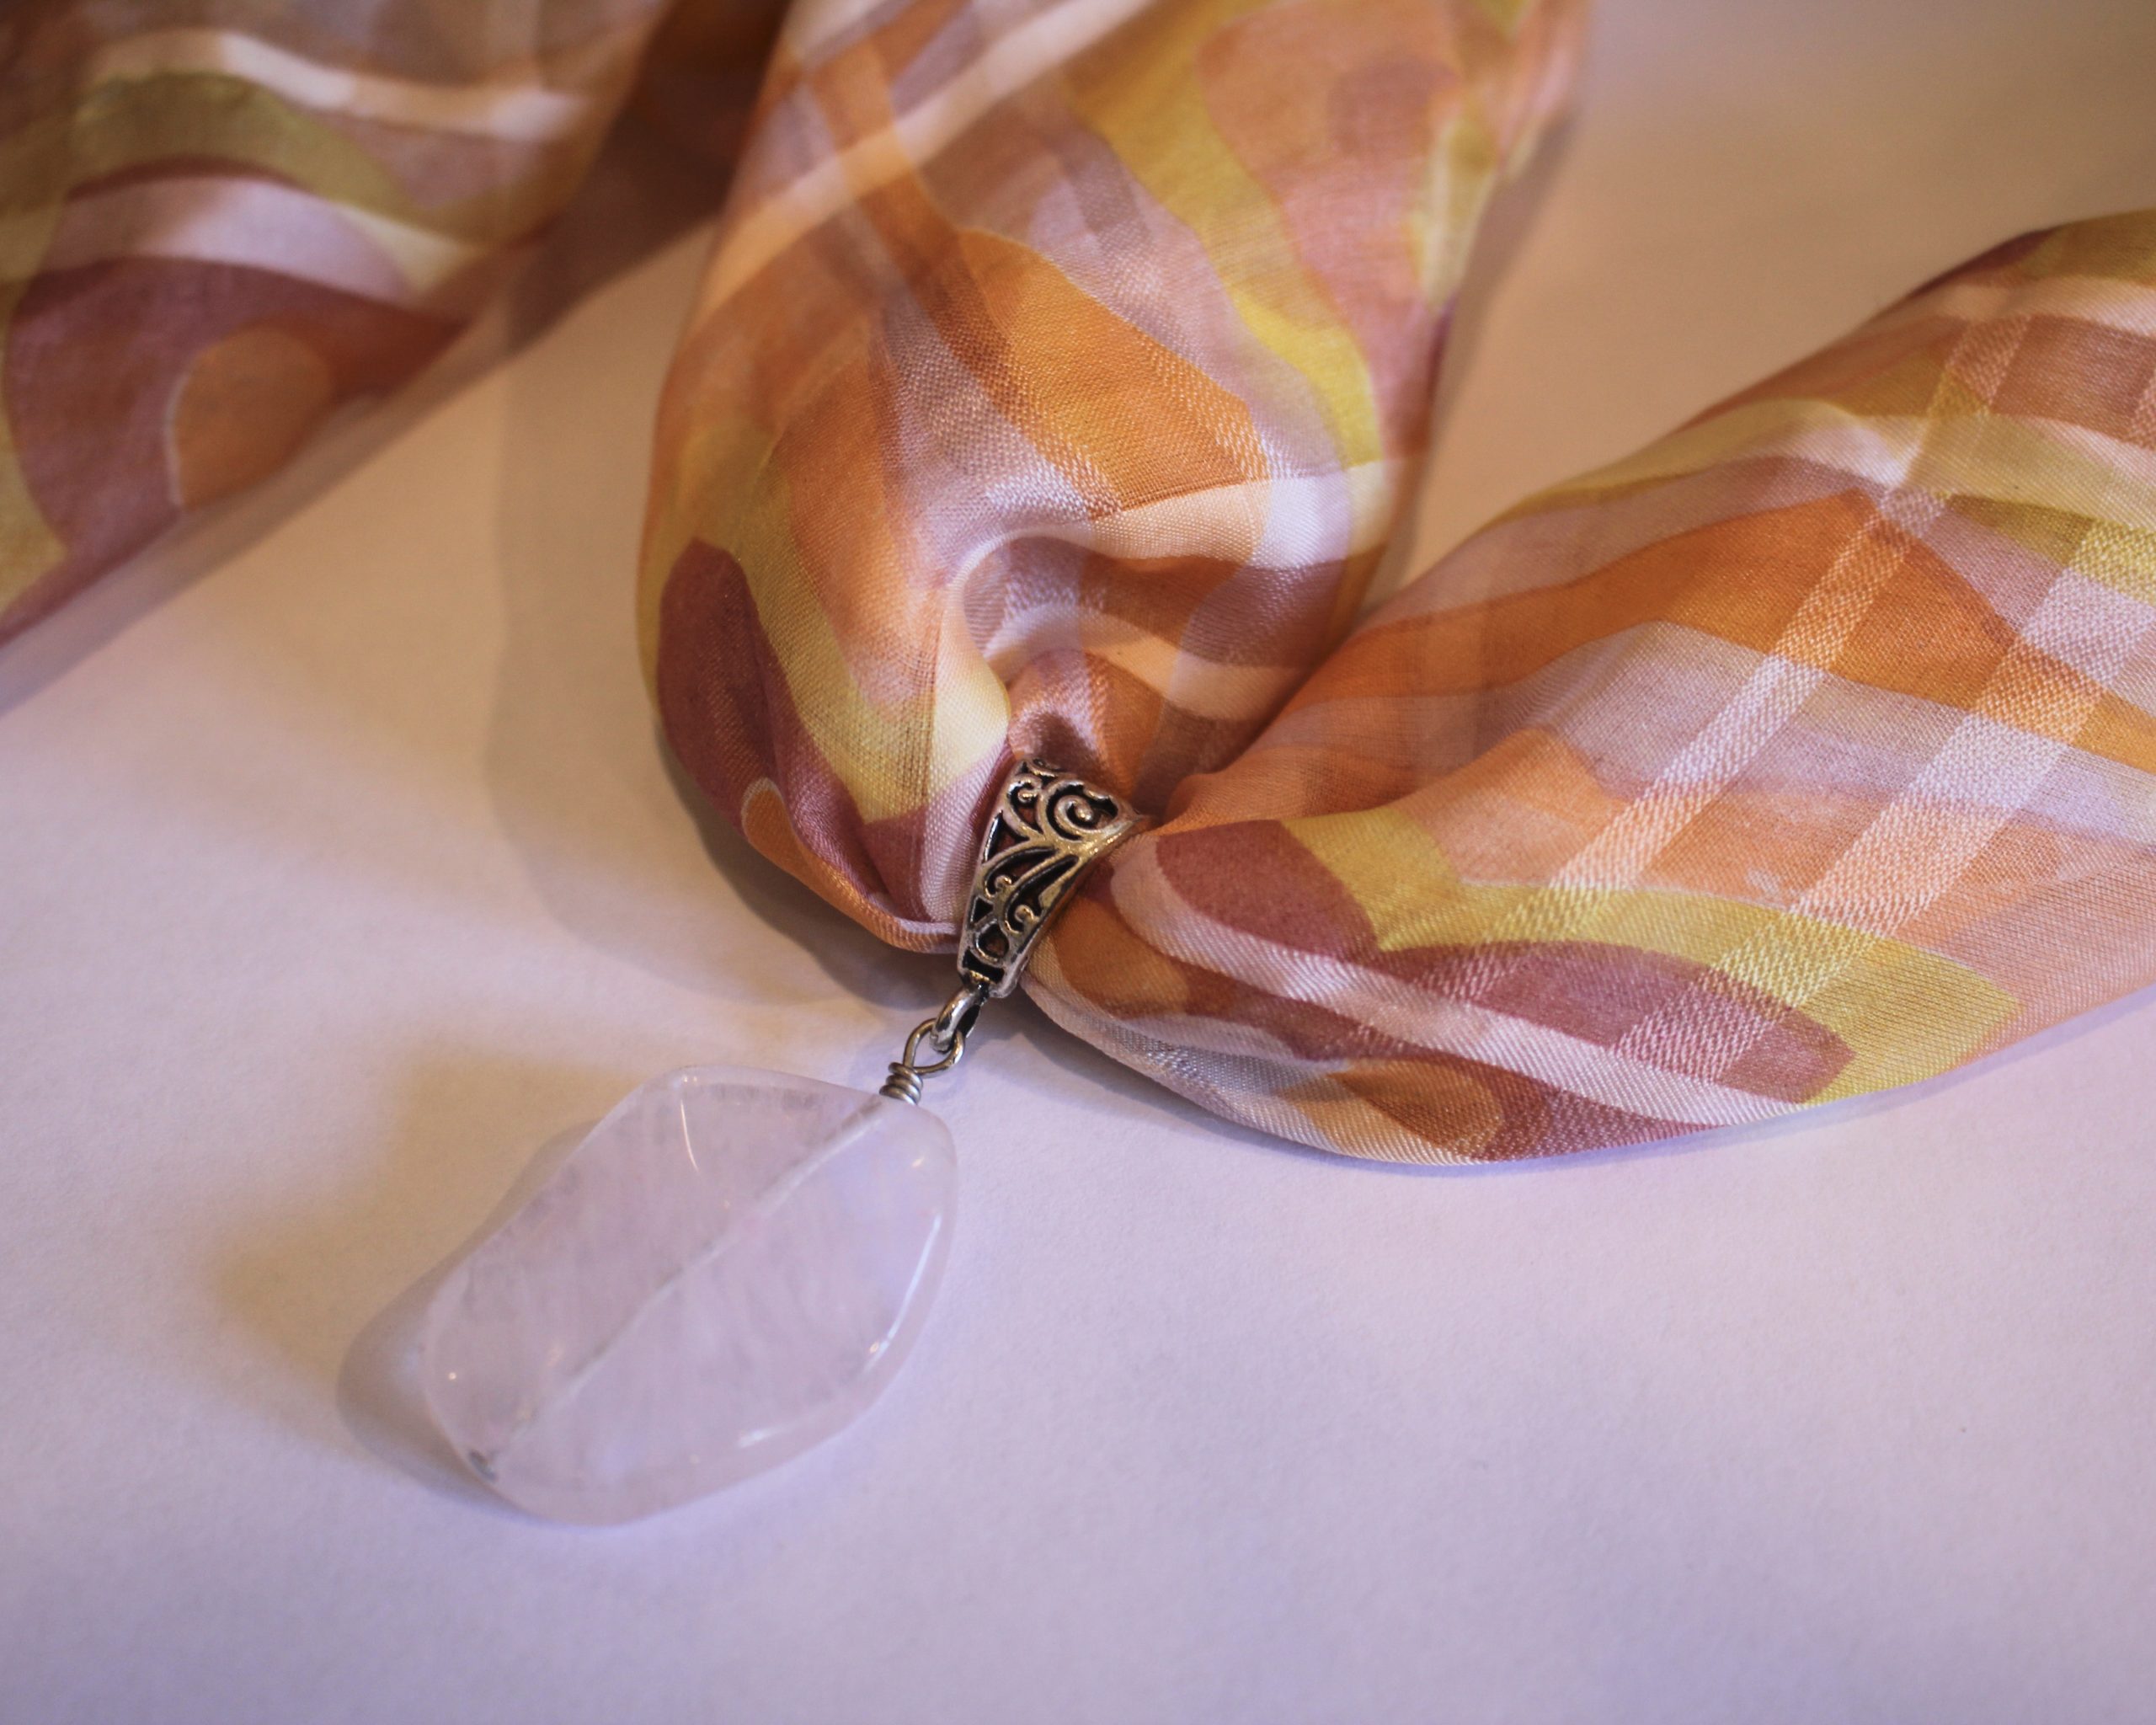
1: A small square silk scarf. I used a pink and yellow patterned scarf.
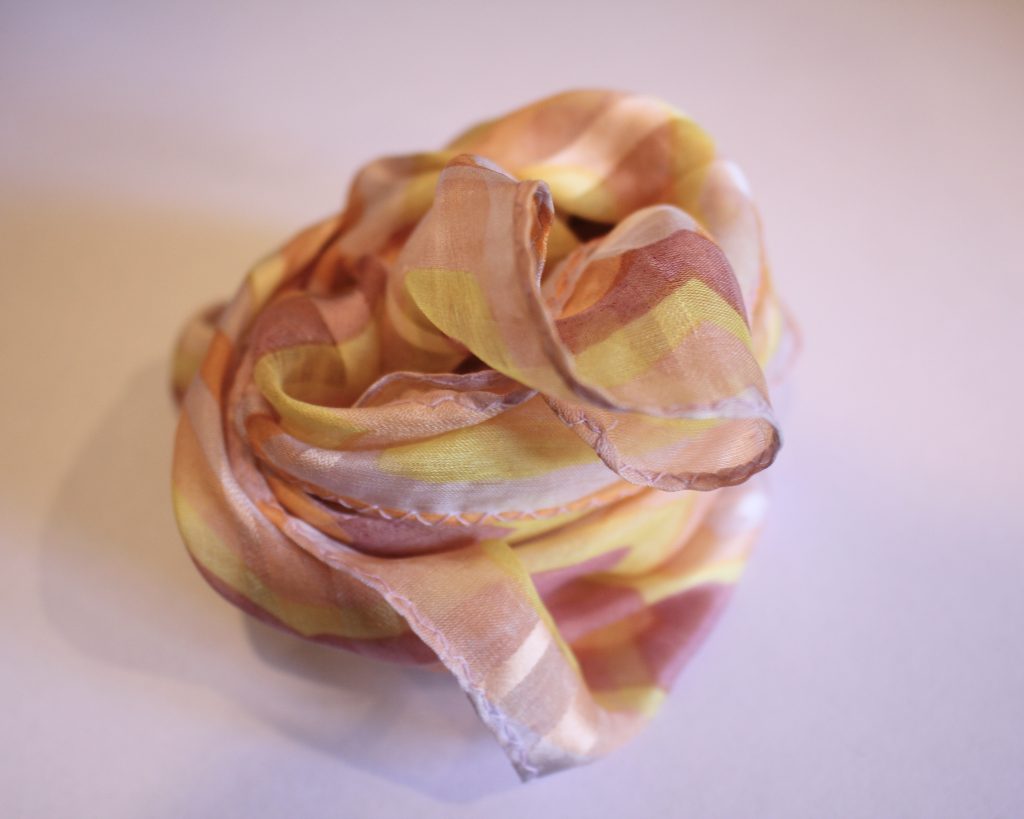
You can get a similar scarf here:
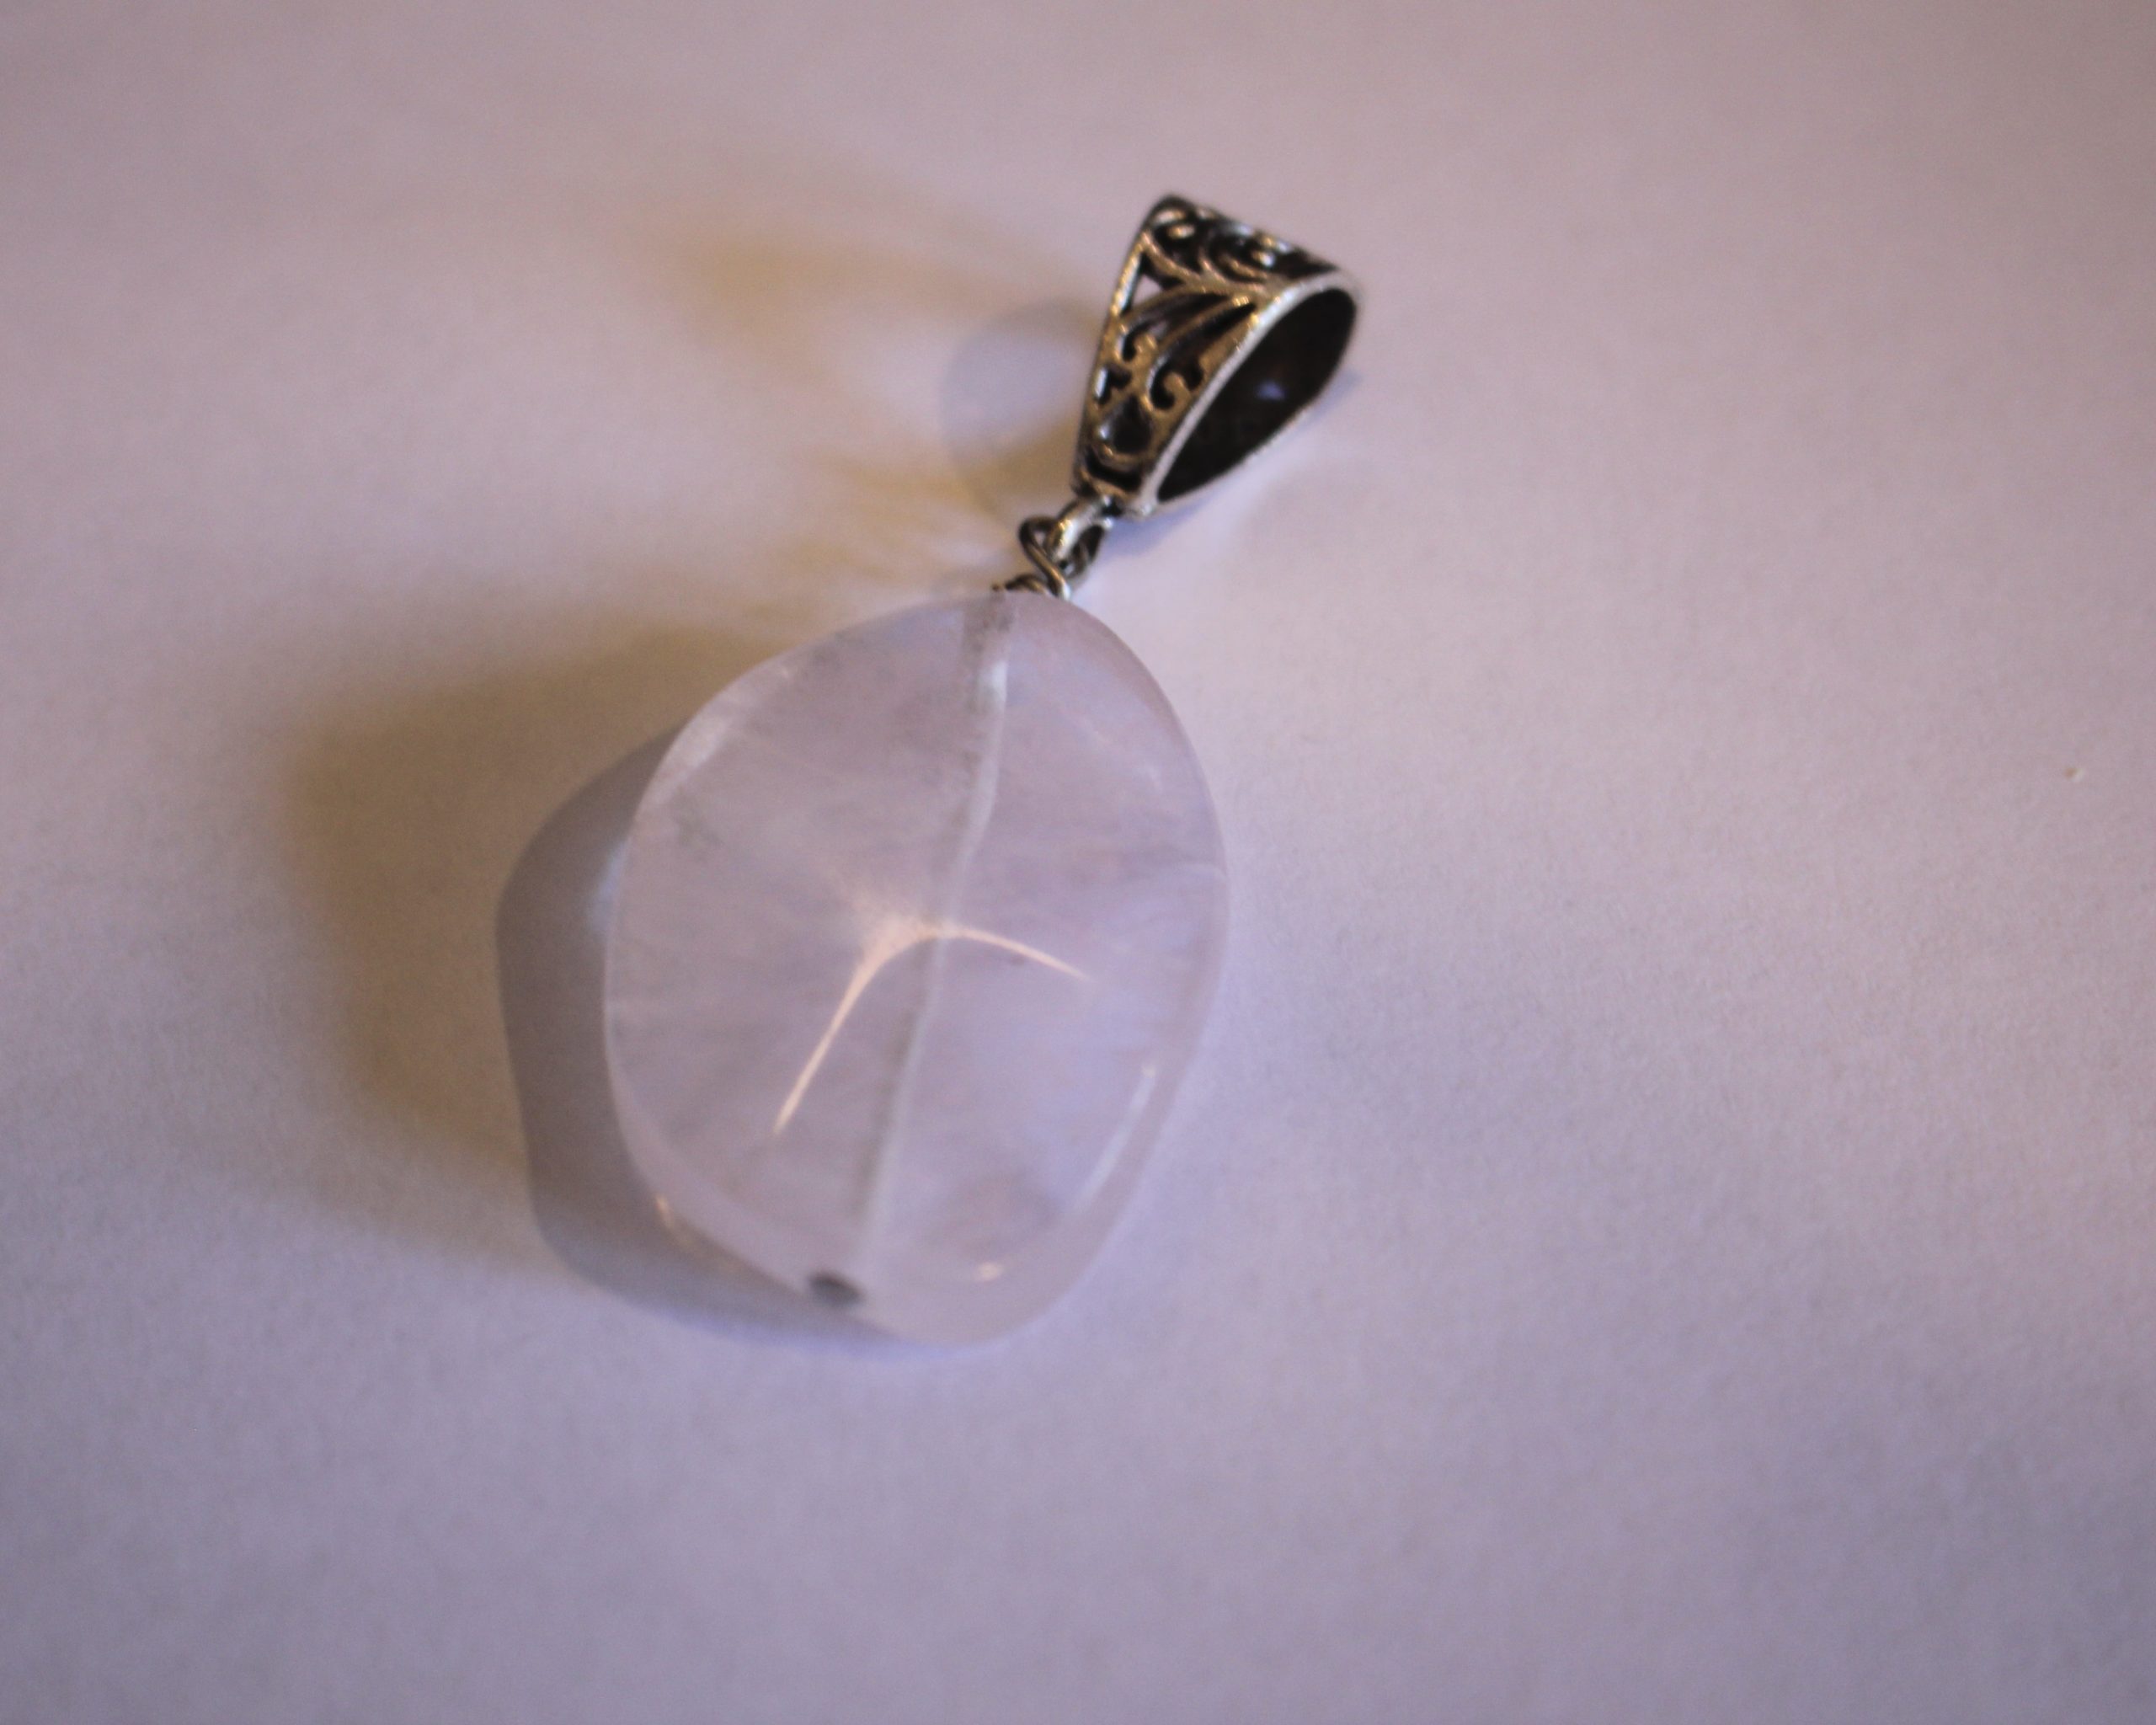
2: A pendant with a large bail. I used this one with a pink stone bead on it.
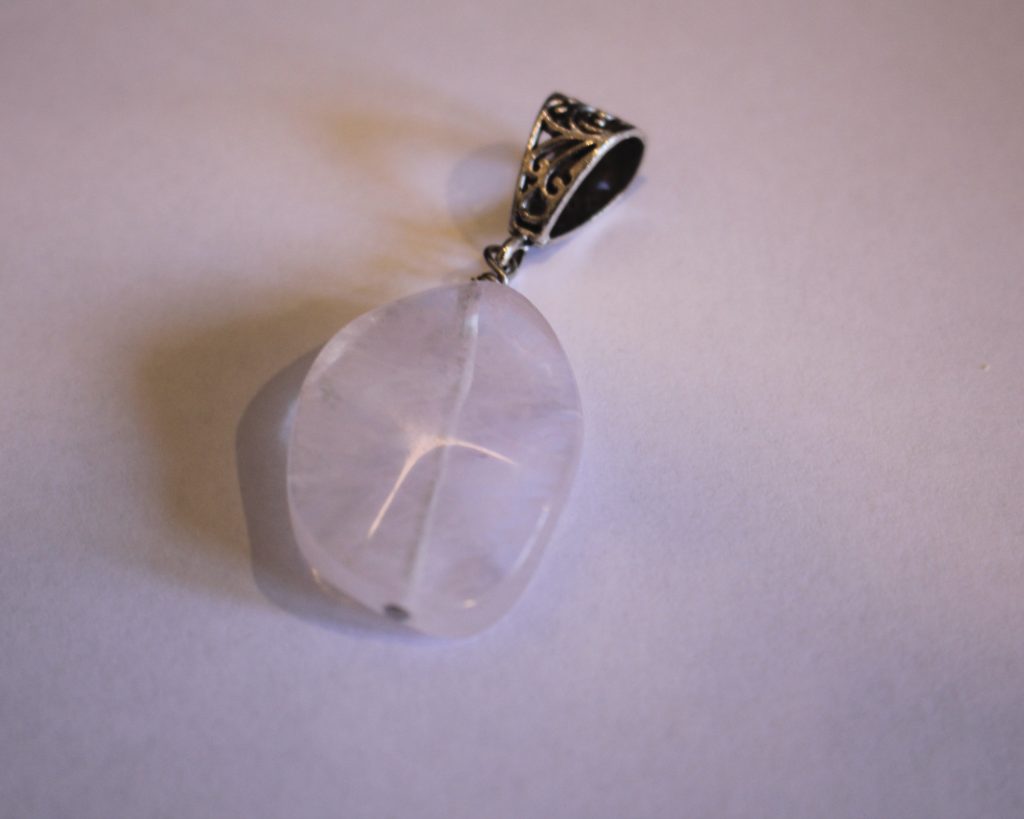
You can get something similar here:
Here are the steps you can follow to make your scarf necklace:
1: Fold the scarf on the diagonal until it is a thin strip.
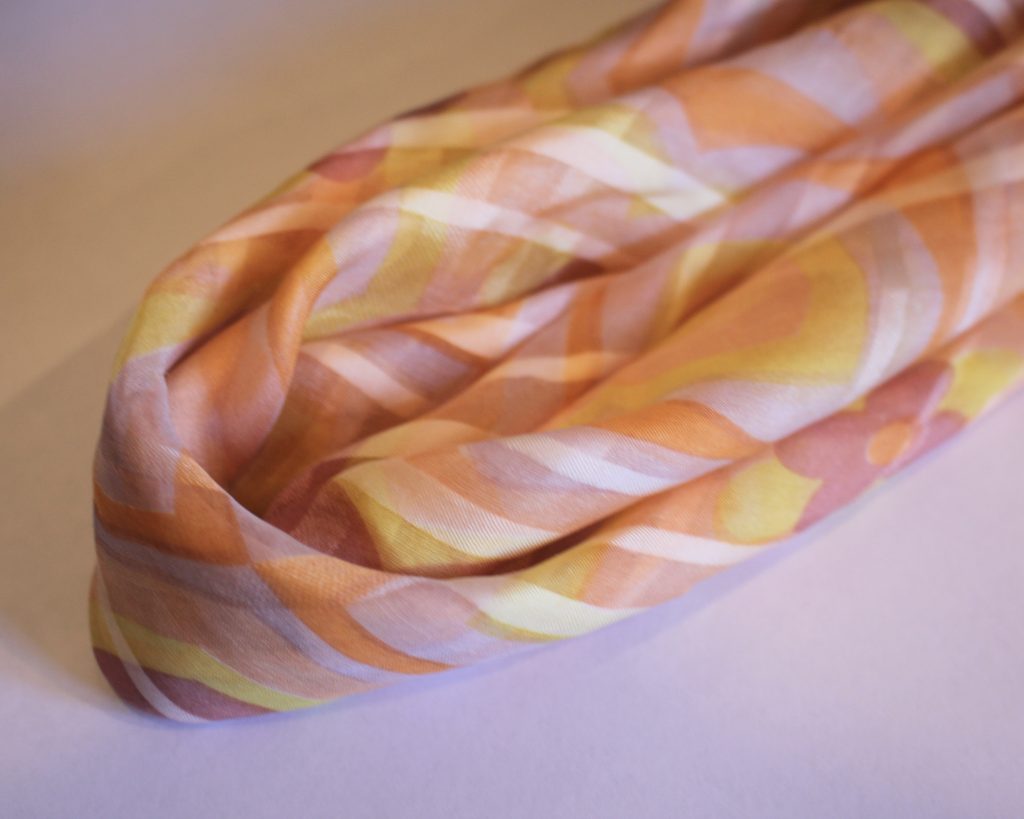
2: Poke the end of the strip through the bail of the pendant.
3: Slide the pendant to the middle of the scarf.
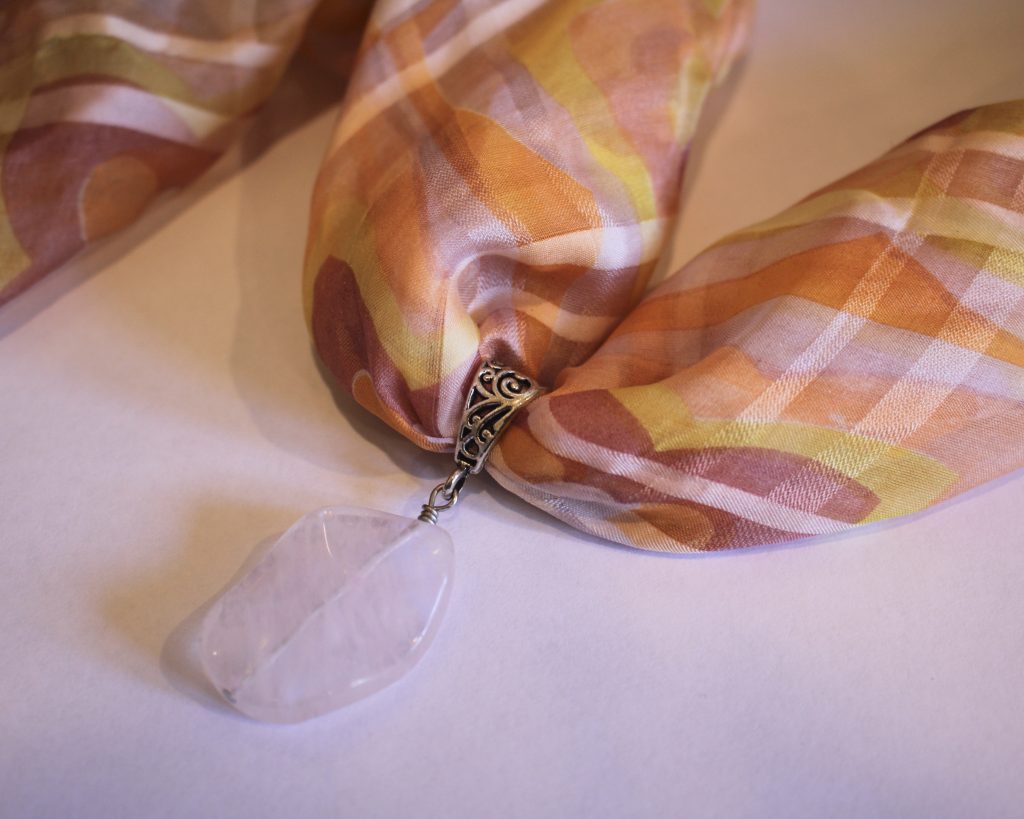
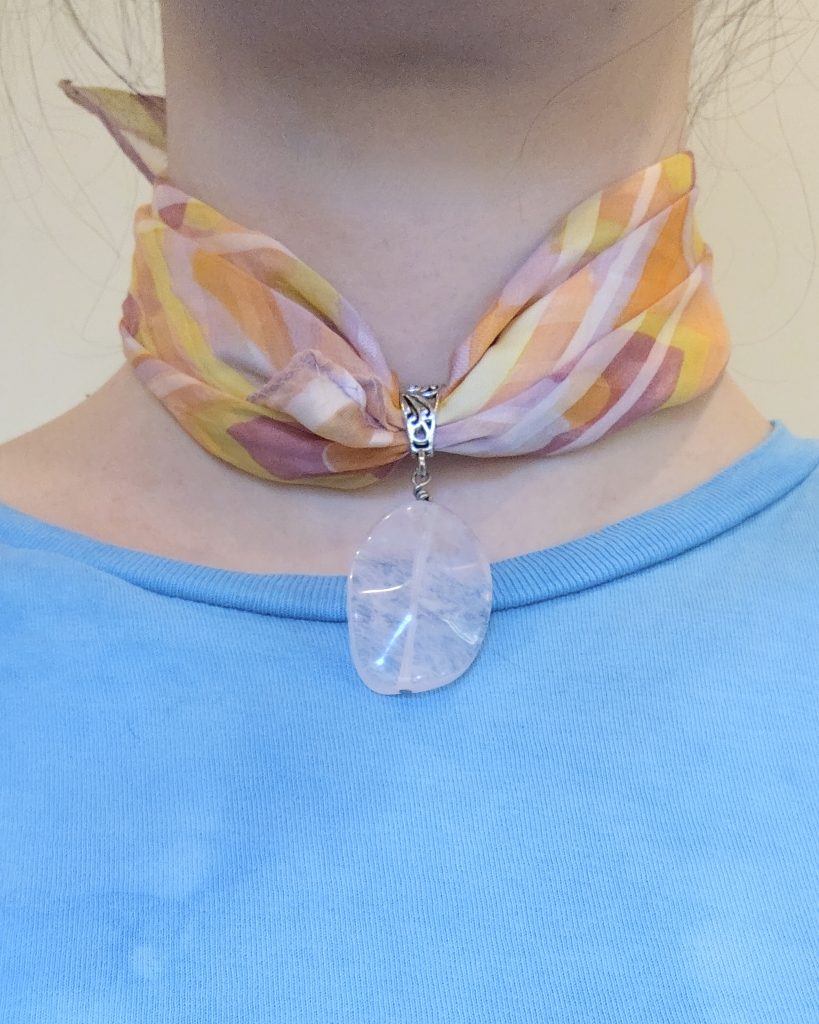
Now your scarf necklace is ready to wear! How simple and easy was that?!
-
Got a scarf and a ring? Here’s how you can combine them to make a cute new new necktie!
I love scarves, but sometimes just wrapping one around my neck doesn’t feel like it brings enough panache to my outfit, so it can be fun to use a simple ring to add some flair. This tutorial couldn’t be easier, all you need is a scarf and a ring to give you lots of different style options. So cute!
Please note that this tutorial contains affiliate links for which we may receive a commission.
No tools required for this one, but you’ll need the following materials:
1: A small square scarf.

You can get similarly sized silk scarves here:
2: A ring. I used a silver ring with no gemstones or embellishments.

You can get a similar ring here:
Follow these steps to make your scarf-ring necktie:
1: Fold the scarf in half diagonally.
2: Poke a corner of the scarf into the middle of the ring.

3: Tie a knot to secure the ring in place.

4: Loop the scarf around your neck and slide the other end through the ring to secure it around your neck.


How simple is that? Such a cute way to accessorise.
Here’s the same scarf necktie with a shell ring instead. If you’ve got a few rings, you have so many styling options! Love it!

If you like the shell look, you can get a shell ring here:
-
Here’s a fun simple design to make! All you need is some brightly coloured string and a fun bead!
This is a fun one, and great for when you feel like you need a new accessory to match an outfit in a snap! This bracelet is made using some bright string and a cheerful bead to make a simple bracelet that still looks great. Please note that this tutorial contains affiliate links.
You’ll need the following tools and materials to make this bracelet:
1: A piece of beading string. I used this hot pink nylon beading thread. Cut it to a length by measuring it around your wrist and adding approximately 8cm extra. I usually measure mine by eye. If you think its too long, you can trim it a bit.

2: A bead. I used this smiley bead.

Here’s where you can get similar beads. Follow these steps to make your own simple string and bead bracelet:
1: Add the bead to the string buy sliding it over the end of the string.

2: Tie the string around your wrist.

Now its done! Perfect. If tying it yourself is tricky, you can ask someone for help to tie it on for you.


-
How to make a cute strawberry necklace!
This necklace is really easy to make and looks SOOOOO cute! Layer it with some other pieces or wear it on its own. All you need is a delicate chain and a strawberry-shaped polymer clay bead! Please note that this tutorial contains affiliate links.
You’ll need these tools and materials to make your adorable strawberry necklace:
1: A polymer clay strawberry bead.

2: A delicate chain. I used this silver chain with a clasp already in place.

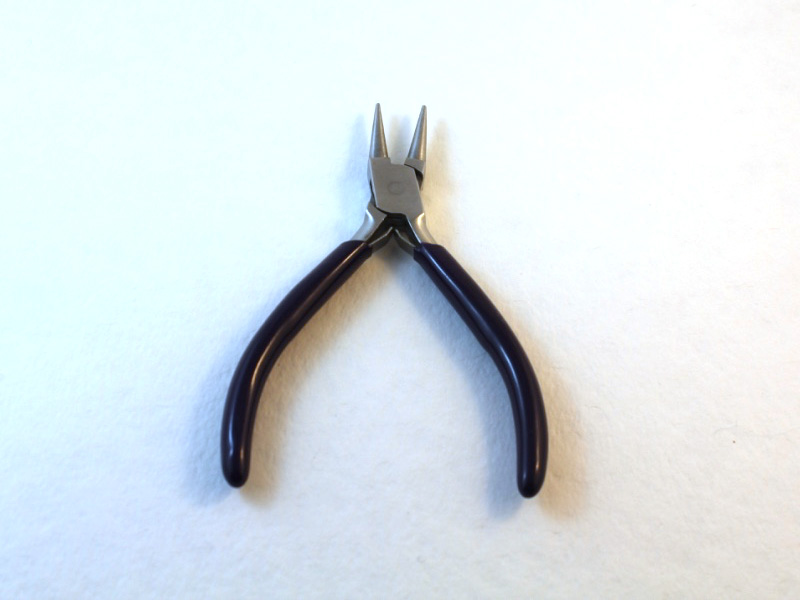
3: Pliers. I used my round nose and flat nose pliers.
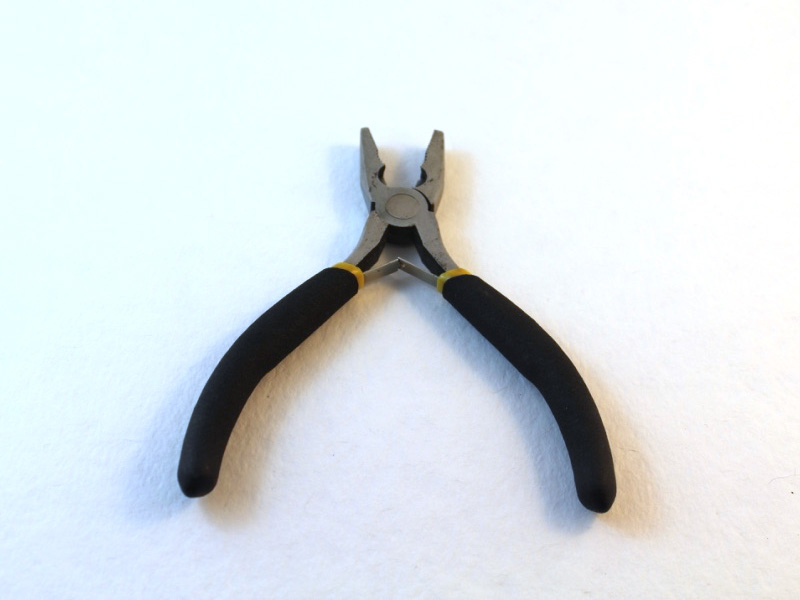
Follow these steps to make your super duper cute strawberry necklace:
1: Remove the jump ring from one end of the chain. Open it up by using your pliers.

2: Thread the chain through the bead hole and pull it through. Now your bead will be on the chain. Move the bead to the middle of the chain.


3: Put the jump ring back onto the end of the chain. Close it again using your pliers.


Now your sweet little strawberry necklace is ready to wear! Will you choose a strawberry or a different kind of fruit?!


Here are some other fruit jewelry tutorials you can follow: