-
Here’s how to make a bohemian waist chain with cute charms!
Summer in the Northern Hemisphere might be held mainly at home, but that doesn’t mean that you can’t dress for the occasion. Make this charm embellished waist chain to add some summer fun to your wardrobe! This tutorial contains affiliate links.
You’ll need these tools and materials to make this waist chain with charm embellishments.
The Materials
1: Pliers. I used my round nose pliers (centre), flat nose pliers (right) and cutting pliers (left).

2: A piece of chain that fits comfortably around your waist. I used copper tone chain.

3: Jump rings. I used two.

4: Some head pins. I ended up using a couple more because I added some charms I had made previously (see the second picture below).


5: Beads. I used a mixture of glass beads and a metal butterfly-shaped bead.

6: A lobster clasp. This is a bad picture but I used one that matched the tone of my chain.

The Steps
Follow these steps to make your charm embellished waist chain:
1: Add the jump rings to either end of the chain and attach the lobster clasp. Secure the clasp by closing the jump ring using pliers.


2: Find the middle of the chain and set it aside for a minute.
3: Add each of the beads to the head pins.

4: Bend the head pins to form right angles.

5: Trim the pins so that there is only approximately 1cm left. Use your cutting pliers.


6: Loop the top of the pins using the round nose pliers. This will secure the beads on the pins.


7: Attach the beads to the chain by looping the top of each charm through the chain links. I added my first charm to the centre and then worked outwards.


Now the waist chain is finished and ready to wear in the sun! Don’t forget your sunscreen though, this cool piece of jewelry could leave a weird tan line 😉


Here are some other waist chain tutorials:
This tutorial contains affiliate links.
-
Here’s how to DIY a fantastic pair of polymer clay tassel earrings.
I’m a bit of a novice when it comes to polymer clay, but I can show you the basics! Here’s how to put together a pair of polymer clay and tassel statement earrings.
These tools and materials will help you make your polymer clay earrings:
1: Pliers. flat nose and round nose pliers.


2: Polymer clay. I used pink and purple Sculpy because it is nice and soft which makes it easy to work with.

3: A foil tray for baking your clay on.

4: Some baking paper for moulding and baking your clay.

5: Four large jump rings.

5: Two charm connector stud earring findings.

6: Two head pins.

7: Two small beads.

8: A hot glue gun and glue.

9: Two tassels.

10: A skewer.

11: An oven.
Follow these steps to make your polymer clay earrings:
1: Roll the clay into balls and strands and then squeeze them into a circle shape.


2: Poke two holes in each of the polymer clay circles using the skewer.


3: Put the clay pieces onto the baking paper and place them in your foil tray.
4: Bake the clay pieces. I baked mine in my oven on the lowest setting for about 20 minutes. I recommend following the instructions on your clay packet for the best results.
5: Let your pieces cool once you’ve taken them out of the oven.
6: While you are waiting for the polymer clay pieces to bake and cool, follow the steps in this video to make two tassel charms.

7: Add one of the large jump rings to one of the polymer clay charm holes.

8: Attach one of the tassels to the open jump ring and close it to secure the pieces together.

9: Repeat steps 7 and 8 for the other earring.

10: Add a the remaining jump rings to the tops of the polymer clay charms and attach the earring posts. Close the top jump rings to secure the earring posts to the polymer clay charms.


Now your earrings are finished! How cute are these statement earrings?! I love how high impact they look with the long dangling tassels.

Here are some other tassel tutorials you can follow:
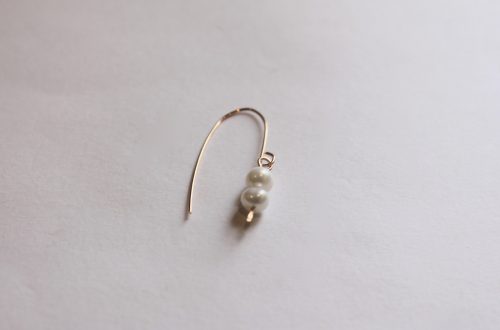
- Pearl tassel hoops
- Chain tassel necklace
- Gemstone and tassel earrings
- Beaded tassel earrings
- Tassel wrap necklace
- Gemstone tassel necklace
If you like making your own beads and charms check out these tutorials
- How to make clay beads and charms
- Turn your clay charms into scented diffusers
- Make a double strand necklace with clay statement beads
- How to make a love heart charm out of clay
- Make a flower necklace out of clay beads
Here are some other ways you can use polymer clay in your jewelry designs:
- A polymer clay charm bracelet
- How to make a polymer clay ring
- And here is some design inspo… a mismatched pair of polymer clay earrings
This tutorial contains affiliate links.
-
This video will show you how to make a tassel pendant necklace
This tassel pendant tutorial is another one of those simple DIY’s that have MAXIMUM impact! How cute is that dangling tassel? I am super stoked on this design and I hope you enjoy it too. This design is versatile, wear it to spice up all kinds of different outfits.
You’ll need some tools and materials to make this tassel pendant necklace, here are some links so you can find what you need:
1: Jewelry pliers including flat nose pliers, round nose pliers and cutting pliers.
2: A large tassel. I used a hot pink tassel.
3: An eye pin. I used a medium length silver-tone eye pin.
4: One spare bead. I used a yellow glass e-bead but you can use whatever you have lying around.
5: Necklace chain. Here’s a link to a simple silver chain.
6: A hot glue gun with glue. Don’t worry, you won’t need much messy hot glue to make this tassel pendant :).
I hope you enjoy this video tutorial and make yourself some super cute tassel jewelry!
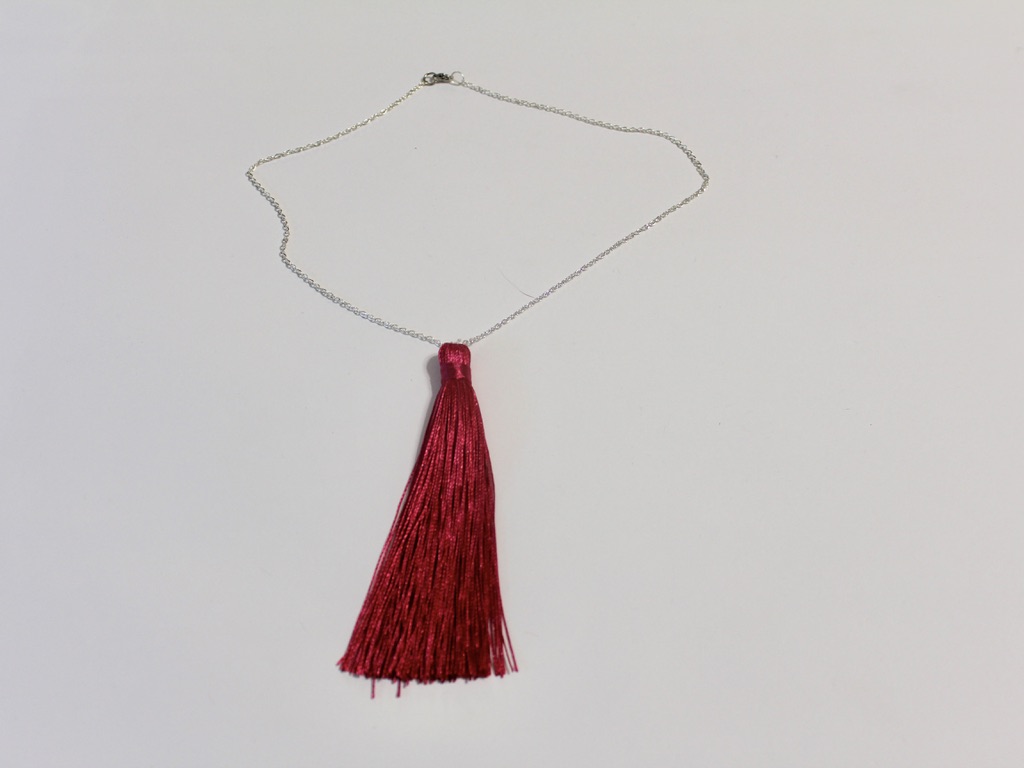
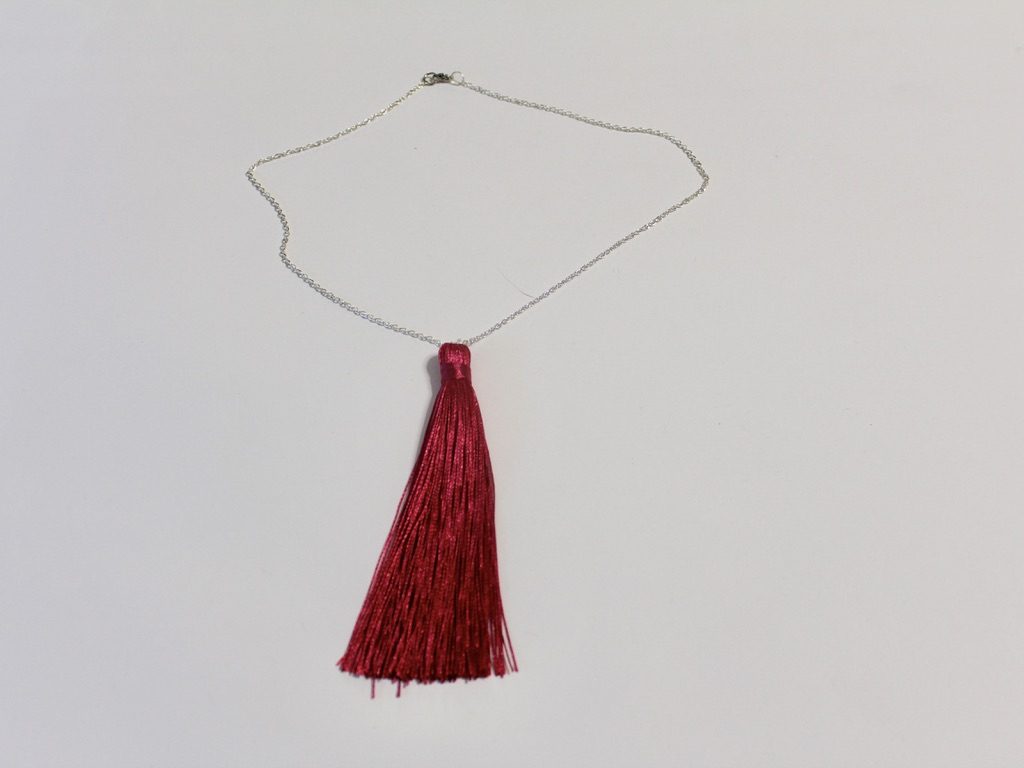
Here’s the finished product! Attach the tassel pendant to a chain for a simple and elegant look.
And here is another tassel pendant attached to a yellow beaded memory wire choker. I love this version, especially the combination of yellow and pink. Yellow and pink is such a cheery and high impact color combination. Perfect for adding an extra punch to a blah outfit!
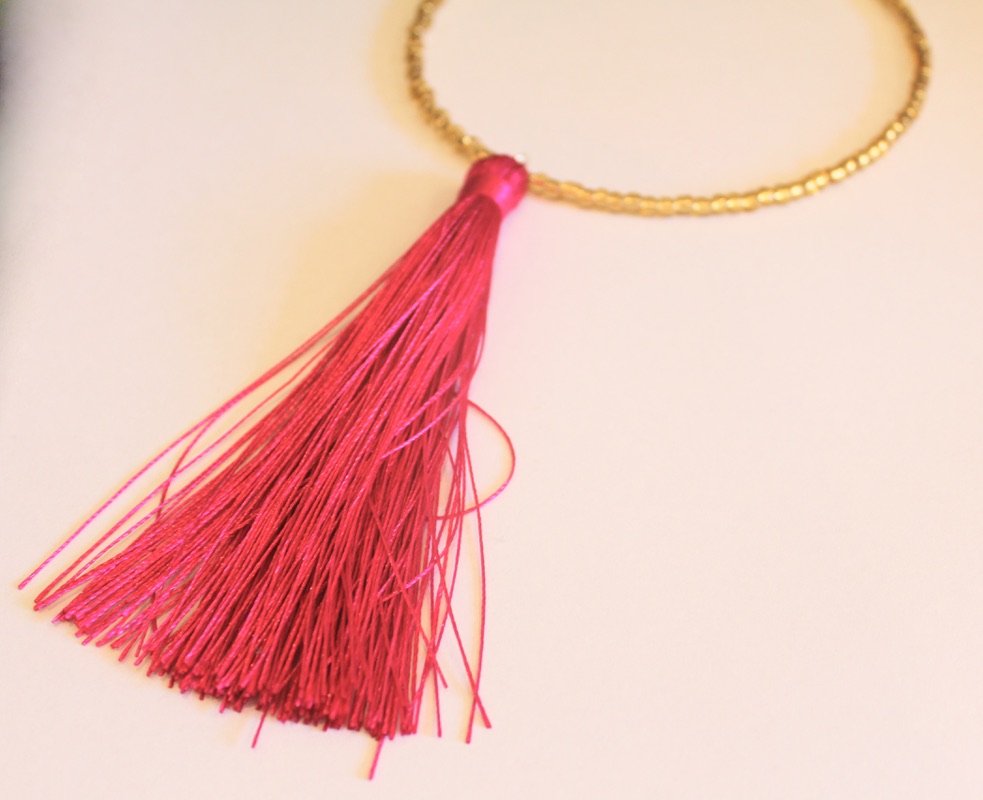
You can buy memory wire and glass beads here to make a choker necklace like the one pictured above:
If you are into tassel jewelry here are some other tutorials:
- Beaded tassel hoop earrings
- Chain tassel necklace
- Tassel and gemstone earrings
- Beaded tassel earrings
- Beaded tassel wrap necklace
- Beaded tassel pendant necklace
This tutorial post contains affiliate links.
You May Also Like

Do You Want More Special Charms In your life? Why not try making this free-form bead and wire charm?
This Circle Pendant Is Simple and Beautiful, Load Yours up With Your Favorite Beads!
Do you want to keep the ocean close? Here’s how to make a bottle charm filled with shells and sea glass