Decorate those lobes with some incredible beaded chain dangle earrings
Remember my tutorial that showed you how to add beads to a necklace chain? Well this technique is back in the form of some stunning beaded chain dangle earrings. These earrings can be a little fiddly to put together but the elegant results are well worth it! Use your favorite gemstones to create some delicate dangles that are all your own.
You will need the following tools and materials to make these elegant beaded chain earrings:
1: Pliers. You will need your flat nose, round nose and cutting pliers to make these earrings.

2: Two small pieces of chain. Make sure that they are the same length so that your earrings match.

3: Four eye pins.

4: Two head pins.

5: Two earring hooks.

6: Two jump rings.

7: Beads of your choice. I used six of these round gemstone beads.

Try making these with some beautiful purple agate beads:
Follow these steps to make your own dainty beaded chain earrings:
1: Add a bead to each of the head pins.

2: Using the round nose pliers, bend each pin at a right angle to the bead.


3: Once the pins have been bent, use the round nose pliers again to create a loop to hold the bead in place.


4: Attach each length of chain to each of the head pin charms.

5: Set the chains aside and add the remaining beads to each of the eye pins.

6: Use the round nose pliers to bend each pin at a right angle to the beads.


7: You may need to trim the pins a little using the cutting pliers.

8: Once all your pins have been trimmed to the right length, form each pin end into a loop to secure the bead in place.


9: Take one of the chains with the bead attached to the end. Count four links and then separate the chain to make two pieces.

10: Add one of the beaded head pins to the short piece of chain.


11: Reattach the long piece of chain to the top of the second beaded pin.


12: Count another four chain links and then separate the chain again.

13: Add the third beaded pin to the earring charm.

14: Add the remaining piece of chain to the top of the last beaded pin.

15: Add a jump ring to the top of the earring charm and then slide the earring hook in place.

16: Secure the earring hook in place by closing the jump ring using your pliers.

17: Repeat steps 9 to 16 to complete the second earring.
18: Once you’ve finished your second earring your beaded chain earrings are ready and waiting to adorn those lobes!


DIY Jewelry Hub
Welcome to DIY Jewelry Hub. If you’ve ever wanted to learn how to make your own jewelry this is the place to start! Jewelry is a great way to show off your individuality and style. You’ll be surprised at how easy it is to create your own unique pieces! DIY Jewelry Hub will equip you with all the knowledge and inspiration you need to make your own jewelry.
You May Also Like
These earrings are SO Awesome! Here’s how to make some special chain dangle hoop earrings.
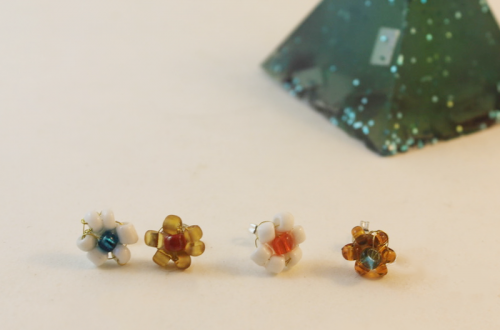
Do you love florals? Why not make these cute beaded flower stud earrings?!