-
How to turn a broken necklace into a waist chain!
This is a fun upcycling DIY! This DIY makes use of long broken necklaces and shows you how to transform them into cute waist chains! Unfortunately not all your broken necklaces are long enough to turn into body chains, but if you’ve got some long chains or bead strands that aren’t working as necklaces anymore, here’s a way to upcycle them and wear them in a new way! Please note that this tutorial contains affiliate links.
You’ll need these tools and materials to make your waist chain:
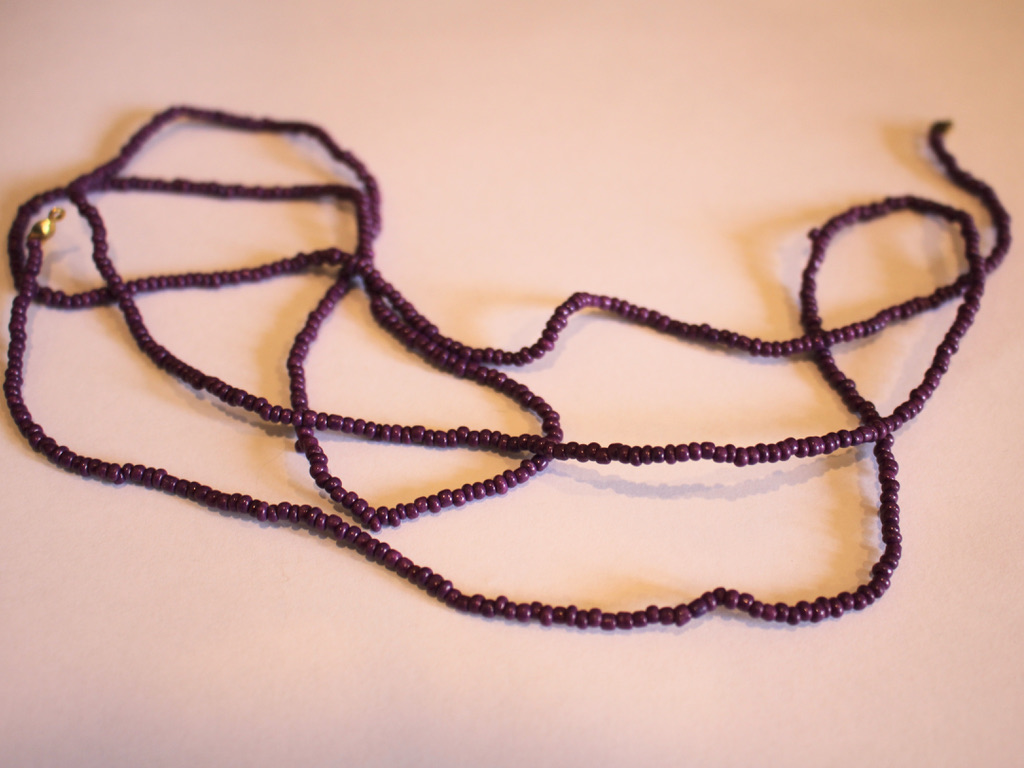
1: A long broken necklace. I used this beaded strand from a broken necklace. If you don’t have a strand like this, you could use a long chain or connect multiple broken necklaces together to get the length you like.
2: Some pliers. I used my round nose and flat nose pliers for this design.


3: A couple of jump rings.

4: A large lobster clasp.

Follow these steps to transform your broken necklace into a waist chain:
1: Add a jump ring to one end of the chain. Slightly open the ring using your pliers and slide it onto the loop at the end of the broken necklace.

2: Add the lobster clasp to the open jump ring that you just placed on the end of the strand.

3: Close the jump ring using your pliers to secure the clasp to the strand.

4: Add the other jump ring to the other end of the strand, close it with your pliers to secure it in place.


Now your upcycled waist chain is ready to wear! You can also wear this piece as a long length necklace or a wrap necklace. But I bet you’d prefer to wear it as a sexy cute waist chain?!

You can find some more body chain tutorials here.
-
How to transform an old ring into a pendant.

If you are like me you might have some old costume jewelry lying around that isn’t really your style any more. Instead of throwing it away here’s a way that you can transform an old ring into a wearable pendant.
You will need the following tools and materials to make your pendant:
1: An old ring. I used this ring with a soldered on ring shank.

2: Flat nose pliers for pulling the ring apart.
3: A glue on bail.

4: Araldite glue.

5: A skewer.

6: Scrap paper.

8: A necklace chain.

Follow these steps to transform your old ring into a necklace pendant:
1: Remove the ring shank from the top of the ring, gently pulling it off with your flat nose pliers.


2: If there is excess metal use a file to remove it. I didn’t have to do this for this project.
3: Squeeze out the Araldite glue in equal parts onto the scrap paper.


2: Mix the glue using the skewer.

3: Add the glue to the bail and the back of the ring.


4: Place the bail onto the glued part of the ring and set aside to dry.

5: Add the dry pendant to the necklace to finish it off!
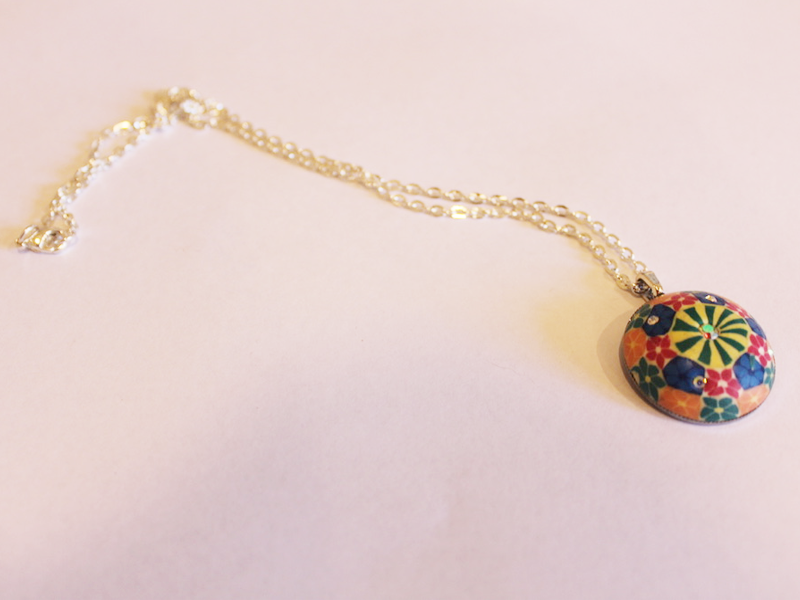
Now your new pendant is ready to wear! Such an easy way to upcycle old jewelry.
-
Here’s another way to make a cool anklet for summer…

Like I said before, anklets are going to be a hot ticket accessory this summer, so here’s another way to make an anklet to add to your #ankleparty
You will need the following tools and materials to make your anklet:
1: Pliers. You’ll need flat nose pliers, round nose pliers and cutting pliers for this anklet design.

2: A broken pair of headphones. I used these headphones left over from a different project.

3: Two crimp ends.

4: Two jump rings.

5: A lobster clasp.

6: A long gold coloured bead.

Follow these steps to make your simple anklet:
1: Measure the headphone cord around your anklet and cut it to length using the cutting pliers.


2: Add the bead to the trimmed headphone cord.

3: Add a crimp to either end of the cord, folding it around the cord using the flat nose pliers.


4: Add a jump ring to one end of the anklet and attach the lobster clasp.


5: Add the other jump ring to the other side of the anklet.

Now your anklet is done! How cute is this simple design? Add it to your #ankleparty and dance the night away!

-
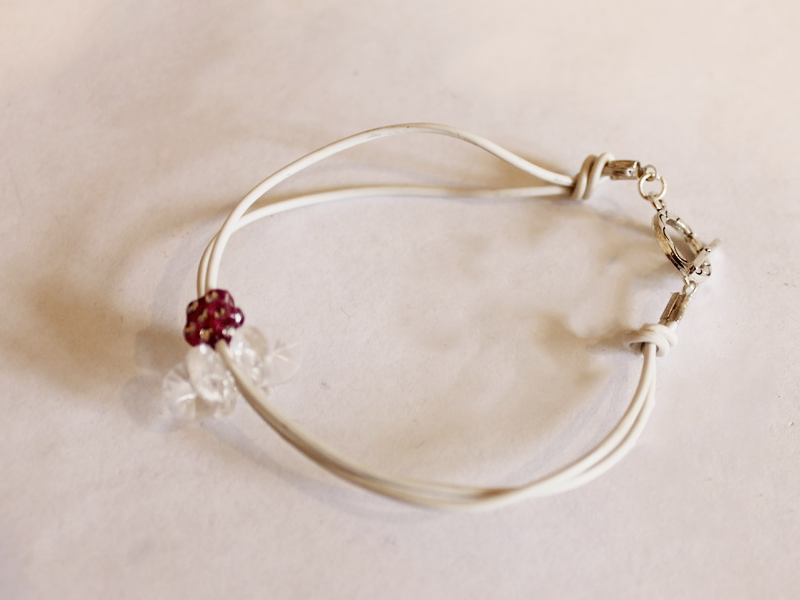
One more way to upcycle those headphones… a double strand headphone bracelet!
This bracelet is another way you can upcycle your broken headphones. You can check out the other headphone upcycling tutorials here and here.
Follow these steps to make a double strand bracelet out of headphones:
You’ll need the following tools and materials to make your double strand headphone bracelet:
1: Pliers. You’ll need your cutting pliers, flat nose pliers and round nose pliers.
2: A pair of broken headphones.

3: Some beads. I used these two plastic beads from my childhood bead collection.

4: Some leather crimp ends.

5: Two jump rings.

6: A toggle clasp.

Follow these steps to make your double strand headphone bracelet.
1: Cut a strand of cord from the headphones. I used the part between the ear bud and the split point.


2: Fold the cord in half and cut it so you have two pieces.


3: Add beads to each of the cords.

4: Hold the ends of the cords together and secure them with the crimp end, folding it around the cords using the flat nose pliers.


5: Repeat step 4 for the other side.

6: Attach the toggle clasp components to either side of the bracelet using the jump rings.

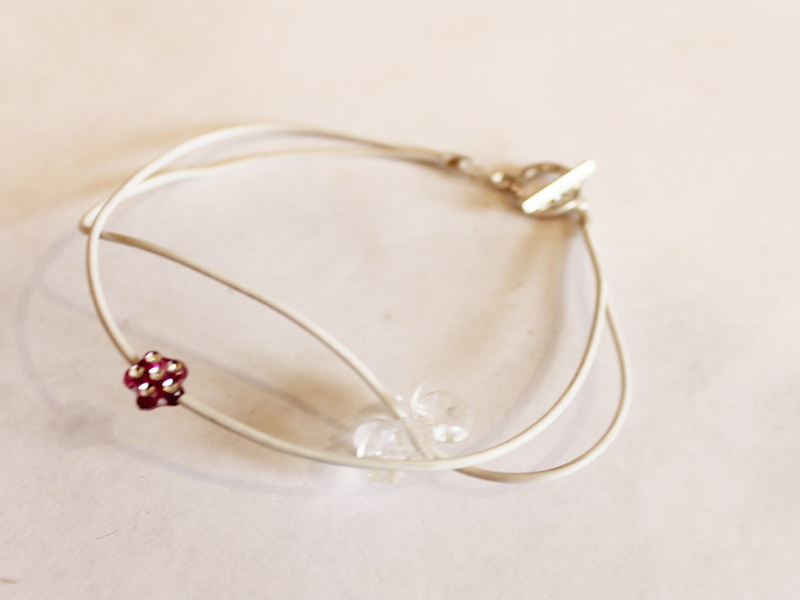
7: Depending on the length of your cords you might need to add some knots to either end to shorten the bracelet.
Now your double strand headphone bracelet is finished! How fun!
-
Here’s another way to upcycle broken headphones… into a necklace!

Remember the upcycled bracelet tutorial? Here’s another idea for how you can recycle broken headphones… turn them into a stylish necklace!
You will need the following tools and materials to make your headphone necklace:
1: Pliers. You’ll need cutting, flat nose and round nose pliers.
2: A charm. I used this old vintage earring charm.

3: Two crimp ends.

4: Two jump rings.

5: A lobster clasp.

6: A pair of broken headphones. I used these Sony headphones that don’t work any more.
Follow these steps to make your headphones into a necklace:
1: Clip the headphones so that you have a length that fits around your neck. I used the part between the ear bud and the split.
2: Add the charm to the cord.

3: Add a crimp end to either side of the cord, folding it in place using the flat nose pliers.


4: Add the lobster clasp to one side of the necklace using one of the jump rings.

5: Add the remaining jump ring to the other side of the necklace to finish it.
Now your upcycled headphone necklace is finished and ready to wear!
-
How to upcycle your old broken headphones into a bracelet!

I have a load of broken headphones, if you’re like me and don’t want to chuck them in the bin, here’s a way to upcycle them… turn them into a beaded finger-knit bracelet. Contains affiliate links.
You will need the following tools and materials to make your headphone bracelet:
1: Pliers. You’ll need cutting pliers, round nose pliers and flat nose pliers.
2: A pair of broken headphones. I used these broken apple headphones.

3: Some beads with large holes. I used these yellow plastic heart beads.

4: Two crimp ends.

5: Two jump rings.

6: A toggle clasp.

Follow these steps to make your headphone bracelet:
1: Clip the headphones so that you have one long thread.

2: Create a slip knot at one end of the headphone cord.

3: Put the knot around your finger and loop it again right next to the first loop. If you need a refresher on how to finger knit check out this video tutorial.

4: Pull the first loop over the second one and off your finger.
5: Add a bead to the next loop and repeat steps 3 and 4.

6: Continue this until your finger knitting is long enough to fit your wrist.
7: Knot the end of the finger knitting to secure it.

8: Add a crimp end to both ends of the headphone cord.


9: Attach the toggle clasp using the jump rings.


Now your upcycled headphone bracelet is ready to wear!

https://flic.kr/p/RqQsqF
-
Here’s how to turn those shopping bag cords into cool wrap bracelets!

Do you ever think about what to do with those handles that come on paper shopping bags? Here’s how to turn some trash into treasure…
You will need the following tools and materials to make your wrap bracelet:
1: Pliers. Some flat pliers and round nose pliers.
2: Two flat crimp ends.

3: Two medium sized jump rings.

4: A toggle clasp.

5: A charm. I used this bead charm that I had made earlier.

6: Some cord from a paper shopping bag. The piece I had was long enough to wrap three times around my wrist.

Follow these steps to make your cord wrap bracelet:
1: Squash a crimp end around each end of the cord, secure each in place by squeezing it using the flat nose pliers.

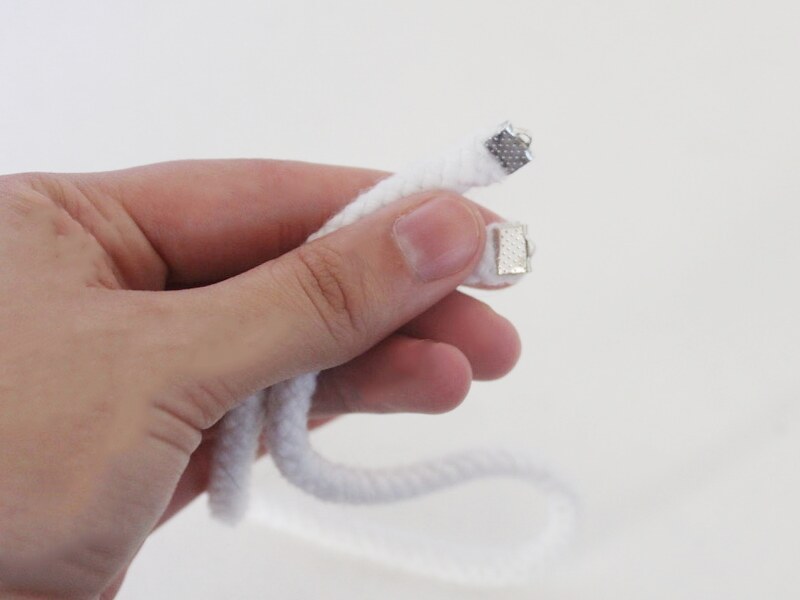
2: Add a jump ring to the end of one crimp and slide on part of the toggle clasp. Close the jump ring to secure the clasp in place.


3: Add the charm to the jump ring.


4: Add the other jump ring and the remaining part of the toggle clasp to the other side of the cord.


Once the remaining toggle component is attached to the cord your bracelet is finished and ready to wear! I think that’s a pretty cool way to save some usable materials from finding their way to the garbage.