-
Want to make your own hoop earrings out of wire? Here’s how you can do it!
It can be so satisfying to make your own jewellery out of metal, but you might wonder how you can do it without all the tools and fire… well I’ve got an answer for you… here’s how you can make some metal hoop earrings out of wire and a few tools, no fire or expensive tools required! Please note that this tutorial contains affiliate links.
You’ll need these tools and materials for your pair of metal hoop earrings:
1: Two pieces of wire, mine were about 12cm long (I used rose gold-filled wire). The longer the wire is, the bigger your hoops will be. It is helpful to note that longer pieces of wire are easier to work with than shorter pieces.

2: A pair of round flat pliers.

3: A pair of round nose pliers.

4: Cutting pliers to cut your wire to length.

5: Flat nose pliers.

6: A ring mandrel or something round that you can use to form the earring shape.

7: A file.

Follow these steps to make your special metal hoop earrings:
1: File both ends of each piece of wire so that it is flat and smooth, this will make it nicer to put through your ear.


Here is an example of what the filed ends will look like. 2: Take one of the wires and bend one end to form a right angle using the flat round pliers. I used the edge of the flat side to measure out how much to bend.

3: Repeat step 2 for the second wire.

4: Using the round nose pliers, turn the short bent end of each wire into a loop.


5: Take each wire and wrap it around the ring mandrel or round item to form the hoop shape. Press gently around with your fingers or tap lightly with a plastic or leather hammer to get the shape you like. Because my mandrel was a bit small for the length of wire I used, I pulled it gently and let the wire flex back to make a bigger hoop.

Note: pulling the wire tight around the mandrel like this helps give it tension and hold the hoop shape. 
6: Add a small kink to the non-looped end of each earring using flat nose pliers. This will allow the ends to hook into the loops of the hoop.
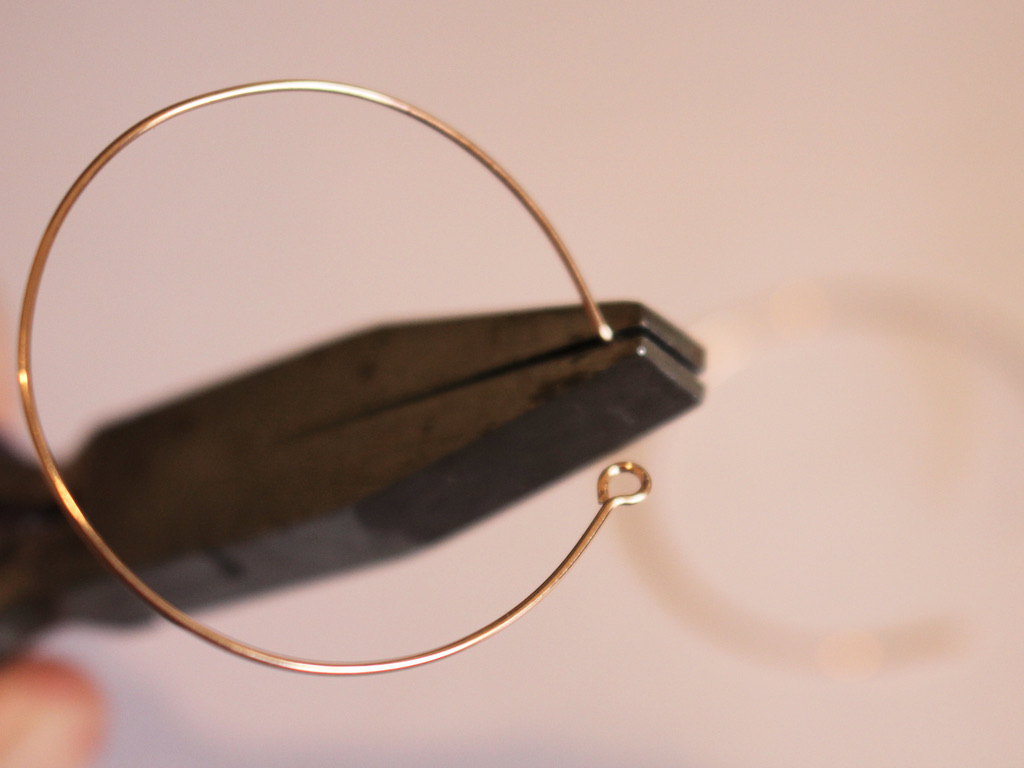

Now your hoop earrings are finished! How lovely is it that you can make your own precious metal jewellery at home?!


Here are some more tutorials that show you how to make metal wire jewelry without needing a jeweller’s torch:
-
These earrings have not one, not two… but three hoops! Here’s how to make them.
Do you love it when your earrings to do the most? These earrings are a true hoop statement, made with three hoops that nest into each other. I think these are so cute!
Please note that this tutorial contains affiliate links.
You’ll need the following tools and materials to make your triple hoop earrings:
1: Six pieces of wire in three different lengths (two pieces of each length). The longest piece of wire will determine the size of the rest of the hoops. I used copper wire.

2: Six small jump rings.
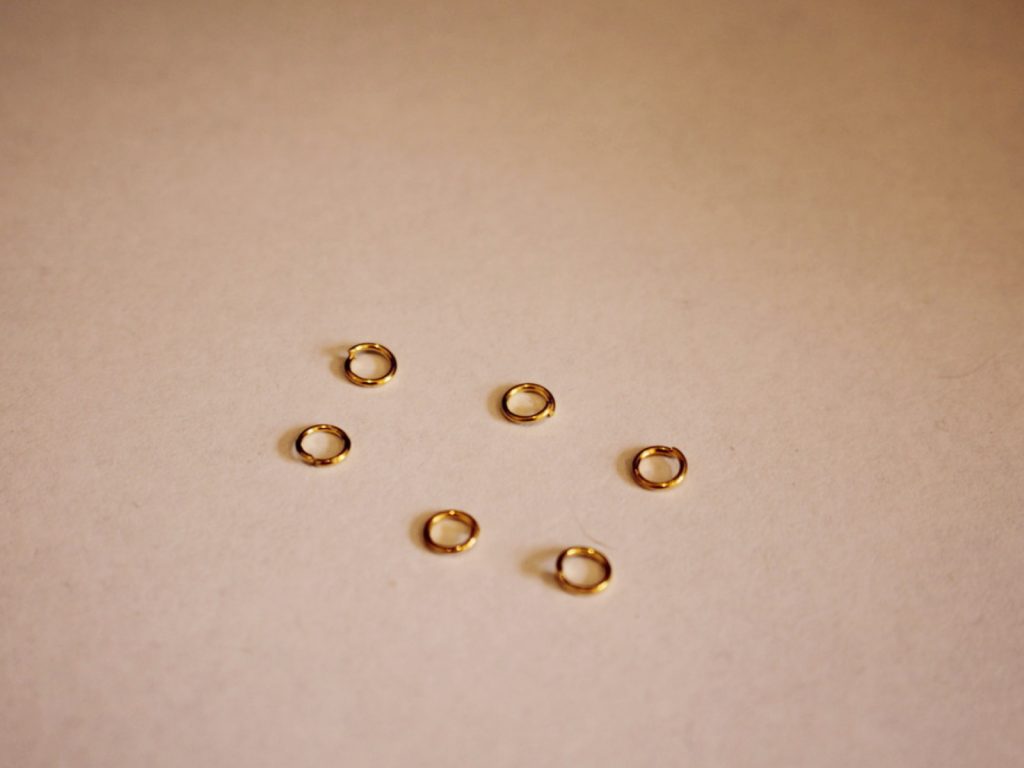
3: A pair of earring hooks.

4: Beads of your choice. I used six red timber beads and some yellow glass e-beads.


Follow these steps to make your triple hoop earrings:
1: Create a loop at one of the ends of the long wires using your round nose pliers. Do this by creating a right angle first and then looping that small end of the wire around the barrel of your pliers.


2: Add beads to the wire in your chosen pattern. I beaded mine primarily with the yellow beads, placing a red timber bead in the centre. You can estimate the centre of the wire by forming it into a rough circle shape.

3: Once the wire is beaded, with 1cm left bare, create another loop at the end of the wire. This will secure the beads in place. Open the end loop up a bit and slide it into the loop you made at the start, close it to secure the ends together and form the circle shape.
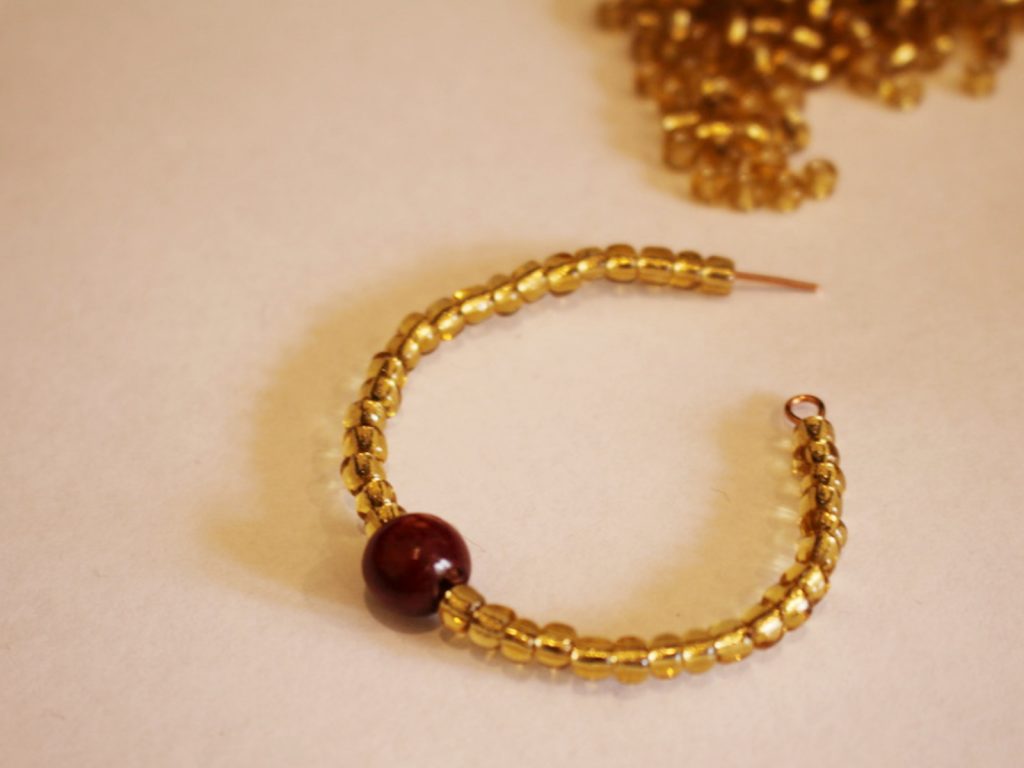


4: Repeat steps 1-3 for the rest of the wires to create six circles.
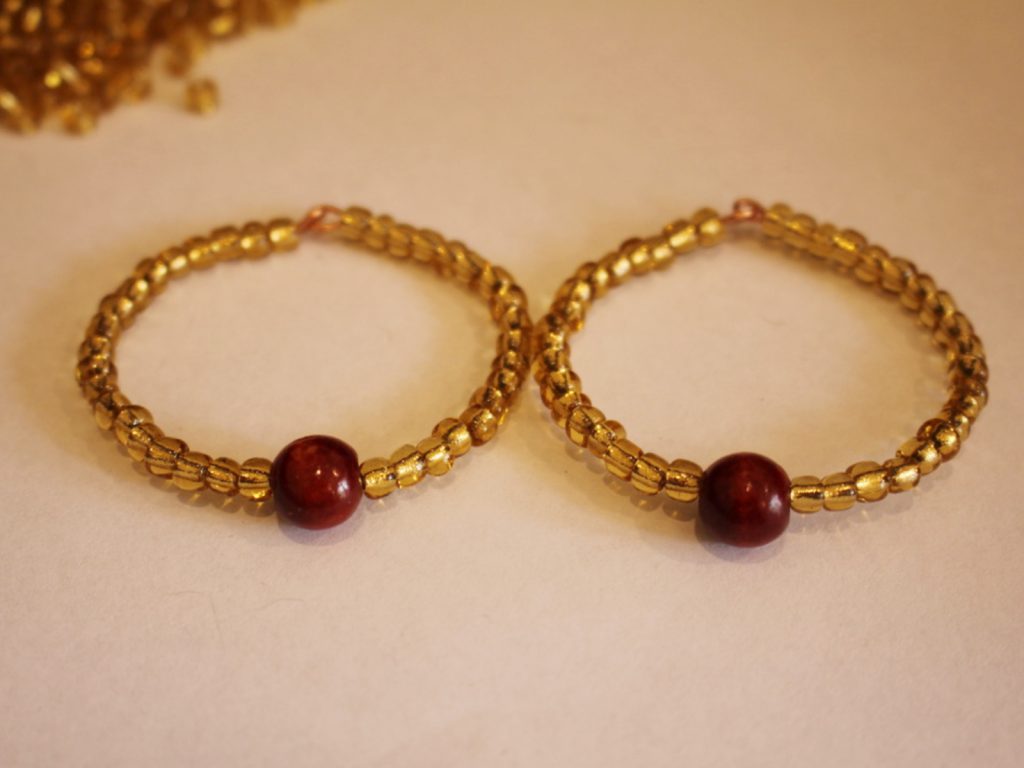


5: Take one of the biggest circles and one of the medium circles. Attach them together using one of the jump rings. Slide the jump ring through the loops at the top of each hoop and close it to secure them together.

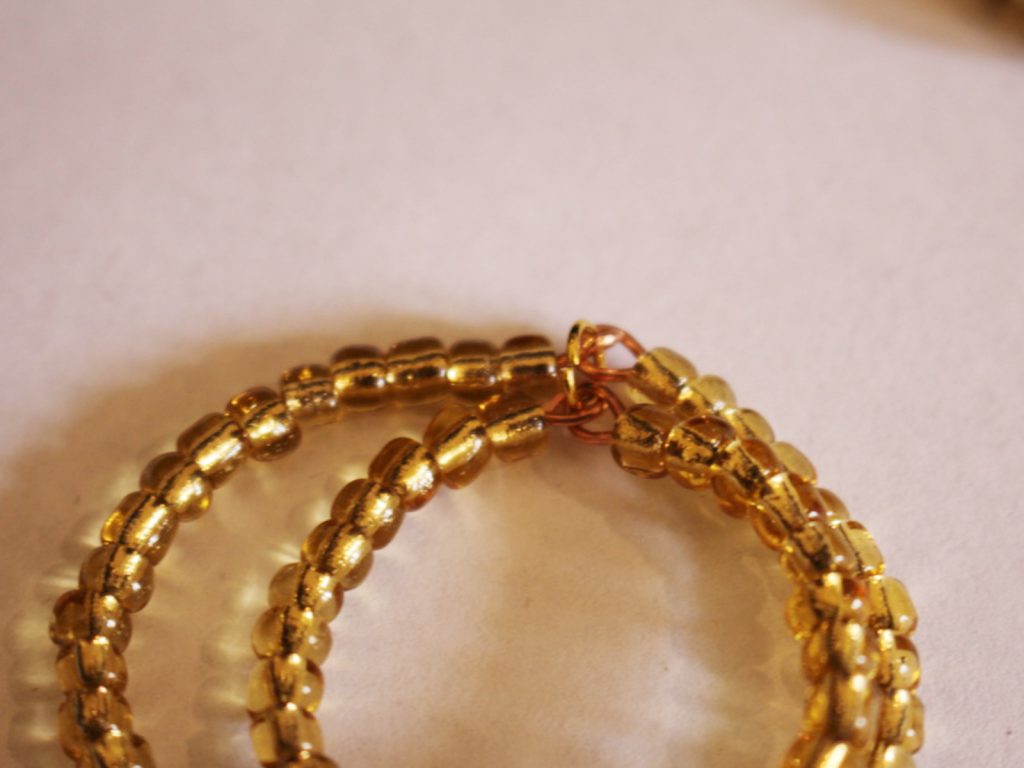
6: Repeat step 5 to attach the smallest hoop to the middle hoop so that you have a stack of three hoops attached together.

7: Repeat steps 5 and 6 for the second set of hoops.

8: Attach an earring hook to both sets of hoops to finish them off.


Now your cute triple hoops are finished and ready to wear!


If you like this design, here are some other multi-hoop earring tutorials:
-
How to make some stud earrings at home out of wire.
These wire earrings are super cute! Hammer some wire flat and then curl the ends to create some adorable little stud earrings that you can stack in multiple piercings.
You’ll need these tools and materials to make these stud earrings:
1: Cutting pliers, flat nose pliers and round nose pliers.

2: A hammer.

3: A steel hammering block.
4: Two small pieces of wire, around 4-5cm long. I used this rose gold filled wire.

5: A file or some sandpaper.
Follow these steps to make your cute little stud earrings.
1: Take the wires and place them on the hammering block.
2: Hammer one end of the wires flat using the hammer. Leave 1cm untouched.


3: Bend the wires at a right angle using the flat nose pliers. Bend at the point where the flat side ends.


4: Curl the flattened ends around the round nose pliers to form a little loop.


5: File or sandpaper the ends of the wires so that they are smooth and comfortable to wear.
6: Pop some butterfly backs onto each earring to finish them off.

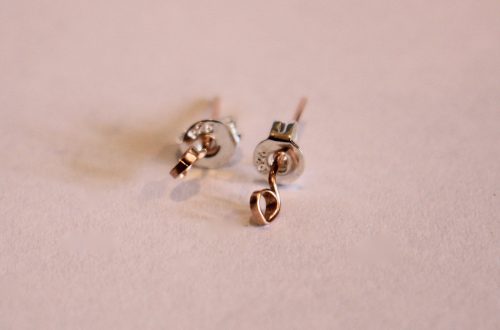
Now your cute little curled wire earrings are finished and ready to wear! Super adorable and fun.

-
Here’s how to make a pair of cute beaded chain earrings!
These earrings are made using soft wire and beads to make a chunky chain that dangles from each ear. These really cute earrings are fun to make and look so fun.
You’ll need these tools and materials to make these earrings:
1: Pliers. I used my cutting pliers (left), flat nose pliers (right) and round nose pliers (middle) to make these earrings.
2: Some thin soft wire. I used six pieces (approx 7cm long) of wire that I recycled from an old project.

3: Some beads. I used green and gold glass e-beads.

Gold beads: https://amzn.to/3S3zwfi
Green beads: https://amzn.to/3QTdMlj
4: Two small jump rings.

5: Two earring hooks.

Follow these steps to make your chunky bead chain hoops:
1: Take a piece of wire and curl one end around the round nose pliers.
2: Add beads to the wire until there is 1cm left without beads.


3: Put the end of the wire back through the first loop you made.

4: Curl the other end of the wire so that the beaded circle is closed.

5: Make another beaded circle, thread it through the first circle you made before you secure it closed.


6: Make a third beaded circle and attached it to the first two so that you have a chain of three.


7: Repeat steps 1 to 6 for the second earring.

8: Attach the earring hooks to the top of each chain using the small jump rings.


Now your chain earrings are finished and ready to wear!!!

Here is a four link version I made as well


This tutorial contains affiliate links.
-
Stuck for Mother’s Day gift ideas? Here’s our DIY jewelry gift guide!
If you need some ideas for Mother’s Day, here are some tutorials that might inspire you to make the mother figure in your life something special and sentimental.
Gift idea one: A necklace made out of an upcycled brooch.
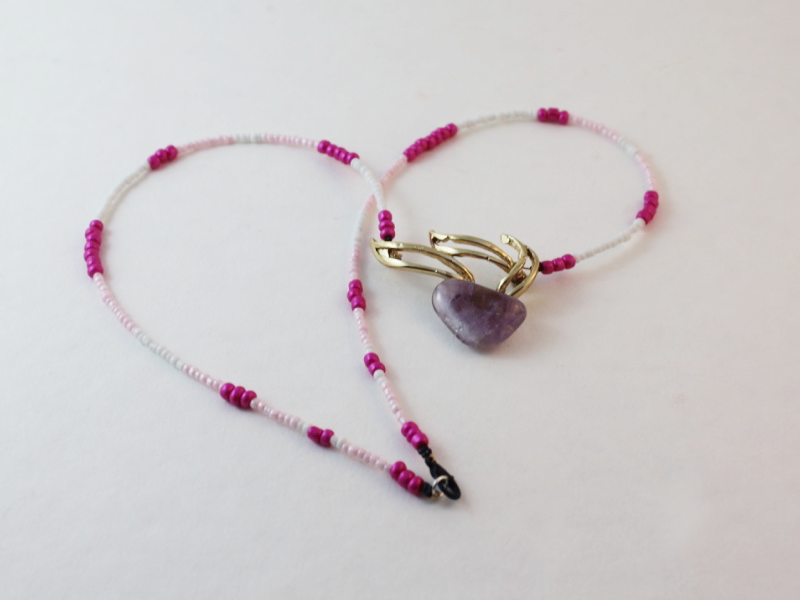
Find all the steps to make a brooch necklace here.
Gift idea two: A lock and key jewelry set.

This is such a cute idea, turn your childhood diary lock and key into a sweet jewellery set! Find the steps here.
Gift idea three: Some delicate wire threader earrings.

These are for the Mother who loves the simple things. The full threader earring tutorial can be found right here.
Gift idea four: An elegant floating pearl necklace.

This necklace is so cool! Find the tutorial here.
Gift idea five: A custom made charm.

Use a special bead or a handmade one and transform it into a one of a kind charm. All the steps to create this special charm are right here.
Gift idea six: A beachy pendant.

Fill this pendant with reminders of the beach or the bush. All the steps to make this sentimental pendant right here.
-
How to make textured arch threader earrings
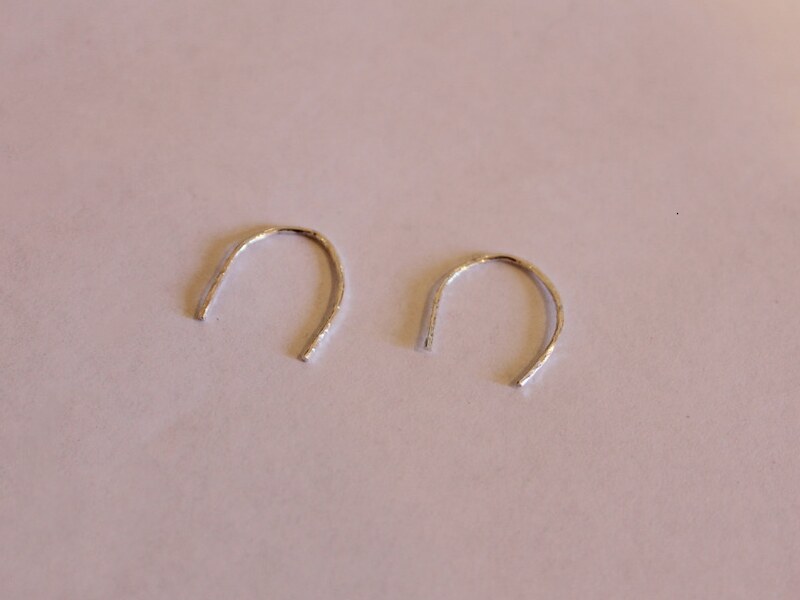
Here’s how to add some extra flare to your threader earrings… add some texture! Use a hammer to add some glittery facets to your wire threader earrings.
You will need the following tools and materials to make your earrings:
1: Cutting pliers to cut your wire to length.
2: Two pieces of wire. I used some sterling silver wire approximately 4.5cm long.
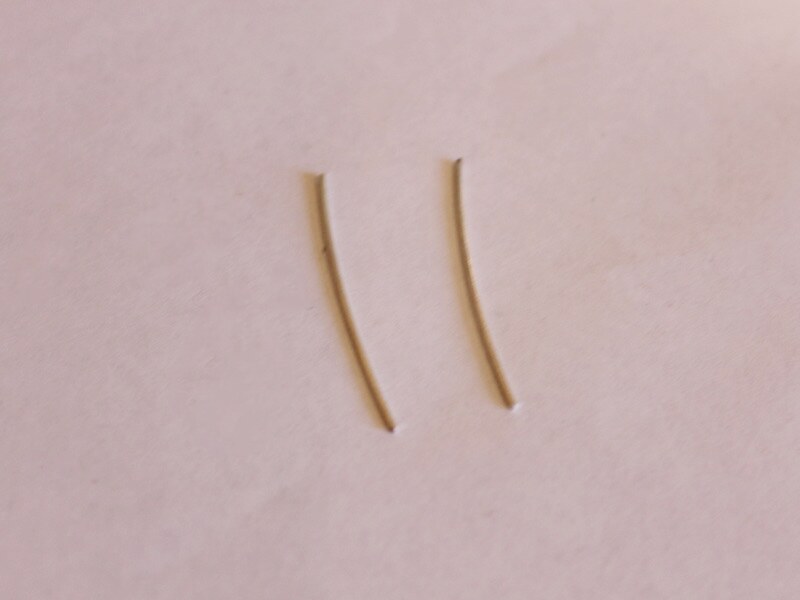
3: A steel block.

4: A hammer.

5: A file.
6: Tape.

7: A pen or something else that is round to shape your wire around.
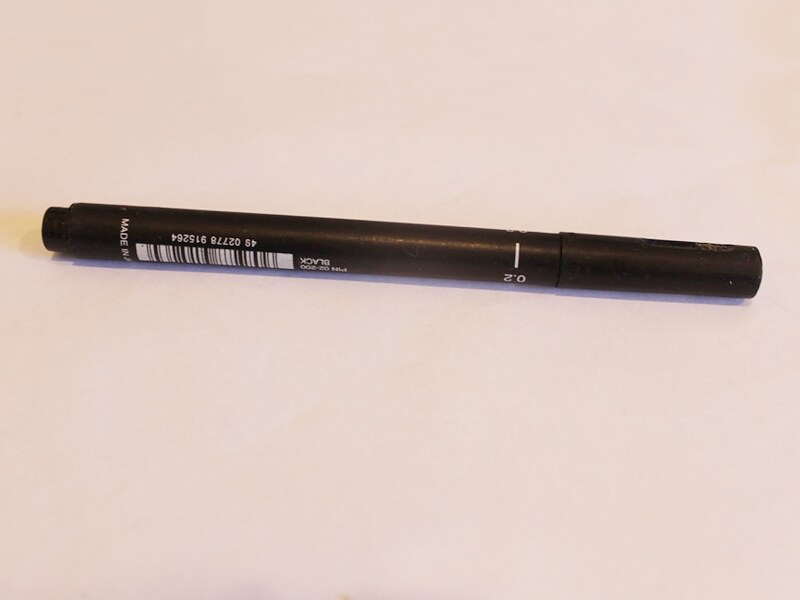
Follow these steps to make your textured wire threader earrings:
1: Hammer the wire so that it is textured on all surfaces. Do this by hitting the wire lightly with the edge of the hammer.
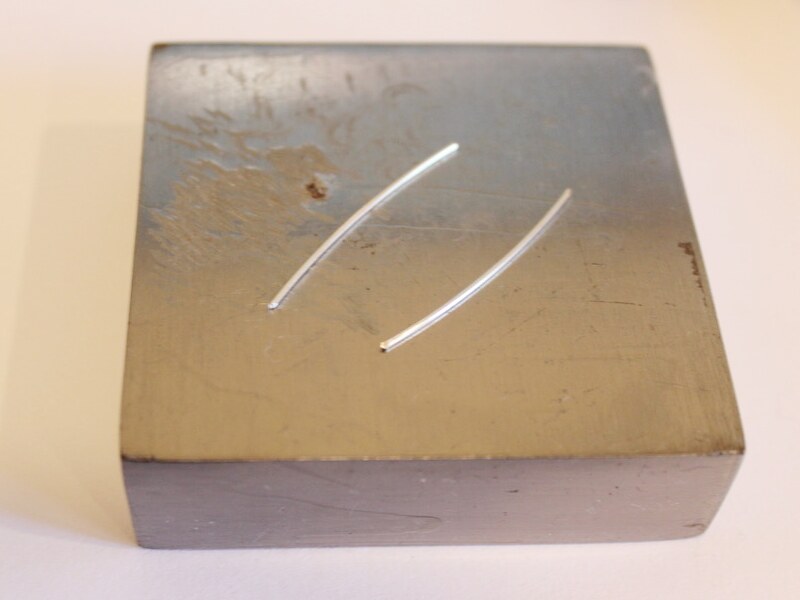
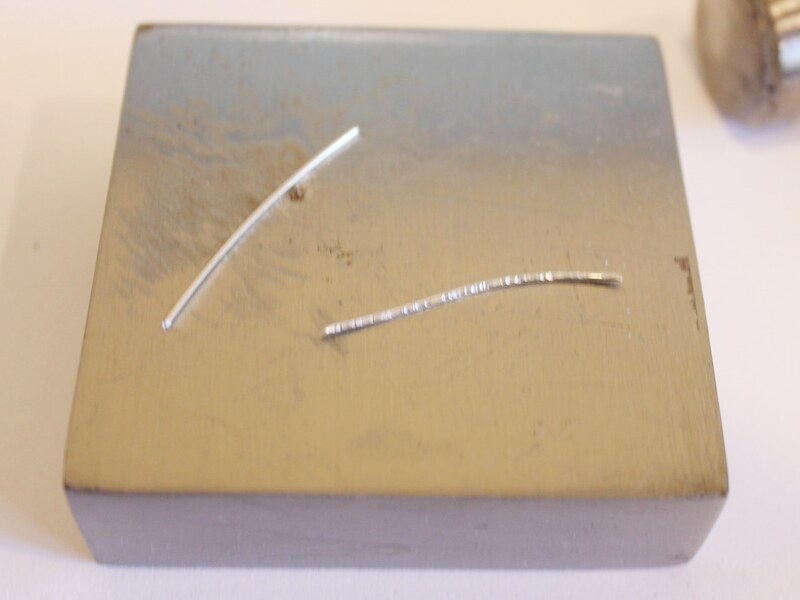
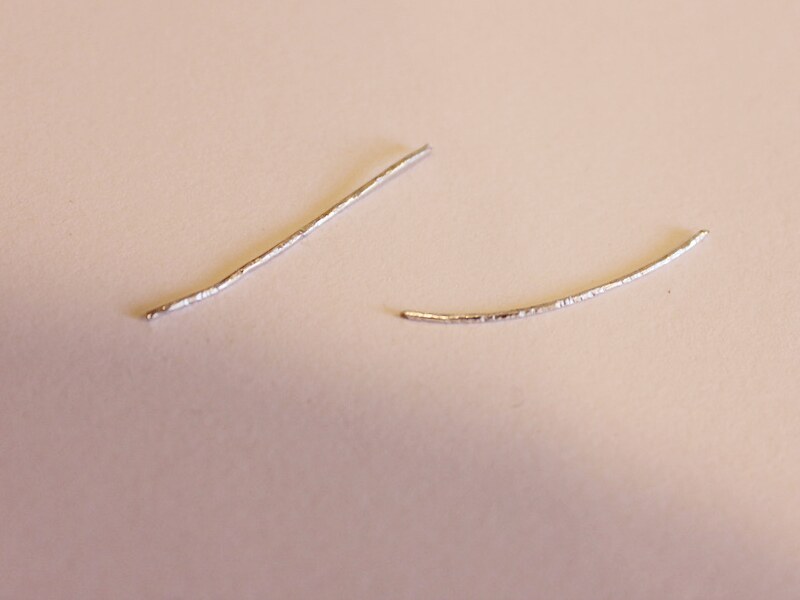
2: Once both pieces are textured line them up and tape them to the pen.
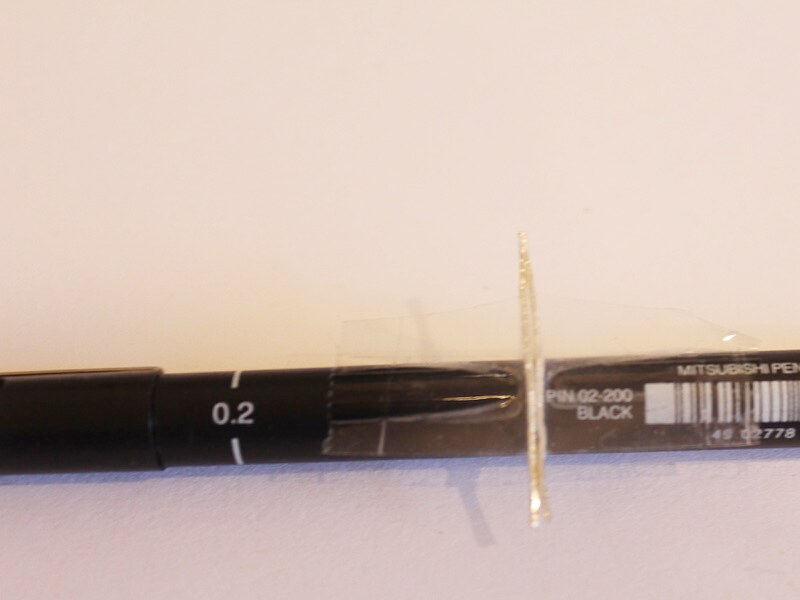
3: Bend the wire around the pen to form a curved arch shape.
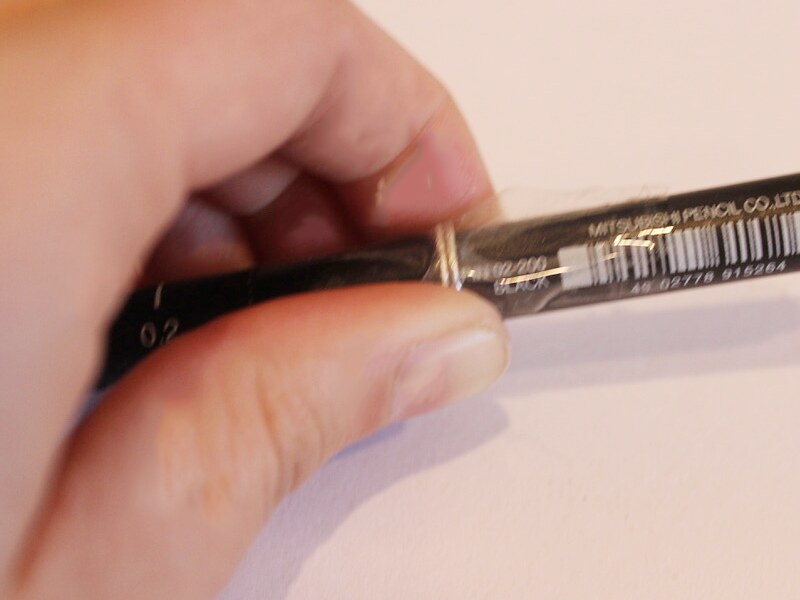
4: Take the wire off the pen.
5: File the ends of the wire until they are smooth.
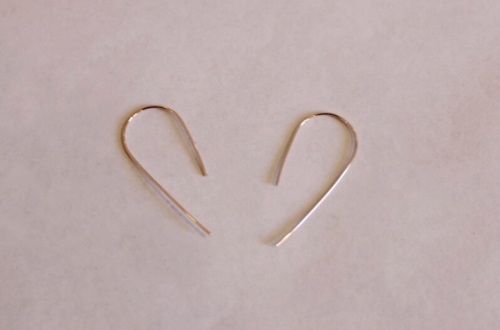
Once your earrings are filed they are ready to wear! How cute are these little arch threader earrings?!