Step-By-Step Tutorials
-
Need a new necklace? Look no further than this tutorial!
Here’s a new necklace you can make and customise to your liking. It uses memory wire and chain to make a layered effect for extra visual interest.
Here’s what you need to make this necklace:
1: Pliers. I used my cutting pliers, round nose pliers and flat nose pliers.

2: Two half circle pieces of necklace length memory wire.

3: Two pieces of chain that, when measured together, are long enough to fit around your neck.

4: Six jump rings.

5: A lobster clasp.

6: Beads. I used yellow glass beads.

Follow these steps to make your necklace:
1: Curl one end of one of the pieces of memory wire using the round nose pliers to form a loop.


2: Add beads to the wire until there is approximately 1cm left unbeaded.


3: Curl the other end of the wire using the round nose pliers again to secure the beads in place.

4: Repeat steps 1 to 3 for the second piece of memory wire.

5: Attach the two pieces of memory wire together using two of the jump rings.


6: Attach one of the pieces of chain to one side of the memory wire arches using another of the jump rings.

7: Repeat step six for the other side of the necklace attaching the second piece of chain.

8: Attach the lobster clasp to one side of the necklace using one of the remaining two jump rings.

9: Attach the last jump ring to the other side of the necklace to finish it off.

Now your new necklace is ready to wear!


-
Do you love a waist chain? Here’s how to make one with an extra loop feature.
This design is really cool! I think chain belts or waist chains are a really fun way to add some 80s glam to your favorite dresses or skirts. Please note that this tutorial contains affiliate links.
You’ll need the following tools and materials to make your looped chain:
1: A length of chain long enough to fit around your waist with a little extra (approximately 20cm) to spare.

2: Three large jump rings.

3: A large lobster clasp.

4: Pliers. I used my round nose and flat nose pliers to make my chain belt.


Follow these steps to make your chunky waist chain:
1: Add a large jump ring and lobster clasp to one end of the chain.


2: Wrap the chain around your waist and find the point where it fits.

3: Add another jump ring to the point where the chain fits your waist, you should have some extra chain that dangles beyond this point.


4: Take the extra bit of chain and fold it back towards the long waist part of the chain.
5: Take the last jump ring and use it to attach the end of the chain to the main waist part of the chain to form a loop. Once this extra part of the chain is secured your looped waist chain is ready to wear! So so cute!


Here are some of our other body chain tutorials:
-
Combine gold wire and pearls with these amazing statement earrings
These earrings use different materials to create a loop of gold wire and rainbow beads with a sweet dangly pearl in the centre. This tutorial contains affiliate links.
You’ll need the following tools and materials to make your earrings:
1: Pliers. I used my cutting pliers (left), flat nose pliers (right) and round nose pliers (middle).
2: Two pieces of 0.8mm wire approximately 7-10cm long. I used gold fill wire.

3: Two pieces of tiger tail wire, around 10-15cm long.

4: Four small jump rings.

5: Two head pins.

6: Two larger jump rings.

7: Post earrings with charm loops.

8: Beads. I used mixed glass beads.

9: Two pearl beads.

10: Eight crimp beads.

11: Something round to form your wires around. I used a bead container.
Follow these steps to make your earrings:
1: Take one of the pieces of tiger tail wire and add two crimp beads and a small jump ring to the end.

2: Loop the end of the wire around the jump ring and through the crimp beads. Pull it tight.

3: Squash the crimps using flat nose pliers.

4: Add beads to the tiger tail wire until you have a length you like.

5: Once fully beaded add another two crimp beads and another small jump ring to the end of the wire.
6: Pull the end of the wire around the jump ring and back through the crimps and last few beads.

7: Squash the crimp beads at the end and trim the excess wire.

8: Repeat steps 1 to 8 for the second bead strand.

9: Add each of the pearl beads to the head pins and use round nose pliers to curl the tops, this secures the beads on to the pins.


10: Add the pearls to each beaded strand.

11: Bend the wires around your round thing to form an arch shape.


12: Add a loop to either end of the wire using the round nose pliers.


13: Attach a bead strand to each of the wires using the jump rings.


14: Add an earring post to each earring, attaching it using the remaining two larger jump rings.


Now your earrings are finished and ready to put on! Perfect for adding some color to neutral outfits!


-
I’m not sure what to call this design, but it sure is cute! Here’s a new beaded earring tutorial.
These earrings are made from four pieces of bracelet length memory wire, attached together to form an eye shape. These cute earrings can be beaded up in lots of different colors to suit your preference. This tutorial contains affiliate links.
You’ll need the following tools and materials to make your earrings:
1: Pliers. I used my cutting pliers and round nose pliers.

2: Bracelet length memory wire cut into four equal half circle pieces.

3: Earring hooks.

4: Four small jump rings.

5: Two big jump rings.

6: Beads. I used orange and clear glass beads.


Follow these steps to make your new earrings:
1: Curl one end of one of the wires to form a loop using the round nose pliers.

2: Add beads to the wire and leave a 1cm section unbeaded.

3: Use the round nose pliers again to curl the other end of the wire and secure the beads on the wire.

4: Repeat steps 1 to 3 for the remaining three wires, beading two wires in one colour and two in the other.


5: Start attaching the wires together. Take one of the clear beaded wires and one of the orange ones and attach them together using one of the small jump rings.

6: Now attach the other side together to form a squashed circle/eye shape.

7: Repeat steps 6 and 7 for the other earring.

8: Add the earring hooks to each of the beaded eye shapes using the large jump rings. I made mine asymmetrical so that one has an orange top and the other has a clear top.


Now your earrings are finished! How cute is this design?


-
How to make a three strand chain anklet. Super cute and simple!
This cute anklet is made from three different kinds of chain for a textured look. Combine your fave types of chain to create your own custom look. This tutorial contains affiliate links.
You’ll need the following materials to make your three chain anklet:
1: Pliers. I used my flat nose pliers and round nose pliers.
2: Three lengths of chain that are long enough to fit comfortably around your ankle. I used chunky gold tone curb chain, copper tone rolo chain and antique gold tone curb chain.


3: Two large jump rings.

4: A lobster clasp.

Follow these steps to make your three chain anklet:
1: Open one of the jump rings.
2: Add each of the chains to the open jump ring.
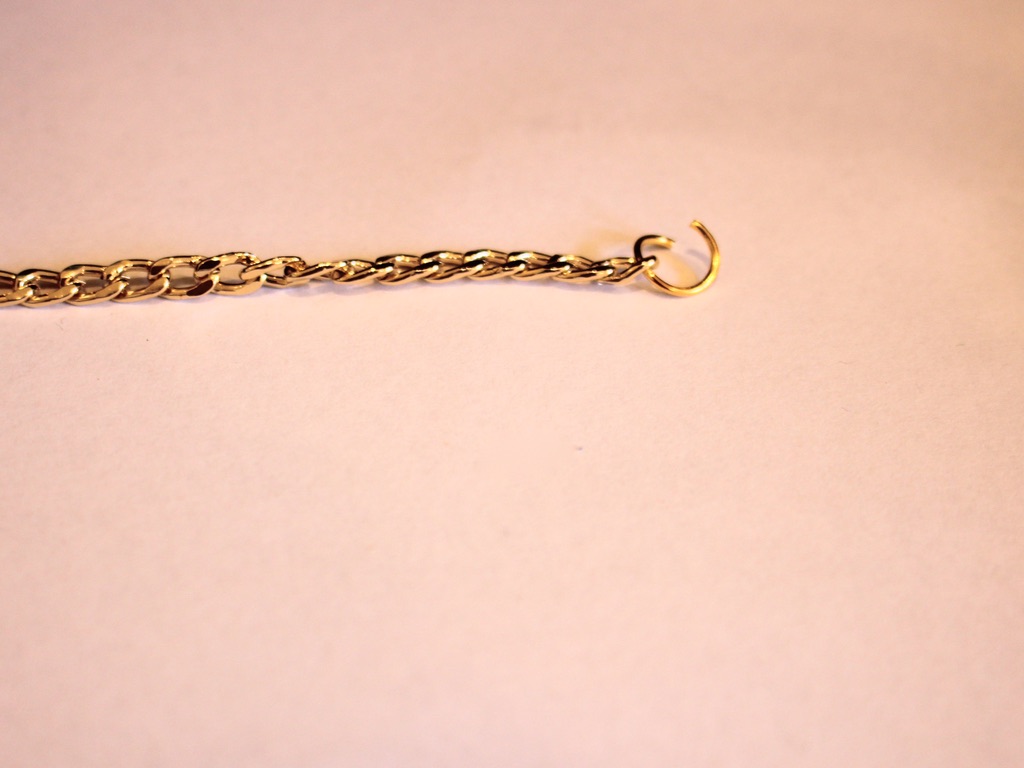

3: Close the jump rings to secure the chains together.


4: Open the other jump ring and put the other end of each chain onto the jump ring in the same order as the other end.
5: add the lobster clasp to the second jump ring before closing it.
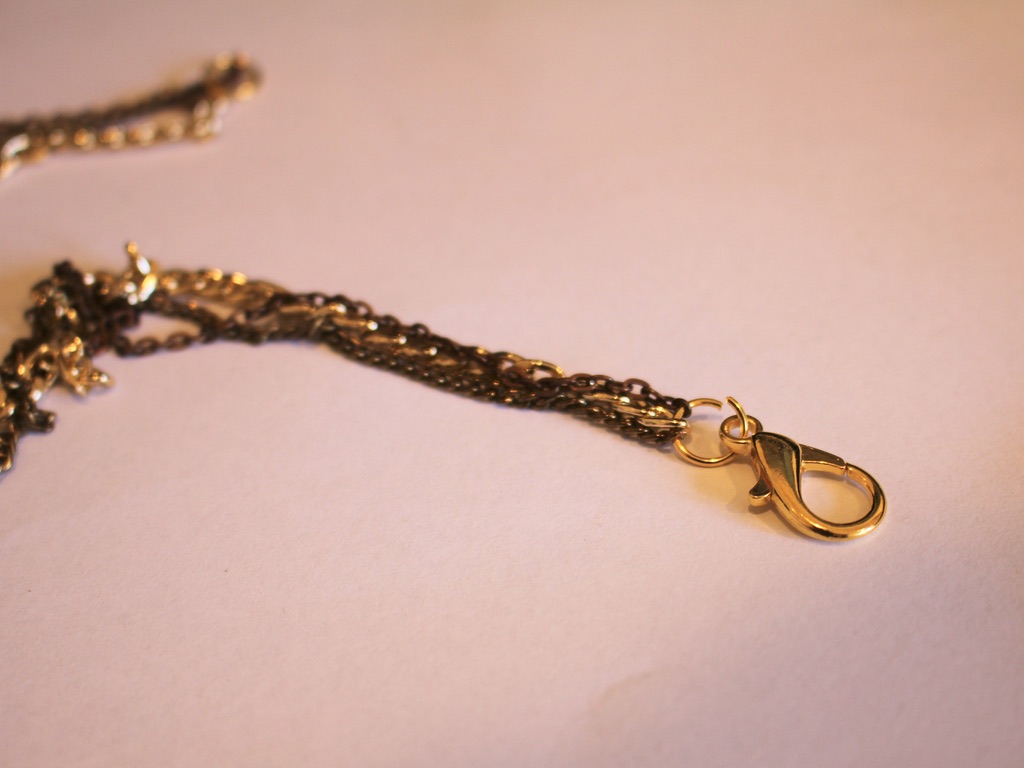
Now your anklet is finished and ready to put on! Throw one together before your next social distanced hang.


-
How to make some stud earrings at home out of wire.
These wire earrings are super cute! Hammer some wire flat and then curl the ends to create some adorable little stud earrings that you can stack in multiple piercings.
You’ll need these tools and materials to make these stud earrings:
1: Cutting pliers, flat nose pliers and round nose pliers.
2: A hammer.

3: A steel hammering block.
4: Two small pieces of wire, around 4-5cm long. I used this rose gold filled wire.

5: A file or some sandpaper.

Follow these steps to make your cute little stud earrings.
1: Take the wires and place them on the hammering block.
2: Hammer one end of the wires flat using the hammer. Leave 1cm untouched.


3: Bend the wires at a right angle using the flat nose pliers. Bend at the point where the flat side ends.


4: Curl the flattened ends around the round nose pliers to form a little loop.


5: File or sandpaper the ends of the wires so that they are smooth and comfortable to wear.
6: Pop some butterfly backs onto each earring to finish them off.

Now your cute little curled wire earrings are finished and ready to wear! Super adorable and fun.

-
Like chains and beads? Why not mash them together to make this bead chain bracelet?
This bracelet uses wire and beads to make big loops that you then turn into a bracelet! This cute design is perfect for wearing with summer outfits.
You’ll need these tools and materials to make your bracelet:
1: Pliers. I used cutting pliers, flat nose pliers and round nose pliers.
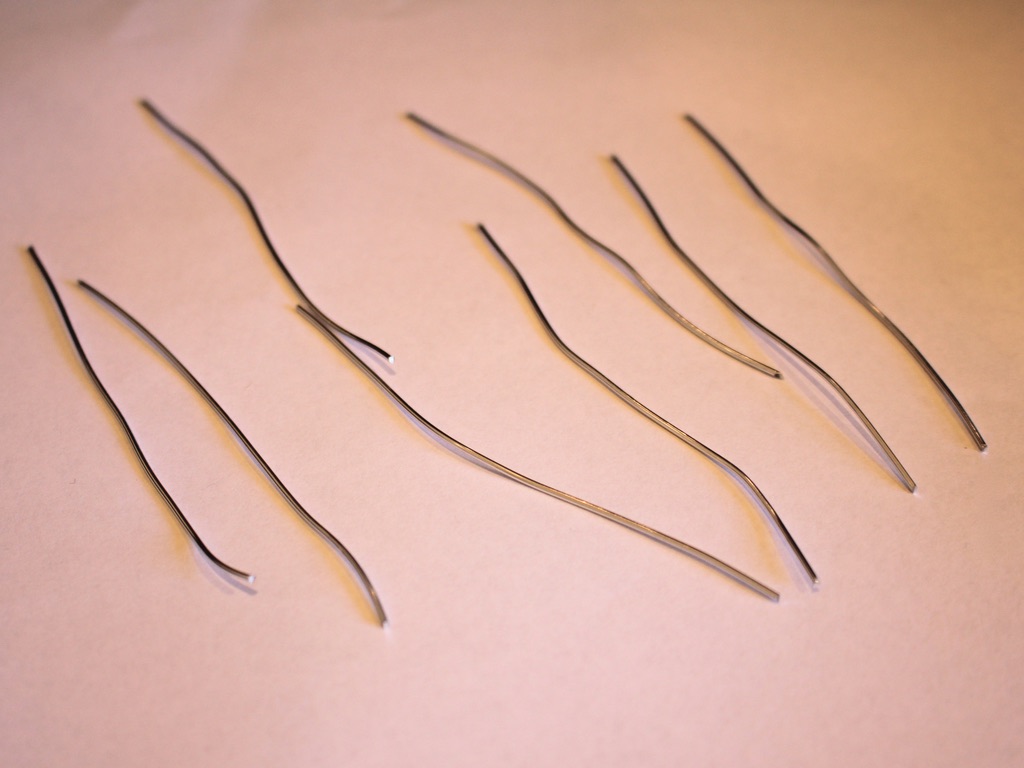
2: Some pieces of soft wire. I used eight pieces approximately 9cm long, but you may want to use more or less depending on the size of your wrist. My final bracelet was a little on the small size.
3: Two jump rings.

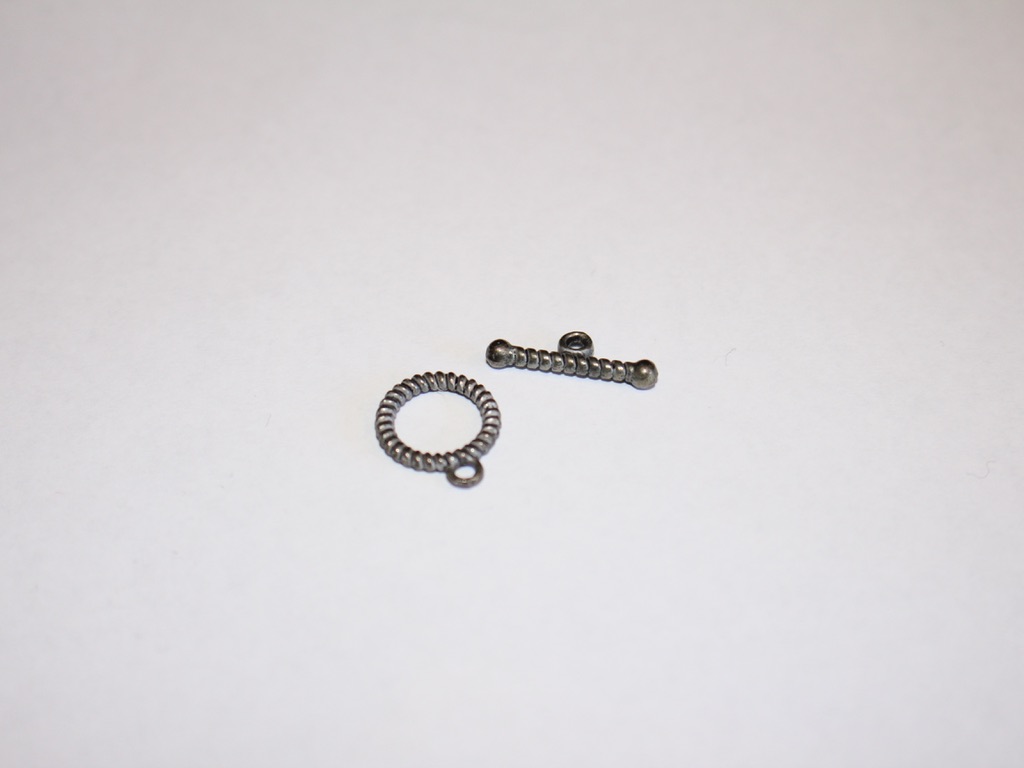
4: A toggle clasp.
5: Beads. I used yellow glass e-beads.

Follow these steps to make your chain bracelet:
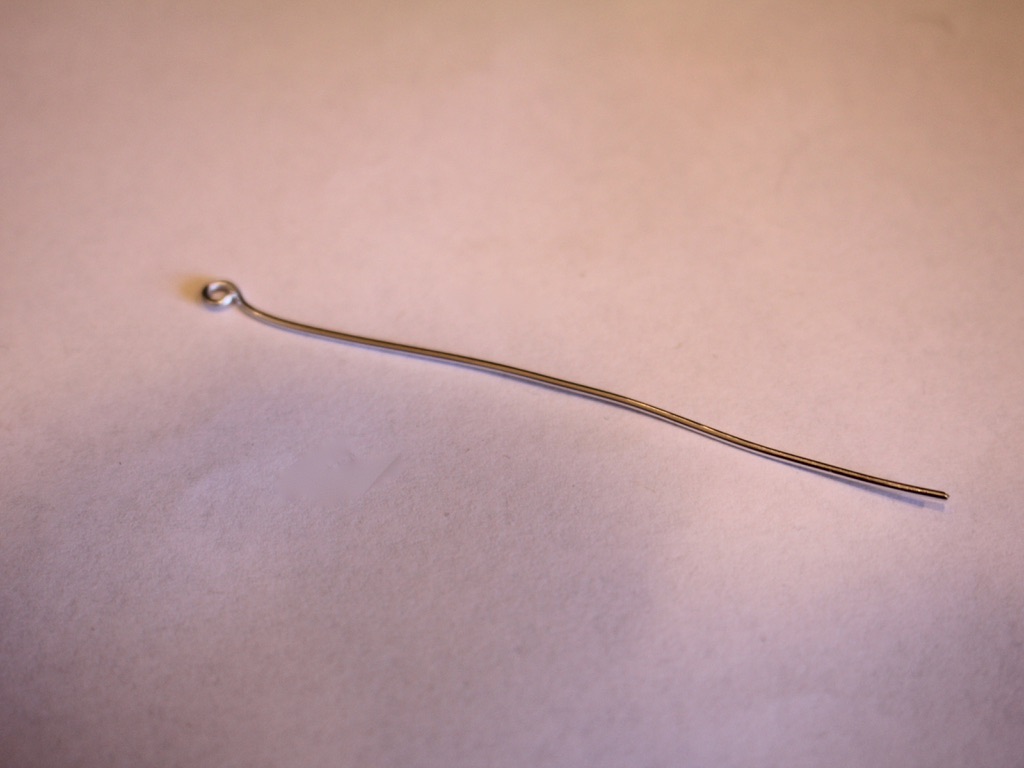
1: Take one of the pieces of wire and create a loop at one end using the round nose pliers. Do this by bending approx. 1cm of wire to form a right angle and then loop it around the round nose pliers.

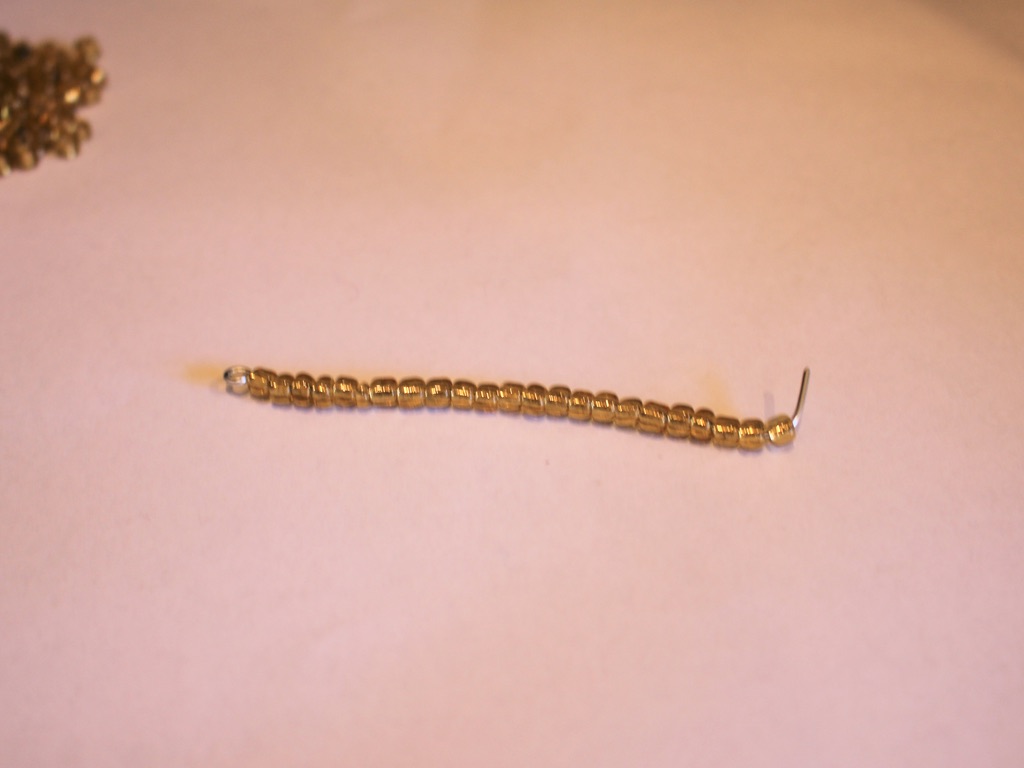
2: Add beads to the wire leaving 1cm unbeaded.


3: Create another loop at the other end of the wire.
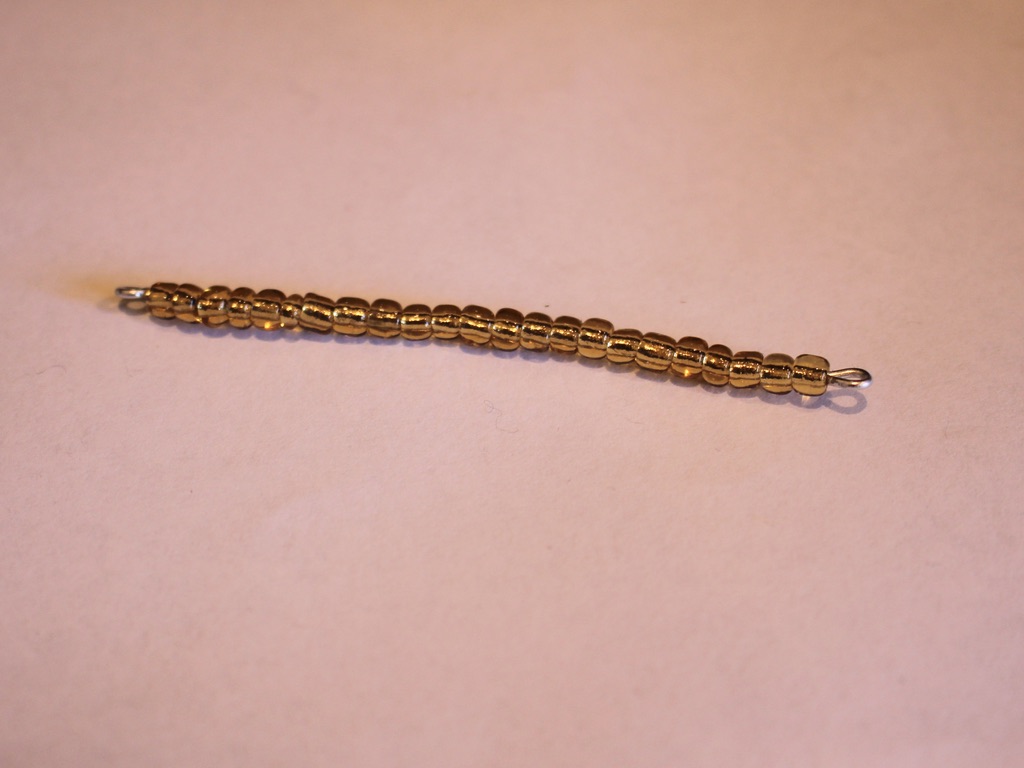
4: Bend the beaded wire into a circle shape.
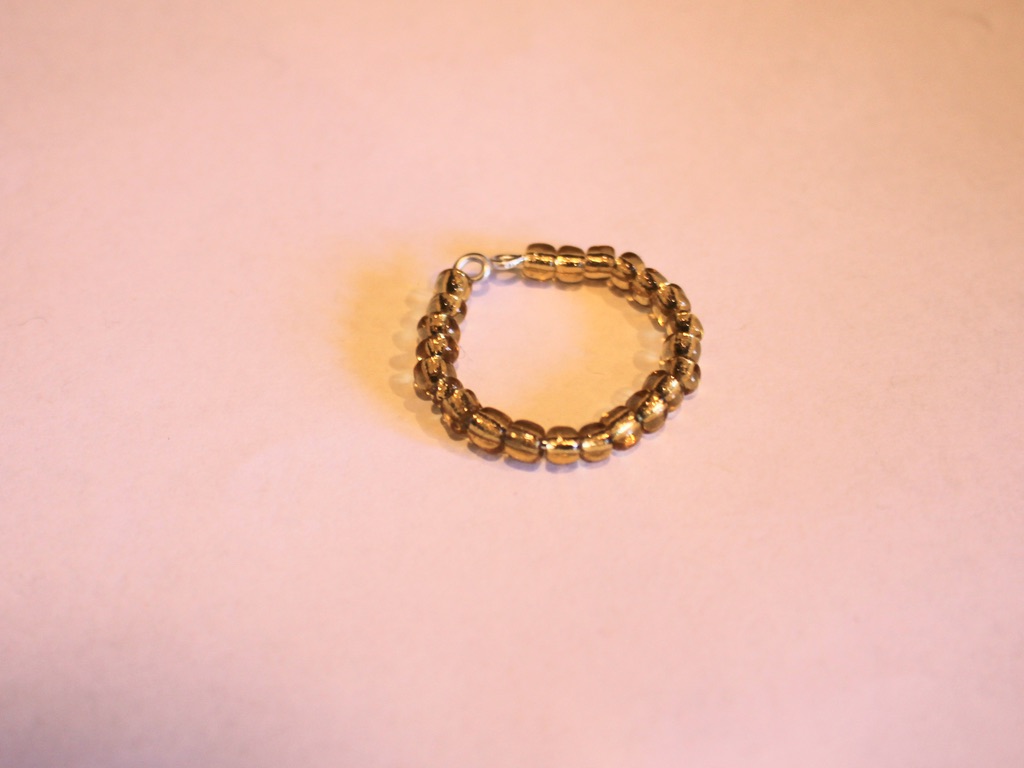
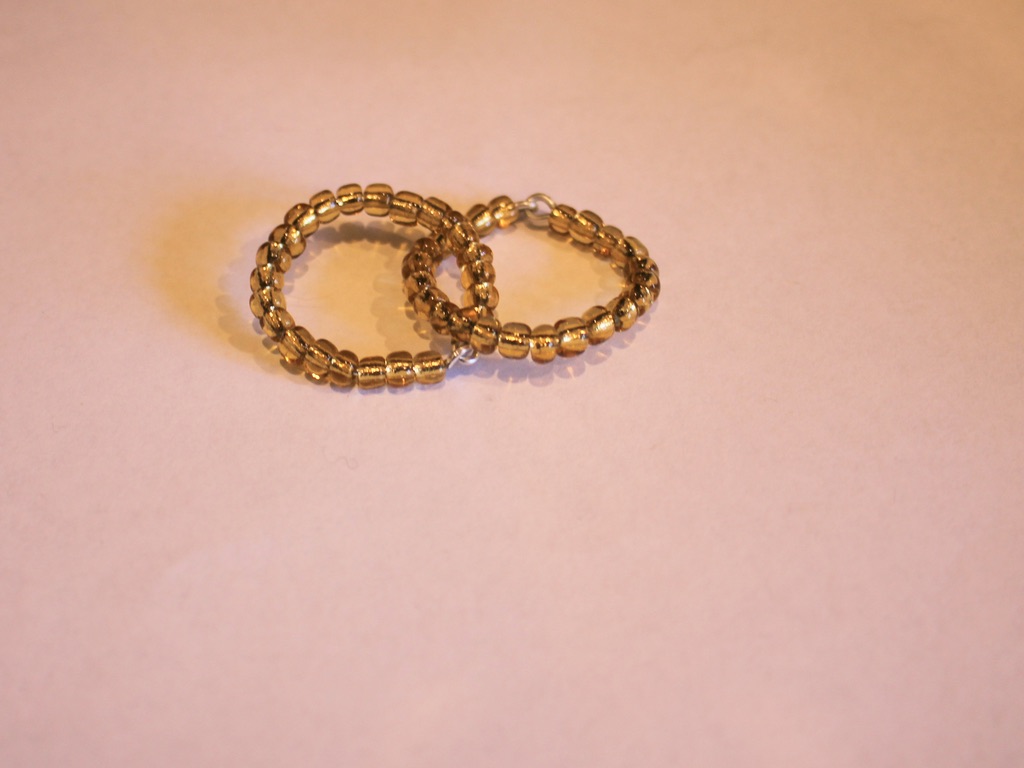
5: Open one of the end loops and thread it through the other end loop. Close it to create a closed circle.

6: Make another loop, but before closing it as you did in step 5, thread it through the first loop you made. Once it is threaded through you can close it.

7: Continue steps 1-6 until you have created all your links.
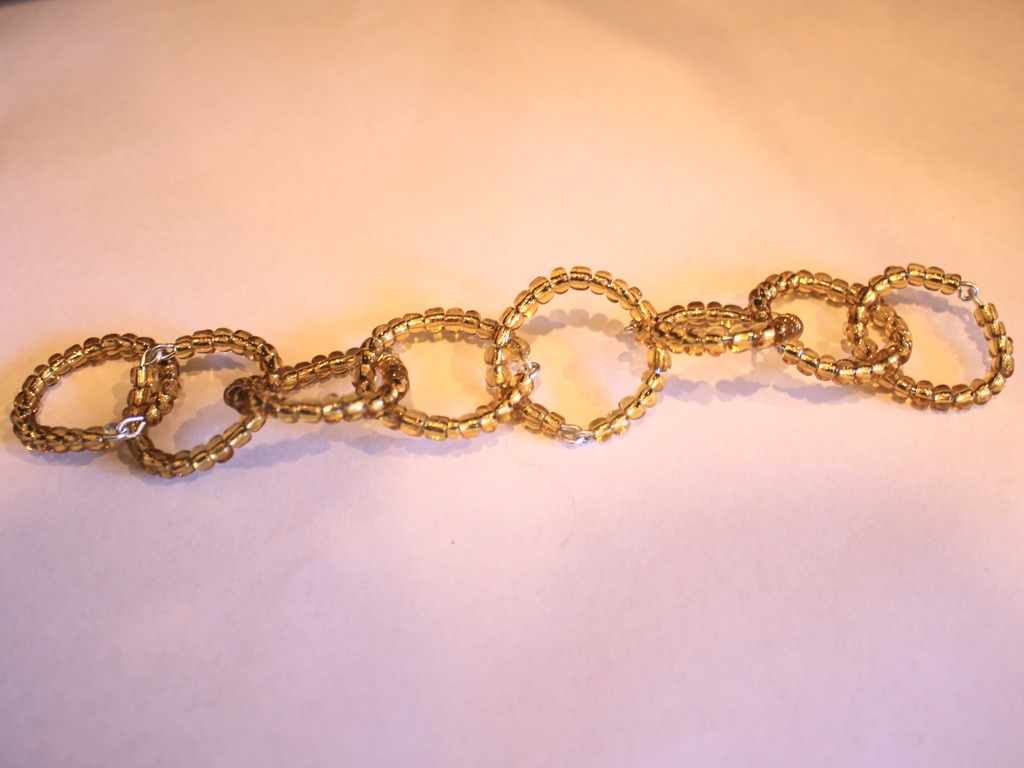
8: Take one of the end loops and rotate it so that the end loops face outward. Attach one of the jump rings and one side of the toggle clasp.
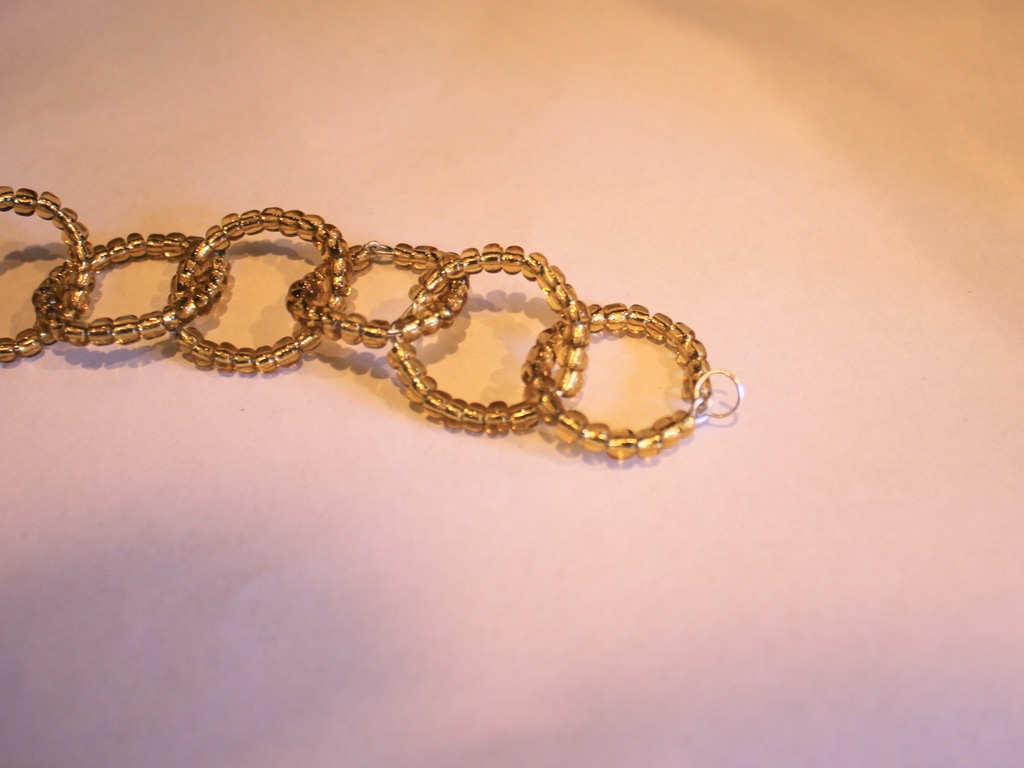
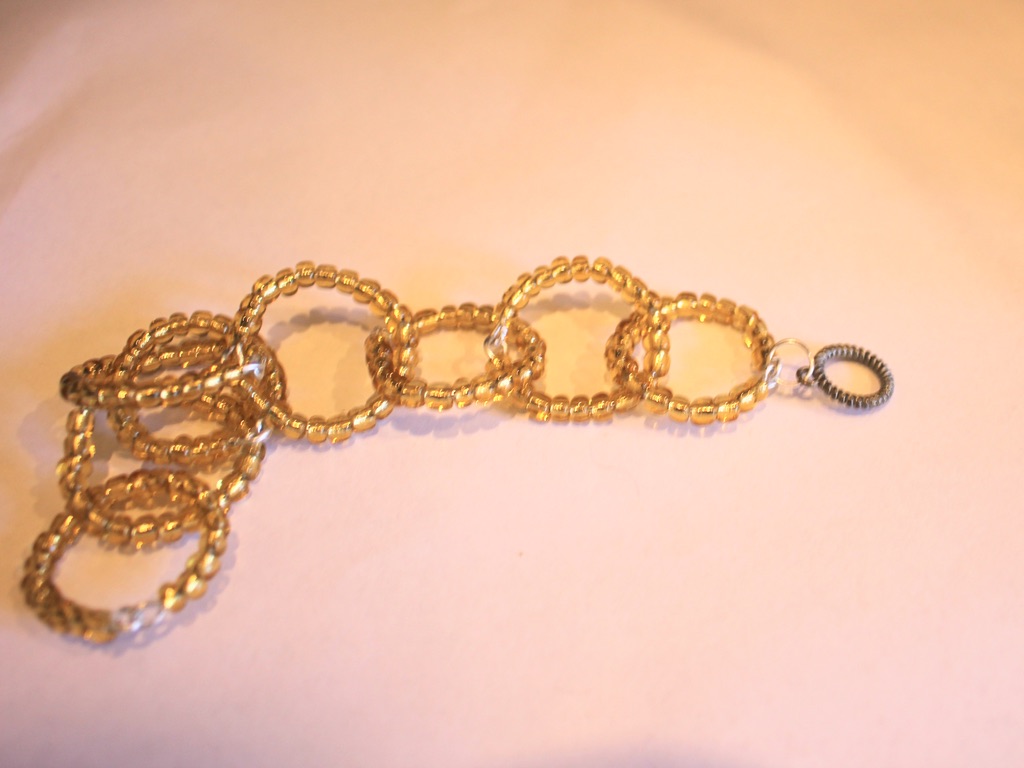
9: Attach the other side of the toggle clasp to the other end of the bracelet chain using the remaining jump ring.

Now your bracelet is finished!


Here’s another one I made using green glass beads and soft thin wire.

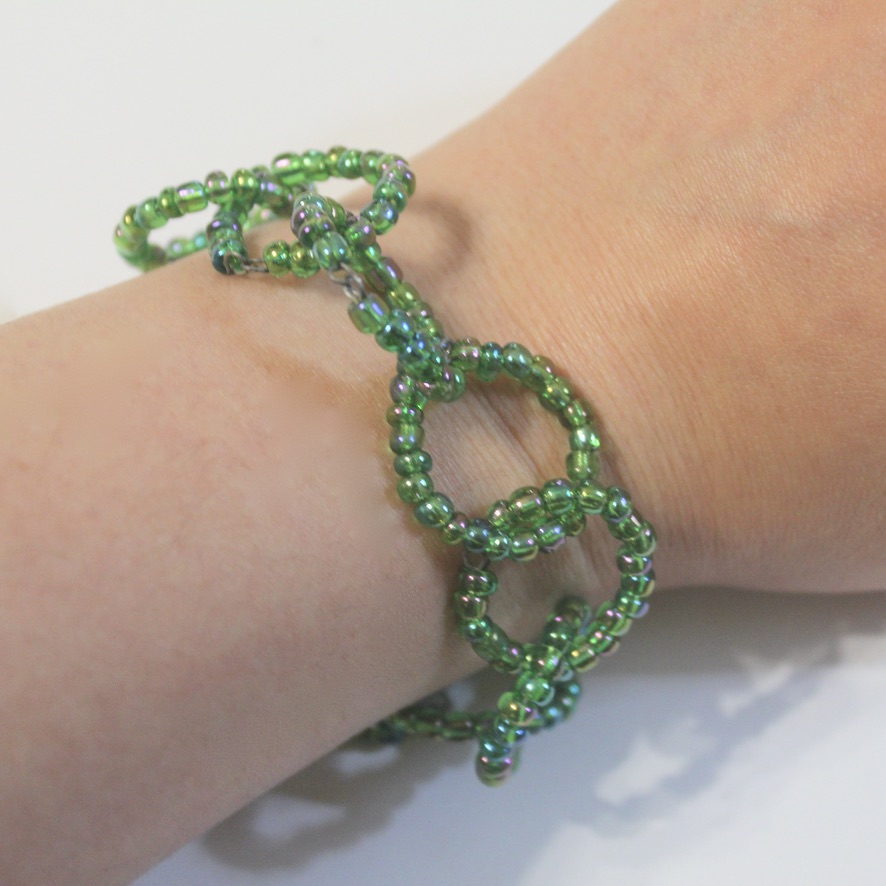
This tutorial contains affiliate links.
-
Got a ring that doesn’t fit anymore? Turn it into a fun pendant!
I popped this ring on the other day… and it got stuck on my finger! After panicking a little I managed to get it off and decided it needed a new life as a pendant rather than a ring. Here’s how to transform your too small ring into a cool necklace pendant…
This tutorial contains affiliate links.
You’ll need the following tools and materials:
1: A ring that doesn’t fit you anymore. I used this steel ring.

Here’s something similar:
2: Pliers. I used my cutting pliers, round nose pliers and flat nose pliers.
3: Some tiger tail wire, long enough to make a necklace.

4: Four crimp beads.

5: Two small jump rings.

6: A lobster clasp.

7: Beads. I used this mix of pastel glass seed beads. I also used six larger beads to fit over the folded tiger tail wire.


Follow these steps to make your ring pendant necklace:
1: Add two of the crimp beads and a jump ring to one end of the tiger tail wire.


2: Loop the end of the wire around the jump ring and back through the crimp beads, pull the wire tight.

3: Squash the crimp beads using the flat nose pliers.


4: Bead the wire in any pattern you wish. I beaded mine randomly with no particular pattern.


5: Once you have your necklace at the length you want it, add the remaining crimp beads and jump ring.

6: Loop the end of the wire around the second jump ring and back through the crimp beads and the last few glass beads, pull it tight.

7: Squash the crimps using the flat nose pliers and then trim the excess tiger tail wire using the cutting pliers.


8: Add the ring to the strand.

9: Attach a lobster clasp to one of the end jump rings to finish it off.

Now your ring pendant necklace is finished and ready to wear!


Here’s another idea, pop your rings onto a chain. Here’s one I made with two brass rings on a silver-tone chain.

Here are some other ways to use rings in your jewellery:
- How to turn a ring into the central feature of a choker necklace
- Here’s how to turn a costume ring into a different kind of pendant
This tutorial contains affiliate links.
-
Here’s how to make a pair of cute beaded chain earrings!
These earrings are made using soft wire and beads to make a chunky chain that dangles from each ear. These really cute earrings are fun to make and look so fun.
You’ll need these tools and materials to make these earrings:
1: Pliers. I used my cutting pliers (left), flat nose pliers (right) and round nose pliers (middle) to make these earrings.
2: Some thin soft wire. I used six pieces (approx 7cm long) of wire that I recycled from an old project.

3: Some beads. I used green and gold glass e-beads.

Gold beads: https://amzn.to/3S3zwfi
Green beads: https://amzn.to/3QTdMlj
4: Two small jump rings.

5: Two earring hooks.

Follow these steps to make your chunky bead chain hoops:
1: Take a piece of wire and curl one end around the round nose pliers.
2: Add beads to the wire until there is 1cm left without beads.


3: Put the end of the wire back through the first loop you made.

4: Curl the other end of the wire so that the beaded circle is closed.

5: Make another beaded circle, thread it through the first circle you made before you secure it closed.


6: Make a third beaded circle and attached it to the first two so that you have a chain of three.


7: Repeat steps 1 to 6 for the second earring.

8: Attach the earring hooks to the top of each chain using the small jump rings.


Now your chain earrings are finished and ready to wear!!!

Here is a four link version I made as well


This tutorial contains affiliate links.
-
Here’s how to make a fun hand harness with pearl tassel charms, so cool!
Are you bored at home staring at your hands with nothing else to do? Make them more interesting to look at with this fun hand harness! Making this should be fun and and you’ll have a cool accessory at the end. This tutorial contains affiliate links.
You’ll need these tools and materials to make your cool pearl tassel hand harness:
1: Pliers. I used my flat nose pliers and round nose pliers.
2: Chain that is long enough to wrap around your finger, the front of your hand and wrist. I used some gold-tone rolo chain.

3: Two medium jump rings.

4: A lobster clasp.

5: Pearl beads. I used eight pink pearl beads.

6: Eight smaller jump rings.

7: Eight head pins.

Follow these steps to make your pearl tassel hand harness:
1: Add each of the pearl beads to the head pins.

2: Curl the tops of the head pin around the round nose pliers to form loops and secure the beads in place. Once you have beaded and curled all eight pins you can set them aside.


3: Pick up the chain and create a loop that fits loosely around your middle finger.

4: Attach the end of the chain to the point where where it fits so that you have a loose loop of chain secured together. You can do this by opening one of the chain links and then closing it again around one of the links in the chain.

5: Measure a piece of chain so that it falls down the middle of your hand.
6: Then wrap the rest of the chain around your wrist, trim it and secure it into a large loop like you did with the ring part of the chain. Now you should have one small and one large loop with a single chain joining them.

7: Split the large loop so that it is open in the back opposite to the centre chain.

8: Attach the medium sized jump rings to either end of the open loop and attach the lobster clasp to one of them.


9: Now all that is left is to attach the pearl charms! Add the eight pearl charms to the centre chain that runs down the centre of your hand using the smaller jump rings.


Once all your pearls are attached your pearl tassel hand harness is finished and ready to wear!! So cute!


Here are some other hand harness designs that you can make:
This tutorial contains affiliate links.