Step-By-Step Tutorials
-
Add a cool feature to your hoop earring designs by using toggle clasps… here’s how!
These earrings use toggle clasps to add an interesting feature to your standard beaded hoop earrings. Make lots of charms to switch them up and mix and match. This tutorial contains affiliate links.
You’ll need these tools and materials to make your toggle clasp hoop earrings:
1: Pliers. I used my cutting pliers, round nose pliers and flat nose pliers.

2: Two pieces of bracelet sized memory wire.

3: Two toggle clasp sets.

4: Four jump rings.

5: A pair of stud earrings with charm loops.

6: Beads. I used these silver lined clear glass beads and some wooden chip beads.


Follow these steps to make your toggle clasp hoop earrings:
1: Create a loop at one end of the memory wire using the round nose pliers.


2: Add beads to the wire in any pattern you choose.


3: When there is approximately 1cm of the wire left unbeaded, create a loop at the other end of the wire and thread it through the initial loop you made to close the beaded hoop.

4: Repeat steps 1-3 for the second hoop.

5: Add the circle parts of the toggle clasps to the top of each hoop, attaching them using two of the jump rings.


6: Add the toggle part of the clasps to each of the post earrings using the remaining jump rings.


7: Now you can attach the hoops to the earrings and wear them out!


If you like your earrings to be customisable, here’s another charm earring tutorial with clip on charms.
This tutorial contains affiliate links.
-
Here’s how to make a 2 in 1 glasses and mask chain.
People are starting to wear masks as part of every day life, if you want to add a bit of your own style to your mask why not make this cute mask chain? Add some glasses holders and you’ve got a piece that works double time! Clip it to your mask or pop it on the arms of your glasses, whatever you like! This tutorial contains affiliate links.
You’ll need the following tools and materials to make your mask/glasses chain:
1: Pliers. I used my flat nose pliers.

2: A ball chain. I used this rose gold-tone ball chain.

3: Two crimp ends. I used these rose gold ones that match my chain.

4: Two large lobster clasps. I used these silver tone ones.

5: Two rubber glasses holders.

6: Two jump rings.

Follow these steps to make your mask/glasses chain:
1: Remove the clasp on the ball chain.

2: Add one of the crimp ends to one end of the ball chain.

3: Use the flat nose pliers to carefully close and squash the crimp end around the end of the chain.


4: Repeat steps 2 and 3 for the other end of the chain.

5: Add one of the jump rings to one of the crimp ends.

6: Add one of the clasps and one of the glasses holders to the jump ring.


7: Close the jump ring to secure the clasp and rubber holder in place.

8: Repeat steps 5 to 7 for the other end of the chain to finish it off!

You can use the clasps to attach the chain to your mask or the rubber holders to secure them to your glasses! How good?!

This tutorial contains affiliate links.
Check out some of our other glasses chain tutorials:
-
Here’s how to make a bead chain lariat
Bead chains are pretty cool, and a fun way to use any random beads you have lying around. I recently made this kitschy hodgepodge lariat necklace using the bead chain technique. This tutorial features affiliate links.
Here are the tools and materials you need to make your bead chain lariat:
1: Pliers. I used by round nose and flat nose pliers for this design.

2: An assortment of beads. I used a random assortment of plastic, timber and glass beads.

3: A bunch of eye pins.

4: Two head pins.

5: A lobster clasp.

6: Two medium jump rings.

7: Two smaller jump rings.

Follow these steps to make your bead chain lariat:
1: Add some feature beads to one of the head pins. I used this silver plastic heart bead and some glass seed beads.

2: Bend the pin at a right angle and use the round nose pliers to form the top into a loop.


3: Set this pin aside.
4: Begin adding beads to the eye pins.

5: Once each pin is beaded, bend the top to form a loop using round nose pliers. This will secure the beads in place.

6: Repeat this step for the other pins, attaching the pins together by opening one of the loops and sliding it through another to form the chain.


7: Once you have a chain long enough to fit your neck, attach the two ends together using one of the larger jump rings.


8: Create a few extra links and attach them to the middle of the necklace, finishing with the first head pin you beaded.


9: Split the top of the chain opposite the lariat chain you just attached.

10: Attach the clasp to the chain using one of the smaller jump rings and add another jump ring to the other side.


11: Bead the other head pin, looping it at the top as you did the others. Attach this pin to the chain behind the clasp using the other larger jump ring.


Now your necklace is finished! So fun!


This tutorial contains affiliate links.
-
Here’s how to make a really cute charm anklet!
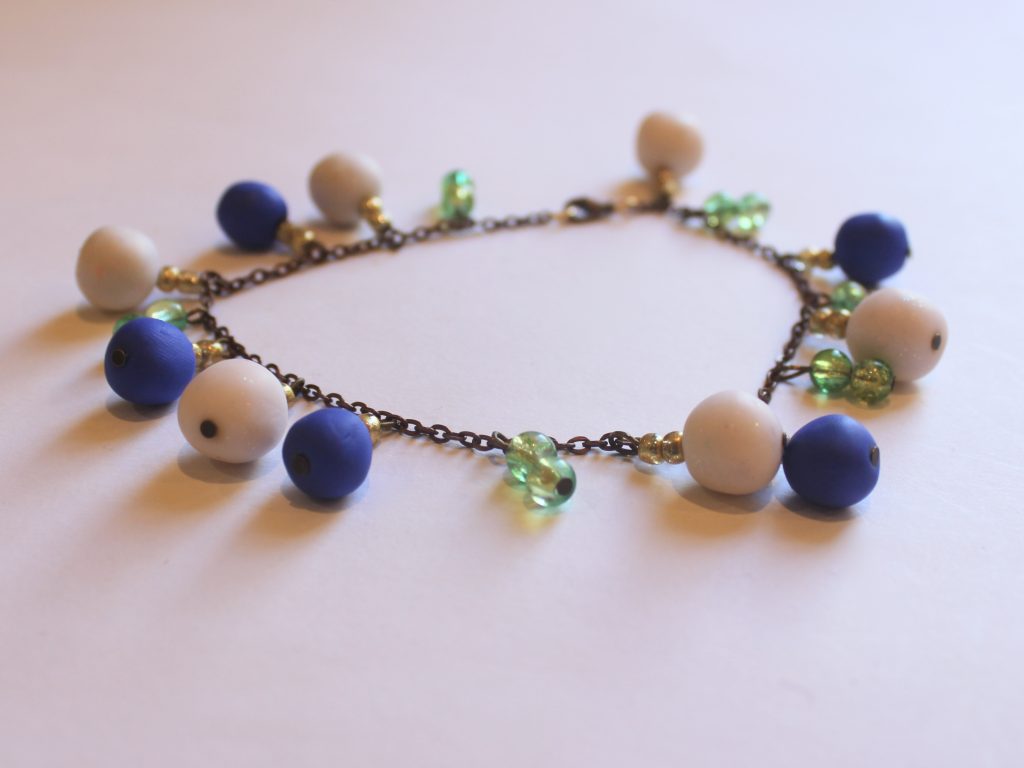
Do you love the look of dangling charms? Why not drape some around your ankle with this beaded charm anklet design? This tutorial contains affiliate links.
Here are the tools and materials I used to make my beaded charm anklet:
1: Pliers. I used by round nose pliers (middle), flat nose pliers (right) and cutting pliers (left).
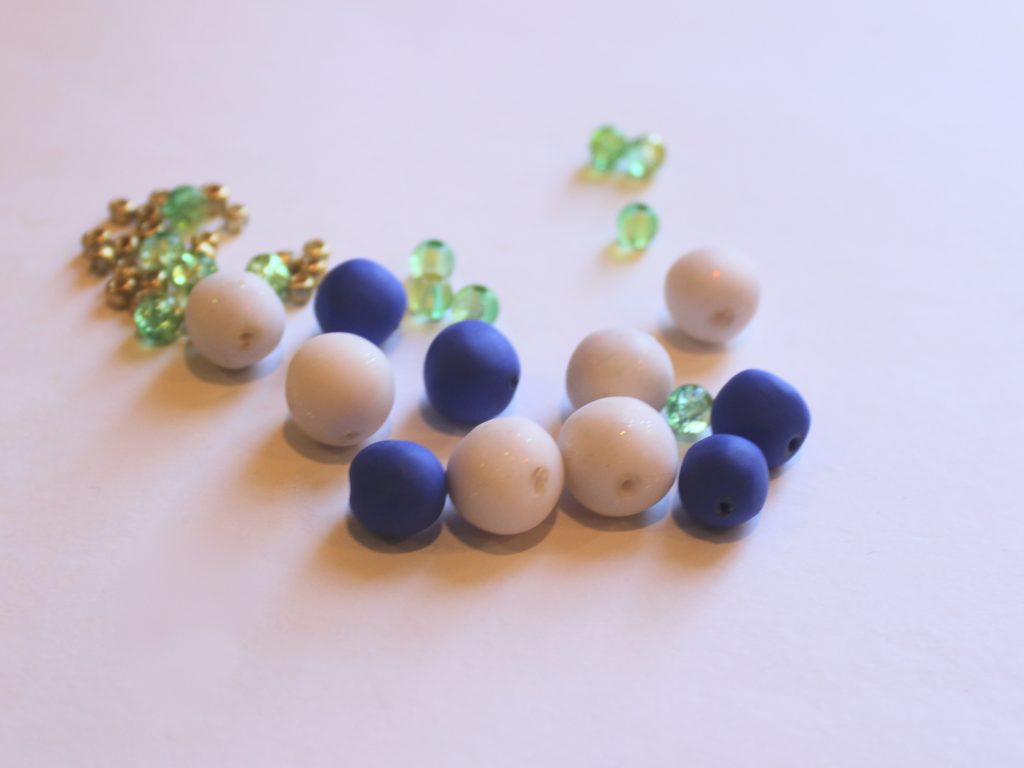
2: A selection of beads. I used some polymer clay beads that I made a while ago, some green glass beads and some gold e-beads.
3: Some chain long enough to fit around your ankle.

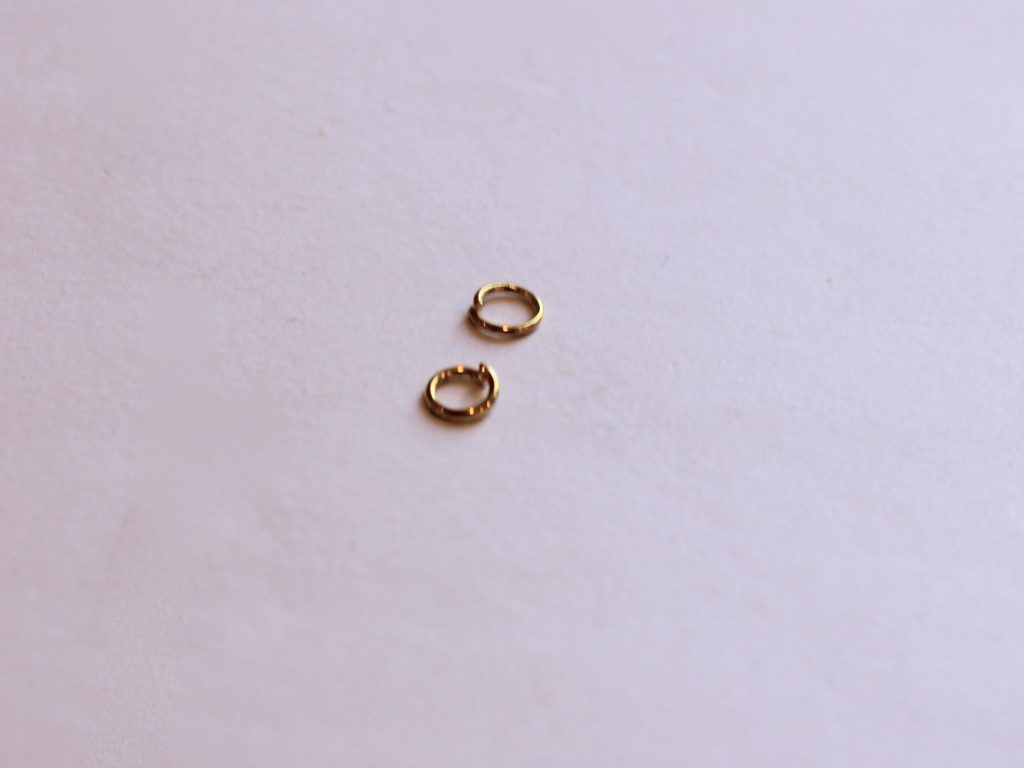
4: Two jump rings.
5: A lobster clasp.
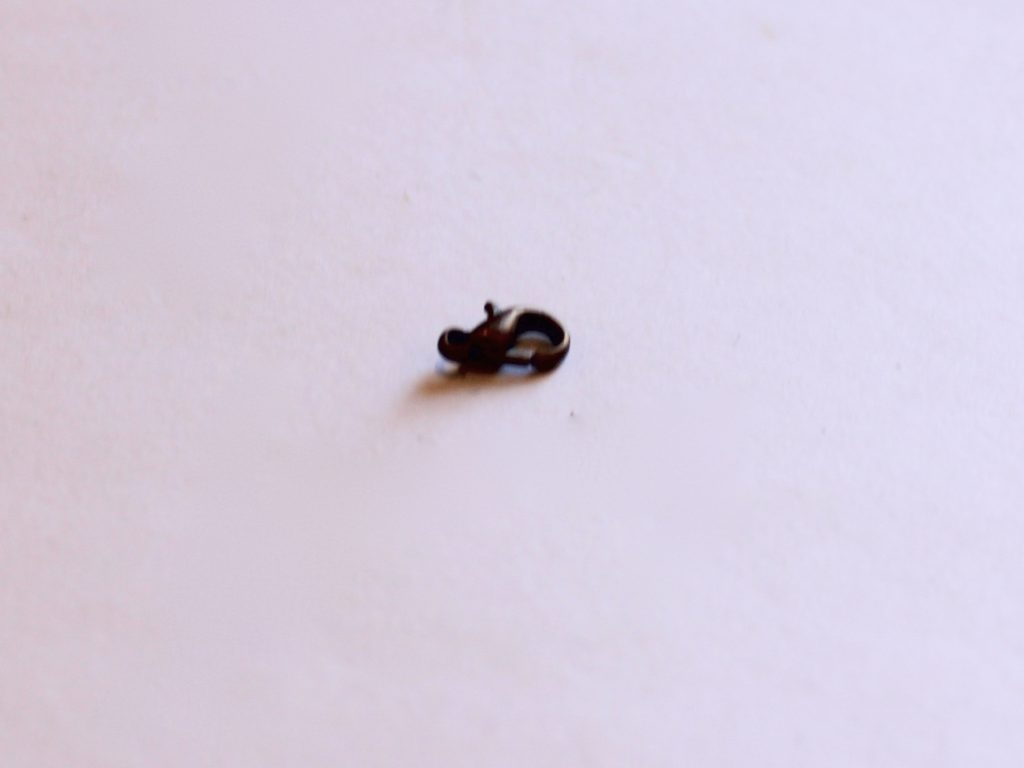
6: A bunch of head pins.

Follow these steps to make your charm anklet:
1: Add beads to each of the head pins.
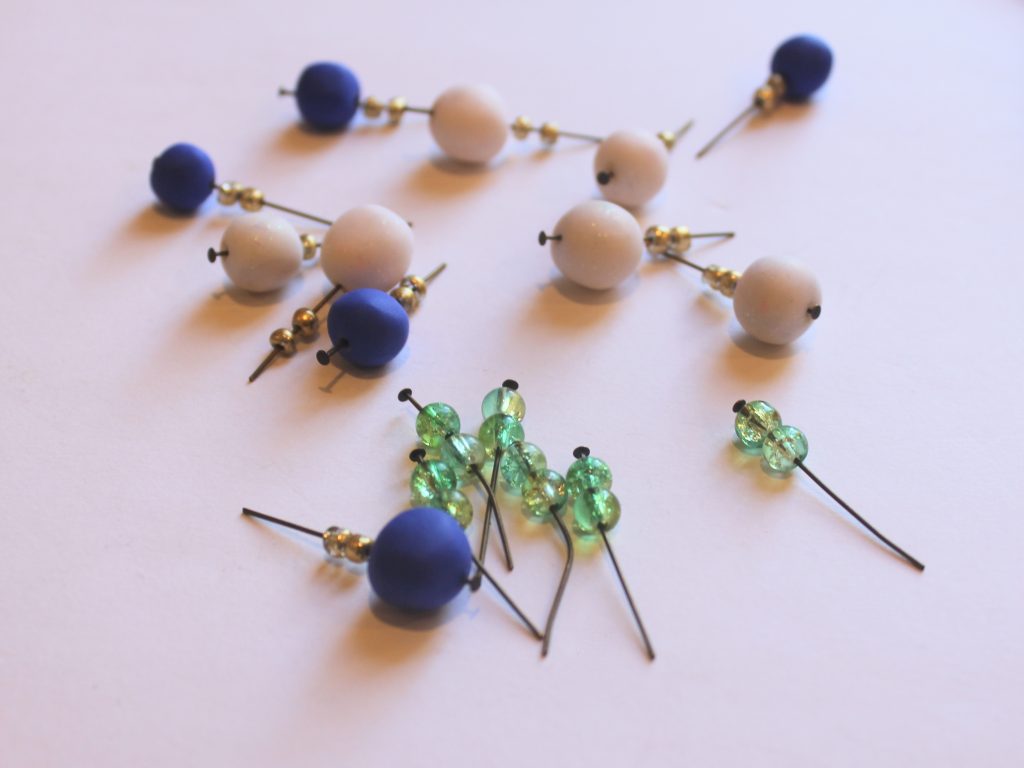
2: Bend each head pin to form a right angle.

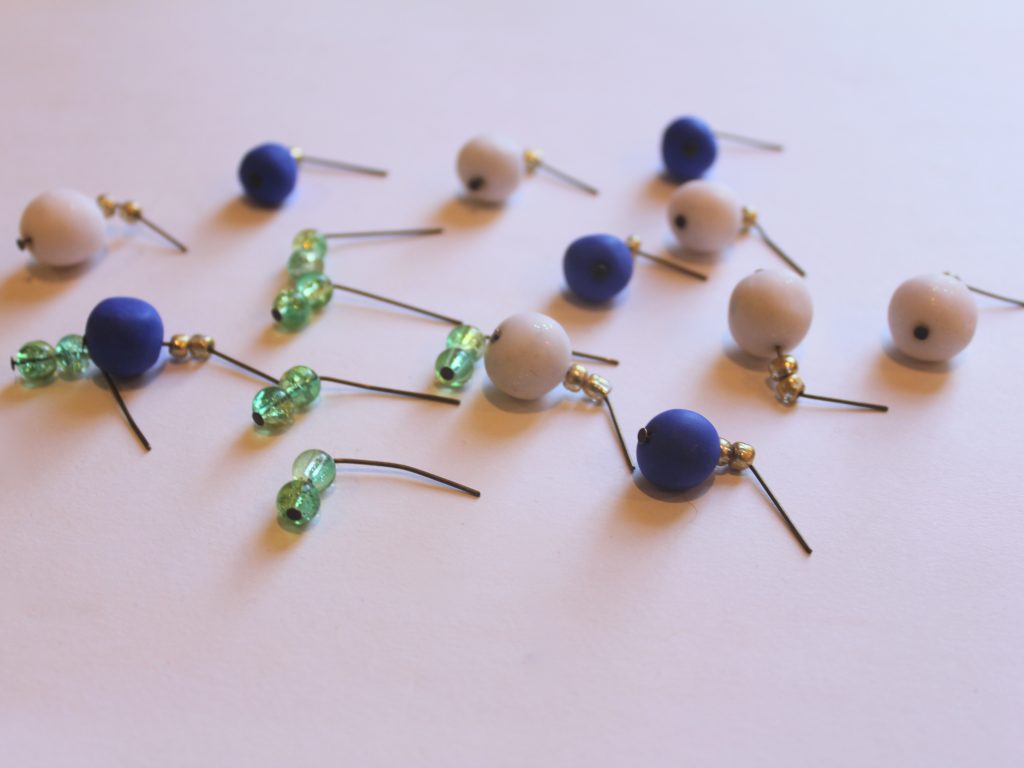
3: Trim the excess pin using the cutting pliers. Leave approximately 1cm unbeaded on all the charms.
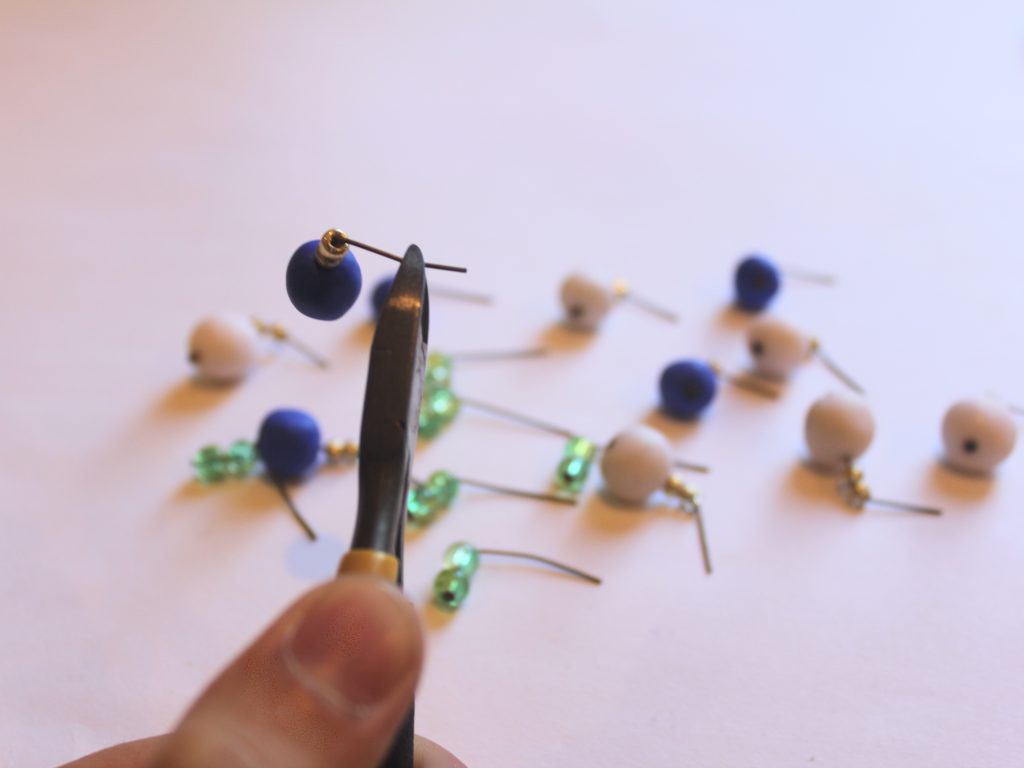
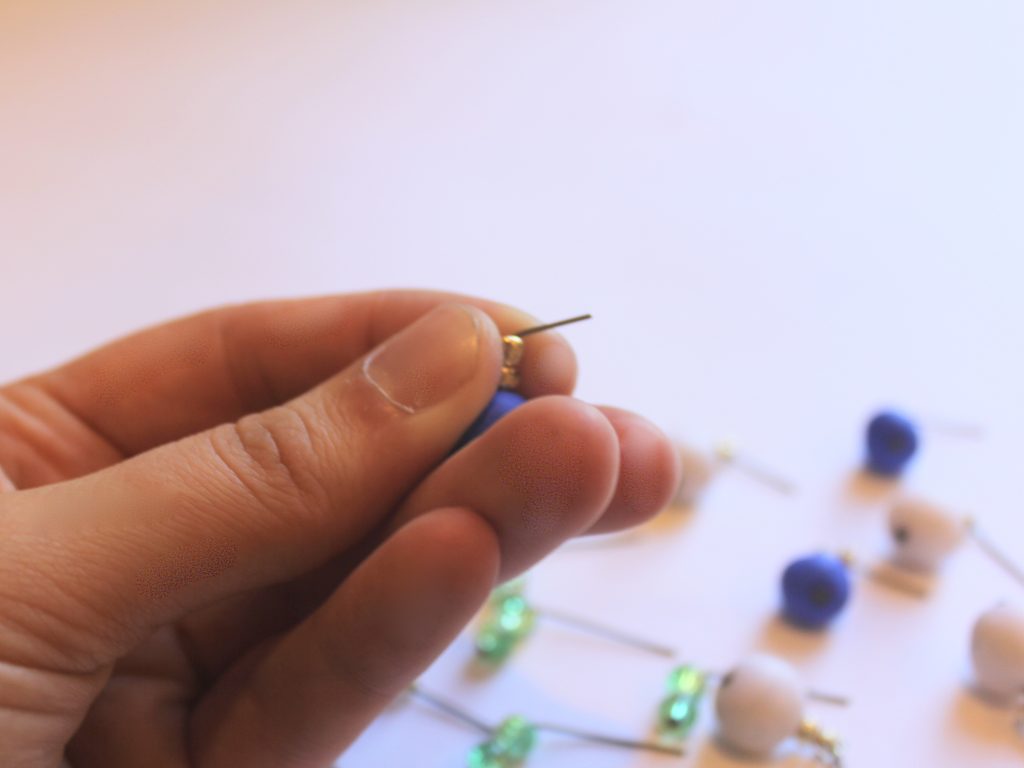
4: Loop the top of the pin using the round nose pliers to secure the beads in place.
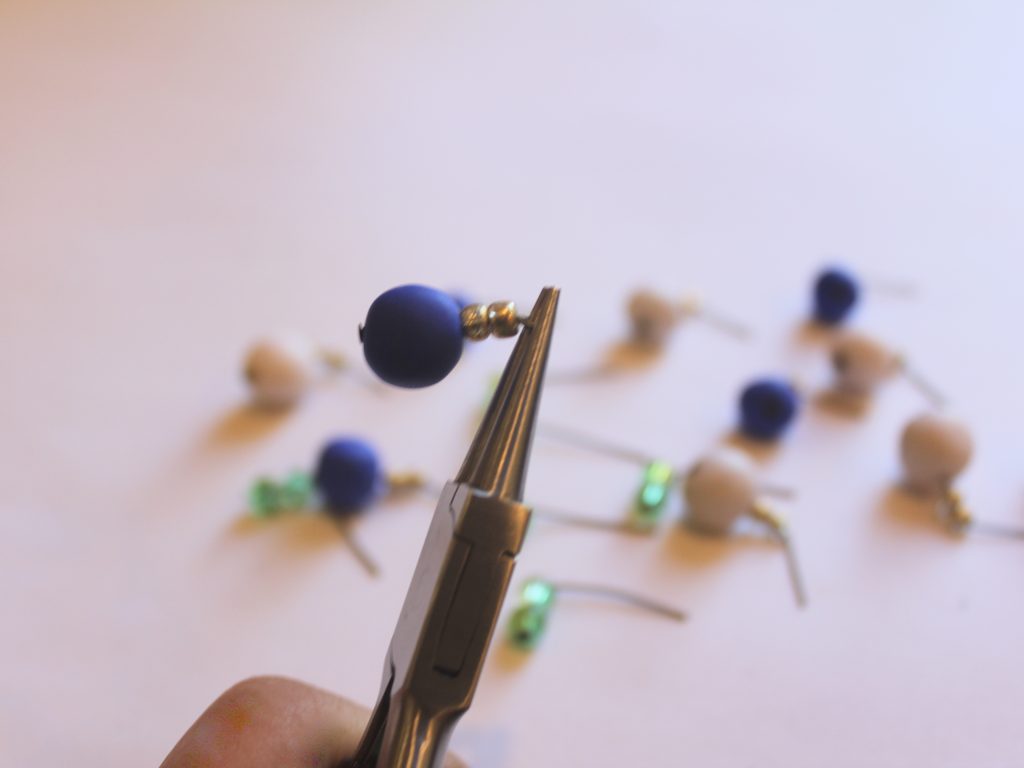

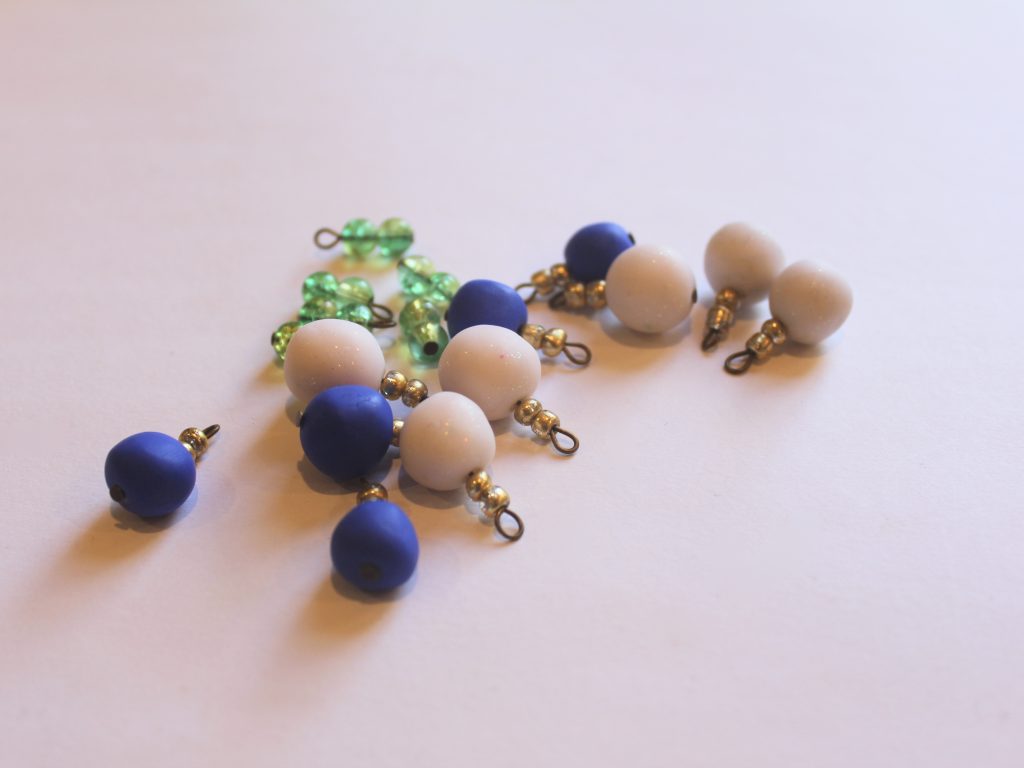
5: Add a jump ring to either end of the anklet chain and attach the lobster clasp to one of them.


6: Now you can attach the charms. Do this by opening the top loop slightly and sliding it through the chain links at spacing of your choice.


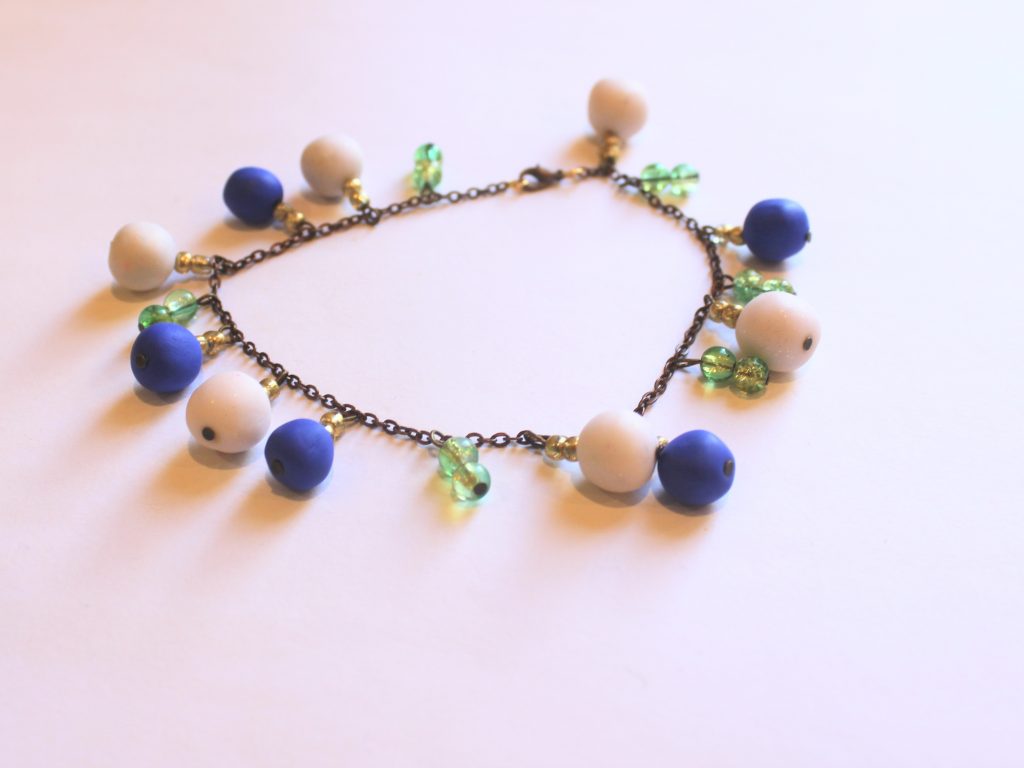
Now your charm anklet is finished and ready to wear! So fun!
This tutorial contains affiliate links.
-
Sequins are so pretty, here’s how to add some to a necklace.
I am really loving sequinned jewelry right now. If you liked our sequin earrings and bracelet tutorials then you might like this one. Here’s how you can make a cute sequin charm necklace. This tutorial features affiliate links.
I used the following tools and materials to make my sequin charm necklace:
1: Pliers. I used flat nose and round nose pliers.
2: A piece of chain long enough to be a necklace. You can adjust the length to your preference.

3: Two medium sized jump rings for the ends of the necklace.

4: A lobster clasp.

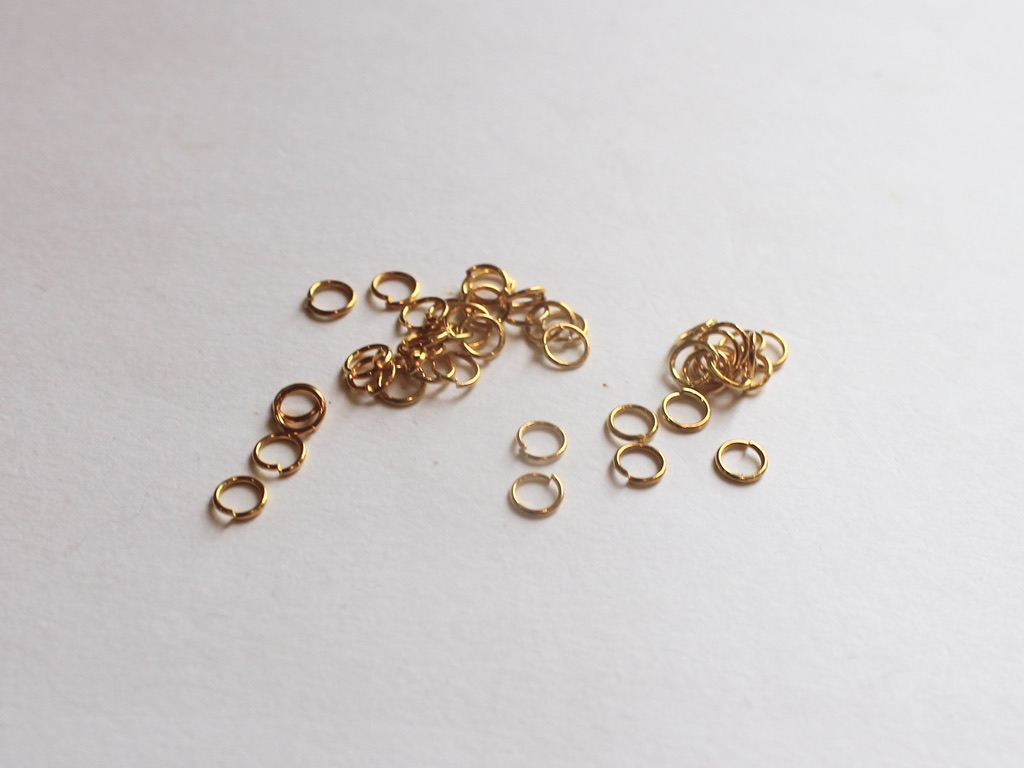
5: A bunch of smaller jump rings for attaching the sequins to the chain.
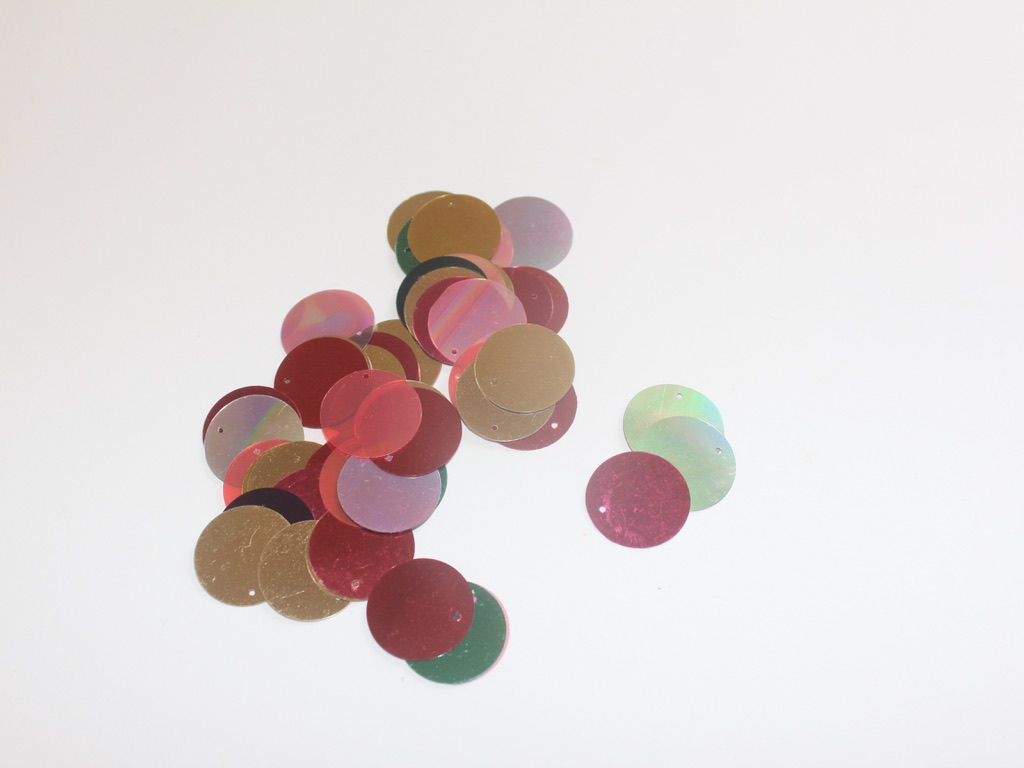
6: Sequins. I used large sequins with holes at the top.
Follow these steps to make your sequin necklace:
1: Add one of the larger jump rings to one end of the necklace chain and attach the lobster clasp. Attach the other jump ring to the other side.


2: Add a smaller jump ring to the top of one of the sequins and attach it to the necklace, slightly to one side of the middle of the chain.

3: Continue adding sequins in the same manner until a centre portion of the necklace is covered in sequins.


Now your sequin necklace is finished and ready to wear! How cute and easy?!


This tutorial contains affiliate links.
-
Here’s how to make a bohemian waist chain with cute charms!
Summer in the Northern Hemisphere might be held mainly at home, but that doesn’t mean that you can’t dress for the occasion. Make this charm embellished waist chain to add some summer fun to your wardrobe! This tutorial contains affiliate links.
You’ll need these tools and materials to make this waist chain with charm embellishments.
The Materials
1: Pliers. I used my round nose pliers (centre), flat nose pliers (right) and cutting pliers (left).
2: A piece of chain that fits comfortably around your waist. I used copper tone chain.

3: Jump rings. I used two.

4: Some head pins. I ended up using a couple more because I added some charms I had made previously (see the second picture below).


5: Beads. I used a mixture of glass beads and a metal butterfly-shaped bead.

6: A lobster clasp. This is a bad picture but I used one that matched the tone of my chain.

The Steps
Follow these steps to make your charm embellished waist chain:
1: Add the jump rings to either end of the chain and attach the lobster clasp. Secure the clasp by closing the jump ring using pliers.


2: Find the middle of the chain and set it aside for a minute.
3: Add each of the beads to the head pins.

4: Bend the head pins to form right angles.

5: Trim the pins so that there is only approximately 1cm left. Use your cutting pliers.


6: Loop the top of the pins using the round nose pliers. This will secure the beads on the pins.


7: Attach the beads to the chain by looping the top of each charm through the chain links. I added my first charm to the centre and then worked outwards.


Now the waist chain is finished and ready to wear in the sun! Don’t forget your sunscreen though, this cool piece of jewelry could leave a weird tan line 😉


Here are some other waist chain tutorials:
This tutorial contains affiliate links.
-
How to make a charm embellished threader earring…
Are you looking for a way to use the charm you made in this tutorial? Why not make a cool single statement threader earring. This earring looks so cool in a second piercing or worn on its own! This tutorial contains affiliate links.
The Materials
You’ll need the following tools and materials to make this earring:
1: Pliers. I used my round nose pliers and cutting pliers.

2: A piece of wire at your choice of length, mine was approximately 6.5cm long. My wire was a piece of rose gold-filled wire approximately 0.65mm wide.

3: A pen or something else round to form your earring wire around.

4: A file or course sandpaper to smooth the ends of the wire.

5: The charm you made in this tutorial.

The Steps
Follow these steps to make your single charm threader earring:
1: Cut your wire to the desired length using cutting pliers.
2: Place your wire on the pen and gently bend it around to form a curve that will allow it to stay in your lobe. I made it so that one side was longer than the other.


3: Create a loop on the short end of the bent wire using the round nose pliers.

4: Open the loop slightly to attach the charm. Close it using your pliers to secure it in place.

5: File or sand the end of the wire so that it isn’t sharp any more.
Now your cute little charm threader earring is ready to wear!


Here’s another pair of charm threader earrings I made using silver wire and a square bending technique. The gemstone beads on this design are made of moonstone (the white round ones) and malachite (The green chip beads). I like to wear these next to each other in my double piercings, they look really cool when paired together.

Here are some other wire threader earring tutorials:
- Minimalist silver threader earrings
- Hammer texture arch earrings
- Rounded threader earrings
- Beaded threader earrings with hammered ends
This tutorial contains affiliate links.
-
These arched and chain embellished earrings are so cool. Here’s how to make them.
We have made some different arch and chain earrings before, this one flips them around so that the arch sits at the top of the earring leaving the chain to dangle down gently. I really like the way these earrings move when you wear them. This tutorial contains affiliate links.
You’ll need the following tools and materials to make these earrings:
1: Pliers. I used my cutting pliers, round nose pliers and flat nose pliers.
2: Some bracelet length memory wire cut into half circles.

3: Two short pieces of chain.

4: Earring hooks.

5: Six jump rings.


6: Two head pins.

7: Beads. I used gold-tone e-beads and faceted blue plastic beads.


Follow these steps to make your own arch and chain dangle earrings:
1: Create a loop at one end of one of the pieces of memory wire using the round nose pliers.

2: Add beads so that approximately half of the wire is beaded.

3: Add one of the earring hooks.
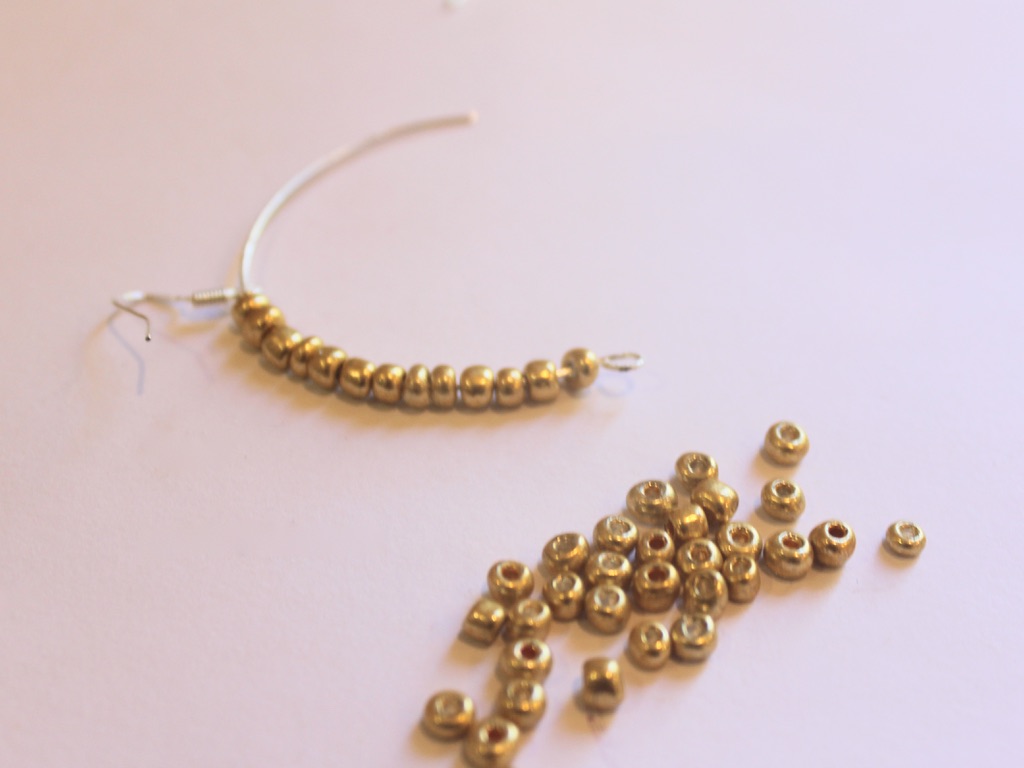
4: Add more beads to the wire until there is about 1cm left without beads.

5: Curl the end of the wire so that the beads and earring hook are secured in place. I squeezed my wire a bit at this point so that it formed a more narrow arch.

5: Repeat steps 1-5 for the second earring.

6: Add a jump ring to one end of the small chains.

7: Attach the end of the chain to the bottom of the beaded arch.

8: Repeat steps 6 and 7 for the other end of the chain to form a loop.


9: Repeat steps 6 to 8 for the other earring.

10: Add the faceted beads to each of the head pins and loop the tops using the round nose pliers to secure the beads in place.


11: Attach the newly formed bead charms to the chains with the remaining jump rings.

Now your dangling arch earrings are finished and ready to wear! So so cute!
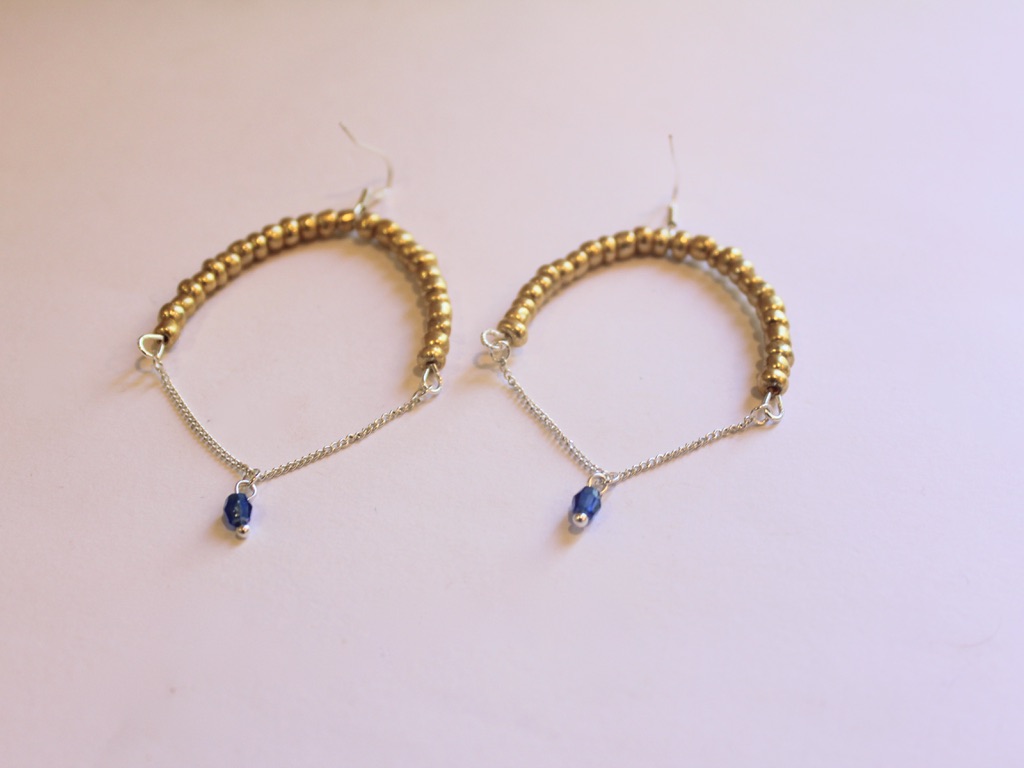
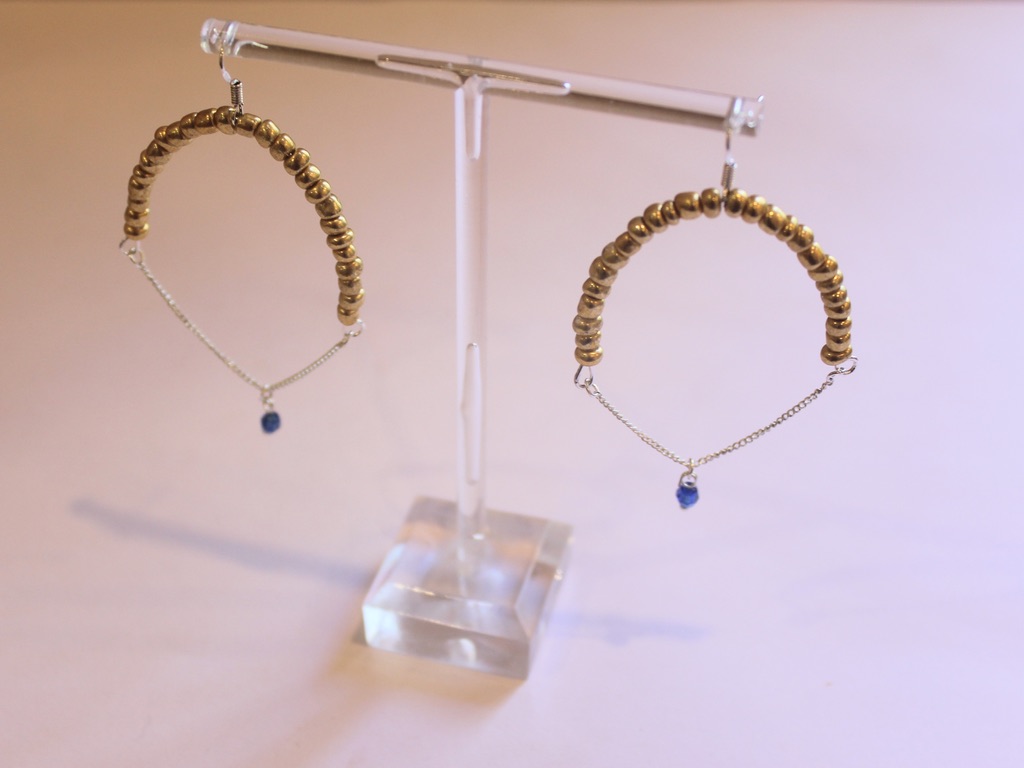
If you like this design here’s a different arch earring tutorial we made a little while ago.
This tutorial contains affiliate links.
-
Here’s how to turn some beads into a pair double-charm stud earrings.
These earrings are pretty fun. With the right selection of beads you can create a cool pair of earrings that feature two dangling charms!
You’ll need the following tools and materials to make your double charm earrings:
1: Pliers. I used my round nose and cutting pliers.
2: Two glue on stud earrings and earring backs.

3: Two flat beads. I used these round love heart beads.

4: Four charm beads. I used these silver-tone plastic star and flower beads.

5: Two eye pins.

6: Four head pins.

7: Glue. I used a two part epoxy glue.

8: Scrap paper for mixing the glue on.

9: A skewer for mixing and applying the glue.

Follow these steps to make your double charm earrings:
1: Add the flat beads to each of the eye pins.

2: Bend the pins to form a right angle.

3: Trim the excess pin using the cutting pliers, leave approximately 1cm.


4: Form the end of the pins into loops using the round nose pliers.


5: Add the charm beads to each of the head pins.

6: Repeat steps 2 to 4 for each of the charm beads so that you end up with four charms with loops at the top.


7: Attach each of the charms to the flat centre beads. I added one star bead and one flower bead to each heart bead.


8: Mix up the glue on the scrap paper and apply it to both the flat beads and the stud earring findings.



9: Place the earrings onto the centre beads and leave them to dry. I suggest using a little less glue than I did because I ended up with some drips on the sides of my earrings.


Once your earrings are dry you can pop them on and have some fun!


Here are some other ways to turn beads into stud charm earrings:
This tutorial contains affiliate links.
-
Half and Half for the best of both worlds? Here’s how to make a half bead half chain necklace!
This necklace is really cool! It is made using different materials for a half-half look. One side of the necklace is made with delicate chain while the other half features a rainbow of glass seed beads.
The Materials
You’ll need the following tools and materials to make your half and half necklace:
1: Pliers. I used my cutting pliers, round nose pliers and flat nose pliers.
2: A piece of tiger-tail wire.

3: Four crimp beads.

4: Three jump rings.

5: A lobster clasp.

6: Some chain. I used gold-tone rolo chain.

7: Beads. I used some mixed glass seed beads in different colors.

The steps
Follow these steps to make your half and half necklace:
1: Add two of the crimp beads and a jump ring to one end of the wire.

2: Fold the short end of the wire around it and back through the crimp beads.

3: Squash the crimp beads using the flat nose pliers.

4: Add beads and continue beading until you have a beaded section that is around half the length you want your necklace. I checked my length by measuring it against my neck, holding the secured end at the back of my neck and wrapping it loosely around the font of my neck.


5: Add two more crimp beads to the wire and a second jump ring.

6: Bend the wire around the jump ring and pull it tightly back through the crimps and a few of the beads.

7: Squash the crimp beads using the flat nose pliers again.

8: Trim the excess tiger tail wire using the cutting pliers.

9: Open a jump ring on one side of the beaded strand and attach one end of the chain.

10: Measure the chain so that it is the same length as the beaded strand and trim it.

11. Add the remaining jump ring to the other end of the chain, using it to secure the lobster clasp in place.

Now your half and half necklace is finished!


You can even add a charm to the middle to add some extra interest. I added this yellow clay and resin charm to mine.


This tutorial contains affiliate links.