Step-By-Step Tutorials
-
Sick of single color jewelry? Make this two-tone chain choker necklace.

This necklace uses two different colored metal chains for a cool two-tone effect.
You’ll need the following tools and materials to make your own two-tone choker necklace:
1: Pliers. You’ll need your round nose and flat nose pliers for this DIY.


2: Two pieces of choker-length chain, one slightly longer than the other. You can check the length by wrapping your chain closely (but loosely) around your neck. I used an antique gold chain and a copper colored chain.

3: Two jump rings.

4: A lobster clasp.

Now follow these steps to make your two-tone choker necklace:
1: Open one of the jump rings.

2: Add one of the chain to the open jump ring.

3: Add the second chain to the jump ring.

4: Close the jump ring.

5: Add the chains in the same order to the other jump ring, make sure that your chains don’t get twisted.

6: Add the lobster clasp to the second open jump ring.

7: Close the jump ring to secure the clasp in place.

Now your two-tone choker necklace is finished and ready to wear!

-
Here’s how to incorporate recycled materials into a glasses chain DIY

Are you interested in incorporating recycled materials in to your DIY jewelry designs? Here’s an idea for you… a glasses chain made with a recycled headphone cord.
You will need the following tools and materials to make your glasses chain:
1: Pliers. You will need your round nose pliers, flat nose pliers and cutting pliers.

2: A piece of cord from an old broken pair of headphones. I used this cord leftover from another project.

3: Beads with holes big enough to fit your cord. I used 10 of these painted wooden beads.

4: Two crimp ends.

5: Two jump rings.

6: Two rubber glasses holders.

Follow these steps to make your glasses chain:
1: Trim excess material from your cord using the cutting pliers.


2: Add the beads to the cord.


3: Fold one of the crimp ends around one end of the cord using the flat nose pliers.


4: Add the second crimp end to the other end of the cord.

5: Attach the glasses holders to each end of the cord using the jump rings.


Now your glasses chain is finished and ready to use. Perfect for windy spring days or for when you’re getting active outside!

Here’s another version I made using some broken apple headphones and some plastic heart shaped beads.

-
These Pom Pom hoop earrings are the CUTEST!

Here’s a quick tutorial that shows you all the steps to make a pair of adorable and colorful pom pom hoop earrings. Contains affiliate links.
You will need the following tools and materials to make your pom pom hoop earrings:
1: Small pom poms. I added four to each earring.

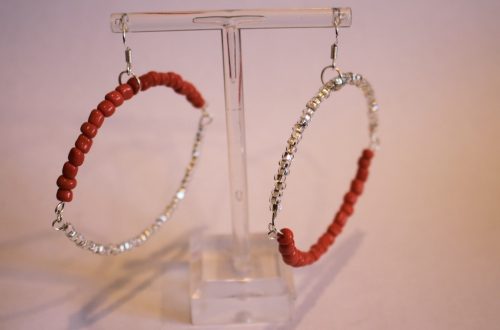
2: Two hoop earrings.

3: A cutting mat.

4: A pointed tool for poking a hole in each pom pom (be careful!)

Follow these steps to make your pom pom hoop earrings:
1: Using your cutting mat, carefully poke a hole in the first pom pom. If you puncture it too close to the edge it will fall off the earring.


2: Carefully slide the punctured pom pom onto the hoop earring.

3: Continue puncturing 3 more pom poms and put them on the first earring.
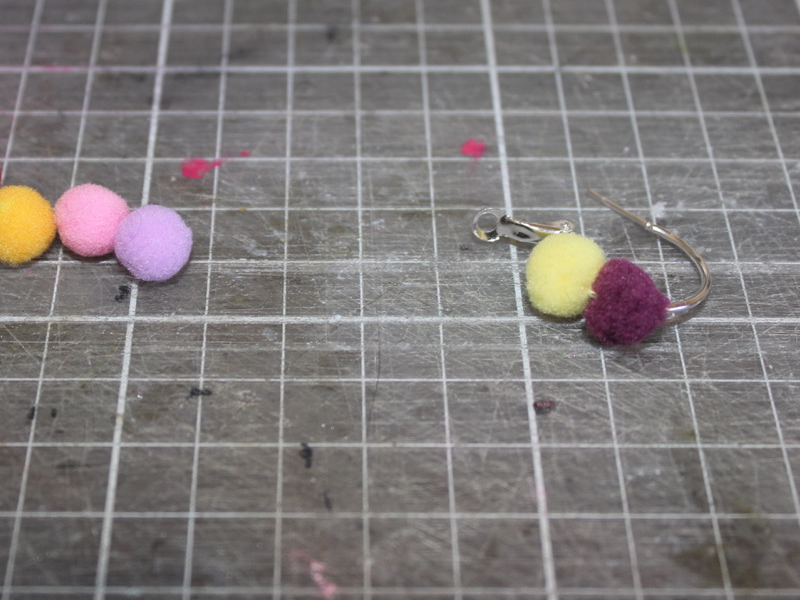

4: Repeat steps 1-3 for the remaining 4 pom poms and the second hoop earring.
Now your earrings are finished! How adorable are these fuzzy rainbow hoops?!
Here’s another pair made with matching pom poms.


-
Chunky chains are taking over. Here’s a DIY to get you in on the trend.

Apparently chunky chains are taking over from dainty delicate jewelry. Getting in on this cool new trend is super easy… here’s how to make your own chunky chain necklace.
You will need the following tools and materials to make your chunky chain necklace:
1: Pliers. You’ll need your round nose and flat nose pliers.
2: A chunky chain long in a length of your choice. I used this lightweight silver chain and made it choker length (fitting closely around the neck).

3: Two jump rings.

4: A lobster clasp.

Follow these steps to make your chunky chain necklace:
1: Add one of the jump rings to one end of the chain. Close it to secure it in place.


2: Add the other jump ring to the other end of the necklace.

3: Add the lobster clasp to the open jump ring.

4: Close the jump ring to secure the clasp in place and finish your necklace.

IT IS THAT SIMPLE! Now your chunky chain necklace is ready to wear!

-
Anklets are awesome. Here’s how to make a double strand anklet.

Anklets are the jewelry accessory for the summer, here’s how to make a different version with two chain strands. Contains affiliate links.
You will need the following tools and materials to make your double strand anklet:
1: Pliers. You need your round nose pliers and flat nose pliers to make this anklet.
2: Two pieces of chain long enough to fit your ankle comfortably. I used two different shaped chains in the same color.

3: Two jump rings.

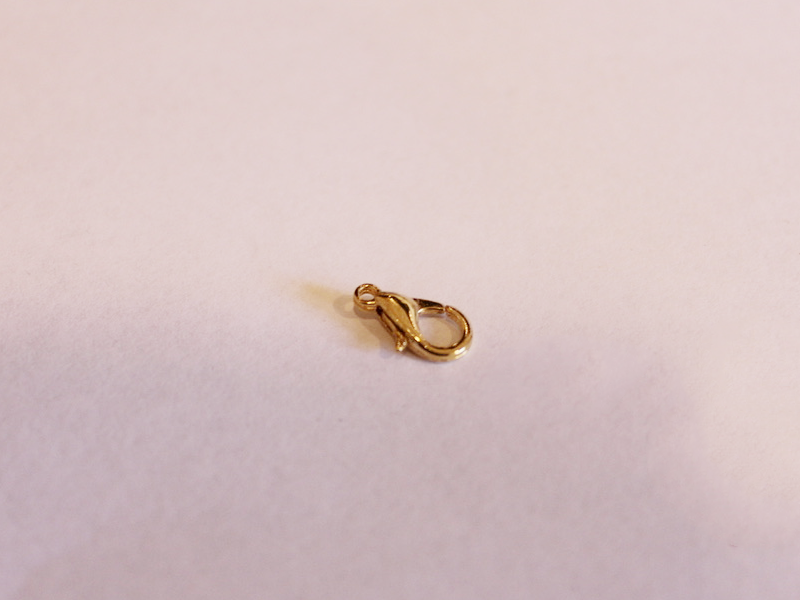
4: A lobster clasp.
Follow these steps to make your double strand anklet:
1: Open one of the jump rings and slide it on to the end of both chains.

2: Close the jump ring to secure the chains together.

3: Add the other jump ring to the other side of the chain.

4: Add the lobster clasp to the open jump ring.
5: Close the jump ring to secure the clasp in place.

Now your double strand anklet is finished! So cool!

-
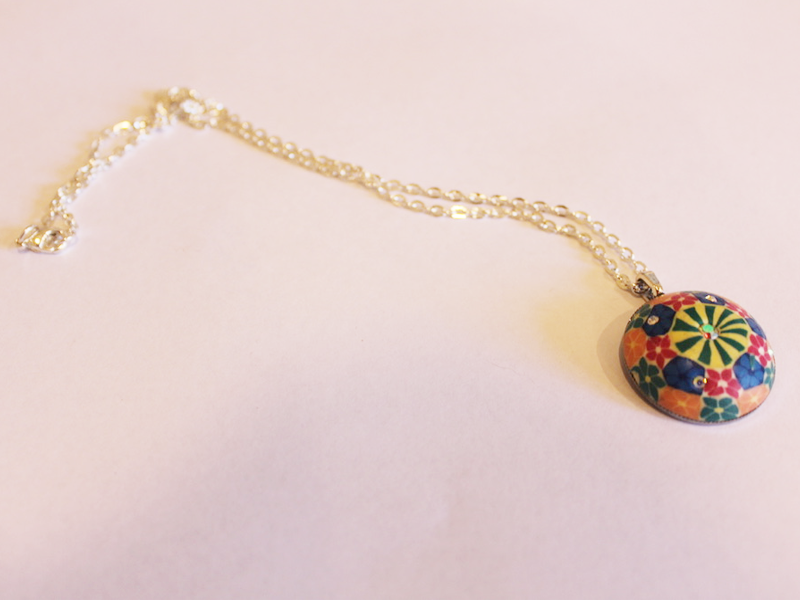
How to transform an old ring into a pendant.

If you are like me you might have some old costume jewelry lying around that isn’t really your style any more. Instead of throwing it away here’s a way that you can transform an old ring into a wearable pendant.
You will need the following tools and materials to make your pendant:
1: An old ring. I used this ring with a soldered on ring shank.

2: Flat nose pliers for pulling the ring apart.
3: A glue on bail.

4: Araldite glue.

5: A skewer.

6: Scrap paper.

8: A necklace chain.

Follow these steps to transform your old ring into a necklace pendant:
1: Remove the ring shank from the top of the ring, gently pulling it off with your flat nose pliers.


2: If there is excess metal use a file to remove it. I didn’t have to do this for this project.
3: Squeeze out the Araldite glue in equal parts onto the scrap paper.


2: Mix the glue using the skewer.

3: Add the glue to the bail and the back of the ring.


4: Place the bail onto the glued part of the ring and set aside to dry.

5: Add the dry pendant to the necklace to finish it off!
Now your new pendant is ready to wear! Such an easy way to upcycle old jewelry.
-
How to make a pair of crystal earrings.

These earrings are so cute! Made with some dyed jasper crystals, they are sure to make a summer statement.
You will need the following tools and materials to make your crystal earrings:
1: Pliers. You will need your round nose pliers, flat nose pliers and cutting pliers to make these earrings.
2: Two earring hooks.

3: Two small pieces of chain.

3: Two eye pins.

4: Two small jump rings.

5: Beads of your choice. I used these blue dyed jasper crystal beads and four clear glass beads.


Follow these steps to make your crystal earrings:
1: Add the beads to each of the eye pins.

2: Create loops at the end of each pin to secure the beads in place using the round nose pliers. Trim the wires if necessary to make sure that the loops aren’t too large.


3: Attach each of the small chains to each of the bead charms, securing each end of the chain to either side of the bead charm.


4: Add a small jump ring to the middle of the chain and attach the earring hook. Repeat this for the second earring to finish them off.

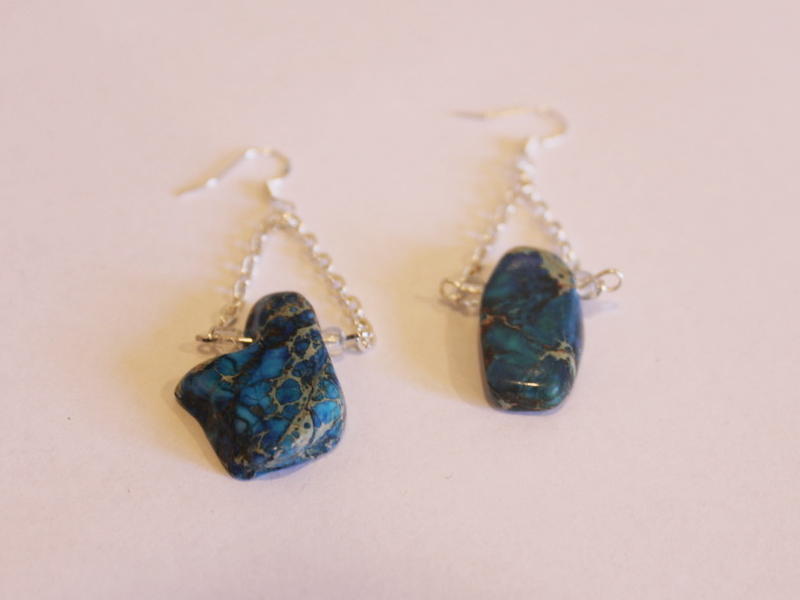
Now your amazing boho crystal earrings are finished and ready to wear! Will these be your summer statement earrings?
-
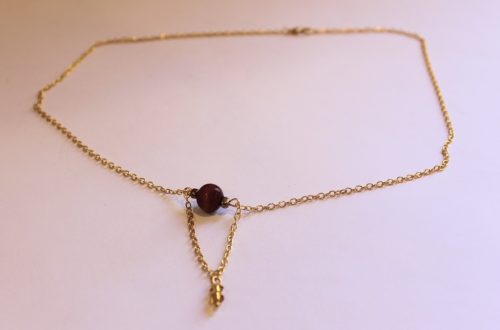
Crystals are Classic… here’s how to make a crystal necklace.
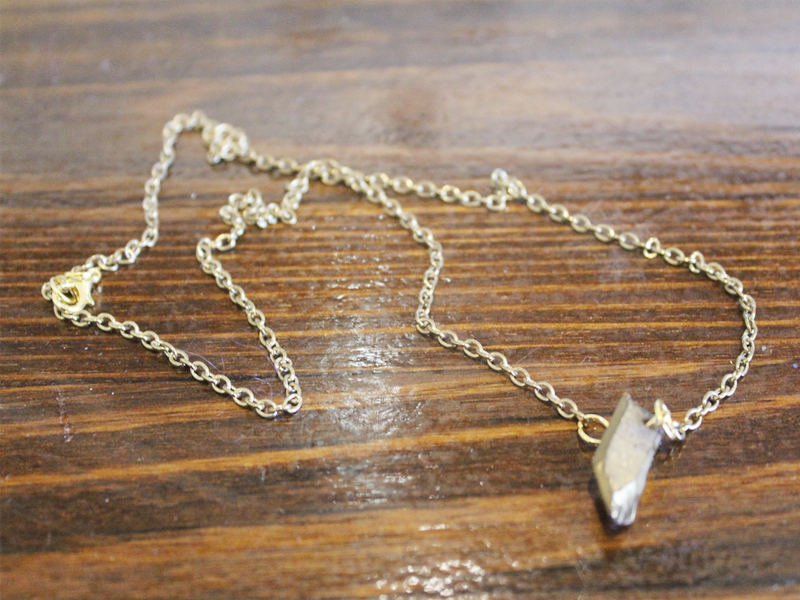
This crystal necklace is a classic piece that you can wear alone or layer with other pieces.
You will need the following tools and materials to make your crystal necklace:
1: Pliers. You will need your round nose pliers, flat nose pliers and cutting pliers.
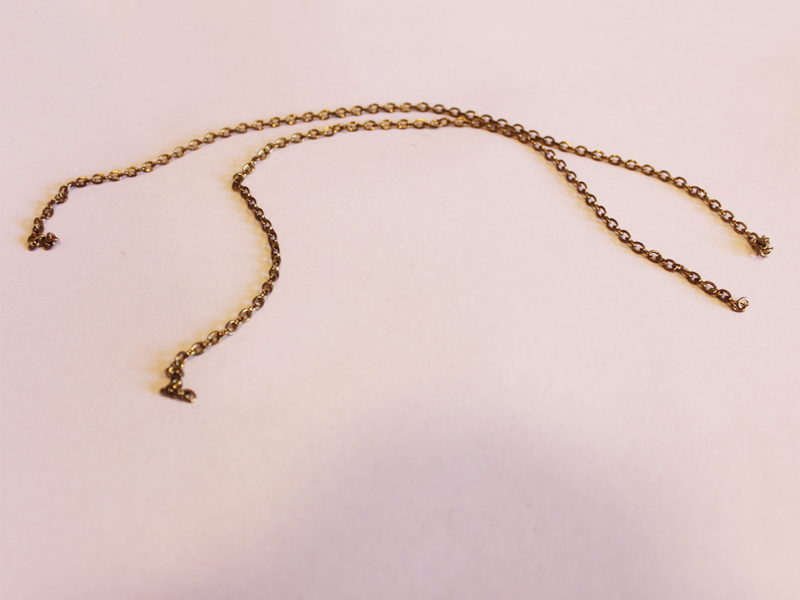
2: Two pieces of chain long enough to form a necklace.
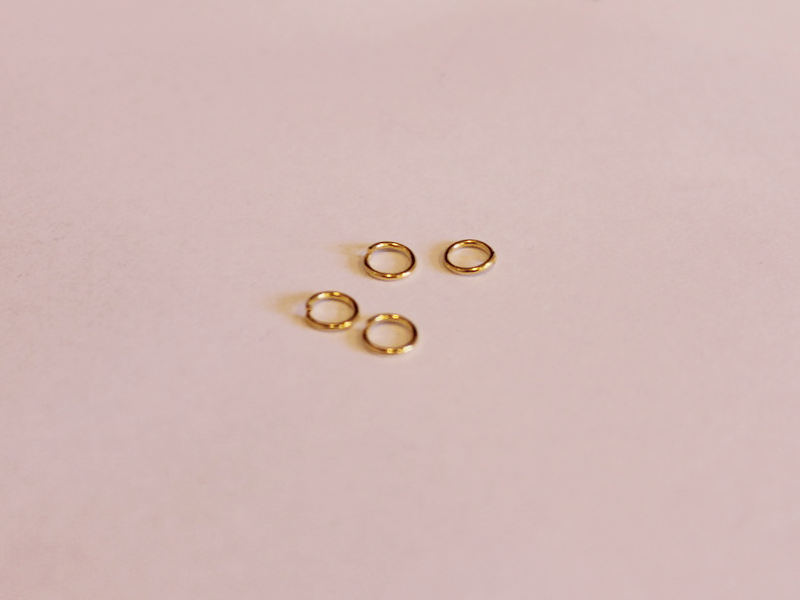
3: Four jump rings.
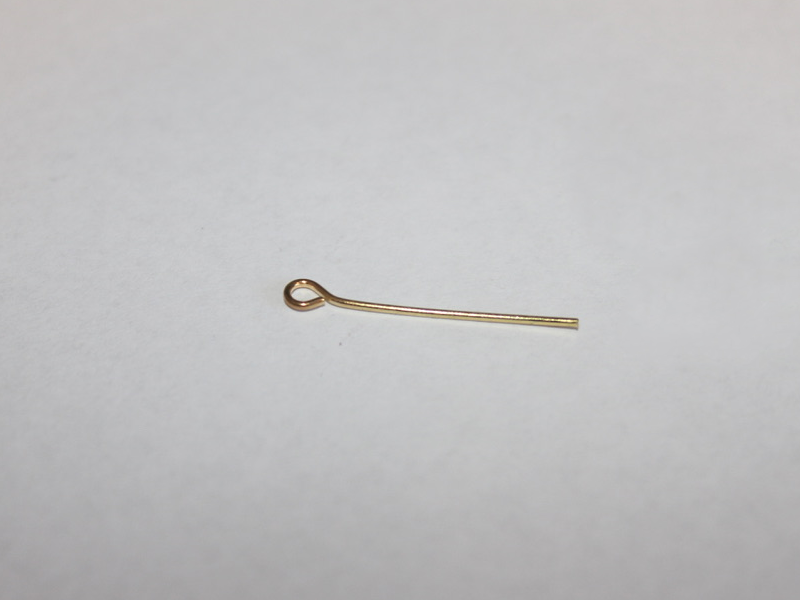
4: One eye pin.
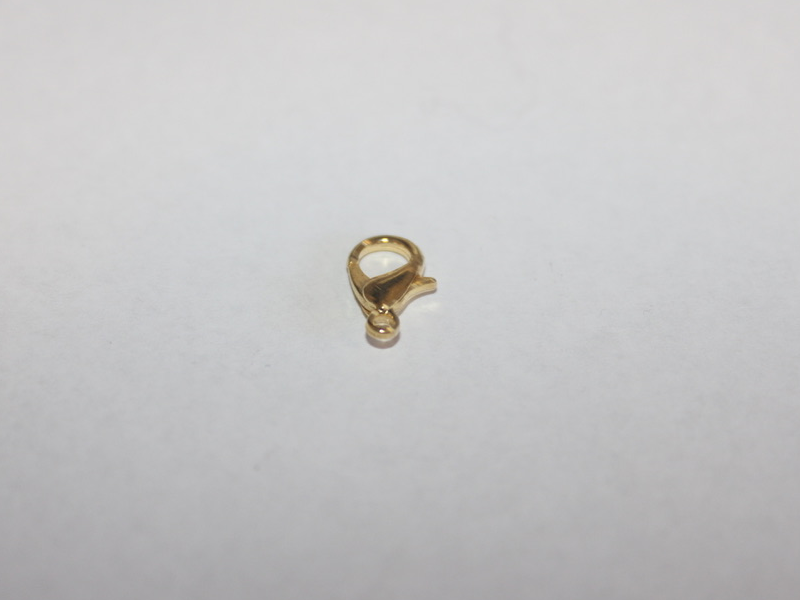
5: A lobster clasp.
6: A crystal bead. I used this crystal bead with a metallic coating on it.
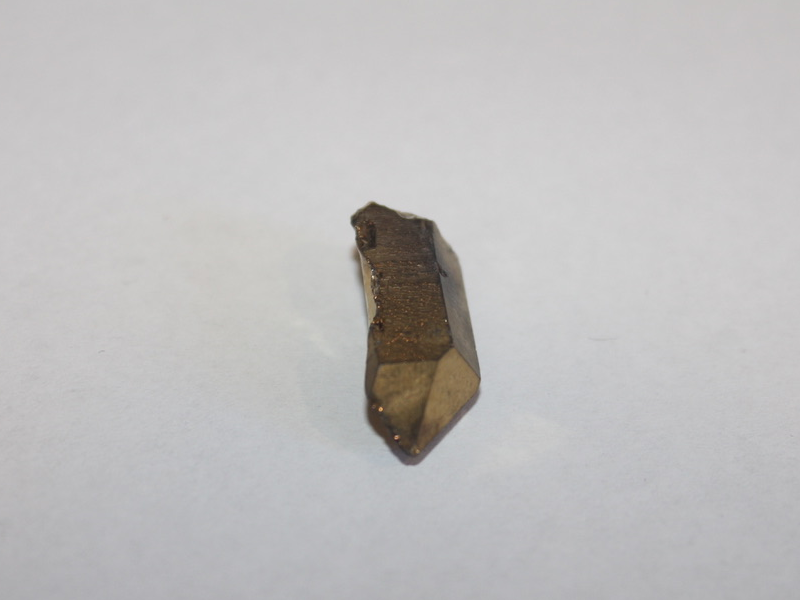
Follow these steps to make your crystal necklace:
1: Add the bead to the eye pin.
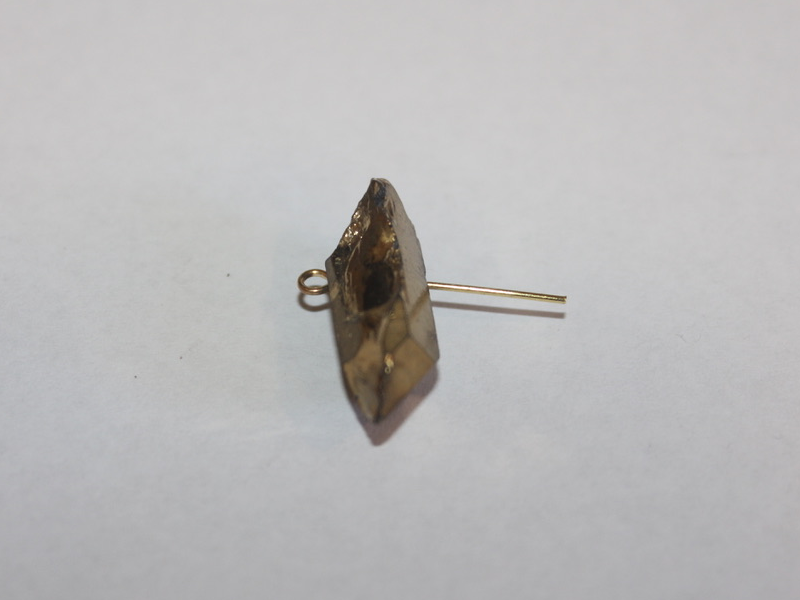
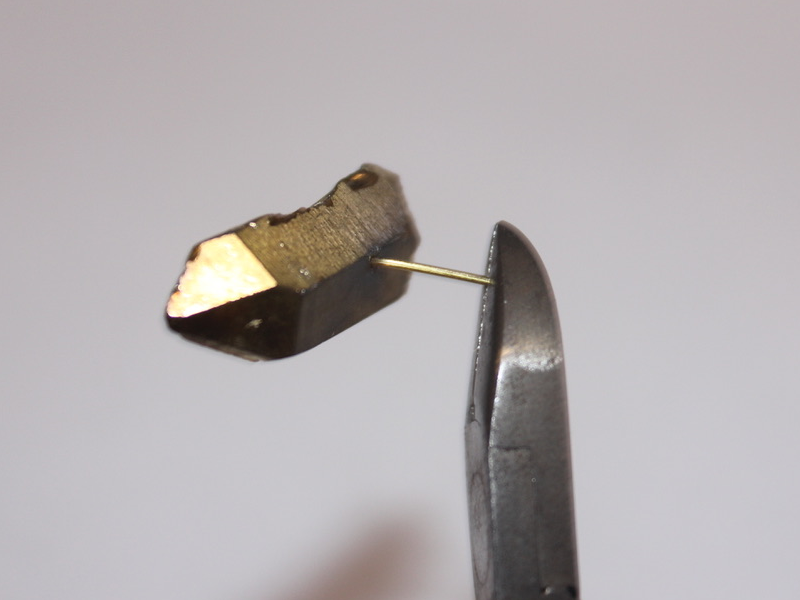
2: Trim the eye pin using the cutting pliers.
3: Create a loop at the end of the wire using the round nose pliers to secure the crystal bead on to the pin.
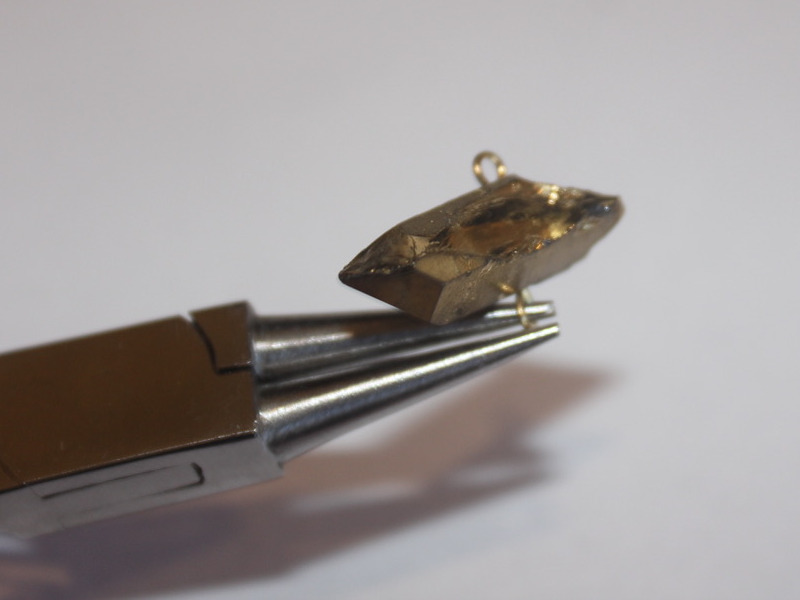
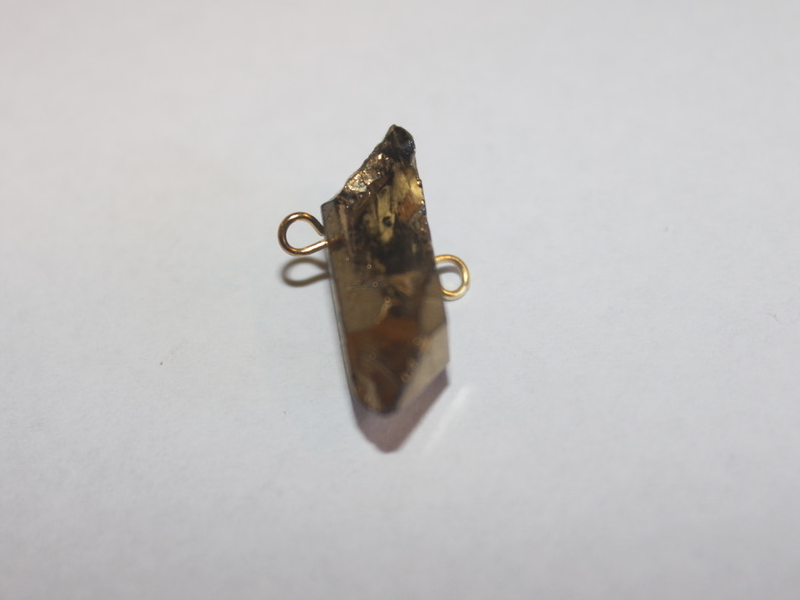
4: Attach one of the chains to one side of the crystal using one of the jump rings.
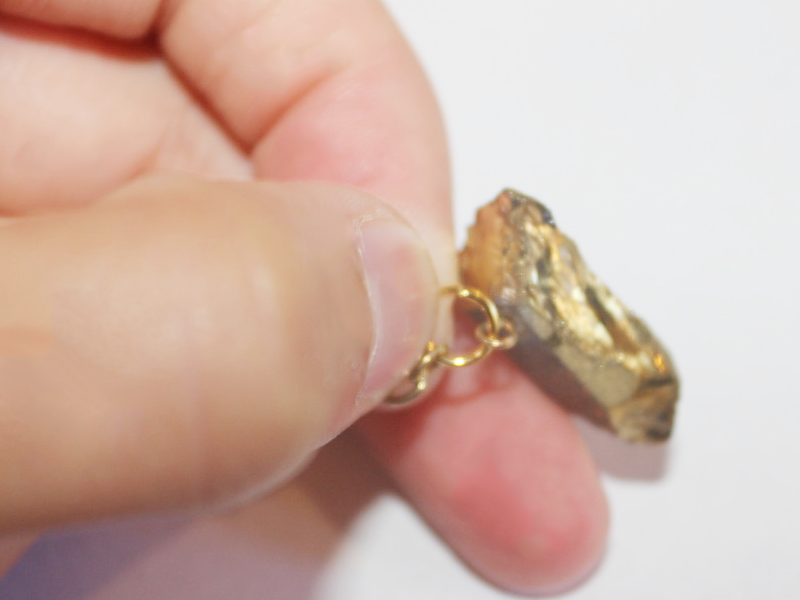
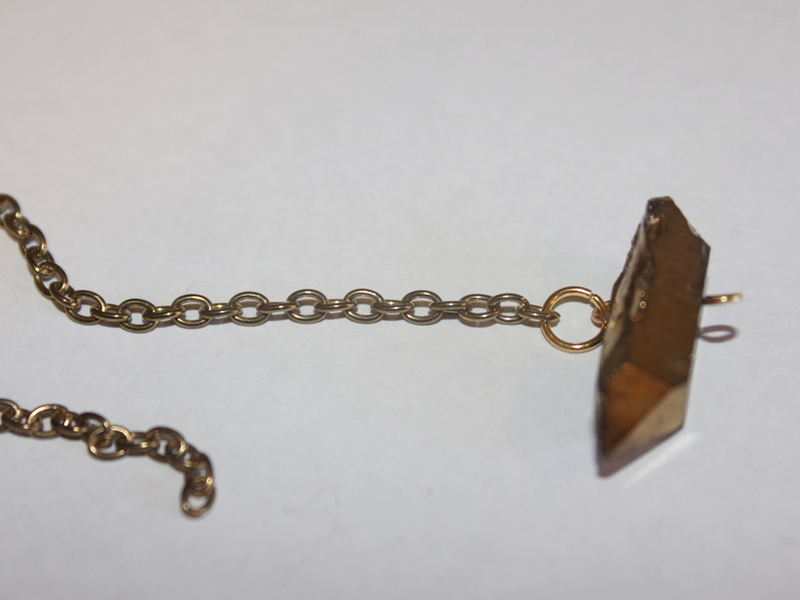
5: Attach the other chain to the other side of the crystal with another jump ring.
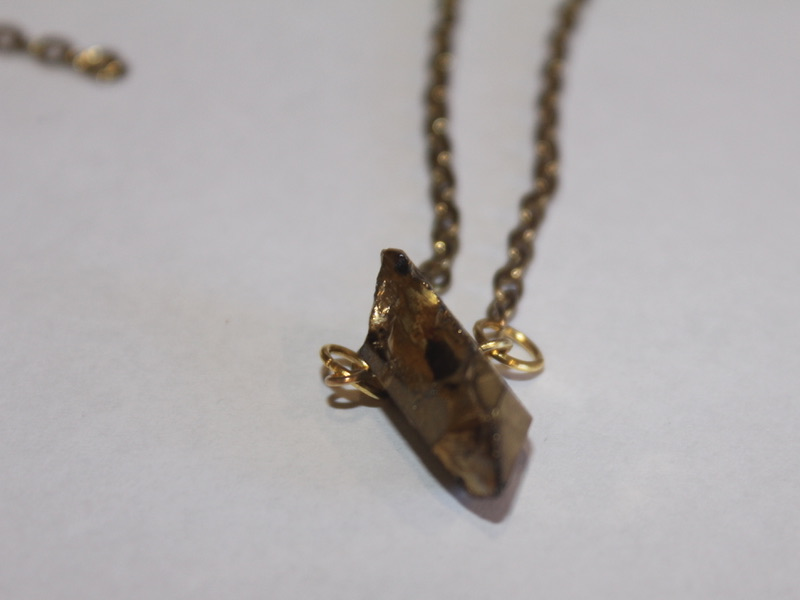
6: Add a jump ring to one of the ends of the chains and attach the lobster clasp.
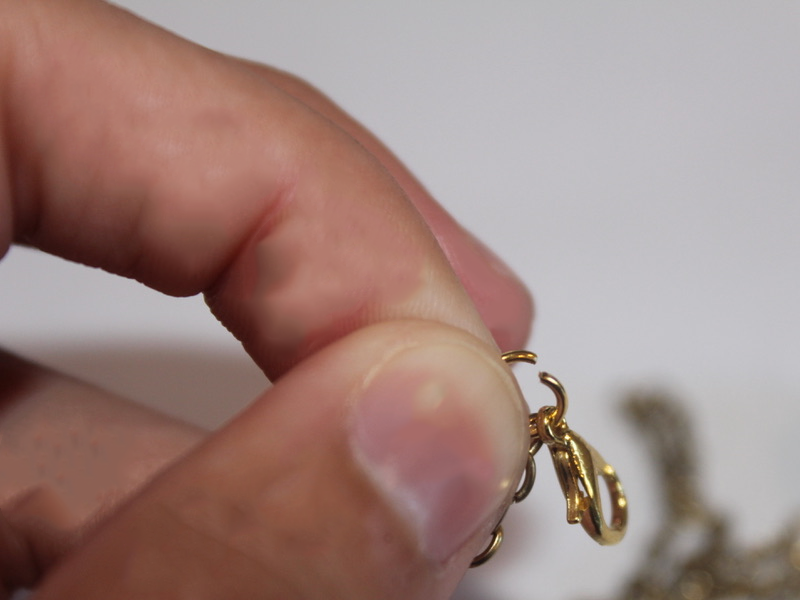
7: Add the other jump ring to the other side of the necklace to finish it off.
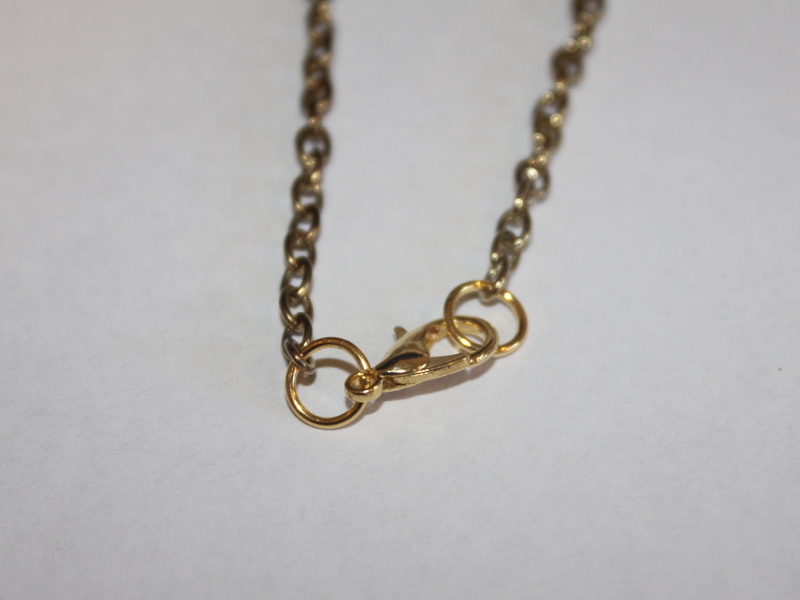
Now your crystal necklace is finished! How will you style yours?

-
Here’s another way to make a cool anklet for summer…

Like I said before, anklets are going to be a hot ticket accessory this summer, so here’s another way to make an anklet to add to your #ankleparty
You will need the following tools and materials to make your anklet:
1: Pliers. You’ll need flat nose pliers, round nose pliers and cutting pliers for this anklet design.
2: A broken pair of headphones. I used these headphones left over from a different project.

3: Two crimp ends.

4: Two jump rings.

5: A lobster clasp.

6: A long gold coloured bead.

Follow these steps to make your simple anklet:
1: Measure the headphone cord around your anklet and cut it to length using the cutting pliers.


2: Add the bead to the trimmed headphone cord.

3: Add a crimp to either end of the cord, folding it around the cord using the flat nose pliers.


4: Add a jump ring to one end of the anklet and attach the lobster clasp.


5: Add the other jump ring to the other side of the anklet.

Now your anklet is done! How cute is this simple design? Add it to your #ankleparty and dance the night away!

-
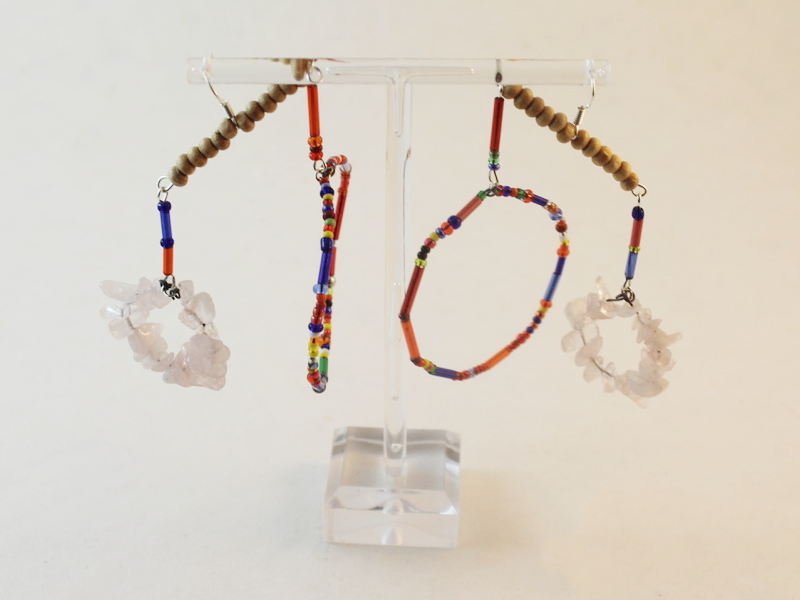
Here’s how to make some cool chandelier earrings!

These earrings are pretty cool! They feature some differently sized hoops that hang from a beaded bar for a stunning statement.
You will need the following tools and materials to make your earrings:
1: Pliers. You’ll need flat nose pliers and round nose pliers. Keep your cutting pliers around just in case.
2: Some thin wire. I used some wire recycled from an old design and cut it into four pieces, two long and two short.

3: Two long eye pins.
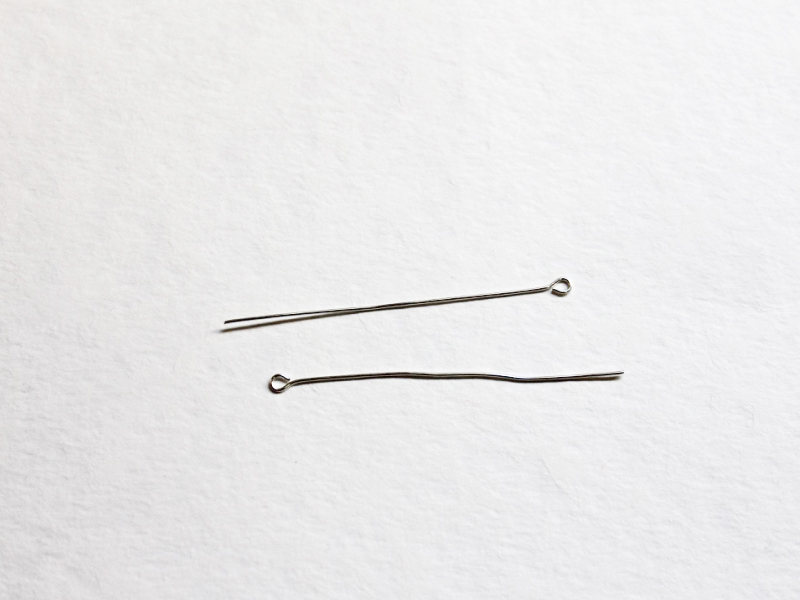
4: Four smaller eye pins.

5: Earring hooks.
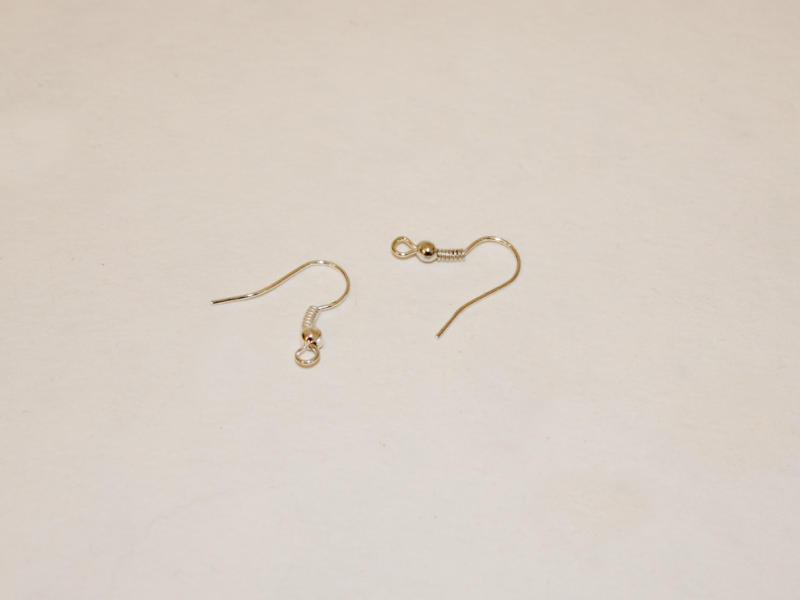
6: Four small jump rings.

7: Beads. I used some timber beads, rose quartz beads and mixed glass beads.


Follow these steps to make your chandelier earrings:
1: Curl the end of one of the long thin wires using the round nose pliers.

2: Bead the wire using the mixed glass beads.

3: Curl the other end of the wire to secure the beads in place. Then form the wire into a circle shape.

4: Repeat steps 1 to 3 for the other thin wires. I used the rose quartz beads on the shorter pieces of wire.


5: Link the ends of each circle using the jump rings.
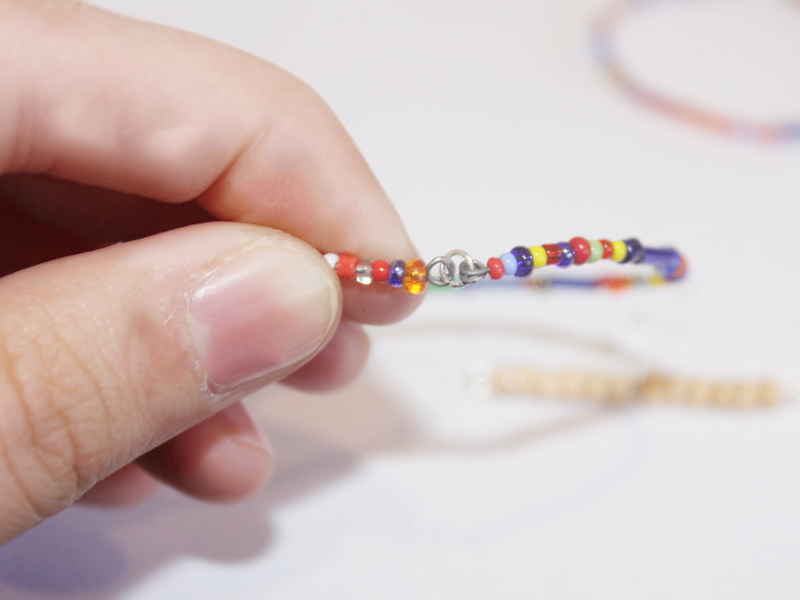
6: Add more of the coloured beads to the four small eye pins.

7: Loop the end of each eye pin and set them aside.


8: Add some of the wooden beads to one of the longer eye pins. I added six to meet the middle of the pin (but leaving room for the end to be looped later). The add one of the earring hooks to the pin.

9: Add another set of beads so that there is an even amount either side of the earring hooks. Repeat this for the second pin.

10: Loop the ends of the pins to secure the beads and earring hook in place.

12: Attach each of the smaller eye pins to the top of each of the circle charms.

13: Attach the charms to either side of the long pins with the earring hooks, make sure that each earring has one large and one small circle charm.


Now your earrings are finished and ready to wear! How special are these?