Step-By-Step Tutorials
-
Here’s how to DIY a fantastic pair of polymer clay tassel earrings.
I’m a bit of a novice when it comes to polymer clay, but I can show you the basics! Here’s how to put together a pair of polymer clay and tassel statement earrings.
These tools and materials will help you make your polymer clay earrings:
1: Pliers. flat nose and round nose pliers.


2: Polymer clay. I used pink and purple Sculpy because it is nice and soft which makes it easy to work with.

3: A foil tray for baking your clay on.

4: Some baking paper for moulding and baking your clay.

5: Four large jump rings.

5: Two charm connector stud earring findings.

6: Two head pins.

7: Two small beads.

8: A hot glue gun and glue.

9: Two tassels.

10: A skewer.

11: An oven.
Follow these steps to make your polymer clay earrings:
1: Roll the clay into balls and strands and then squeeze them into a circle shape.


2: Poke two holes in each of the polymer clay circles using the skewer.


3: Put the clay pieces onto the baking paper and place them in your foil tray.
4: Bake the clay pieces. I baked mine in my oven on the lowest setting for about 20 minutes. I recommend following the instructions on your clay packet for the best results.
5: Let your pieces cool once you’ve taken them out of the oven.
6: While you are waiting for the polymer clay pieces to bake and cool, follow the steps in this video to make two tassel charms.

7: Add one of the large jump rings to one of the polymer clay charm holes.

8: Attach one of the tassels to the open jump ring and close it to secure the pieces together.

9: Repeat steps 7 and 8 for the other earring.

10: Add a the remaining jump rings to the tops of the polymer clay charms and attach the earring posts. Close the top jump rings to secure the earring posts to the polymer clay charms.


Now your earrings are finished! How cute are these statement earrings?! I love how high impact they look with the long dangling tassels.

Here are some other tassel tutorials you can follow:
- Pearl tassel hoops
- Chain tassel necklace
- Gemstone and tassel earrings
- Beaded tassel earrings
- Tassel wrap necklace
- Gemstone tassel necklace
If you like making your own beads and charms check out these tutorials
- How to make clay beads and charms
- Turn your clay charms into scented diffusers
- Make a double strand necklace with clay statement beads
- How to make a love heart charm out of clay
- Make a flower necklace out of clay beads
Here are some other ways you can use polymer clay in your jewelry designs:
- A polymer clay charm bracelet
- How to make a polymer clay ring
- And here is some design inspo… a mismatched pair of polymer clay earrings
This tutorial contains affiliate links.
-
I am loving chunky chain necklaces at the moment, here’s how to do them with a cute twist.

Remember this tutorial? Here’s another version with a soft ribbon twist, Weave some pretty ribbon through your chunky chain chokers for a cute and elegant effect.
You will need the following tools and materials to make this woven chain necklace:
1: Pliers. You’ll need your round nose and flat nose pliers for this project.
2: Some chunky chain at your chosen length. I used some light aluminium chain and made it choker length.

3: Two jump rings.

4: A lobster clasp.

5: Some ribbon. I used this green chiffon ribbon.

6: Scissors to trim the ribbon.

Follow these steps to make your woven chain necklace:
1: Thread the ribbon through the second link of the chain so that there is one long end and one short end.

2: Thread the long end through the chain links.

3: Continue threading the ribbon until you reach part way down the chain.
4: Fold the ribbon back and start threading it over the portion you have already threaded and continue until you get back to the short end of the ribbon.


5: Tie the ends of the ribbon into a bow.


6: Trim the excess ribbon.

7: Add one of the jump rings to one end of the chain and attach the lobster clasp.


8: Add the other jump ring to the other end of the chain to finish the necklace off.

Now your woven chunky chain necklace is ready to wear!
Other chunky chain tutorials:
- How to make a knotted chunky chain bracelet
- All the steps to make an adjustable chunky chain belt
- A simple chunky chain necklace
- A super simple chunky chain waist chain
Note: This article contains affiliate links
-
This video will show you how to make a tassel pendant necklace
This tassel pendant tutorial is another one of those simple DIY’s that have MAXIMUM impact! How cute is that dangling tassel? I am super stoked on this design and I hope you enjoy it too. This design is versatile, wear it to spice up all kinds of different outfits.
You’ll need some tools and materials to make this tassel pendant necklace, here are some links so you can find what you need:
1: Jewelry pliers including flat nose pliers, round nose pliers and cutting pliers.
2: A large tassel. I used a hot pink tassel.
3: An eye pin. I used a medium length silver-tone eye pin.
4: One spare bead. I used a yellow glass e-bead but you can use whatever you have lying around.
5: Necklace chain. Here’s a link to a simple silver chain.
6: A hot glue gun with glue. Don’t worry, you won’t need much messy hot glue to make this tassel pendant :).
I hope you enjoy this video tutorial and make yourself some super cute tassel jewelry!
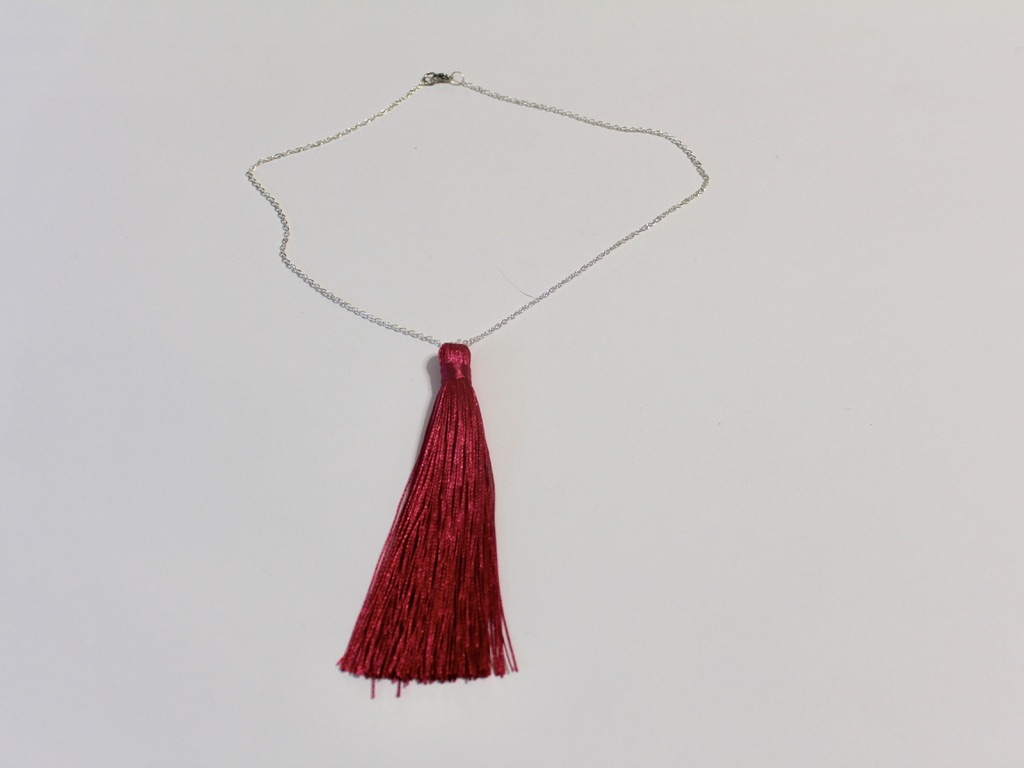
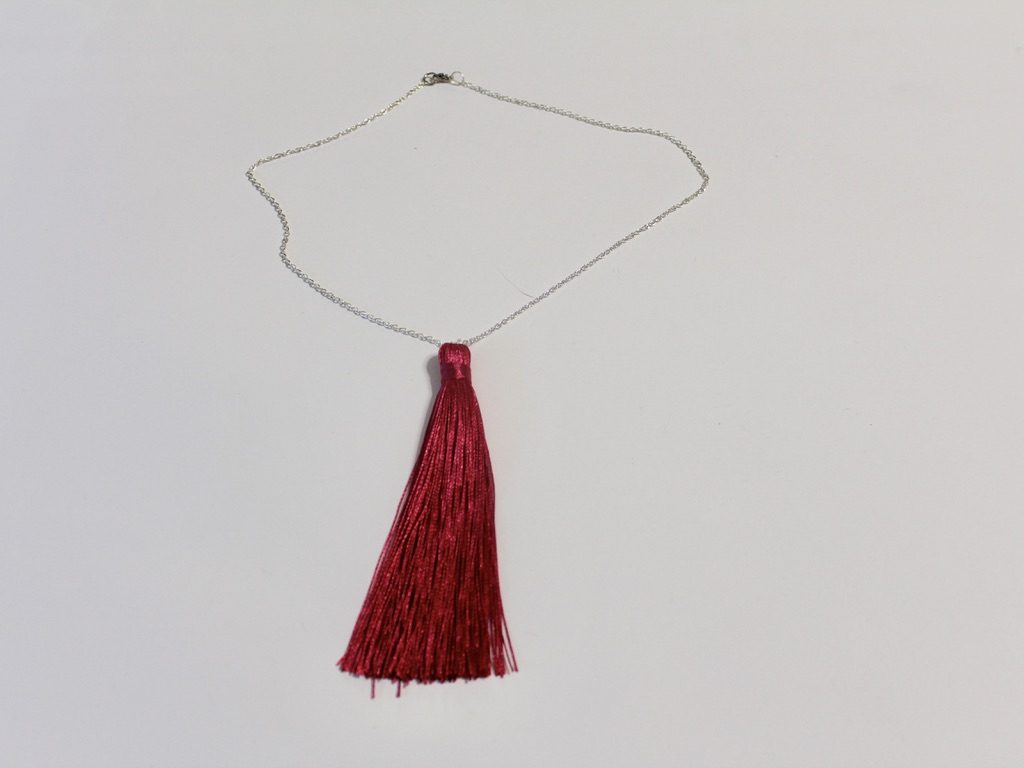
Here’s the finished product! Attach the tassel pendant to a chain for a simple and elegant look.
And here is another tassel pendant attached to a yellow beaded memory wire choker. I love this version, especially the combination of yellow and pink. Yellow and pink is such a cheery and high impact color combination. Perfect for adding an extra punch to a blah outfit!
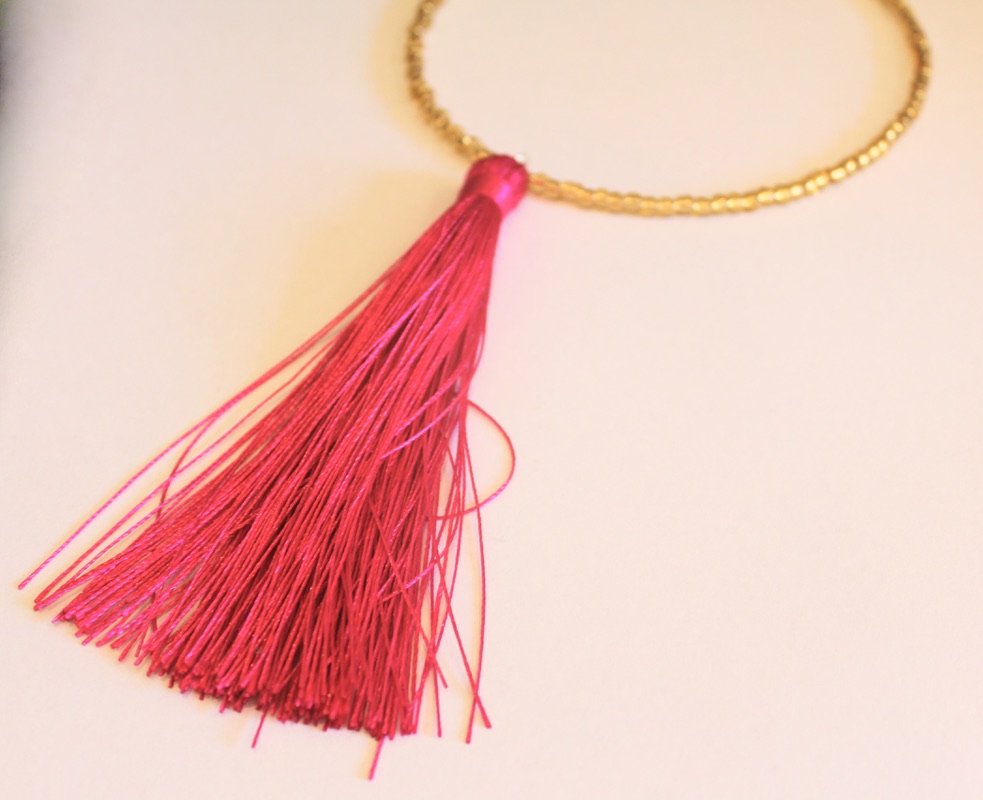
You can buy memory wire and glass beads here to make a choker necklace like the one pictured above:
If you are into tassel jewelry here are some other tutorials:
- Beaded tassel hoop earrings
- Chain tassel necklace
- Tassel and gemstone earrings
- Beaded tassel earrings
- Beaded tassel wrap necklace
- Beaded tassel pendant necklace
This tutorial post contains affiliate links.
-
If you are sick of matching earrings this is the tutorial for you… How to make asymmetrical earrings.
I am seeing loads of cool asymmetrical earrings around lately, here’s how to make a pair of your own.

You will need the following tools and materials to make your asymmetrical earrings:
1: Pliers. I used my round nose pliers, cutting pliers and flat nose pliers.

2: Eye pins of different lengths. I used two eye pins.

3: Three small head pins.

4: One larger head pin.
5: A pair of stud earring findings.

6: Beads of your choice. I used some vintage yellow tube beads, some blue plastic beads and some yellow and blue glass beads.

Follow these steps to make your asymmetrical earrings:
1: Add one of the glass beads and tube beads to the larger head pin.

2: Bend the top of the pin to form a right angle.

3: Trim the pin so that it is only 1cm long from the top of the bead.

4: Curl the top of the pin using the round nose pliers to secure the bead on the pin.

5: Add the longer bead to the longer eye pin and repeat steps 2-4 to secure the bead in place.


5: Attach the two pins together.


6: Attach the top of the charm to the loop of the earring finding.

7: Add the plastic blue beads to each of the small head pins.

8: Curl the tops of the pins to secure the beads in place.


9: Place the remaining glass beads on the shorter eye pin.

10: Repeat steps 2-4 to secure the glass beads on the eye pin. (Skip the wire trimming if your pin is the right length!)


11: Put the small blue charms onto the bottom of the beaded pin.


12: Add an earring finding to the top of the pin to finish the second earring.

Now your asymmetrical beaded earrings are finished and ready to wear!


Here’s another pair of mismatched beaded earrings made using a hammered wire ring.

Note: This article contains affiliate links
-
Do you want a quick DIY? Here’s how to make a simple and fast knot chain bracelet.

This DIY is super duper quick and easy, all you need to do is tie a knot in some chunky chain and add a clasp! So simple and cool. I think this bracelet would make a great gift for the minimalist jewelry lover in your life.
You’ll need to use these tools and materials to make your knot chain bracelet:
1: Pliers. Round nose pliers and flat nose pliers will be useful for this DIY bracelet.
2: A piece of chain slightly longer than you would need to fit your wrist. I used this chunky gold chain.

3: Two jump rings. I used gold to match the chain.

4: A toggle clasp. I used a gold clasp to match the rest of my materials.

Now here are the steps to follow to make your knot chain bracelet.
1: Form a basic knot in the chain.
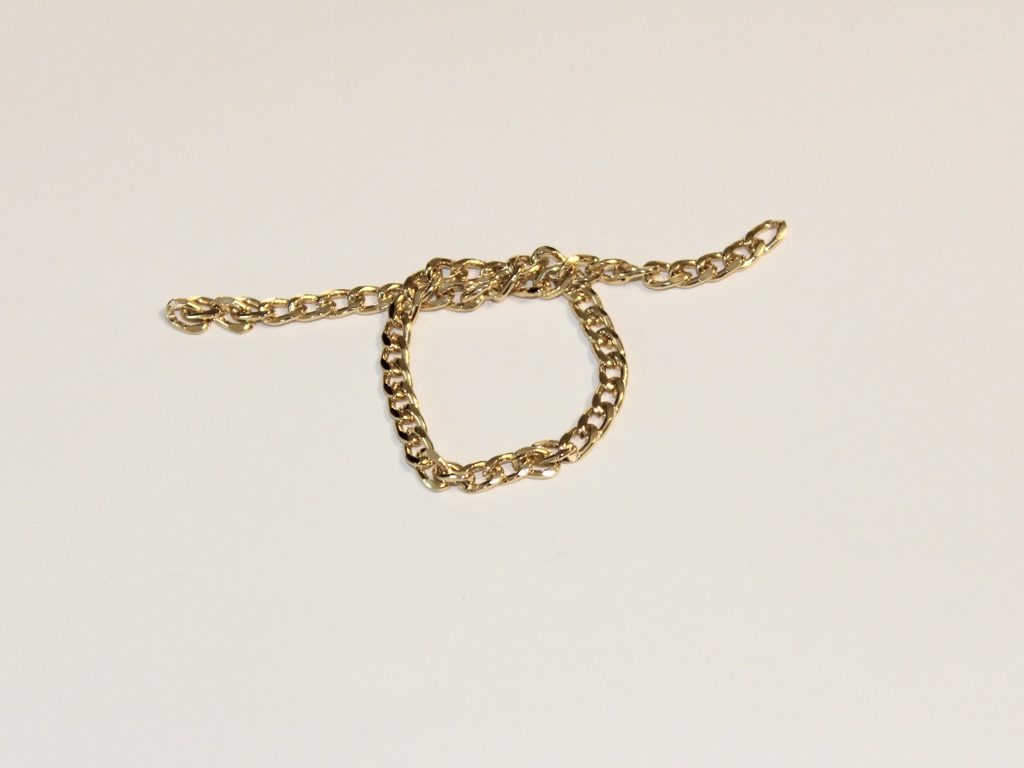
2: Pull the ends of the chain to tighten the knot. You might need to shift it slightly to make sure that the knot is in the middle.

3: Add one of the jump rings to one side of the knotted chain.
4: Add one side of the toggle clasp to the open jump ring. Close the jump ring using your pliers to secure the toggle component to the chain.
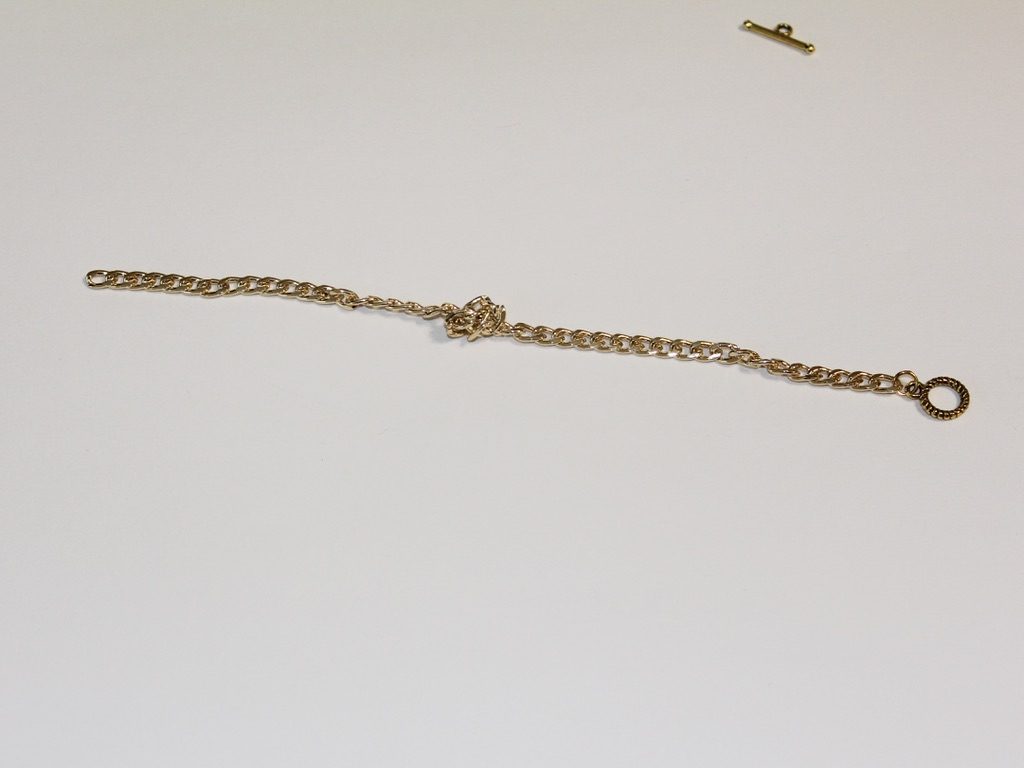
5: Add the other jump ring to the other side of the chain and attach the remaining toggle clasp component.
6: Close the second jump ring to secure the second part of the toggle clasp. Now that the clasp is in place your knot chain bracelet is ready to wear!

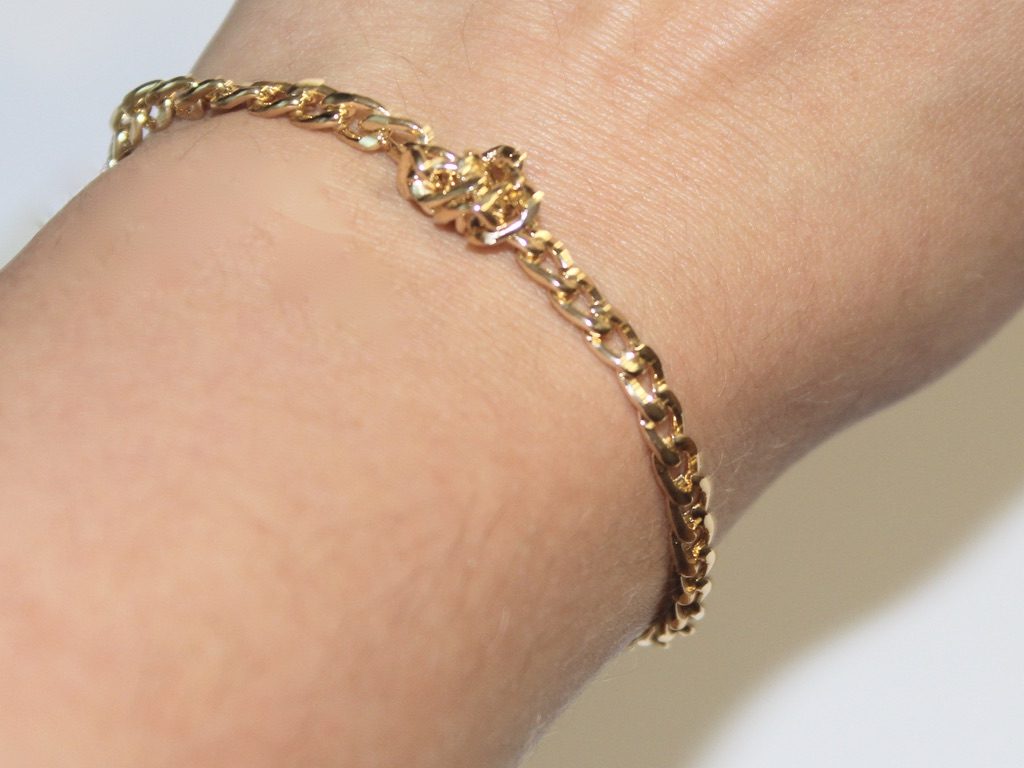
So cute!!!!! How perfect is this DIY for when you need a new accessory ASAP?!

Here are some other chain bracelet tutorials:
- A beaded chain bracelet
- Double chain bracelet
- Bead and chain bracelet
- Bar charm chain bracelet
- Velvet and chain bracelet
- Chain charm bracelet
This tutorial contains affiliate links.
-
Do you love body chains? Here’s how to DIY a cool bra body chain!
This body chain is a bit sexy and cool. It uses chains to make the shape of a bikini bra and it looks hot as hell! And if one body chain isn’t enough here are a couple more tutorials you can DIY and add to your collection. Find them here and here.
You will need these tools and materials to DIY your gold bra body chain:
1: Pliers. You’ll need the round nose and flat nose pliers.
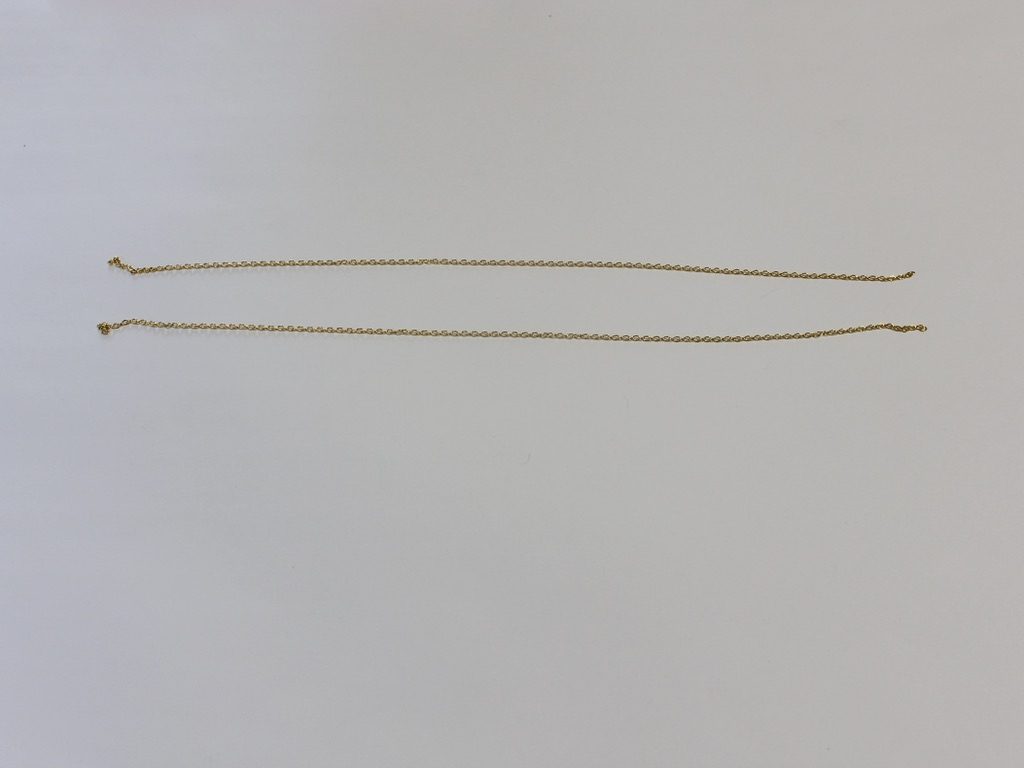
2: One long piece of gold chain that fits loosely around your ribcage. This will be the longest piece of chain.

3: One necklace length piece of gold chain that fits around your neck and down to the tops of the bra triangles.

4: Two pieces of gold chain the same length, measure your chest or against a bikini to get the right length to form the triangles of the bra.
5: Six small gold jump rings.


6: Four larger gold jump rings.

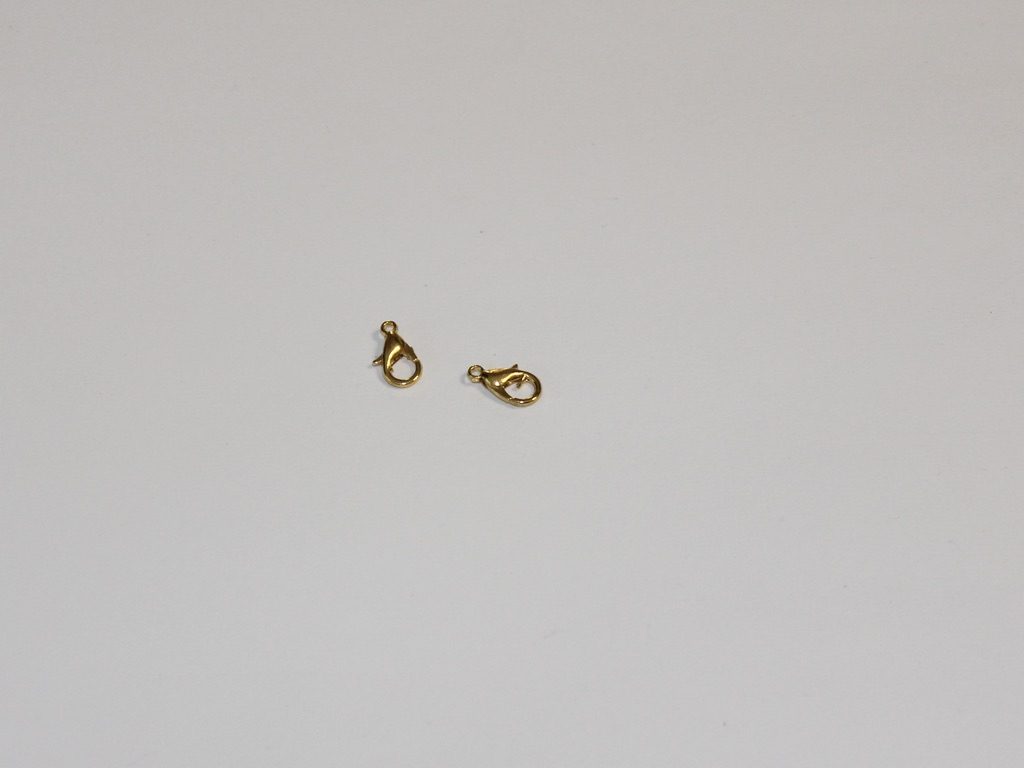
7: Two gold lobster clasps.
Now follow these steps to make your gold body chain bra:
1: Add one of the larger jump rings to one end of the longest piece of chain.

2: Add the first lobster clasp to this open jump ring. Close the jump ring to secure the clasp to the chain.


3: Add the other jump ring to the other side of the longest chain. Close it using your pliers to secure it in place.


4: Take one of the bra chains and place it slightly off centre of the longest chain. Attach it using one of the small jump rings. I selected the position by trying it on and measuring it against my body, however, checking against a triangle bikini top that fits you well.


5: Attach the second bra chain to the longest chain following the same process.
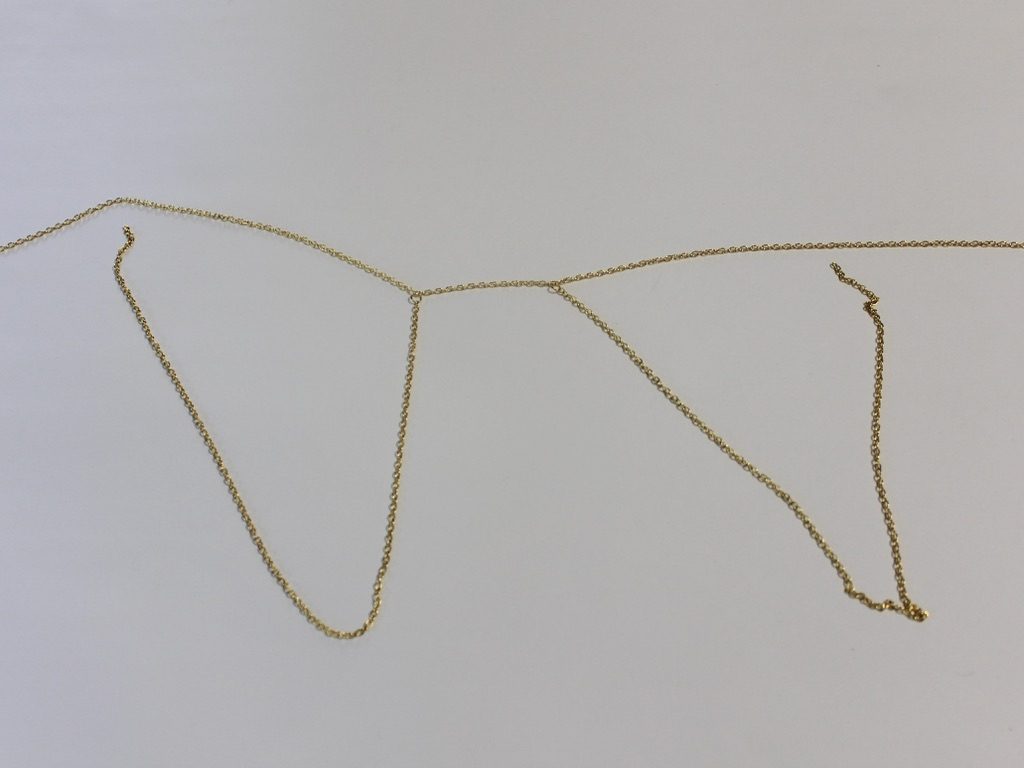
6: Measure out how wide you want the triangles to be by trying the bra chain on or comparing to a bikini and attach the other ends of the bra chains using the small jump rings.


7: Pull the bra chains into triangle shapes to find the middles.

8: Attach the necklace length chain to the middles of these triangles using the remaining small jump rings.


9: Separate the necklace length chain in half, now attached to the bra chains using your pliers.

10: Attach the second lobster clasp to one side of the separated chain using one of the larger jump rings.


11: Attach the last jump ring to the other side of the chain to finish the bra body chain off.

Now you can wear it!

How sexy and cool is this body chain design? I love it!
This tutorial contains affiliate links.
-
Bohemian Hoop Earrings for Summer… Here’s the tutorial!

Do you rock linen all summer long and want your accessories to match your summer vibe? Here’s the tutorial for you, ribbon wrapped hoops with dangling charms!
You will need the following tools and materials to make your wrapped earrings:
1: Ribbon. I used some beige cotton ribbon.

2: Scissors for cutting the ribbon to length.
3: Two shells with holes in them. I used these shells that I collected myself a while ago.

4: Superglue.
5: Two hoop earrings. I used these small silver hoops with lever backs.

Follow these steps to make your boho wrapped hoop earrings:
1: Add some superglue to one side of the earring and attach the ribbon.

2: Wrap the ribbon tightly around the hoop so that it is fully covered (leave the earring post exposed).

3: Trim the end of the ribbon.

4: Add glue to the other end of the earring to secure the ribbon end in place.

5: Repeat steps 1-4 for the second earring.

6: Add the shells to each earring to finish them off!


Here’s some inspiration for you, some other pairs I made with satin ribbon.


Note: This article contains affiliate links
-
This video shows you how to make some fluttering silk earrings!
Check out this vid for all the tools, materials and steps you need to make a cute pair of earrings using silk. I made mine out of some silk recycled from a dress that I altered. If you have some old fabric or old worn out clothes this tutorial is one way that you can recycle those materials
Here are some affiliate links so you can buy some of the materials to make these silk earrings:
1: Eye pins
2: Wooden beads
3: Glass beads
4: Earring hooks
5: Crimp ends
Here are the finished earrings, what colours will you feature in your version of this cool DIY?


-
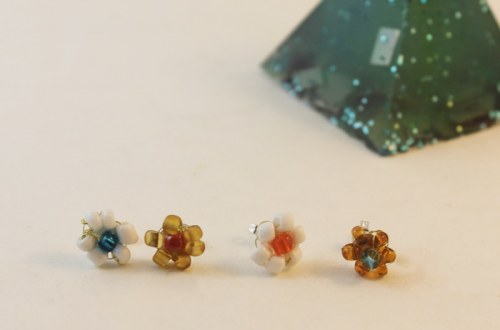
Do you love florals? Why not make these cute beaded flower stud earrings?!

These earrings are a little fiddly to make but the results are so cute! I have made a bunch in different colours so I can mix and match in my multiple piercings.
You will need the following tools and materials to make your flower stud earrings:
1: Cutting pliers.

2: Thin wire.

3: A glue on earring stud with an earring back.

4: Seven glass e-beads beads, six in one colour and one in another colour. I used six white e-beads and one blue bead in a similar size.


5: Some nail polish. I didn’t have any clear polish so I used this sparkly polish that is mostly clear 🙂

6: Araldite glue.

7: A skewer.
8: Scrap paper for mixing glue.

Follow these steps to make your flower stud earrings:
1: Add the six white beads to the thin wire. Move the beads closer to one end of the wire.

4: Take the long end of the wire and thread it through the bead closest to the other end.

5: Pull the wire tight to create a circle shape and loop the short wire around so that the end can’t be seen anymore.


6: Wrap the long wire through the bead again to tighten the circle.
7: Add the blue bead to the wire.

8: Fold the wire to place the blue bead in the centre of the circle.

9: Loop the long wire through one of the white beads and pull it tight.


10: Pull the long wire towards the back and trim it.

11: Put a dab of nail polish on the ends of the wires to secure them and set it aside to dry.

12: Once the nail polish is dry you can start preparing the glue.
13: Squeeze out the Araldite glue in equal parts onto the scrap paper and mix it with the skewer.



14: Add glue to the back of the flower and the front of the stud finding.


15: Add the pieces together and set it aside to dry.
Once your earring is dry it is finished and ready to wear! It’ll be spring all year round with these adorable studs!

Here’s a selection I made in different colours.

-
Do you need more colorful jewelry in your life? Why not make this rainbow beaded choker with a feature pendant?

This choker necklace is super cool! Made with a rainbow of glass beads and a simple charm, it is sure to make an impact!
You will need the following tools and materials to make this choker necklace:
1: Pliers. You’ll need your flat nose pliers, round nose pliers and cutting pliers for this necklace.
2: Some tiger tail wire long enough to make a choker. Measure the length by wrapping the wire loosely around your neck. Make sure you leave enough length to allow space for securing the ends.

3: Four crimp beads.

4: Two small jump rings.

5: One bigger jump ring.

6: A lobster clasp.
7: Beads. I used these mixed glass beads in different colours.

8: A pendant. I used this pendant I made a while ago from a ring. Check out this tutorial to do this yourself.

Follow these steps to make your own colorful choker necklace:
1: Add two of the crimp beads to the end of the wire.
2: Fold the end of the wire around a jump ring and thread it back through the crimp beads.

3: Squash the crimp beads using the flat nose pliers.

4: Begin adding the beads to the wire. I added mine in random order.

5: Add the pendant. Depending on the size of your beads and the pendant bail you might need to add your pendant at half way so that it sits in the middle of your necklace when you wear it.

6: Add the remaining crimp beads and small jump ring to the end of the wire.
7: Fold the wire around the jump ring and thread it through the crimps and end beads.

8: Squash the crimp beads.

9: Trim the excess wire.


10: Add the lobster clasp to one end of the necklace, attaching it using one of the jump rings.
11: Add the larger jump ring to the other side of the necklace to finish it off.

Now your joyful beaded choker is ready to wear!