Step-By-Step Tutorials
-
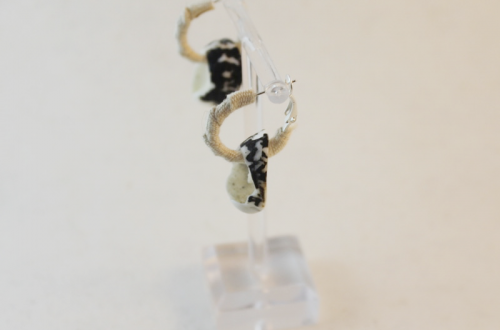
Shell earrings two different ways… perfect for summer!
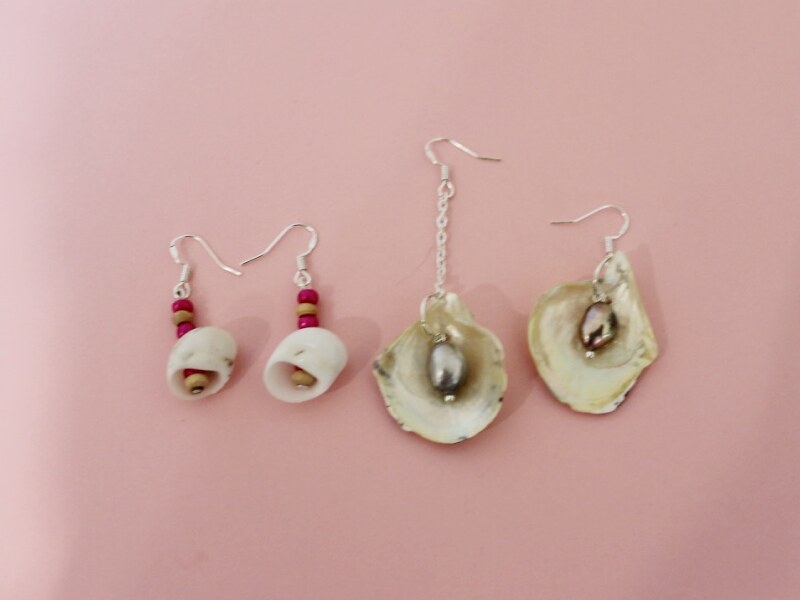
This is two tutorials in one! Here’s two ideas for incorporating shells into your DIY earring designs. These shell earrings look awesome and are easy to make.
To make some mismatched pearl and shell earrings you will need the following materials:
1: Pliers. You will need your round nose pliers and flat nose pliers to make these earrings.


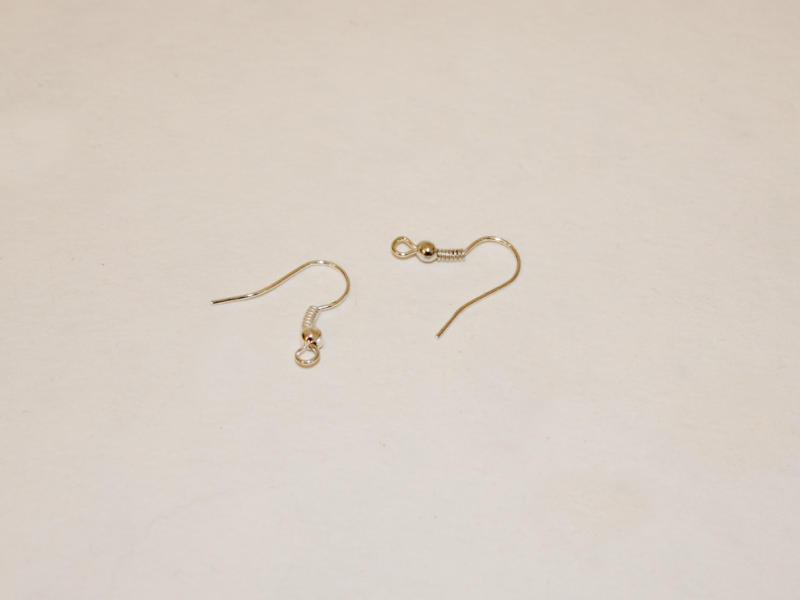
2: Earring hooks.
3: One small piece of chain.

4: Two large jump rings.

5: One small jump ring.

6: Two small head pins.

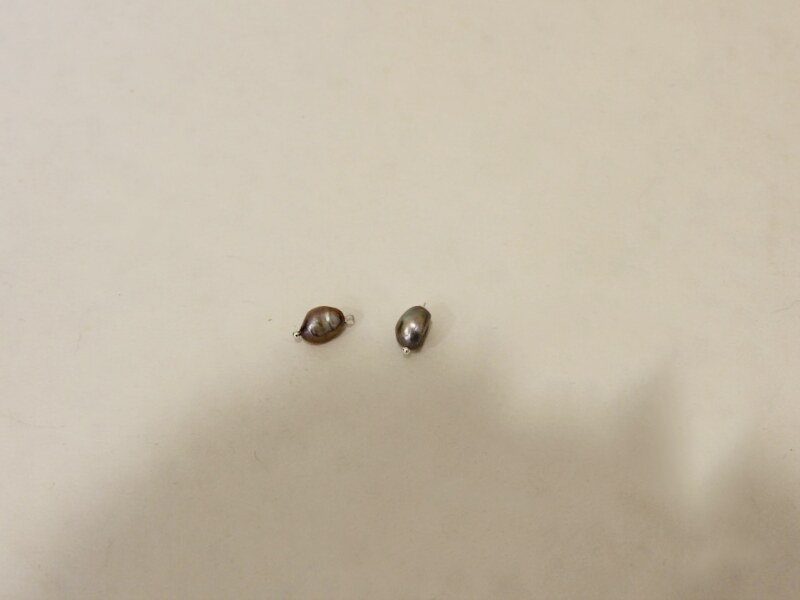
7: Two pearl beads. I used these freshwater pearls.

8: Two open shells with holes drilled in them. I used these shells recycled from some old jewelry.

Follow these steps to make your mismatched shell and pearl earrings:
1: Add each of the pearl beads to the head pins.

2: Use the round nose pliers to create a loop at the top of each pin to secure the beads in place.

3: Attach the pearl to the shell using the large jump rings.

4: On one of the shells, attach the piece of chain to the open jump ring.
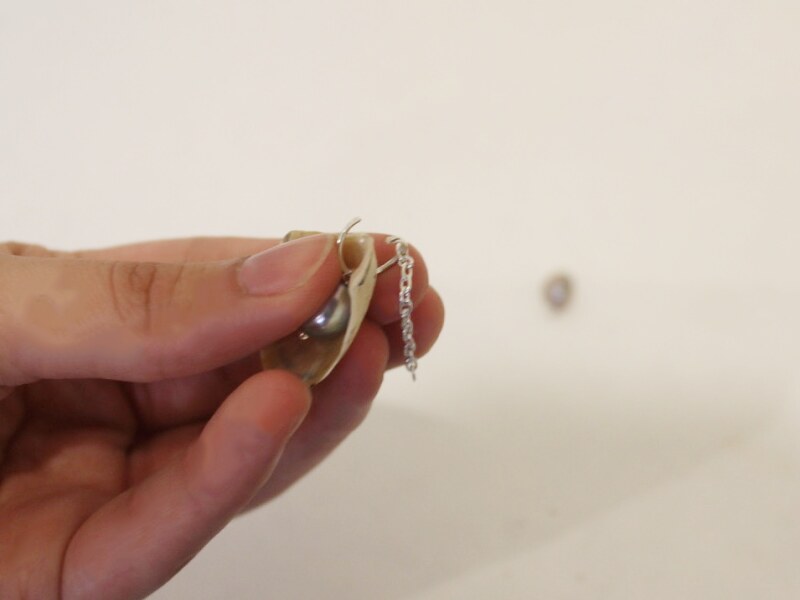
5: close the jump ring to secure the chain to the shell charm.
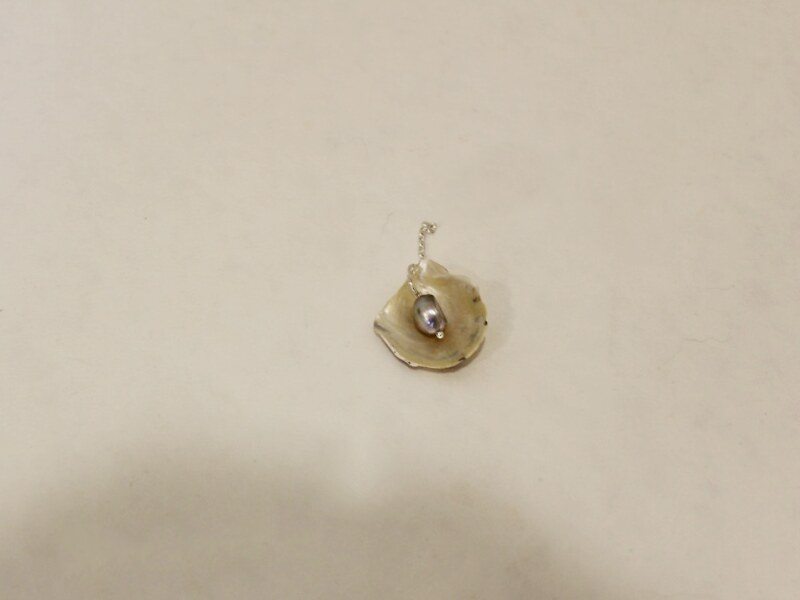
6: Close the jump ring on the other shell charm.
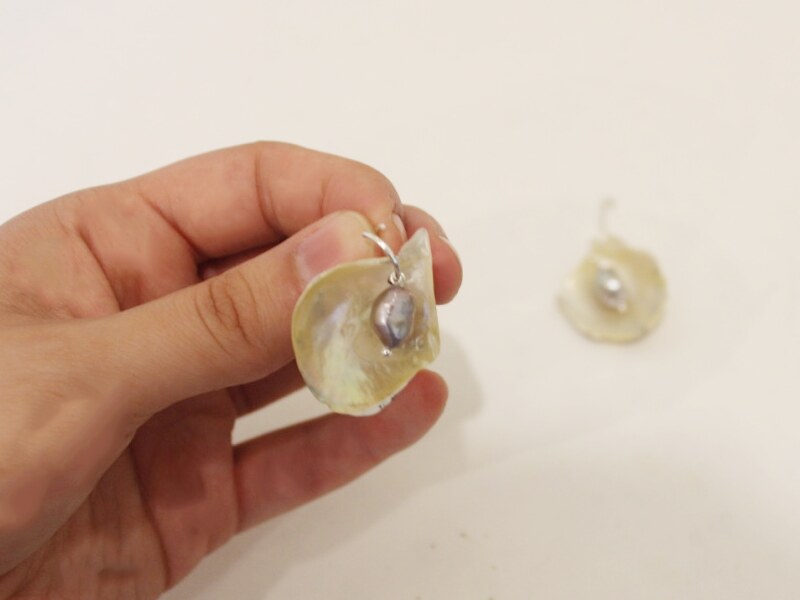

7: Attach an earring hook to the end of the chain.

8: Add the other other hook to to the second shell charm using the remaining small jump ring.


Once your earring hooks are attached your earrings are finished! If you’ve got double piercings in one ear you can wear these together for a fun layered look.

This next set of earrings uses drilled shells to add some summer flair to simple drop earrings. note: contains affiliate links
You will need the following tools and materials to make your shell drop earrings:
1: Pliers. You will need your round nose pliers and flat nose pliers to make these earrings.
2: Two head pins.
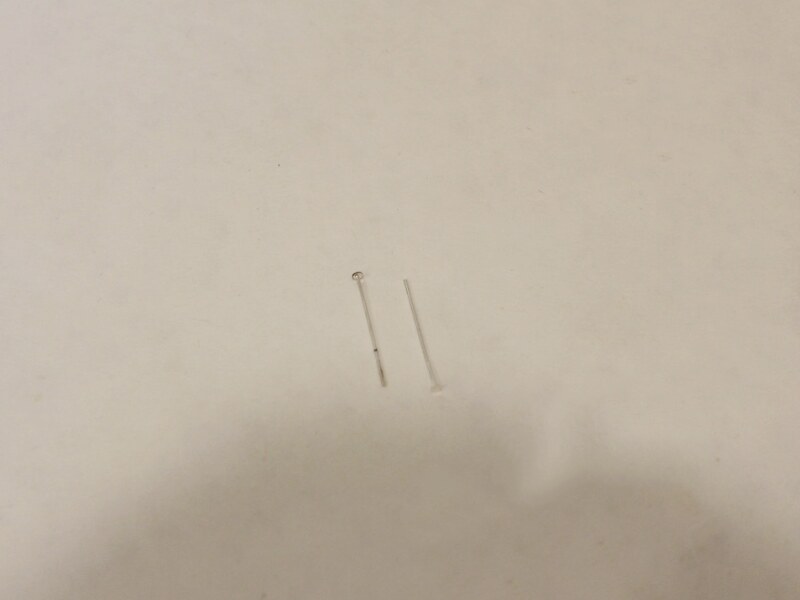
3: Two earring hooks.
4: Two drilled shells. I used these shells that came in a mixed bag of beads.

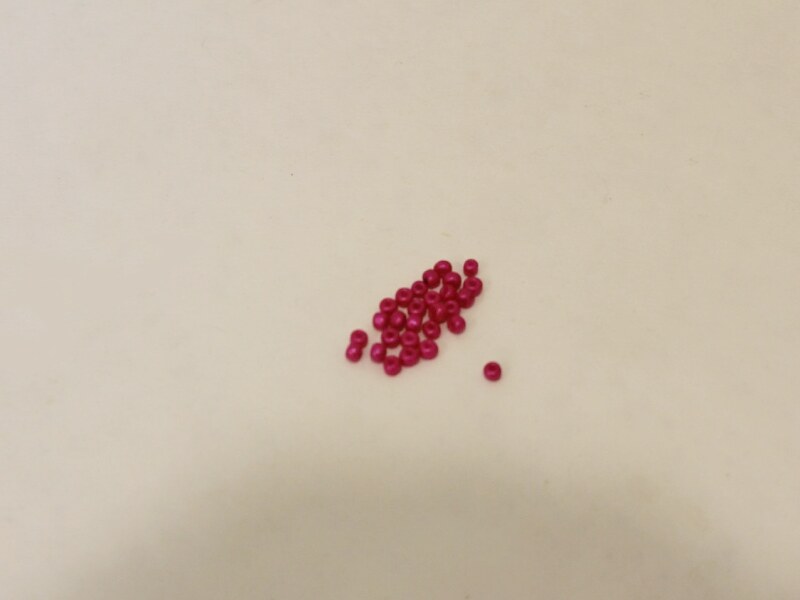
5: Beads of your choice. I used these pink e-beads and natural colored wooden beads.
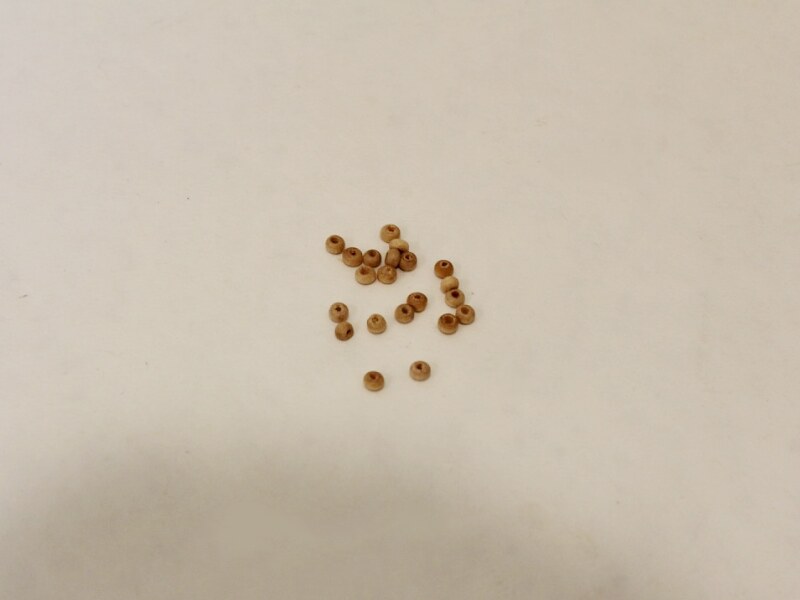
Follow these steps to make your shell drop earrings:
1: Add three beads to each of the pins in your chosen pattern.
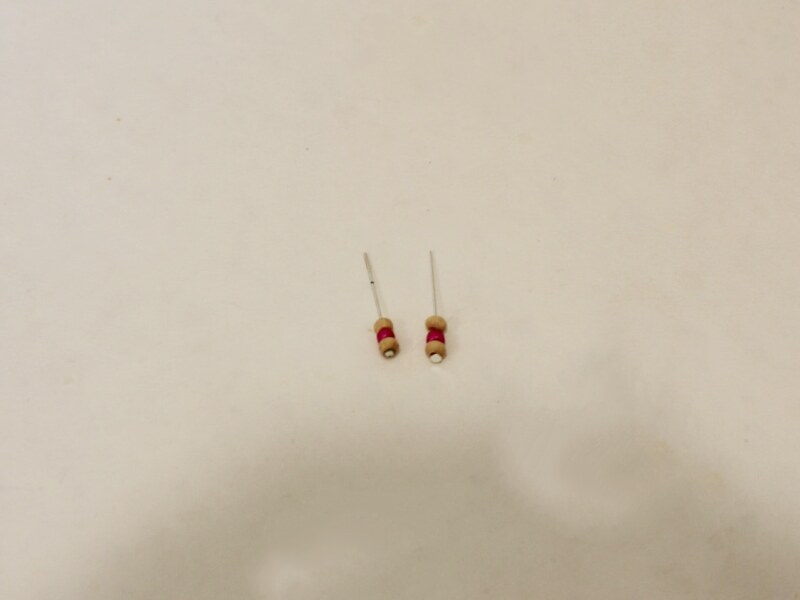
2: Add a shell to each pin.

3: Add another four beads in your chosen pattern to the pins on top of the beads.

4: Bend each pin at a right angle to the beaded section using the round nose pliers.
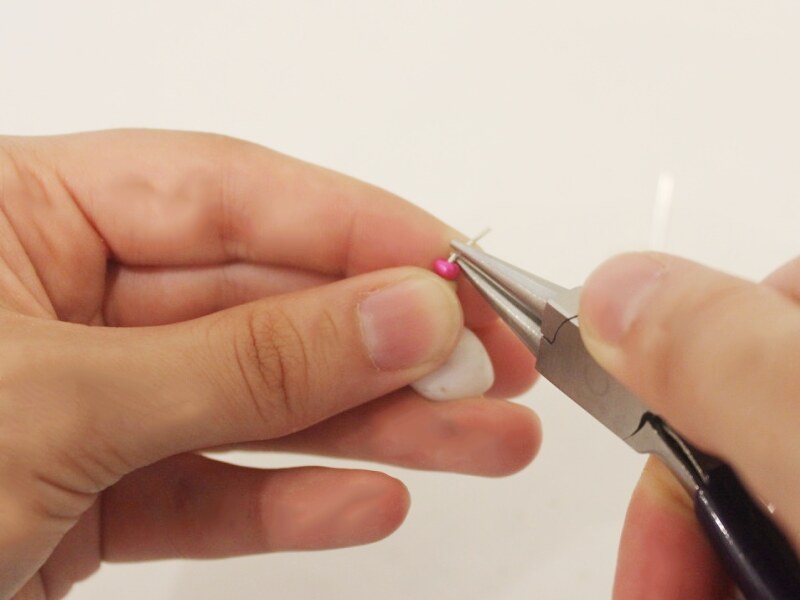
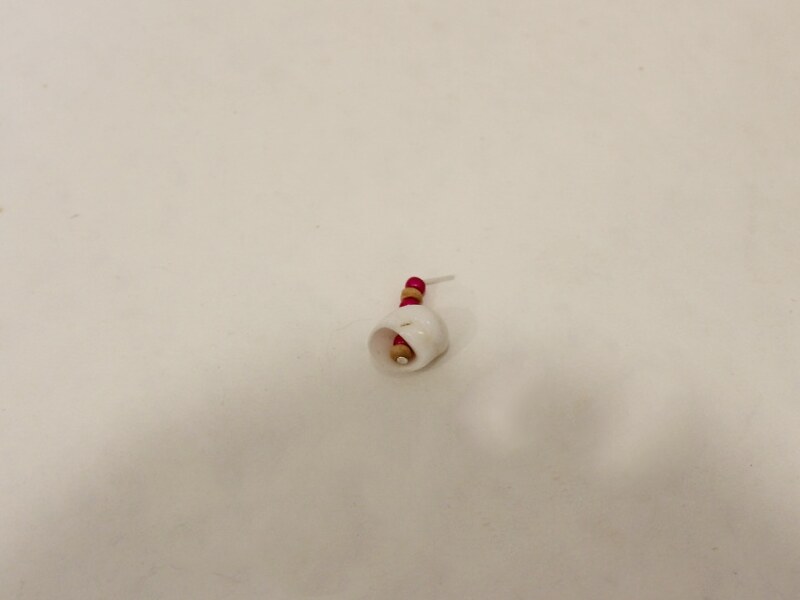
5: Create a loop at the top of each pin using the round nose pliers to secure the beads in place.
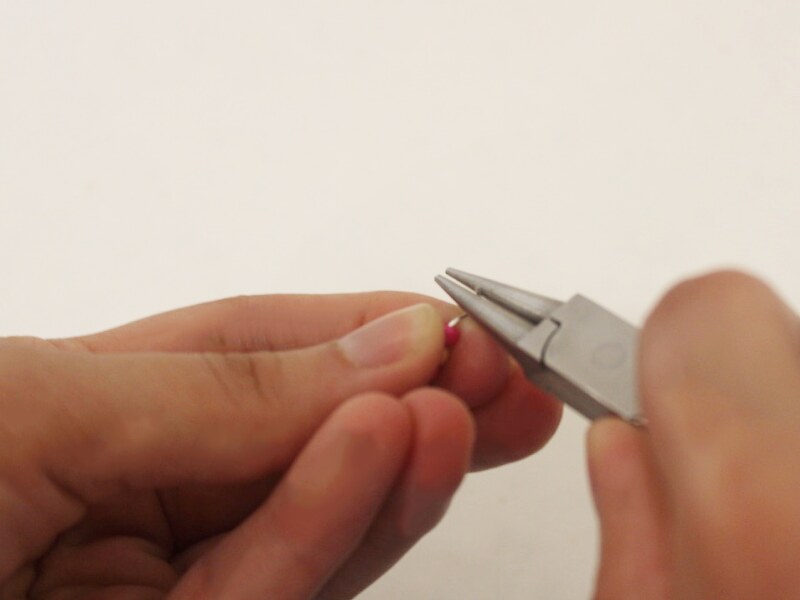
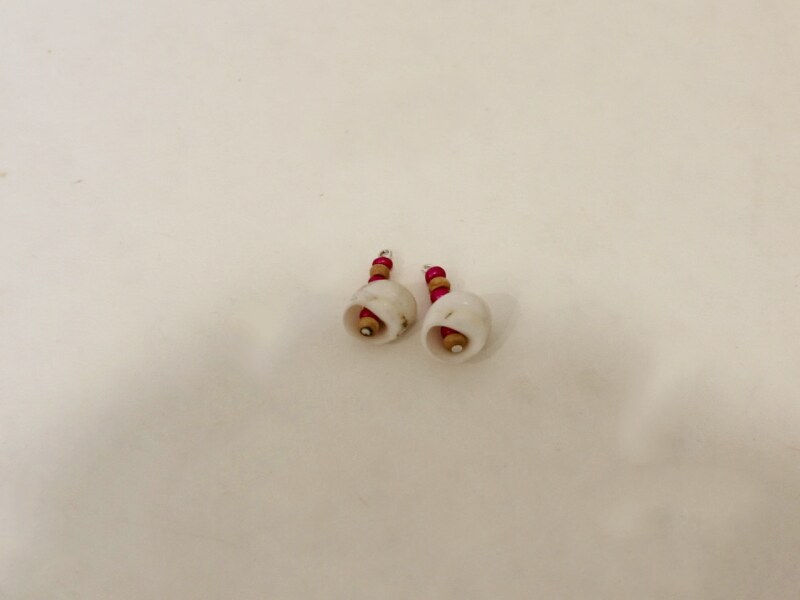
6: Add an earring hook to the top loop of each head pin. Once your earring hooks are secured in place your earrings are finished and ready to wear!

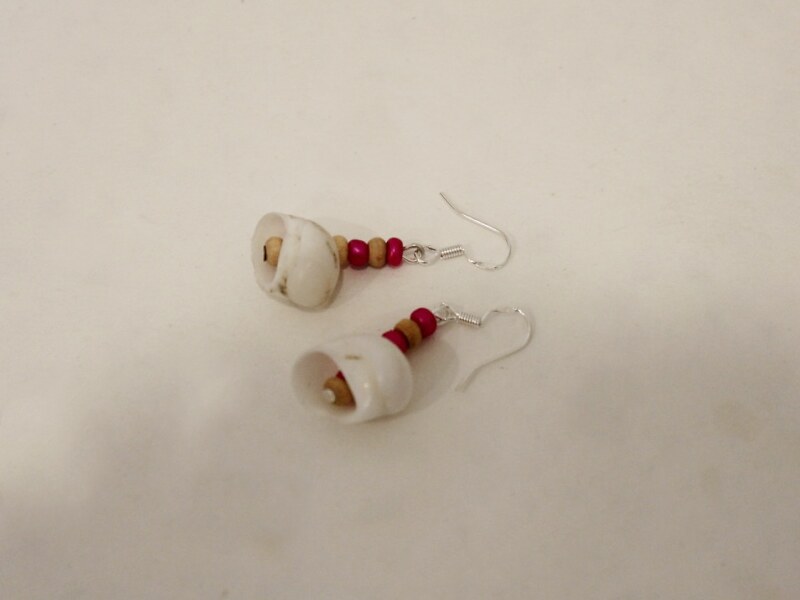
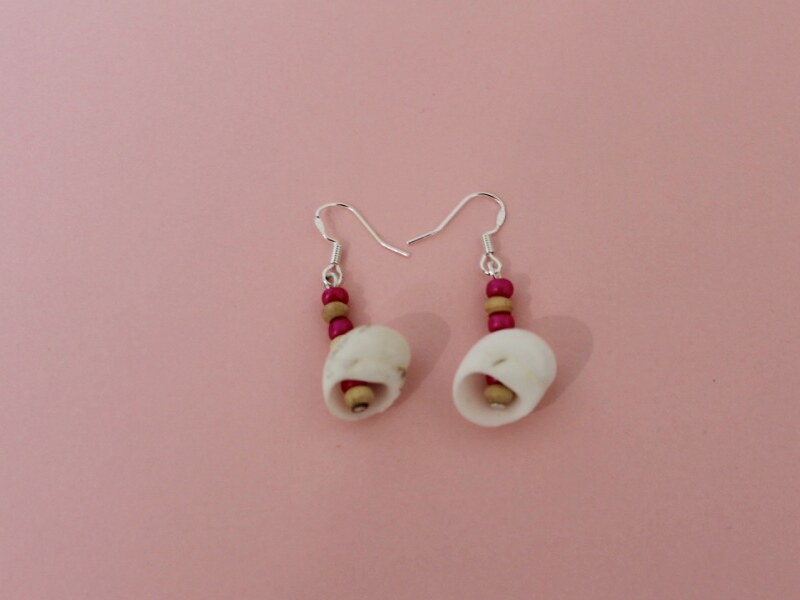
-
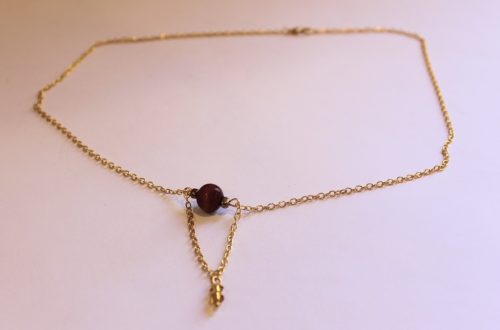
Use Special Charms and Some Awesome beads to make this stunning necklace.

This pendant necklace is so cute! Use a pre-made pendant, or make your own, and surround it with some pretty accent beads to make a lovely little necklace!
You will need the following tools and materials to make this necklace:
1: Pliers. You will need your cutting pliers, round nose pliers and flat nose pliers to make this necklace.

2: A piece of chain long enough to fit around your neck. You can make your chain longer or shorter depending on where you want your necklace to sit.

3: Two eye pins.

4: Two smaller jump rings.

5: One medium sized jump ring.

6: A lobster clasp.

7: A pendant or charm. I used this bent wire charm that used to be an earring.

8: Extra beads. I used two silver colored metal beads. You can use any beads that you think will complement your chosen pendant or charm.

Follow these steps to make your necklace:
1: Split the piece of chain in half, you will have two equal length pieces of chain.

2: Add each of the accent beads to each of the eye pins.

3: Bend each eye pin at a right angle to the beaded section using the round nose pliers.


4: Trim each pin if required, the angled part of the pin should be approximately 1cm in length.


5: Create a loop at the top of the pin using the round nose pliers to secure the beads onto the pins.


6: Add the beaded pins to one end of each chain.


7: Attach the other ends of each beaded pin to the larger jump ring and slide the charm on in the middle of the two chains.

8: Close the jump ring to secure the chains and charm together.

9: Add a smaller jump ring to the other end of one of the chains and add the lobster clasp to the same jump ring. close the jump ring to secure the clasp in place.


10: Add the other jump ring to the other side of the necklace, close it to secure it in place.

Now your necklace is finished! How simple but beautiful is this design?


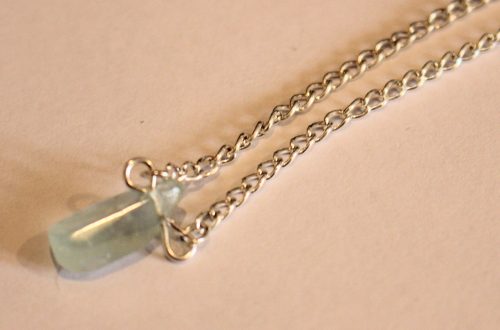
Here’s another accent bead necklace made using a resin charm.

-
Here’s how to use those double hole beads to make some earrings.

Recently we posted this tutorial that showed you how to use a double hole bead to make a necklace… if you loved that design you might want to make these matching earrings!
You will need the following tools and materials to make these earrings:
1: Pliers. You will need your flat nose pliers and round nose pliers to make these earrings.
2: Four small head pins.

3: Two double hole beads.

4: Two pieces of chain. I used pieces that were approximately 12cm long (4.7 inches).

5: Two earring hooks.

Follow these steps to make your earrings:
1: Add the head pins to each of the bead holes.

2: Curl the tops of each pin using the round nose pliers.


3: Attach one end of the chain to one of the head pins.


4: Attach the other side of the chain to the other head pin loop on the same bead.

5: Repeat steps 3 and 4 for the other bead. Each bead will have a chain loop attached to them.

6: Add the earring hook to each of the chains. I attached my earring hook around the chain so it could move freely but you could also attach the hook through a chain link so that it sits in place.

Once your earring hooks are in place your earrings are finished and ready to wear!

-
This fringe pendant necklace is so bright and fun! Make one as a fun christmas present!

Here’s all the steps you need to follow to make an awesome fringe pendant! Contains affiliate links.
You will need the following tools and materials to make your fringe pendant necklace:
1: Pliers. You will need your cutting pliers, flat nose pliers and round nose pliers to make this necklace.
2: One long eye pin.

3: Seven head pins that decrease in length, this will give your pendant a triangle shape.

4: A piece of chain that is at the length you would like your necklace to be.

5: A lobster clasp.

6: Two jump rings.

7: Beads of your choice. I used seven opalite beads and some orange and yellow glass beads.


Follow these steps to make your fringe pendant necklace:
1: Add an opalite bead to each of the head pins.


2: Add the orange beads to each of the head pins leaving approximately 1cm exposed.

3: Bend each pin at a right angle to the beads using the round nose pliers.

4: Create a loop at the top of each pin using the round nose pliers to secure the beads in place.


5: Add a yellow bead to the eye pin, followed by a beaded pin. Continue adding beads and pins in this pattern until you have added all the pins to the eye pin.

6: Bend the eye pin to a right angle using the round nose pliers.

7: Trim the pin using the cutting pliers.

8: Create a loop at the end of the eye pin to secure the beads and head pins in place.


9: Attach each end of the chain to each side of the eye pin.


10: Split the chain in the middle.

11: Attach a jump ring and the lobster clasp to one side of the newly opened necklace chain.

12: Attach a jump ring to the other side of the chain to finish off your necklace.


Once the final jump ring is in place your fringe pendant necklace is finished and ready to wear!

Here’s another necklace where the pins decline in the opposite direction.

-
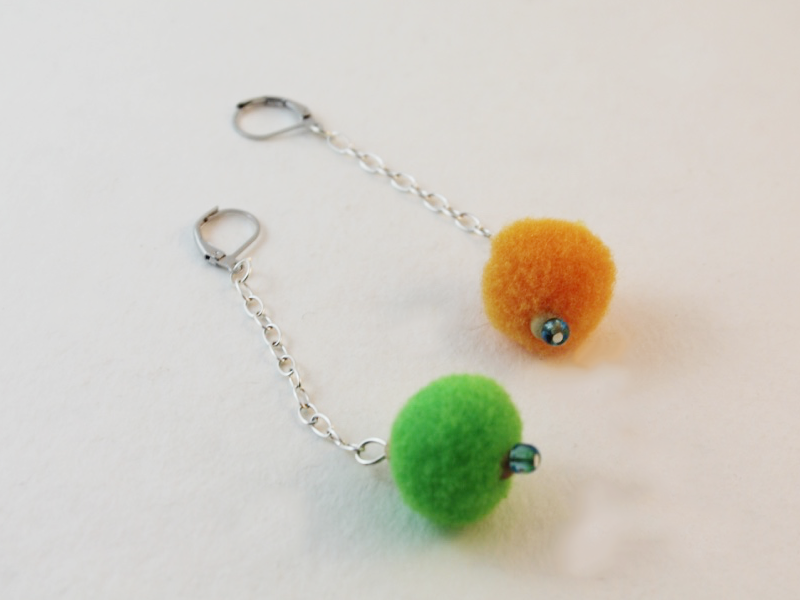
Rhinestone earrings with furry pom pom ear jackets are the coolest earrings You’ve Ever Seen!
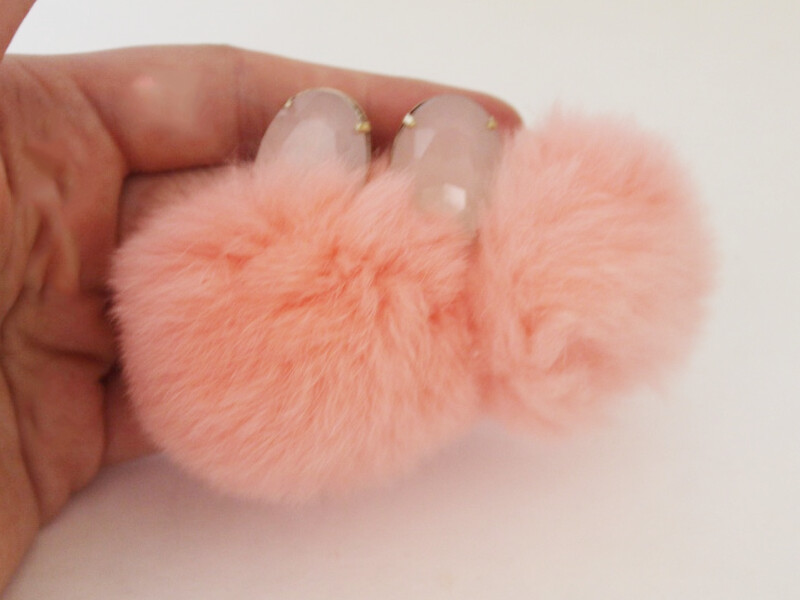
These earrings are so fun and cool! Make some just in time for the festive season.
You will need the following tools and materials to make your earrings:
1: Araldite Glue

2: Scrap paper

3: Skewer

4: Flat bed earring posts

5: Two butterfly earring backs

6: Two jump rings.

7: Two rhinestones. I used these pink and gold rhinestones.

8: Two faux fur pom poms. I used these pink ones.

9: Pliers. You will need your flat nose and round nose pliers.
Follow these steps to make your earrings:
1: Squeeze the Araldite out in equal parts onto the scrap paper.


2: Mix the glue with a skewer.

3: Add the glue to each of the earrings and place them carefully onto the backs of each rhinestone.


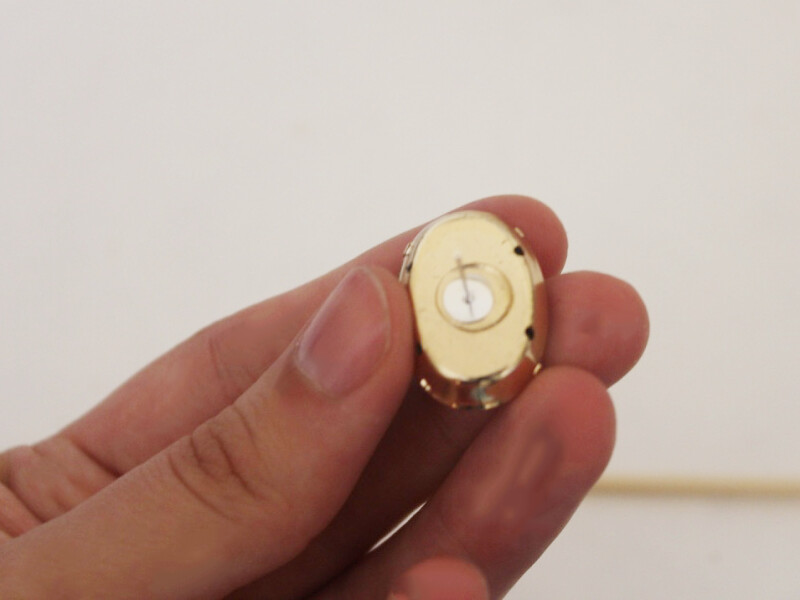
4: Set aside the rhinestones to dry.

5: Attach a jump ring to the loop at the top of the pom pom and slide the butterfly back onto the open jump ring.

6: Close the jump ring to secure the pom pom to the earring back.

7: Repeat steps 5 and 6 for the remaining pom pom and earring back.
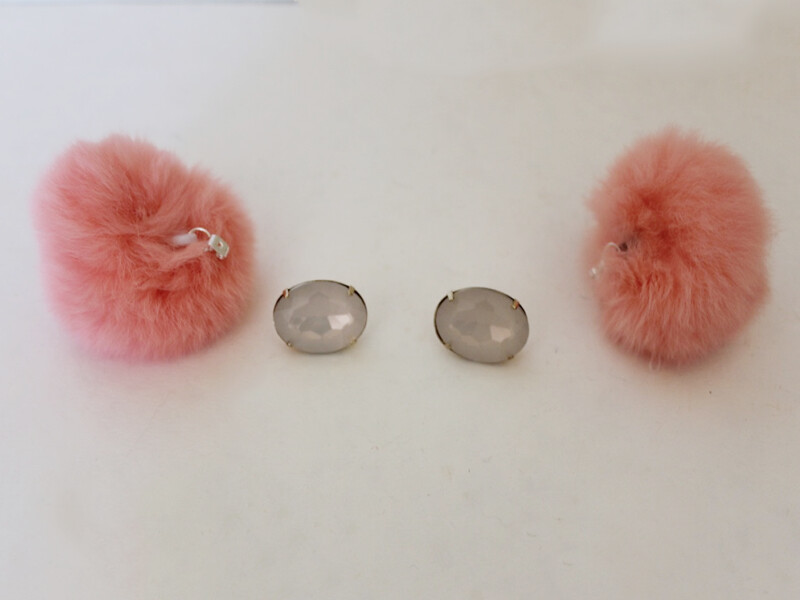
Once your earrings are dry they’re ready to wear! How fun are these?

-
The double hole bead is back! This bracelet is delicate and adorable.

The double hole bead strikes again! Make a bracelet to match your necklace using a double hole bead and some delicate chain.
You will need the following tools and materials to make your bracelet:
1: Pliers. You will need your round nose pliers, flat nose pliers and cutting pliers to make this bracelet.
2: Two small eye pins.

3: Two pieces of chain that fit comfortably around your wrist (maybe a bit on the tight side).

4: Two jump rings.

5: A toggle clasp.

6: A bead of your choice that has two holes. I used this blue glass bead.

Follow these steps to make your bracelet:
1: Add one of the pins to one of the holes in the bead.

2: Bend the pin at a right angle to the bead using the round nose pliers.

3: Loop the pin to secure it on the bead using the round nose pliers.

4: Repeat steps 1-3 for the second pin.

5: Add a piece of chain onto one of the pin loops.


6: Add the other side of the chain to the corresponding pin end on the other side of the bead.

7: Repeat steps 5-6 for the second piece of chain.

8: Split both chains in the middle opposite the bead charm.

9: Use a jump ring to attach two parallel chains together and add one part of the toggle clasp. Close the jump ring to secure the clasp component in place.


10: Repeat step 9 for the other side of the bracelet, securing the remaining clasp component in place.


Now your bracelet is finished! How cute is it?!

-
Update your worn out costume jewelry with this cool trick!
Do you have some cruddy old earrings lying around? Why not give them a quick makeover with some nail polish? This tutorial shows you how you can quickly and cheaply update your old costume jewelry.
You will need the following tools and materials for your earring makeover:
1: A pair of earrings that you want to update. I used these simple ball studs.

2: Nail polish. I used this dark metallic nail polish from Topshop.

3: A piece of blutack or something similar. This will help keep your earrings upright while you paint them.

Follow these steps to complete your earring makeover:
1: Place your earrings in the blutack so that they stand upright.

2: Paint the earrings with the nail polish brush, make sure that you get good coverage but try not to paint it on too thick.

3: leave the earrings to dry for a while.

4: Add as many layers as you like to get coverage that you are happy with. I did 2 coats.
Once your earrings are completely dry they are ready to wear. How easy was that? And you can paint your nails to match!
Here’s another pair I updated using some glitter polish.

-
It’s hard to beat rhinestones when it comes to party earrings! Make these beauties today!
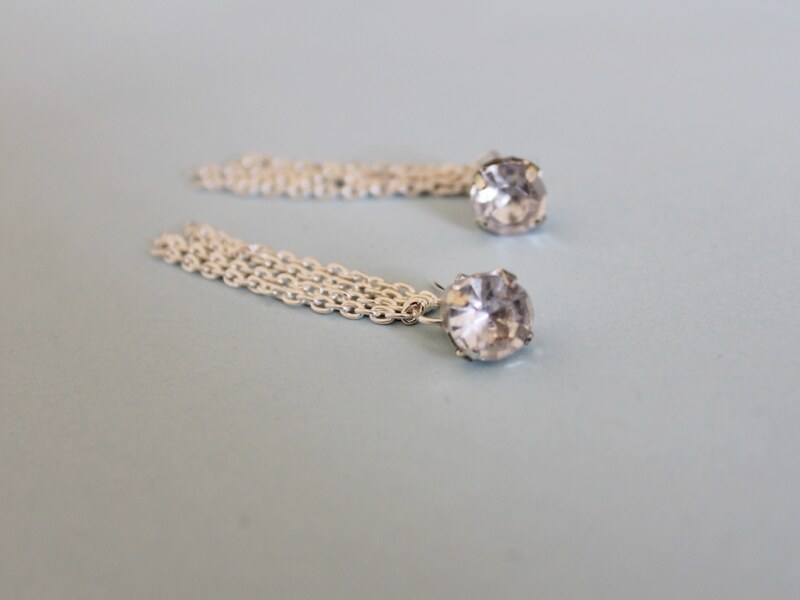
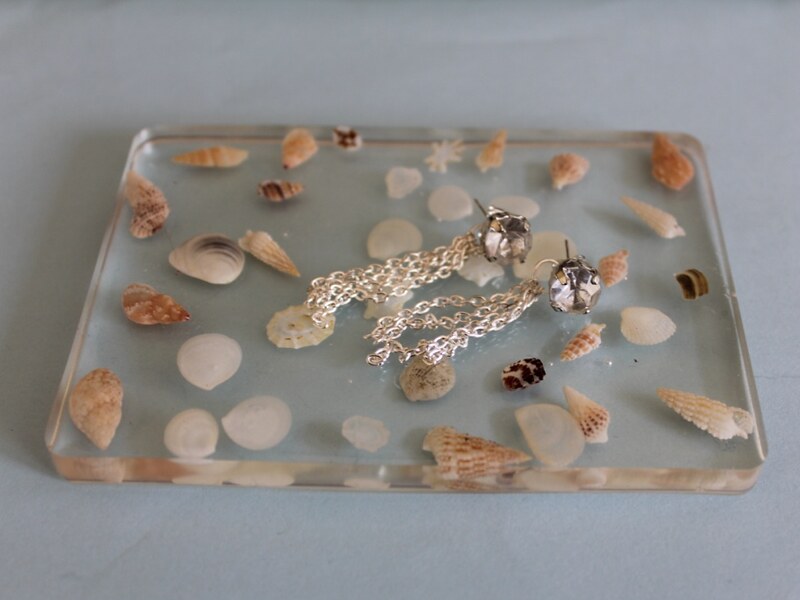
These rhinestone earrings with fun flirty chain ear jackets are super fun to wear on a night out!
You will need the following tools and materials to make your earrings:
1: Pliers. You will need your round nose and flat nose pliers.
2: Araldite glue.
3: A skewer.
4: A scrap piece of paper.
5: Two rhinestones.

6: Two flat bed earring posts.
7: Two butterfly earring backs.

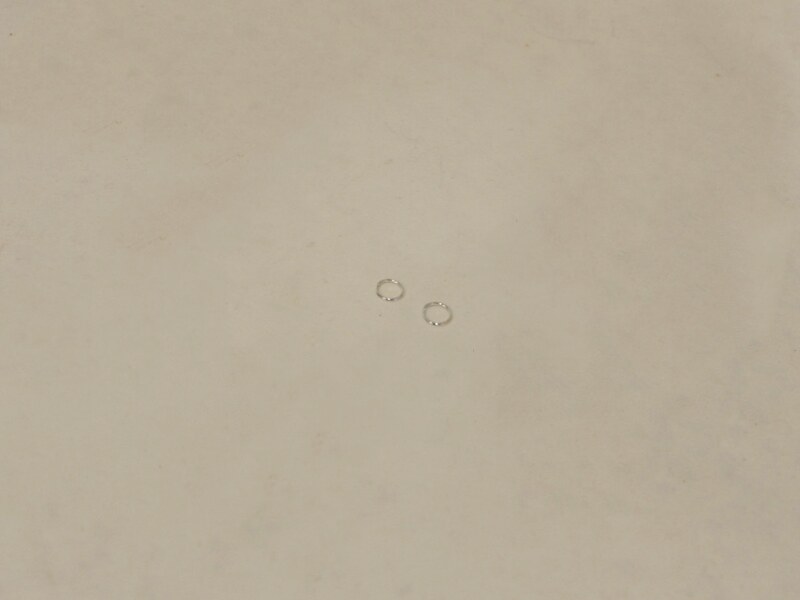
8: Two jump rings.
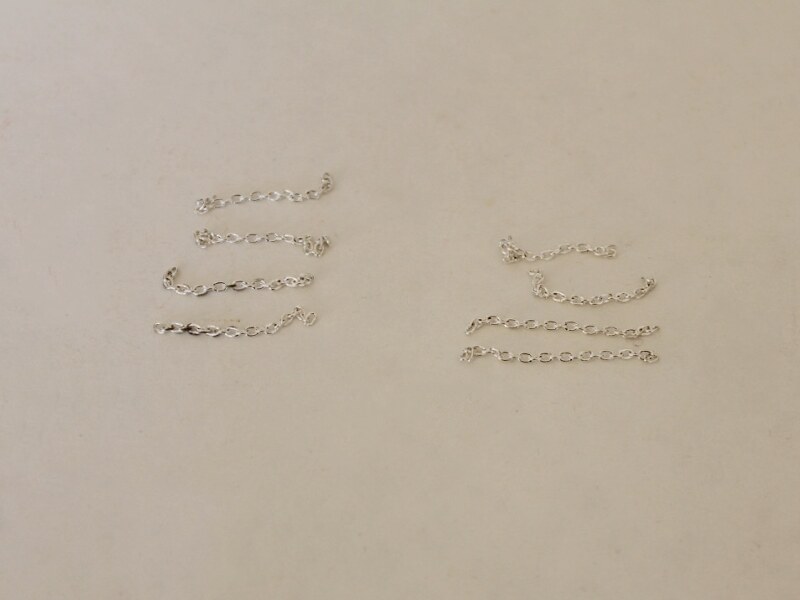
9: Eight small pieces of chain.
Follow these steps to make your earrings:
1: Squeeze out the Araldite glue onto the scrap paper in equal parts.
2: Mix the glue using the skewer.
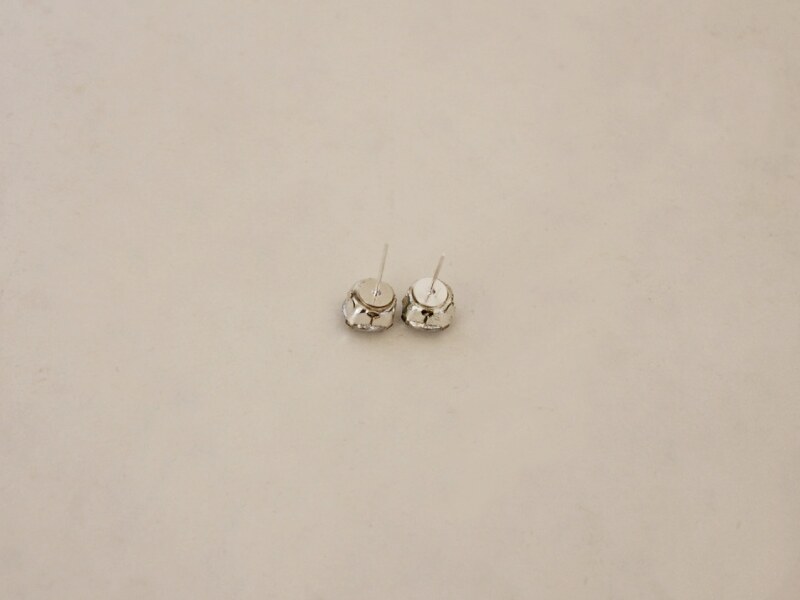
3: Add the glue to the backs of each of the rhinestones and apply the earring posts.
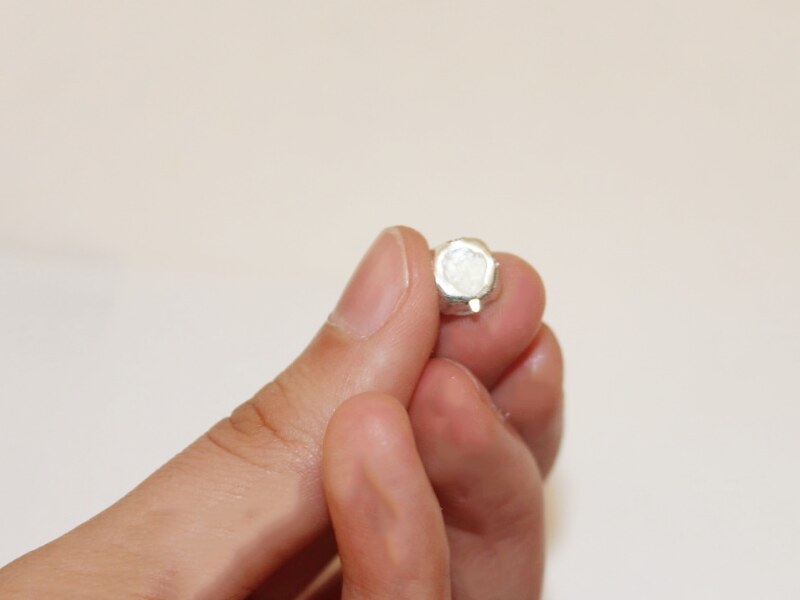

4: Leave the earrings to dry while you make the ear jackets.
5: Open one of the jump rings and add four pieces of chain.
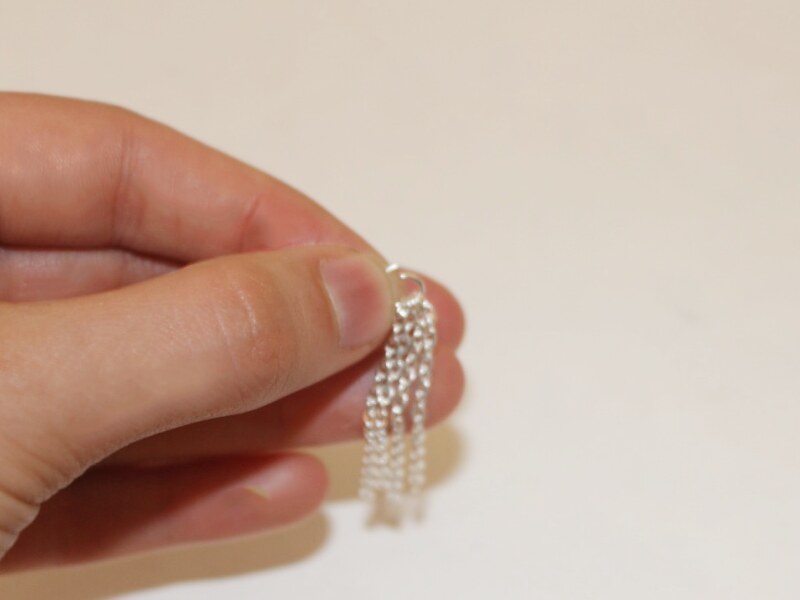
6: Slide the open jump ring onto the butterfly earring back and close it to secure the chains in place.

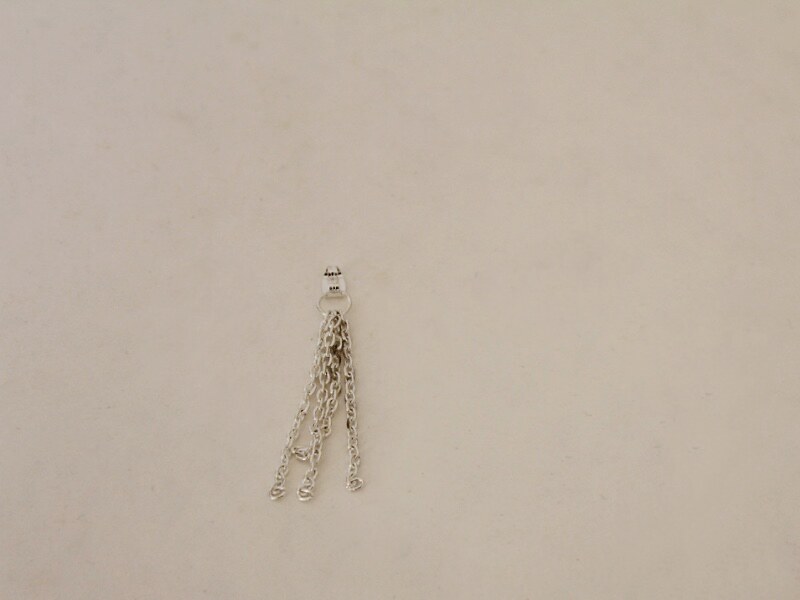
7: Repeat steps 5 and 6 for the remaining jump ring and last four chains.
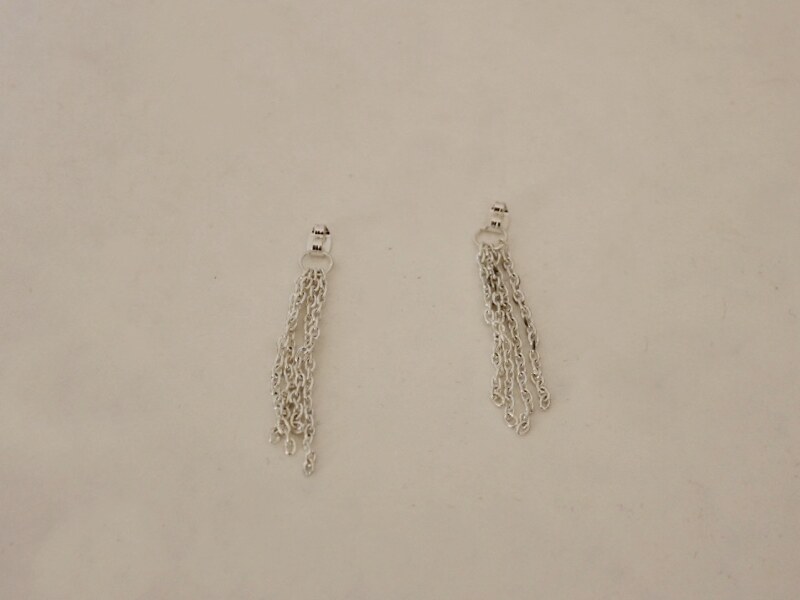
Once your earrings are dry, add the butterfly backs to each of them to complete the look! Pop them on for a fun and flirty evening look.
-
Two holes are better than one! How to use a double-hole bead in your jewelry making.

Do you have any double-holed beads lying around and don’t know what to do with them? This simple and pretty necklace is made using a cute double-hole bead, some head pins and a shiny silver chain!
You will need the following tools and materials to make this necklace:
1: Pliers. You will need your round nose pliers and flat nose pliers to make this necklace.
2: Two small head pins.

3: Two small jump rings.

4: Two larger jump rings.

5: A piece of chain long enough to fit around your neck.

6: A lobster clasp.
7: A bead with two holes. I used this blue flower bead.

Follow these steps to make your necklace:
1: Add a head pin to each hole of the bead.

2: Use the round nose pliers to loop the top of each pin and secure them in place.


3: Attach one end of the chain to one of the pins using a small jump ring.


4: Attach the other side of the chain to the other pin using the other small jump ring.


5: Once the chain is attached to the bead charm you need to split it in the middle so that the clasp can be attached. Do this by opening or cutting one of the chain links.

6: Add one of the larger jump rings to one side of the new chain opening.

7: Attach the lobster clasp to this jump ring and close it to secure it in place.

8: Add the remaining jump ring to the other side of the chain opening and close it to finish your necklace.

Once the clasp is in place your necklace is finished and ready to wear!


-
You Should Make These Adorable Beaded Chain Loop Earrings!

These earrings are super cute! Use some delicate chain and high impact beads to make some special earrings.
You will need the following tools and materials to make these earrings:
1: Pliers. You will need your flat nose pliers and round nose pliers to make these earrings.
2: Two pieces of chain.

3: Two small jump rings.

4: Two earring hooks.
5: Beads of your choice. I used these resin circle beads and a couple of white plastic beads with holes large enough to thread the chain through.


Follow these steps to make your beaded chain loop earrings:
1: Add one of each bead to both chains.


2: Add a small jump ring to one end of the chain.

3: Loop the other end of the chain around and attach it to the same open jump ring.

4: Close the jump ring to secure the ends in place.
5: Repeat steps 2 to 4 for the other chain.

6: Add an earring hook to each of the looped chains, attaching the hooks to the closed jump rings.

Once the hooks are in place your earrings are finished!!! How cute!