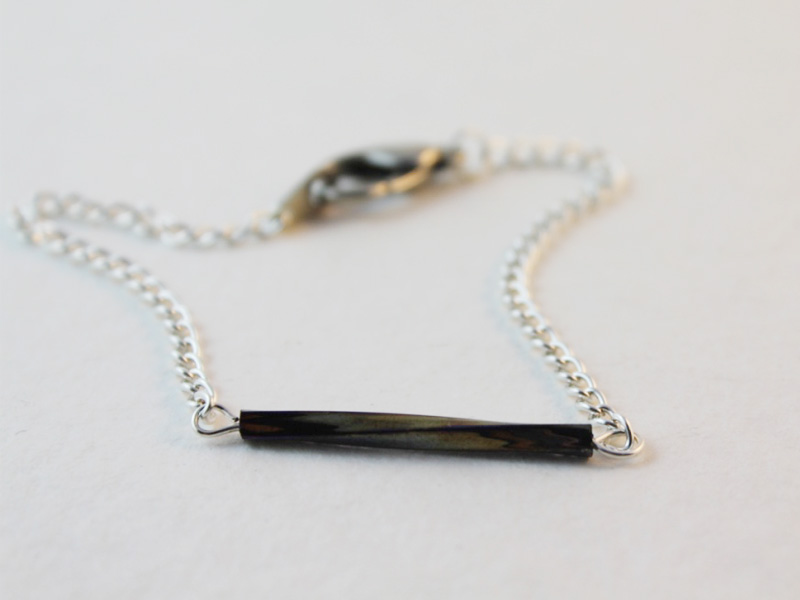
How to Make a Chain Bracelet… with a twist!
This chain bracelet features a pretty beaded bar charm. This DIY bracelet really couldn’t be any more simple to make, all you need is some chain, a clasp, an eye pin, a jump ring and your choice of beads! All you need to do now is follow these simple instructions and you’ll be well on your way to having some brand spanking new arm candy.
You will need the following tools and materials to make this bracelet:
1. Pliers
to make this bracelet you will need to use some round nose pliers, cutting pliers and flat nose pliers.

2. One eye pin.

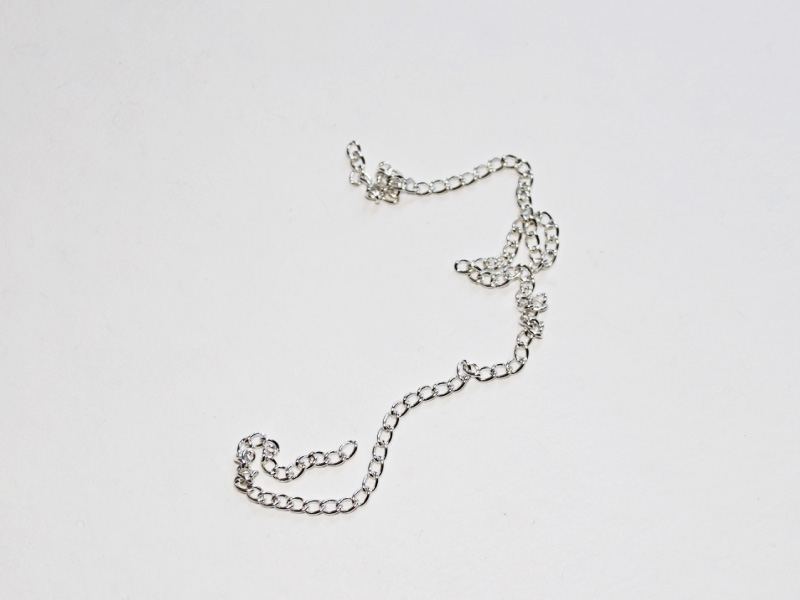
3. Jewelry Chain.
4. One lobster clasp.

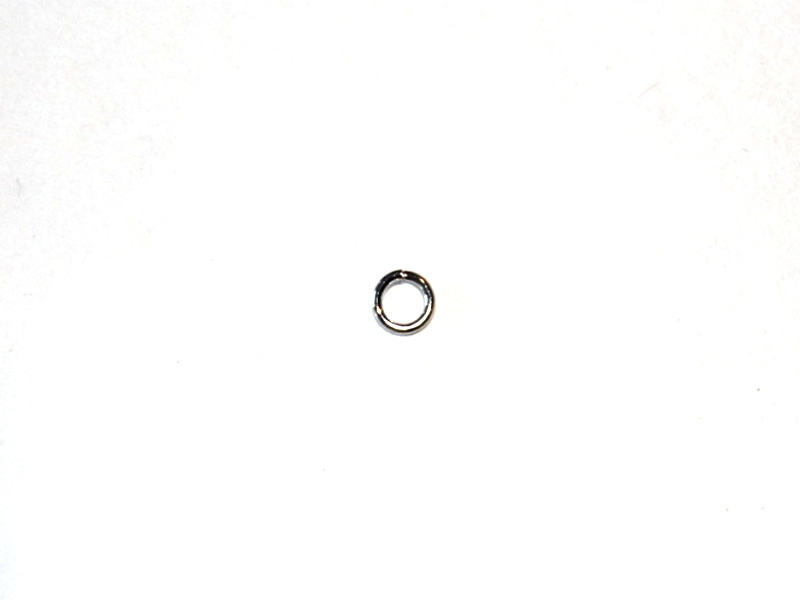
5. One jump ring.
6. Beads of your choice.
For this bracelet I used this long glass tube bead.

The Steps:
1. Thread your chosen beads onto the eye pin.
2. Use the round nose pliers to bend the pin at a right angle to the beads.


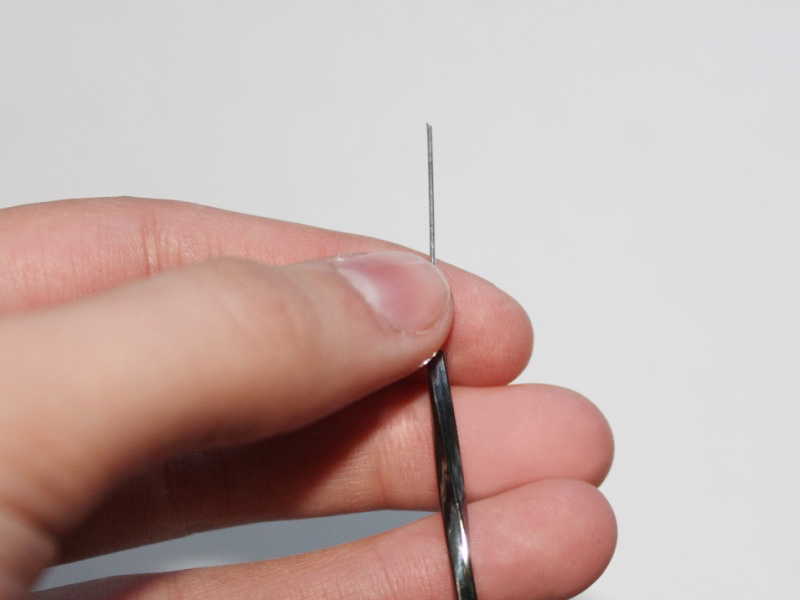
3. trim the pin approximately 1 cm (0.4 inches) from the end of your beads. Make sure you hold both sides of the pin so that it doesn’t go flying!

4. Use the round nose pliers to make a loop at the end of the pin.
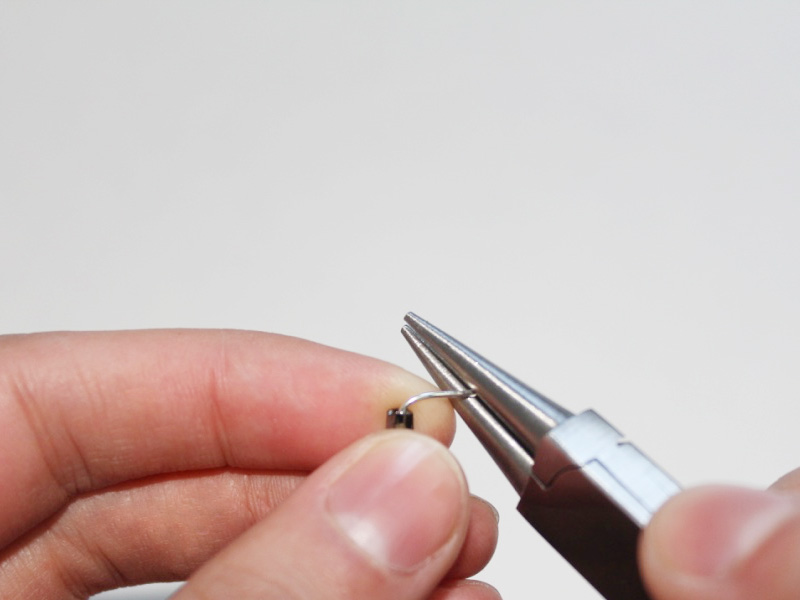
5. Open the loop again slightly using the round nose pliers and slip on one end of your chain.

6. Now you’ll have to split your chain so that you can add the clasp to the middle. Do this by measuring out the length you want (you can take a rough measurement by holding the beaded pin at the top of your wrist and then wrapping the chain around to the underside of your wrist) and then use your round nose or flat nose pliers to open one link and separate the chain.

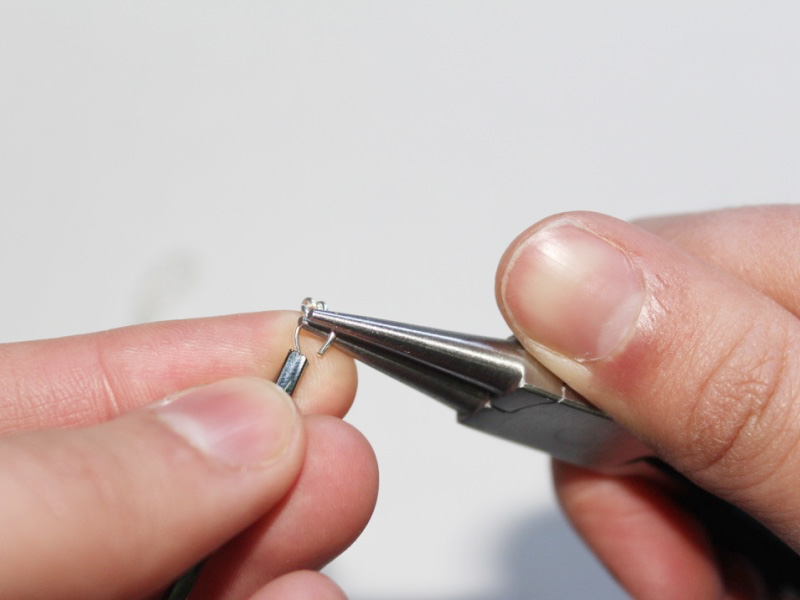
7. Repeat step 5 for the other end of the eye pin. Now you will have chain attached to both ends of the eye pin.
8. Use your pliers to open a chain link at one end of the bracelet, then slip on the clasp tag and close the link to secure the tag.
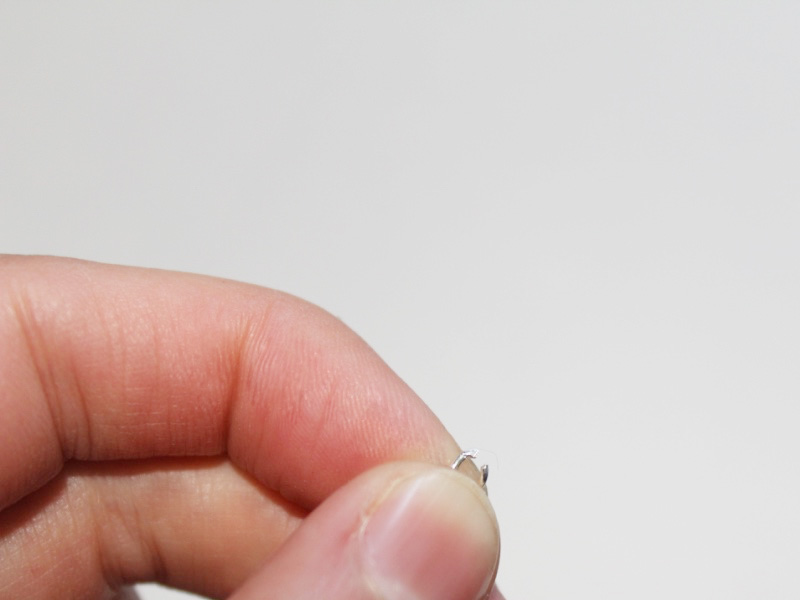

9. Attach an open jump ring to the other end of the bracelet. Keeping the jump ring open, slide on your lobster clasp. Once the clasp is in place, close the jump ring using your pliers.


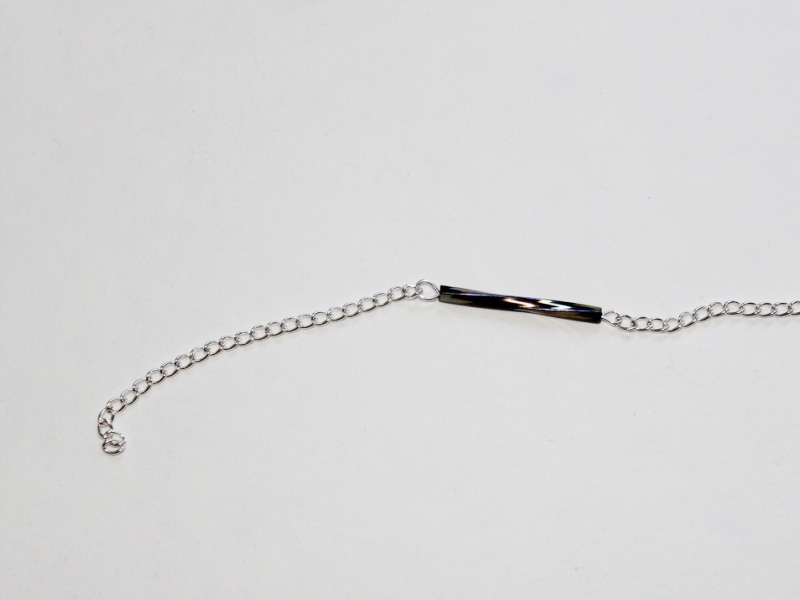
10. Once the jump ring is closed your bracelet is complete. Now all that is left is sit back and admire it… and maybe wear it as well!

DIY Jewelry Hub
Welcome to DIY Jewelry Hub. If you’ve ever wanted to learn how to make your own jewelry this is the place to start! Jewelry is a great way to show off your individuality and style. You’ll be surprised at how easy it is to create your own unique pieces! DIY Jewelry Hub will equip you with all the knowledge and inspiration you need to make your own jewelry.


You May Also Like

Here’s how to turn those shopping bag cords into cool wrap bracelets!

Do You Have Some Mismatched Buttons Lying Around? Why Not Make These Button Bracelets?