
How to Make (my favorite) Beaded Charm Bracelet
Do you want to learn how to make a bracelet? Look no further, DIY Jewelry Hub has got all the details on how to make a stunning beaded charm bracelet.
This charm bracelet design is easy to make, but it sure doesn’t scrimp on style! Using glass e beads and your choice of charm, you’ll want to make one in every color. This charm bracelet can be worn on its own, it’s also a great piece for layering with your other favorite pieces.
You will need the following tools and materials to make this bracelet:
1. Pliers
To make this bracelet you will need your flat nose pliers, round nose pliers and cutting pliers.

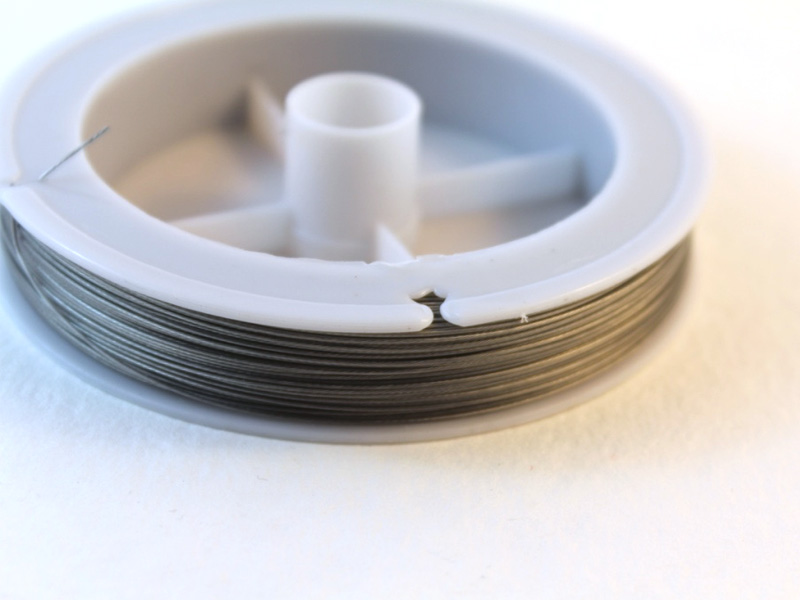
2. Tiger tail wire.
3. Two head pins.

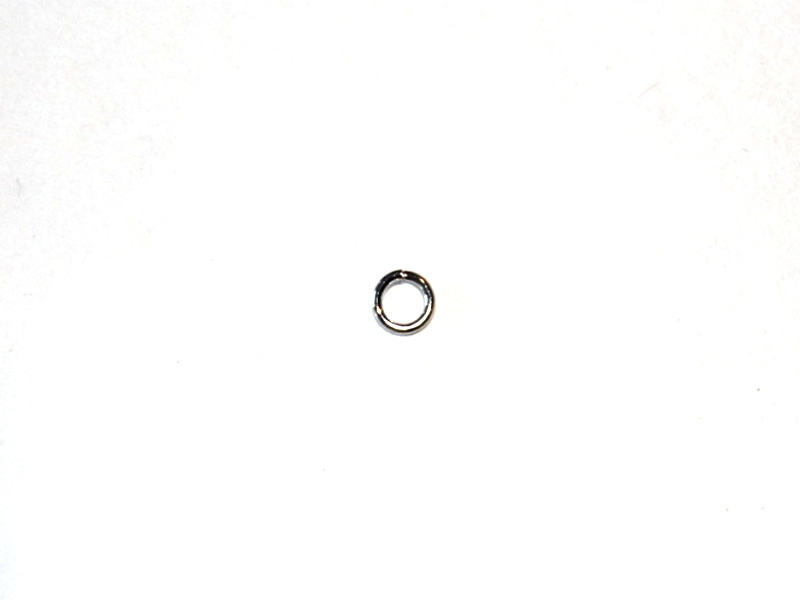
4. One jump ring.
5. A selection of e beads.
For this bracelet I used a range of green beads, but the choice is yours… go nuts! Just remember that you will need enough beads to make up the length of your bracelet).

6. Ten extra e beads
I have used two different colors as these beads will be used to make your charms.

7. A charm of your choice.

8. Four crimp beads.

9. A toggle clasp.

The Steps
1. Cut your tiger tail wire to length using your cutting pliers.
You can measure how much you need by wrapping a length loosely around your wrist (make sure you cut it a little bit longer than you think you need, you don’t want your bracelet to be too small). I cut my wire to 22cm (8.5 inches).


2. bend the end of your tiger tail wire around one end of your toggle clasp (it will stay folded).

3. Add two crimp beads to the tiger tail, make sure the crimp beads are covering both the long and short ends of the bent wire.

4. Crimp the beads using the round nose pliers.


5. Once the crimp beads have been secured you can start stringing your beads!

6. Once you’ve strung the beads to reach your desired length, add another two crimp beads and the jump ring.

7. Fold the other end of your tiger tail around the jump ring and pull it through the crimp beads and through three of the glass beads using your round nose pliers.


8. Once the tiger tail has been pulled through the beads as far as possible, use the round nose pliers to squash the crimp beads.

9. Once the crimp beads have been secured you can then trim the excess tiger tail, being sure to trim it close enough so that it sits under the beads (This will ensure that it doesn’t scratch you while you are wearing your bracelet).

10. Use your pliers to open the jump ring. This will allow you to attach the other end of the toggle clasp. Once the clasp has been placed on the jump ring it can then be closed using the pliers.


11. Now it’s time to make your charms! Take your extra e beads and add them to the head pins.


12. Once the beads have been placed on the pin it needs to be bent using the round nose pliers at a right angle to your beaded section.

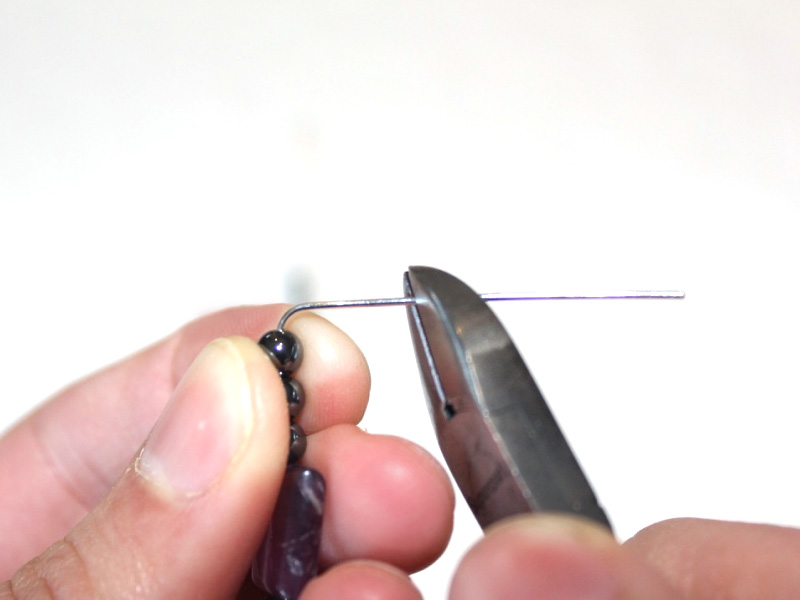
13. Once your pins are bent you can trim them using the cutting pliers. Trim the pins so that they are approximately 1cm (0.4 inches) from the beads. Repeat this step for both bead charms. Be careful when trimming your pins, it helps to hold the pin either side of the pliers to prevent the end from flying away.

14. Now your charms are ready for bending! Use your round nose pliers to bend the end of each pin into a circular shape, to do this you need to bend the pin around one of the round nose barrels in the opposite direction to the previous bend you made.


15. Once the loops have been formed you can attach your bead charms to the bracelet. Open the loop slightly so that it can be hooked around the jump ring on the bracelet. Repeat for both bead charms and again for your chosen charm. My charm had a jump ring on it that I simply opened and closed carefully using pliers to attach to my bracelet.


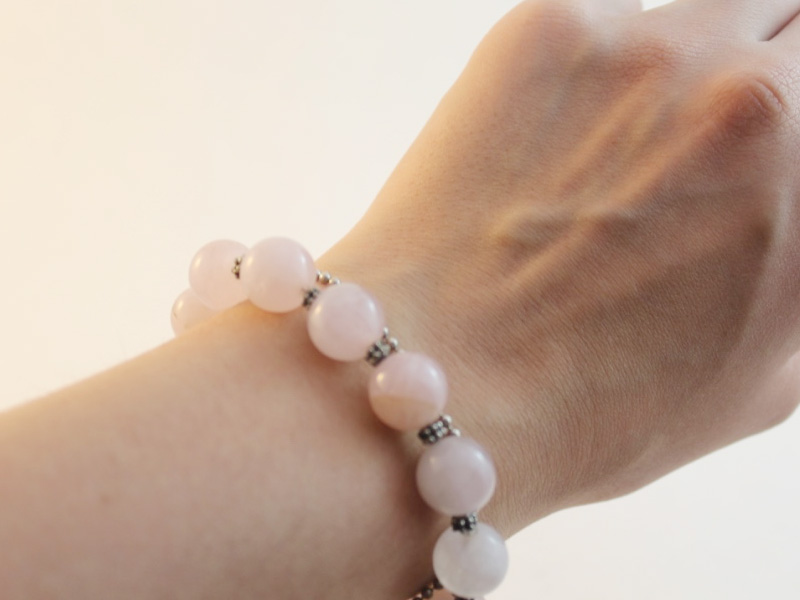
16. Once your charms have been attached your bracelet is finished and ready to pop on show off!


DIY Jewelry Hub
Welcome to DIY Jewelry Hub. If you’ve ever wanted to learn how to make your own jewelry this is the place to start! Jewelry is a great way to show off your individuality and style. You’ll be surprised at how easy it is to create your own unique pieces! DIY Jewelry Hub will equip you with all the knowledge and inspiration you need to make your own jewelry.

You May Also Like
Need Some Valentine’s Day Inspiration? Make Your Honey This Sweet Bracelet

Do You Have Some Mismatched Buttons Lying Around? Why Not Make These Button Bracelets?
