
How to make a super cute bracelet with beaded diamond shapes!
This is a cute little bracelet that looks great! the beaded diamond bracelet design uses eye pins and beads to form a series of diamond shapes that link together to create a bracelet. This diamond shaped bracelet is eye-catching and fun to put together, perfect for constructing on a quiet afternoon at home.
You’ll need these tools and materials to make your beaded diamond bracelet:
1: Pliers. I used my round nose and flat nose pliers.


2: A bunch of eye pins. I ended up using about 25 pins. You may need more or less depending on your wrist size.

3: Some small jump rings. I used four, you may need more or less depending on the size of the bracelet.
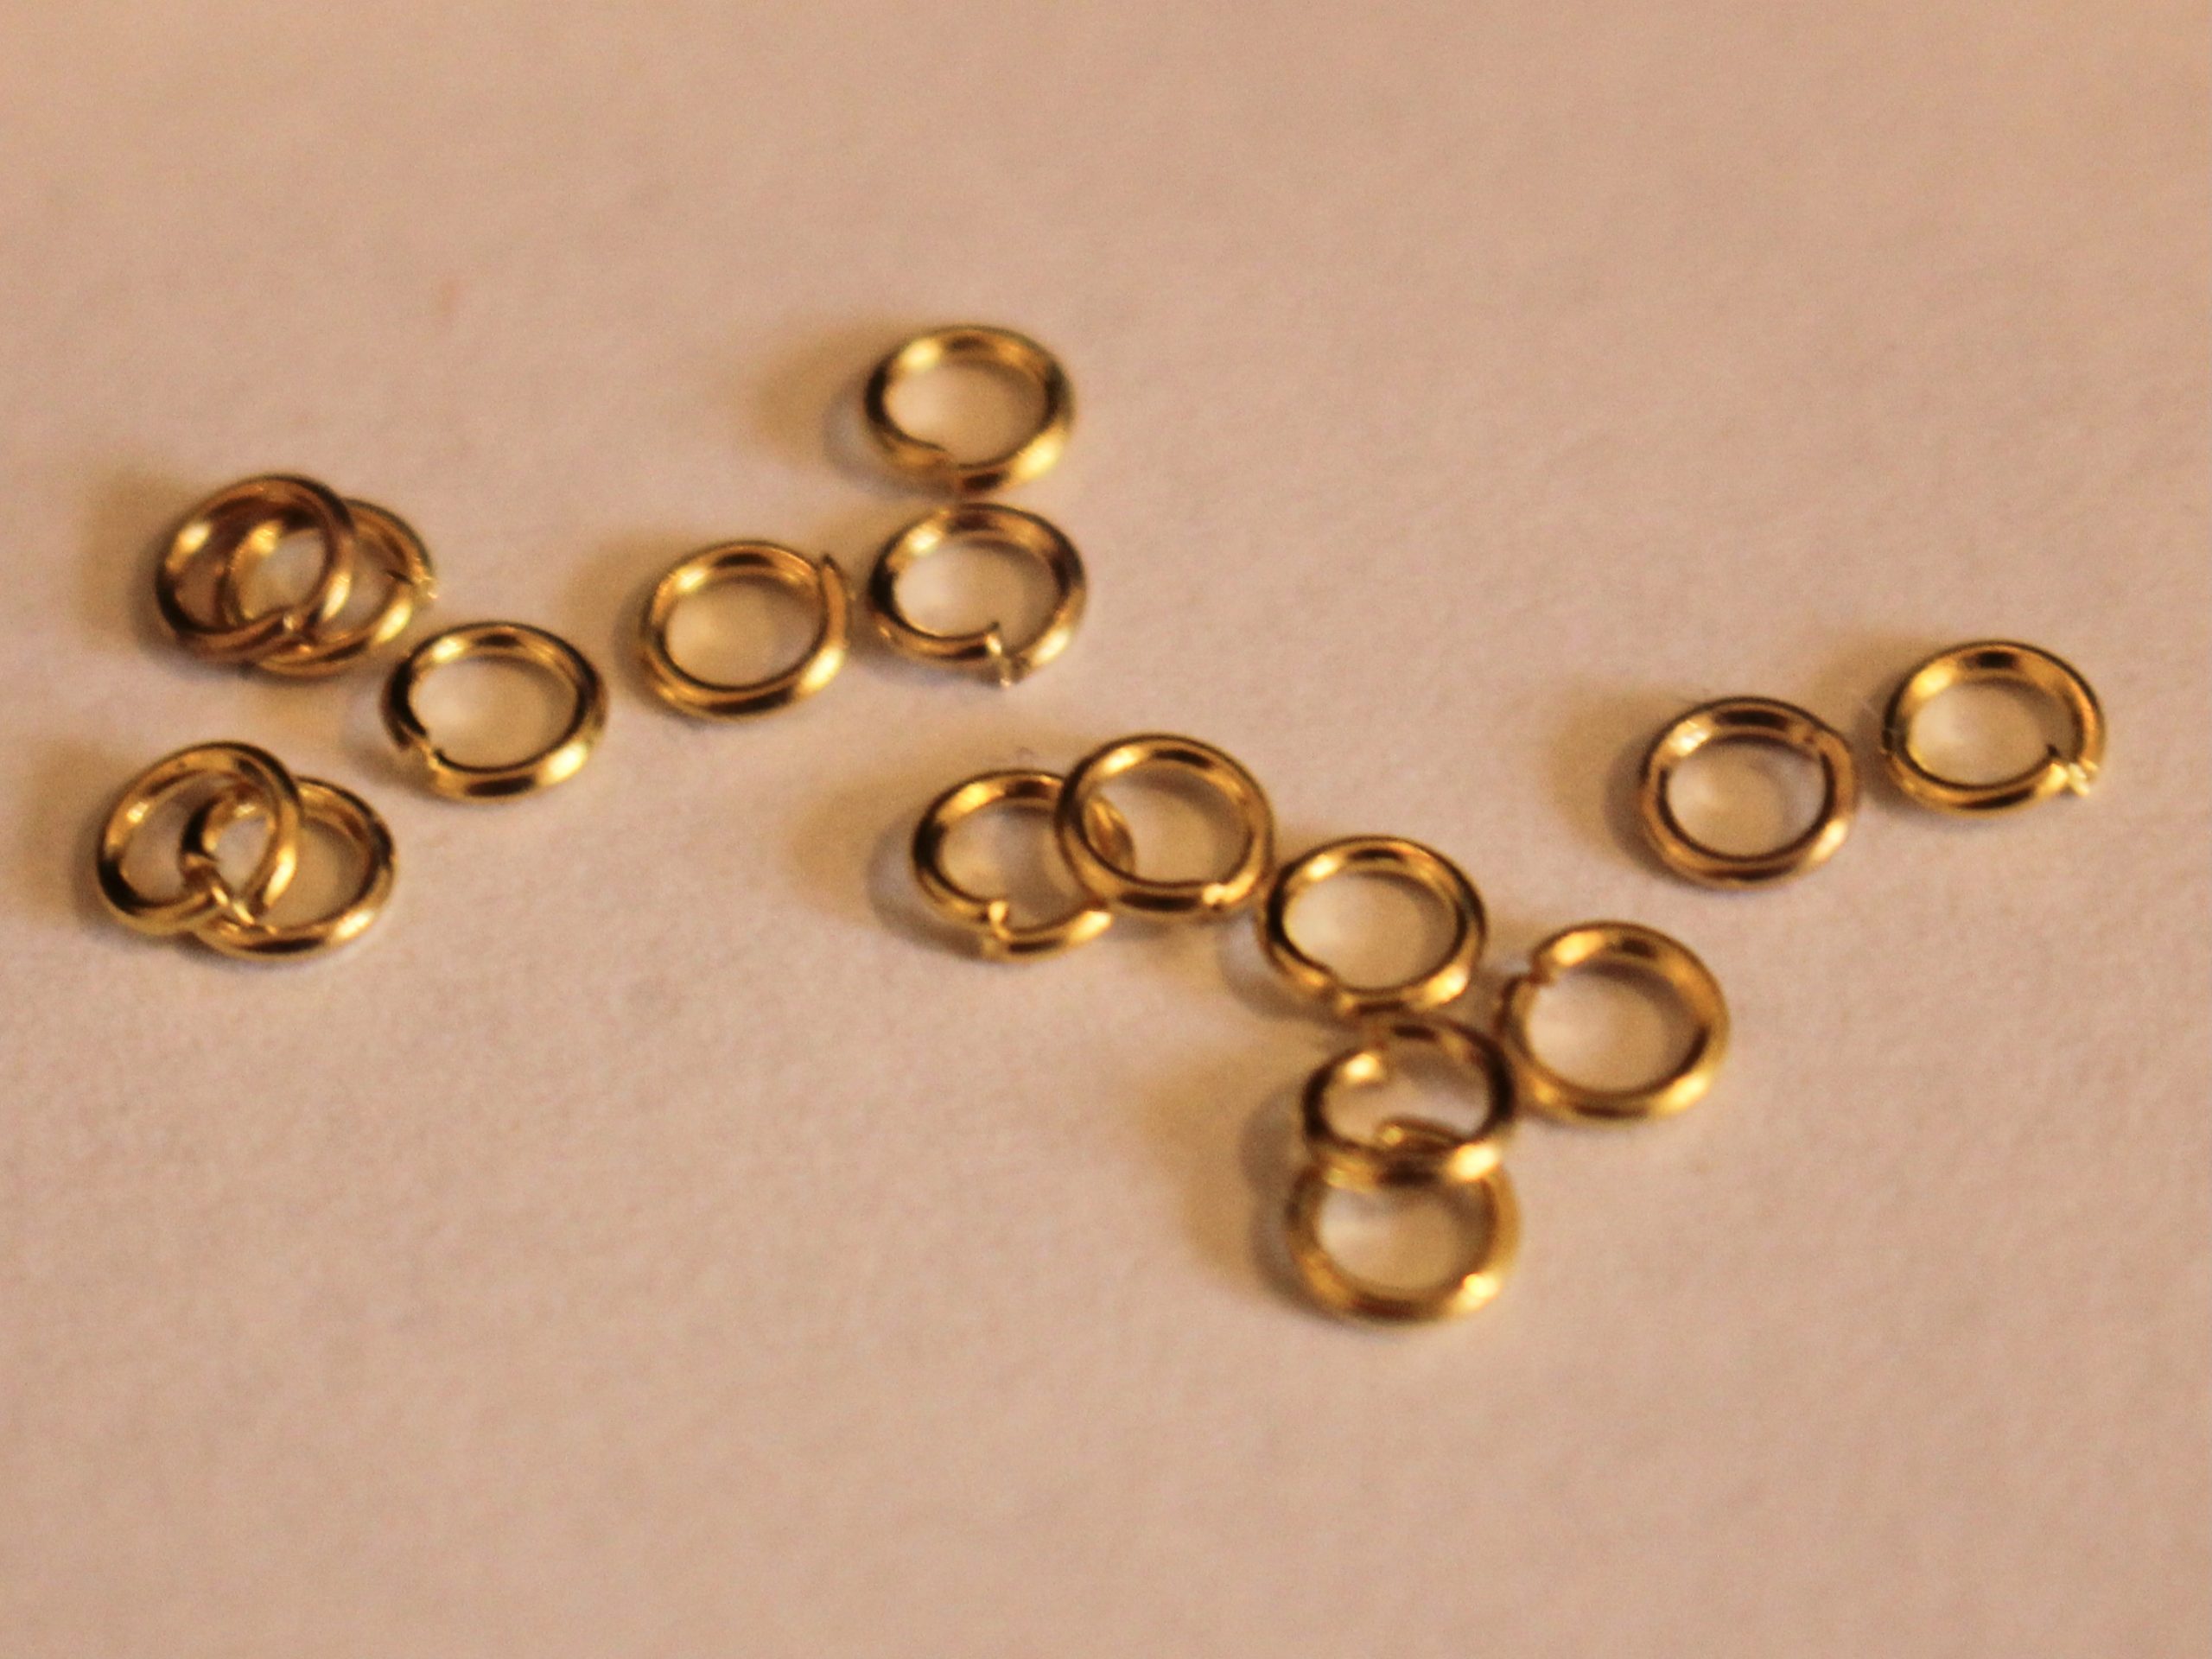
4: Two larger jump rings.

5: A toggle clasp.

6: Beads of your choice. I used these green glass e-beads.

Follow these steps to make your beaded diamond bracelet:
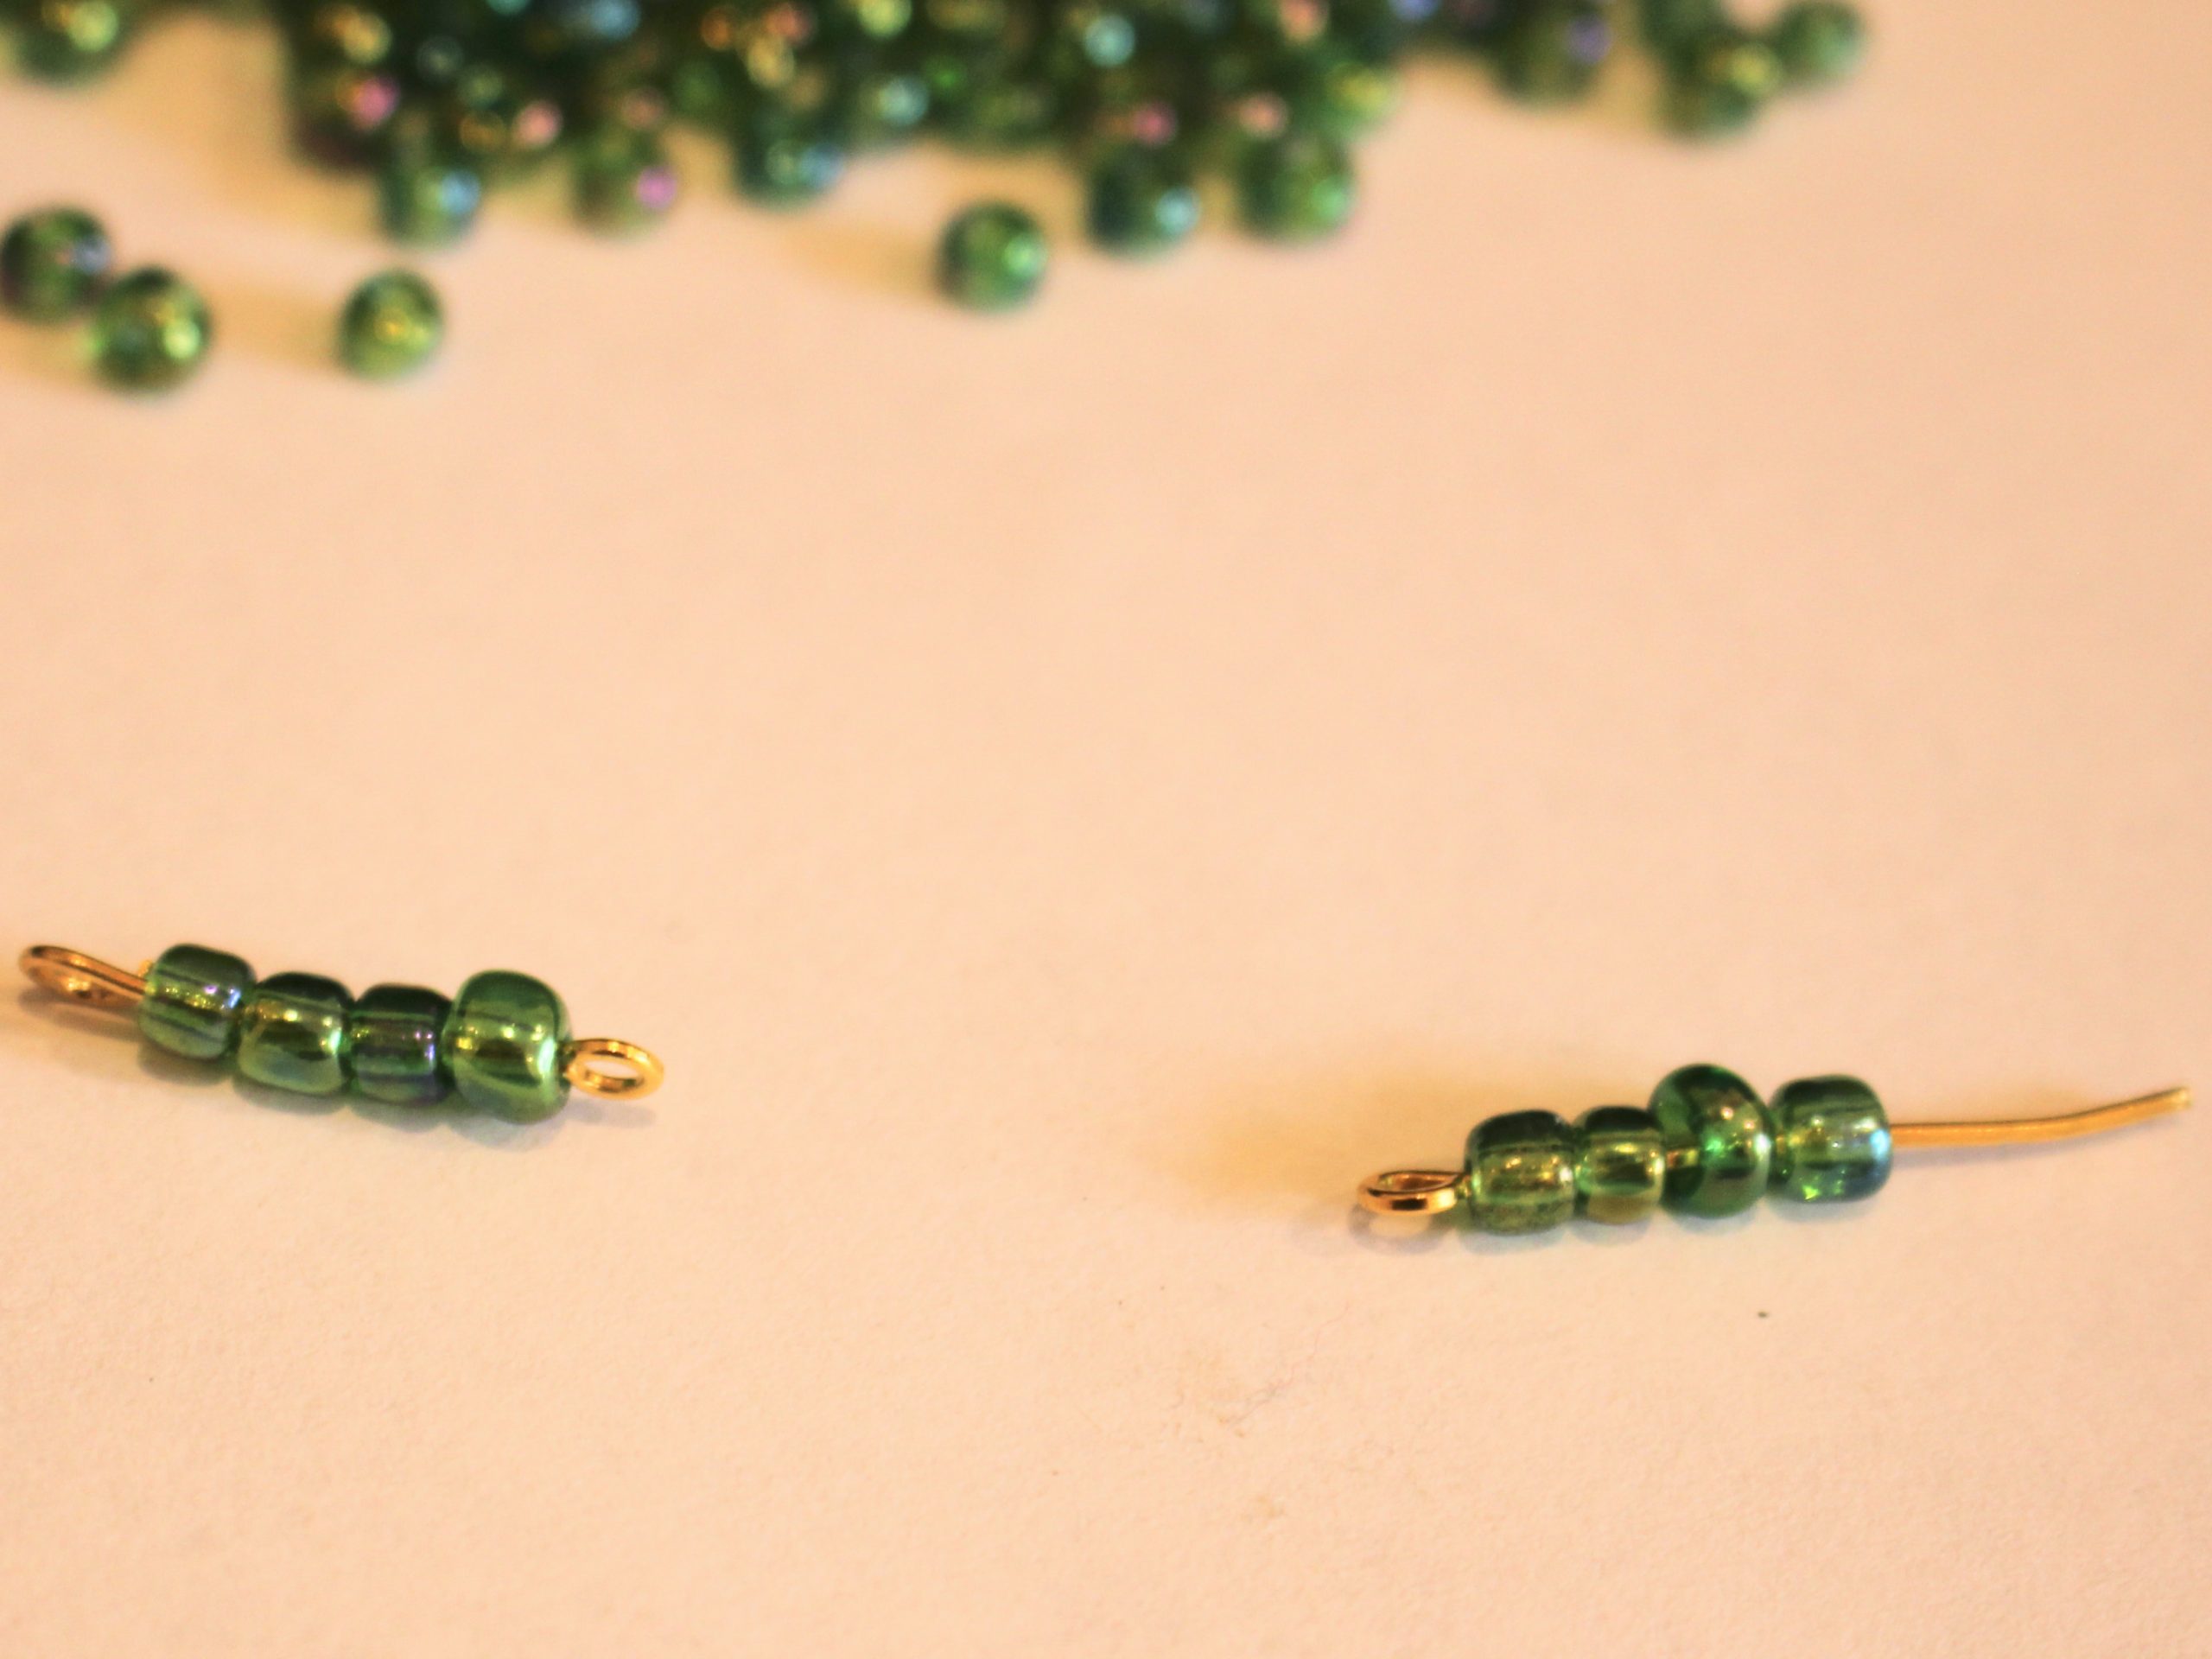
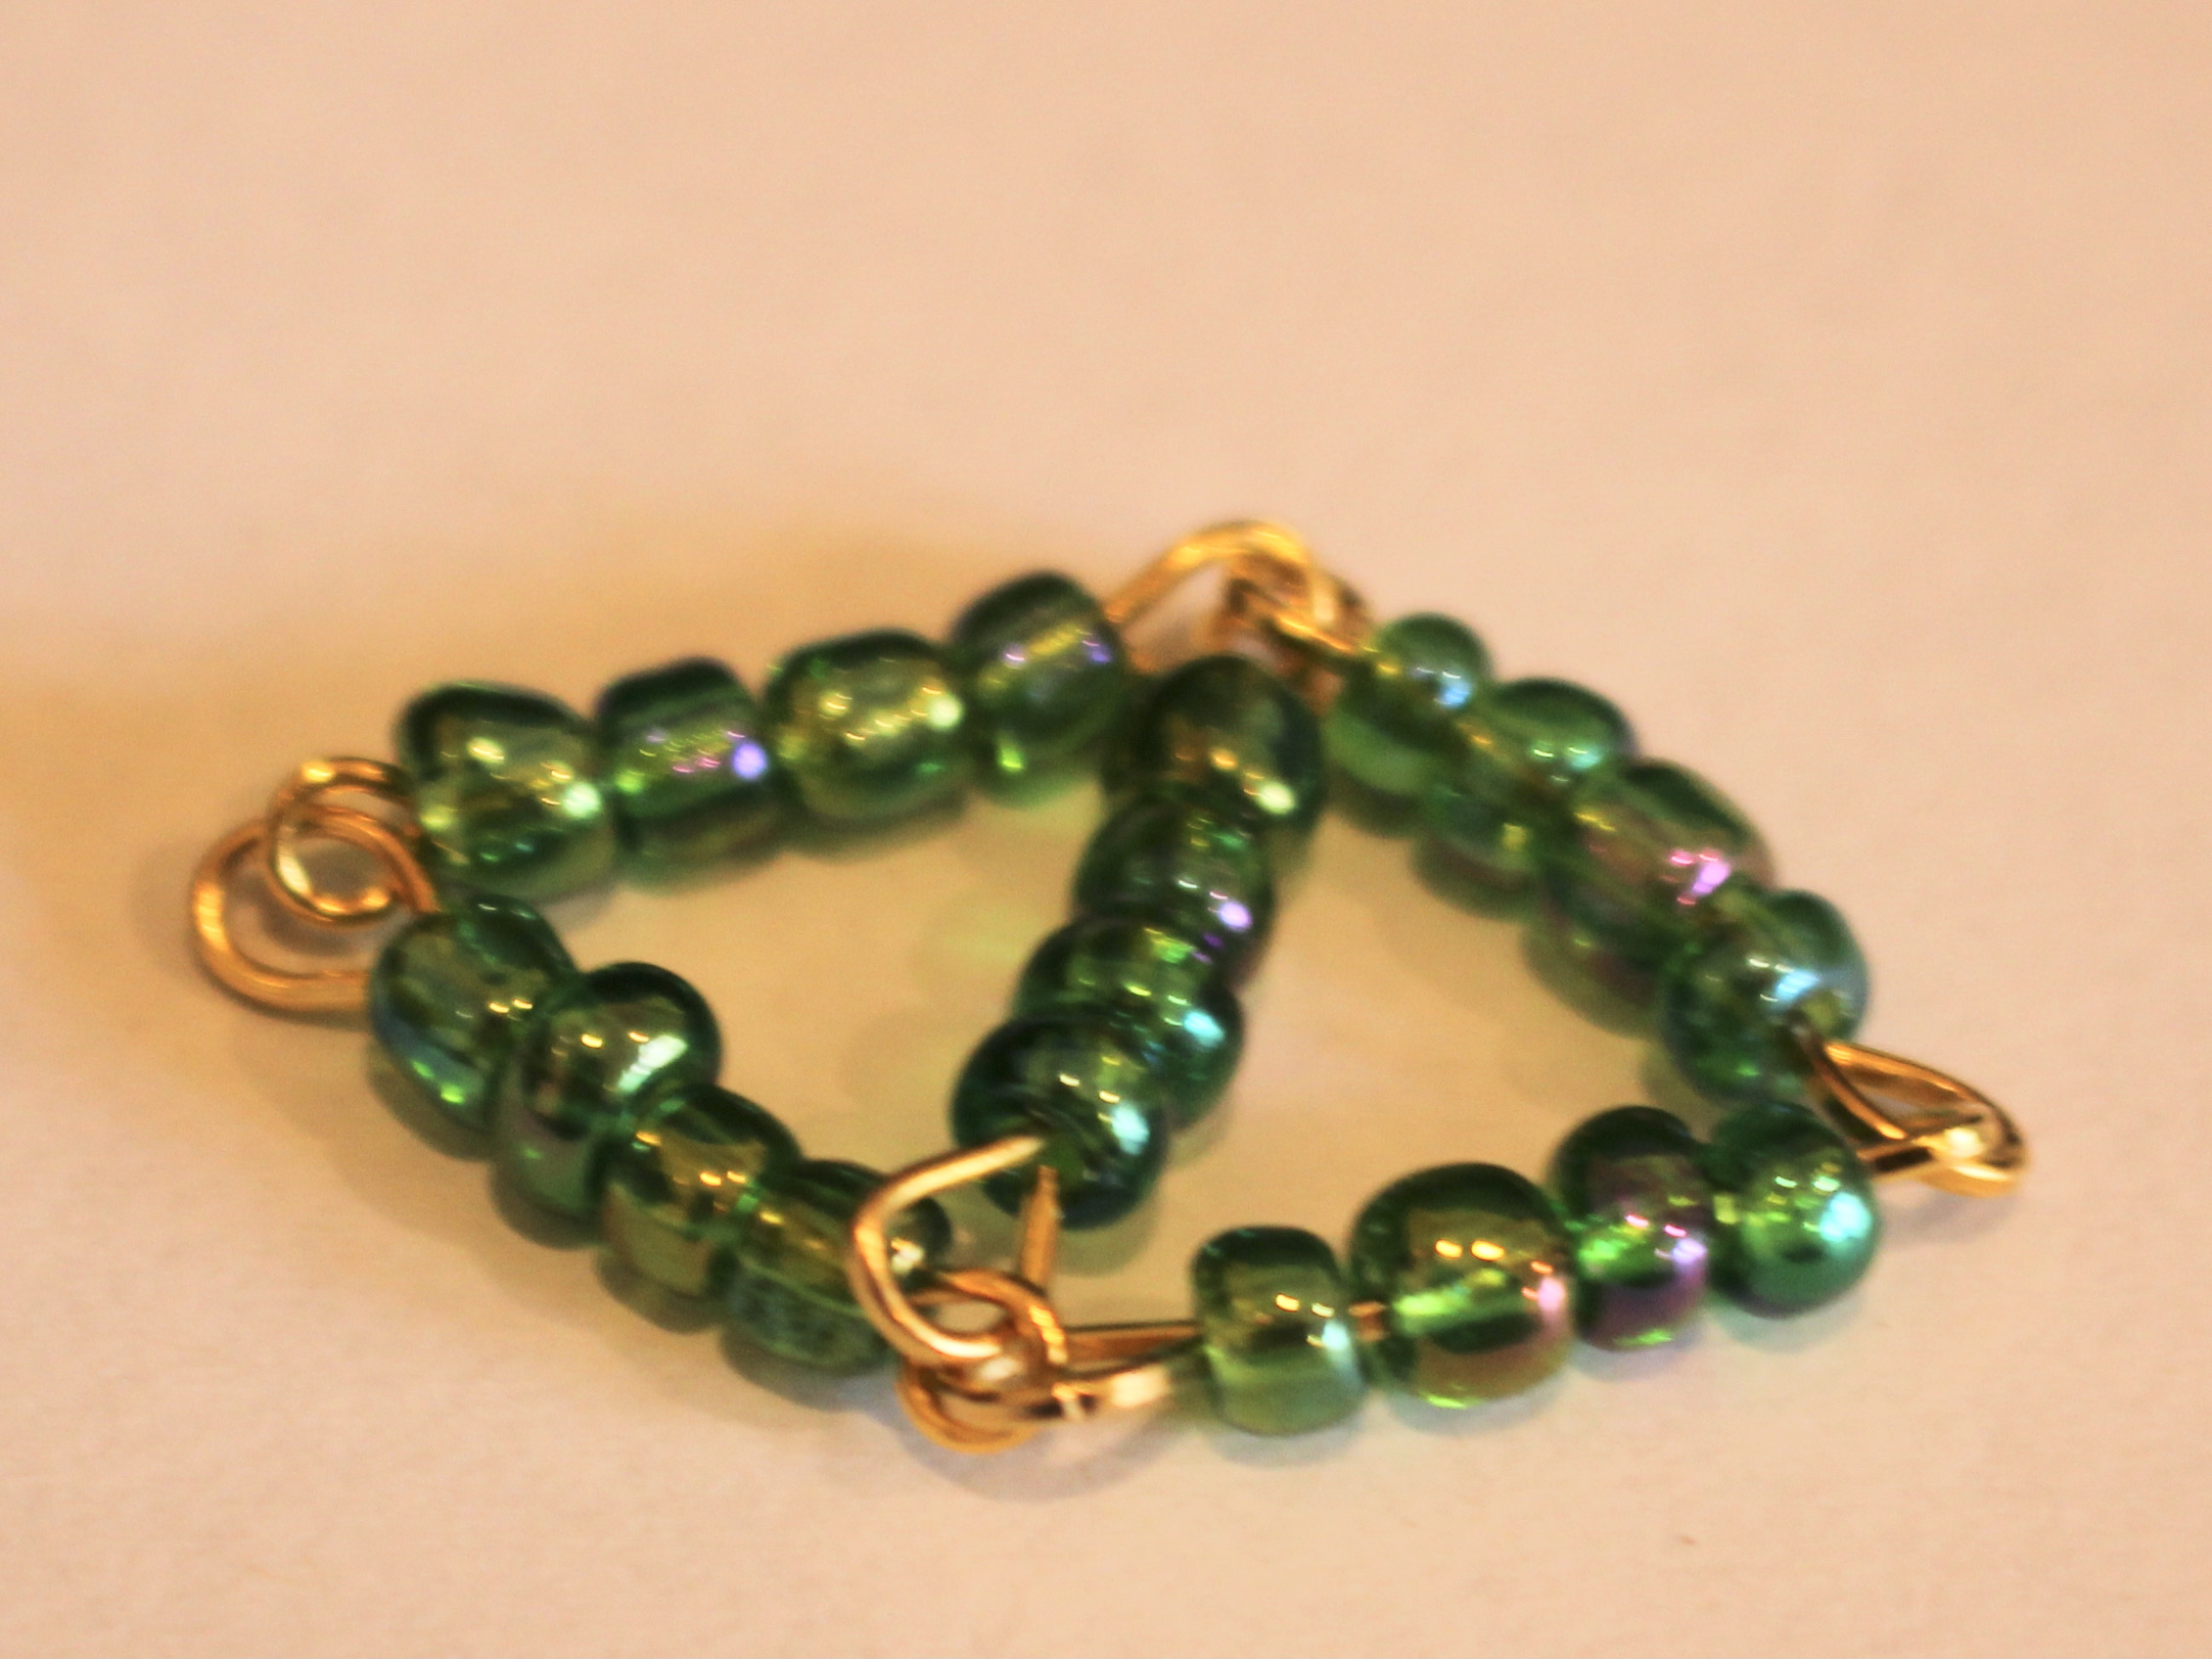
1: Add beads to two of the eye pins.

2: Leave about 1cm without beads.
3: Bend the pins to form an angle with the beaded section.

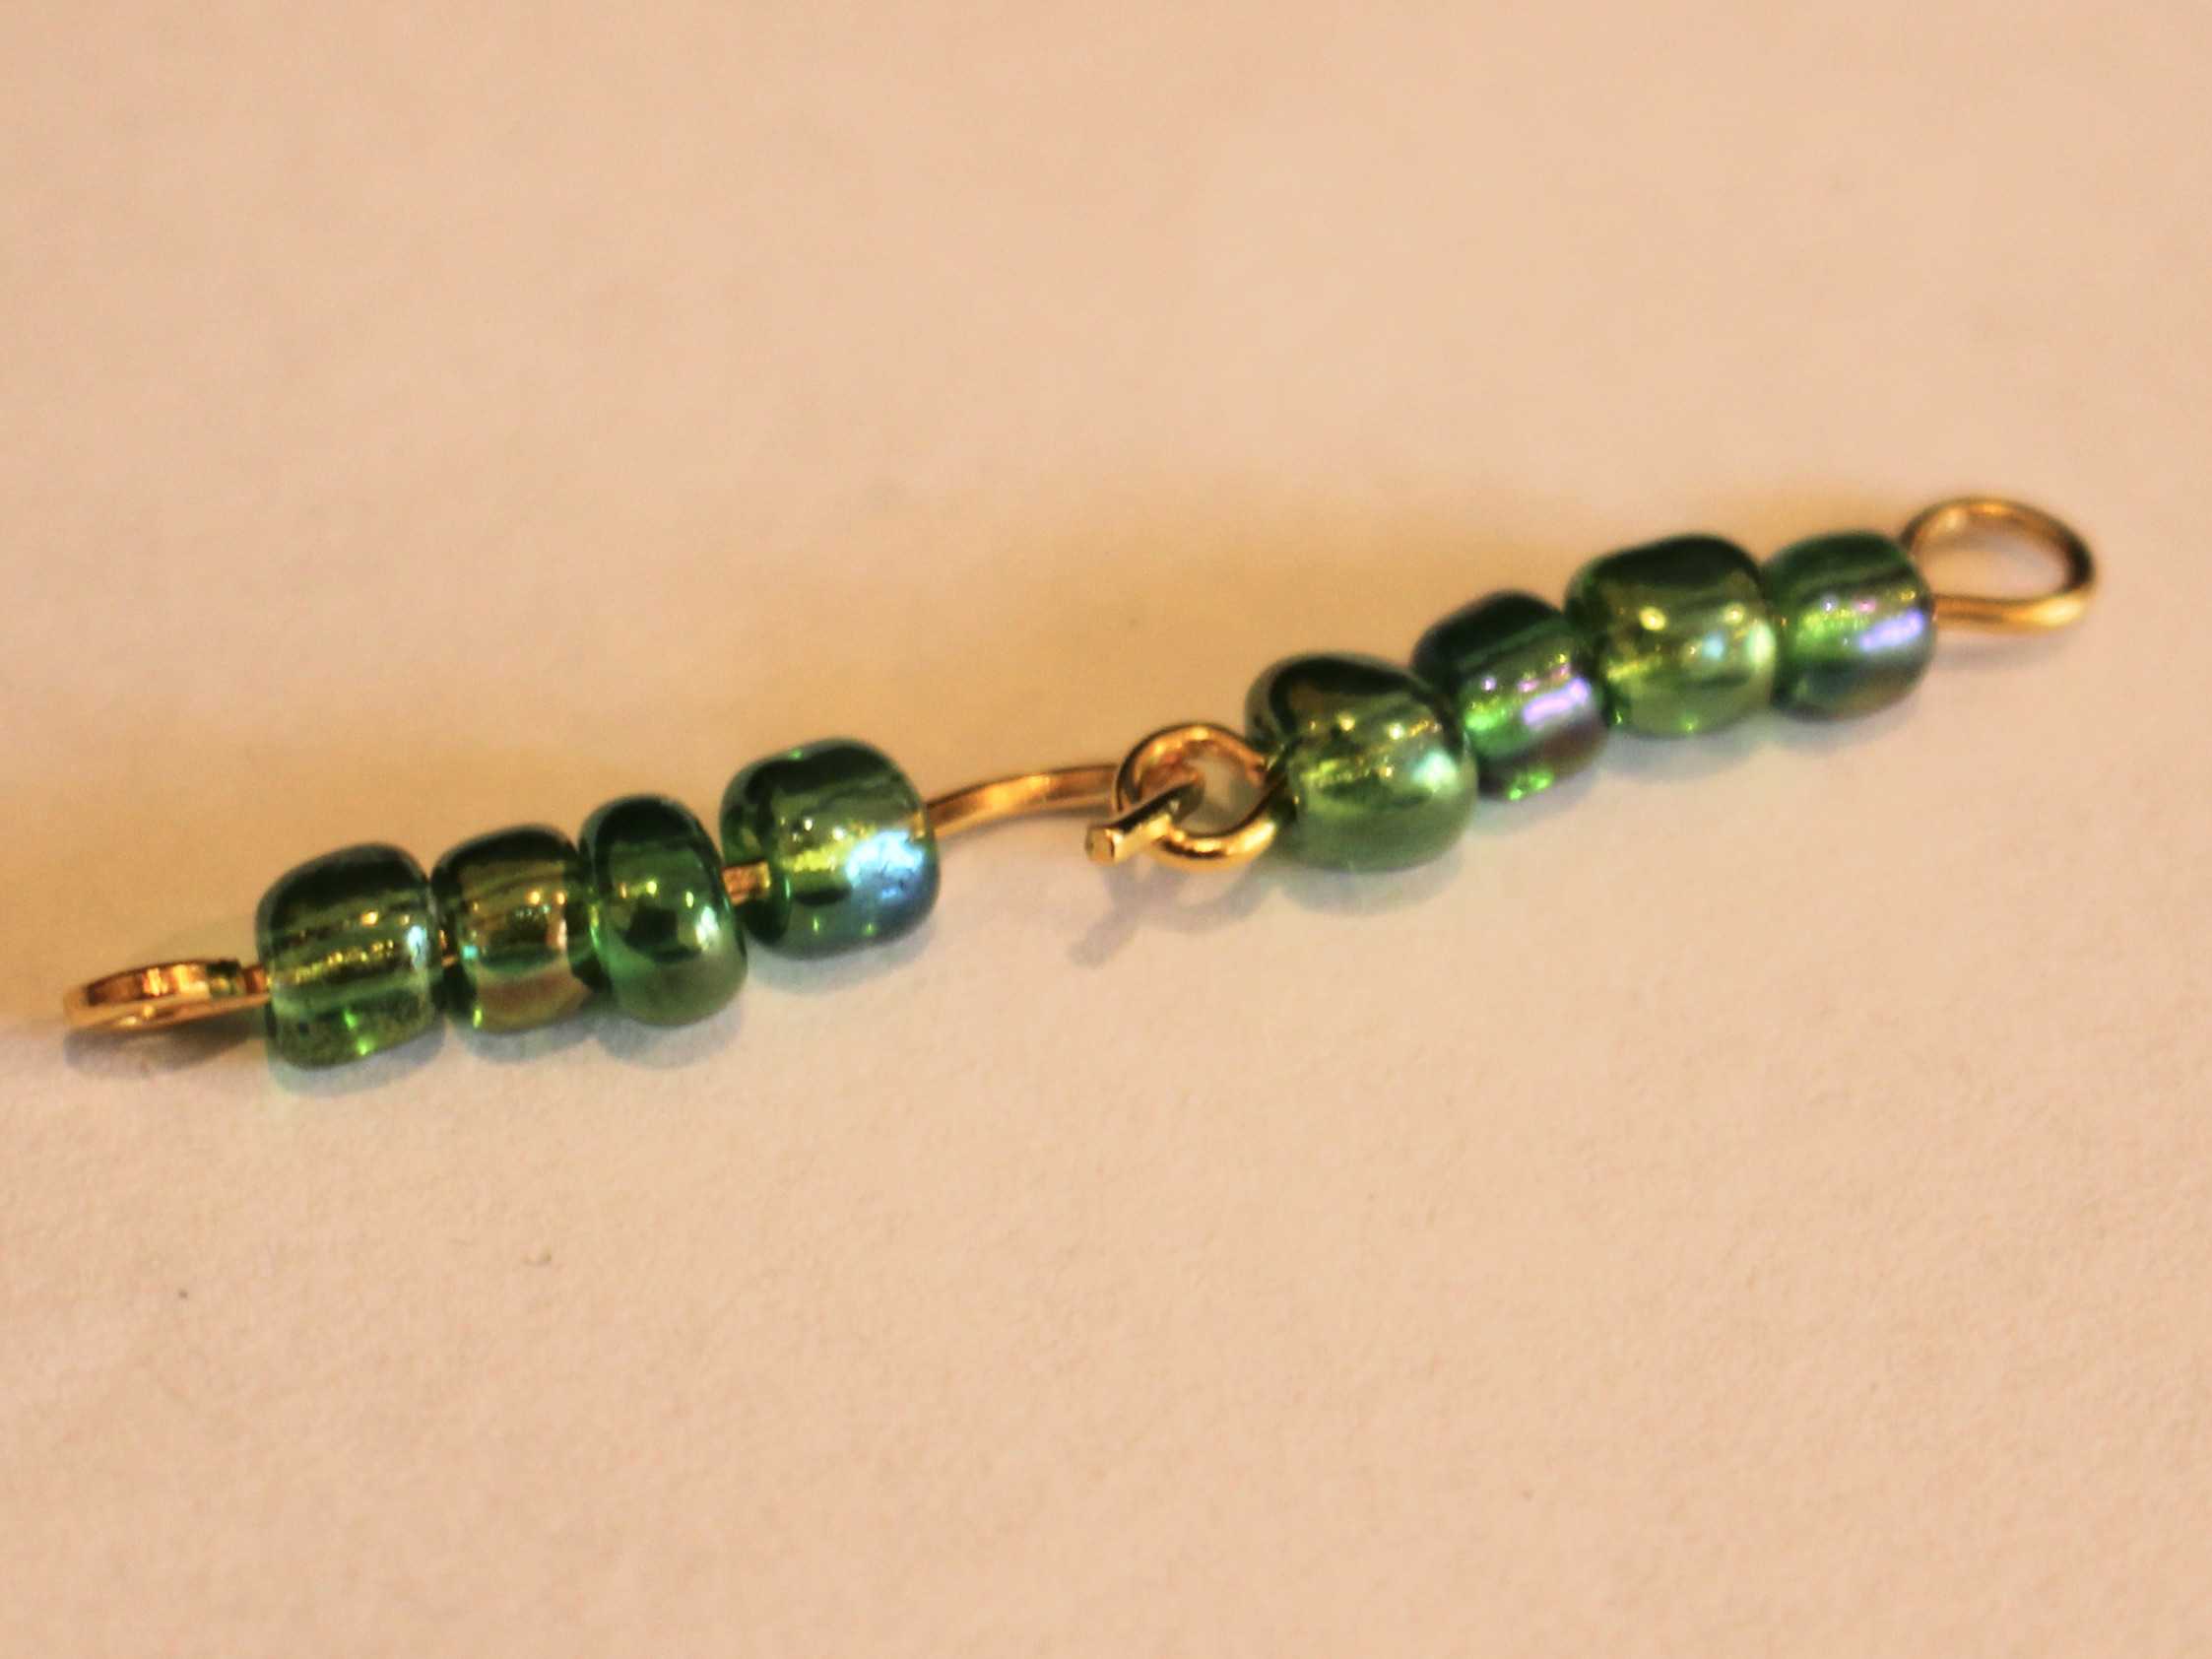
4: Loop the end of the pins around the round nose pliers to create a loop that secures the beads onto the pins.

5: Link the two pins together.
6: Repeat steps 1-5 three more times so that you have 5 beaded pins.
7: Link two more pins to the first two, so you have a square shape.

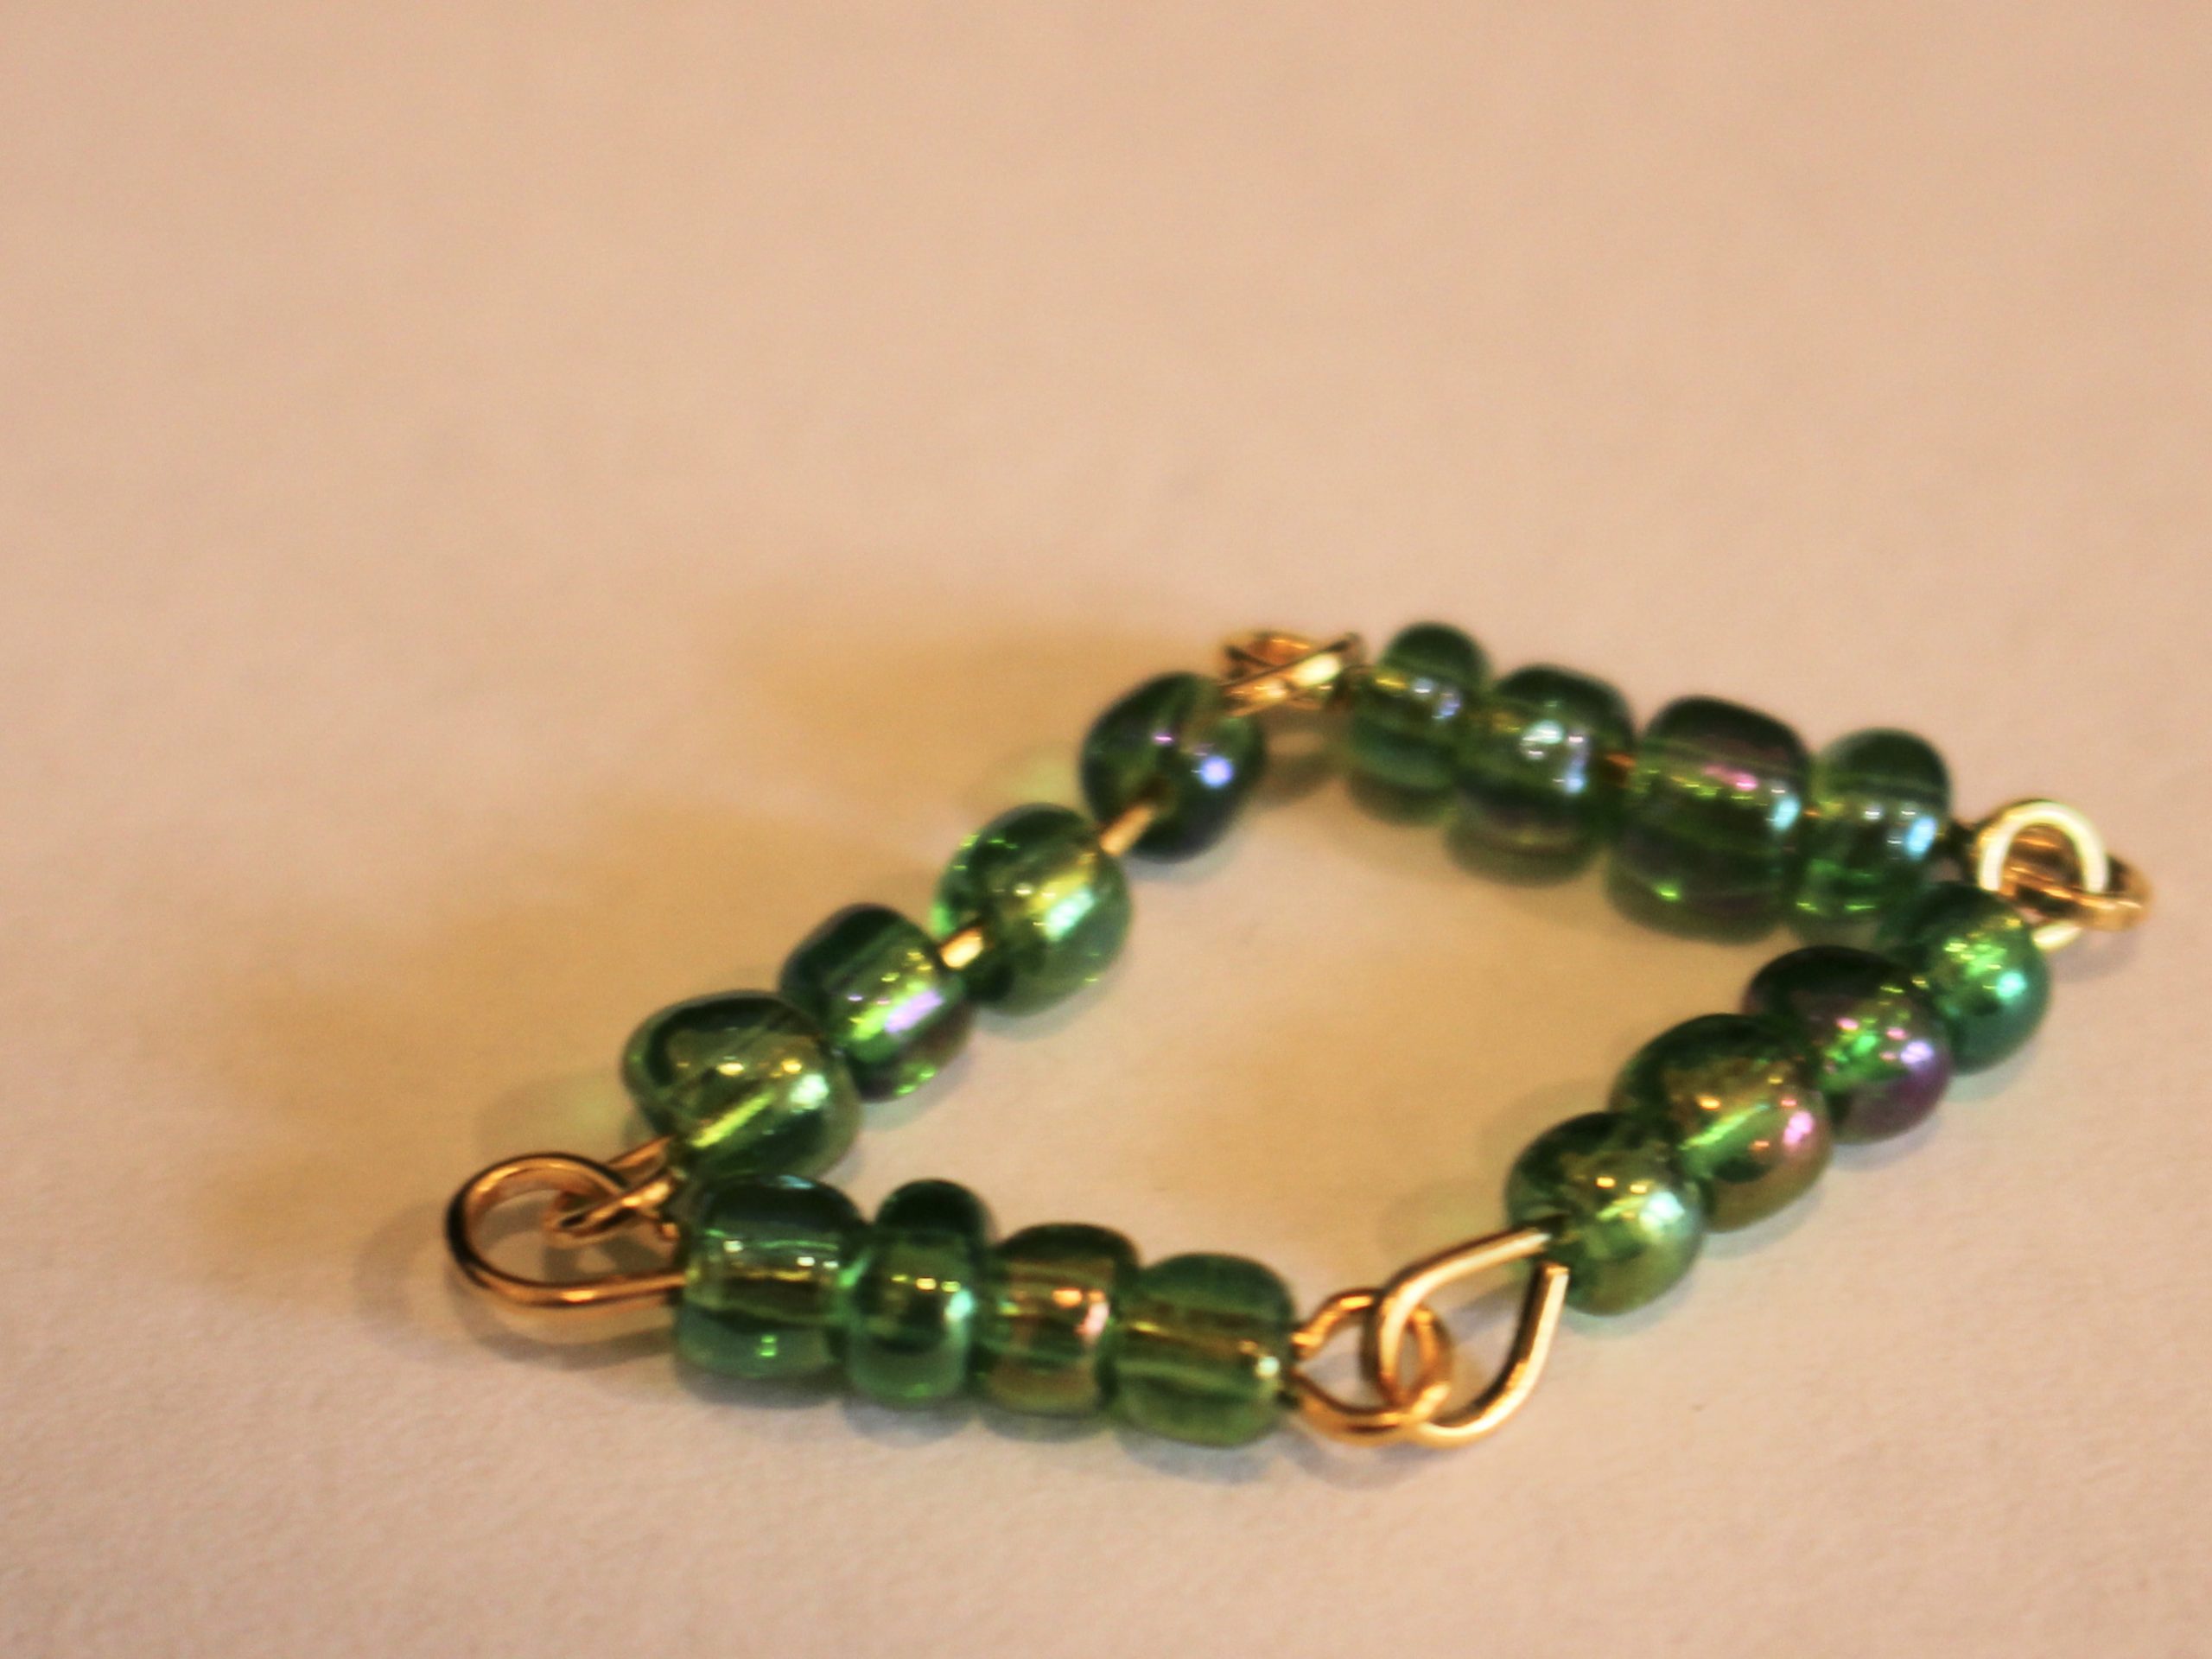
8: Add the last pin to the middle of the four linked pins so that you have a diamond shape that doesn’t shift around.

9: Repeat steps 1-8 until you have enough diamond shapes to fit around your wrist. I ended up making 5 diamonds.
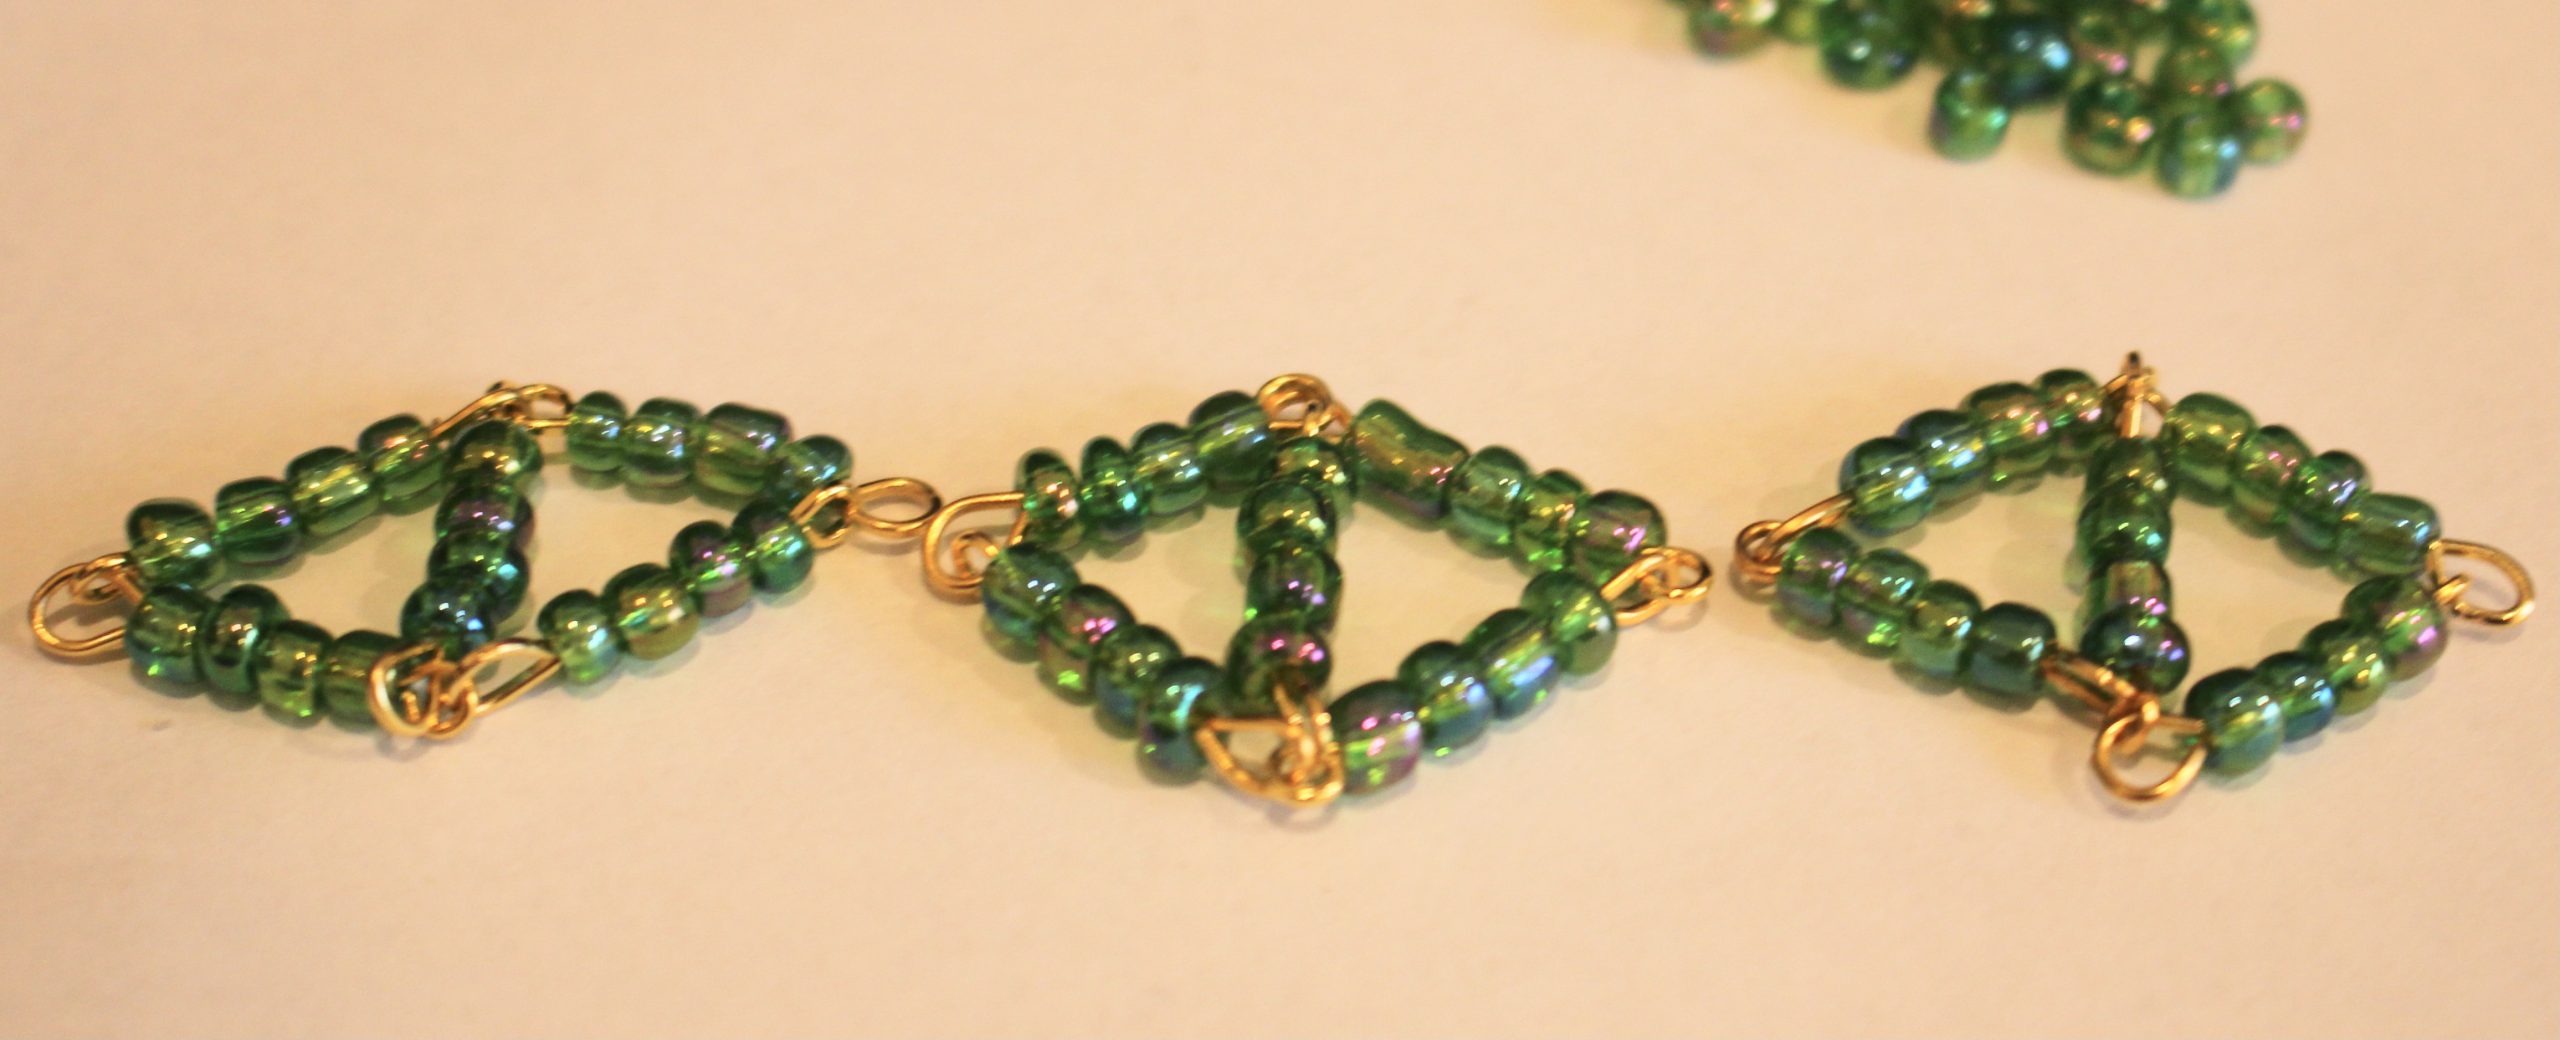


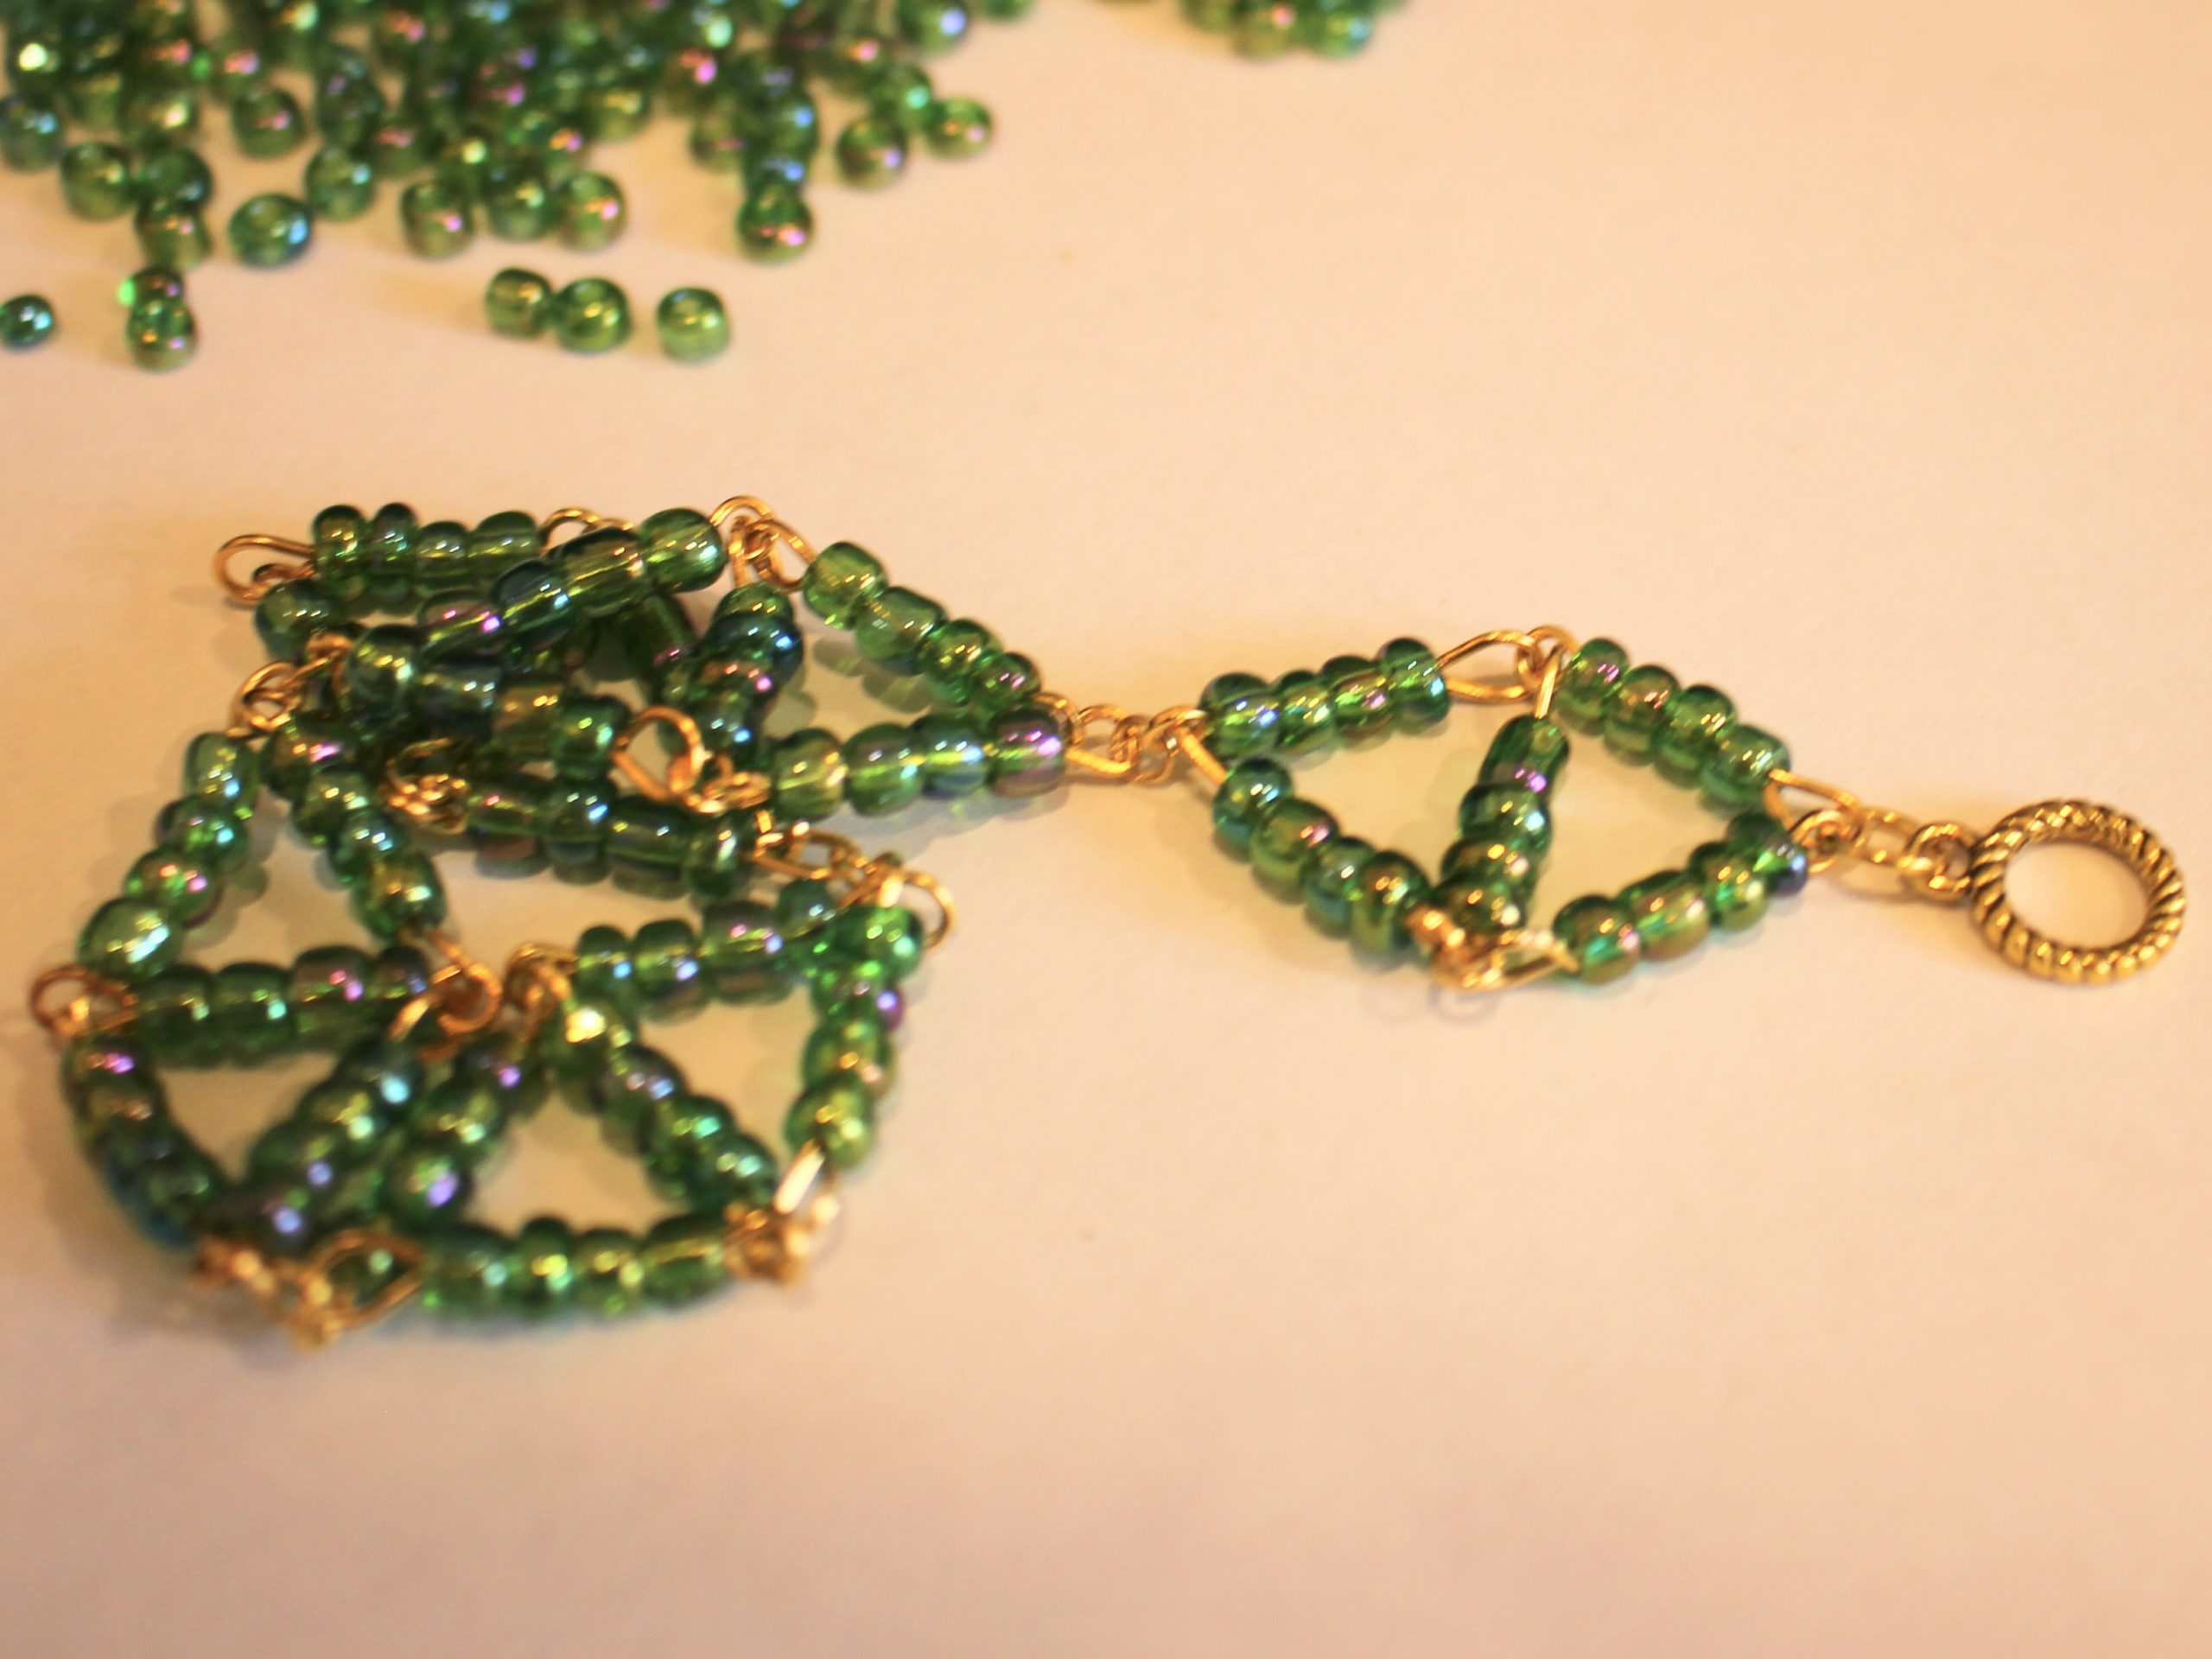
10: Attach each of the diamond shapes together with the small jump rings to form a chain.


11: Attach the clasp components to each end of the chain using the larger jump rings, this will finish the design off!

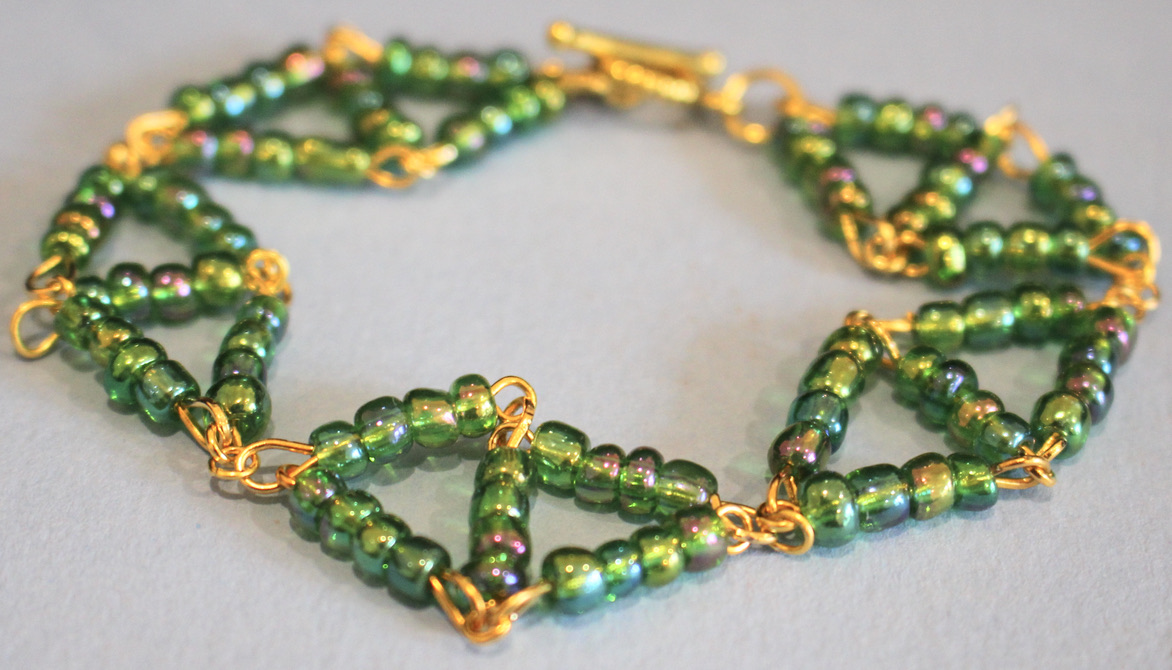
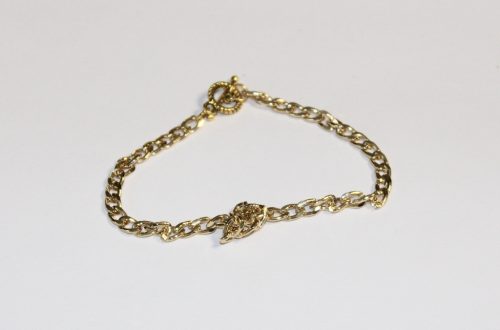
Now your beaded diamond bracelet is finished and ready to wear!

Here is another design you can make using this beaded diamond shape

DIY Jewelry Hub
Welcome to DIY Jewelry Hub. If you’ve ever wanted to learn how to make your own jewelry this is the place to start! Jewelry is a great way to show off your individuality and style. You’ll be surprised at how easy it is to create your own unique pieces! DIY Jewelry Hub will equip you with all the knowledge and inspiration you need to make your own jewelry.


You May Also Like
Do you want a quick DIY? Here’s how to make a simple and fast knot chain bracelet.

Here’s how to make a floating bead bracelet!
