-
How to make a double strand bracelet with ribbon and beads!
This bracelet is another way that you can make a multi-strand bracelet. This bracelet makes use of ribbons and a beaded chain for an alternative look. I used some recycled materials in this design, it is a great way to reuse ribbons and cords from old packaging or gifts. Please note that this tutorial contains affiliate links.
You’ll need these tools and materials to make this double strand bracelet:
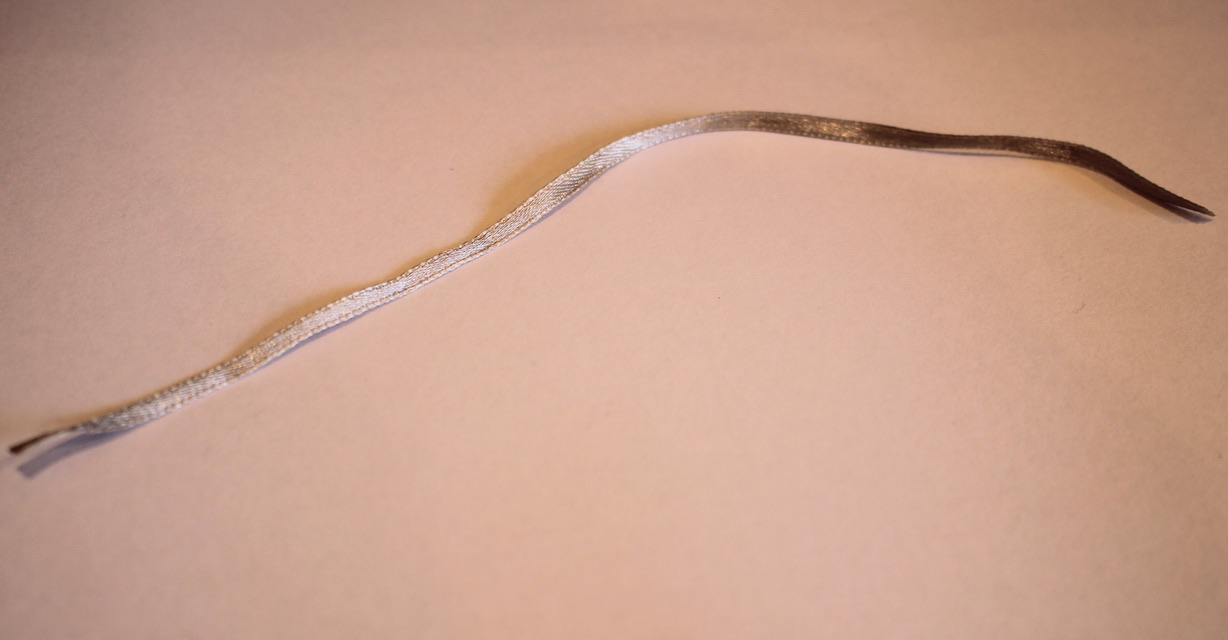
1: A piece of ribbon. I used this thin ribbon that I had recycled from a piece of clothing.

2: Scissors. I used my scissors to cut the ribbon to length.

3: Pliers. I used my flat nose and round nose pliers for this design.


4: Some sticky tape.
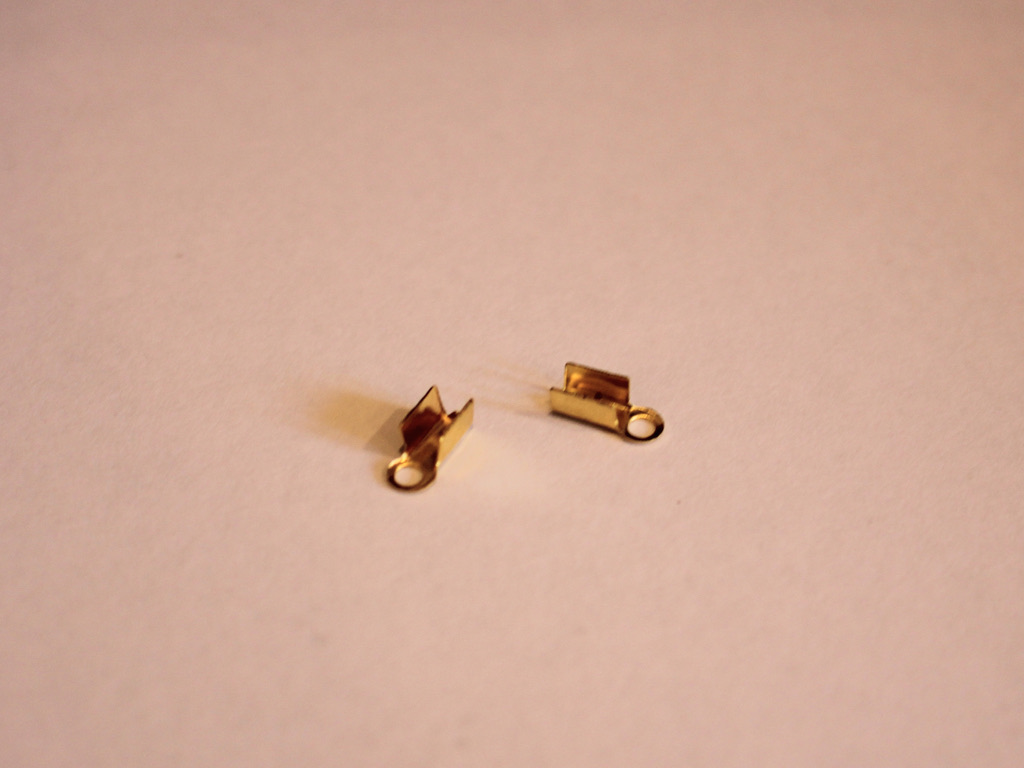
5: Two crimp ends.
6: A bunch of eye pins. The number you will need depends on the length of your bracelet so it’s good to have a few extra on hand.

7: Beads. I used these black plastic beads that I recycled from an old piece of jewelry.

8: Two jump rings.

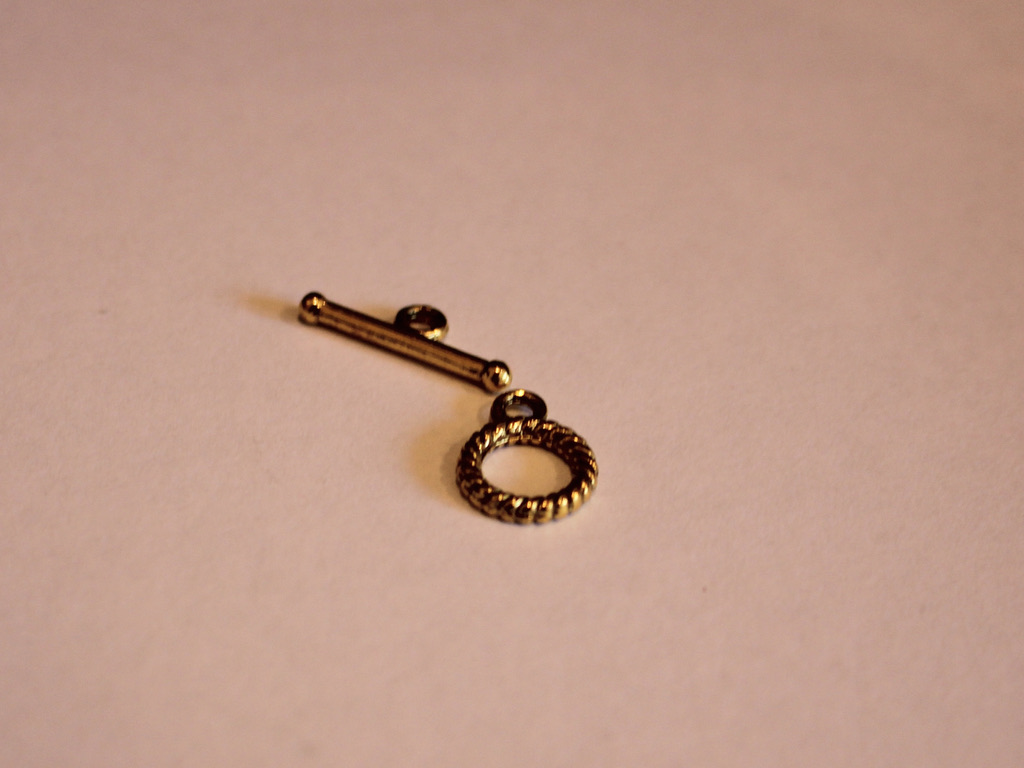
9: A toggle clasp.
Follow these steps to make your own double strand bracelet made with mixed materials:
1: Take the ribbon, cut it to a length that fits around your wrist.
2: Add some sticky tape to either end of the ribbon. This will give the crimps a bit more material to grip on to. You can skip this step if you have a thicker piece of ribbon.
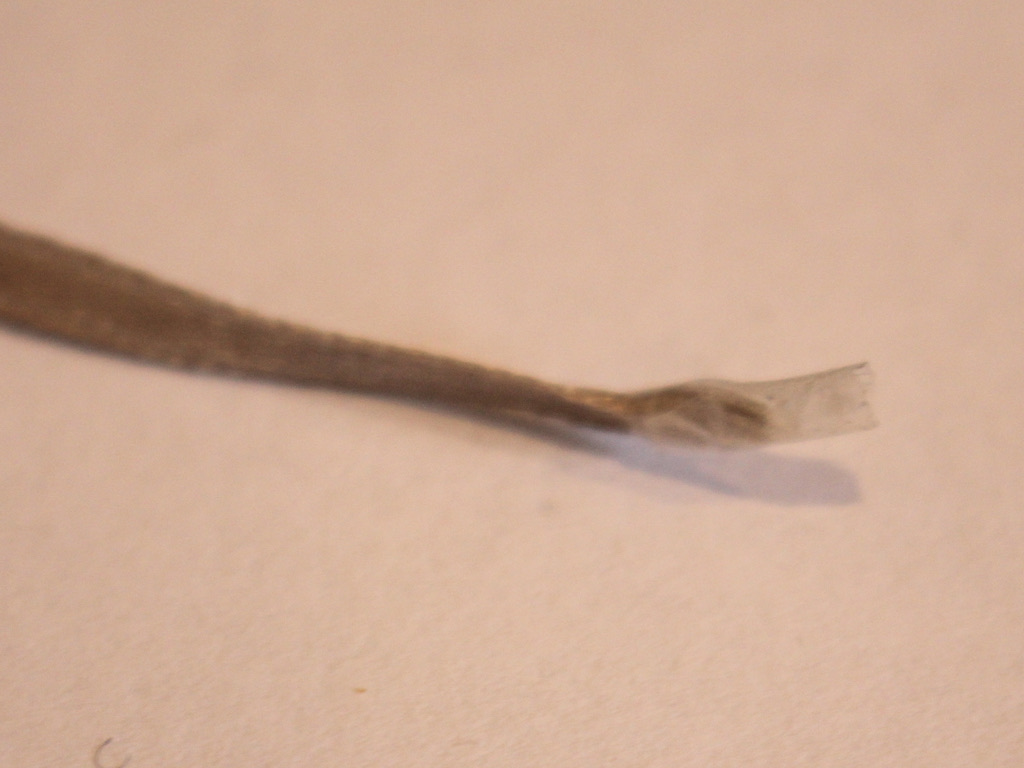
3: Place the crimp around the end of the ribbon.

4: Squash one side of the crimp around the ribbon using the flat nose pliers.

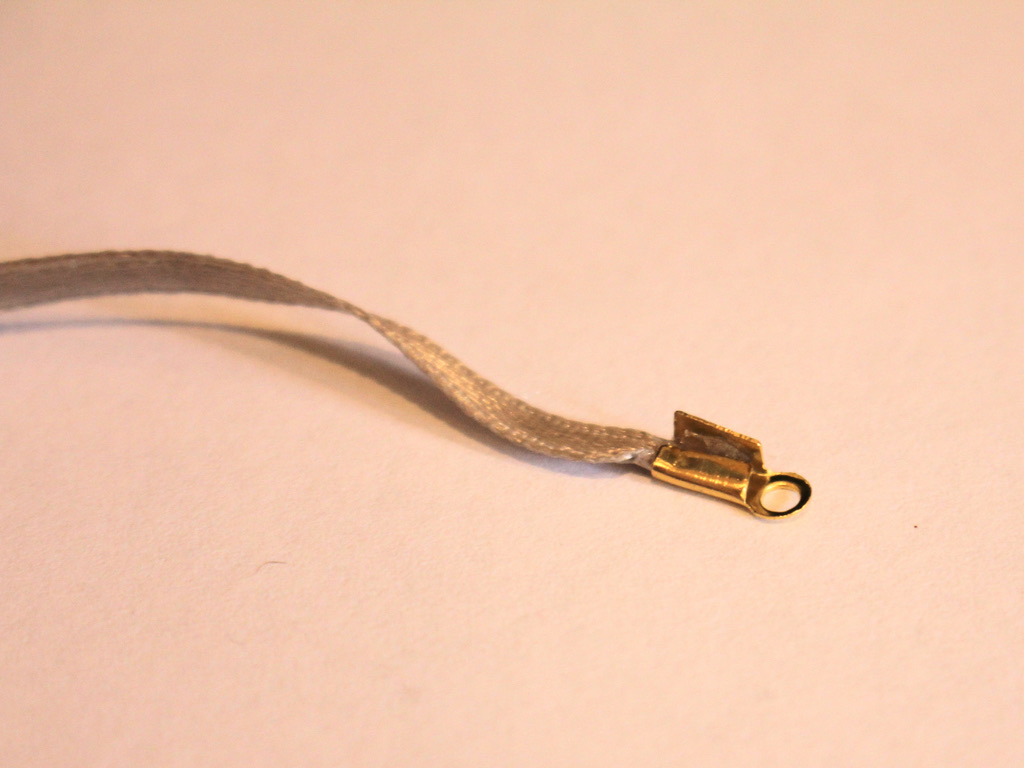
5: Squash the other side of the crimp around the ribbon using the flat nose pliers.

6: Repeat steps 3 to 5 for the other end of the ribbon, squashing the other crimp in place.

7: Set the ribbon aside.
8: Take one of the eye pins and place a bead on it.

9: Bend the pin to form an angle with the bead.
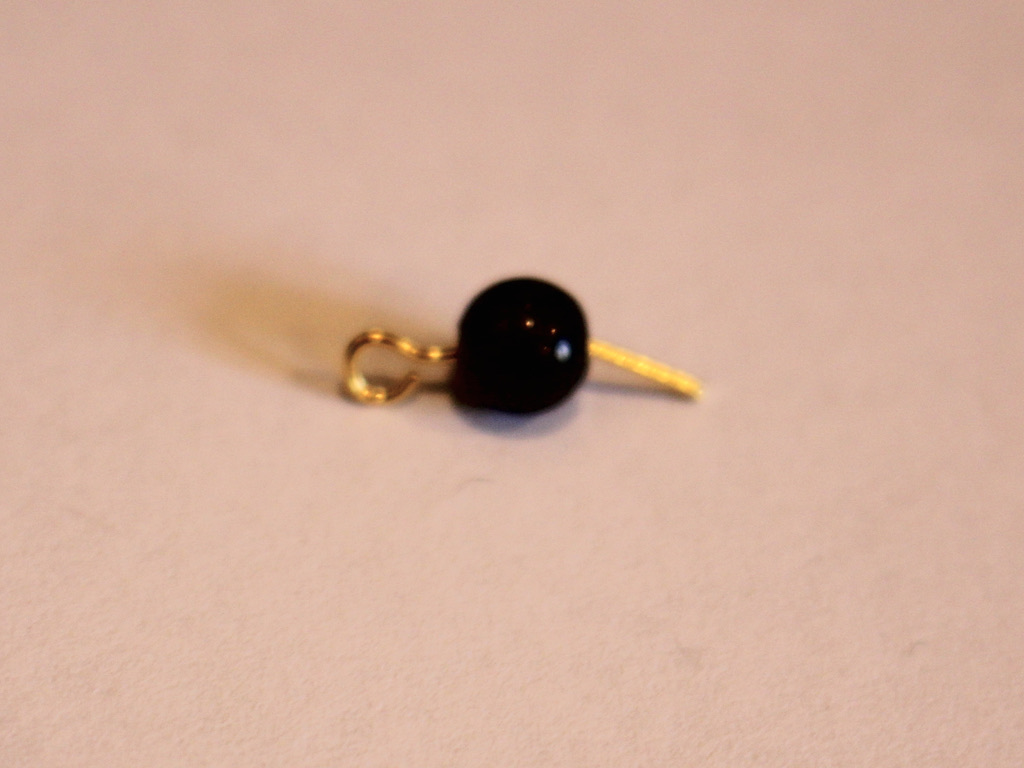
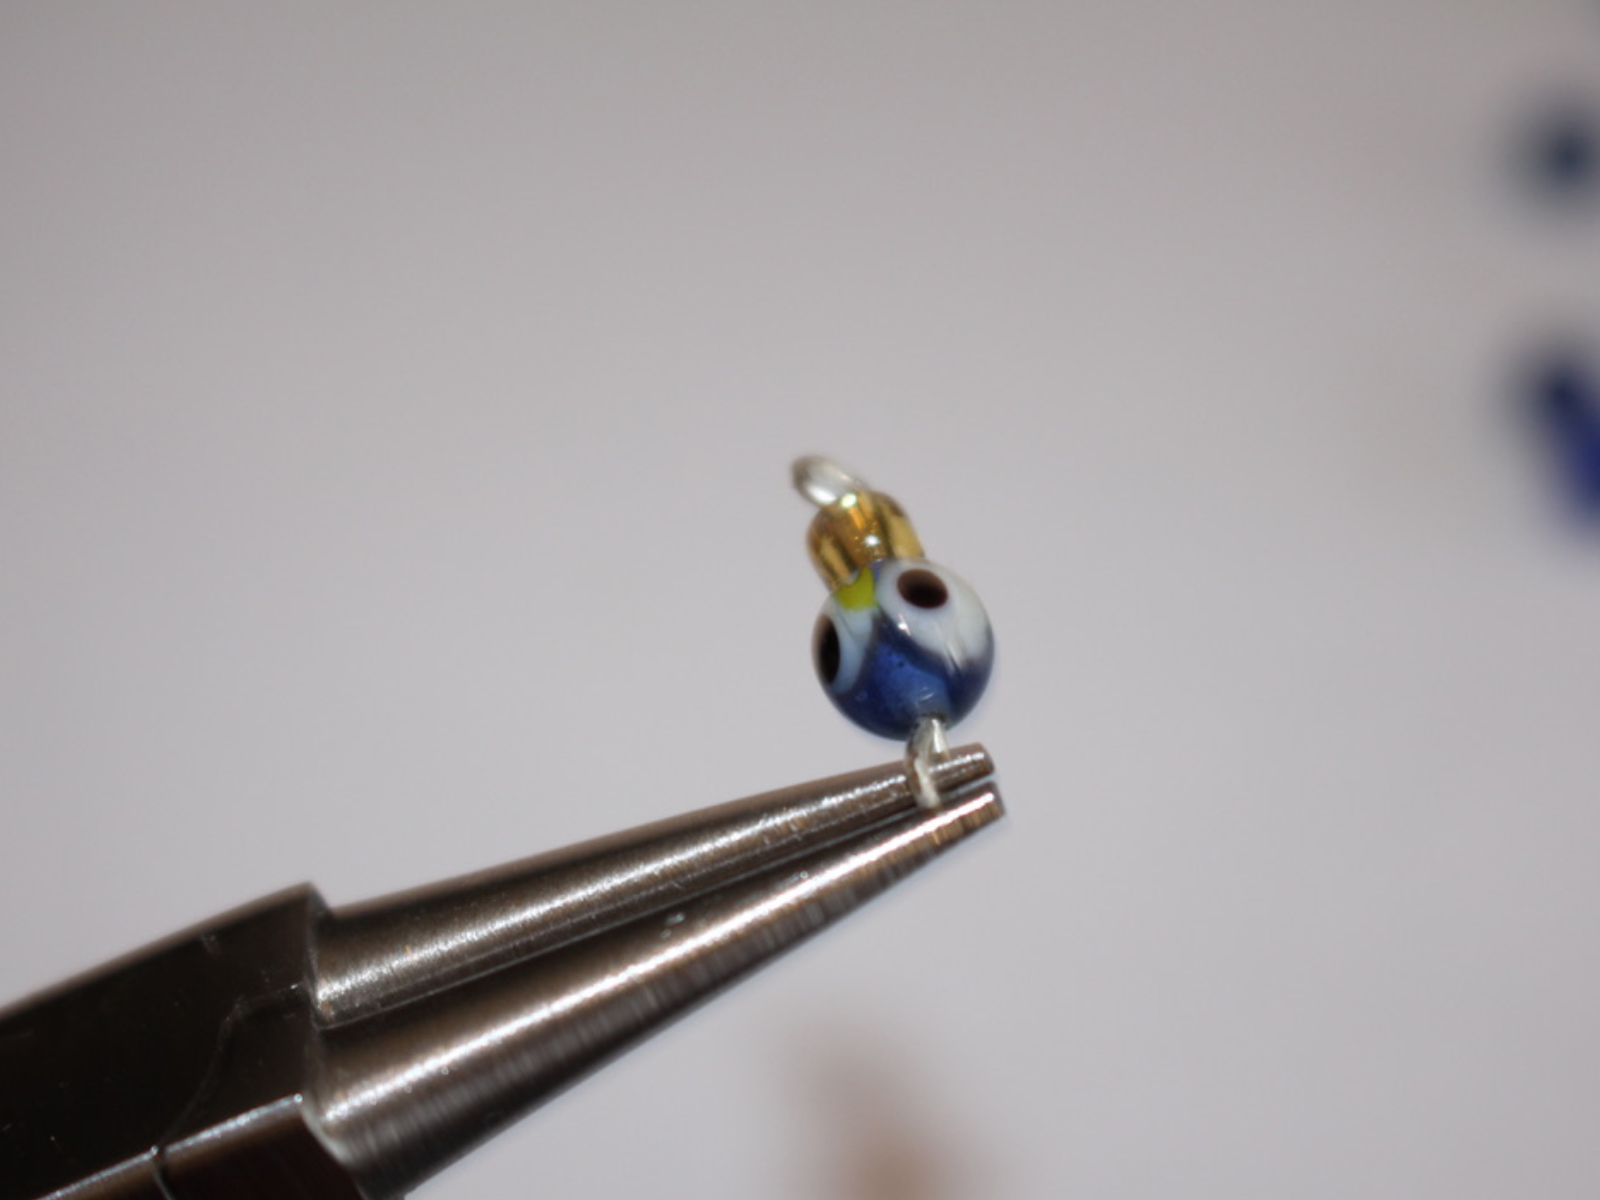
10: Loop the end of the pin around the round nose pliers to form a loop.


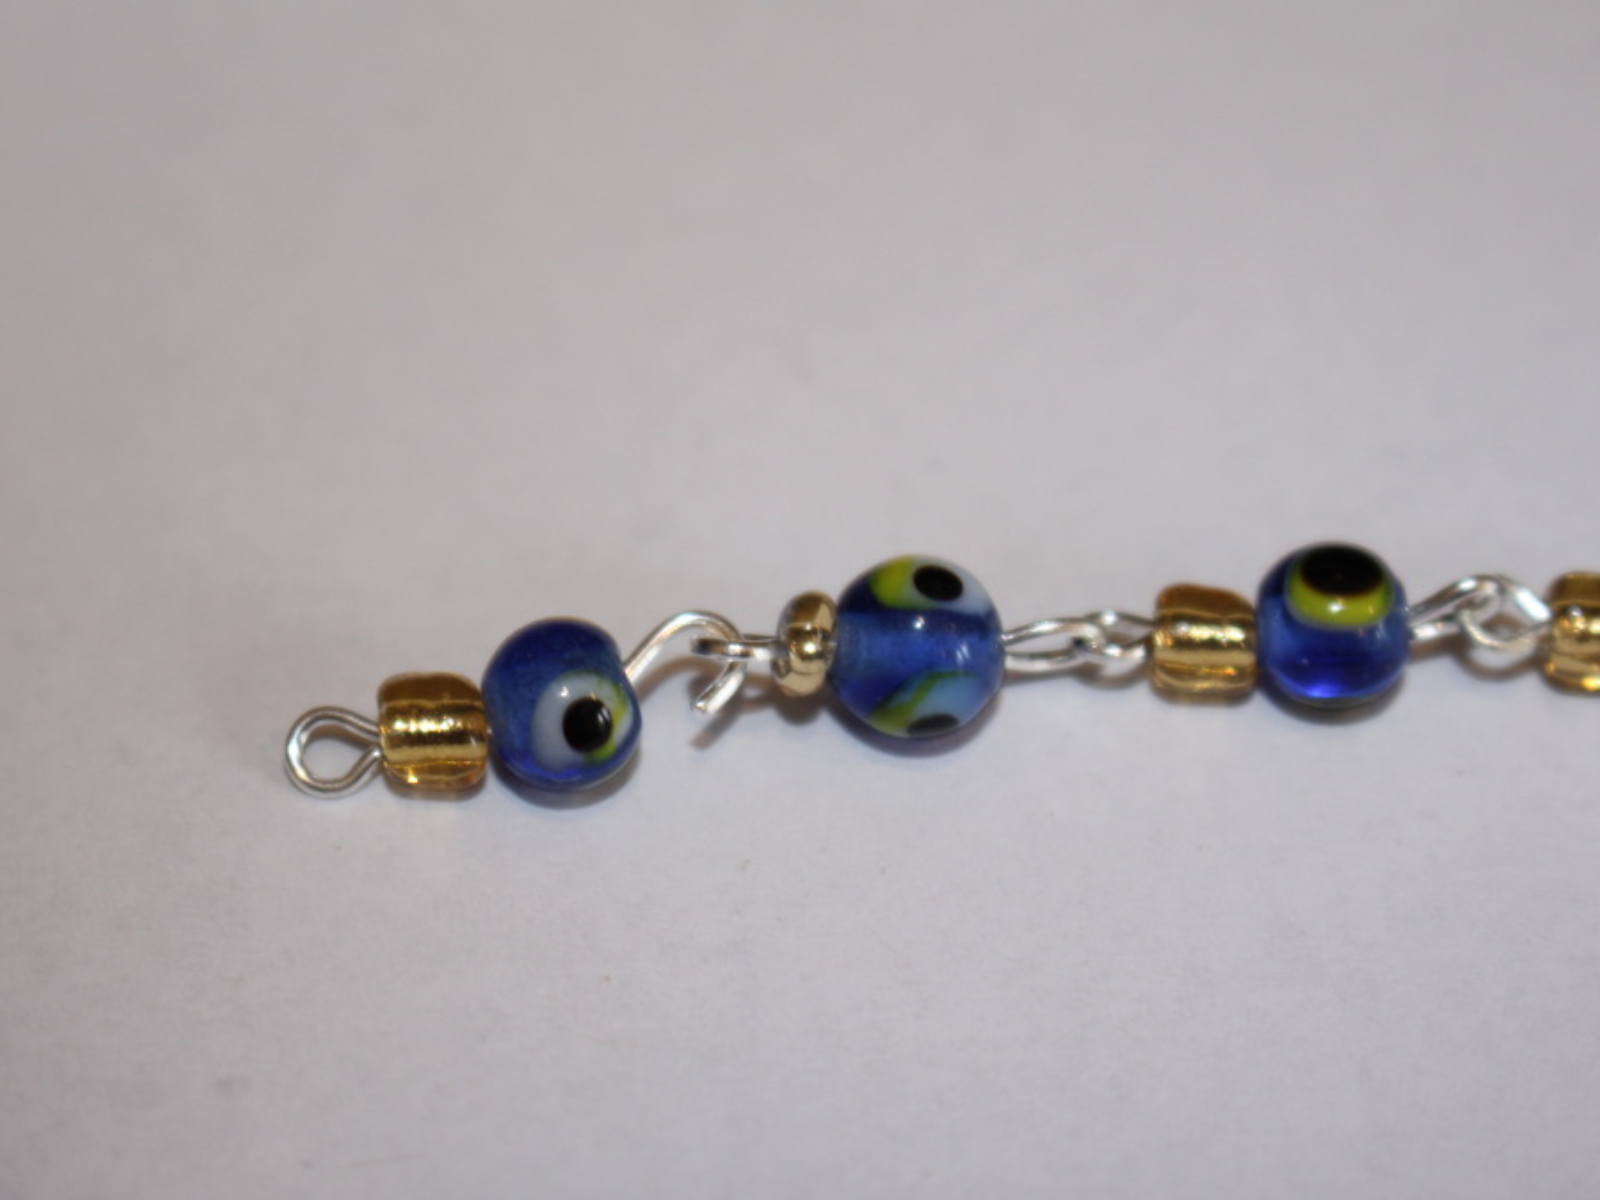
11: Repeat steps 8-10 for another pin and bead, now you will have two beaded pins that you can now attach together. Do this by slightly opening one of the loops and sliding the other charm on. Close the loop to secure the pieces together.

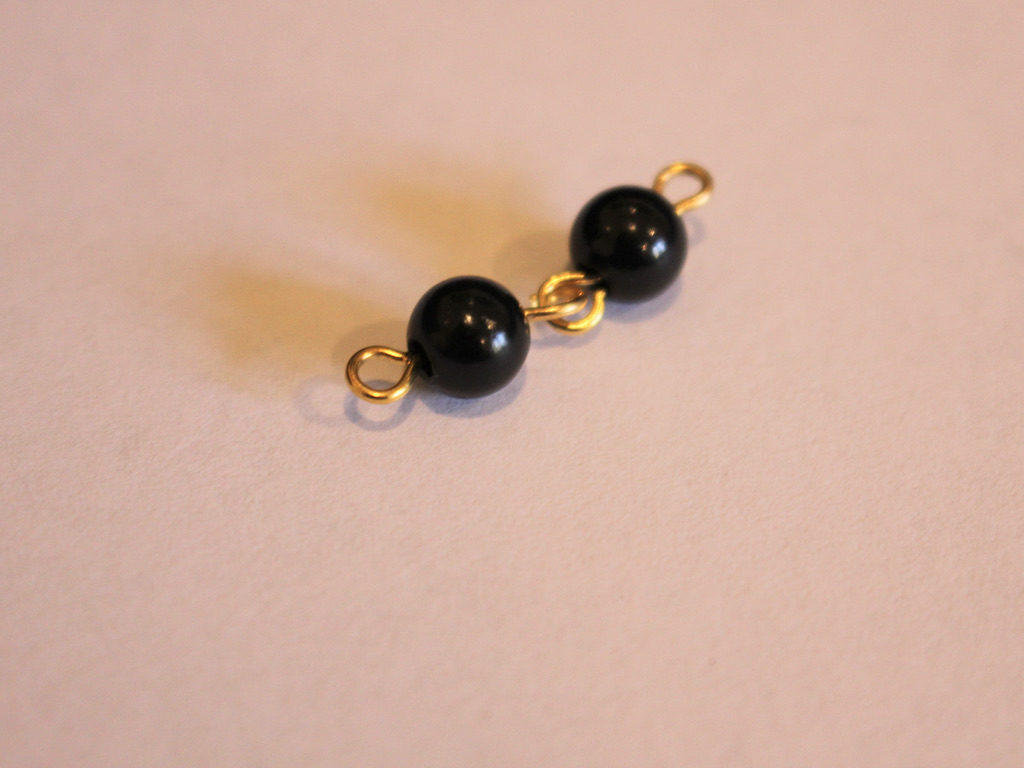
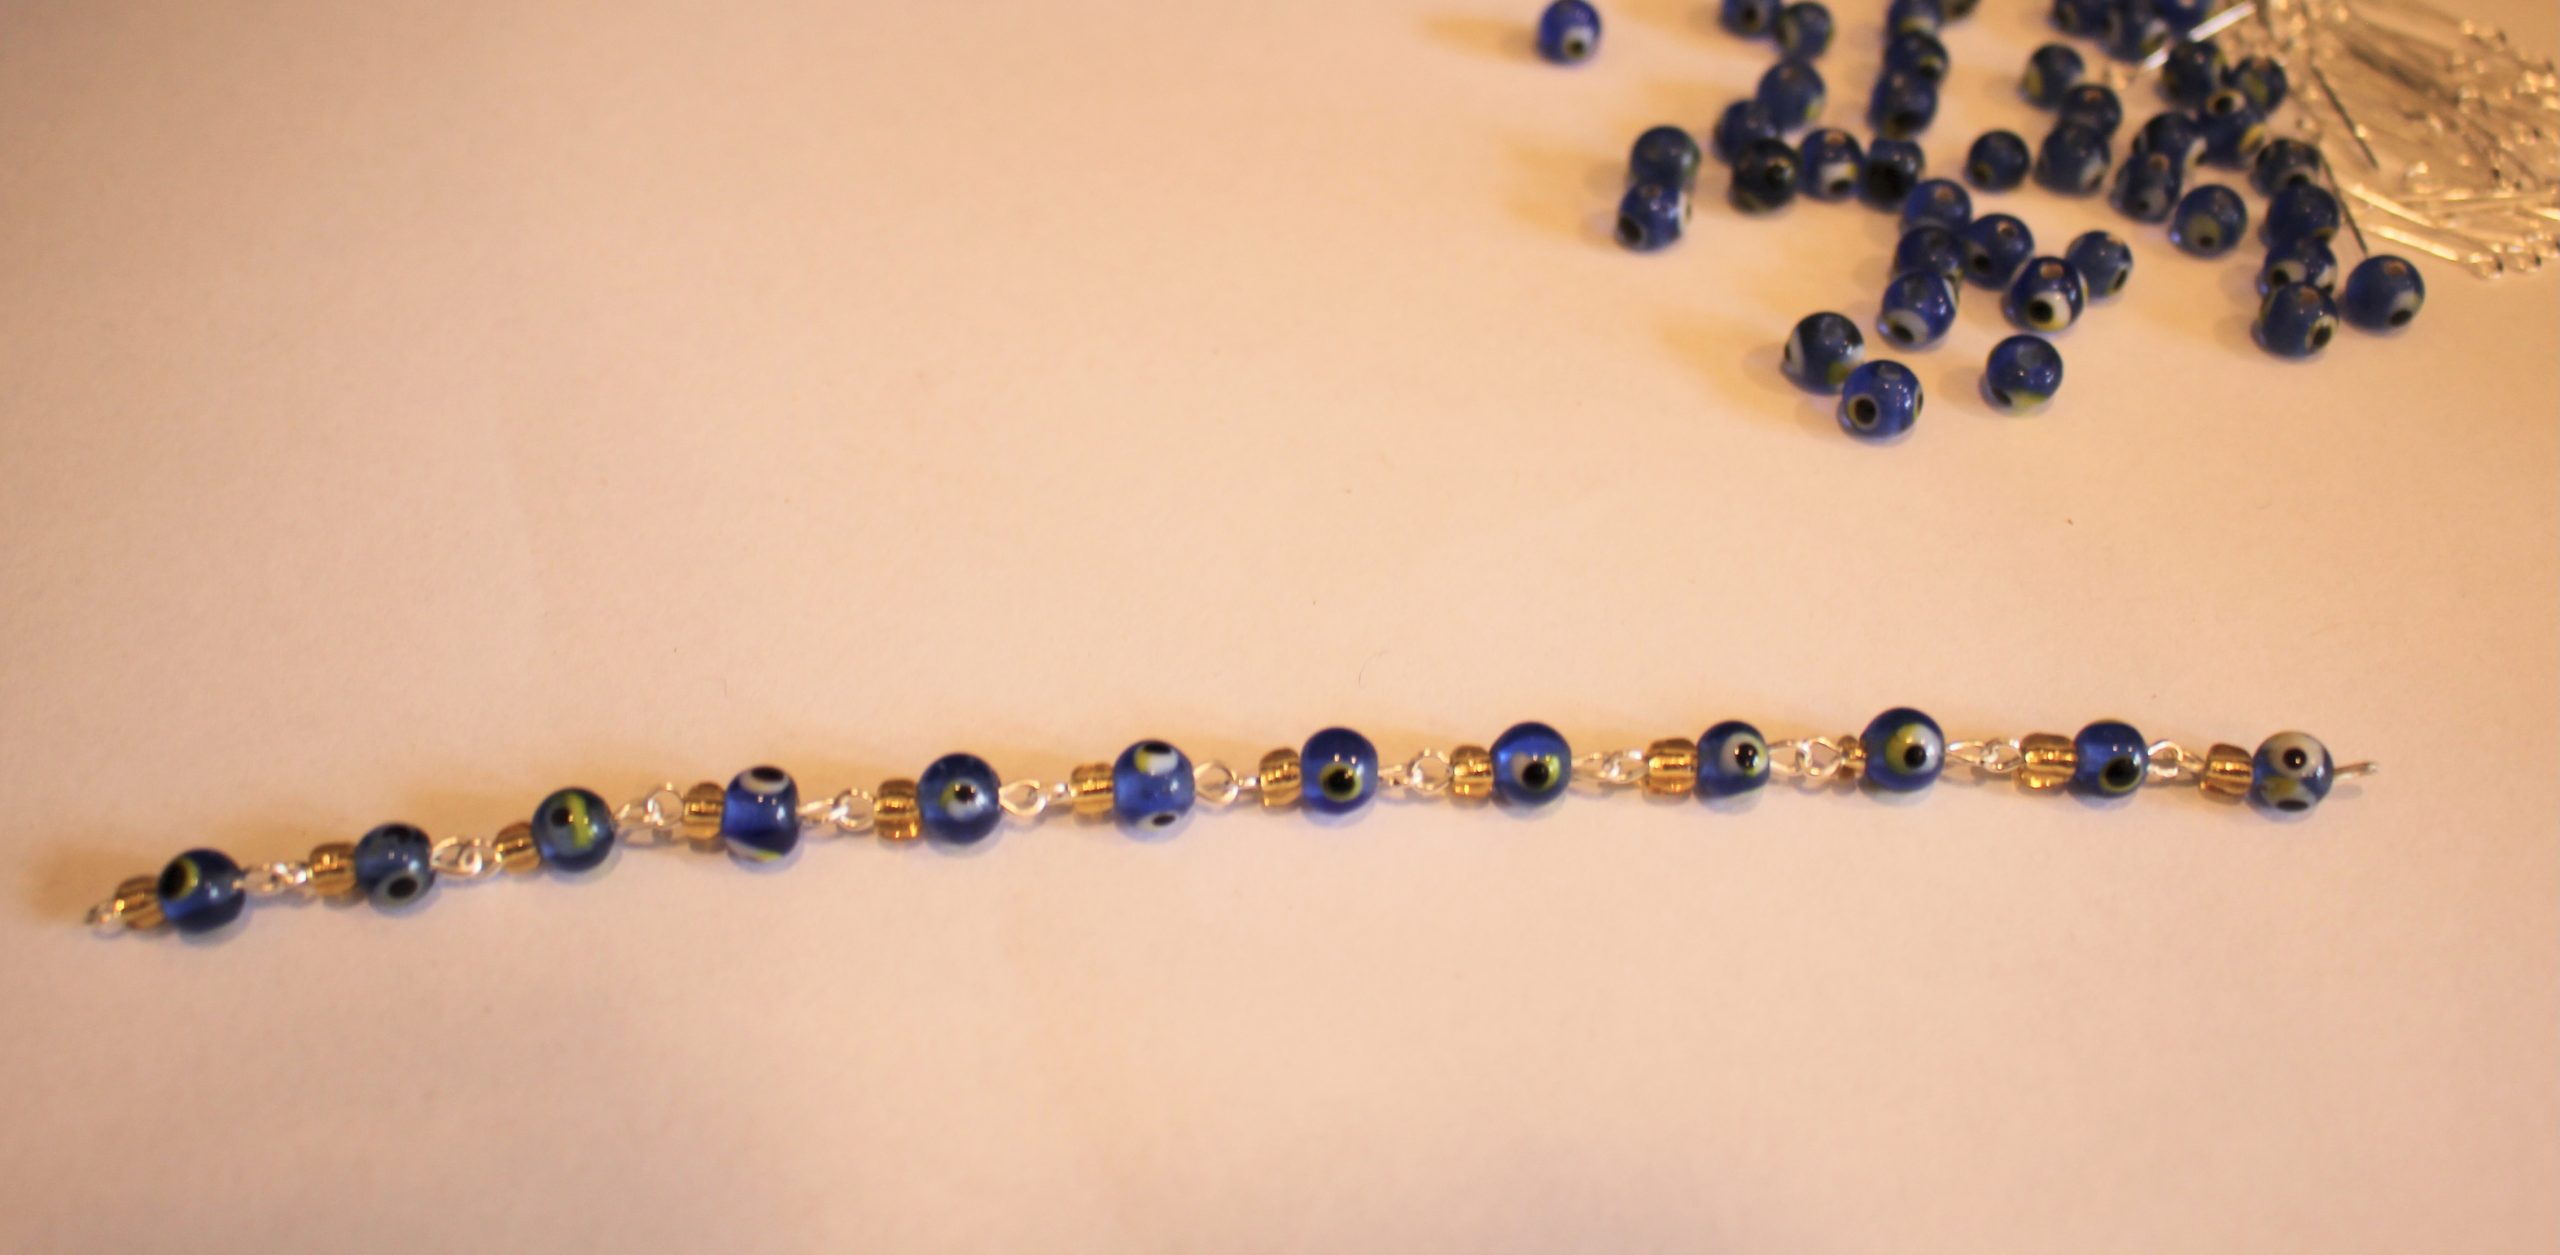
12: Repeat steps 1-11 until you have a chain that is the same length as the ribbon. It doesn’t matter if it is a tiny bit longer or shorter.


13: Take a jump ring and slide it through one end of each strand. Close the jump ring to secure the strands together.
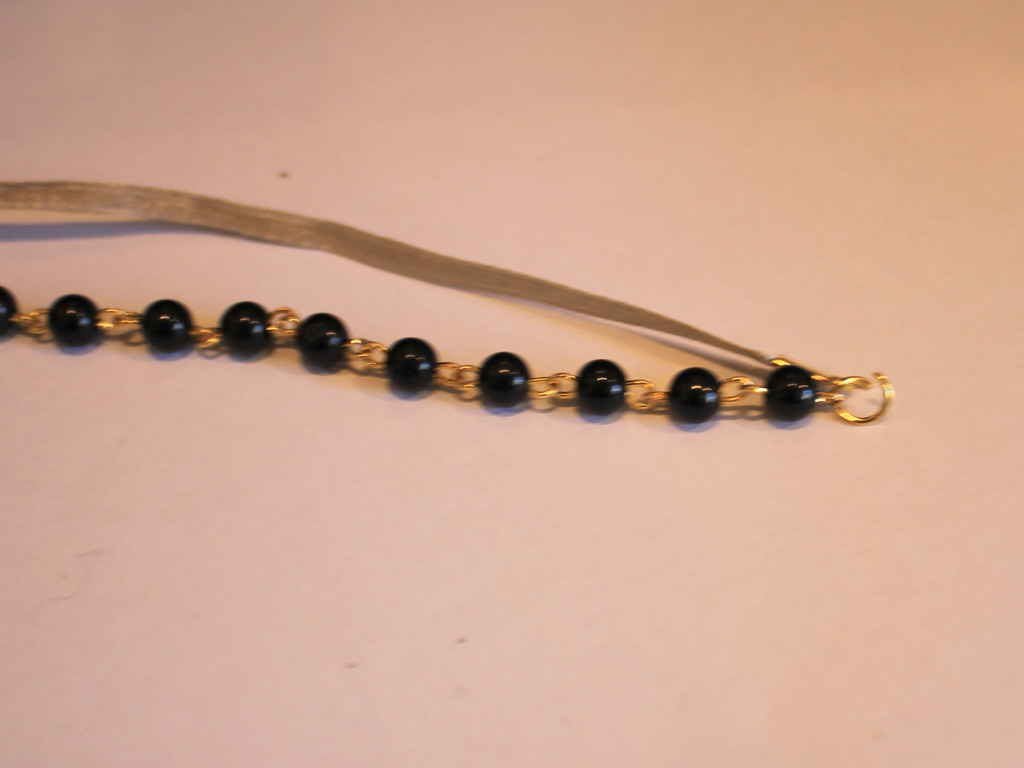

14: Repeat step 13 for the other end of the bracelet.
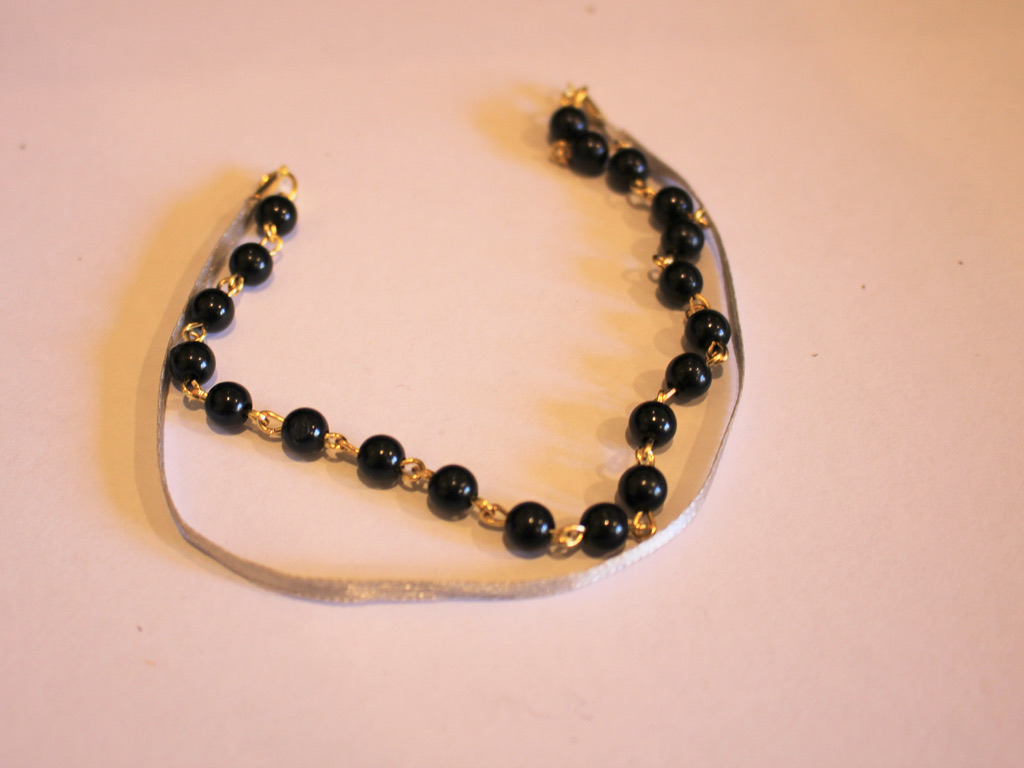
15: Attach one side of the toggle clasp to one side of the bracelet by slightly opening the jump ring, sliding the clasp on, then closing the jump ring again.

16: Repeat step 15 for the second part of the clasp.

Now your bracelet is finished and ready to wear! So cute.

-
Love a bracelet stack? Here’s how to get the look with one bracelet!
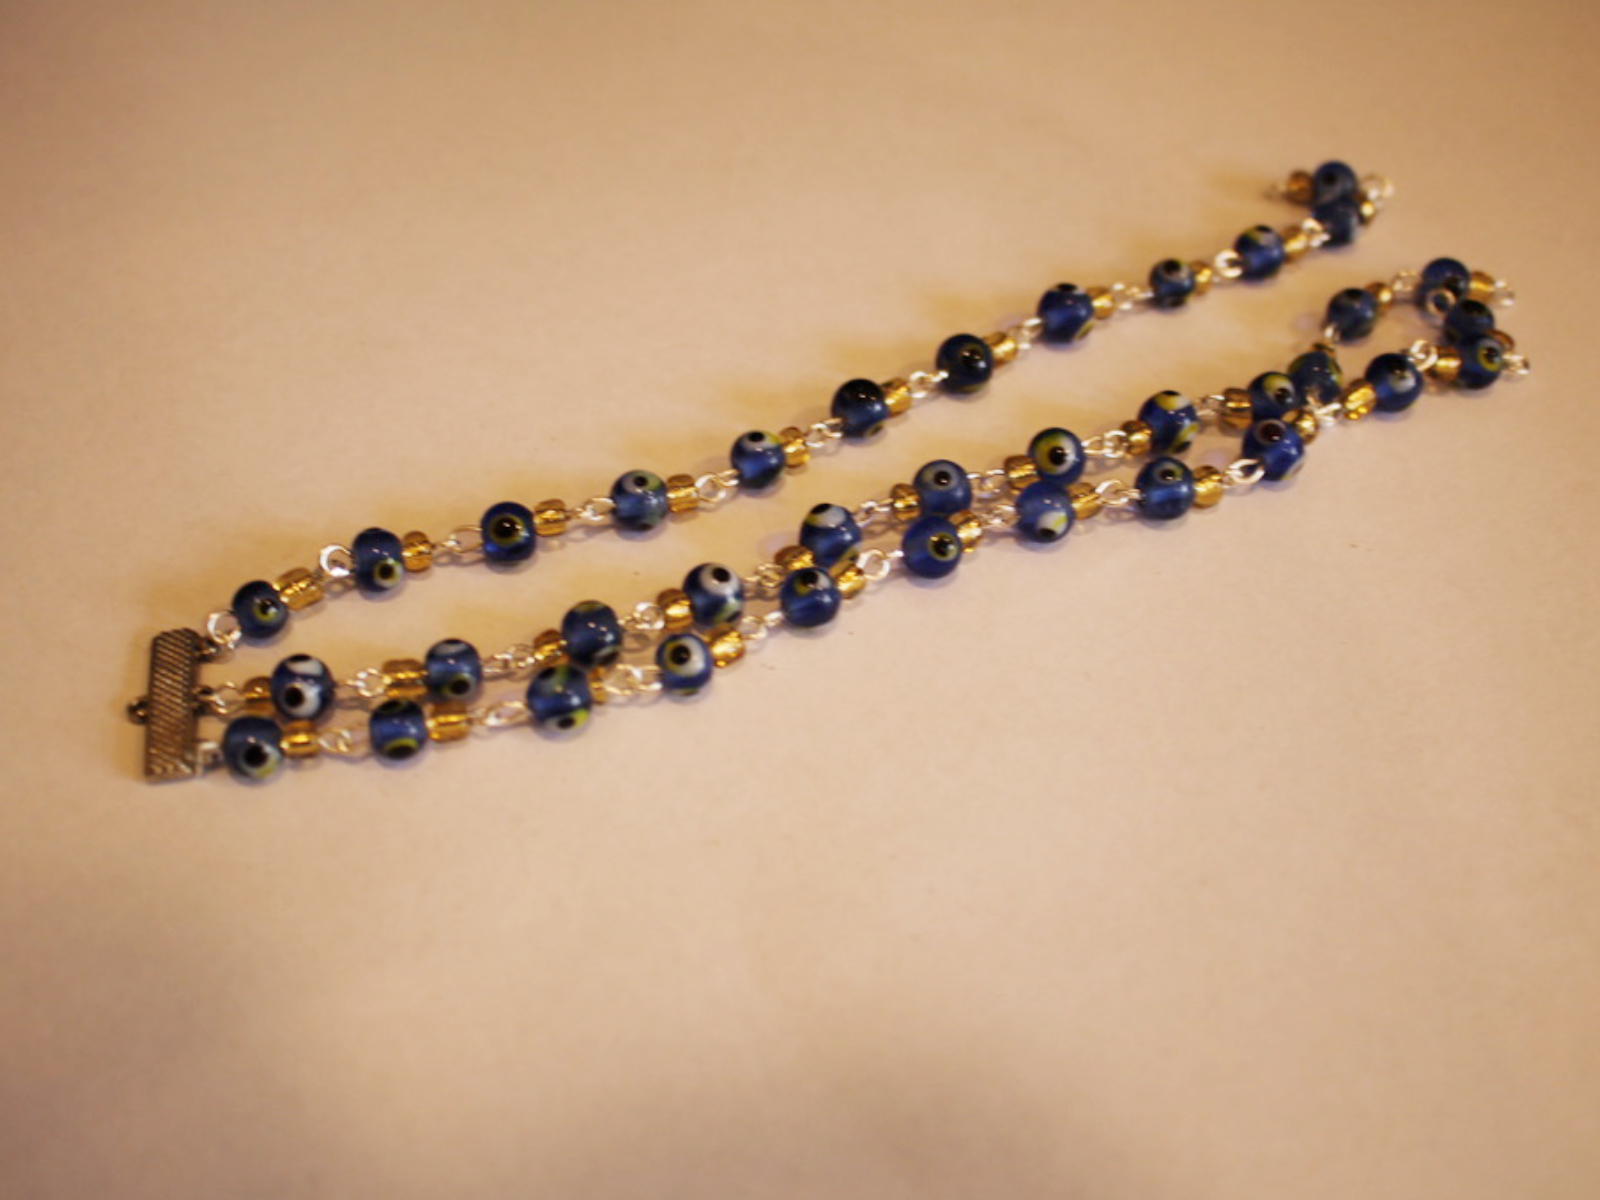
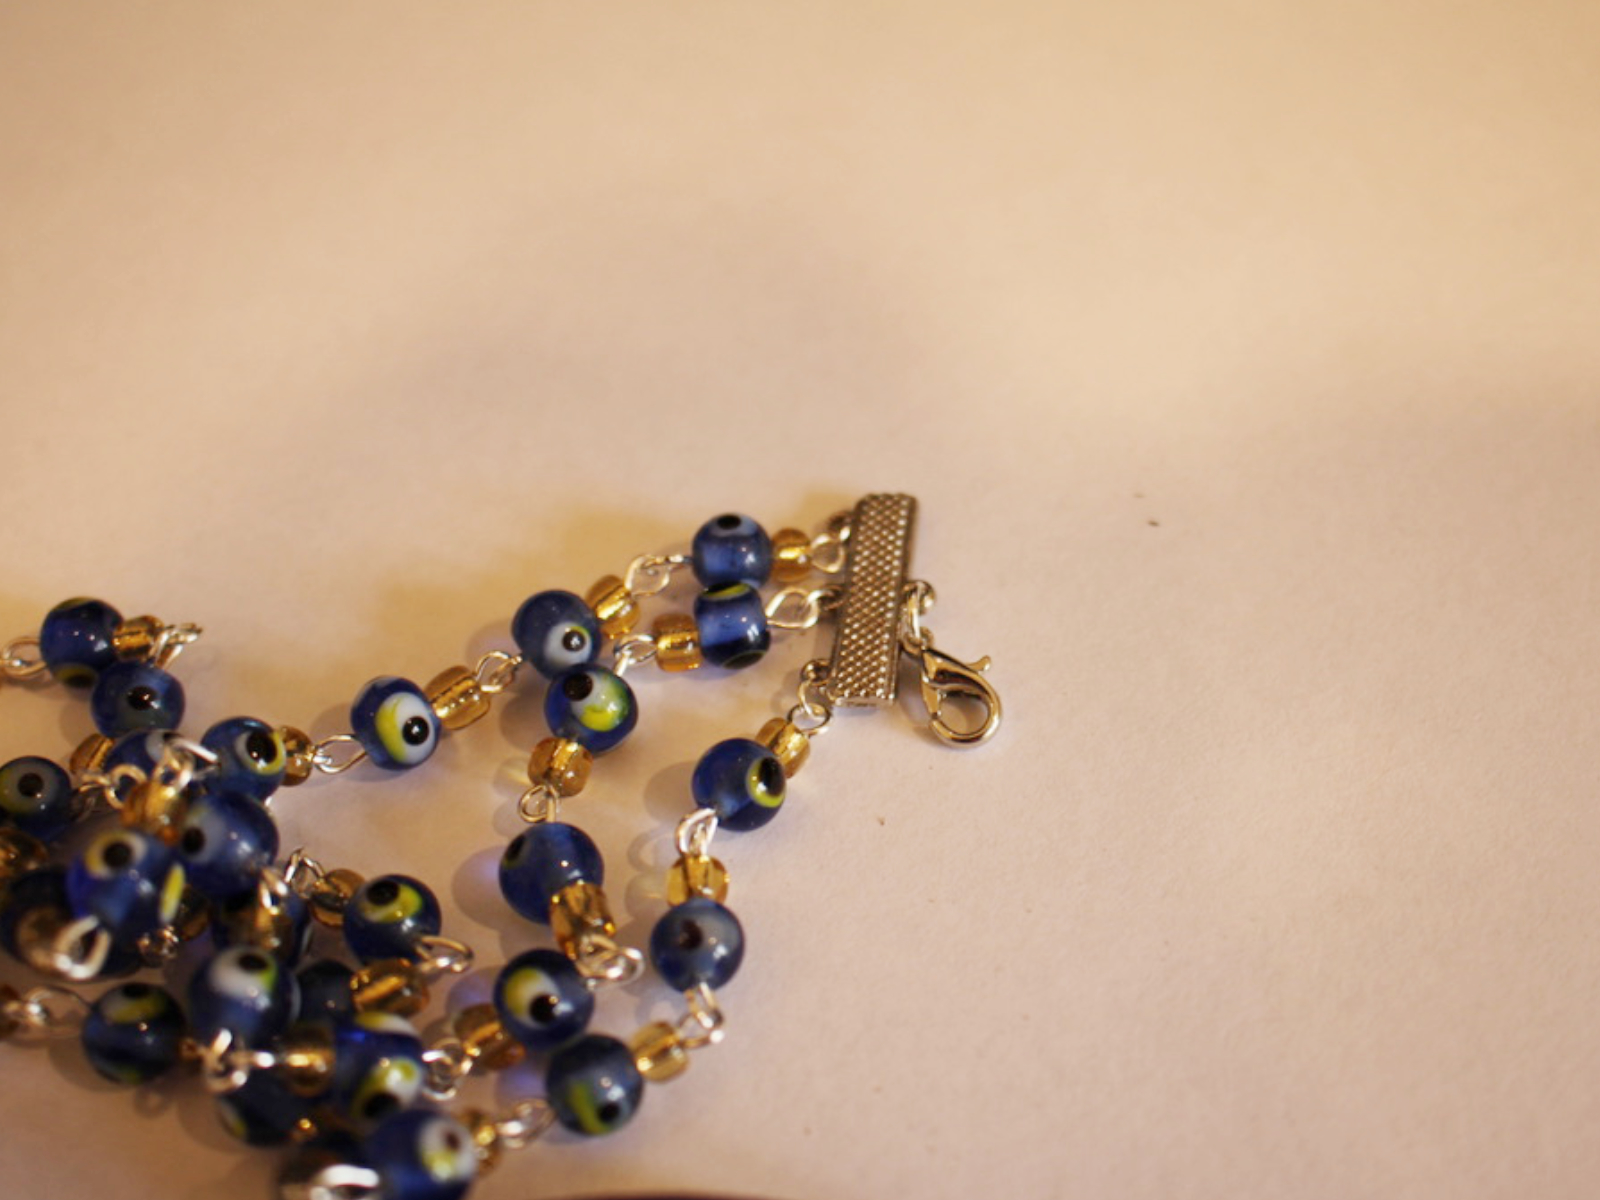
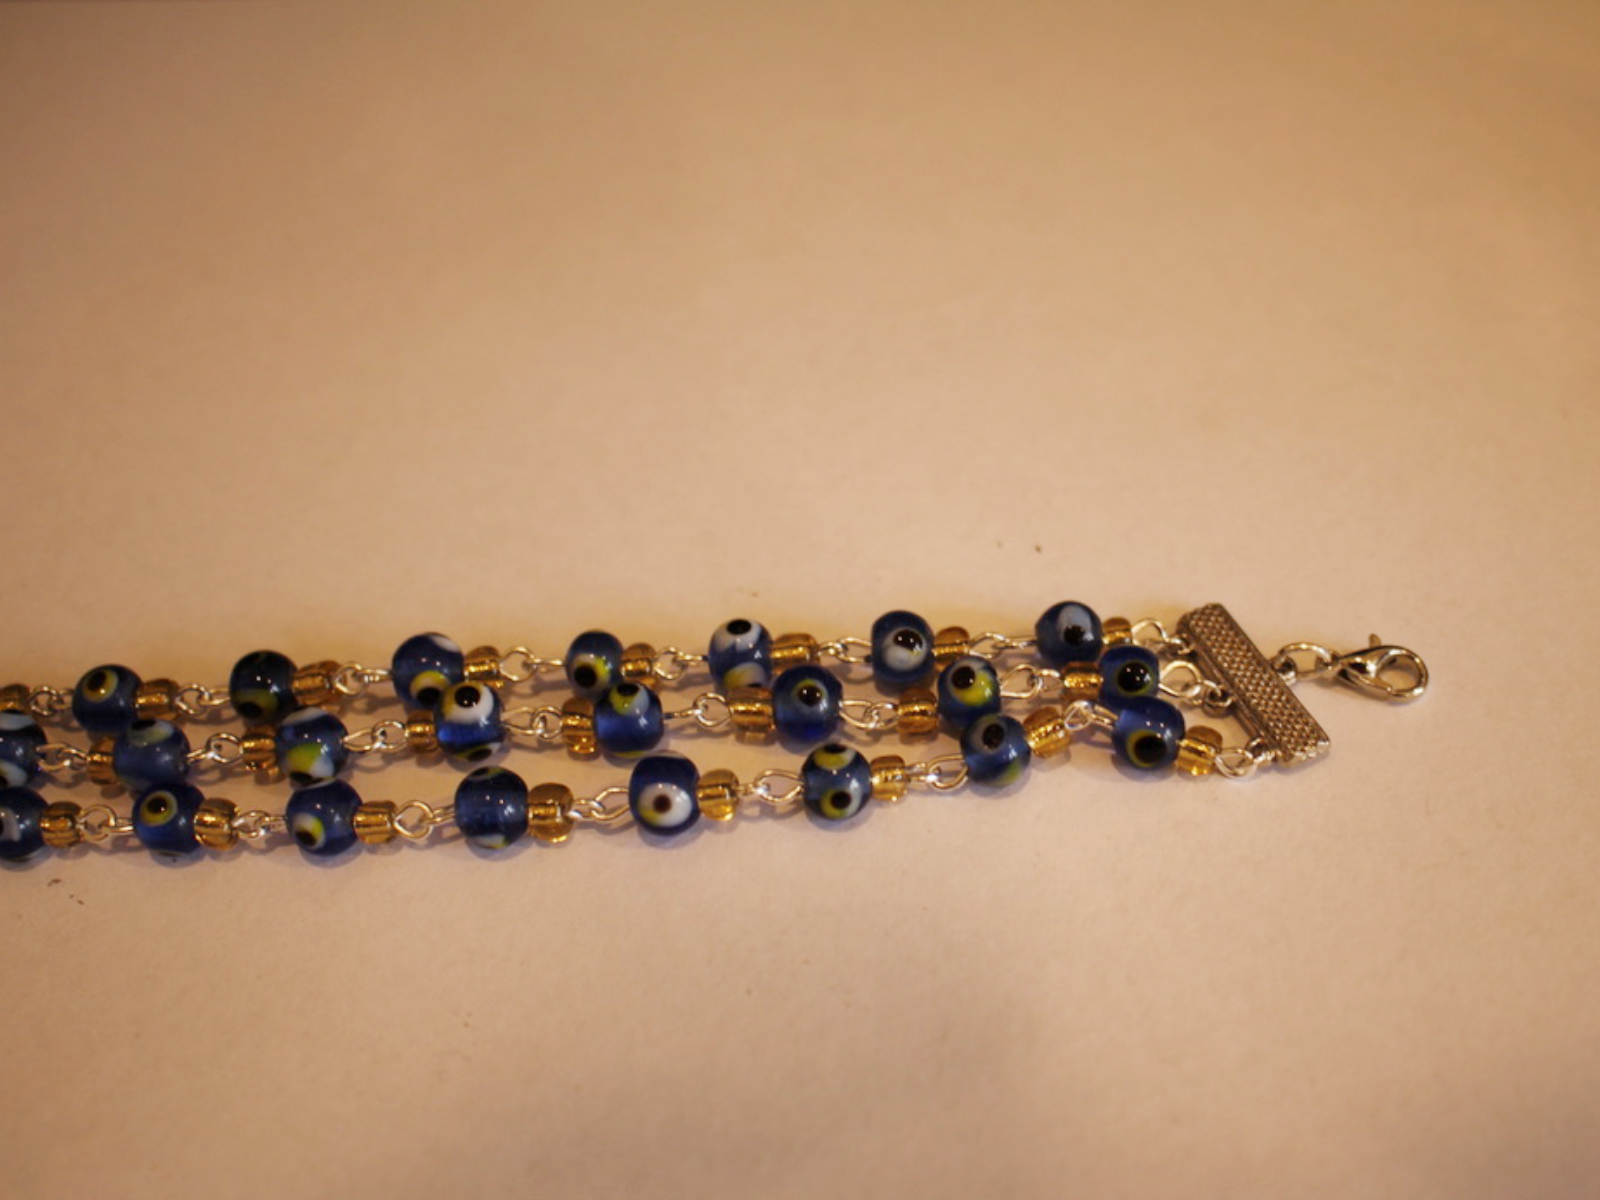
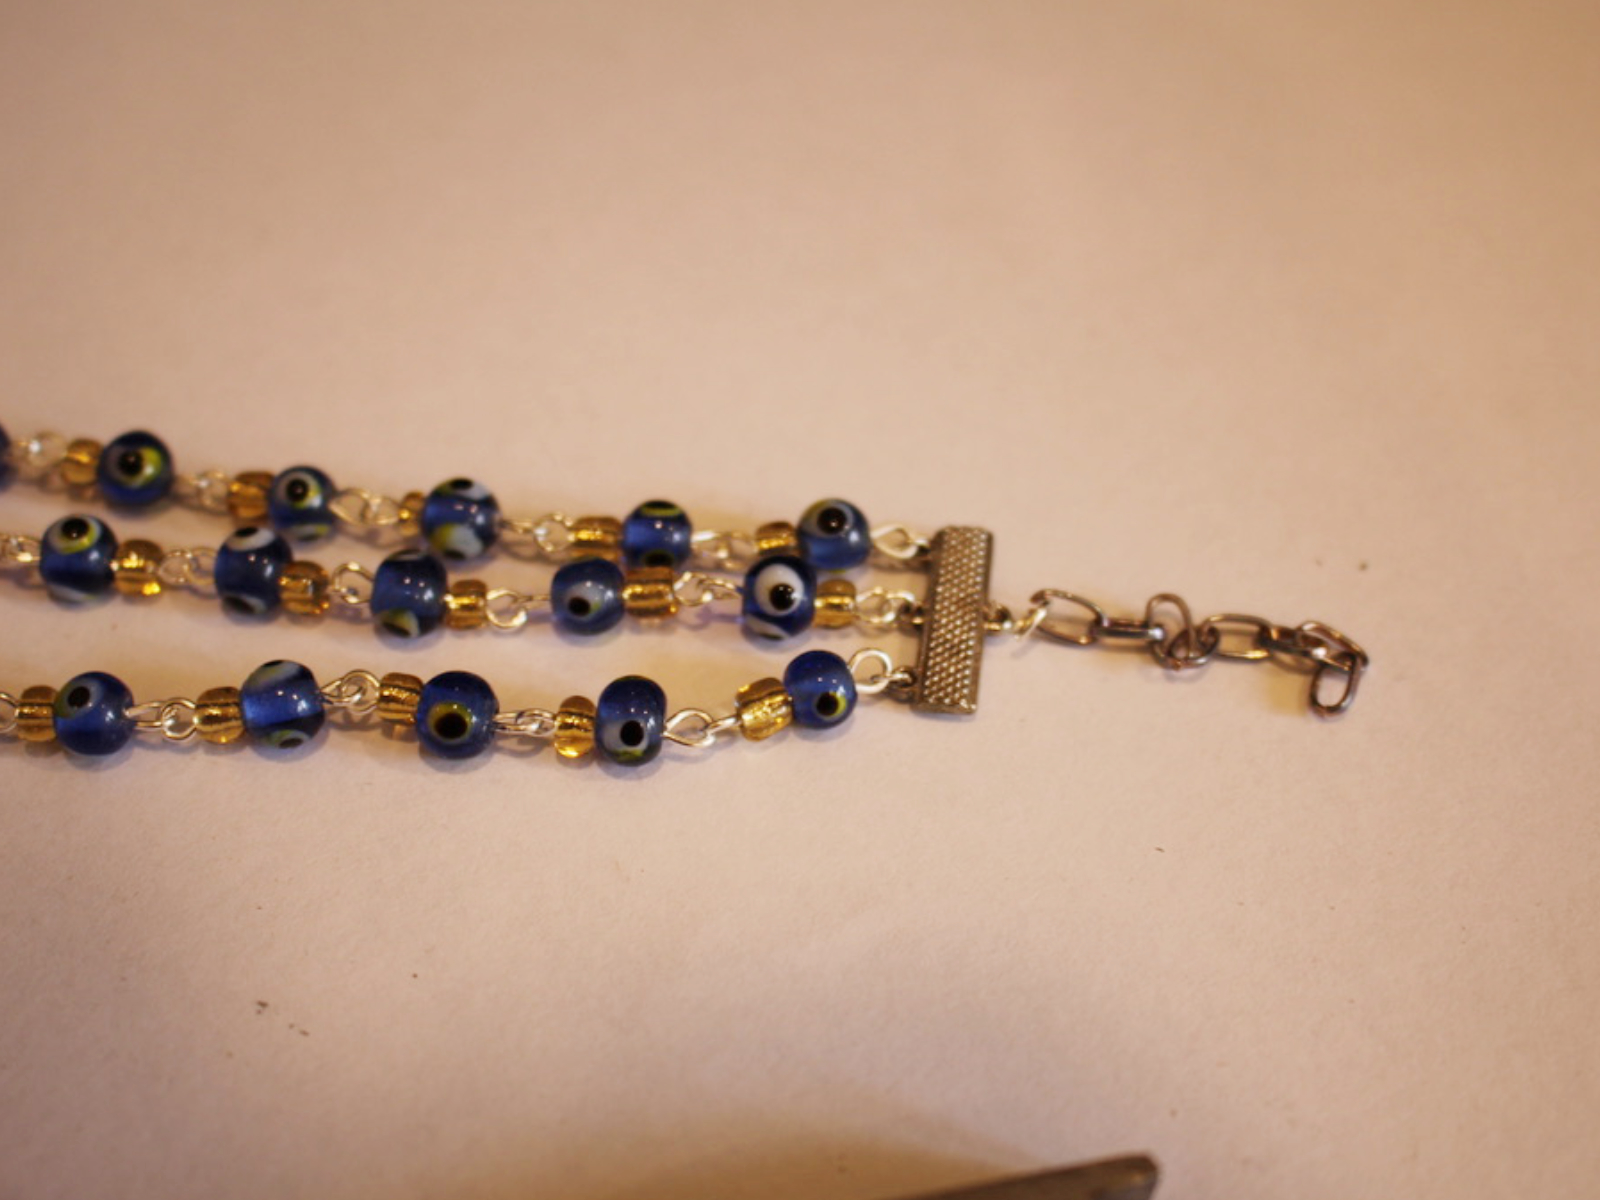
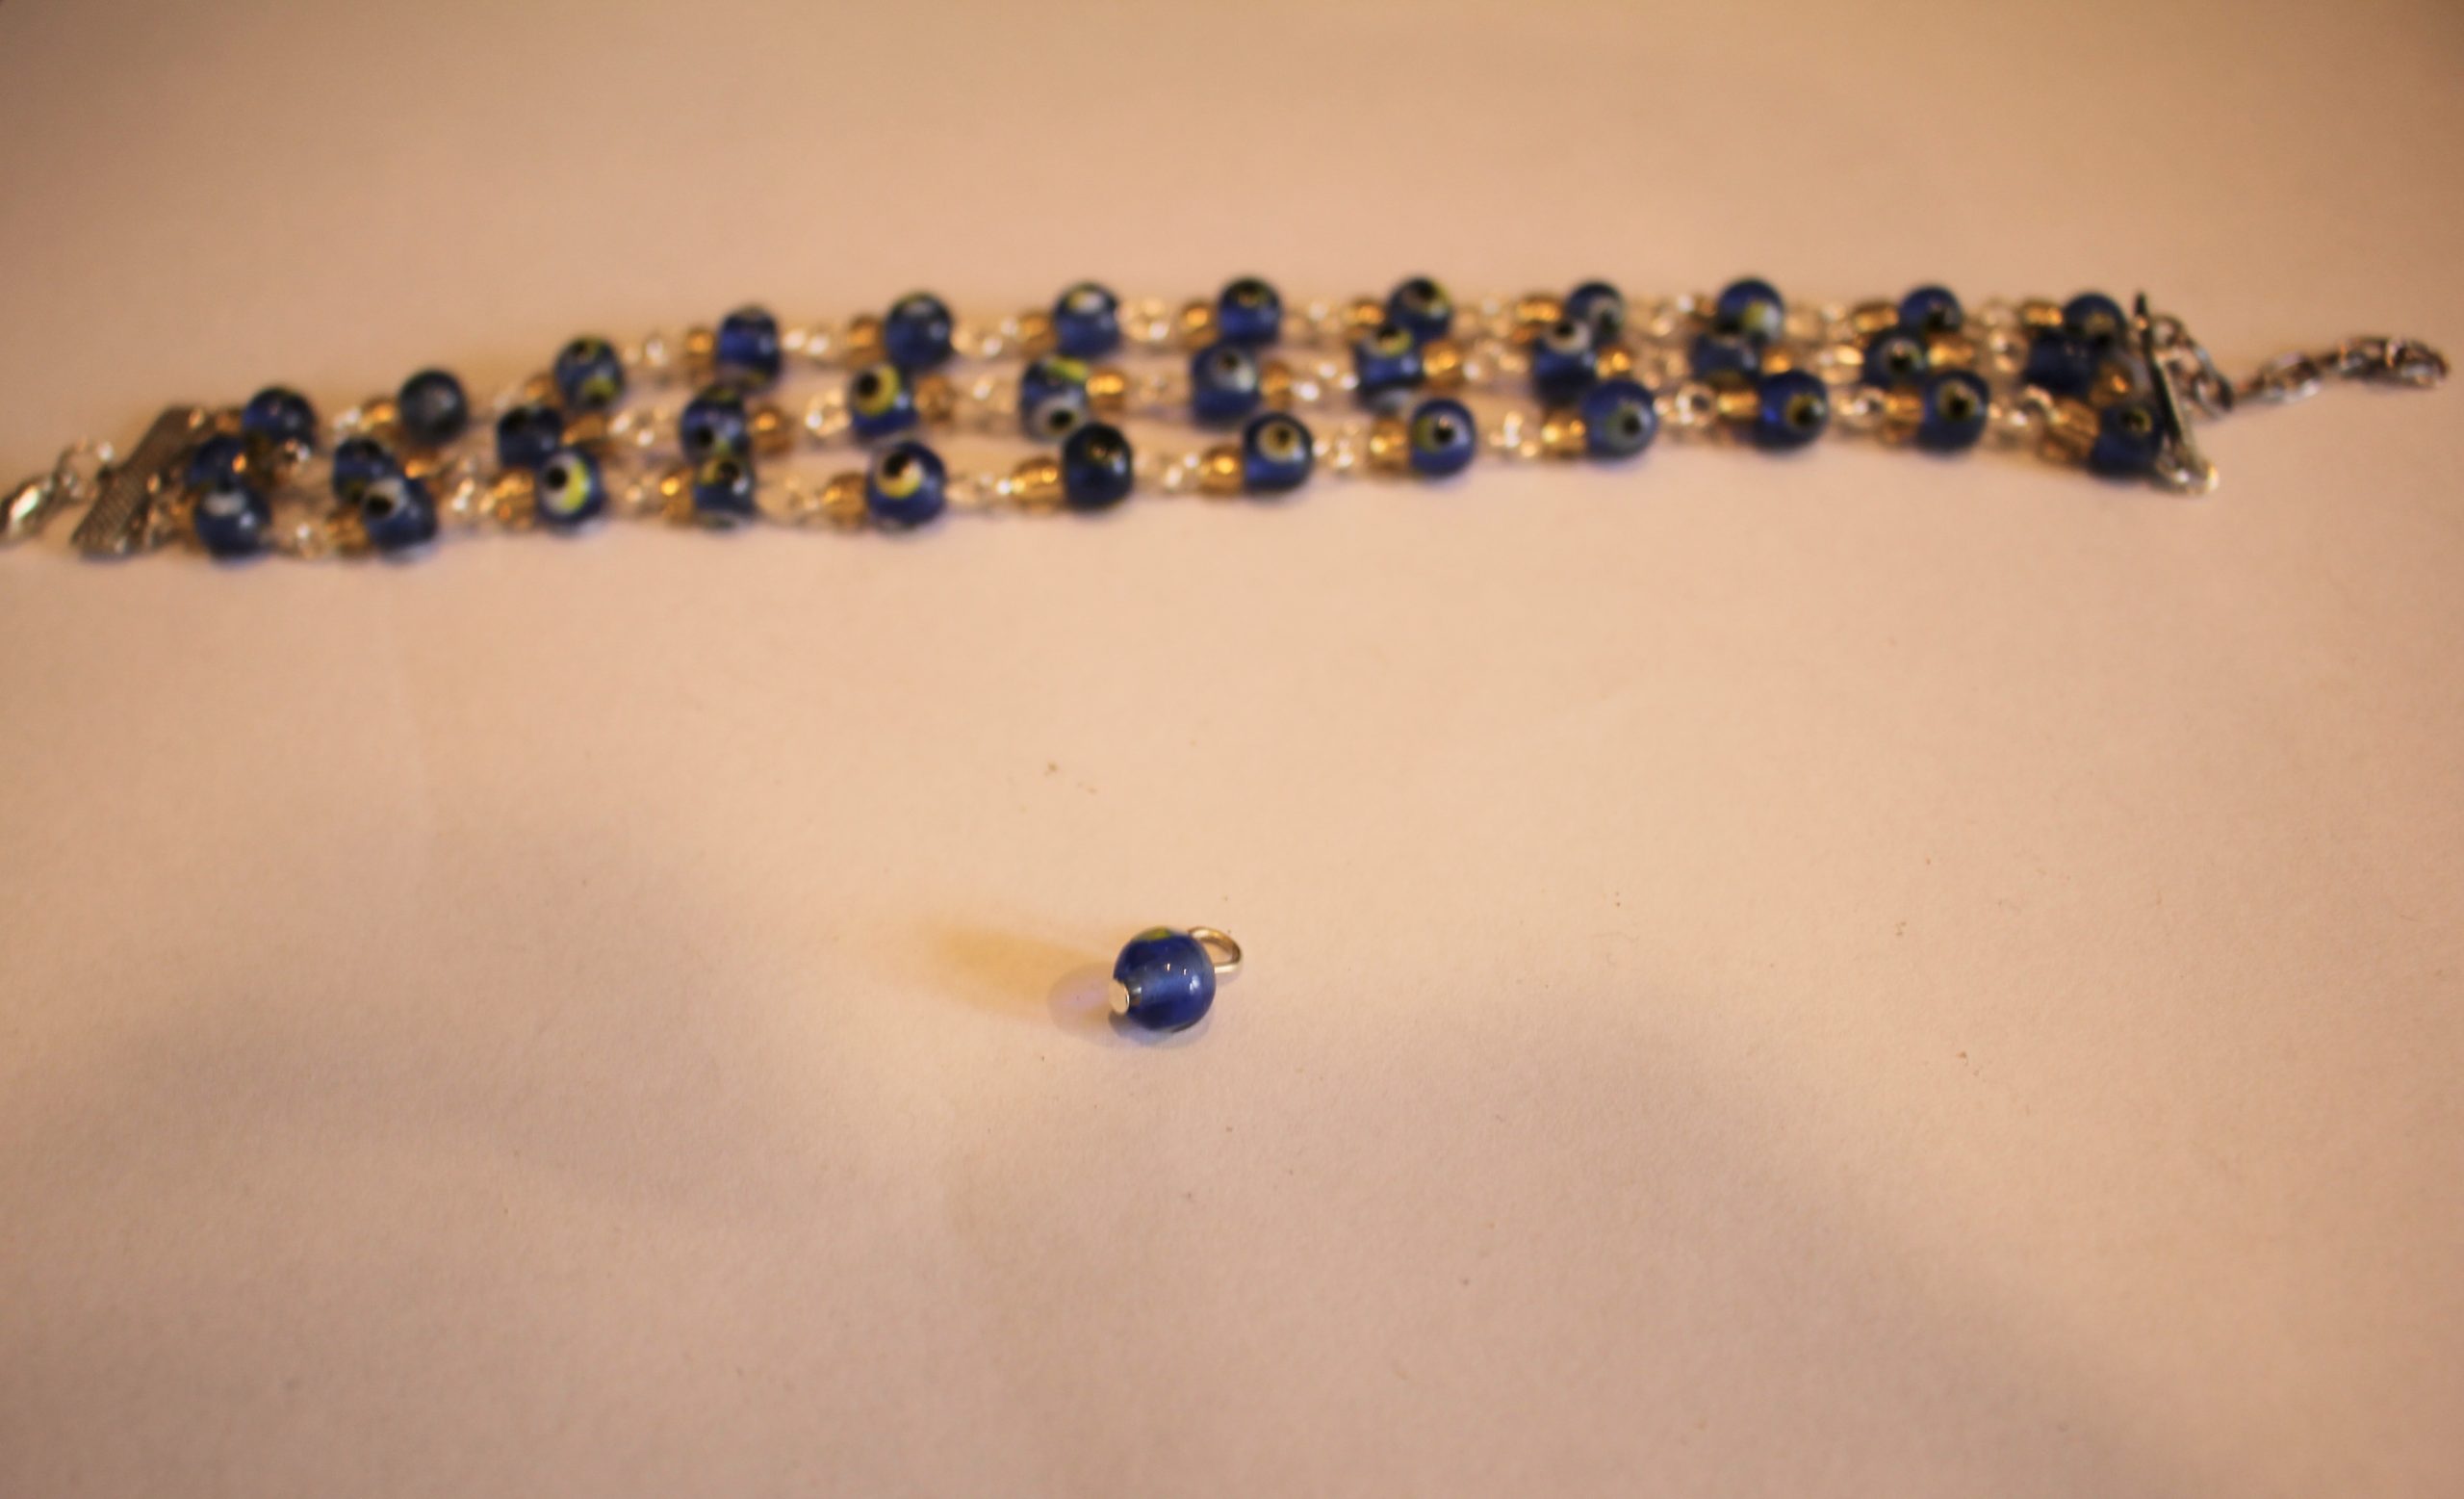
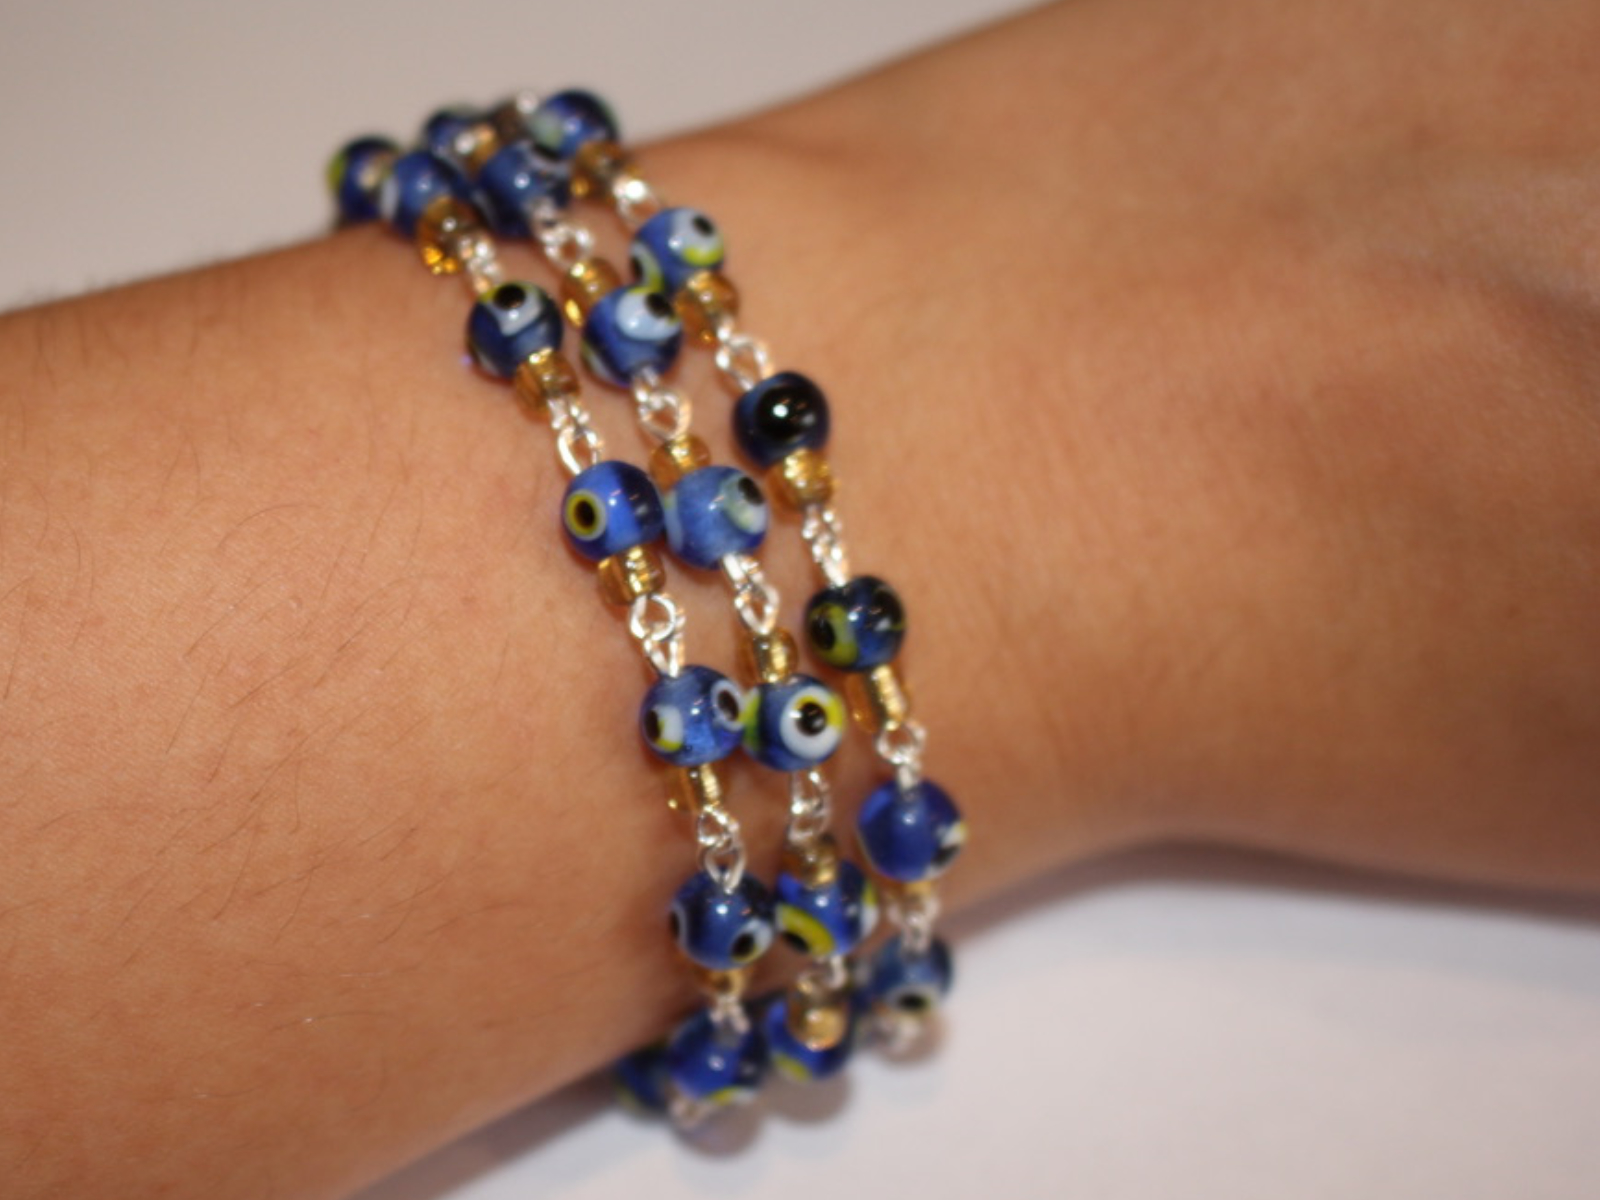
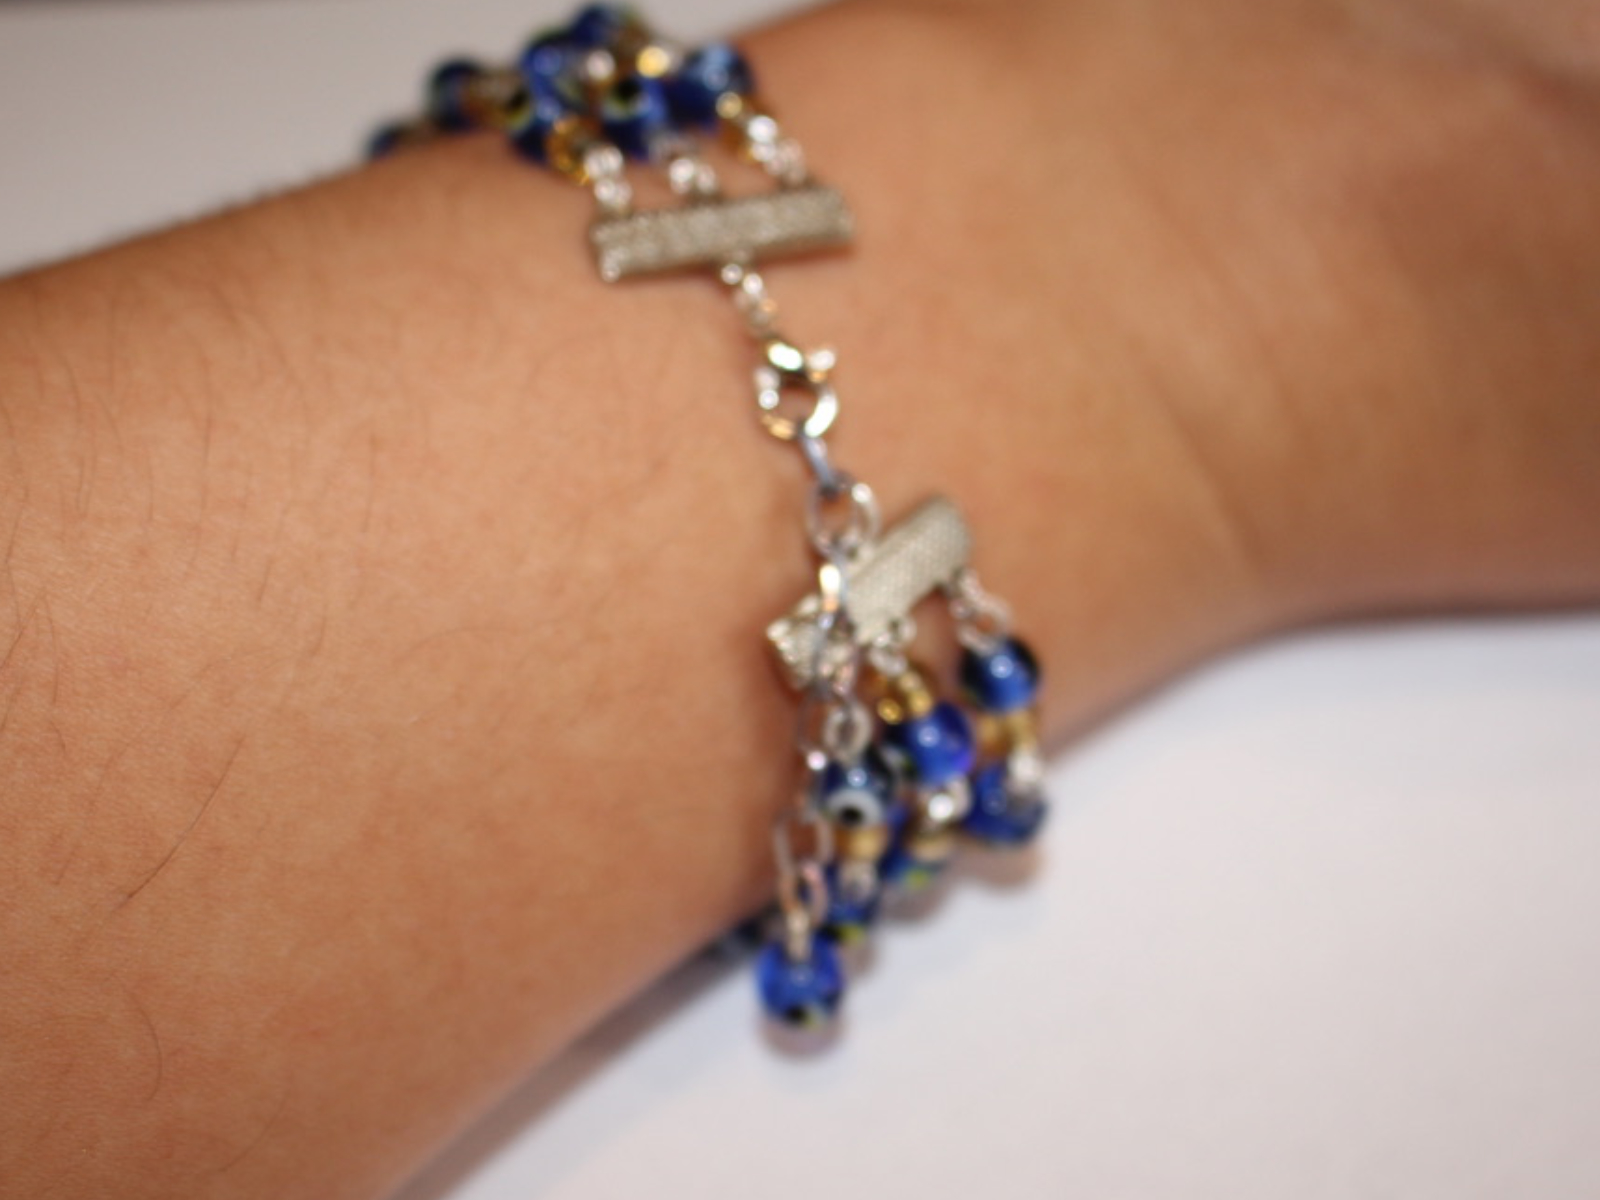
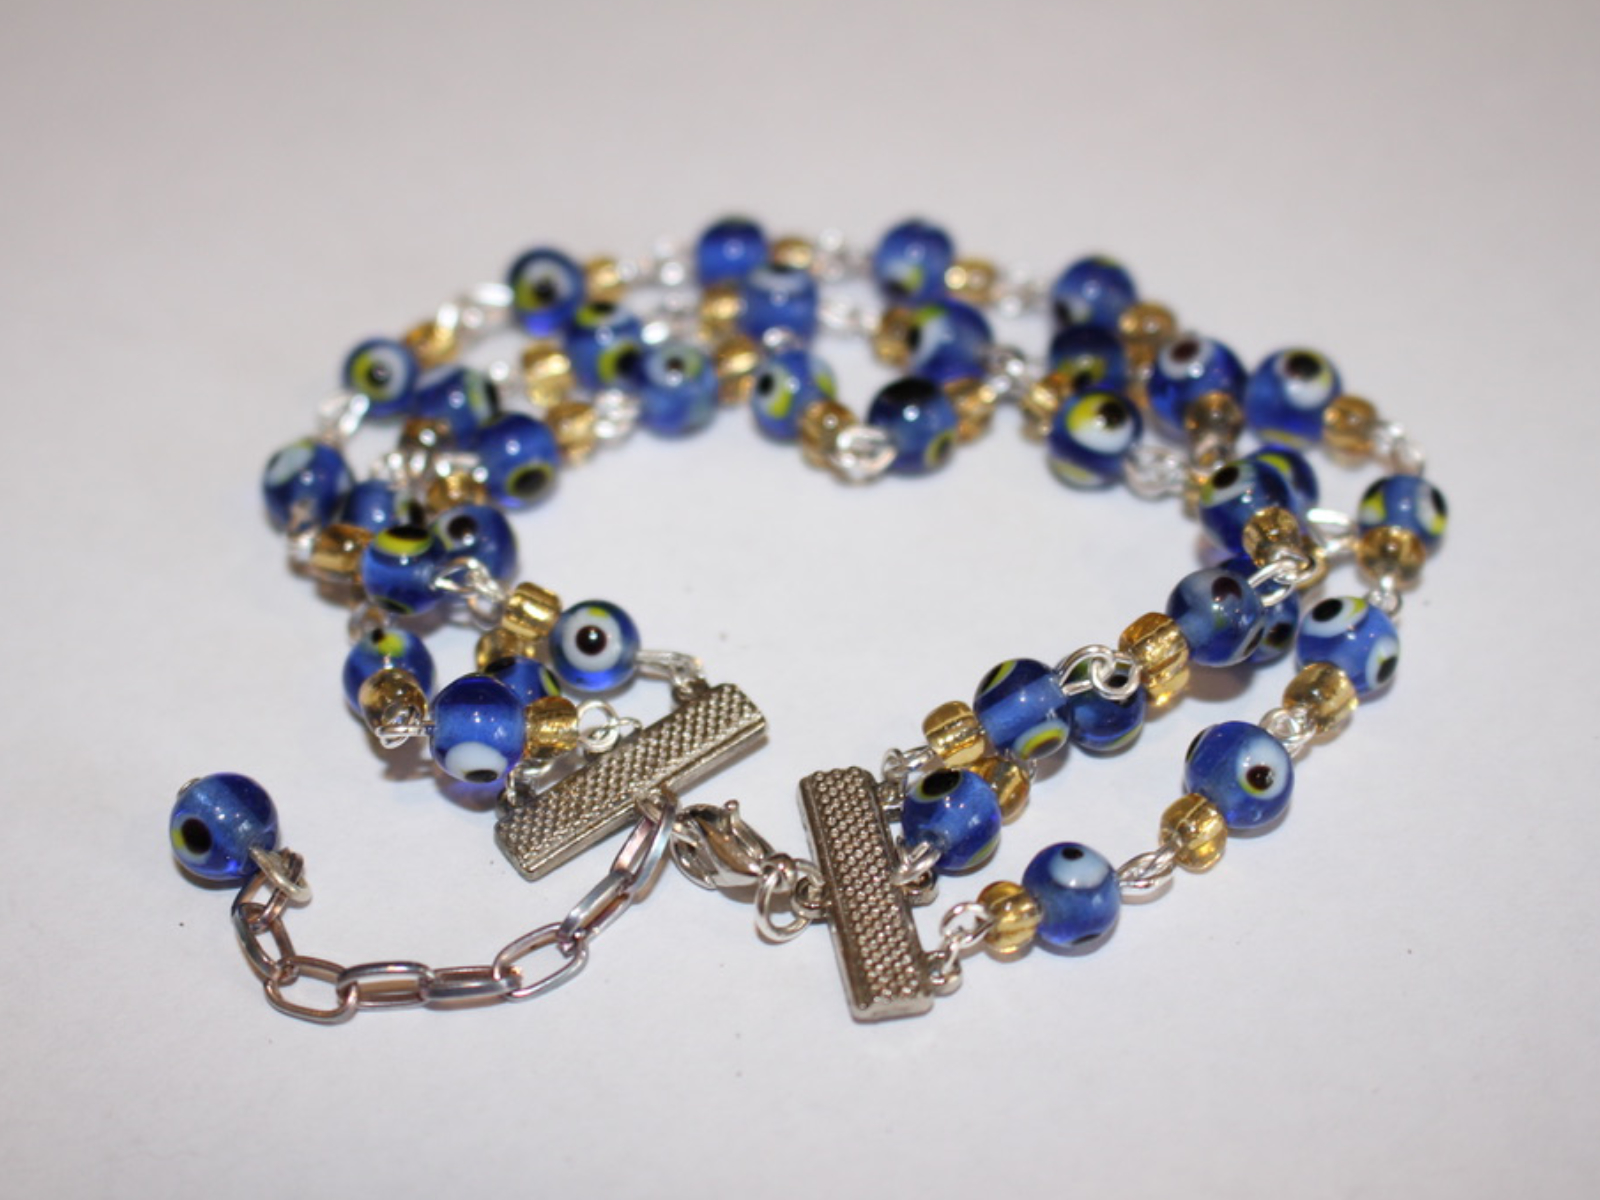
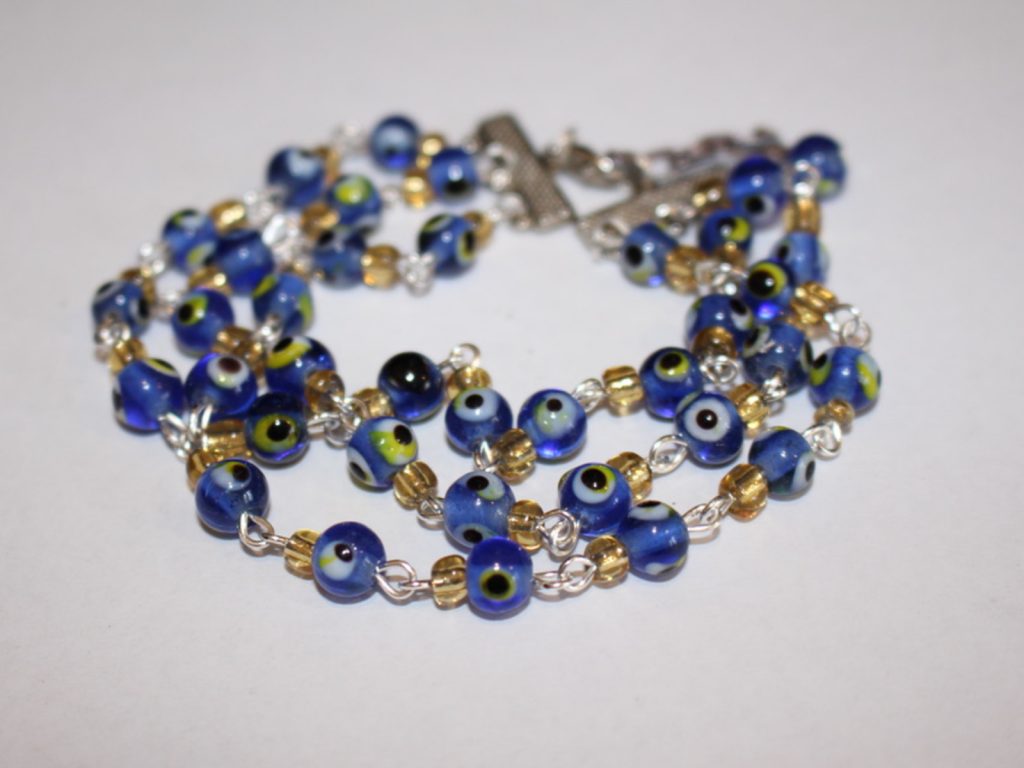
For this bracelet design you need to construct three different beaded chains and attach them together using charm connectors for a stacked bracelet look. This design is really cute and the chain extender means that putting it on by yourself is easier! Please note that this tutorial contains affiliate links.
You’ll need these tools and materials to make your triple strand stack bracelet:
1: Pliers. I used my round nose and flat nose pliers. You might also need your cutting pliers depending on the length of your eye pins.

Here’s where you can buy some jewellery pliers to add to your tool kit:
2: Eye pins. You’ll need a bunch of small eye pins to make your beaded chain.
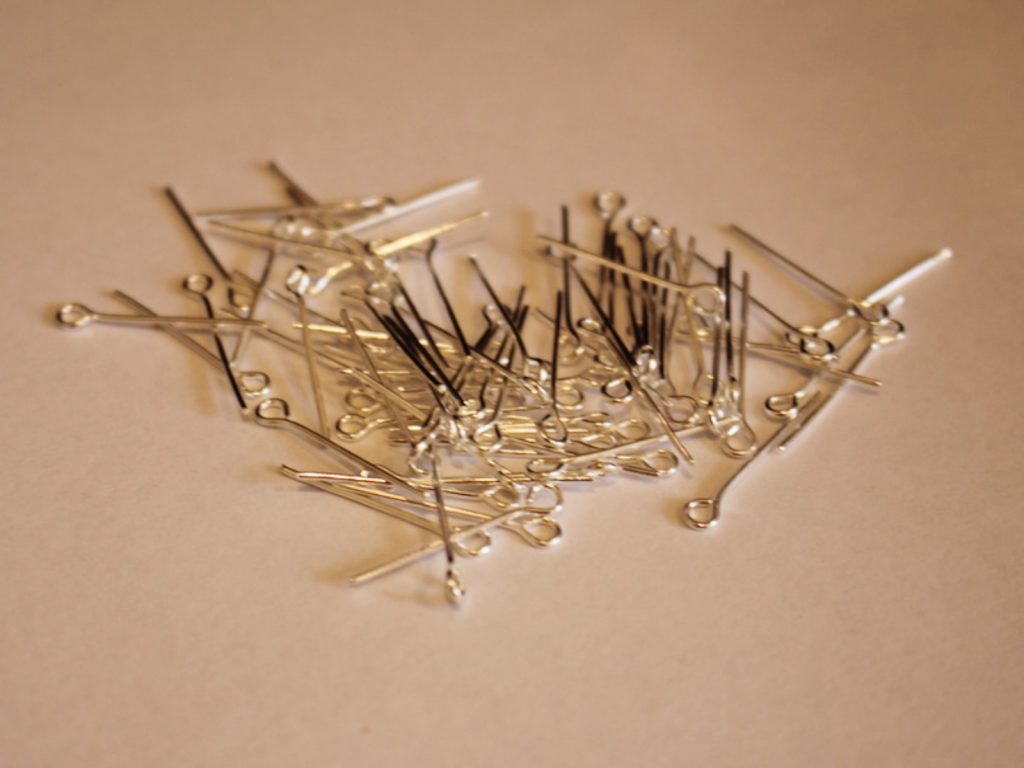
Here are eye pins in different lengths:
3: Charm connectors. I used these charm connectors that have three loops on one side and one on the other.

you can buy some charm connectors here:
4: Six small jump rings.

5: Two larger jump rings.
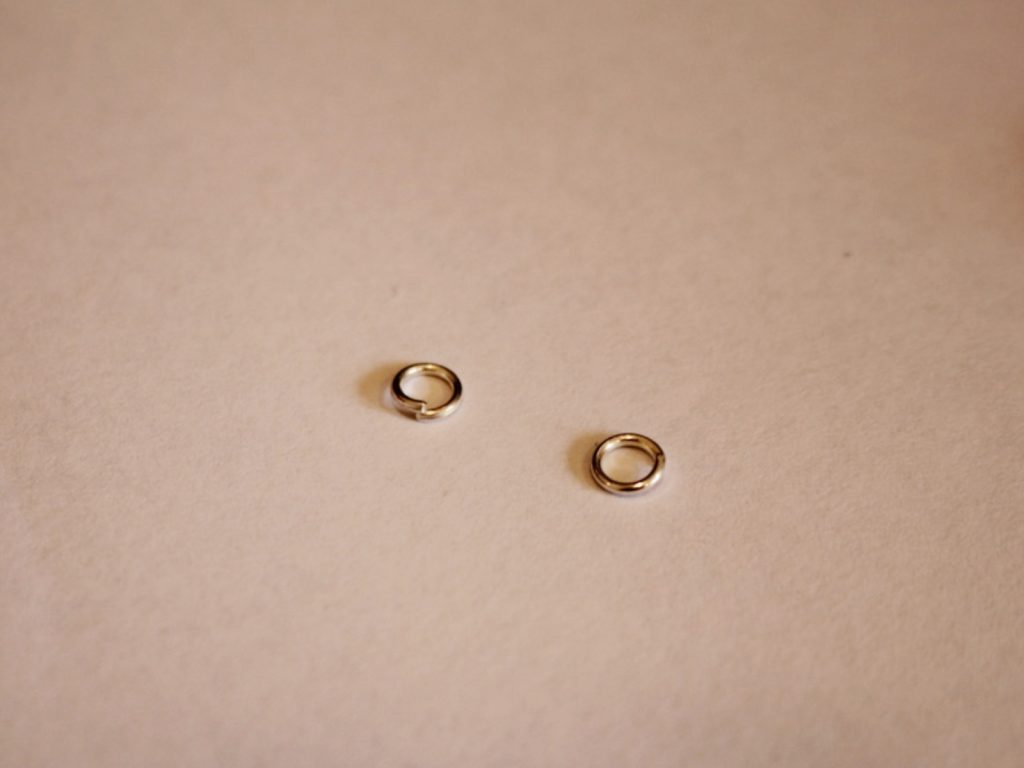
and here’s a link to differently sized jump rings to buy:
6: A small piece of chain. I used this spare piece of chain I had.

Get some here:
7: A small head pin.

A link to some small head pins:
8: A lobster clasp.
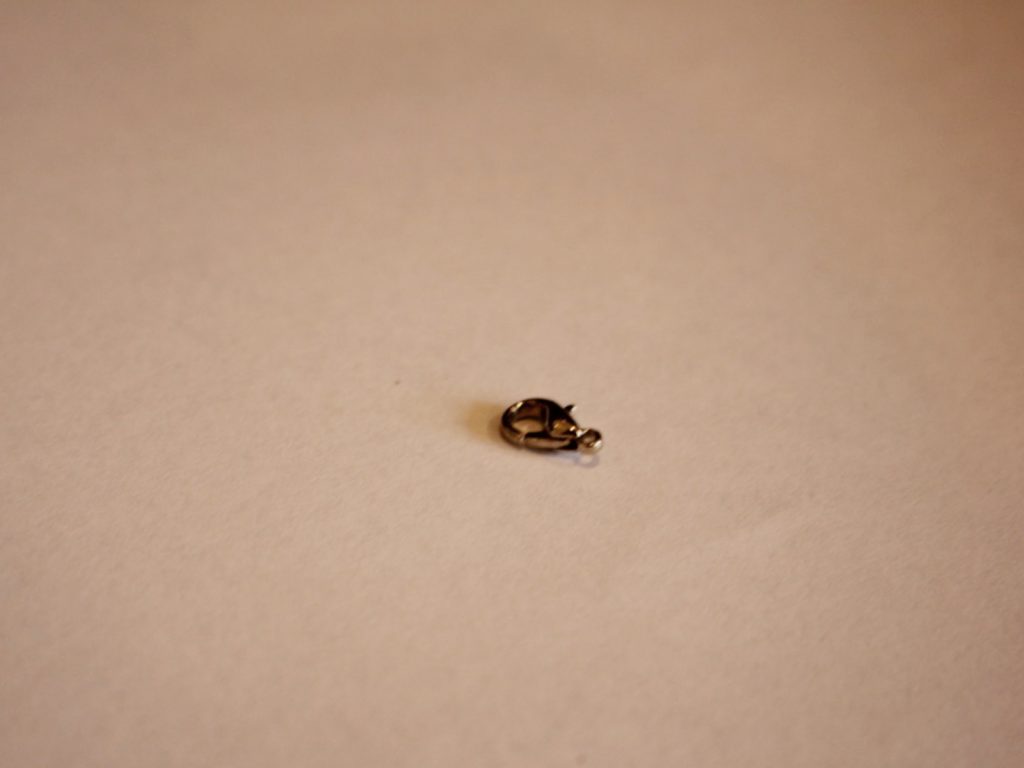
Here’s a link:
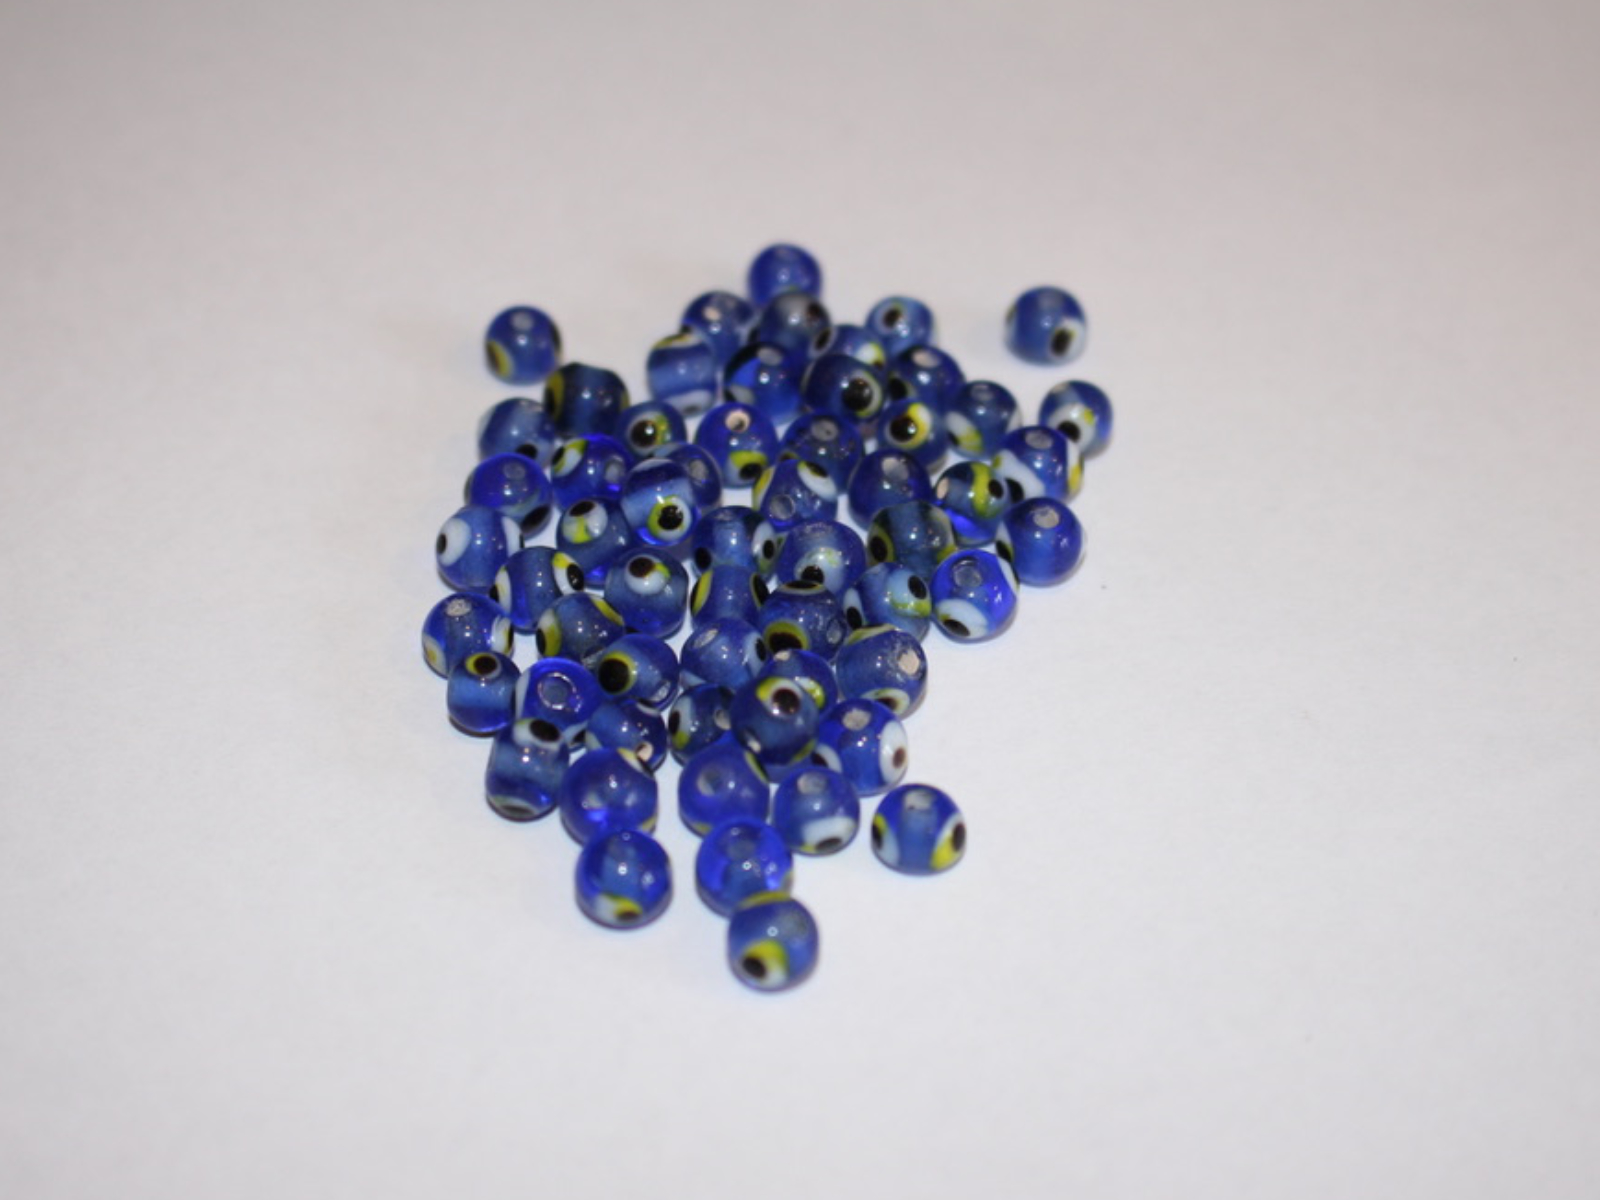
9: Beads. I used a mix of glass evil eye beads and yellow e-beads.


Find some beads for crafting here:
Follow these steps to make your three-in-one stacked chain bracelet:
1: Take one of the eye pins and add beads.
2: Bend the end of the pin to form an angle with the beaded section.

3: Create a loop at the top of the pin using your round nose pliers to secure the beads in place.
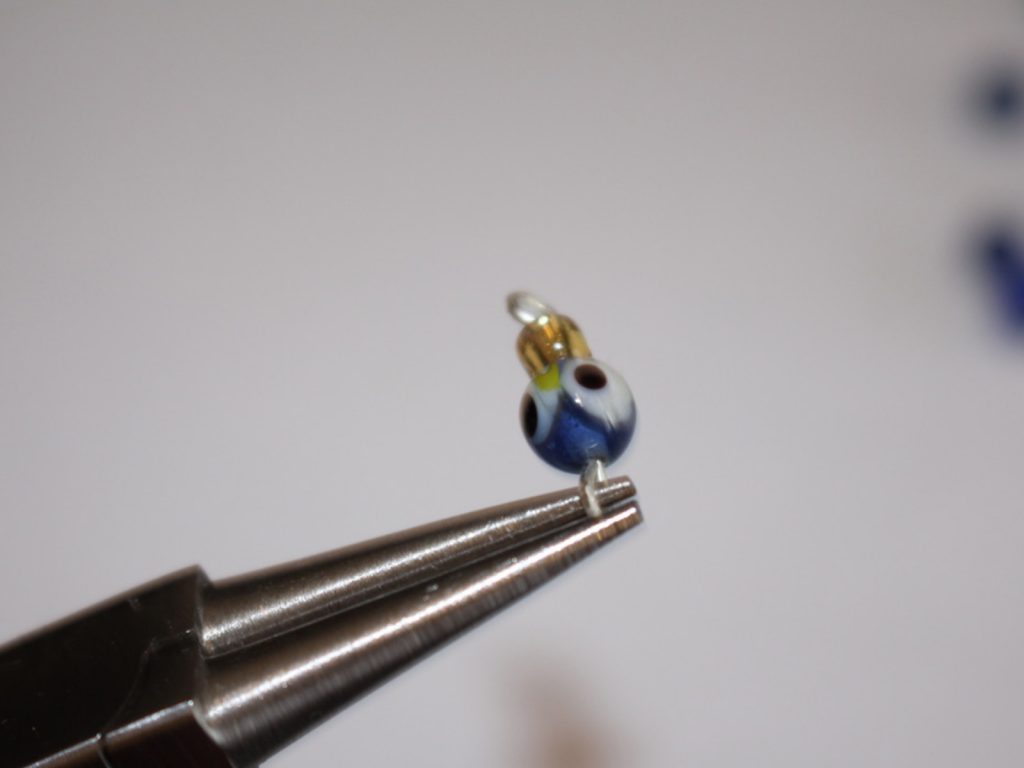
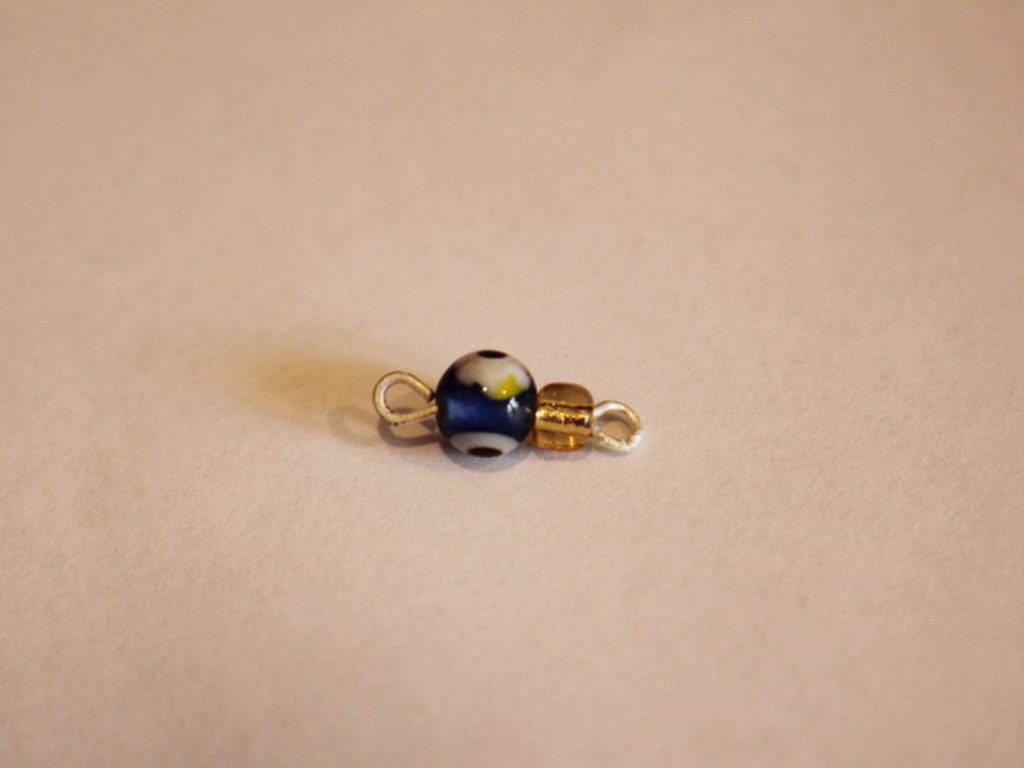
4: Repeat steps 1-3 to create another beaded chain link.
5: Attach the two beaded links together.
6: Repeat steps 1-5 until you have a chain long enough to fit your wrist, make it one link shorter than you think you’ll need, the charm connectors will add extra length to your finished bracelet.


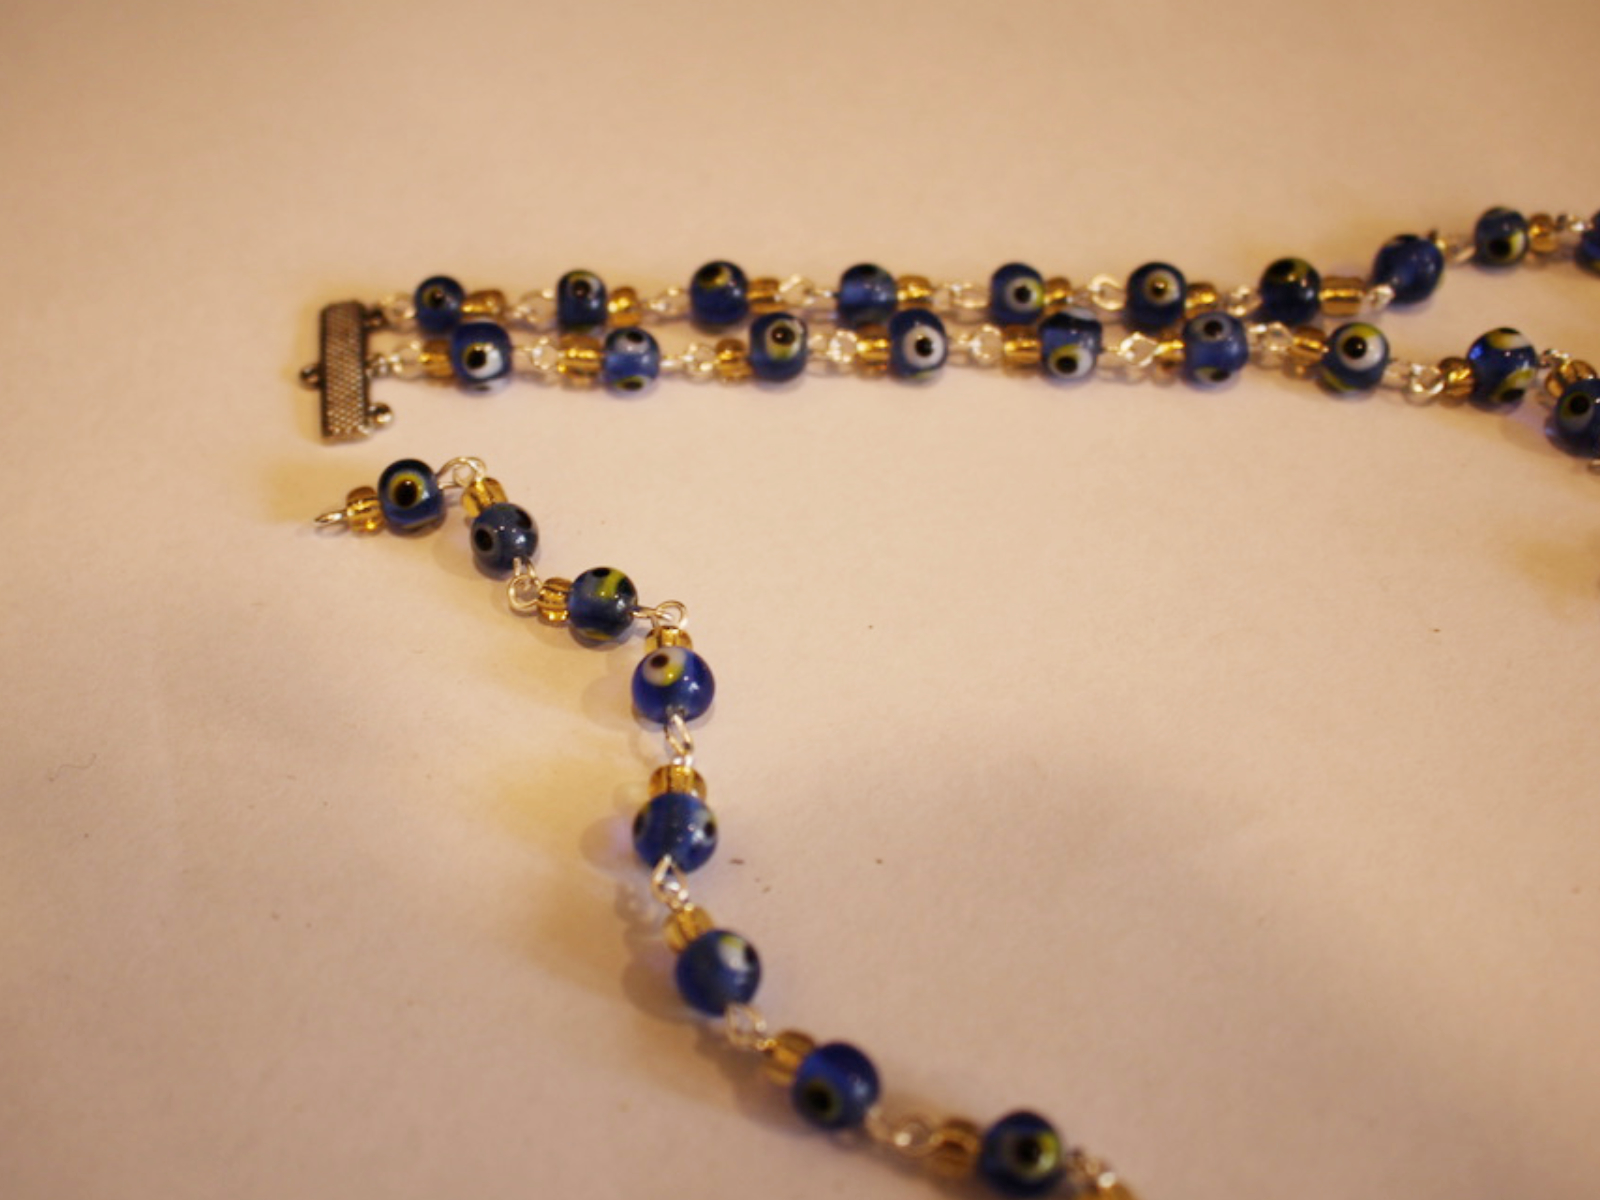
7: Make another two chains in the same way.

8: Attach each of the chains to one of the charm connectors using three of the small jump rings.


9: Attach the other end of the chains to the other charm connector using the remaining three small jump rings.

10: Add A jump ring to one side of the bracelet and attach the lobster clasp.
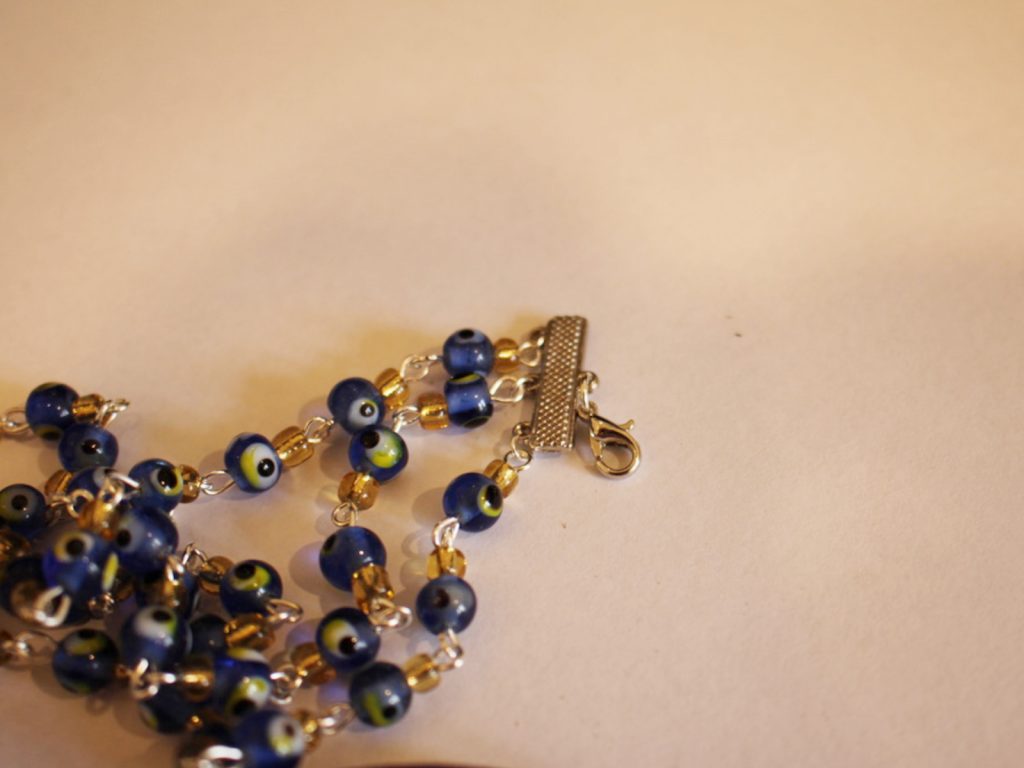

11: Add another jump ring to the other side and attach the small piece of chain.
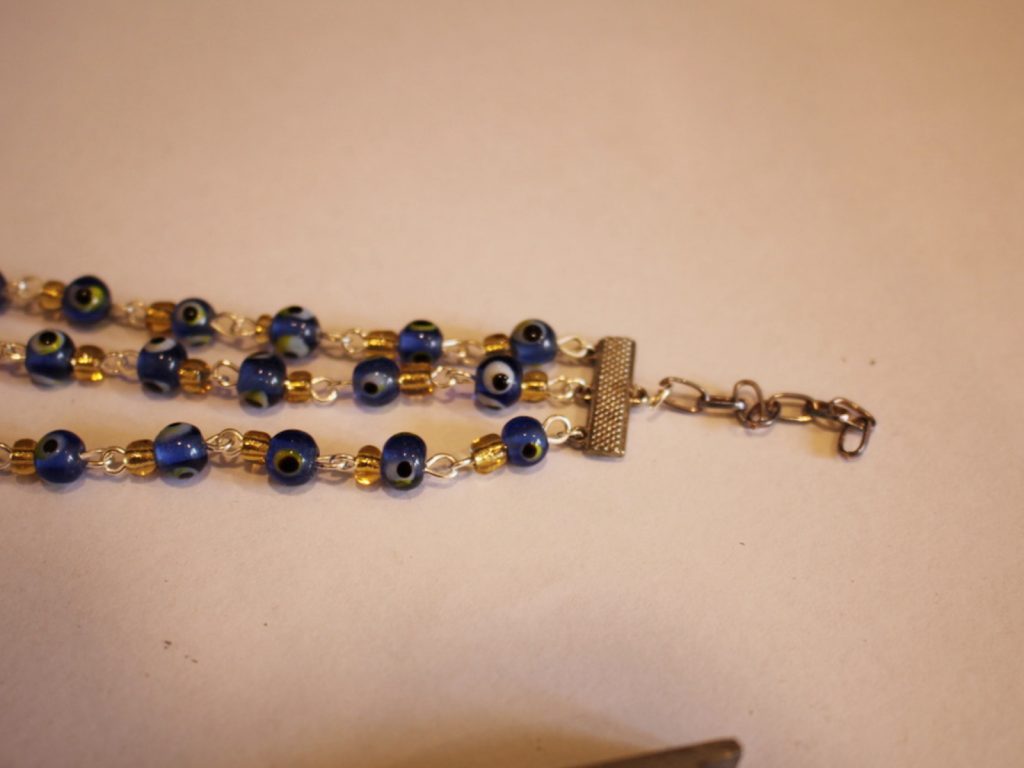
12: Add one more bead to the head pin and create a loop at the top as you did in step 3.
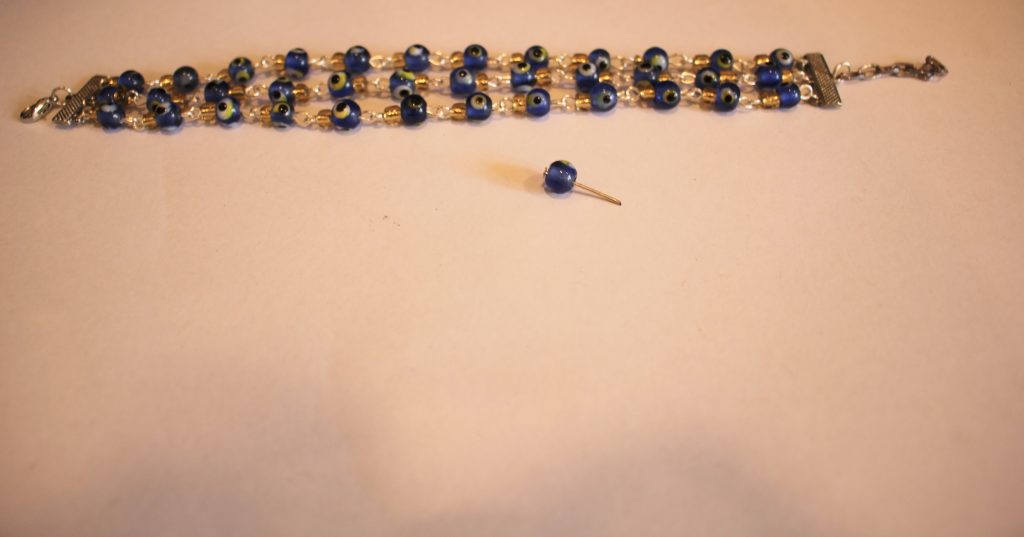

13: Attach the charm you just made to the end of the small chain to finish your bracelet off!


So, now your triple chain bracelet stack is finished and ready to wear! What kind of beads will you use in your design? I think that this bracelet would look great with three different types of gemstone beads layered on top of each other. Gemstone chip beads would be perfect for this DIY. You can buy some



And here are some other multi-strand bracelet tutorials you can follow:
-
Here’s how to make a double strand bracelet out of memory wire!
This memory wire bracelet is pretty straight forward to make and is a fun way to create a layered look without having to keep track of multiple bracelets! Please note that this tutorial contains affiliate links.
You’ll need the following tools and materials to make this layered memory wire bracelet:
1: Two pieces of bracelet length memory wire cut to the same length. Make sure there’s some overlap at the ends of the wire as this is how it stays on your wrist.

2: Pliers. I used my cutting pliers, round nose pliers and flat nose pliers for this design.
3: Two jump rings.

4: Beads. I used yellow and green glass beads and four green glass decorative beads.

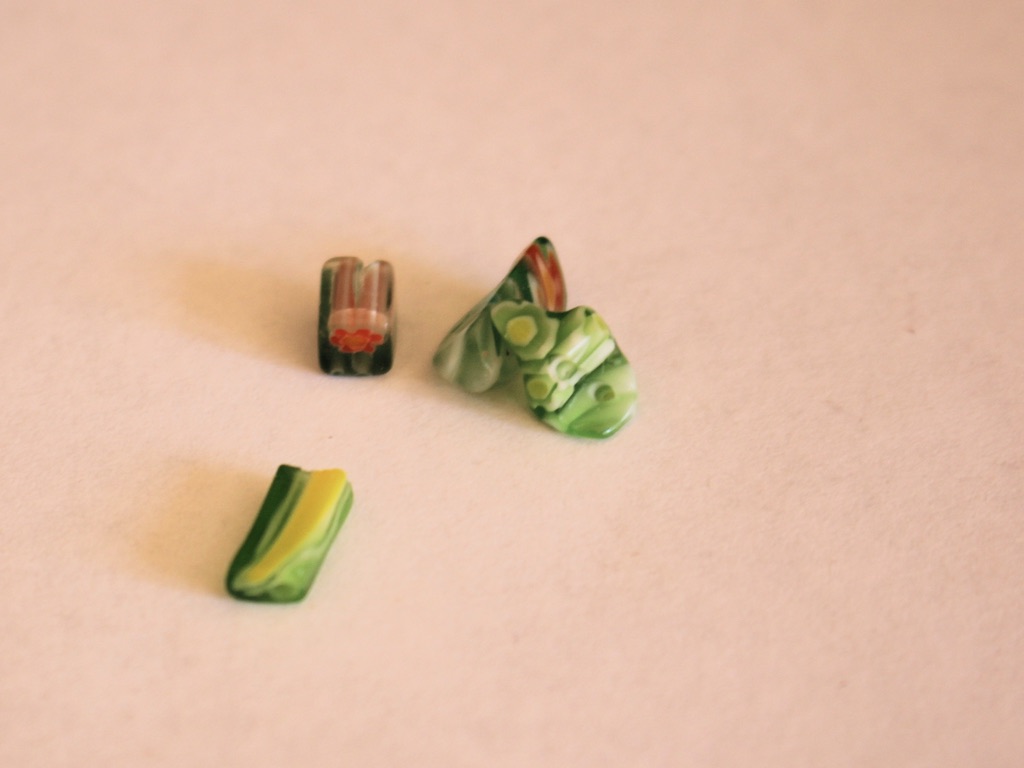
5: Two head pins.

Follow these steps to make your double strand wire bracelet:
1: Take one of the pieces of memory wire and create a loop at one end using the round nose pliers. Do this by curling the wire around the pliers towards the main body of the wire coil.


2: Add beads to the wire in the pattern of your choice.

3: Continue adding beads until there is approximately 1cm of the wire left without beads.

4: Curl the other end of the wire as you did in step 1, this will keep the beads secured on the wire.
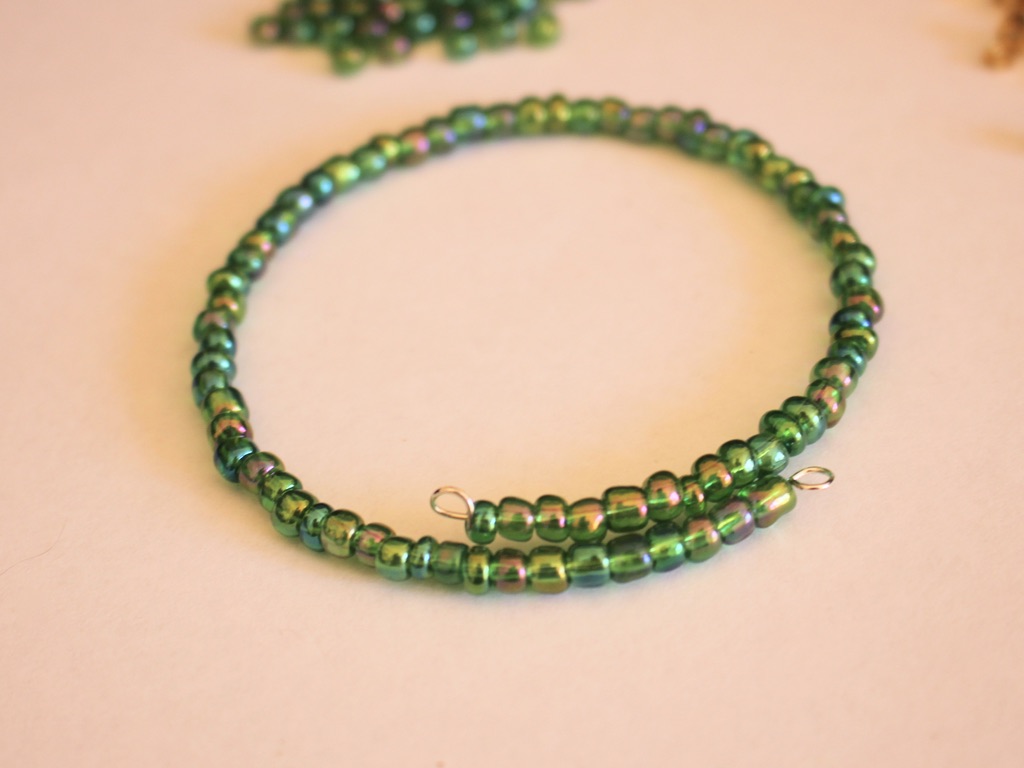
5: Repeat steps 1-4 for the second piece of wire. I changed bead colours for this one.

6: Attach the two beaded wires together at each end by threading a jump ring through the loops you made. Once your beaded wires are attached you should be able to open them at the same time and put them on your wrist!

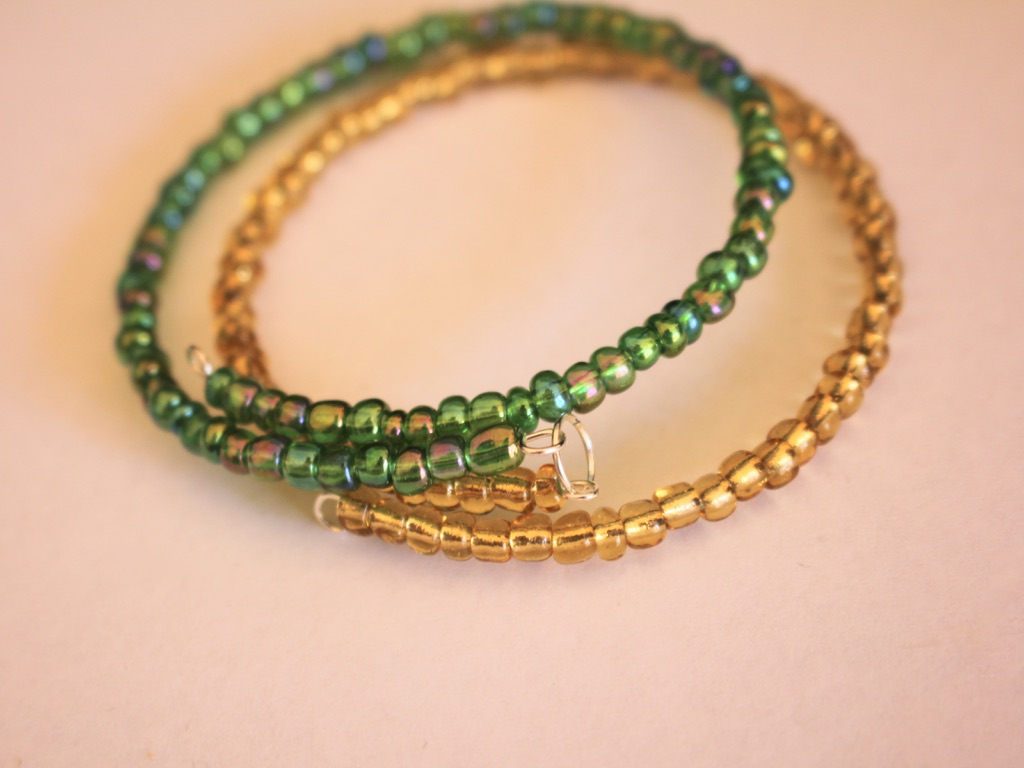

7: As a finishing touch, add two of the decorative beads to each of the head pins.
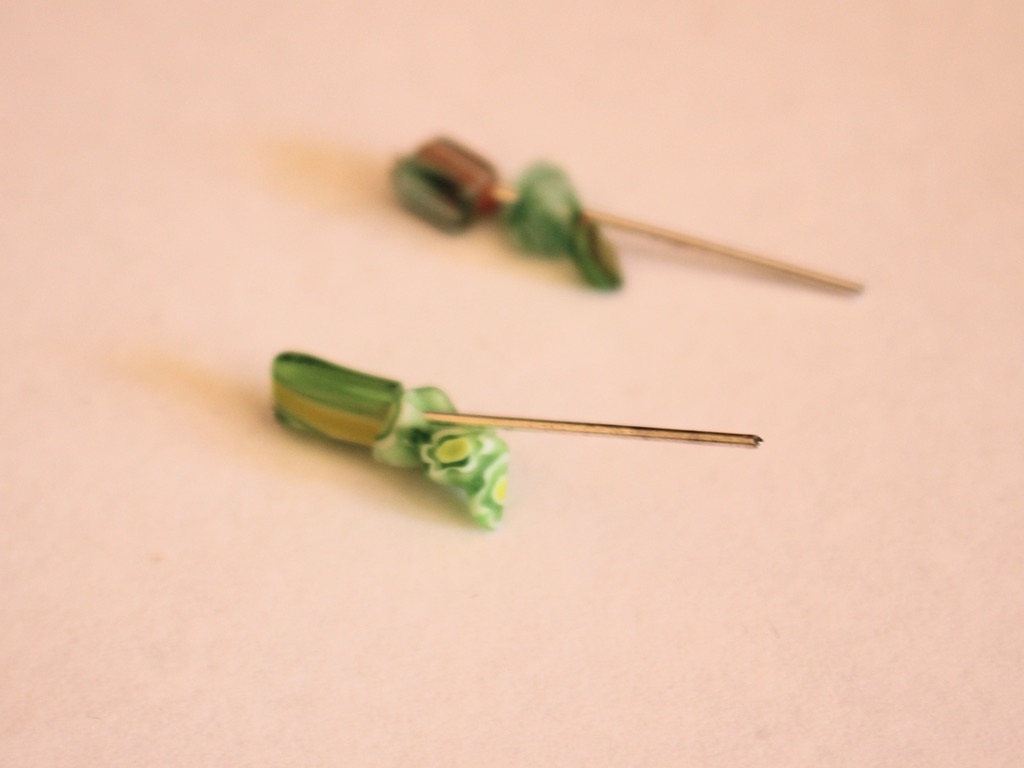
8: Bend each pin to form a right angle and trim off the excess wire so you only have approximately 1cm left unbeaded.

9: Create a loop at the top of each beaded pin using the round nose pliers to secure the beads onto the pin.


10: Attach each bead charm to each of the jump rings that are attaching the two bracelet wires together.

Now your double strand memory wire bracelet is finished! Make one in Christmas colours to feel a bit more festive!


Here are some other multi-strand bracelet tutorials you can follow:
- Make a triple strand bracelet using tiger tail wire.
- or a beaded double strand bracelet.
- Upcycle some broken headphones into a double strand bracelet