-
How to make earrings that are also holders for your wireless earbuds!
I love my wireless ear buds, but they do sometimes pop out of my ears and drop onto the ground, so here’s a design that will help prevent headphone loss, a pair of earrings that attach your earbuds to your earlobes. Please note that this tutorial contains affiliate links for which we might receive a commission.
You will need these tools and materials to make these earrings:
1: A pair of charm connector earrings and earring backs.


2: A couple of chains around 8-10cm long.

3: Two rubber glasses holders.

4: Four jump rings.

5: Your pliers, I used my flat nose pliers and round nose pliers to open and close the jump rings.


Once you’ve got your materials, you can follow these steps to make your headphone holder earrings:
1: Open one of the jump rings and then add to the bottom of one of the earrings.

2: Add one of the chains to the open jump ring.

3: Close the jump ring to secure the chain and earring together.

4: Repeat steps 1-3 for the other earring.

5: Add one of the rubber holders to the end of one of the chains using another jump ring. Close the jump ring to secure the holder to the chain.


6: Repeat step 5 for the second earring.

Now your earrings are finished and ready to wear out, no more lost ear buds!


-
How to make some chunky chain loop earrings!
I think chain loop earrings are really cool! This DIY uses lightweight chunky curb chain to loop from the front to back of your ears. Please note that this tutorial contains affiliate links.
You’ll need the following tools and materials to make this pair of earrings:
1: Pliers. I used my flat nose pliers and round nose pliers.
2: Two charm post earrings with butterfly backs.
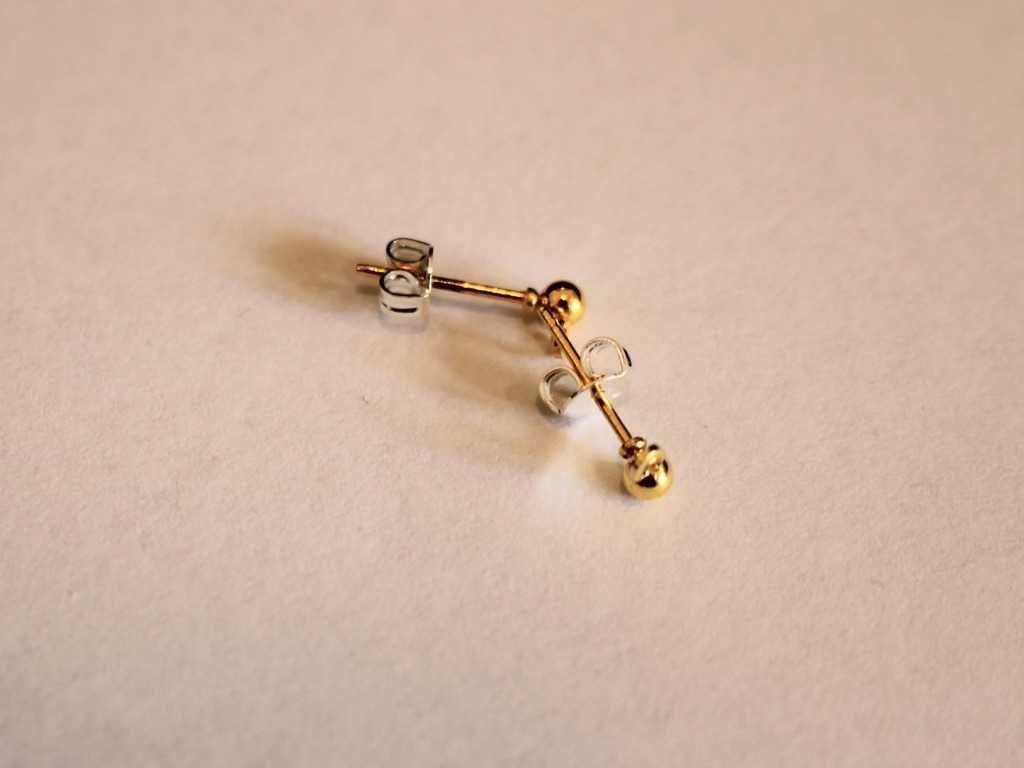
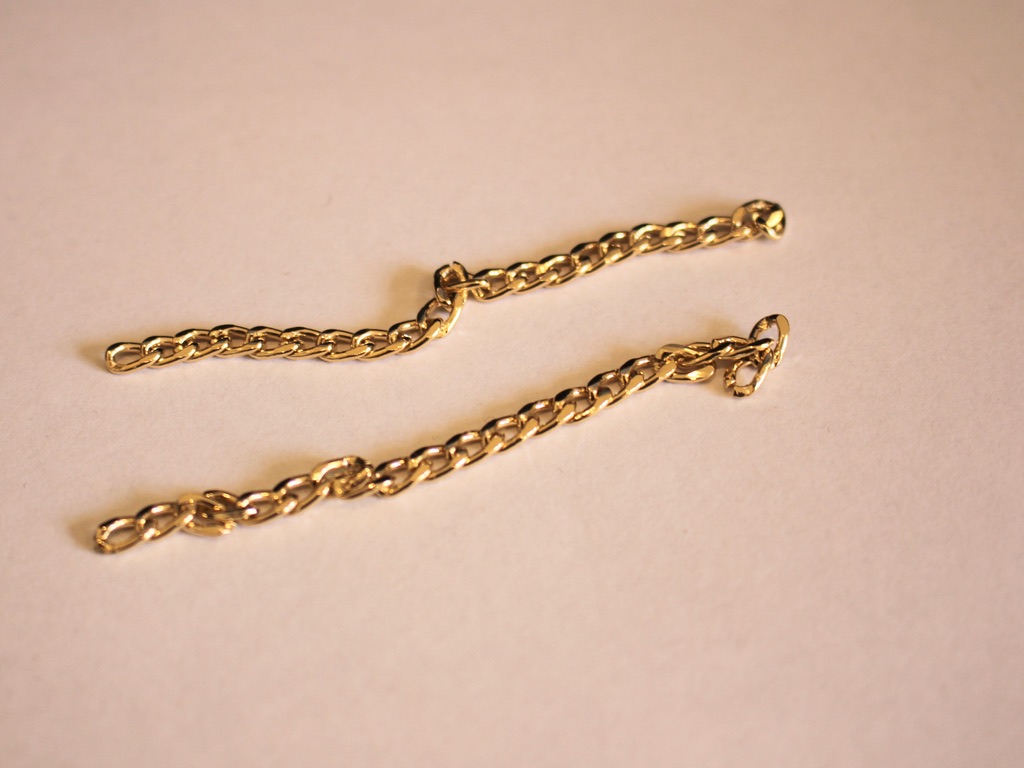
3: Two short pieces of chain, approximately 8cm long.
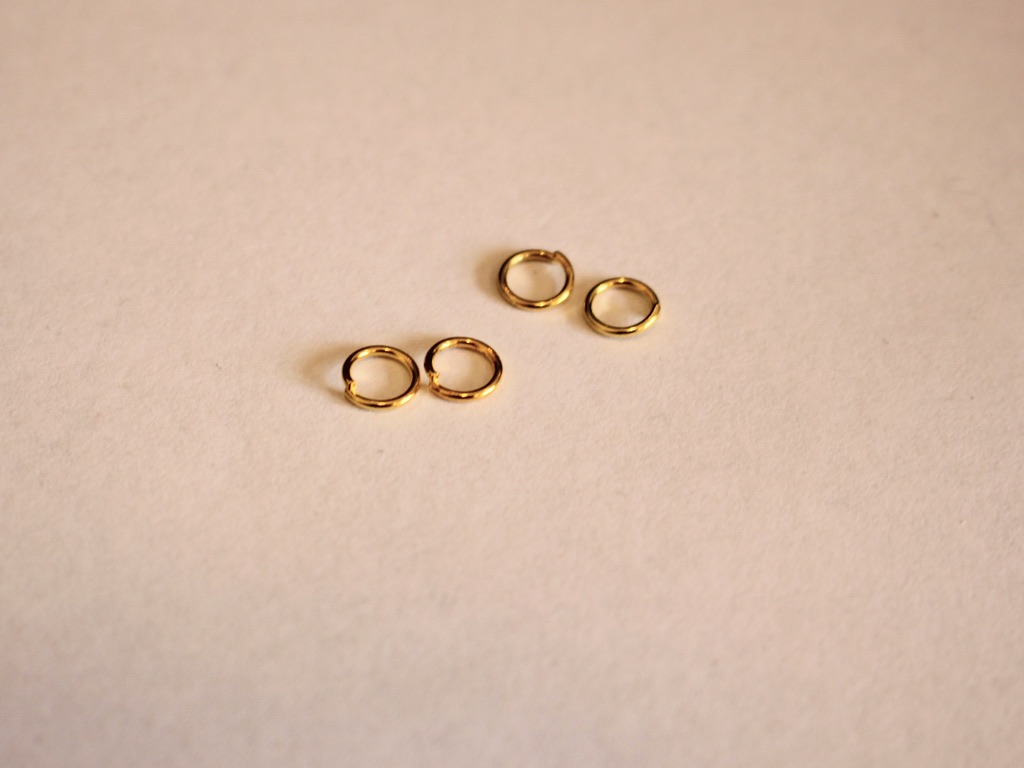
4: Four jump rings.
Follow these steps to make your chain loop earrings
1: Open one of the jump rings and slide it through the charm loop on one of the earrings.

2: Attach one end of a chain to the open jump ring.

3: Close the jump ring to secure the chain onto the earring.

4: Add another jump ring to the other end of the chain.
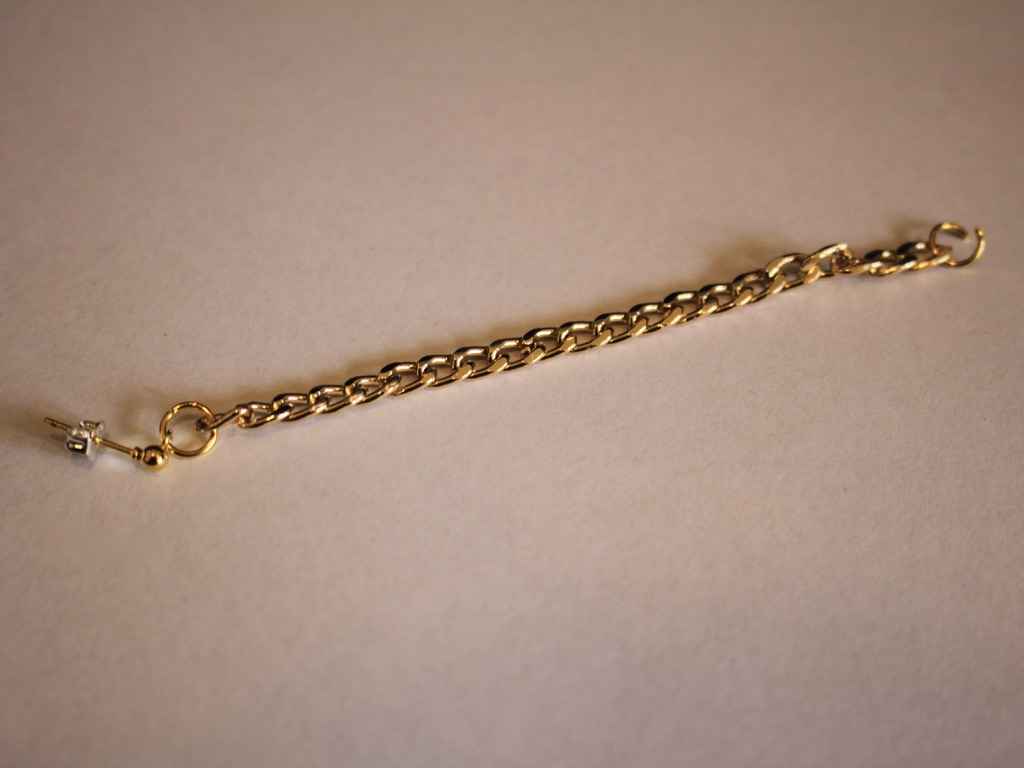
5: Secure the other end of the chain to the butterfly clasp by sliding the jump ring through and closing it using your pliers.

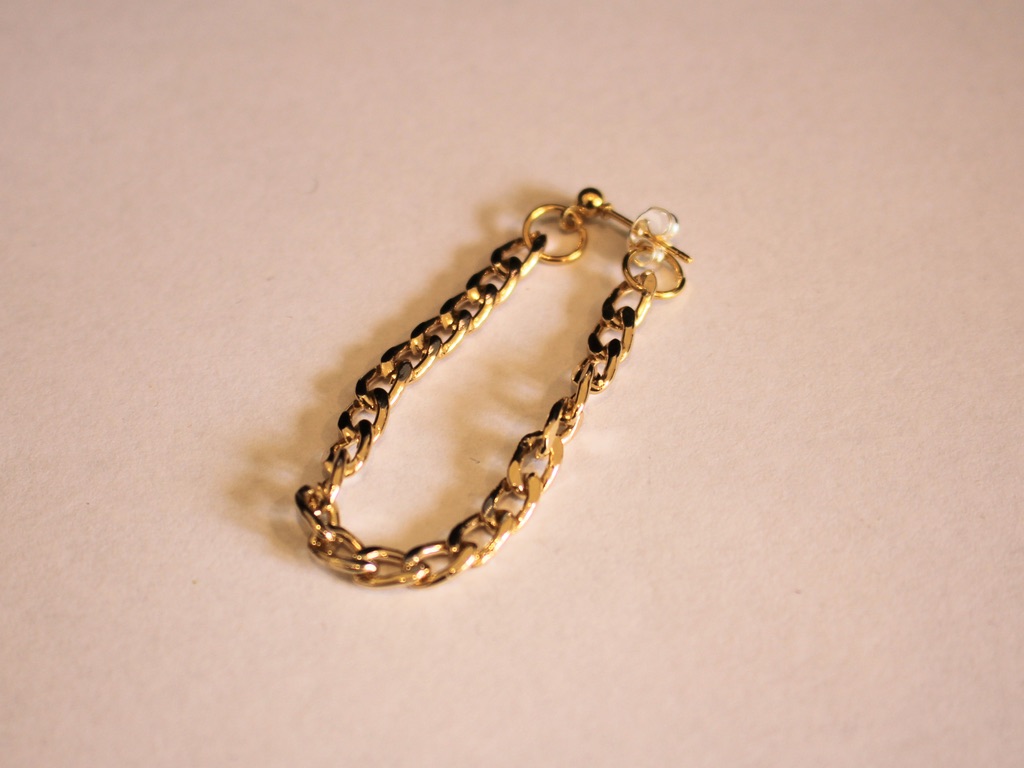
6: Repeat steps 1-5 for the second earring.


Now you can wear them (or give them to someone special)! 😉

Here are some other chain loop earring tutorials:
-
Here’s how to make a pair of cute beaded chain earrings!
These earrings are made using soft wire and beads to make a chunky chain that dangles from each ear. These really cute earrings are fun to make and look so fun.
You’ll need these tools and materials to make these earrings:
1: Pliers. I used my cutting pliers (left), flat nose pliers (right) and round nose pliers (middle) to make these earrings.

2: Some thin soft wire. I used six pieces (approx 7cm long) of wire that I recycled from an old project.

3: Some beads. I used green and gold glass e-beads.

Gold beads: https://amzn.to/3S3zwfi
Green beads: https://amzn.to/3QTdMlj
4: Two small jump rings.

5: Two earring hooks.

Follow these steps to make your chunky bead chain hoops:
1: Take a piece of wire and curl one end around the round nose pliers.
2: Add beads to the wire until there is 1cm left without beads.


3: Put the end of the wire back through the first loop you made.

4: Curl the other end of the wire so that the beaded circle is closed.

5: Make another beaded circle, thread it through the first circle you made before you secure it closed.


6: Make a third beaded circle and attached it to the first two so that you have a chain of three.


7: Repeat steps 1 to 6 for the second earring.

8: Attach the earring hooks to the top of each chain using the small jump rings.


Now your chain earrings are finished and ready to wear!!!

Here is a four link version I made as well


This tutorial contains affiliate links.
-
These arched and chain embellished earrings are so cool. Here’s how to make them.
We have made some different arch and chain earrings before, this one flips them around so that the arch sits at the top of the earring leaving the chain to dangle down gently. I really like the way these earrings move when you wear them. This tutorial contains affiliate links.
You’ll need the following tools and materials to make these earrings:
1: Pliers. I used my cutting pliers, round nose pliers and flat nose pliers.
2: Some bracelet length memory wire cut into half circles.

3: Two short pieces of chain.

4: Earring hooks.

5: Six jump rings.


6: Two head pins.

7: Beads. I used gold-tone e-beads and faceted blue plastic beads.


Follow these steps to make your own arch and chain dangle earrings:
1: Create a loop at one end of one of the pieces of memory wire using the round nose pliers.

2: Add beads so that approximately half of the wire is beaded.

3: Add one of the earring hooks.
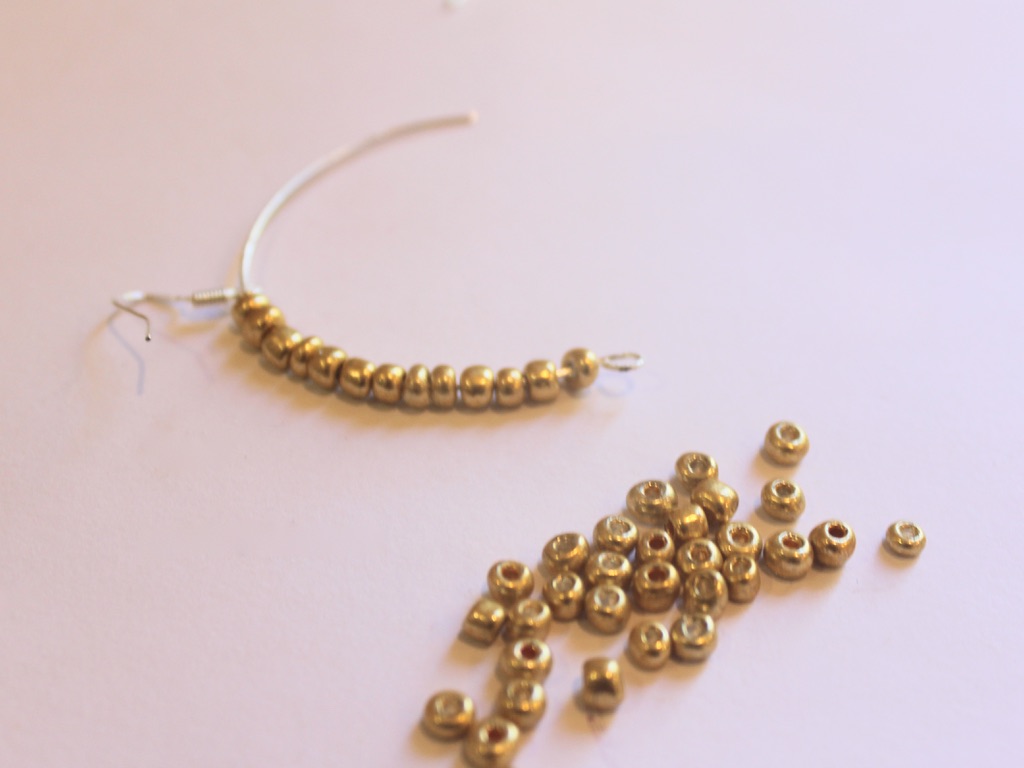
4: Add more beads to the wire until there is about 1cm left without beads.

5: Curl the end of the wire so that the beads and earring hook are secured in place. I squeezed my wire a bit at this point so that it formed a more narrow arch.

5: Repeat steps 1-5 for the second earring.

6: Add a jump ring to one end of the small chains.

7: Attach the end of the chain to the bottom of the beaded arch.

8: Repeat steps 6 and 7 for the other end of the chain to form a loop.


9: Repeat steps 6 to 8 for the other earring.

10: Add the faceted beads to each of the head pins and loop the tops using the round nose pliers to secure the beads in place.


11: Attach the newly formed bead charms to the chains with the remaining jump rings.

Now your dangling arch earrings are finished and ready to wear! So so cute!
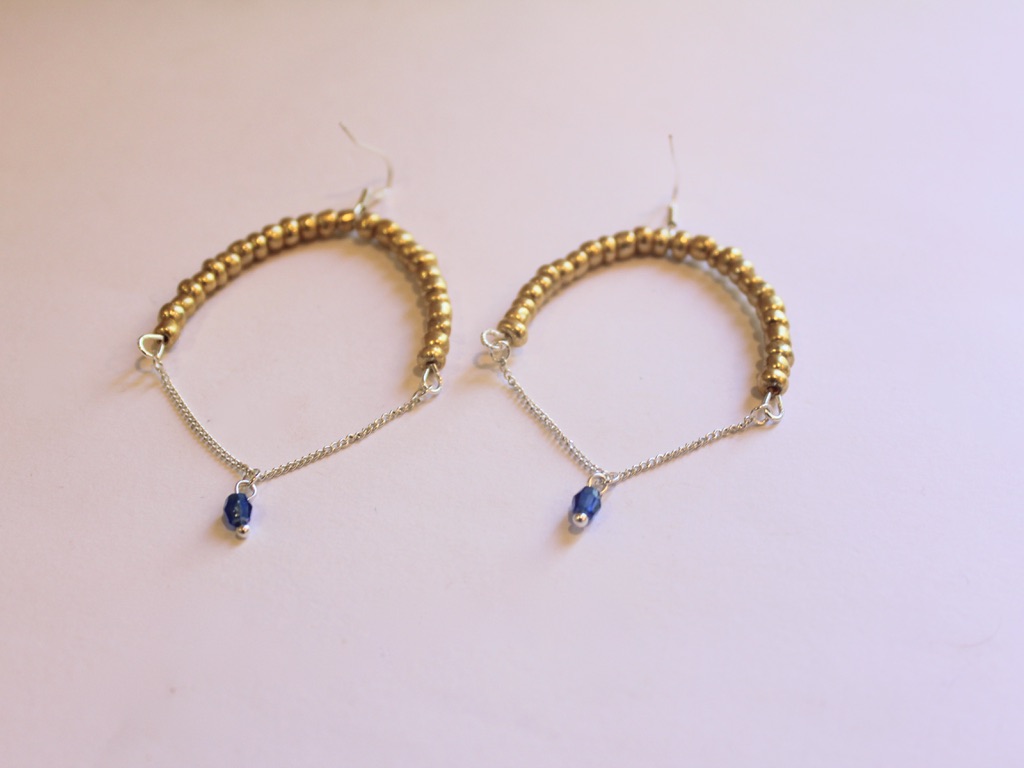
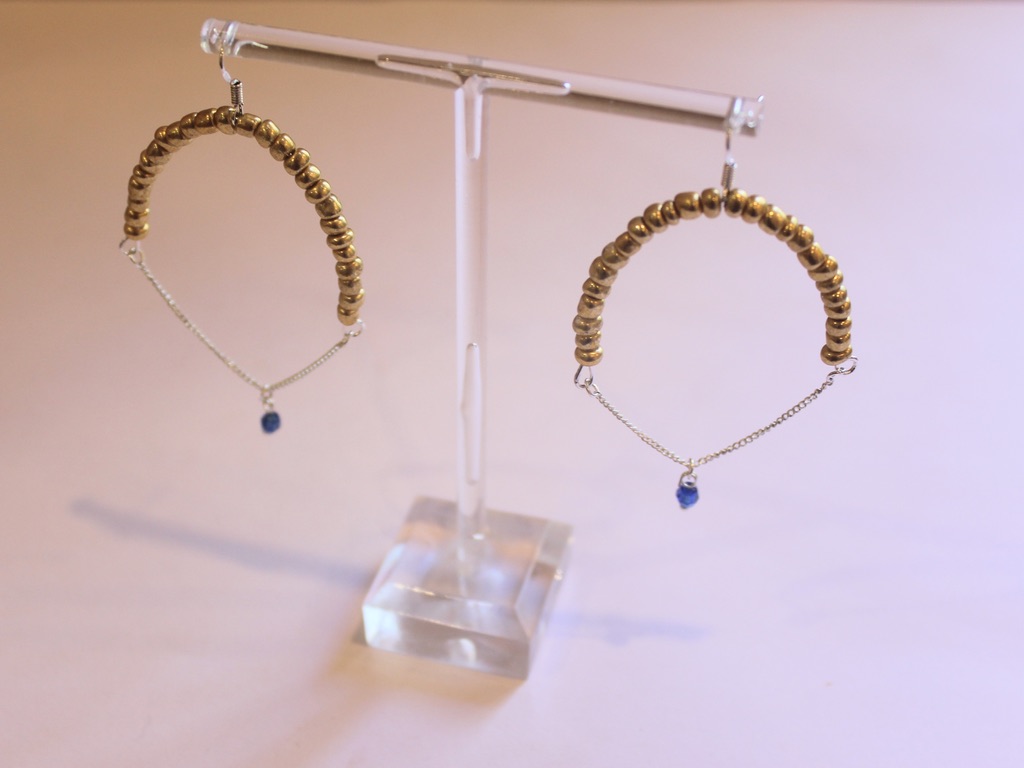
If you like this design here’s a different arch earring tutorial we made a little while ago.
This tutorial contains affiliate links.
-
Need something new in your jewelry box? Make this pair of D-Shaped statement earrings.
These earrings are made using some hard memory wire and some cool statement beads. Dangly and unique, these earrings are worth making.
You’ll need these tools and materials to make these earrings:
1: Pliers. Round nose, flat nose and cutting pliers are useful for this design.
2: Memory wire cut into two half circles.

3: Two long eye pins.

4: Two pieces of chain, not too long.

5: Two earrings. I used these silver charm post earrings.

Here is a fancier pair!
6: Two larger jump rings.

7: Four small jump rings.

AliExpress.com Product – Free Shipping! 1 Box SP Open Jump Rings 3mm-8mm(1500 PCs Assorted) (B08915)8: Beads. I used some green glass e-beads.

9: Two statement beads. I used these silver-tone plastic beads.

Follow these steps to make your D-shaped statement earrings:
1: Use the round nose pliers to make a loop at one end of the memory wire half circle.


2: Add the beads to around halfway on the curve.
3: Add the statement bead to the centre of the curve.

4: Bead the remaining part of the curve with the glass beads again until there is about 1cm left un-beaded.
5: Create a loop at the other end of the memory wire curve using the round nose pliers again.

6: Repeat steps 1 to 5 for the second piece of memory wire.

7: Add beads to the long eye pin and leave 1cm un-beaded at the end. Repeat for both pins.

8: Create a loop at the end of both pins using the round nose pliers.


9: Attach each of the beaded eye pins to the top of each memory wire curve. This will create a tighter curve on each piece of memory wire and form the D shape.


10: Attach the chain to each side of the D shape using the small jump rings. Both D shapes will now have a chain loop attached to them.


11: Add one of the larger jump rings to each of the earring posts.

12: Attach the earrings to the charms by threading the chain through each of the open jump rings. Close the jump rings on the earring posts to secure them together.


Now your earrings are finished and ready to wear!


This tutorial contains affiliate links.
-
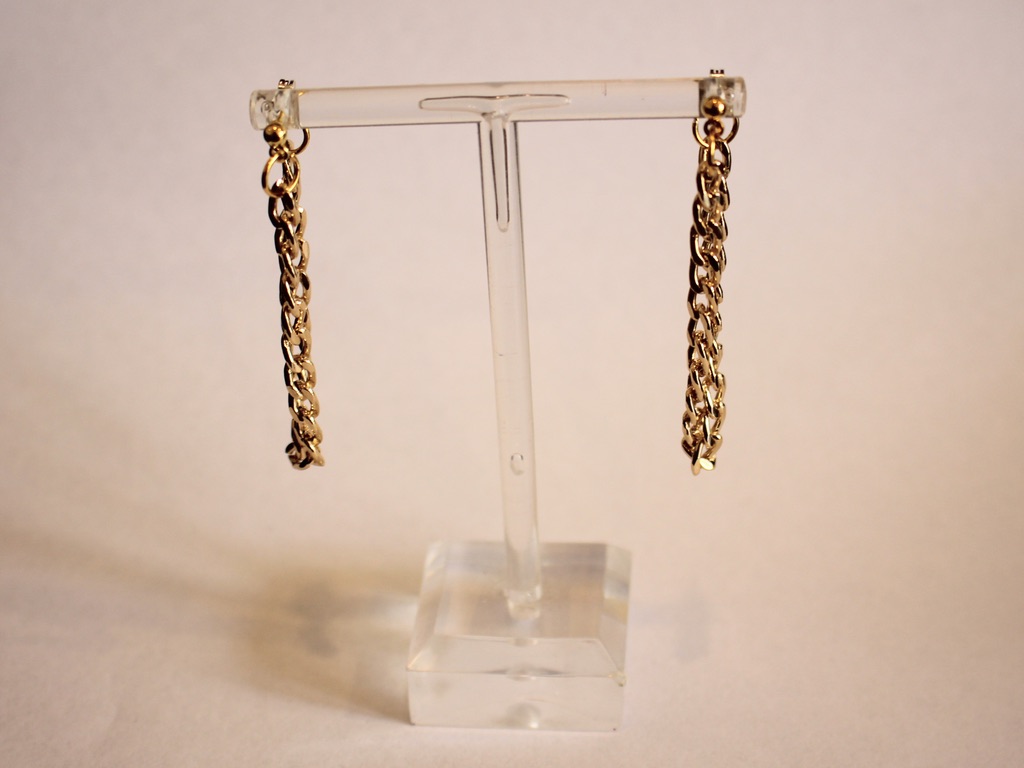
These earrings are cute! Make your own chain earrings.
These chain earrings are super cute and simple to make, all you need to do is attach some chunky chain to some earring findings!
You’ll need the following tools and materials to make your chain drop earrings:
1: Pliers. I used my flat nose and round nose pliers.
2: Two short pieces of chunky chain. I made mine about 6cm long.

3: Two jump rings.

4: Two ball stud charm connector earrings. I used a gold pair.

Follow these steps to make the chunky chain drop earrings:
1: Open one of the jump rings.

2: Thread the open jump ring through a link at the end of one of the pieces of chain.

3: Attach the open jump ring with chain attached to the loop on the bottom of the earring finding.

4: Close the jump ring to secure the chain to the earring.

5: Repeat steps 1 to 4 for the second earring.

Now your earrings are done. How are these for a simple but impactful statement?


This tutorial contains affiliate links
-
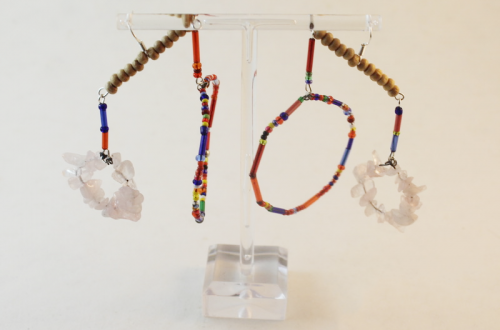
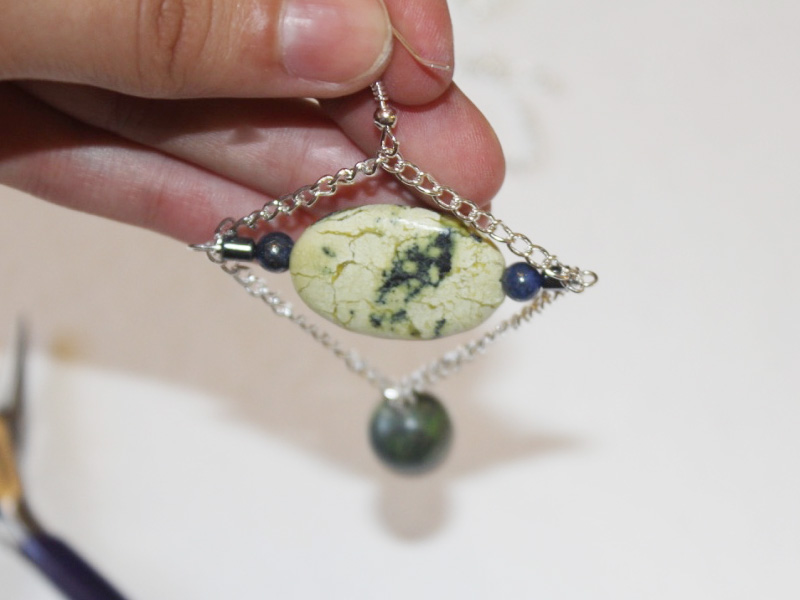
How to make a pair of crystal earrings.

These earrings are so cute! Made with some dyed jasper crystals, they are sure to make a summer statement.
You will need the following tools and materials to make your crystal earrings:
1: Pliers. You will need your round nose pliers, flat nose pliers and cutting pliers to make these earrings.
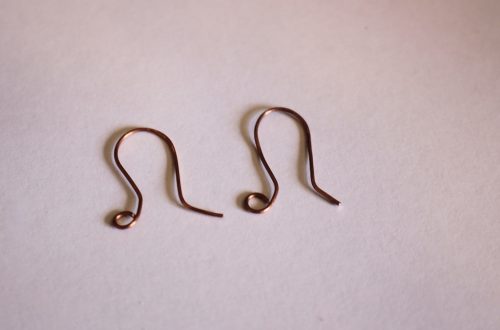
2: Two earring hooks.

3: Two small pieces of chain.

3: Two eye pins.

4: Two small jump rings.

5: Beads of your choice. I used these blue dyed jasper crystal beads and four clear glass beads.


Follow these steps to make your crystal earrings:
1: Add the beads to each of the eye pins.

2: Create loops at the end of each pin to secure the beads in place using the round nose pliers. Trim the wires if necessary to make sure that the loops aren’t too large.


3: Attach each of the small chains to each of the bead charms, securing each end of the chain to either side of the bead charm.


4: Add a small jump ring to the middle of the chain and attach the earring hook. Repeat this for the second earring to finish them off.

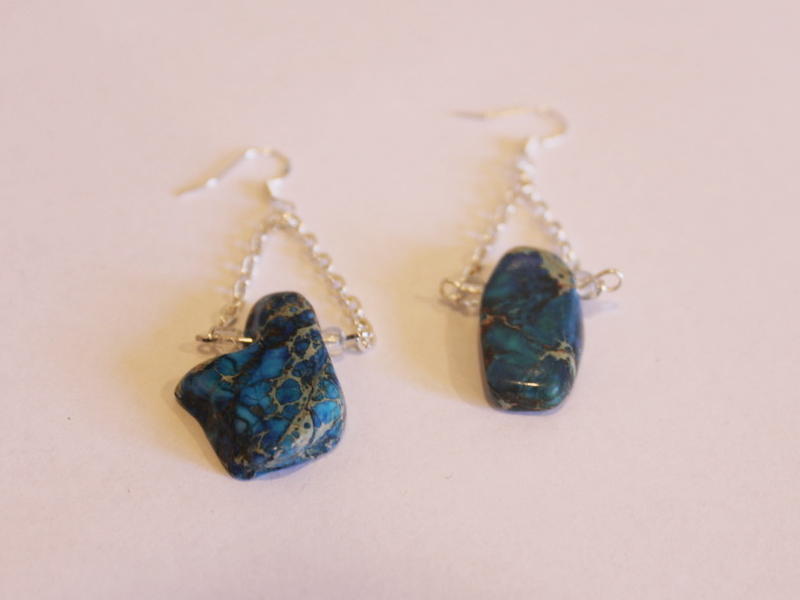
Now your amazing boho crystal earrings are finished and ready to wear! Will these be your summer statement earrings?
-
How to make Crystal chain back earrings… these are AMAZING!

Remember these earrings? Here’s another version that packs a crystal laden punch. Contains affiliate links.
You will need the following tools and materials to make these earrings:
1: Pliers. You’ll need your flat nose pliers and round nose pliers.
2: Two charm connector studs with butterfly backs.

3: Two jump rings.

4: 16 eye pins.

5: 16 crystal chip beads. I used some rutilated quartz beads.

Follow these steps to make your crystal chain back earrings:
1: Add a bead to each of the eye pins.

2: Loop the end of each eye pin using the round nose pliers to secure the beads in place.


3: Separate the charms.

4: Attach eight of the charms together to form a chain.


5: Repeat step 4 for the remaining crystal charms.

6: Attach an earring to one of the chains.

7: Repeat step 6 for the second chain.

8: Add the end of the chain to the butterfly back using one of the jump rings.


9: Repeat step 8 for the second earring.
Now your earrings are finished and ready to wear! So cool!
-
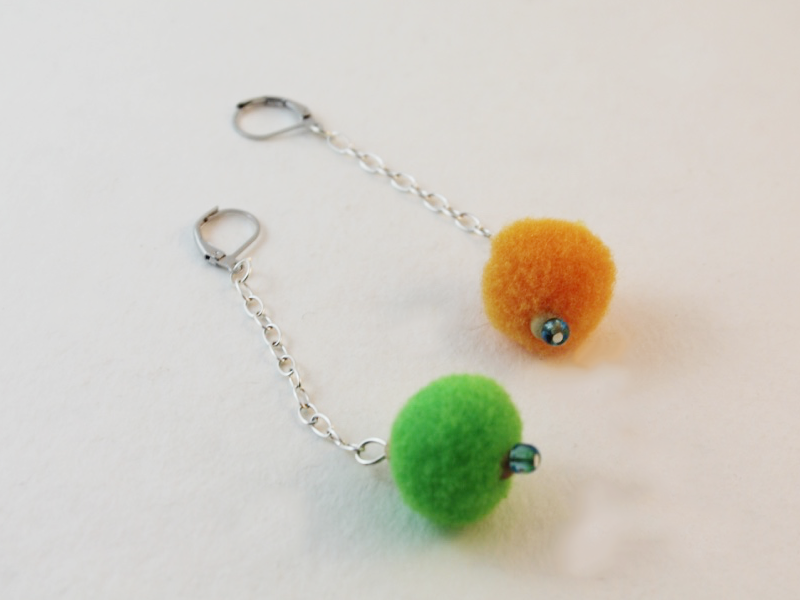
Liven up your earlobes with these fun pom pom chain earrings!
I love pom poms, they are such a fun and lively addition to simple jewelry pieces! It is so easy to inject some extra pizzazz into your jewelry designs when you use some bright and colorful pom poms. These earrings are a variation on my beaded chain drop earrings, I bet you’ll be able to have some fun experimenting with this design. There’s nothing more exciting than playing around with color and texture in your DIY jewelry designs!
You will need the following tools and materials to make these pom pom chain earrings:
1: Pliers. You will need your flat nose pliers, round nose pliers and cutting pliers to make these earrings.
2: Two pom poms. I used two different colors for my earrings.
3: Two head pins.

4: Two earring hooks.

5: Two small pieces of chain. The length depends on how far you would like your earrings to dangle!

6: Two jump rings.

7: Beads of your choice. I used two blue glass e-beads and four small timber beads.

 I love designing with timber beads, you can order your own right here:
Here are the steps to make these pom pom chain earrings:
1: Add the beads to each of the head pins. I placed a blue glass bead and one timber beads on each pin.


2: Add a pom pom to each head pin.


3: Once the pom poms have been added, add another bead to the top of each pom pom.

4: Once all the beads and pom poms have been added, use the round nose pliers to bend each pin at a right angle to the beaded section.


5: Use the cutting pliers to trim each pin approximately 1cm (0.4 inches) from the beaded section.


6: Once each pin has been trimmed, create a loop at the top of each pin using the round nose pliers.


7: Open each loop at the top of each pin slightly and add a piece of chain to each pom pom charm. Secure the chain in place by closing the loop using the round nose pliers.


8: Open a jump ring and add the earring hook.

9: While the jump ring is still open, add the chain with the charm attached as well.

10: Close the jump ring to secure the earring and chain in place.

11: Repeat steps 8 to 10 for the second earring to complete the pair.
-
Sometimes Simple is Best and These Chain Drop Earrings Are Simplicity At Its Best!
Do you ever feel like bold statement earrings are just too much? I think that simple, sweet earrings are often an elegant choice to accompany a stunning evening outfit. These stunning chain drop earrings are super easy to make and look incredible dangling from any ear lobe. You’ll want to make these earrings in a beautiful assortment of colors so that you can wear them with all your favorite outfits.
You will need the following tools and materials to make these earrings:
1: Pliers. To make these earrings you will need to use round nose pliers and cutting pliers.

2: Two earring hooks.

3: Two short pieces of chain.

4: Two head pins.

5: Two beads of your choice. I used these glittering blue goldstone beads.

Get your own sparkly blue goldstone beads right here:
The Steps:
1: Add each bead to each head pin.

2: Use the round nose pliers to bend each pin at a right angle to the bead.


3: Trim the pins approximately 1cm (0.4 inches) from the bead using your cutting pliers.


4: Bend each pin to form a loop that will secure the bead in place using your round nose pliers.


5: Open each loop slightly and slide a piece of chain onto each bead charm.


6: Close the loops again using the round nose pliers to secure each chain to the bead charms.

7: Attach the other end of the chain to the loop on the end of the earring hook.


8: Secure the chain to the hook by closing the loop at the end of the earring hook. Repeat steps Seven and Eight for the second earring. Once each earring hook has been attached your earrings are complete, how easy was that?

9: Pop them on and watch the compliments roll in! I bet these earrings will be a guaranteed winner in the style stakes.