
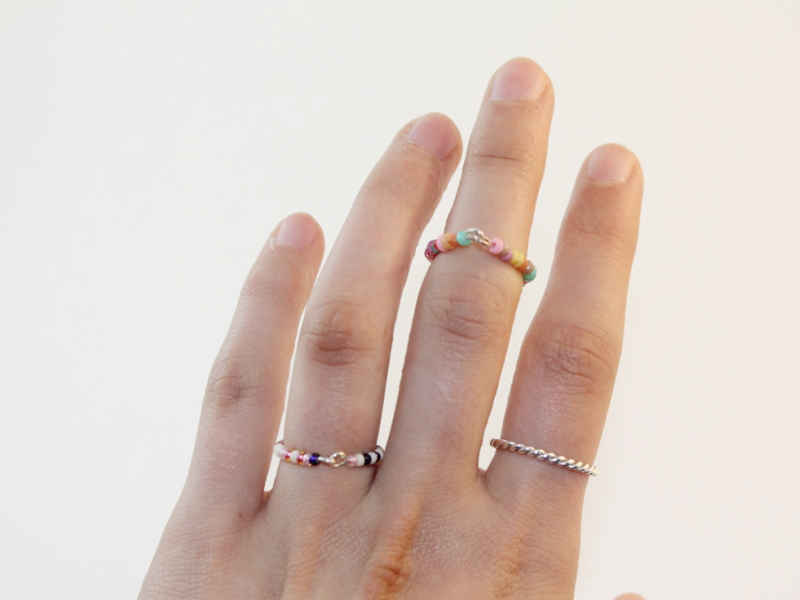
When A Ring and A Bracelet Unite What Do you Get? A Ring Bracelet
Ring bracelets are such cool accessories. They adorn the whole hand and seem to add a certain special flair to your jewelry repertoire. You don’t need any special materials to make this ring bracelet design, just some chain, an eye pin and some beads. I used some stunning peridot beads for my design. What will you use to make your own, unique ring bracelet?
You will need the following tools and materials to make this ring bracelet:
1: Pliers
For this design you will need to use the round nose and flat nose pliers. I didn’t use my cutting pliers this time but keep them on hand just in case!

2: Chain

3: One eye pin

4: One lobster clasp

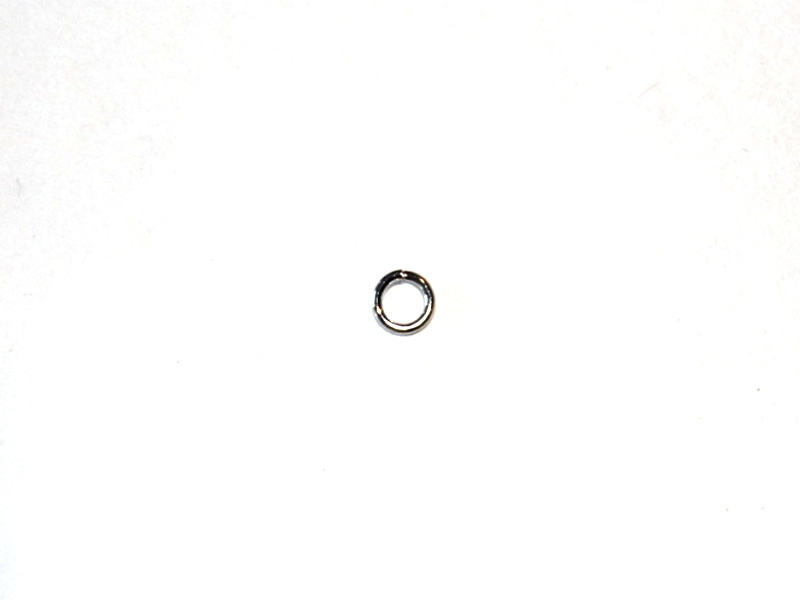
5: One jump ring
4: Beads
In this design I used some Peridot chip beads.

The Steps:
1: Add your beads to the eye pin.

2: Using the round nose pliers, bend the top of the pin at a right angle to the beaded section.

3: Now use the round nose pliers again to create a loop at the end of the pin to secure the beads.

4: Take the chain and create a small loop that is large enough to slip over your finger. Try not to make it too tight. Secure this small loop by opening a link using the pliers closing it again so that it is attached to the point you would like your loop to end.

5: Once the small ring loop has been formed, trim the chain so that the piece reaches the bottom of your middle knuckle, you can do this by carefully opening a chain link using the pliers and sliding the other link out.

6: Now it is time to attach the bead charm you made earlier. Slide one of the looped ends into the chain link you opened in step 5. Once the charm is in place you can use your pliers to close the chain link again.


7: Add the remaining chain to the other end of the charm in the same manner.

8: Your chain might be a little long at this stage. To form the bracelet you will need to let the chain fall to the base of your hand and then wrap it loosely around your wrist. Once you’ve got this measurement, open the link as you did earlier to trim the chain.
9: Attach the end of the chain to the point where the chain meets the base of your hand. At this point the bracelet section will be an unbroken loop.

10: Open the bracelet loop at the halfway point. You can do this by carefully opening a link using your pliers. Once the bracelet has been split, you can start attaching the clasp.
11: On one side of the bracelet, carefully open a chain link (if not already open) and slide on the lobster clasp. Close the link again to secure the clasp in place.


12: Take the jump ring, opening it using your pliers, and attach it to the other side of the bracelet by sliding on the chain link loop. Close the jump ring again using your pliers.

13: Now your ring bracelet is complete! Wear it anytime you want to add a little ‘something special’ to your outfit.
DIY Jewelry Hub
Welcome to DIY Jewelry Hub. If you’ve ever wanted to learn how to make your own jewelry this is the place to start! Jewelry is a great way to show off your individuality and style. You’ll be surprised at how easy it is to create your own unique pieces! DIY Jewelry Hub will equip you with all the knowledge and inspiration you need to make your own jewelry.

You May Also Like
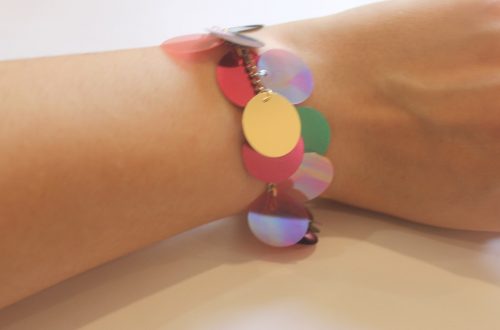
Here’s how to make a sequin charm bracelet. This is such a joyful design!

Here’s a fun simple design to make! All you need is some brightly coloured string and a fun bead!
