-
How to make Crystal chain back earrings… these are AMAZING!

Remember these earrings? Here’s another version that packs a crystal laden punch. Contains affiliate links.
You will need the following tools and materials to make these earrings:
1: Pliers. You’ll need your flat nose pliers and round nose pliers.


2: Two charm connector studs with butterfly backs.

3: Two jump rings.

4: 16 eye pins.

5: 16 crystal chip beads. I used some rutilated quartz beads.

Follow these steps to make your crystal chain back earrings:
1: Add a bead to each of the eye pins.

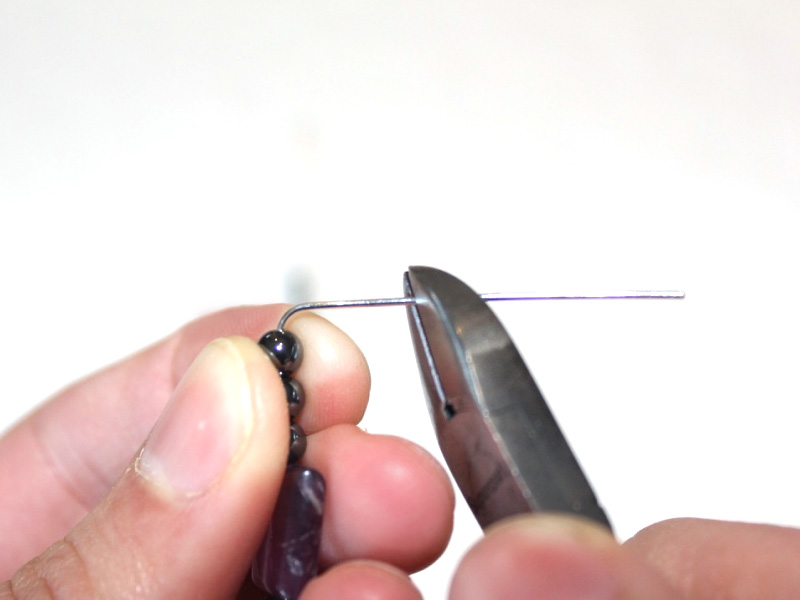
2: Loop the end of each eye pin using the round nose pliers to secure the beads in place.


3: Separate the charms.

4: Attach eight of the charms together to form a chain.


5: Repeat step 4 for the remaining crystal charms.

6: Attach an earring to one of the chains.

7: Repeat step 6 for the second chain.

8: Add the end of the chain to the butterfly back using one of the jump rings.


9: Repeat step 8 for the second earring.
Now your earrings are finished and ready to wear! So cool!
-
Searching for something different? Make yourself some cute collar clips!

Here’s a fun way to use clip on earring findings… Collar clips! Pop these on your favorite shirt collar to jazz it up.
You will need the following tools and materials to make these collar clips:
1: Pliers. You will need your round nose pliers and flat nose pliers.
2: Two clip on earring findings with charm holes at the end.

3: Two cabochons. I used these sparkly resin cabs.

4: Two jump rings.
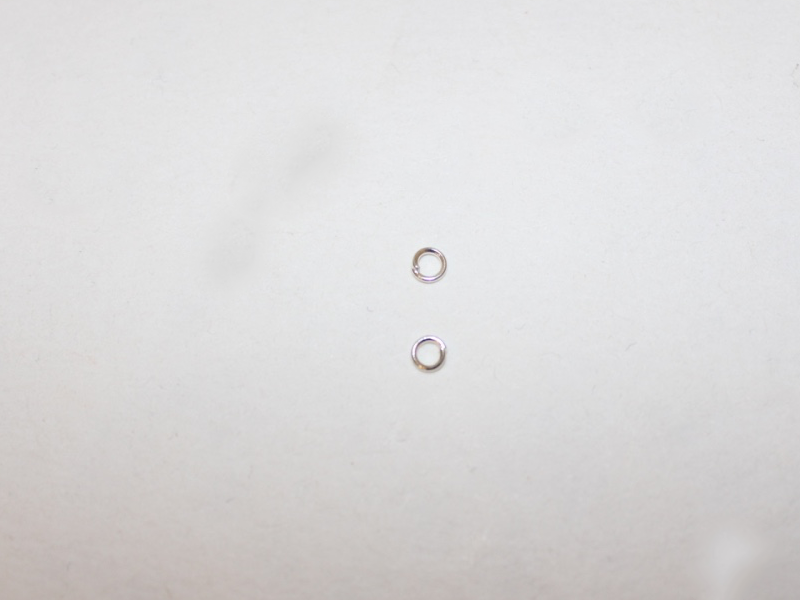
5: A piece of chain, mine was approximately 12cm long.

6: Araldite Glue.

7: A Skewer.

8: A scrap piece of paper.

Follow these steps to make your collar clips:
1: Squeeze out the glue in equal parts onto the scrap paper and mix well with the skewer.



2: Add the glue to the charms and place them onto the clip on earrings, leaving the charm loop exposed.


3: Wait for the charms to dry.
5: Once the clips are dry, add a jump ring to one of the charm loops and attach one end of the chain. Close the jump ring to secure the chain in place.


6: Repeat step five to attach the other clip to the other end of the chain.

Once your chain has been attached to both clips your collar clips are ready to wear! How will you style yours?

-
Does your anklet need some bling? Make this charm connector anklet!

This is such a cool way to make an anklet! Add a cool charm connector, I used an infinity symbol charm connector to two pieces of chain to make a simple but pretty piece to wrap around your ankle. This is a great way to add sparkle to your outfits during summer when your ankles will be on show! Please note that this tutorial contains affiliate links.
You will need the following tools and materials to make this anklet:
1: Pliers. You will need your round nose pliers and flat nose pliers to make your anklet.
2: Two pieces of chain, one longer than the other. Make sure they add up to be long enough to fit around your ankle.

3: A charm connector. I used this gold colored infinity charm.

4: Four jump rings.

5: A lobster clasp.
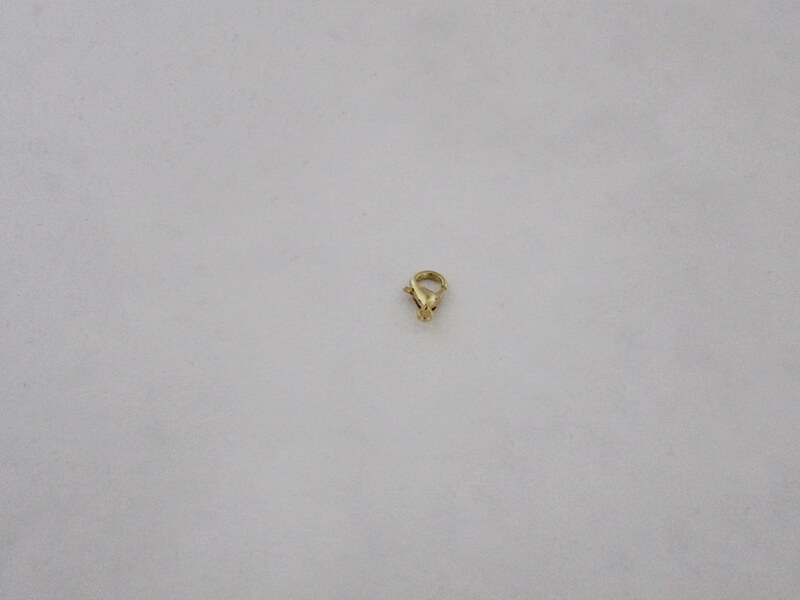
Follow these steps to make your charm connector anklet:
1: Add a jump ring to one side of the charm connector and slide one of the chains onto the open jump ring.

2: Close the jump ring to secure the charm and chain together.

3: Repeat steps One and Two to attach the other chain to the other side of the connector charm.


4: Add a jump ring to one of the ends of the chain and attach the lobster clasp.


5: Add the remaining jump ring to the other side of the chain to finish the anklet.
Now your anklet is finished and ready to wear!

-
You Can Never be Wearing too Many Pom Poms! Make These Adorable Pom Pom Ear Jacket Earrings

These pom pom earrings are party at the front and the back! They are so easy to make and you can mix and match them to change up your look. Contains affiliate links.
You will need the following tools and materials to make these earrings:
1: Pliers. You will need your flat nose pliers, round nose pliers and cutting pliers to make these earrings.

2: Charm connector earrings with butterfly backs.

3: Two short pieces of chain, mine were approximately 5cm long.

4: Four head pins.

5: Two smaller jump rings.

6: Two larger jump rings.

7: Four pom poms in two different colors.

8: Beads of your choice. I used these bronze colored e-beads.

Follow these steps to make your earrings:
1: Add the beads and pom poms to each of the head pins.


2: Bend each head pin at a right angle using the round nose pliers.


3: Trim each pin so that approximately 1cm of the uncovered pin remains using the cutting pliers.


4: Use the round nose pliers to form a loop at the top of each pin, securing the beads and pom poms in place.


5: Add two of the charms to each piece of chain.


6: Add the other charms to the larger jump rings and attach them to the butterfly earring backs.


7: Attach the two chain charms to the earrings using the two smaller jump rings.


Once the chain charms are attached to each earring they are finished and ready to wear! So fun for a summer night out.


-
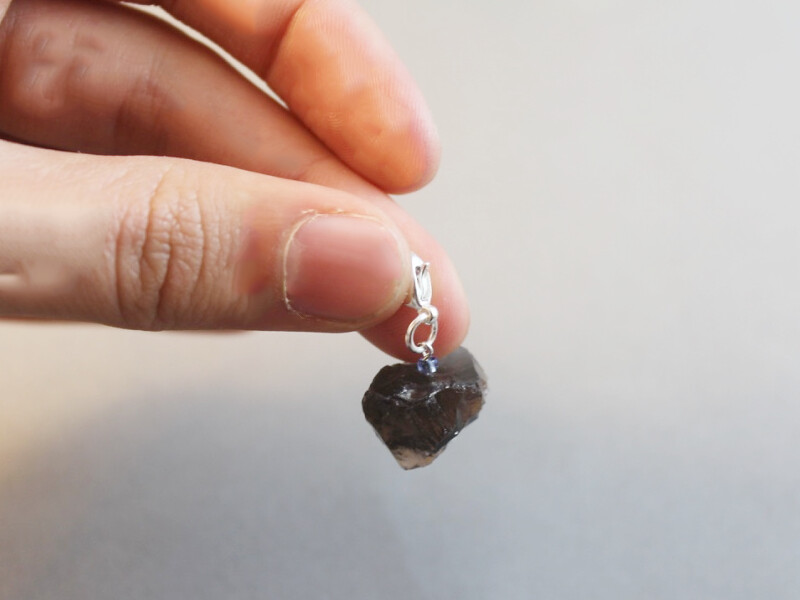
This Tutorial Will Let You Take Your Most Sentimental Gems and Charms With You Everywhere
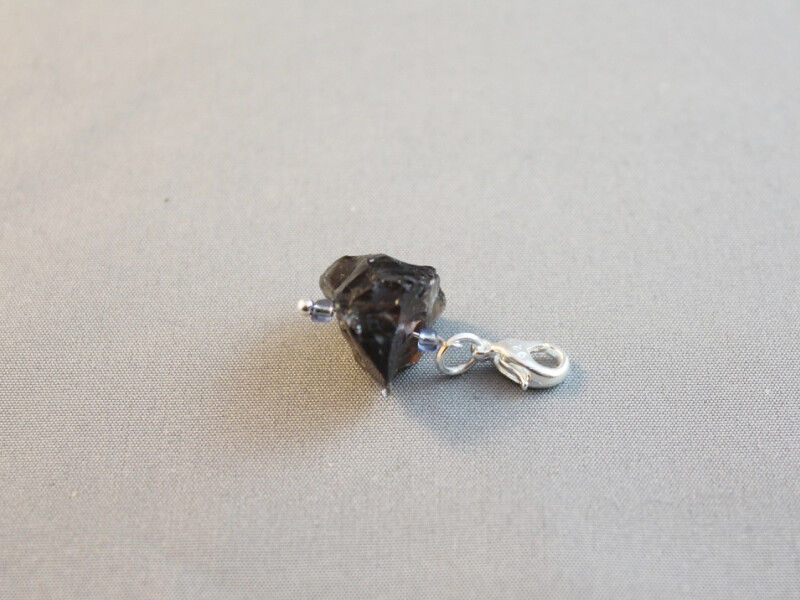
Do you have a favorite bead or a special gemstone that you want to add to your favorite piece of jewelry? You should try making this detachable charm! Please note that this tutorial contains affiliate links for which the website may receive a commission.
You will need the following tools and materials to make this charm:
1: Pliers. You will need your round nose pliers and flat nose pliers to make this charm.
2: One small head pin.
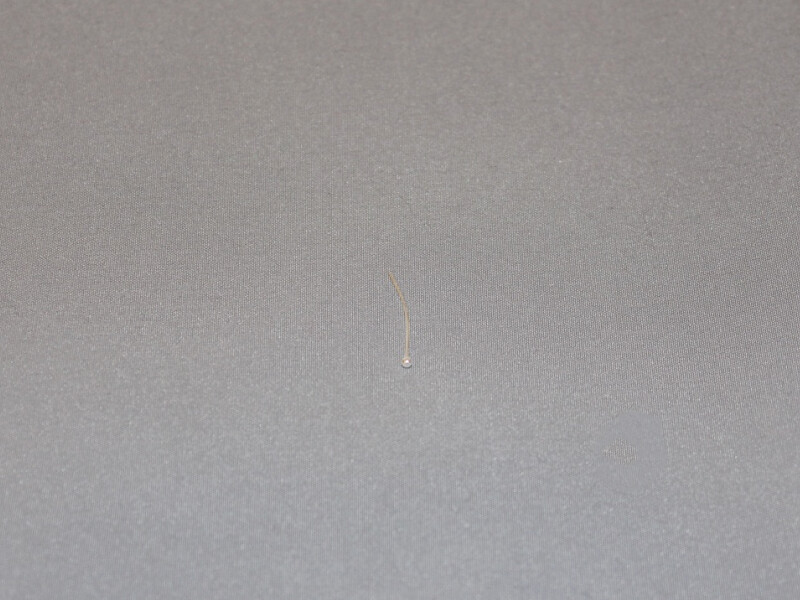
These ones have hearts on the end! https://ebay.us/8hzGNJ
3: One lobster clasp.

4: One jump ring.

5: Beads of your choice. I used this rough smoky quartz bead and two blue glass seed beads.
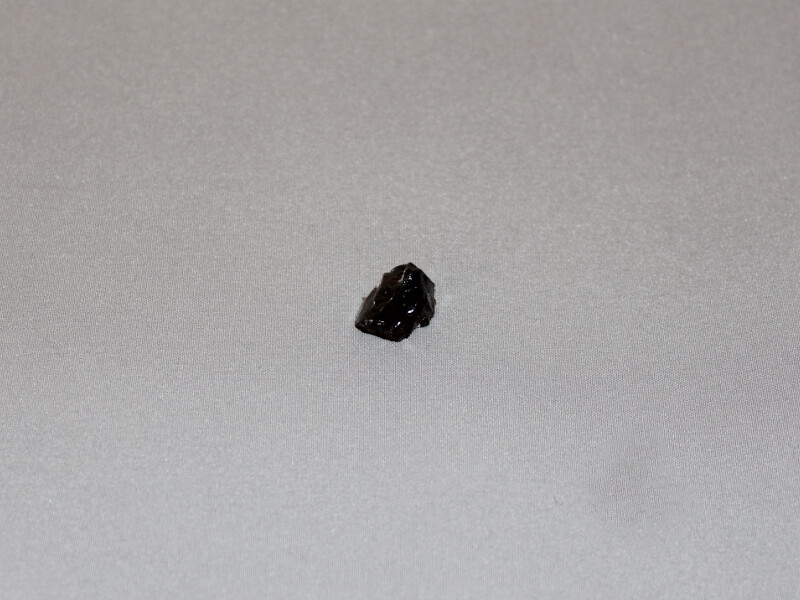
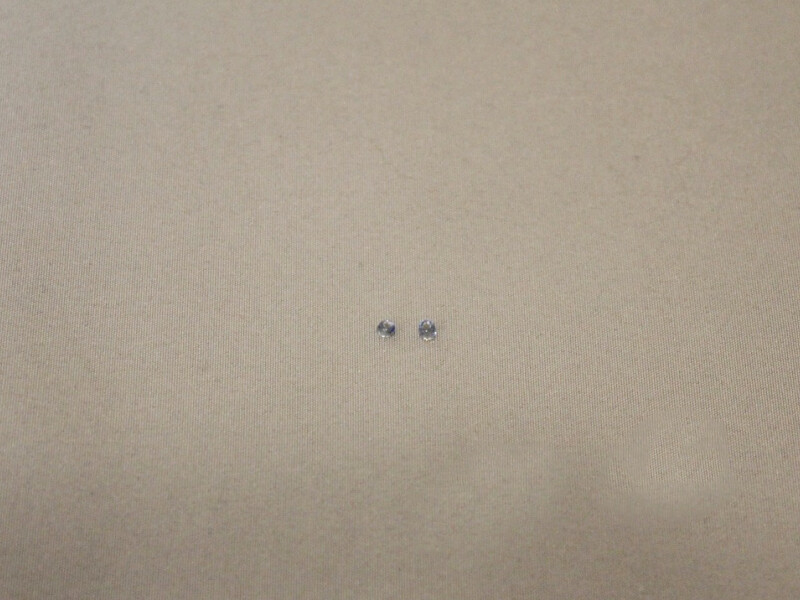
Follow these steps to make your detachable charm:
1: Add the beads to the head pin. I put a seed bead either side of the quartz feature bead.
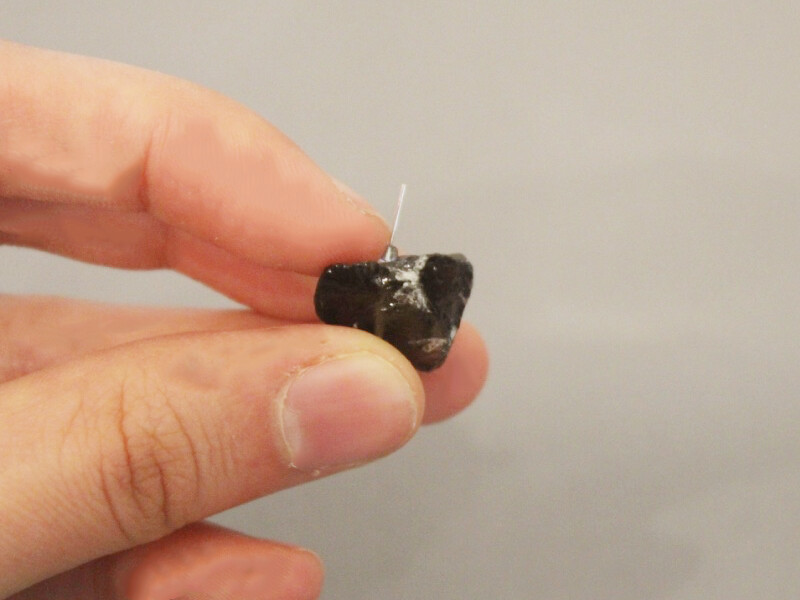
2: Create a loop at the top of the pin using the round nose pliers to secure the beads in place.
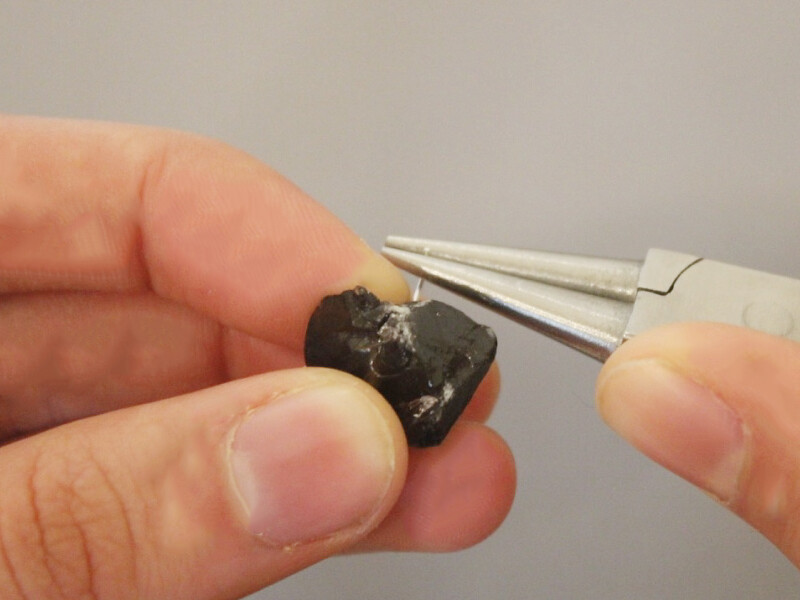
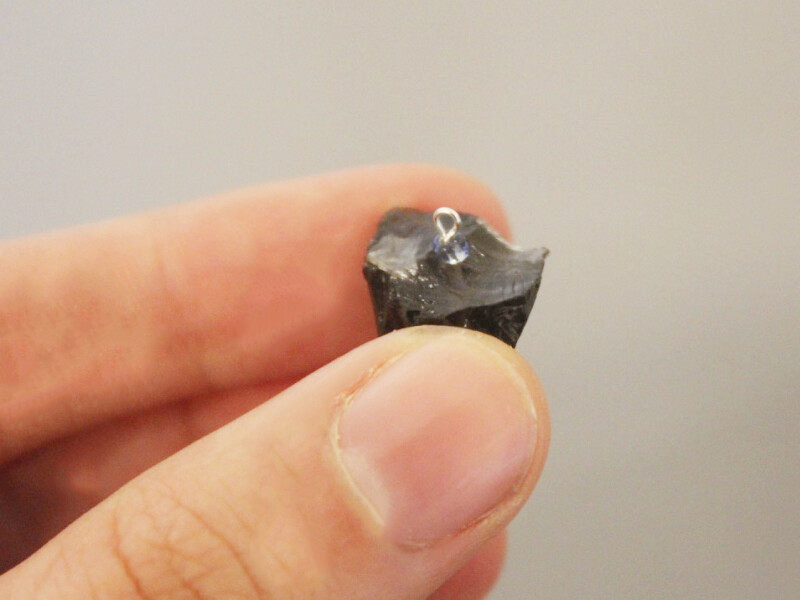
3: Add a jump ring to the top of the charm.
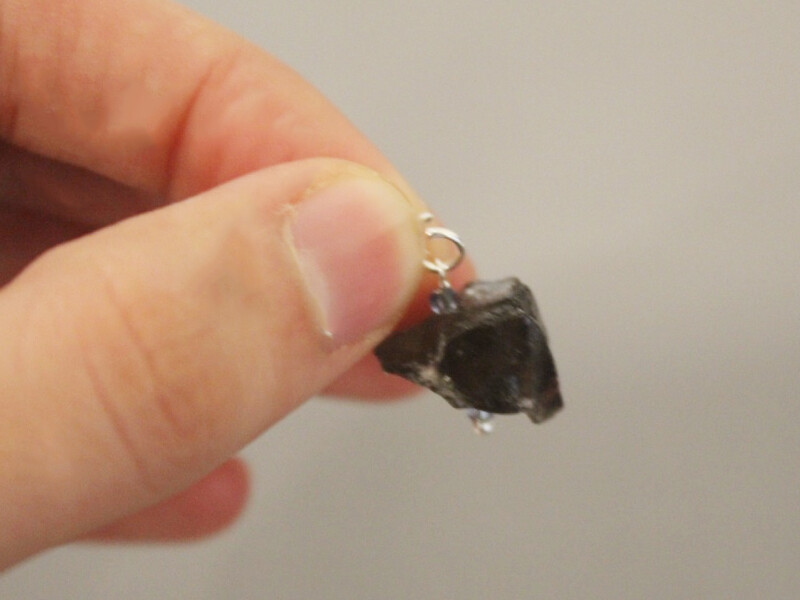
4: Add the lobster clasp to the open jump ring. Close the ring to secure the clasp in place.
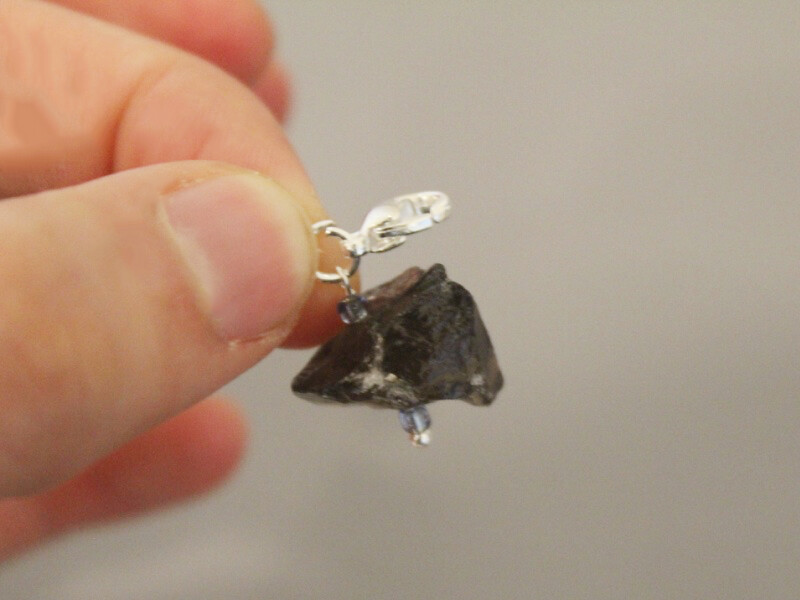
Once the clasp is attached the charm is finished! What piece of jewelry will you attach your charm to?
-
Want to Add Something Extra to Your Drab Winter Scarves? Make a Sweet Scarf Pin!

Here’s how to make a super sweet little scarf pin to add some extra cool to your winter scarves. This is especially great for securing shorter scarves.
You will need the following tools and materials to make your scarf pin:
1: Pliers. You will need your flat nose pliers and round nose pliers to make this pin.
2: A scarf pin with charm loops.

3: Two short pieces of chain.

4: A charm connector. I used this bow shaped charm connector.

5: A bead or charm of your choice. I used this green glass bead.

6: A head pin.

7: Three jump rings.

Follow these steps to make your scarf pin:
1: Add the bead to the head pin.

2: Loop the end of the pin using the round nose pliers, securing the bead in place.


3: Add a jump ring to the charm loop and attach it to the middle loop on the pin.


4: Use the other two jump rings to attach the chains to the outer loops on the pin.


5: Open the end links of each chain and attach them to both sides of the connector charm.


Once the connector charm is secured to the chains your pin is finished and ready to be attached to your favorite winter scarf!
-
Here’s How to Make Some Simple Stud Drop Earrings.
Do you crave simple elegance? The this DIY is for you. These earrings are made using stud charm connector earring findings and are very quick to make.
You will need the following tools and materials to make these earrings:
1: Pliers. You will need your cutting pliers and round nose pliers to make these earrings.

2: Two stud connector earrings.
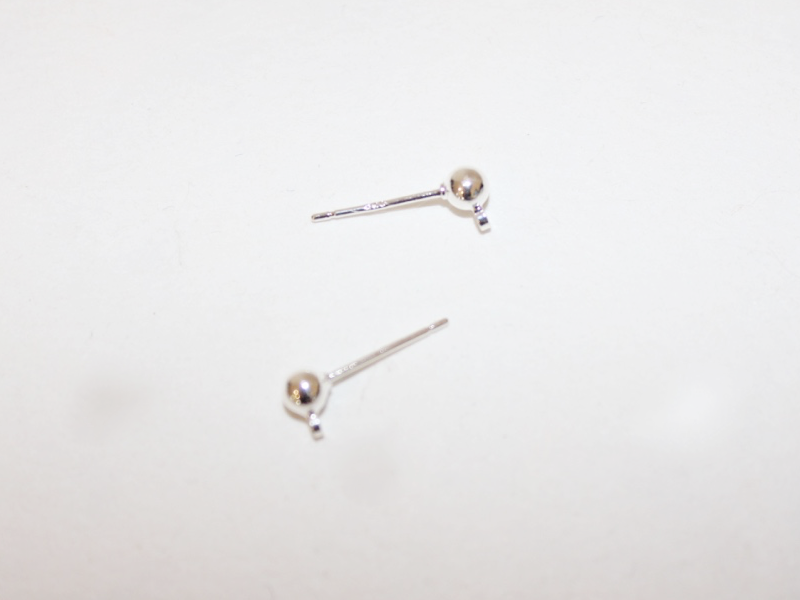
3: Two long head pins.

4: Beads of your choice. I used some citrine gemstone beads, moonstone beads and these long glass tube beads.


Follow these steps to make your earrings:
1: Add the beads to each of the head pins.

2: Using the round nose pliers, bend each pin at a right angle to the beaded section.


3: Trim each pin so that the bent section is approximately 1cm long (o.4 inches) using the cutting pliers.


4: Curl the top of each pin into a loop using the round nose pliers.


5: Add each of the bead charms to the stud connector earrings. Close the loop to secure each charm in place.


Once you’ve got your charms connected your earrings are finished and ready to wear!


-
Can’t Get Enough of the Choker Trend? Here’s Another Cool Choker Design to Add to Your Collection!

Everyone knows that chokers are the IT accessory right now. If you can’t get enough of the choker trend and want to make sure that you stand out from the crowd this chain and suede choker design is for you. This choker might be simple to make but it sure does have a big impact!
You will need the following tools and materials to make this suede and chain choker:
1: Pliers. You will need your cutting pliers (or scissors), flat nose pliers and round nose pliers to make this choker.
2: Suede cord. I already cut mine to length. Make each piece a tiny bit shorter than you think you need so that the choker will fit snugly on your neck once the charm connector and clasp have been added.

3: Two pieces of chain trimmed to the same length as the suede.

4: Four leather crimp ends.

5: Eight small jump rings.

6: Two charm connectors.

7: Two large jump rings.

8: One Lobster Clasp.
Follow these steps to make your own stunning suede and chain choker necklace:
1: Attach a crimp end to either end of both pieces of suede cord. Do this by using the flat nose pliers to fold both sides of the crimp end in place around the end of the suede cord.


2: Open a jump ring and attach one end of a suede cord to one of the loops of the charm connectors.

3: Close the jump ring to secure the strand in place.

4: Add a piece of chain using another jump ring. This will be the second strand.
5: Repeat steps 2 and 3, adding the second suede strand.
6: Repeat step 4, adding the last piece of chain to the first charm connector. Now all four strands will be secured together at one end.

7: Repeat steps 2 to 6 for the other side of the necklace, attaching all strands to the second charm connector.

8: Add one of the large jump rings to one end of the choker and attach the lobster clasp. Secure the clasp in place by closing the jump ring.

9: Add another jump ring to the other side of the choker to finish it off.

Once the last jump ring is secured in place your multi-strand suede and chain choker is complete!

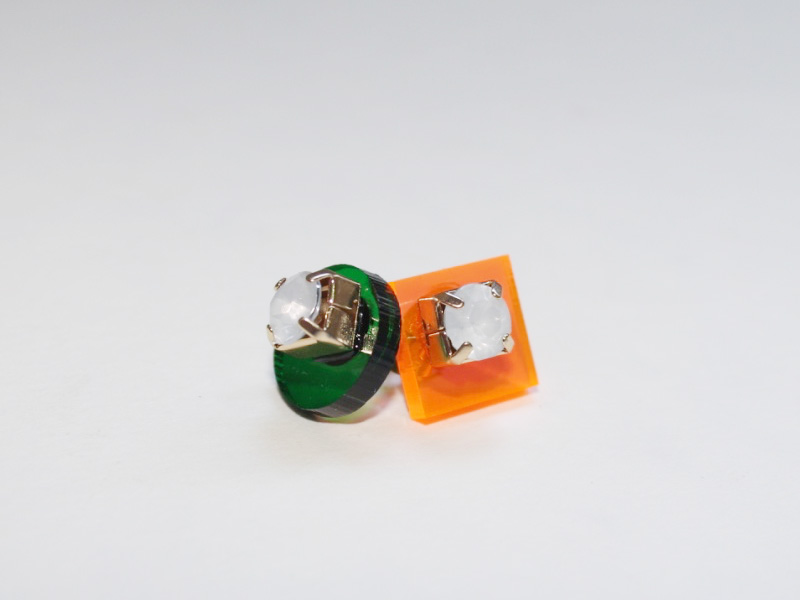
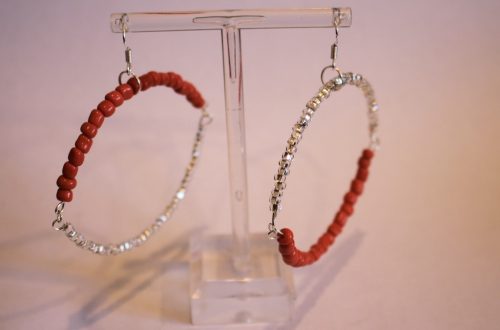
Here’s another multi-strand choker made using beaded strands.


-
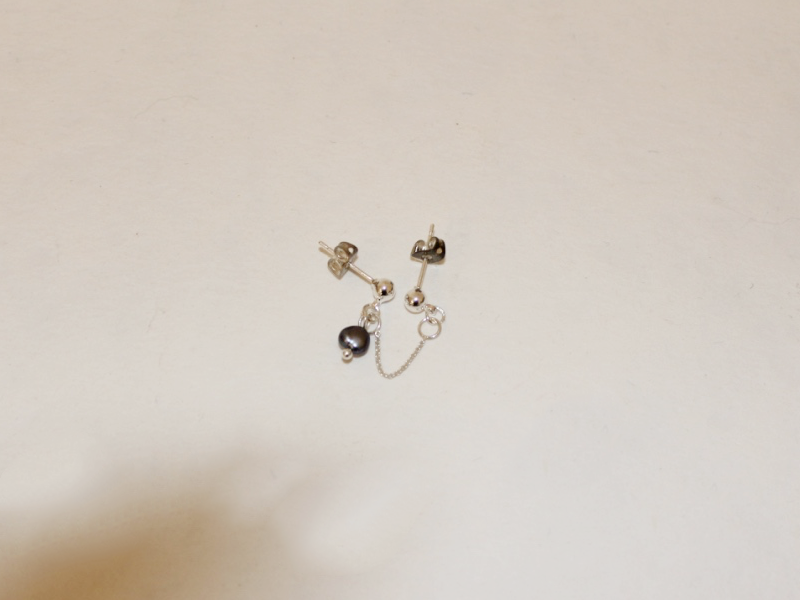
Got multiple piercings? This Chain Linked Double Piercing earring is for you…

Multiple piercings are it right now! Do something cool with your double piercings, pretty them up with an earring made especially for them. This double piercing earring is made using some delicate chain and some charm connector stud earrings. You can even adapt this design for even more piercings and run that chain all the way up your ears!
You will need the following tools and materials to make these chain linked double pierced earrings:
1: Pliers. You will need your flat nose pliers and round nose pliers.
2: Two charm connector stud earrings.
3: A piece of chain. The length depends on how far apart your piercings are and how long you want it to hang from your ear lobes.
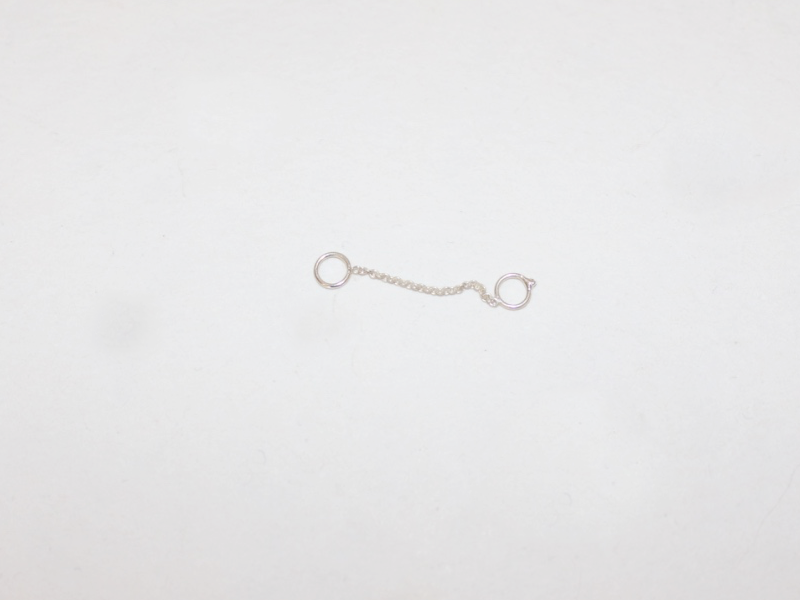
4: One small head pin.
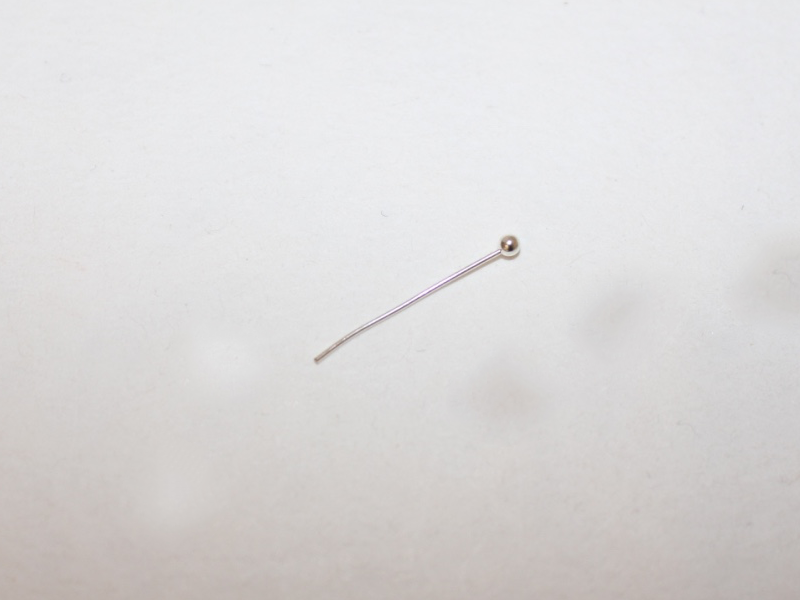
5: Two small jump rings.
6: A bead or beads of your choice. I used this small grey freshwater pearl bead.
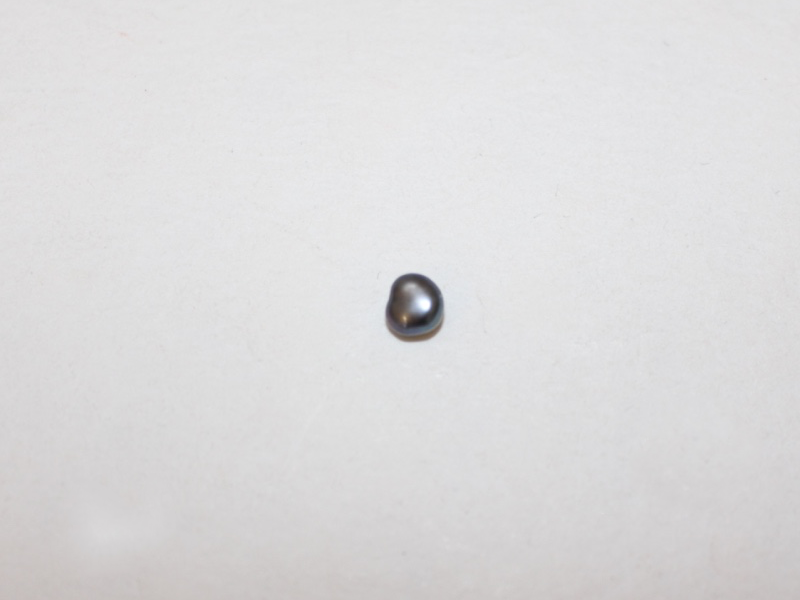
Follow these steps to make yourself this cool double piercing earring:
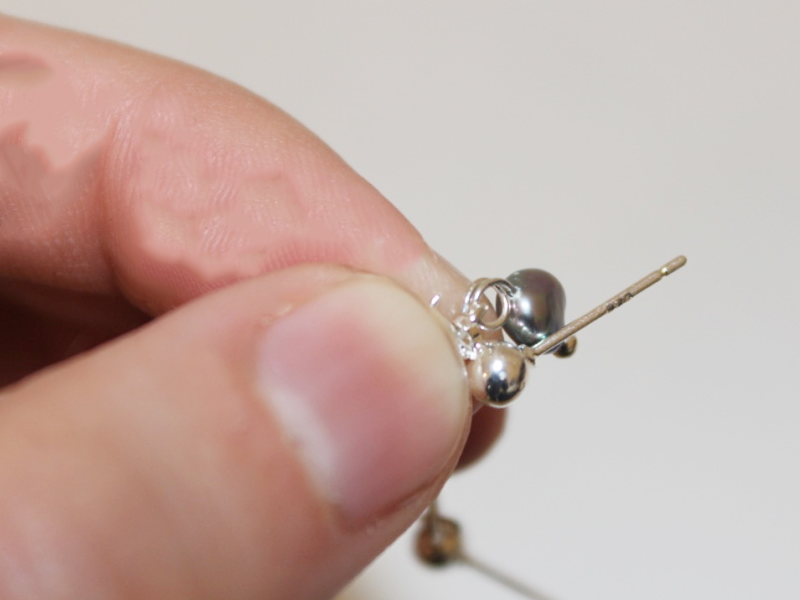
1: Add the pearl bead to the small head pin.
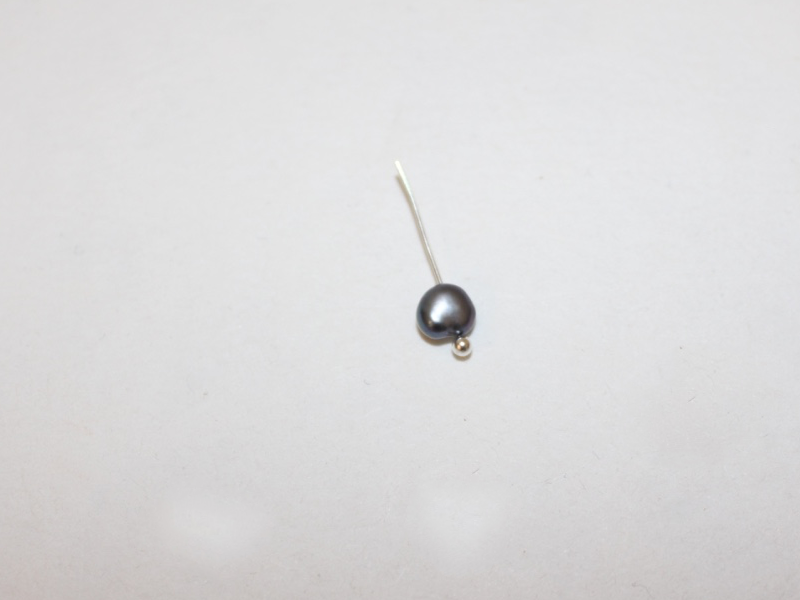
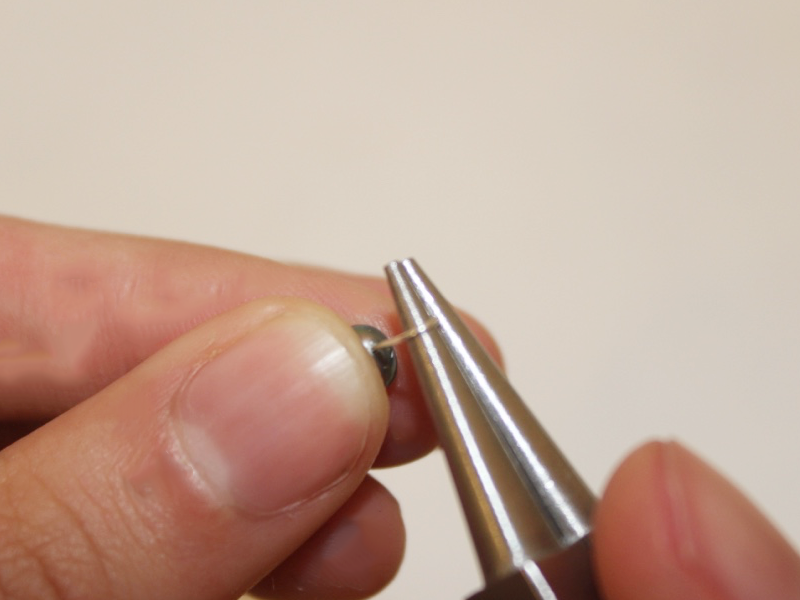
2: Use the round nose pliers to curl the end of the head pin around the round nose pliers to form a loop. Keep curling the pin around the barrel of the pliers until the loop sits closely to the bead, securing it in place.
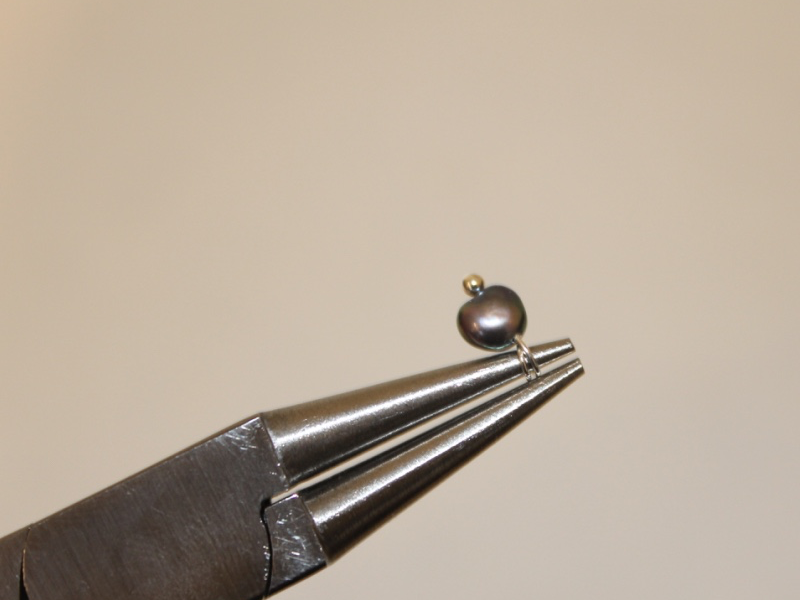
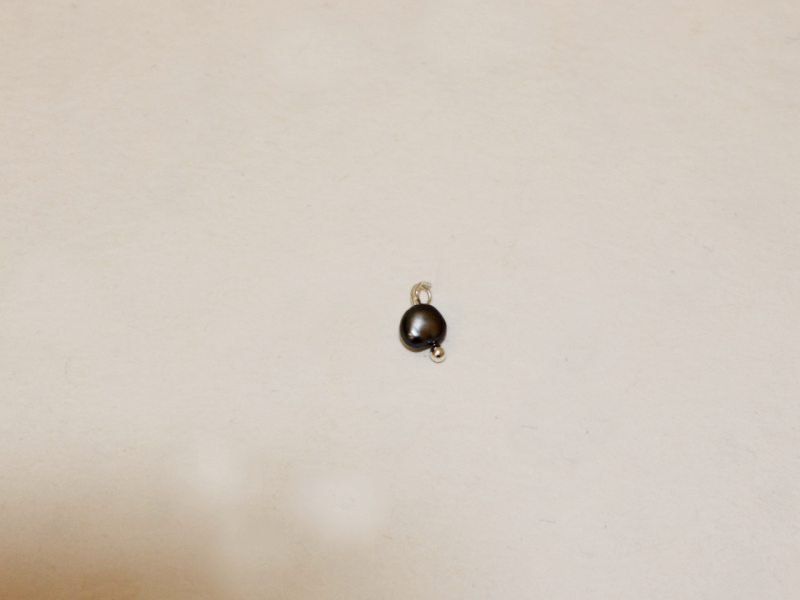
3: Set the bead charm aside and open one of the jump rings. Slide one of the earrings and one end of the chain onto the ring and then close it again using your pliers.
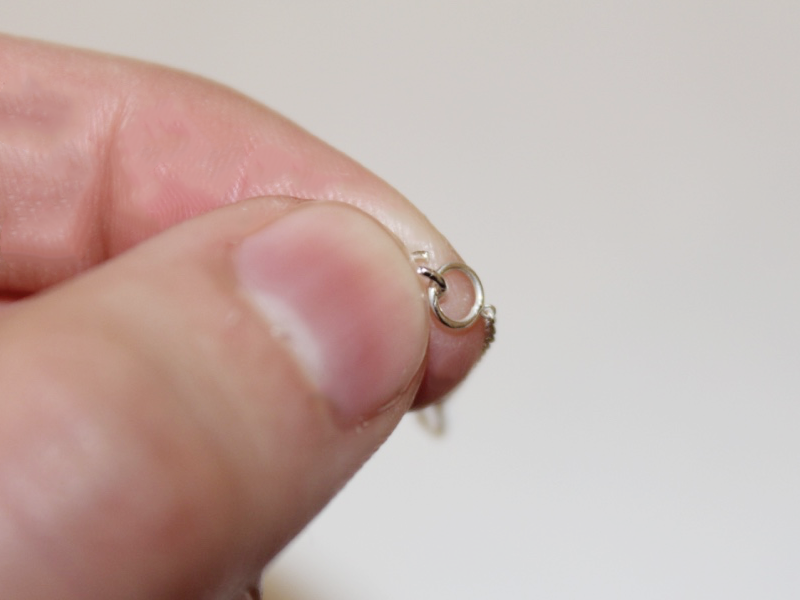
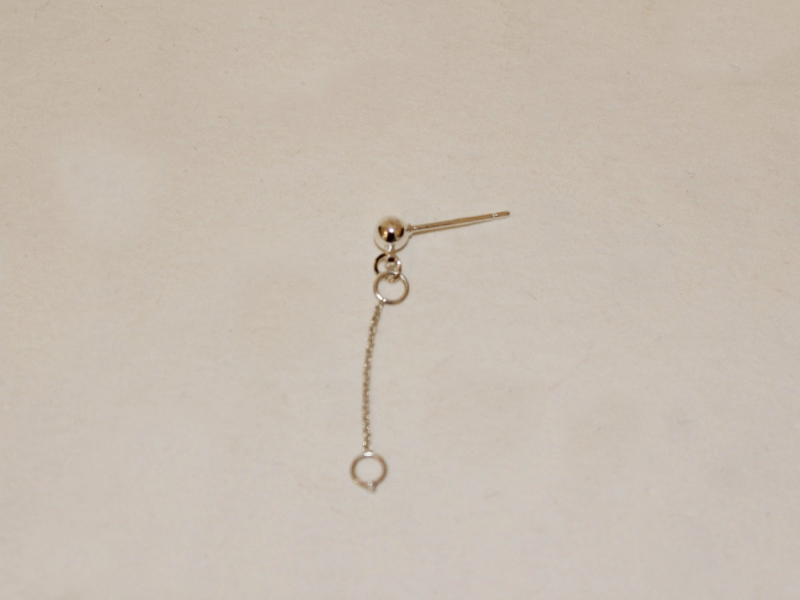
4: Repeat step 3 for the other earring, attaching the earring to the other end of the chain using the remaining jump ring. This time make sure you add your bead charm before closing the jump ring.
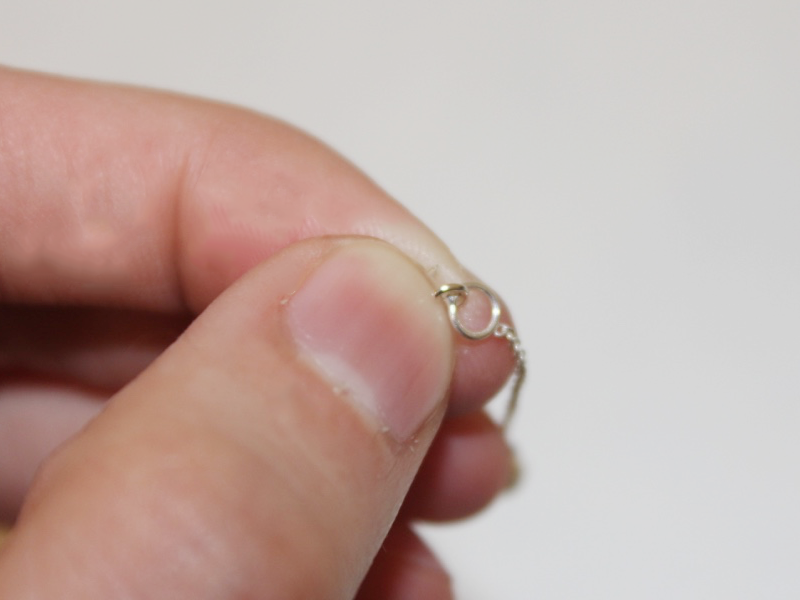
5: Once you have completed step 4 your double piercing earring is complete. Wear and enjoy!
-
Make this cutie-pie bracelet using a charm connector today!
Have you ever seen a charm that has two loops rather than one? That’s a charm connector! These charms let you join two different strands to create unique pieces of jewelry. I have already shown you how to make a braided friendship bracelet using a charm connector, in this tutorial I will give you all the knowledge you need to make a beaded bracelet that features a pretty silver charm connector.
You will need the following tools and materials to make this charm connector bracelet:
1: Pliers. You will need your cutting pliers and your flat nose pliers to make this bracelet.
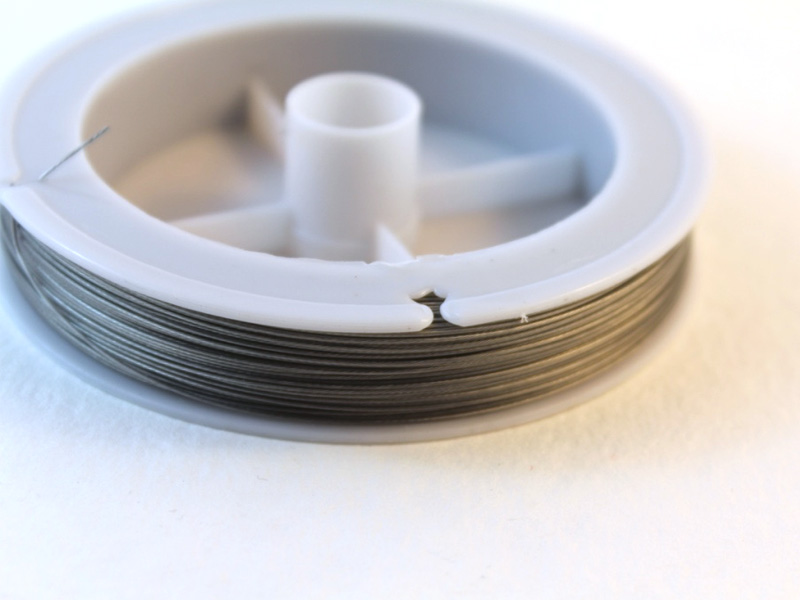
2: Tiger tail wire.
3: Eight crimp beads.

4: A toggle clasp.


6: Beads of your choice. I used some pink glass bugle beads and some blue glass seed beads.


The Steps:
1: Use your cutting pliers to cut two lengths of tiger tail wire long enough to fit halfway around your wrist. I cut mine with a little extra length to ensure that my bracelet would fit.


2: Take one piece of tiger tail wire and add two crimp beads to the end, then fold the end of the wire around one loop on the charm connector.


3: Squash the crimp beads to secure the wire and charm together using the flat nose pliers.
4: Repeat steps 2 and 3 for the second tiger tail strand attaching it to the other side of the charm connector.

5: Begin adding beads to one side of the bracelet. I started with the pink bugle beads.

6: Continue adding beads until the beaded section reaches approximately half way around your wrist.

7: Add two crimp beads to the strand.

8: Add one side of the toggle clasp to the strand as well, fold the wire around the clasp and back through the crimp beads.

9: Squash the crimp beads using the flat nose pliers to secure the strand.

10: Trim the excess wire using the cutting pliers.

11. Repeat steps 5 and 6 for the second strand. Continue beading until the second strand is approximately the same length as the first.


12: Add two more crimp beads and the other end of the toggle clasp to the end of the second strand.

13: Bend the wire around the clasp and back through the crimps as you did the first strand.

14: Secure the strand by squashing the crimp beads using the flat nose pliers.

15: Trim the excess wire close to the crimp beads using the cutting pliers.
16: Once all the extra wire has been trimmed your bracelet is finished and ready to wear! This is such a cute way to make a stunning bracelet. Charm connector bracelets look great stacked with other beaded bracelet designs! Style yours up any way you like.


Here are some other beaded charm connector bracelet designs. You can get really experimental and creative with charm connectors. Happy making!


Here are some other charm connector tutorials on DIY Jewelry Hub
- A delicate charm connector anklet
- A charm connector bangle
- Charm connector statement earrings
- Braided charm connector bracelets
Please note that this tutorial contains affiliate links.