-
Stud Earrings are Classic! Use some beads to make your own statement studs
These stud earrings are made using some plastic beads and some head pins and they look adorable!
You will need the following tools and materials to make your stud earrings:
1: Two flat bed earring findings.

2: Two large head pins.

3: Two small head pins.

4: Two small jump rings.

5: Two part epoxy glue, I used Araldite.

6: A piece of scrap paper.

7: A skewer.

8. Four beads. I used two large resin beads and two small blue plastic beads.


9: Pliers. You’ll need your cutting pliers, flat nose pliers and round nose pliers.

Follow these steps to make your stud earrings:
1: Add the small beads to the small head pins.

2: Curl the ends of the pins around your round nose pliers to secure the beads in place. Do this for both beads.


3: Add the larger beads to the larger head pins.

4: Bend and trim the pins so that the pins protrude around 1cm from the bead.

5: Loop the ends of the pins using the round nose pliers.


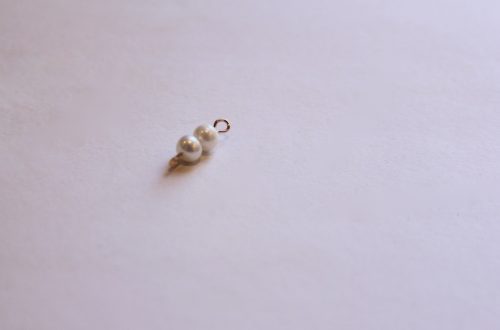
6: Attach the small beads to the larger ones using the small jump rings.


7: Squeeze out the glue in equal parts onto the scrap paper and mix with the skewer.



8: Add the glue to the earring posts and place them on the backs of the large beads and leave them to dry.


Once the earrings are dry you can wear them! How cute are they?!

Note: This article contains affiliate links
-
Two trends in one! Shells and Hair clips

Are you keen on the hair clip trend and the shell trend? Why not make a shell embellished hair clip? Contains affiliate links.
You will need the following tools and materials to make your shell hair clip:
1: A hair clip finding

2: Araldite glue
3: Skewer
4: Scrap paper
5: Shells

Follow these steps to make your shell hair clip:
1: Squeeze out the glue in equal parts and mix it using the skewer.
2: Add the glue to the clip.

3: Add glue to the underside of each shell and place them on the clip.


4: Set the clip aside to dry. You might need to add a prop to each end to stop the shells from sliding off while the glue is still wet.
Now your shell hair clip is finished and ready to wear!
Here are some other DIY tutorials that use beautiful shells:
-
Gaudy crystals are in! Here’s how to make some bold crystal earrings.

These crystal earrings pack a visual punch! Perfect for spicing up your go to outfit. This tutorial contains affiliate links.
You will need the following tools and materials to make these rhinestone crystal earrings.
1: Two strands of rhinestone crystals. I made mine approximately 12cm long.

2: Two larger rhinestones.

3: Two glue on stud earrings with backs.

4: Araldite glue
5: A skewer.
6: Scrap Paper.
Follow these steps to make your rhinestone crystal earrings:
1: Squeeze the Araldite glue out into equal parts and mix it on the paper.
2: Add the glue to the edge of the first large rhinestone.

3: Drape one of the rhinestone strands around the rhinestone and set it aside to dry. I recommend placing them on a cutting mat so that you don’t get paper stuck on your earrings.

4: Repeat steps 2 and 3 for the second set of rhinestones.
5: Add more glue to the earrings and place them on the back of the large rhinestones.

Once your earrings are dry they’re ready to wear! How perfect are these?
Here’s another pair I made using shorter pieces of rhinestone chain.

-
Here’s how to make your own shell stud earrings! So cute for summer!!!
These shell studs are simple to make and will defs be your summer staple (or perfect for bringing some summer vibes to the winter months).
You’ll need the following tools and materials to make your shell stud earrings:
1: Two shells. Look for shells that have a flatish base to glue your stud onto. I used these mismatched shells that I found a while ago (If you can’t find any try buying some, but I think that making earrings with shells you have found yourself is more special!).

2: Blu tack. You’ll need this to keep your shells still while the glue is drying.

3: Two earring posts (and earring backs).
4: Araldite Glue.
5: A Skewer.
6: A piece of scrap paper for mixing glue on.
Follow these steps to make your earrings:
1: Pop your shells onto the blu tack with the underside exposed.

2: Squeeze out the glue in equal parts and mix it using the skewer.
3: Add glue to each of the shells and the tops of the earring posts. Place the posts onto the shells and leave them to dry.


4: Once the earrings are dry they are ready to wear! How easy was that?!

Here’s another pair I made using a matching pair of shells (as matching as unique shells can be).

Another tip: If your shells are looking a bit dull and dusty rub them with a soft cloth and a little bit of cooking oil (I used peanut oil because it was in the kitchen) to give them back their lustre!
-
Don’t have pierced ears but want to get in on the statement earring game? Make your own clip on earrings!
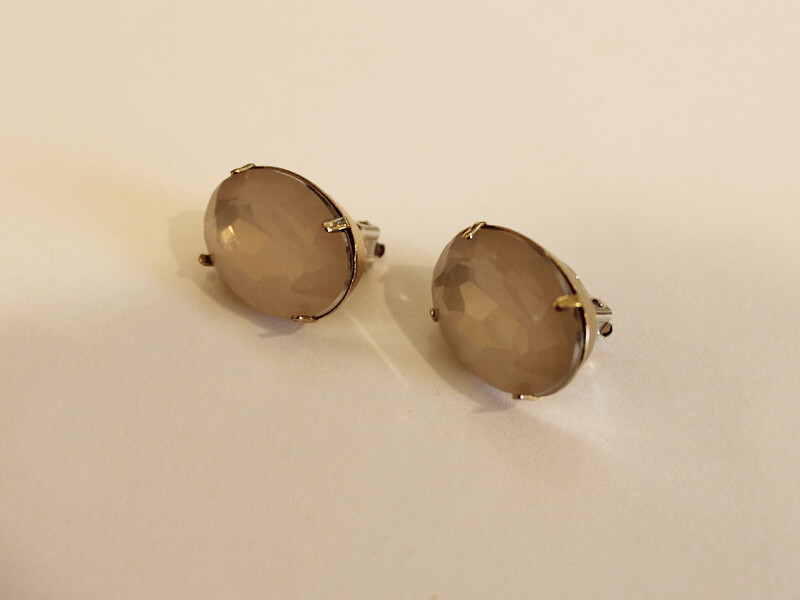
Do you want to get in on the earring game without getting your ears pierced? Here’s how you can make your own clip on earrings!
You will need the following tools and materials to make these earrings:
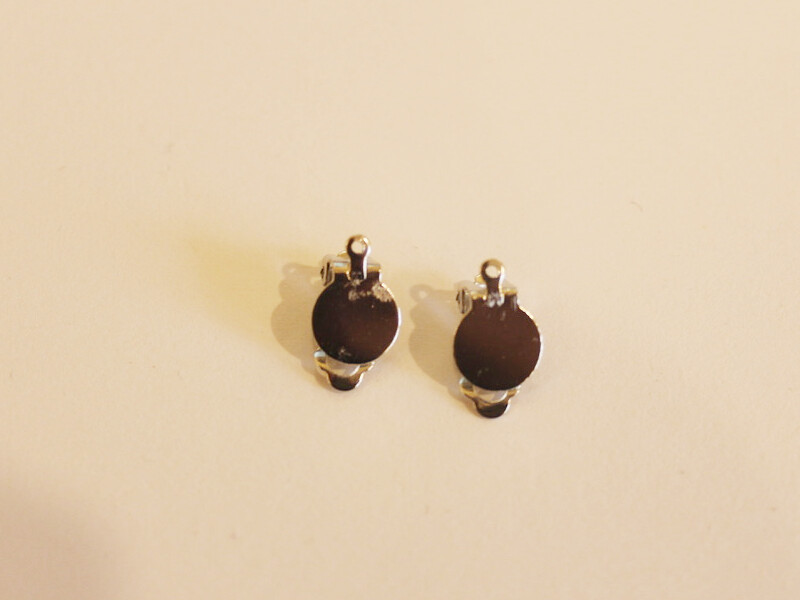
1: Two clip on earring findings.
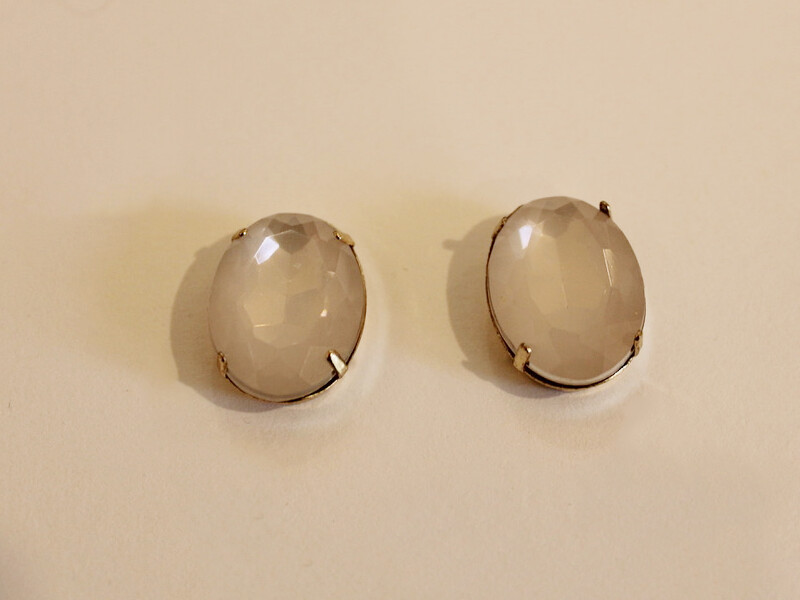
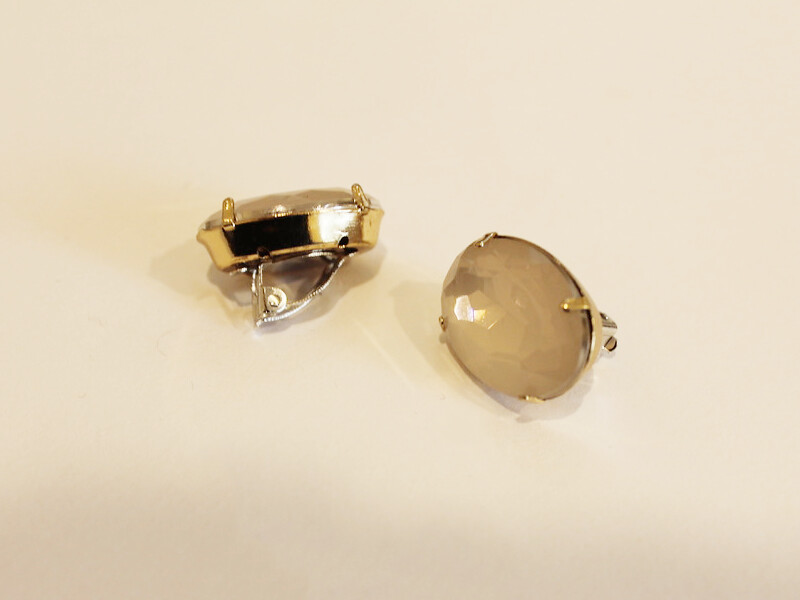
2: Two charms. I used these large pink rhinestones.
3: Araldite glue.
4: A skewer.
5: Scrap paper.
Follow these steps to make your clip on earrings:
1: Squeeze out the glue in equal parts onto the scrap paper.
2: Mix the glue with the skewer.
3: Add the glue to the backs of both rhinestones and the clip on earrings. (Open the earrings so that the clip doesn’t get glued shut).
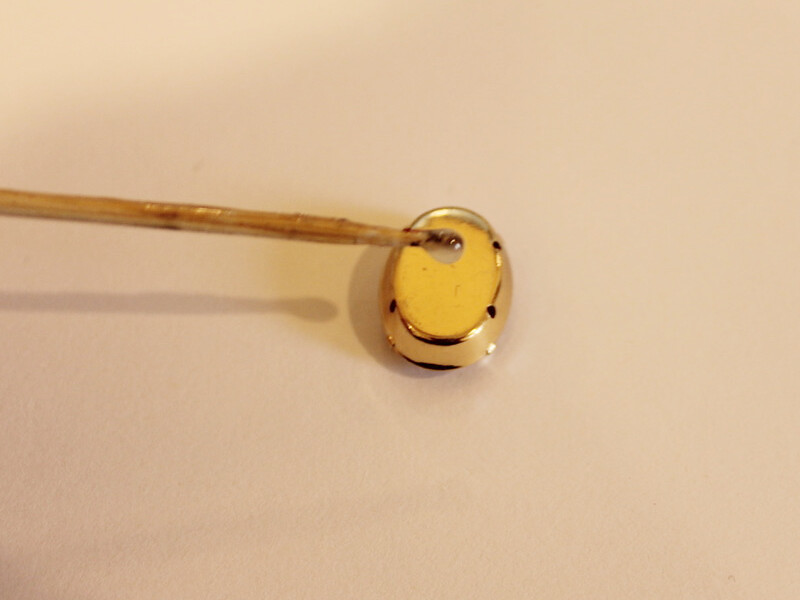
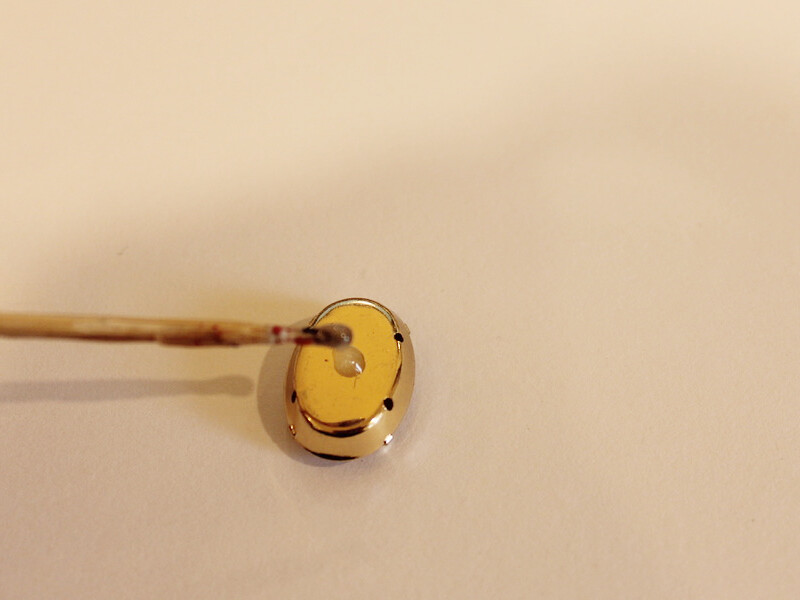
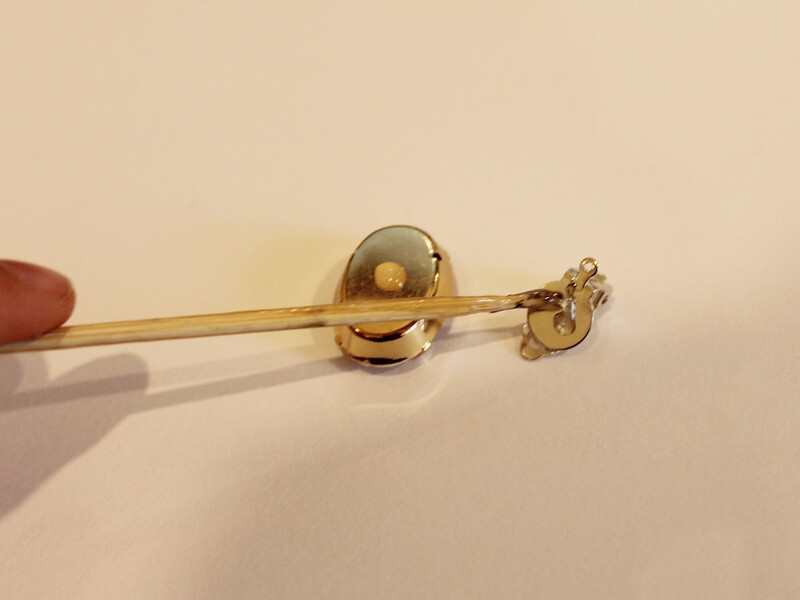
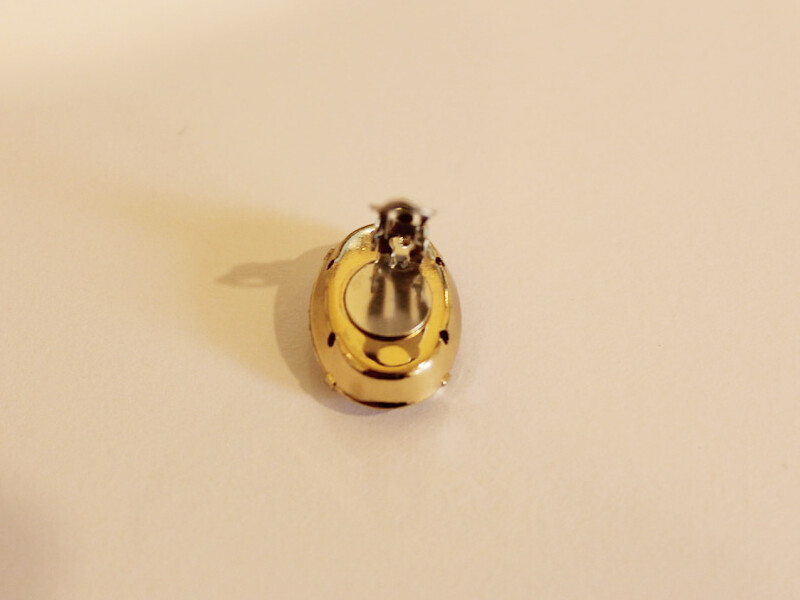
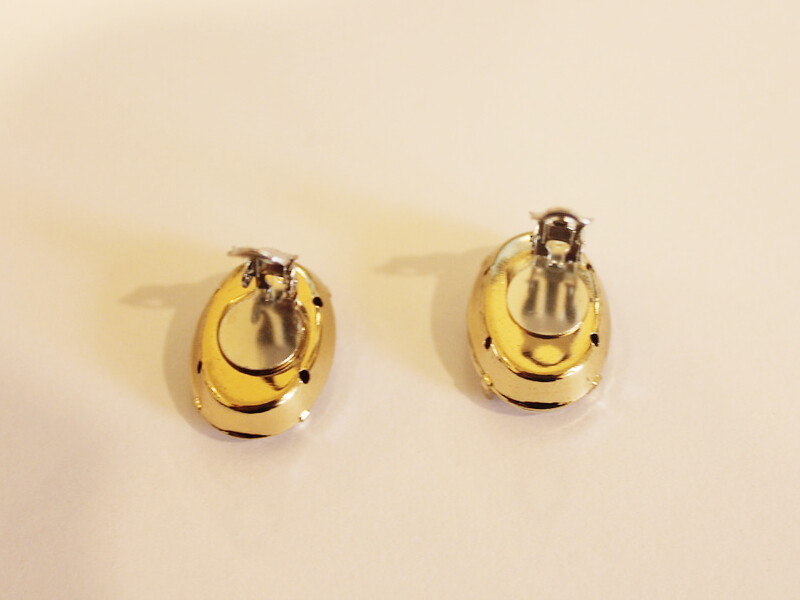
4: Once your earrings are dry they are finished and ready to wear!!!
-
Need to jazz up those lapels? here’s how to make a cool little pin.

These pins are super easy to make. I’ve got a stack of them sparkling up my winter coat!
You will need the following tools and materials to make this pin:
1: Araldite glue.
2: A skewer.
3: Scrap paper.
4: A lapel pin finding.

5: Cabochons or charms of your choice. I used a piece of green acrylic and a resin cabochon.


Follow these steps to make your lapel pin:
1: Squeeze out a small amount of glue in equal parts.
2: Mix the glue using the skewer.
3: Add glue to one side of the acrylic and to the underside of the cabochon.


4: Place the two pieces together and wait for them to dry.

5: You might need to mix some more glue to attach the pin finding.
6: Add glue to the pin finding and the back side of the acrylic.

7: Attach the pin to the back of the acrylic and set it aside to dry.

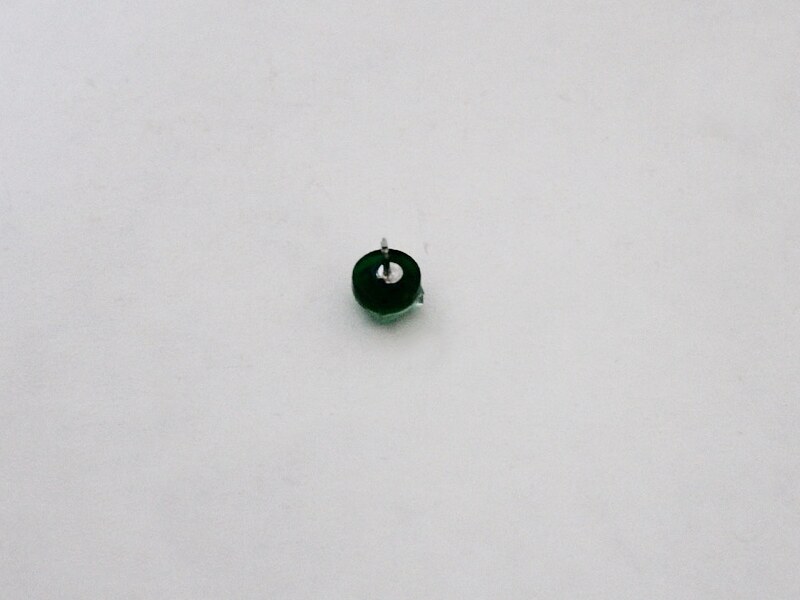
Once your glue is dry your pin is ready to wear!

Here’s a bunch of pins I made recently.

-
Do You Have Any Special Pieces You Wish You Could Wear as a Pendant? Here’s How You Can…
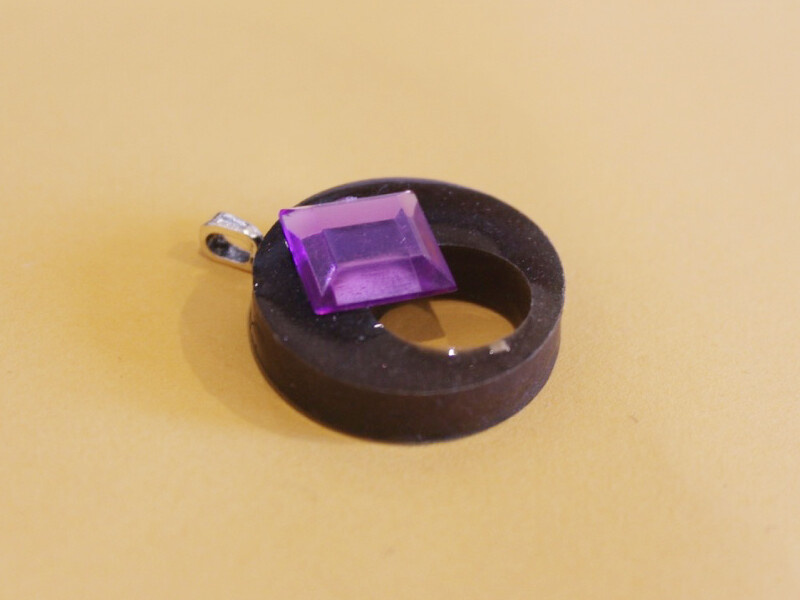
With a glue on bail you can turn almost anything into a pendant. Here’s how to use one!
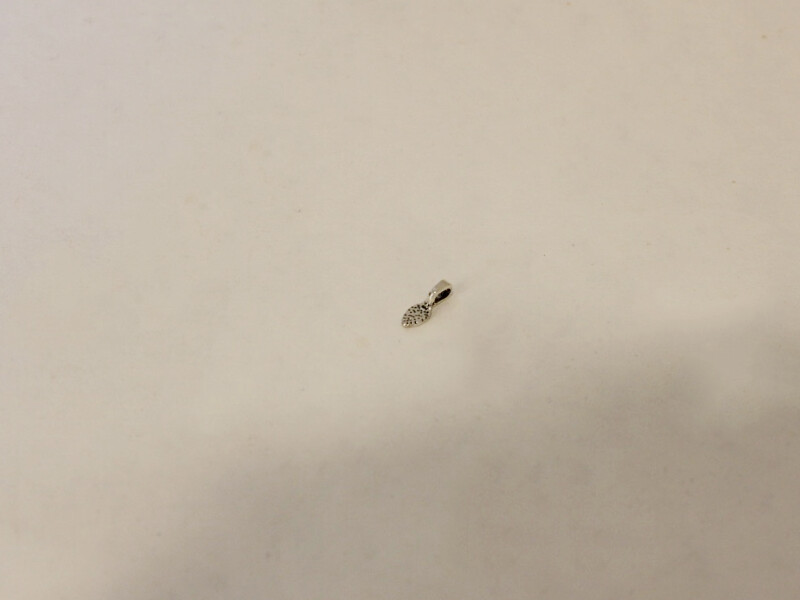
You will need the following tools and materials to make this pendant:
1: A glue on bail.
2: Araldite glue.
3: A skewer.
4: A scrap piece of paper.

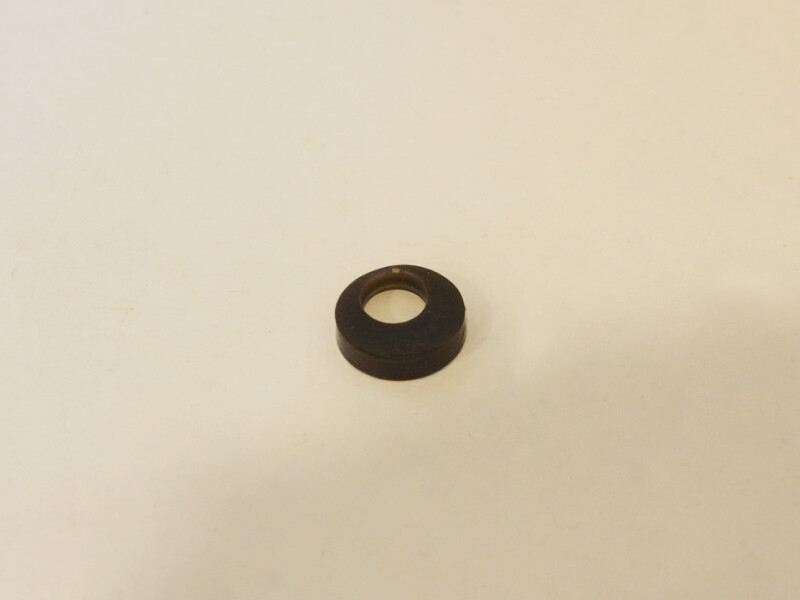
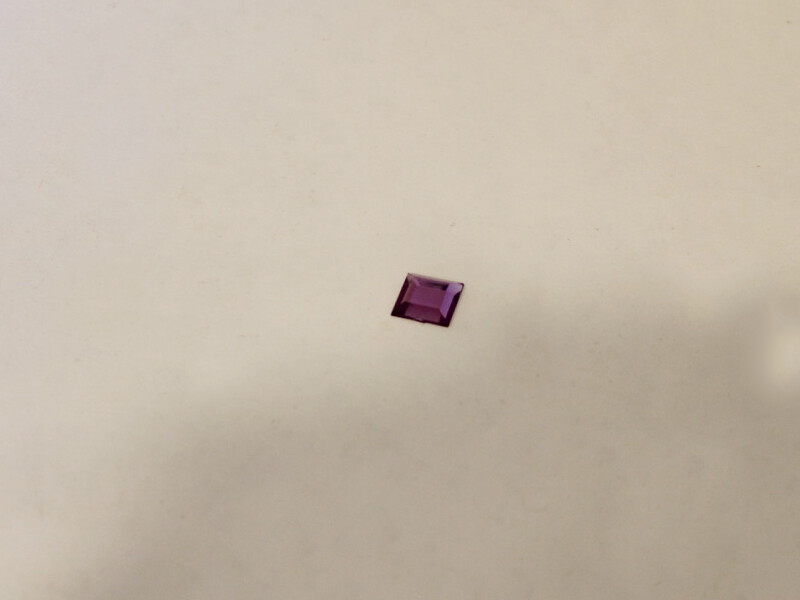
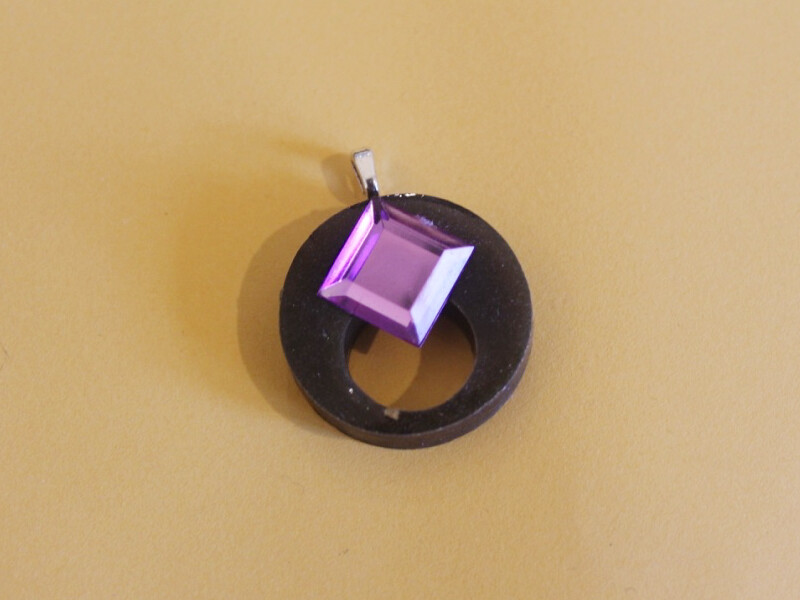
5: A plastic charm/decoration. I used this circular resin piece and a plastic gemstone.
Follow these steps to make your pendant:
1: Squeeze the glue in equal parts onto the piece of scrap paper.
2: Mix the glue using the skewer.
3: Add the glue to the bail and to the back of the charm where you want your bail to sit.
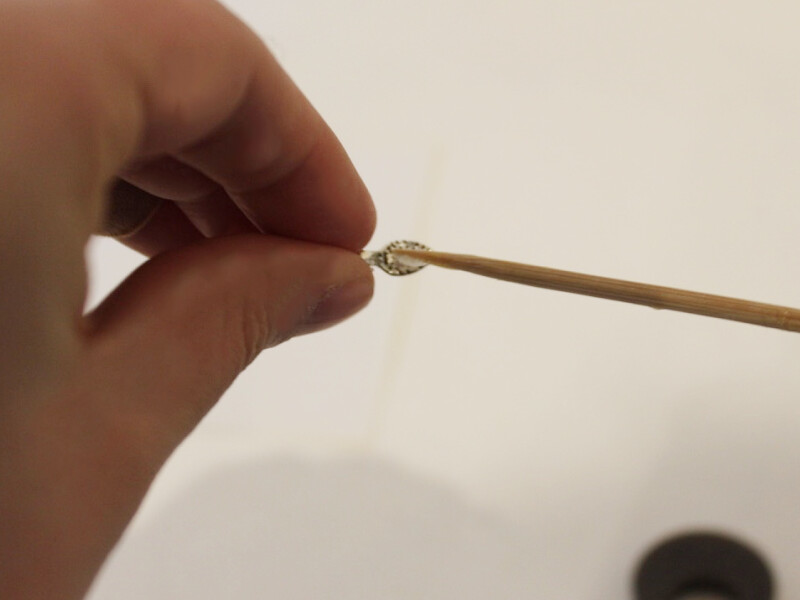
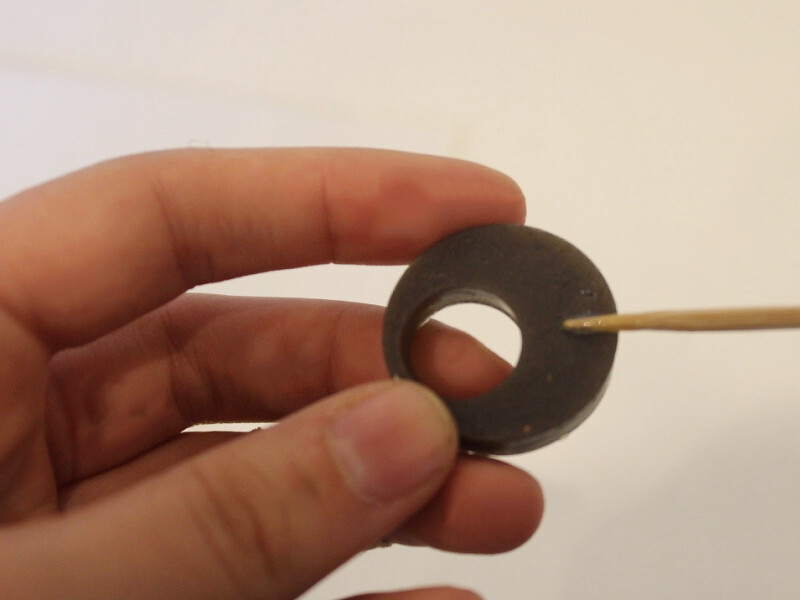
4: Place the bail onto the charm and wait for it to dry.
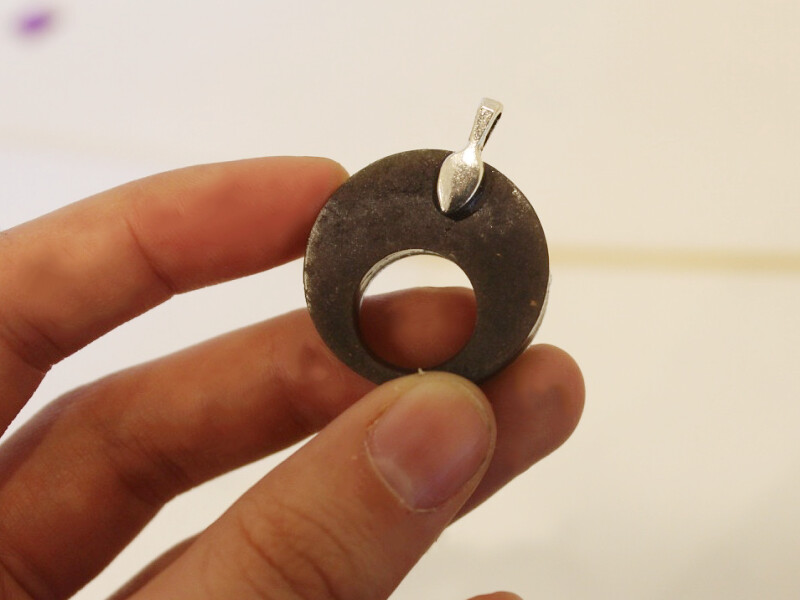
5: Depending on how long it takes for the bail to dry you might need to mix up some more glue.
6: Add more glue to the back of the plastic gemstone and place it on the front of the other charm.
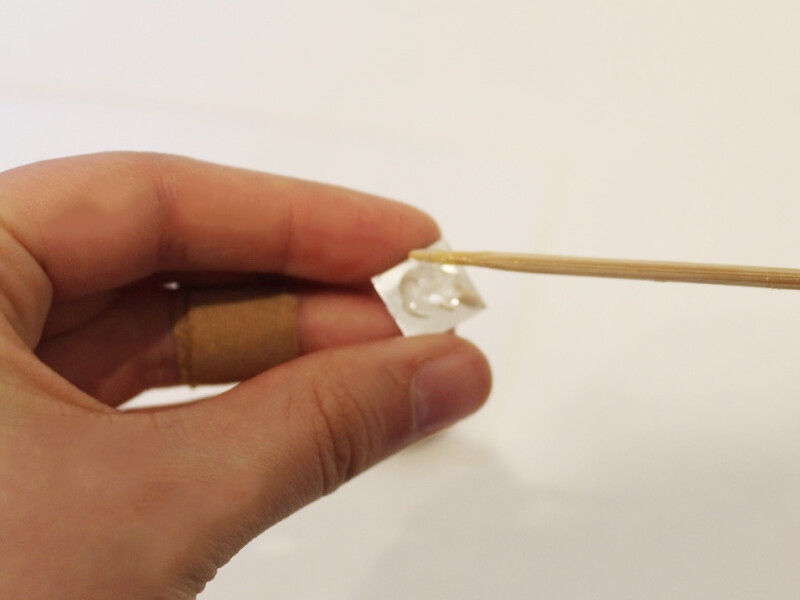
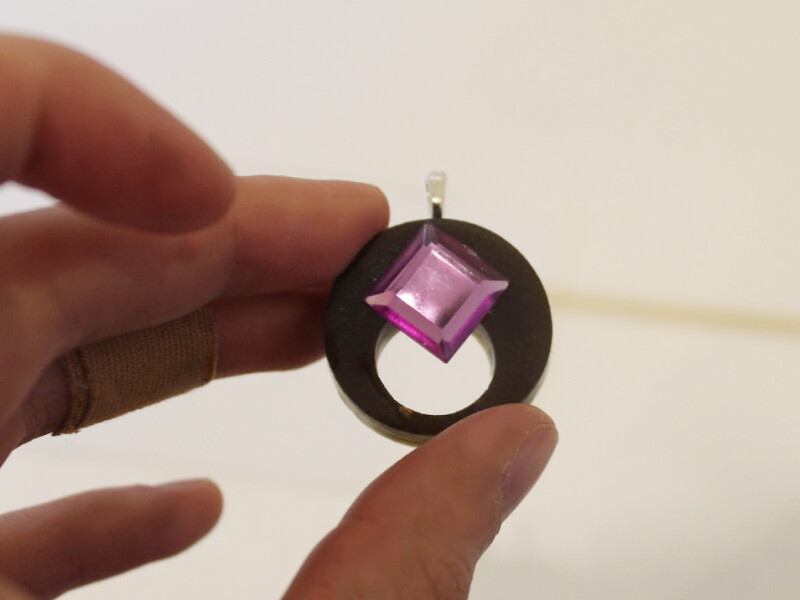
Once the charm is completely dry it is finished and ready to attach to a chain and wear!
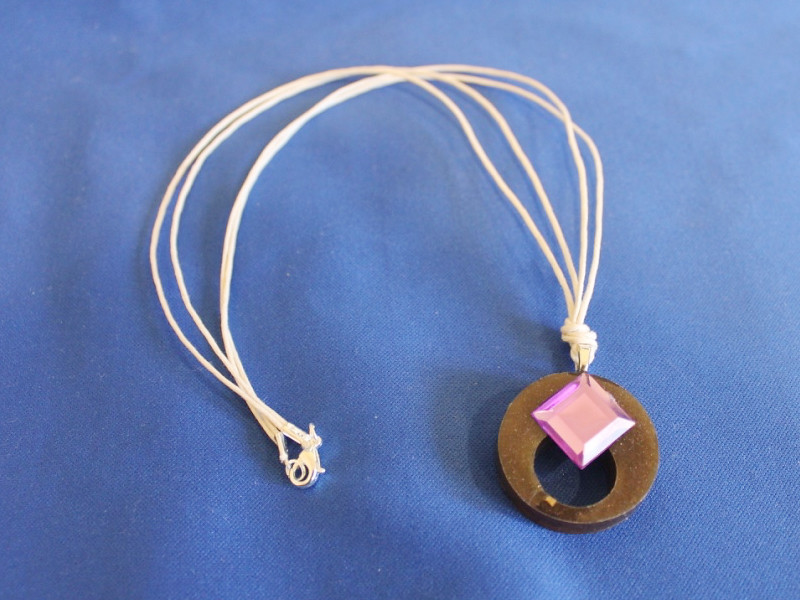
I attached my pendant to some string to wear as a necklace.

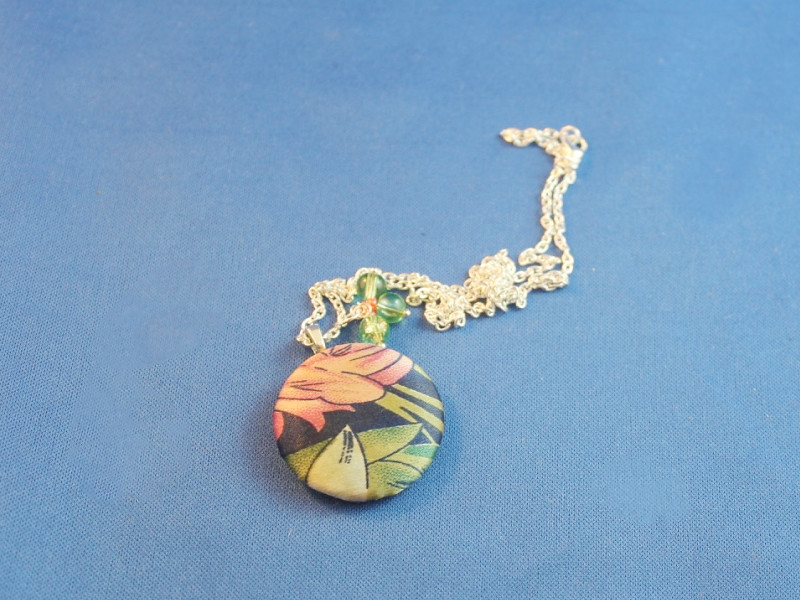
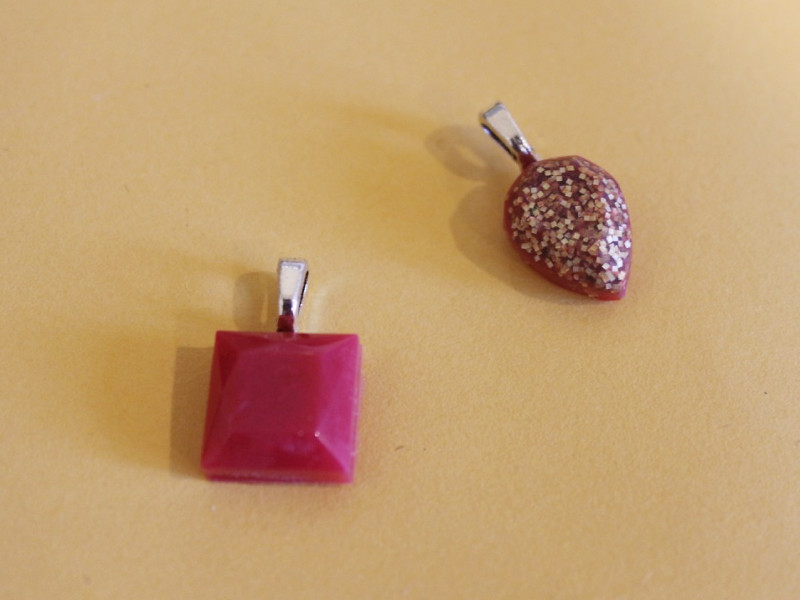
Here is another pendant made from a broken button.
And a couple of small pendants made from resin cabochons
-
Want To Give Your Hairdos a Revamp? Decorate Your Hair Clips For an Easy Update!

Sometimes your go-to hairstyle doesn’t cut it, so here’s an easy way you can jazz up the old favorites! This DIY couldn’t be easier! This could also be a fun way to make presents for kids.
You will need the following tools and materials to make this hair clip:
1: Araldite glue.
2: A piece of scrap paper.
3: A skewer.
4: A hair clip. I used an old one I had lying around.

5: A flat backed charm. I used this glittery resin charm.

Follow these steps to decorate your hair clip:
1: Squeeze the glue out in equal parts onto the scrap paper.
2: Mix the glue using the skewer.
3: Add glue to the back of the charm using the skewer.

4: Add glue to the front of the clip using the skewer.

5: Add the pieces together.

6: Leave the pieces to dry, checking on it occasionally to make sure that the charm doesn’t slide out of place.

Once the hair clip is dry it is ready to wear!
-
Here’s something a bit different… how to make cufflinks

Customized cufflinks are closer than you think. You can make your own unique cufflinks using some cool buttons and a pair of silver cufflink findings.
You will need the following tools and materials to make these cufflinks:
1: A pair of cufflink findings.

2: Two buttons of your choice. I used these buttons because they had a flat back. You can use other buttons by cutting off the loop attachment.

3: Two part epoxy glue. I used Araldite.
4: Scrap paper for mixing the glue on.
5: a skewer.
Follow these steps to make your own cufflinks:
1: Squeeze out some glue onto the scrap paper.
2: Mix the glue using the skewer.
3: Apply some of the glue to the flat part of the cufflink finding.

4: Place the glue side of the finding down onto the backside of the button. Hold it in place for a little while to make sure that the cufflink doesn’t slide out of place.


5: Repeat steps 3 and 4 for the second cufflink.
6: Wait for the glue to dry.

7: Once the glue has dried the cufflinks are ready to wear.

These cufflinks have been decorated with some polymer clay leaves.

These cufflinks have been made using some vintage clip on earrings.

If you were inspired by this button cufflink tutorial here are some other ways that you can use buttons in your DIY jewelry designs:
- Button bracelets
- Transform buttons into stud earrings
- Use a button to decorate a ring
- Use buttons to add texture to handmade clay beads
This tutorial contains affiliate links.
-
How to Make Stud Earrings. You’ll Wanna Get These Stunners on Your Ear Lobes!
These earrings are easy to make and make a great impact. This design is made using your choice of components, some stud earring posts and some Araldite glue. If you’ve tried out the statement ring tutorial then you’ll already have an idea of how easy this design is to make, all you need to do is to mix up the glue and piece together your components.
You will need the following tools and materials to make these earrings:
1: Glue. I used Araldite two part glue to make these earrings. Make sure you use this glue in a well ventilated area.
2: A skewer for mixing glue with.
3: A piece of scrap paper to mix the glue on.
4: Post earrings and earring backs.

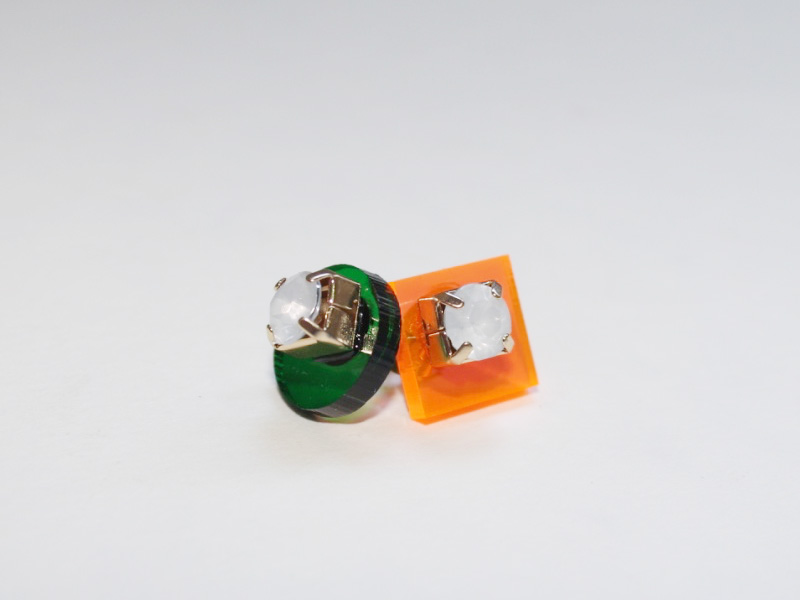
5: Two base pieces to attach the earrings to. In this design I used two pieces of laser cut acrylic in different shapes.

6: Two decorations to attach to the front of your chosen base pieces. In this design I chose to use two rhinestones.

The Steps:
1: Squeeze a little bit of glue out of the tube, keeping it in equal parts. This glue sets quickly so you might need to make a few batches to finish off your earrings.
2: Mix the glue carefully using the skewer.
3: Collect some glue on the end of the skewer and apply it carefully to the back of the rhinestones.

4: Carefully place each rhinestone onto each of the acrylic pieces. Once they are in place, leave the pieces to dry.

5: Once the rhinestones have dried, begin applying glue to the bed of each earring post.

6: Carefully place each post on the back of each acrylic piece. Once they are in place you will need to prop up the earrings to be level to prevent the earring backs from moving out of place before they dry.

9. Once the glue has dried your earrings are complete and ready to wear.
Stud earrings are a wardrobe staple and we’ve got many different styles for you to DIY, check out these other stud earring tutorials:
- Beaded flower stud earrings
- Shell stud earrings
- Adorable pompom stud earrings
- Cute bow studs
- How to turn old clip on earrings into studs for pierced ears
- Tiny hammered wire studs
- Crystal statement studs
- Sweet ladybug studs
- How to transform buttons into stud earrings
- DIY Design Inspiration: Asymmetrical stud earrings
This tutorial contains affiliate links.