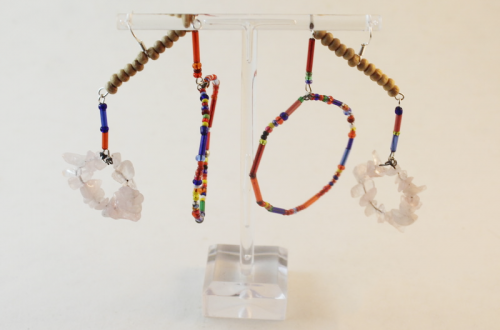
-
How to make some pearl earring jackets to add some elegance to your stud earrings
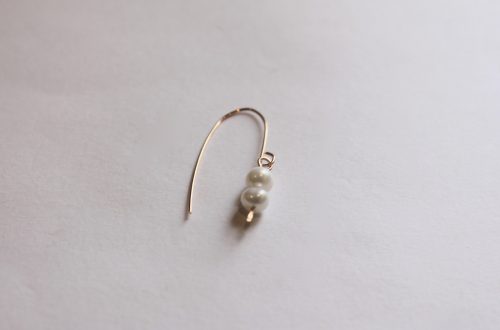
I love a stud earring, but sometimes I feel like I need some extra elegance in my outfit… in comes, the earring jacket. This simple and elegant pearl earring jacket can be added to any of your studs to turn them into stunning drop earrings. A versatile way to make your existing earring collection work even harder. Please note that this tutorial contains affiliate links for which we may receive a commission.
You’ll need the following tools and materials to make your own pearl earring jackets.
1: Two pieces of 0.8mm sterling silver wire cut to length. I made mine about 5cm long. You can make yours longer or shorter depending on how dramatic you want your look!

You can get some here:
2: Two pearl beads (or any other statement bead of your choice).

You can get some here:
3: A pair of earrings. I used the earrings I made in this tutorial.

If you aren’t up for making your own, you can get some here:
4: A hammer.

If you don’t have an ordinary hammer at home, you can get a jewelry hammer here:
5: A steel hammering block.

You can get one here:
6: Flat nose or Parallel pliers.

You can get some flat nose pliers here:

You can get some here:
7: Round nose pliers.

You can get some here:
8: A file and sandpaper.

You can get a file here:
Follow these steps to make your pearl earring jackets.
1: File the ends of the wire to smooth them out, then use sandpaper to make sure they aren’t too sharp.

2: Put the wires on the hammering block and hammer the ends flat. Make the ends wide enough to stop the bead from sliding off.


3: Use the flat nose or parallel pliers to gently straighten the wire if it is curved like mine. You can achieve this by gently squeezing the wire between the jaws of the pliers.


4: Add the pearl beads to each of the wires.

5: Create a right angle on the ends of the wires using the flat nose or parallel pliers.


6: Curl this bent portion of the wire into a loop using the round nose pliers.


7: Once each earring jacket has been looped, they are ready to attach to your earrings, do this by sliding the studs through your piercings and then adding the jacket to the post at the back before adding the earring backs.
Here’s how the finished earring jackets look with the pearl studs! How cool?!


If you like this tutorial, here are some other earring jacket tutorials you can follow:
-
Got a pair of dangly earrings you aren’t quite in love with? This tutorial shows you how you can swap earring hooks for studs.
I like dramatic earrings, but I don’t love the look of hook earrings, so I prefer my dangly earrings to have stud tops. If you’re like me, the following tutorial will show you how you can swap hooks for studs in a few easy steps. Please note that this tutorial contains affiliate links that may earn this website a commission.
You will need the following tools and materials to transform your hook earrings into dangly studs:
1: A pair of dangly earrings that have hooks. I used these earrings that were given to me as a gift.

You can use any earrings you like that have earring hooks, but here are some similar to the pair pictured:
2: A pair of stud earrings with a hole or jump ring attached to them. Make sure you have earring backs as well.

These are handmade studs, but you can get something similar here:

3: A pair of jump rings.

4: Pliers. I used my flat nose and needle nose pliers.
Follow these steps to transform your dangly earrings:
1: Take a pair of pliers and open up the ring at the bottom of the earring hook on one of your earrings.

2: Remove the hook.

3: Repeat this for the second earring.

4: Take one of the jump rings and add it to the loop at the top of one of the earring charms.

4: Slide the jump ring through the hole at the bottom of the stud earring finding.

5: Close the jump ring using the pliers. Now you will have transformed one of your earrings.

6: Repeat steps four to five for the second earring.

Now you can use your old earring hooks for a new design and you have transformed your drab earrings into something more your style!
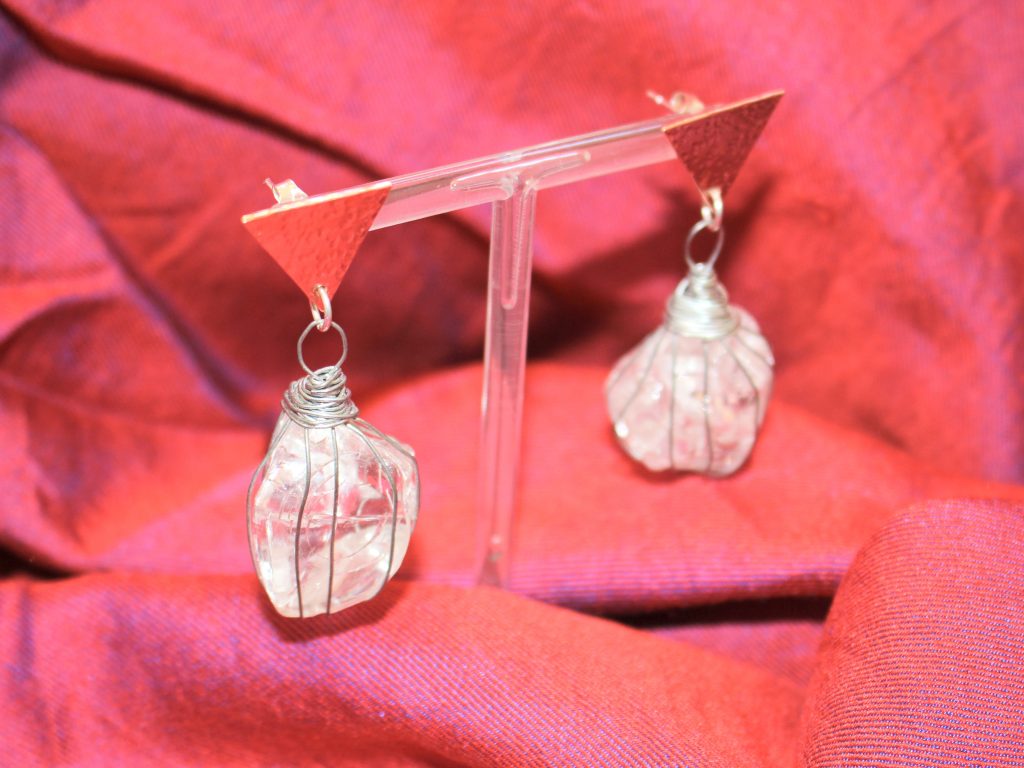

-
How to make some chunky chain loop earrings!
I think chain loop earrings are really cool! This DIY uses lightweight chunky curb chain to loop from the front to back of your ears. Please note that this tutorial contains affiliate links.
You’ll need the following tools and materials to make this pair of earrings:
1: Pliers. I used my flat nose pliers and round nose pliers.

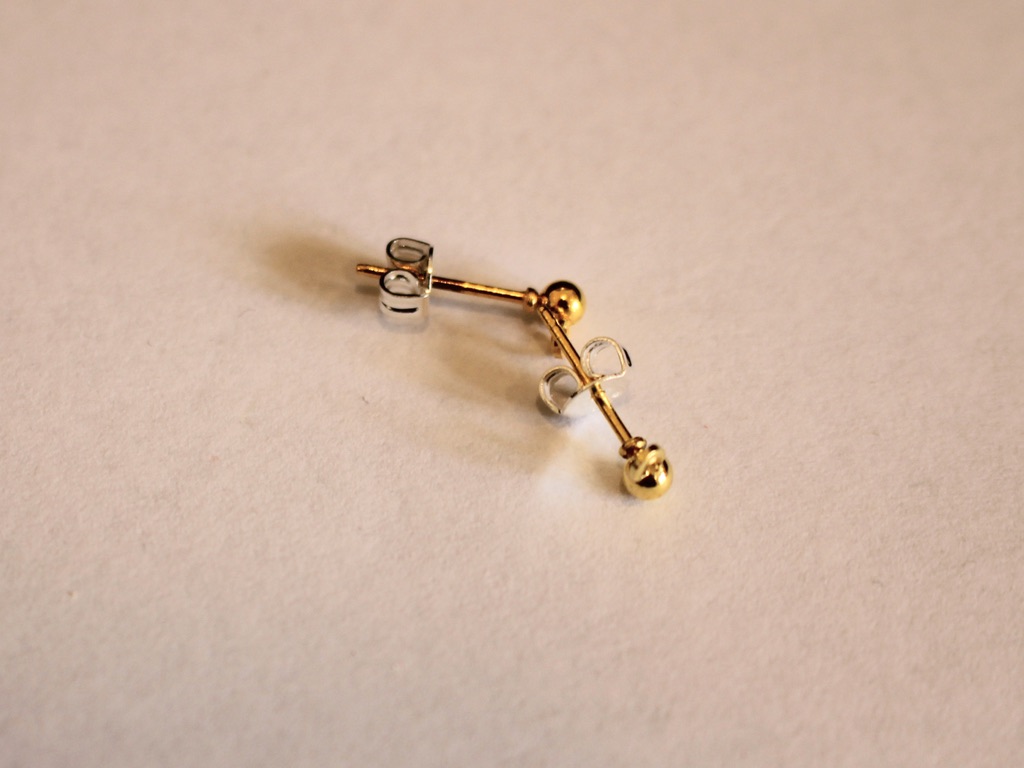
2: Two charm post earrings with butterfly backs.
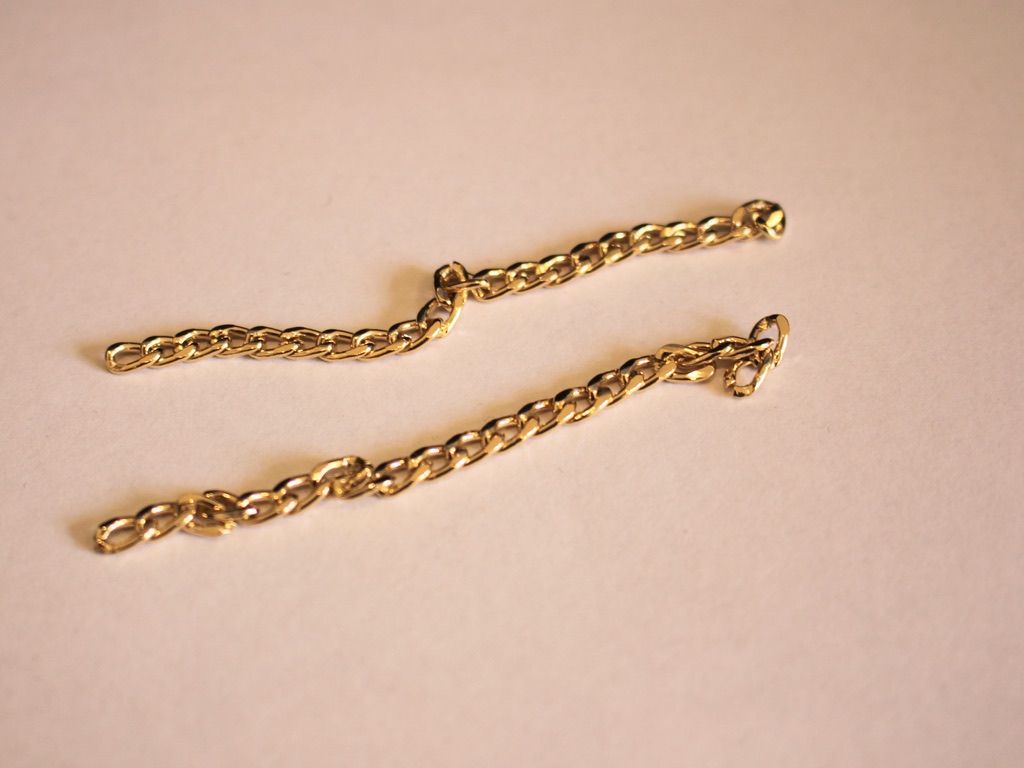
3: Two short pieces of chain, approximately 8cm long.
4: Four jump rings.
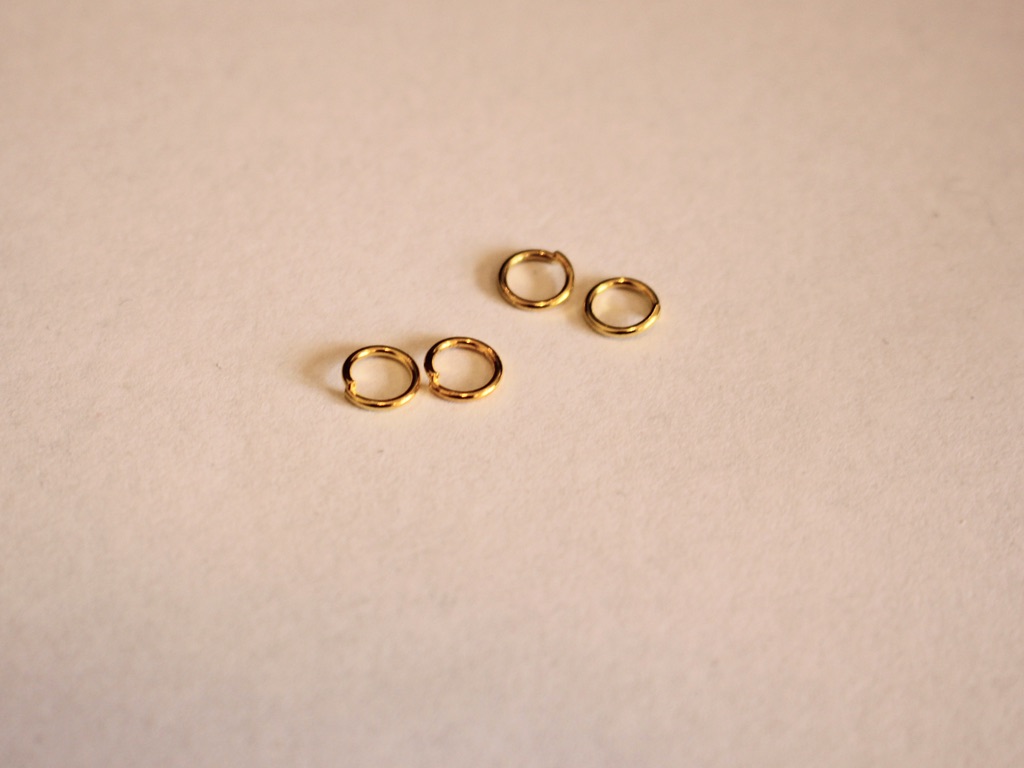
Follow these steps to make your chain loop earrings
1: Open one of the jump rings and slide it through the charm loop on one of the earrings.

2: Attach one end of a chain to the open jump ring.

3: Close the jump ring to secure the chain onto the earring.

4: Add another jump ring to the other end of the chain.
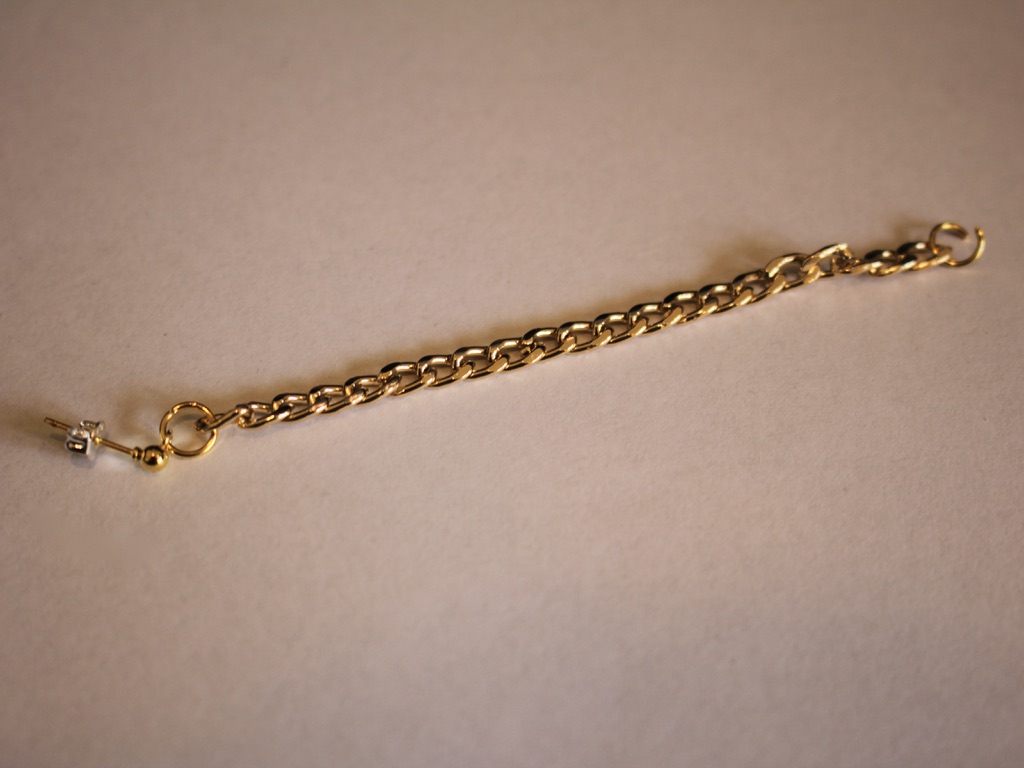
5: Secure the other end of the chain to the butterfly clasp by sliding the jump ring through and closing it using your pliers.

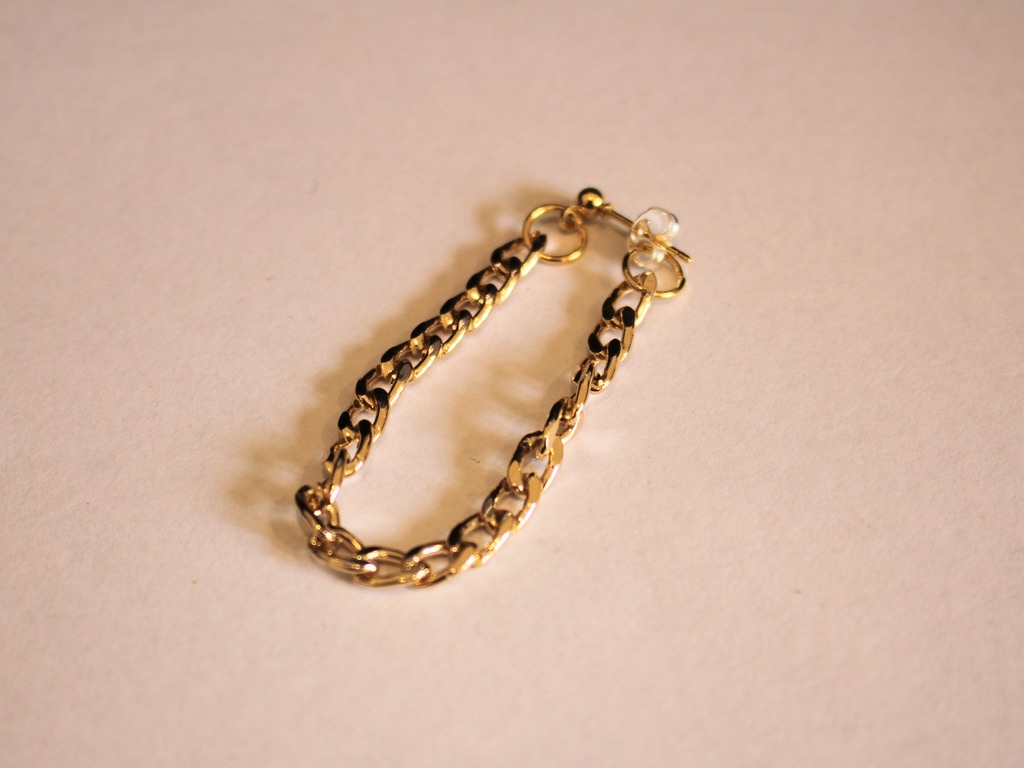
6: Repeat steps 1-5 for the second earring.


Now you can wear them (or give them to someone special)! 😉

Here are some other chain loop earring tutorials:
-
How to make some stud earrings at home out of wire.
These wire earrings are super cute! Hammer some wire flat and then curl the ends to create some adorable little stud earrings that you can stack in multiple piercings.
You’ll need these tools and materials to make these stud earrings:
1: Cutting pliers, flat nose pliers and round nose pliers.

2: A hammer.
3: A steel hammering block.
4: Two small pieces of wire, around 4-5cm long. I used this rose gold filled wire.

5: A file or some sandpaper.
Follow these steps to make your cute little stud earrings.
1: Take the wires and place them on the hammering block.
2: Hammer one end of the wires flat using the hammer. Leave 1cm untouched.


3: Bend the wires at a right angle using the flat nose pliers. Bend at the point where the flat side ends.


4: Curl the flattened ends around the round nose pliers to form a little loop.


5: File or sandpaper the ends of the wires so that they are smooth and comfortable to wear.
6: Pop some butterfly backs onto each earring to finish them off.

Now your cute little curled wire earrings are finished and ready to wear! Super adorable and fun.

-
Here’s how to turn some beads into a pair double-charm stud earrings.
These earrings are pretty fun. With the right selection of beads you can create a cool pair of earrings that feature two dangling charms!
You’ll need the following tools and materials to make your double charm earrings:
1: Pliers. I used my round nose and cutting pliers.
2: Two glue on stud earrings and earring backs.

3: Two flat beads. I used these round love heart beads.

4: Four charm beads. I used these silver-tone plastic star and flower beads.

5: Two eye pins.

6: Four head pins.

7: Glue. I used a two part epoxy glue.

8: Scrap paper for mixing the glue on.

9: A skewer for mixing and applying the glue.

Follow these steps to make your double charm earrings:
1: Add the flat beads to each of the eye pins.

2: Bend the pins to form a right angle.

3: Trim the excess pin using the cutting pliers, leave approximately 1cm.


4: Form the end of the pins into loops using the round nose pliers.


5: Add the charm beads to each of the head pins.

6: Repeat steps 2 to 4 for each of the charm beads so that you end up with four charms with loops at the top.


7: Attach each of the charms to the flat centre beads. I added one star bead and one flower bead to each heart bead.


8: Mix up the glue on the scrap paper and apply it to both the flat beads and the stud earring findings.



9: Place the earrings onto the centre beads and leave them to dry. I suggest using a little less glue than I did because I ended up with some drips on the sides of my earrings.


Once your earrings are dry you can pop them on and have some fun!


Here are some other ways to turn beads into stud charm earrings:
This tutorial contains affiliate links.
-
I really love this design! Make your own gemstone arch earrings.
These arch earrings are really really cool! You make them by hammering some pretty wire and add your fave gemstones to make your own version. I used some cute pink rhodonite gemstone chip beads, what kind of beads will you use? This tutorial contains affiliate links.
Here are the tools and materials I used to make my gemstone arch earrings:
1: Pliers. I used cutting pliers for this design. I also used flat nose and round nose pliers on the jump rings.
2: Two pieces of wire. I used some gold-filled wire, approximately 8cm long.

3: A file or sandpaper for getting rid of the rough edges of the wire.
4: A hammering block.

5: A hammer. I used a normal hammer but a jewelry specific hammer might be better ;).
6: Earring findings. I used these gold-tone stud earrings.

7: Two jump rings.

8: Beads. As mentioned before, I used eight rhodonite gemstone chip beads.

9: Something round to bend your wires around. I used a permanent marker.

Follow these steps to make your own wire arch earrings:
1: Hammer one end of each of the wires. Hammer on the steel block and hit the wire on both sides so that it becomes wide and flat.


2: Add four beads to each of the wires.
3: Push the beads to the hammered ends of the wires.

4: Hammer the other end of the wires the same way as you did in step 1. Make sure you make the wires wide enough so that your beads don’t slip off.

5: File or sandpaper the ends of the hammered wires so that they aren’t sharp.
6: Take your wires, find the mid point and bend them around the permanent marker to form an arch shape.


7: Add the earrings to each of the arches using the jump rings.


Now your arch earrings are finished!


Here’s another pair I made with some round gemstone beads.

Here’s a pendant version with thicker wire and glass beads.

This tutorial contains affiliate links.
-
Stud Earrings are Classic! Use some beads to make your own statement studs
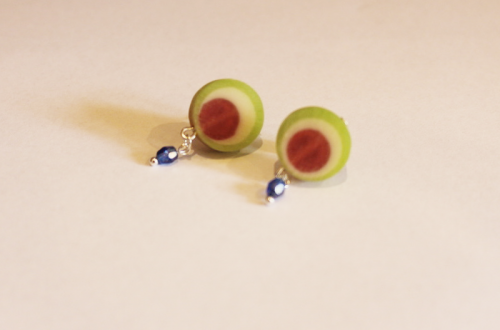
These stud earrings are made using some plastic beads and some head pins and they look adorable!
You will need the following tools and materials to make your stud earrings:
1: Two flat bed earring findings.

2: Two large head pins.

3: Two small head pins.

4: Two small jump rings.

5: Two part epoxy glue, I used Araldite.
6: A piece of scrap paper.

7: A skewer.
8. Four beads. I used two large resin beads and two small blue plastic beads.


9: Pliers. You’ll need your cutting pliers, flat nose pliers and round nose pliers.
Follow these steps to make your stud earrings:
1: Add the small beads to the small head pins.

2: Curl the ends of the pins around your round nose pliers to secure the beads in place. Do this for both beads.


3: Add the larger beads to the larger head pins.

4: Bend and trim the pins so that the pins protrude around 1cm from the bead.

5: Loop the ends of the pins using the round nose pliers.


6: Attach the small beads to the larger ones using the small jump rings.


7: Squeeze out the glue in equal parts onto the scrap paper and mix with the skewer.
8: Add the glue to the earring posts and place them on the backs of the large beads and leave them to dry.


Once the earrings are dry you can wear them! How cute are they?!

Note: This article contains affiliate links
-
Do you love florals? Why not make these cute beaded flower stud earrings?!

These earrings are a little fiddly to make but the results are so cute! I have made a bunch in different colours so I can mix and match in my multiple piercings.
You will need the following tools and materials to make your flower stud earrings:
1: Cutting pliers.

2: Thin wire.

3: A glue on earring stud with an earring back.

4: Seven glass e-beads beads, six in one colour and one in another colour. I used six white e-beads and one blue bead in a similar size.


5: Some nail polish. I didn’t have any clear polish so I used this sparkly polish that is mostly clear 🙂

6: Araldite glue.
7: A skewer.
8: Scrap paper for mixing glue.
Follow these steps to make your flower stud earrings:
1: Add the six white beads to the thin wire. Move the beads closer to one end of the wire.

4: Take the long end of the wire and thread it through the bead closest to the other end.

5: Pull the wire tight to create a circle shape and loop the short wire around so that the end can’t be seen anymore.


6: Wrap the long wire through the bead again to tighten the circle.
7: Add the blue bead to the wire.

8: Fold the wire to place the blue bead in the centre of the circle.

9: Loop the long wire through one of the white beads and pull it tight.


10: Pull the long wire towards the back and trim it.

11: Put a dab of nail polish on the ends of the wires to secure them and set it aside to dry.

12: Once the nail polish is dry you can start preparing the glue.
13: Squeeze out the Araldite glue in equal parts onto the scrap paper and mix it with the skewer.
14: Add glue to the back of the flower and the front of the stud finding.


15: Add the pieces together and set it aside to dry.
Once your earring is dry it is finished and ready to wear! It’ll be spring all year round with these adorable studs!

Here’s a selection I made in different colours.

-
Do your earrings need an update? Try making these interchangeable earring jackets!
Here’s a tutorial for some earrings that you can switch up! Make multiple charms to add to the backs of your earrings for a new look each time.

You will need the following tools and materials to make your earrings with interchangeable ear jackets:
1: Pliers. You will need round nose pliers, flat nose pliers and cutting pliers.
2: Six head pins.

3: Two charm connector stud earrings.

4: Beads of your choice. I used these faceted plastic beads.

Follow these steps to make your interchangeable earrings:
1: Add beads to each of the head pins in your choice of pattern.

2: Bend the tops of each head pin to form a right angle with the beaded section.


3: Trim any pins that are too long using the cutting pliers.


4: Create loops at the top of each pin to secure the beads in place.


5: Add two of the bead charms to the loops on the charm connector stud earrings.

6: Slip the ear jackets onto the posts of the earrings behind your ears. Switch them up as you see fit!


-
Here’s how to make some cute studs out of some wire!
These tiny studs are made using a hammer and some gold-fill wire, I love them!

You will need the following tools and materials to make your wire stud earrings.
1: Two short pieces of wire. I used some rose-gold fill wire.

2: A steel block.

3: A hammer.

4: Some plastic nose pliers for bending the wire.

5: A file.
Follow these steps to make your wire stud earrings:
1: Place the wires on the steel block and hammer one side of each wire flat.


2: File the ends of the wires so that they are smooth.
3: Fold the wires around the pliers. Make sure you leave the posts long enough to fit in your lobes. I had to adjust mine a little bit after I took this photo.


4: Add the earring backs and now you’re done! How cute are these little guys?

Here’s another pair I made using thicker gold-fill wire.