-
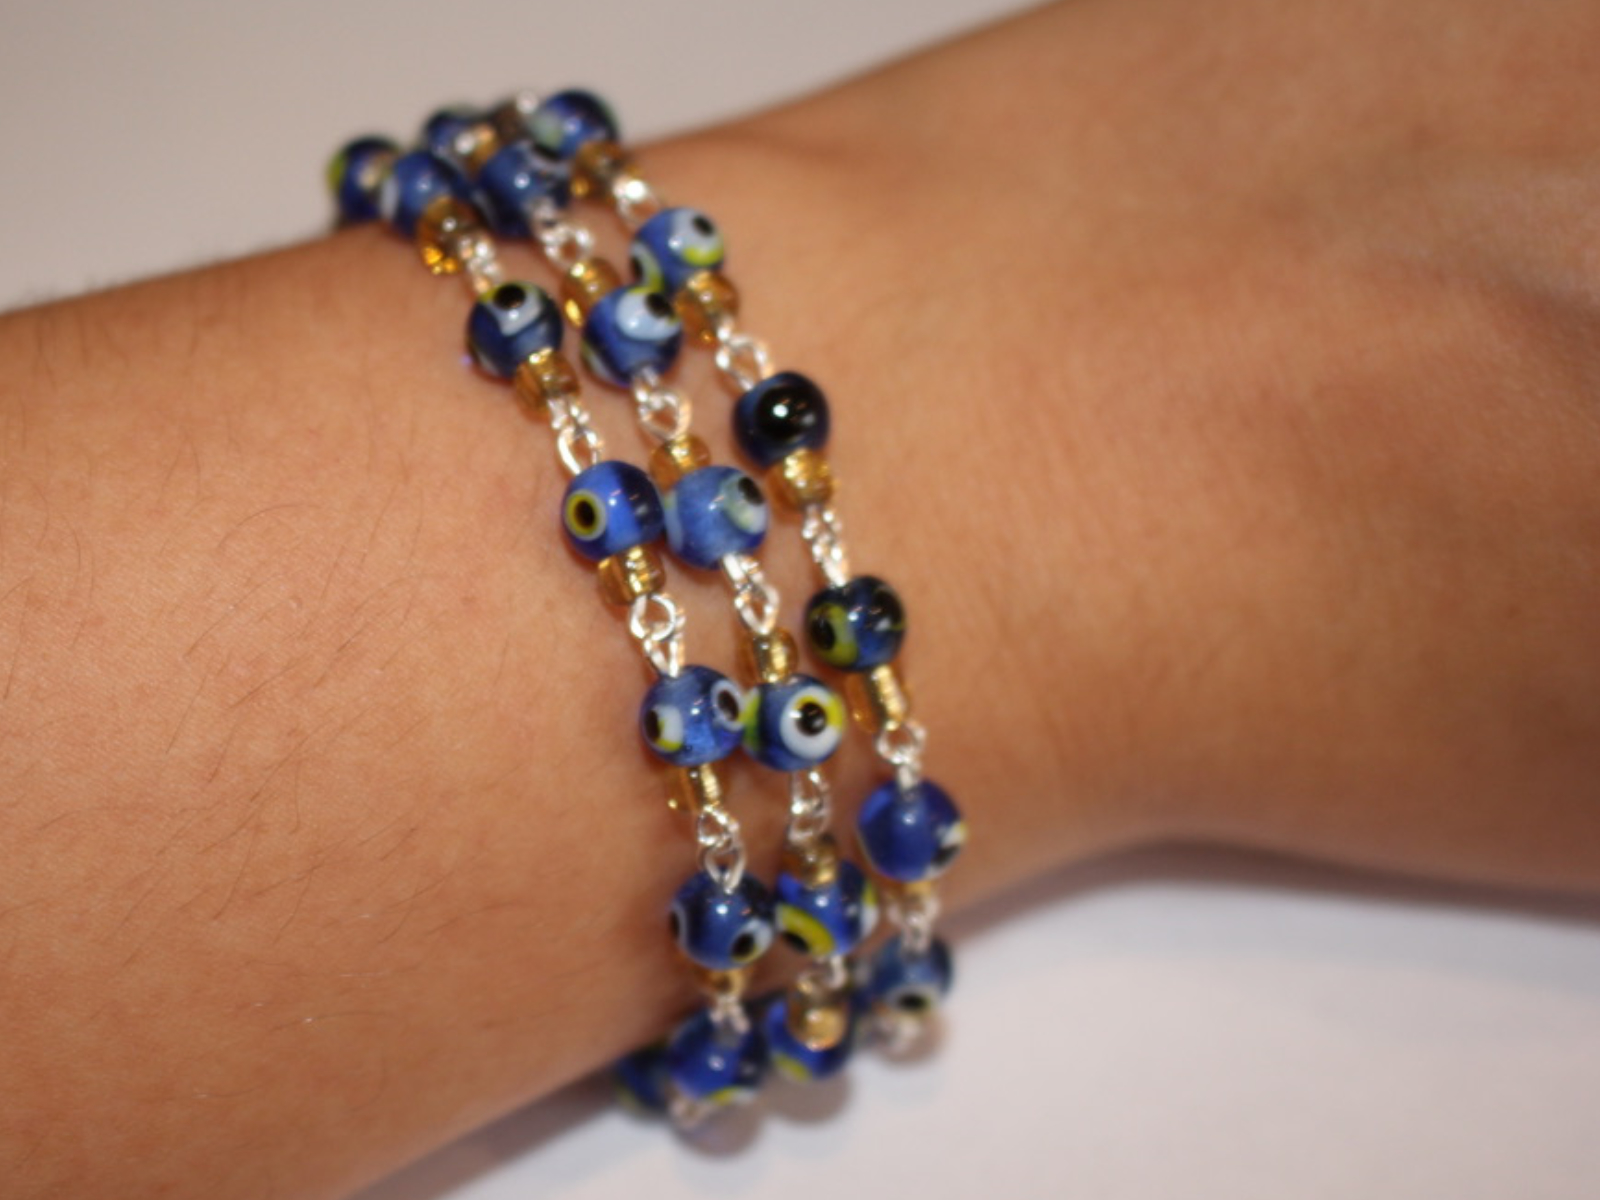
Love a bracelet stack? Here’s how to get the look with one bracelet!
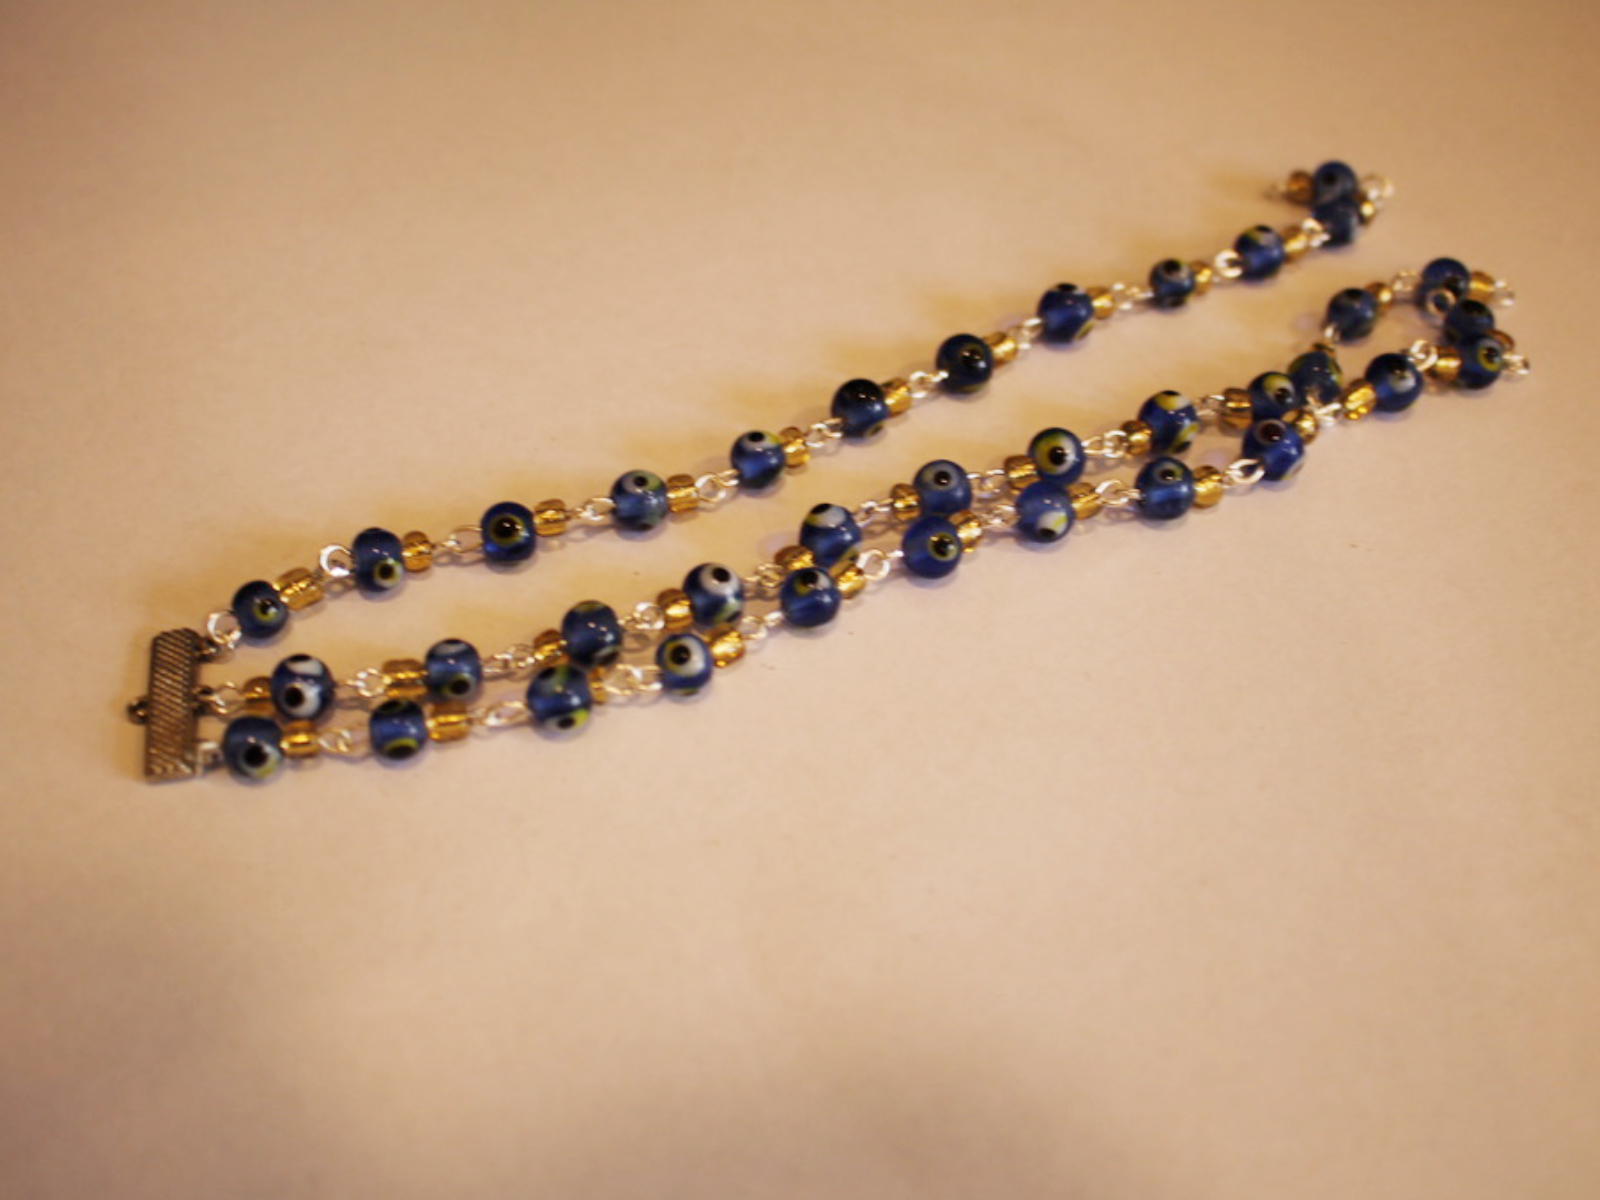
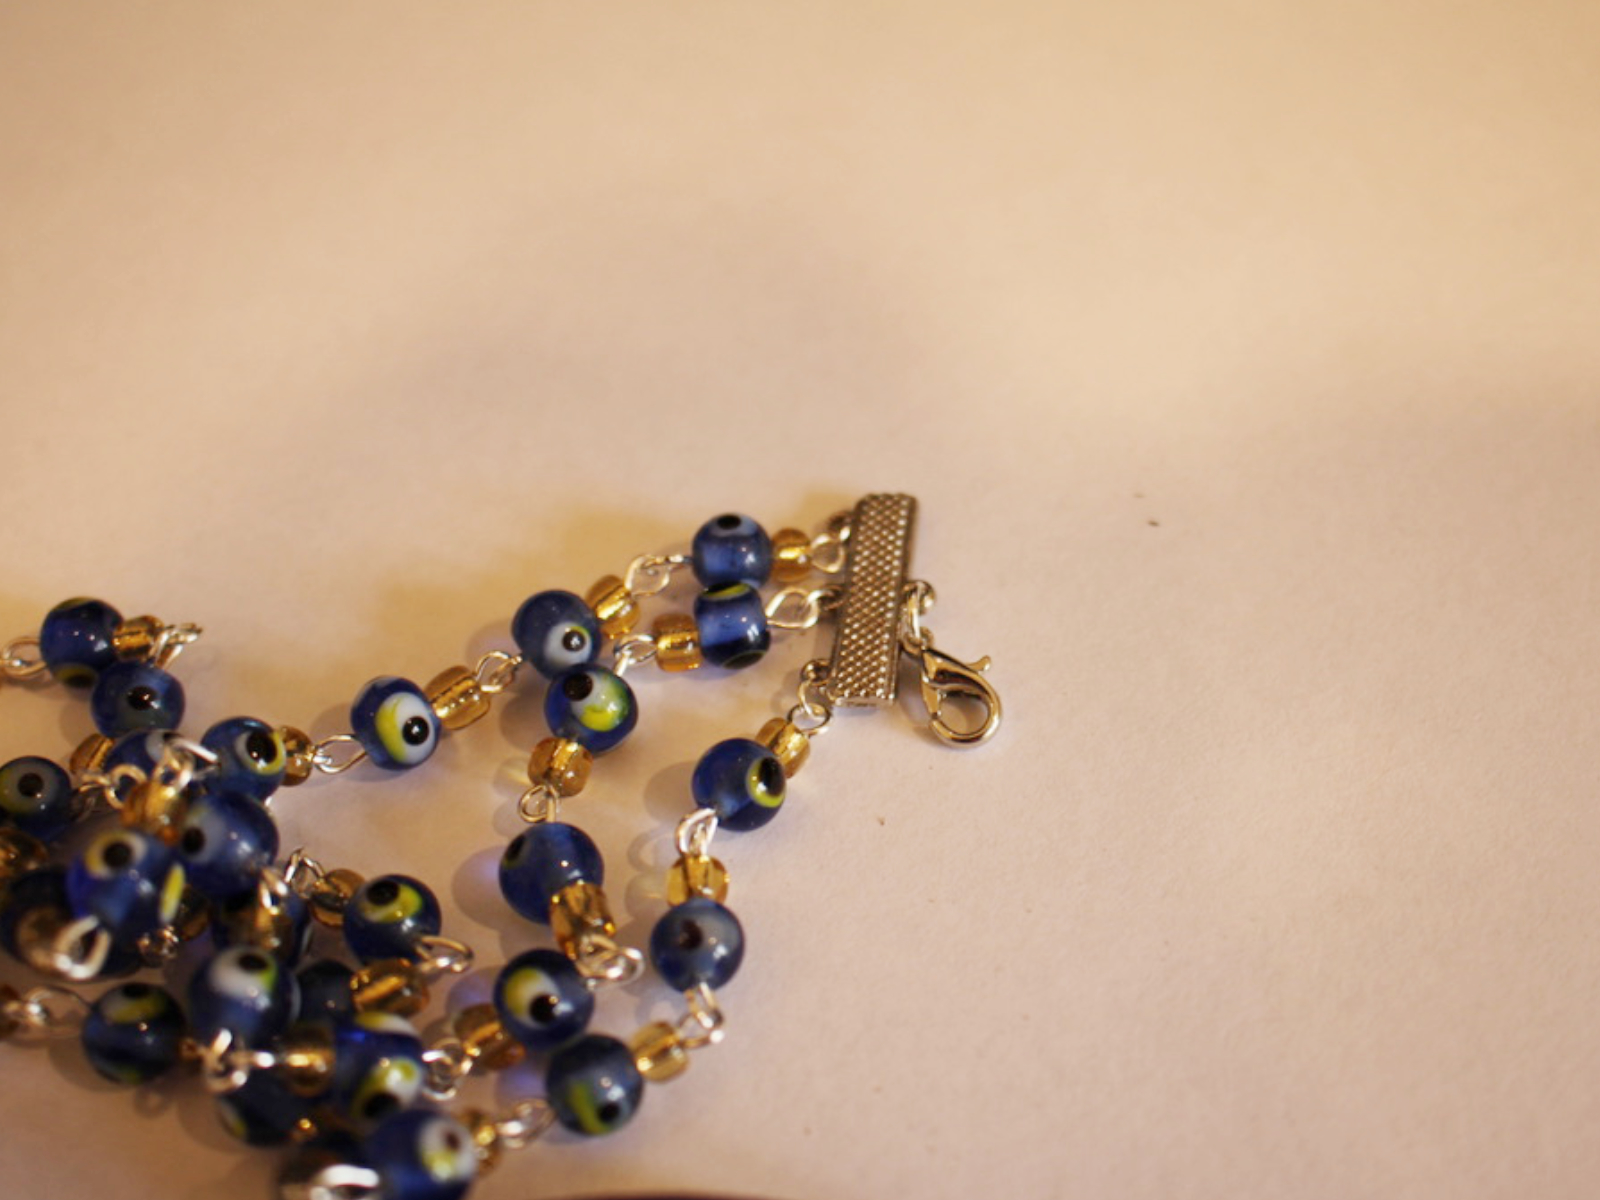
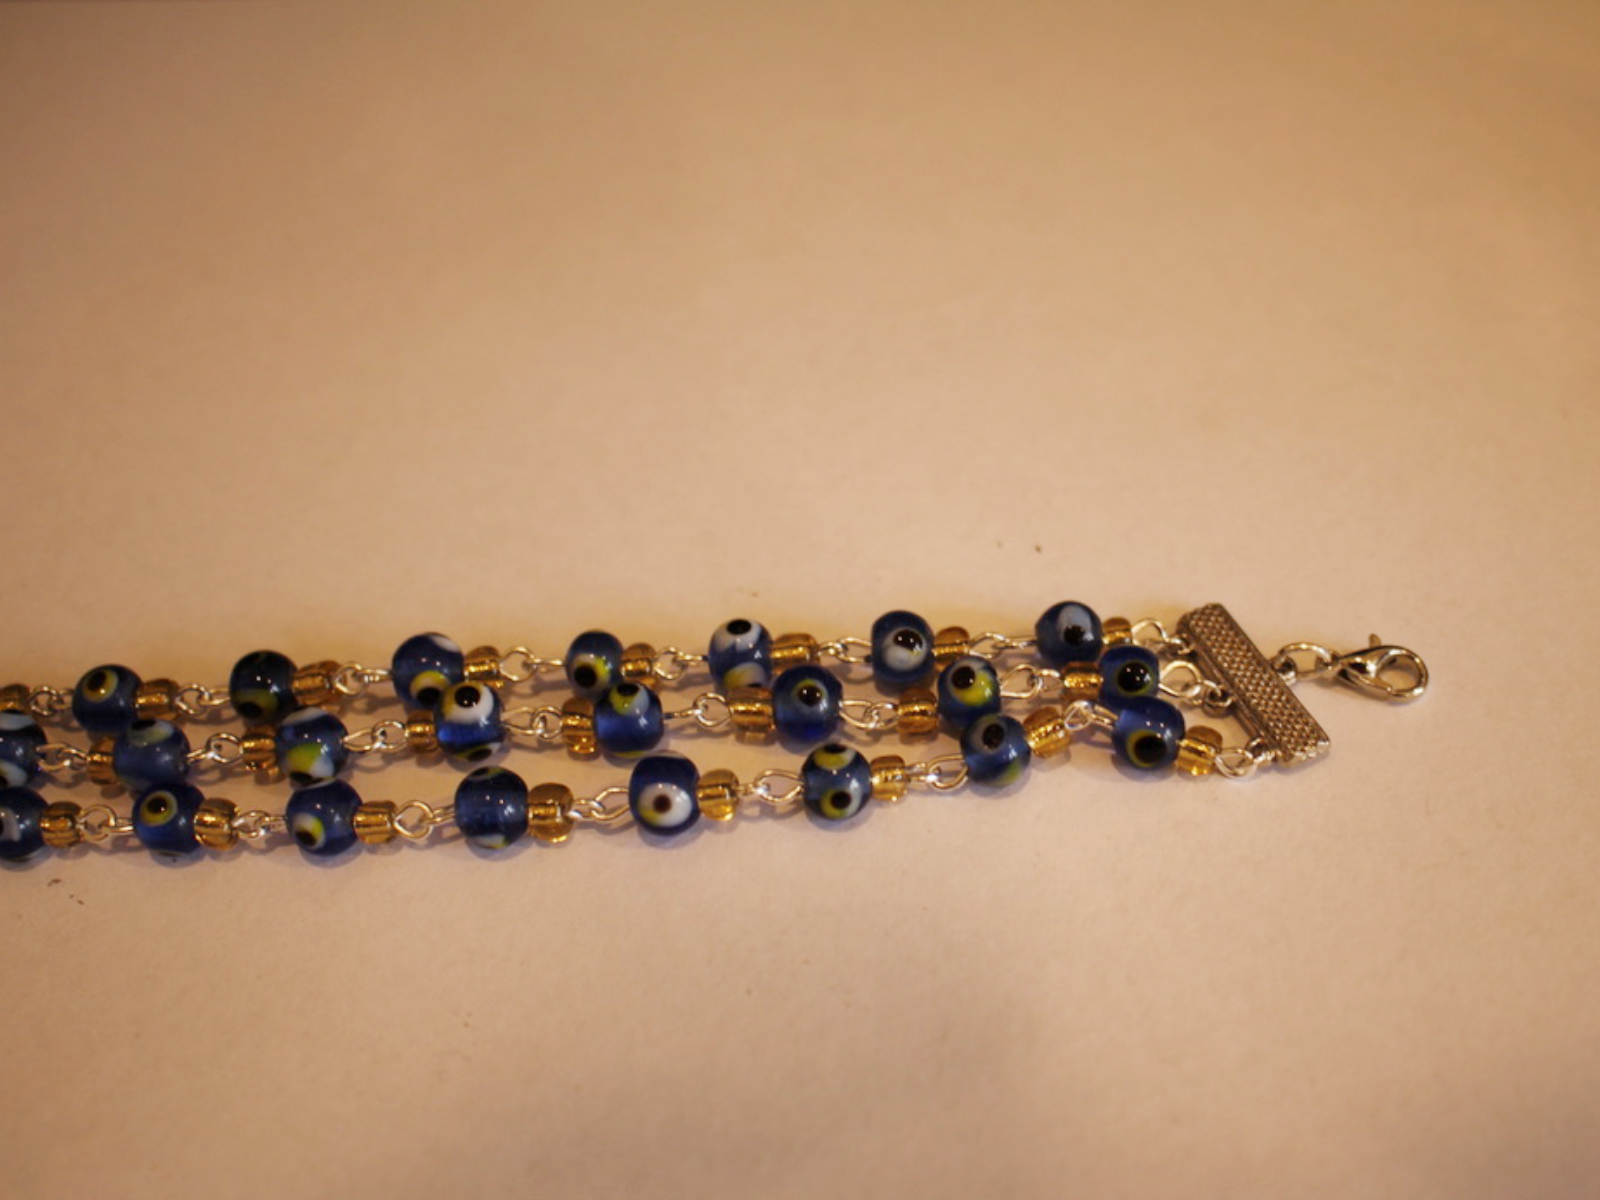
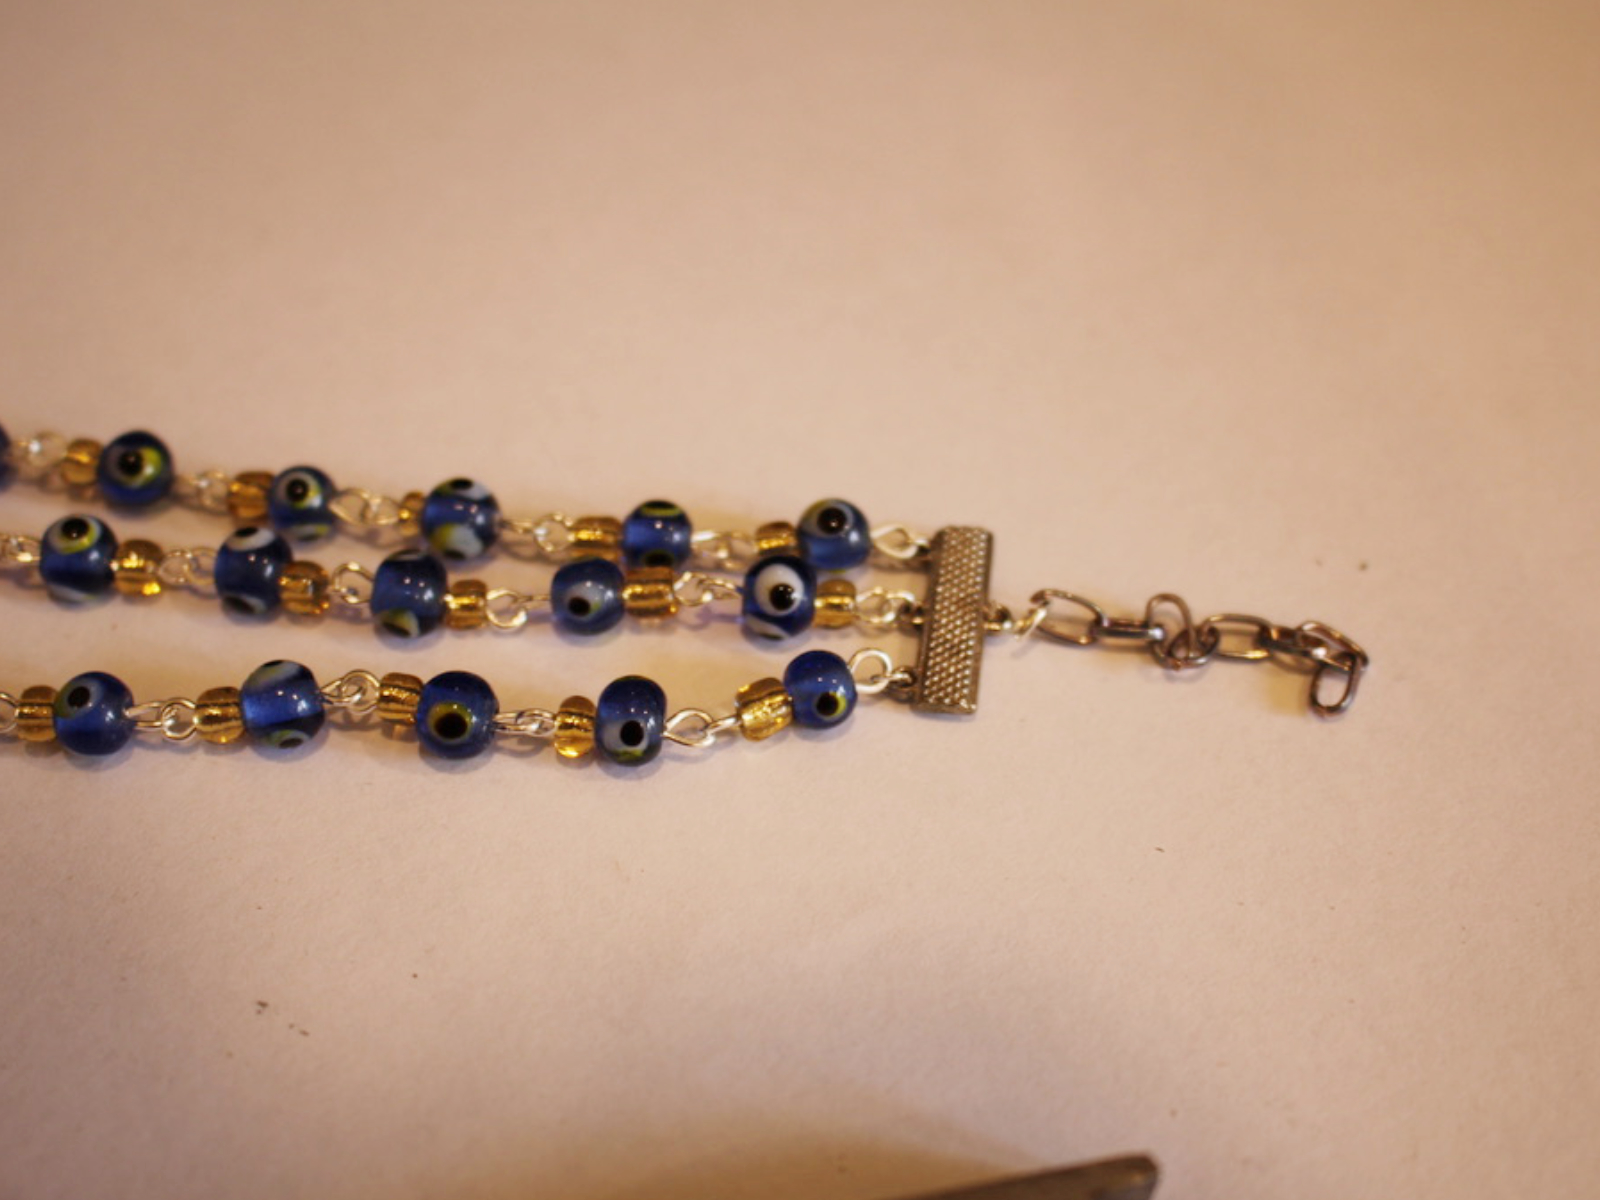
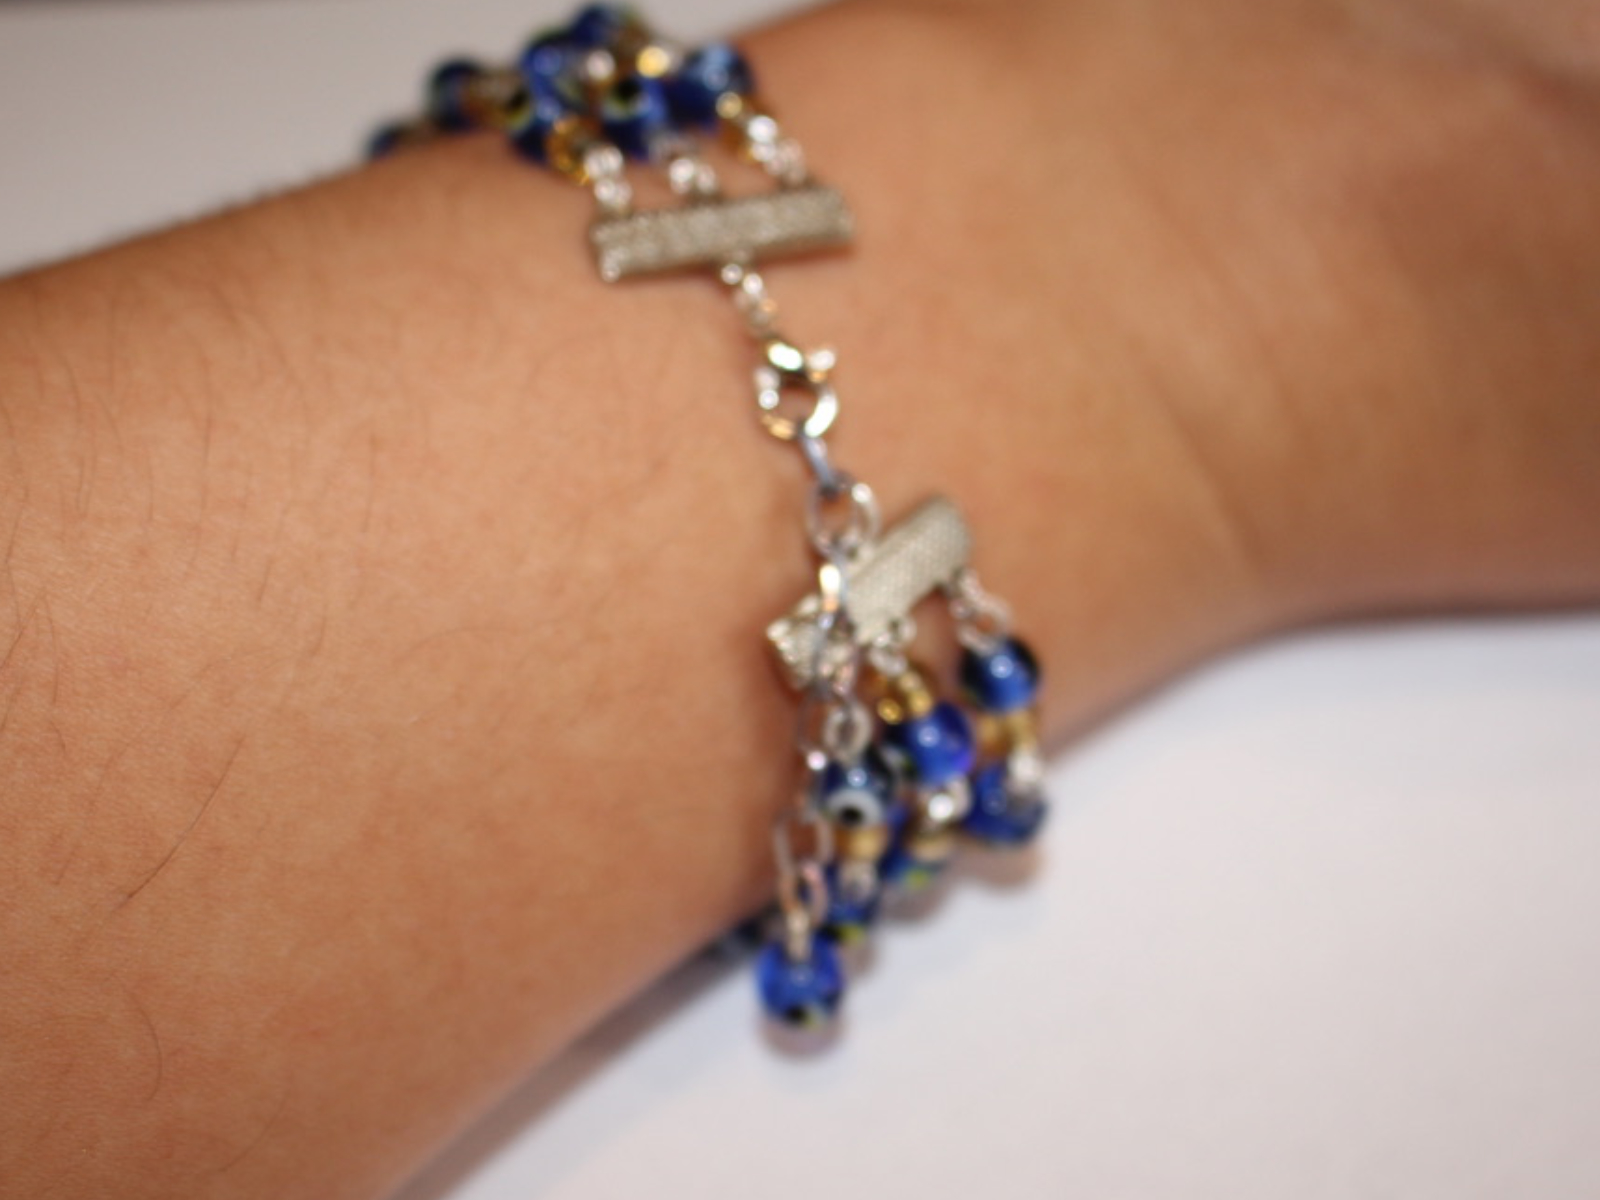
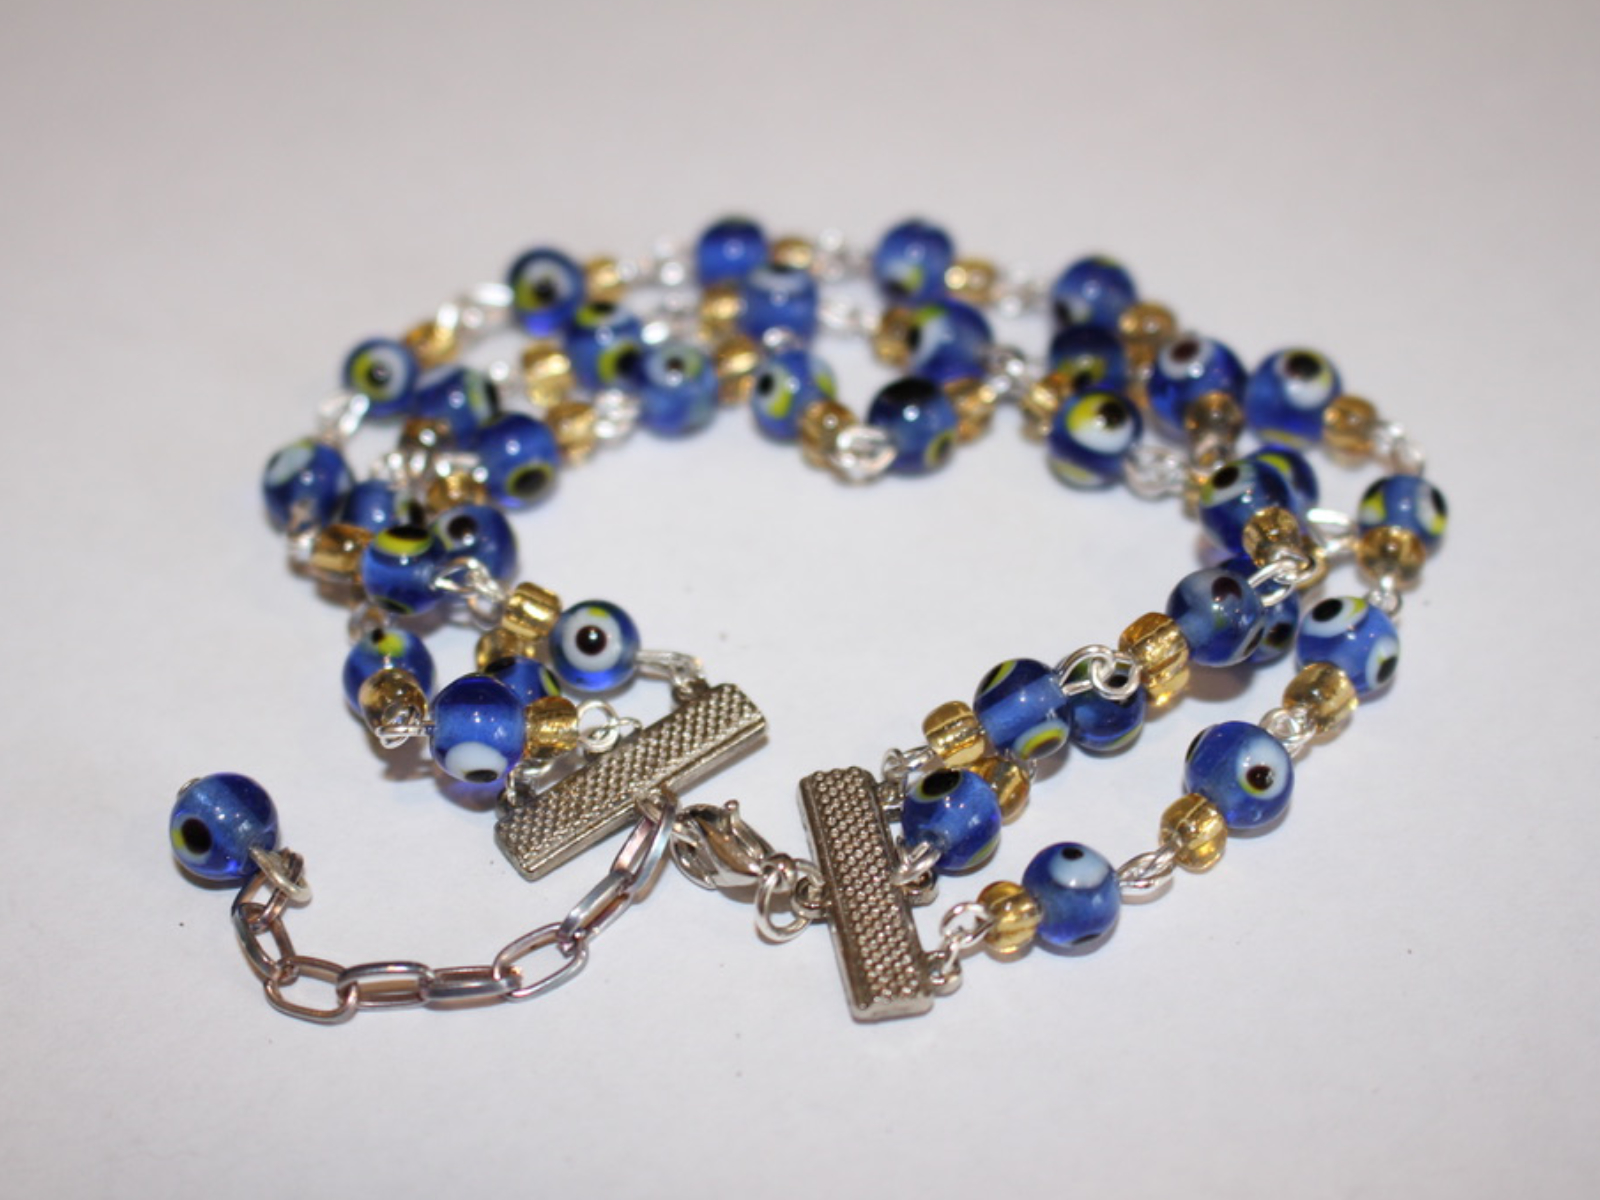
For this bracelet design you need to construct three different beaded chains and attach them together using charm connectors for a stacked bracelet look. This design is really cute and the chain extender means that putting it on by yourself is easier! Please note that this tutorial contains affiliate links.
You’ll need these tools and materials to make your triple strand stack bracelet:
1: Pliers. I used my round nose and flat nose pliers. You might also need your cutting pliers depending on the length of your eye pins.

Here’s where you can buy some jewellery pliers to add to your tool kit:
2: Eye pins. You’ll need a bunch of small eye pins to make your beaded chain.
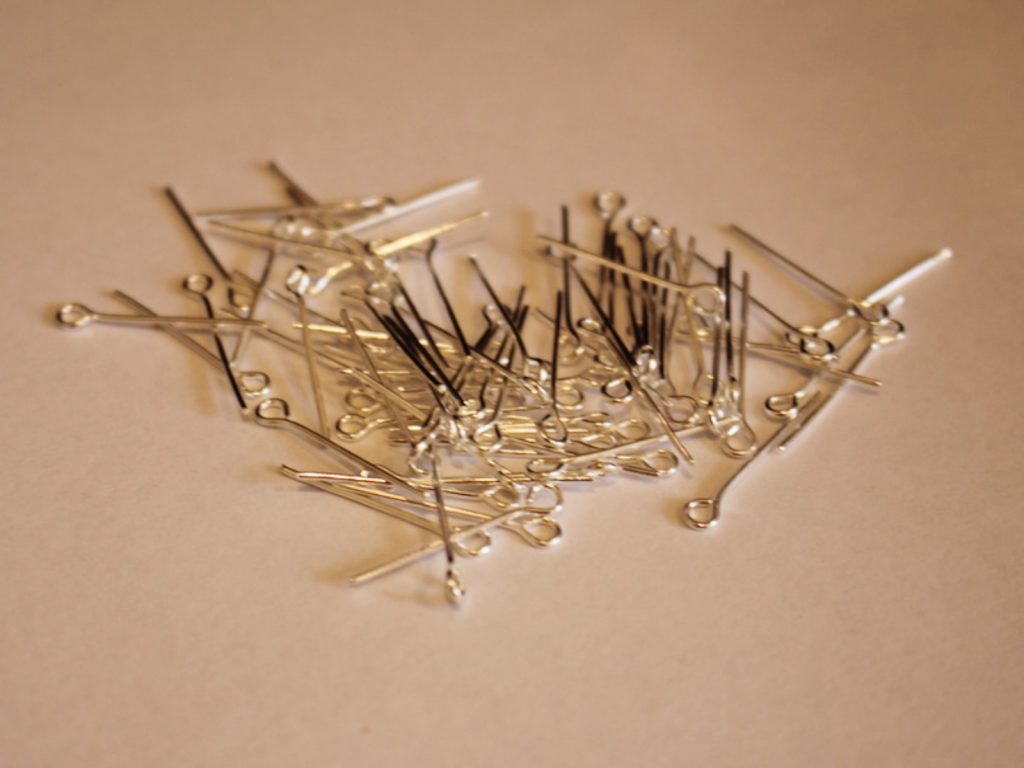
Here are eye pins in different lengths:
3: Charm connectors. I used these charm connectors that have three loops on one side and one on the other.

you can buy some charm connectors here:
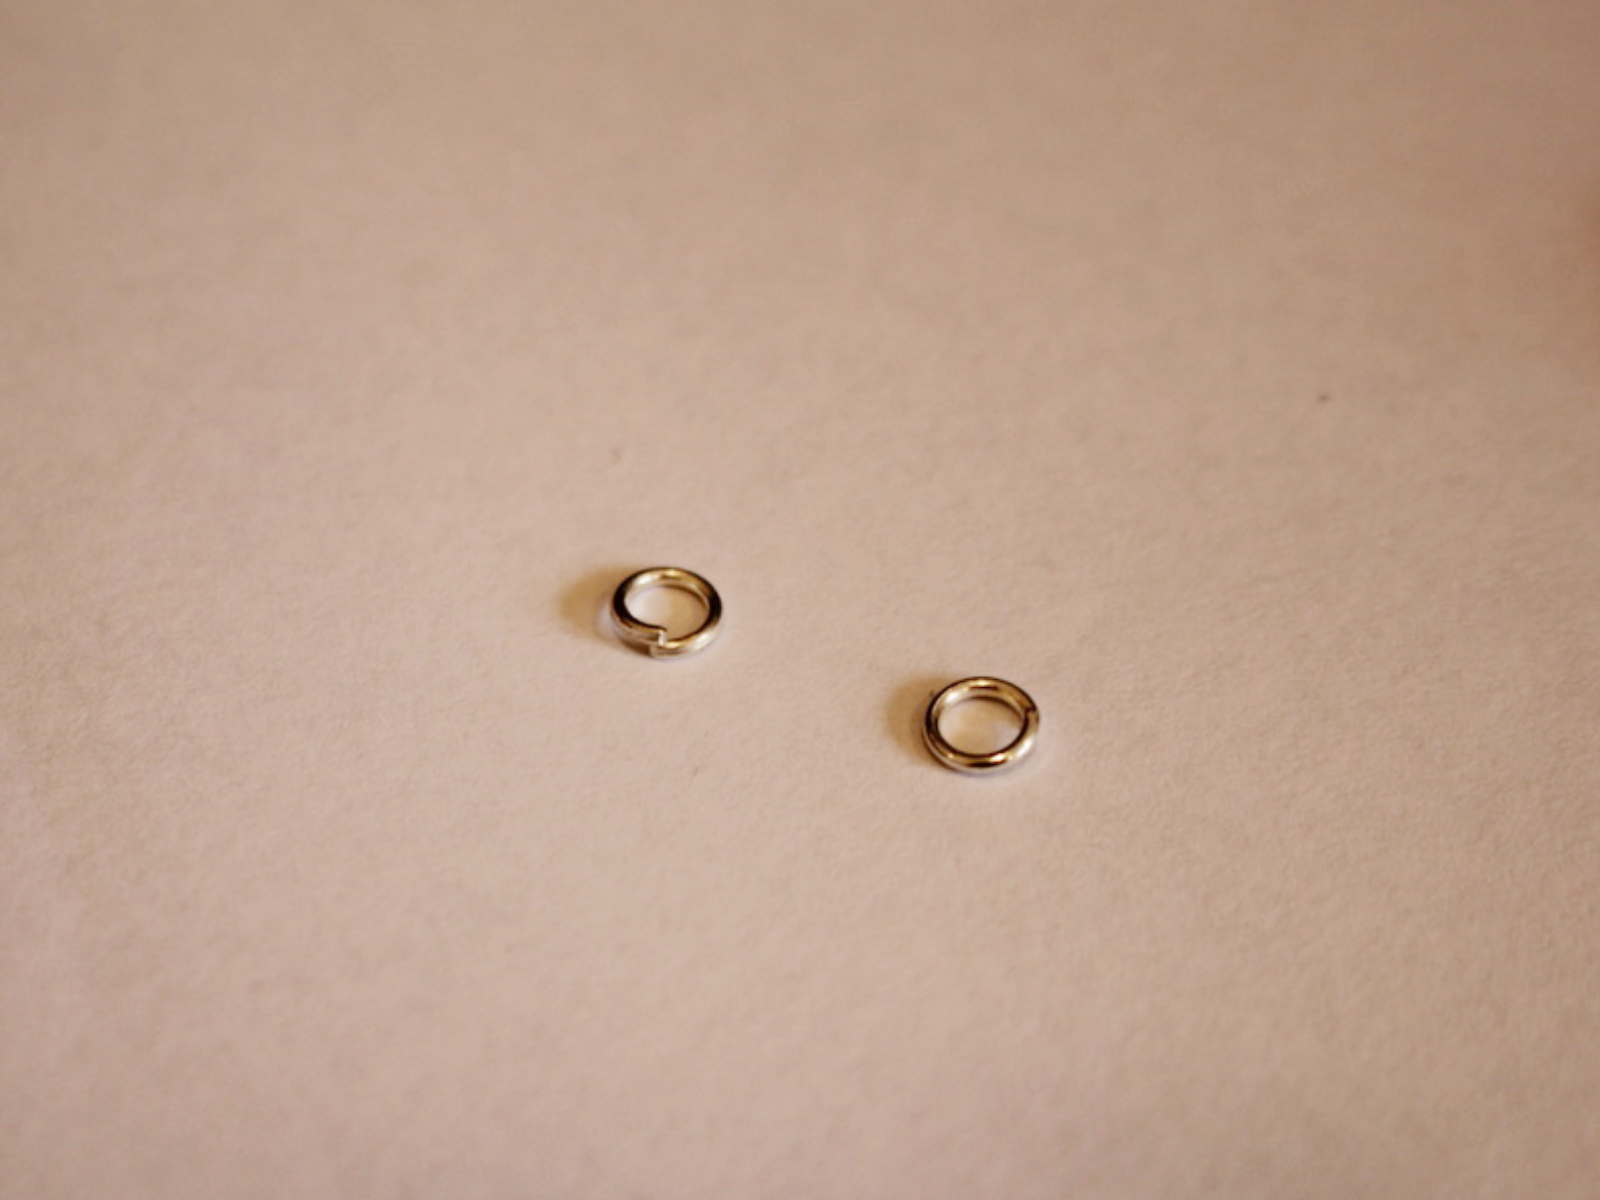
4: Six small jump rings.

5: Two larger jump rings.
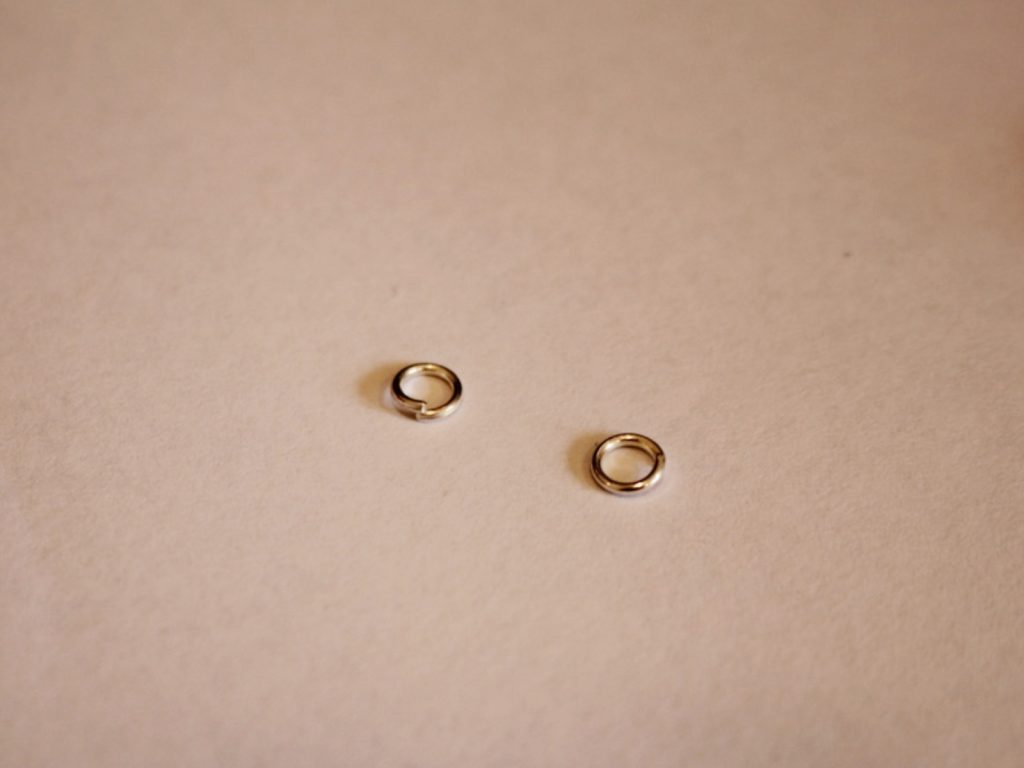
and here’s a link to differently sized jump rings to buy:
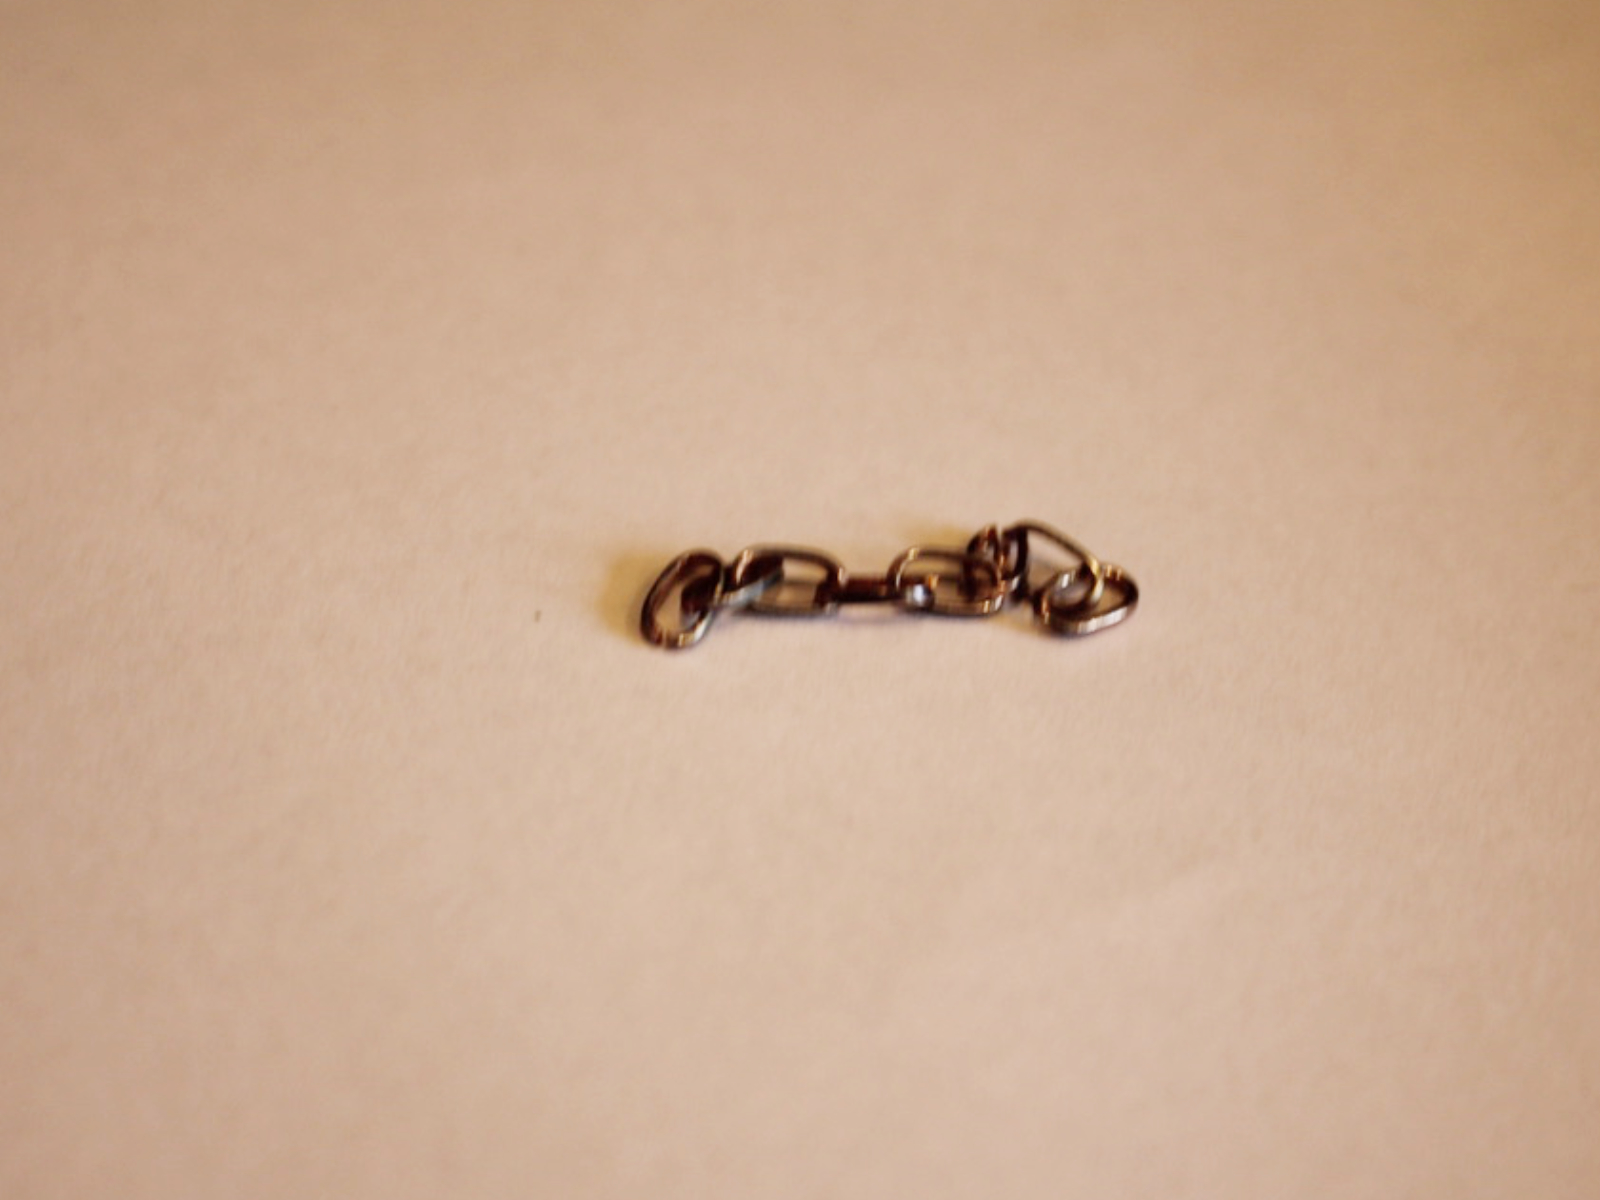
6: A small piece of chain. I used this spare piece of chain I had.

Get some here:
7: A small head pin.

A link to some small head pins:
8: A lobster clasp.
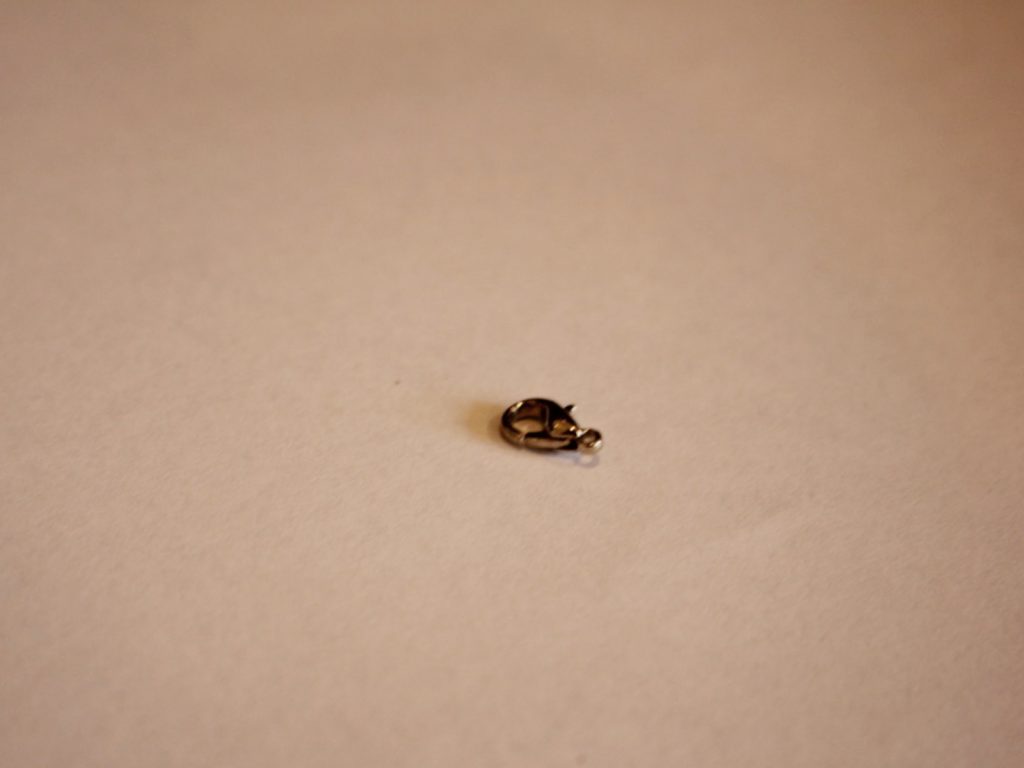
Here’s a link:
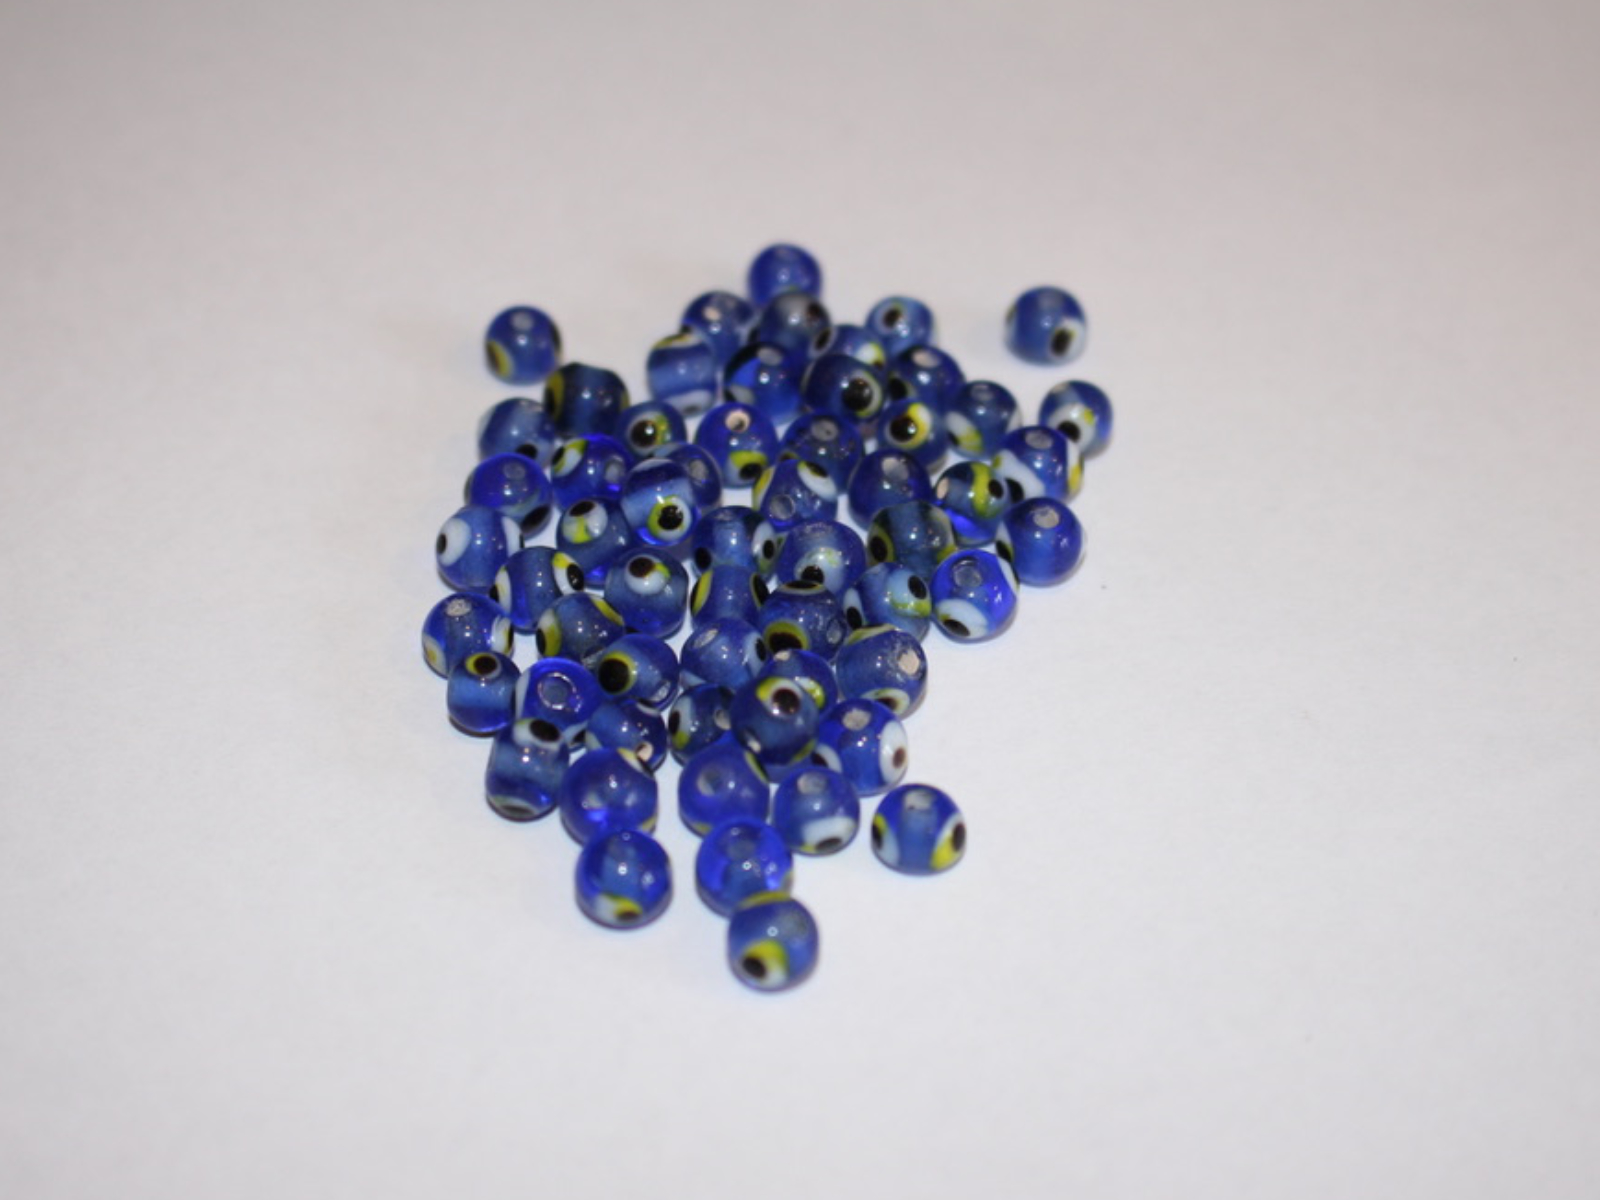
9: Beads. I used a mix of glass evil eye beads and yellow e-beads.


Find some beads for crafting here:
Follow these steps to make your three-in-one stacked chain bracelet:
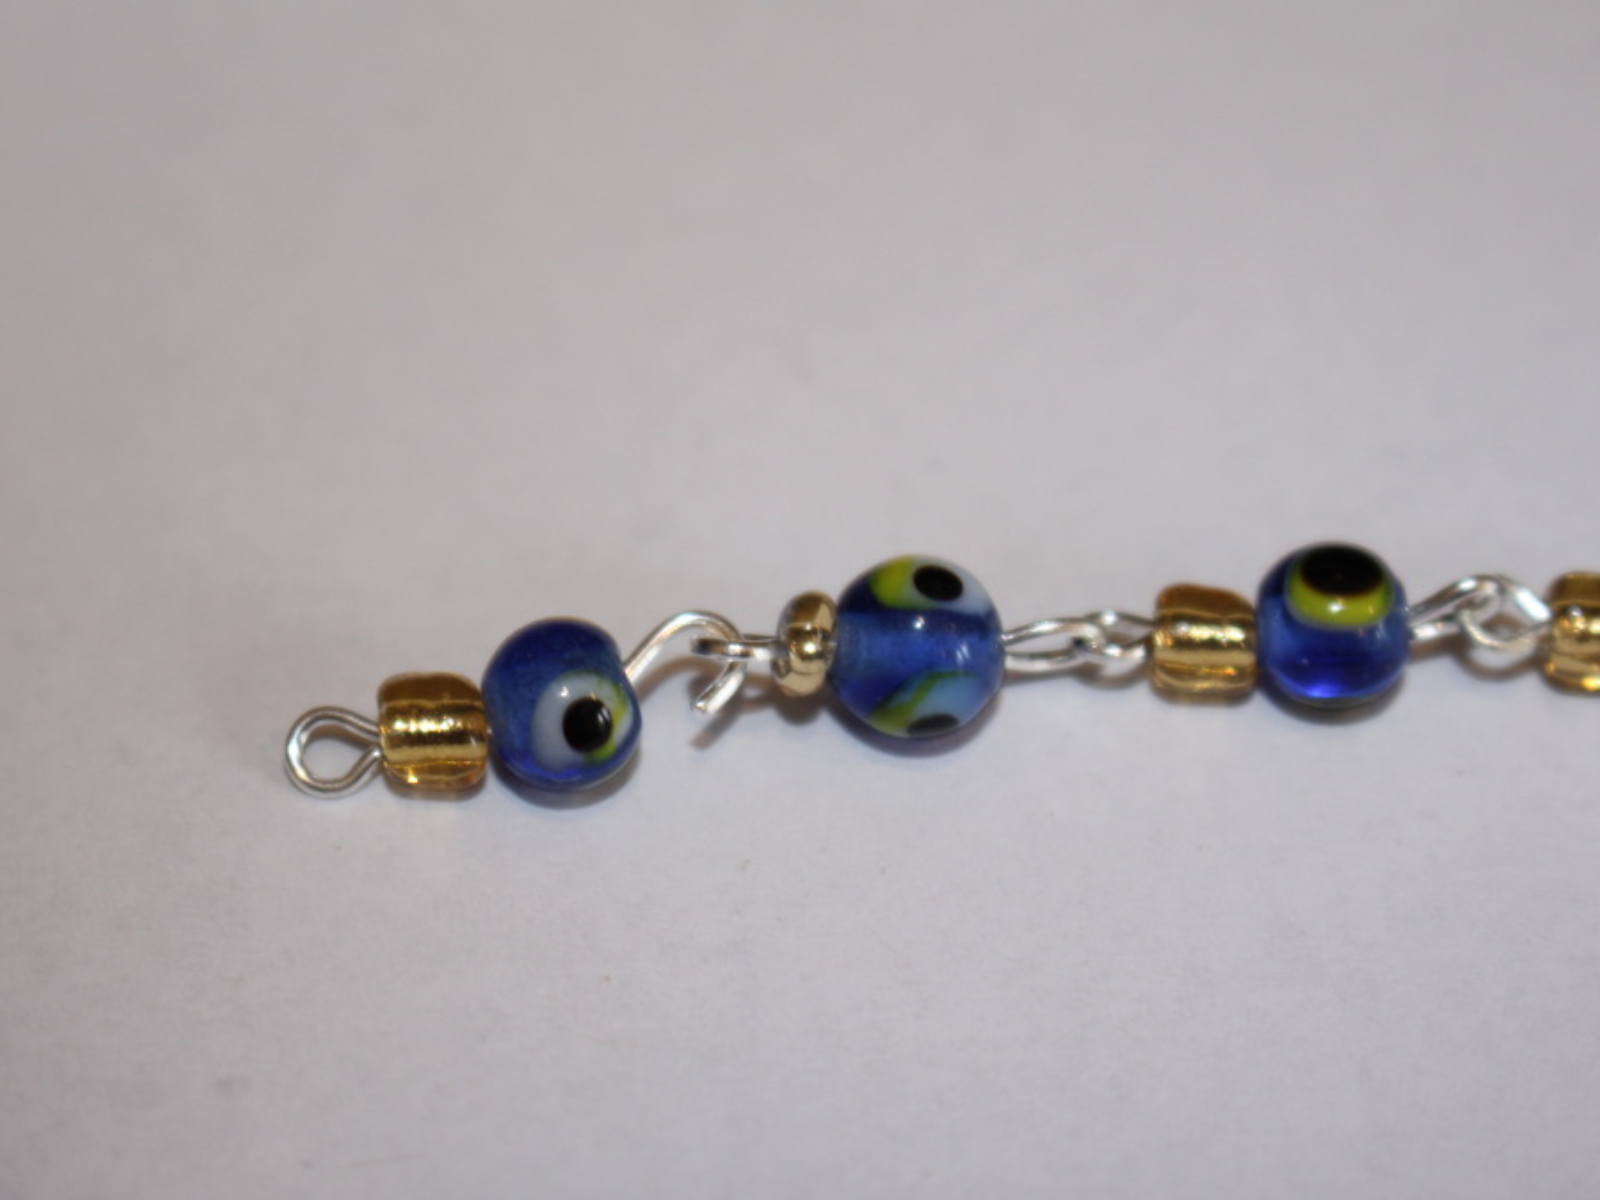
1: Take one of the eye pins and add beads.
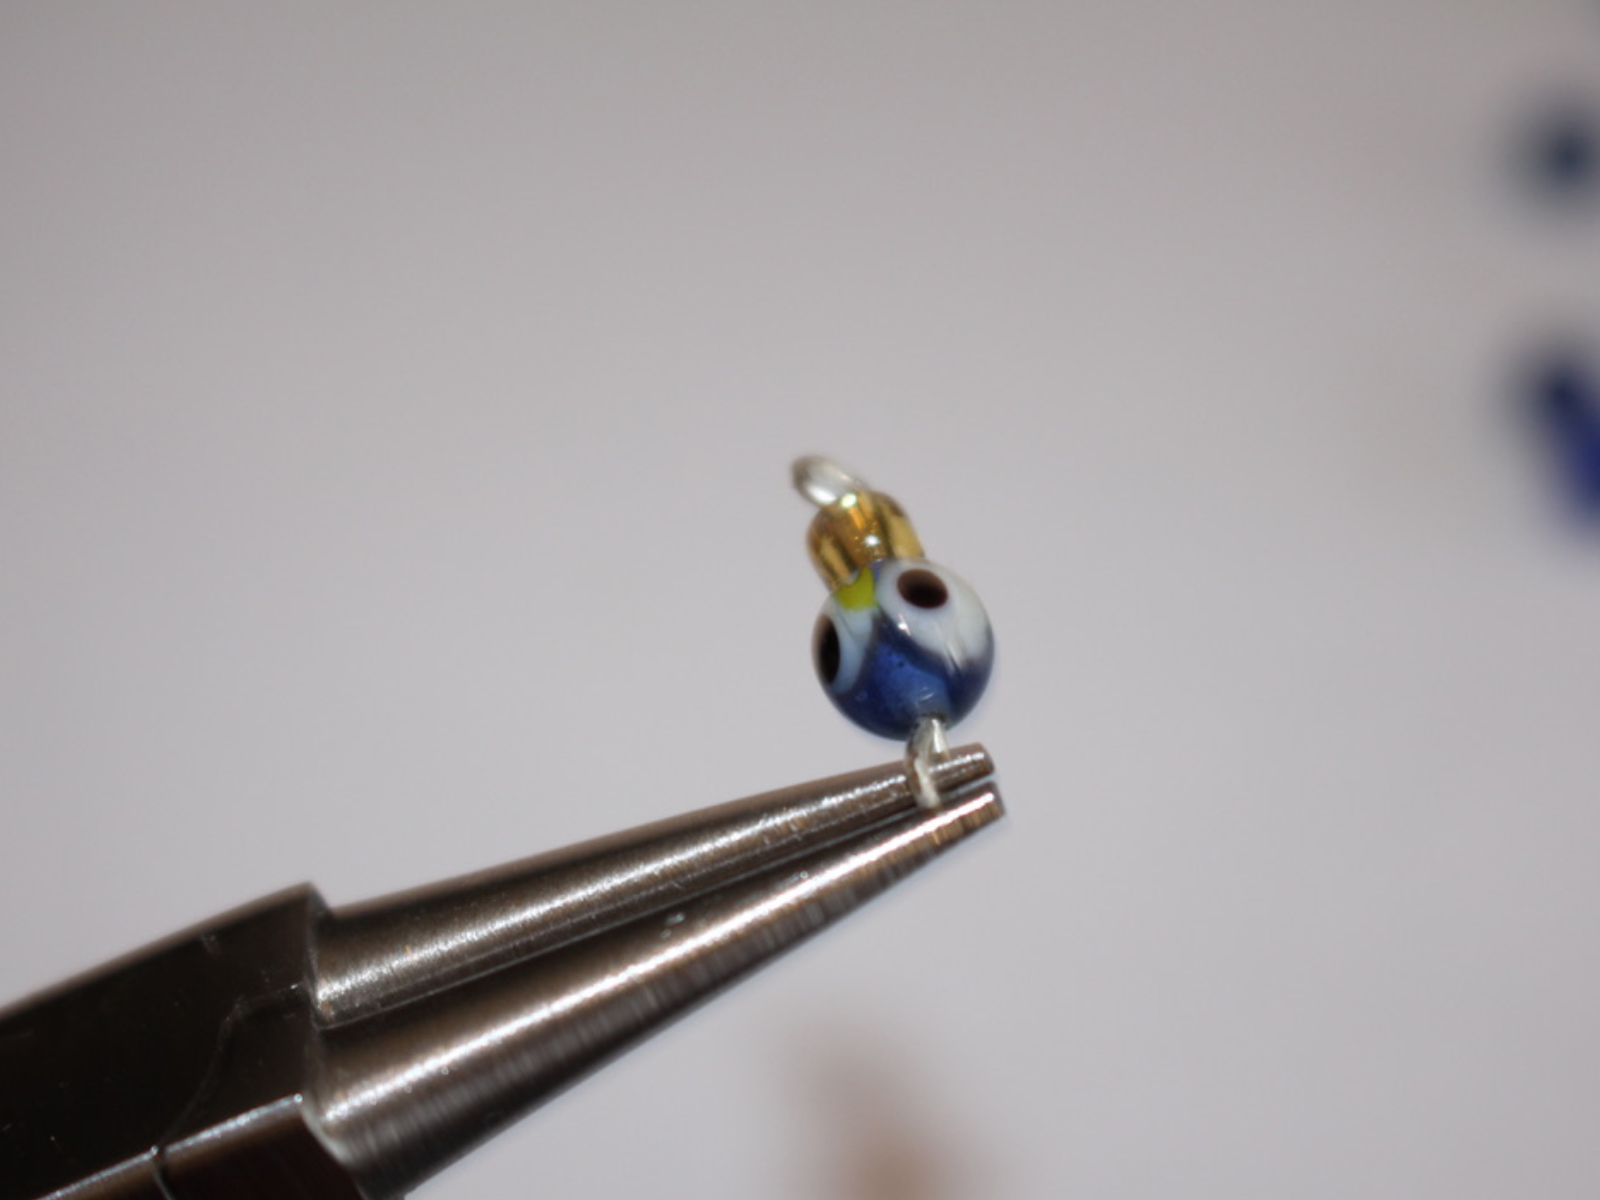
2: Bend the end of the pin to form an angle with the beaded section.

3: Create a loop at the top of the pin using your round nose pliers to secure the beads in place.
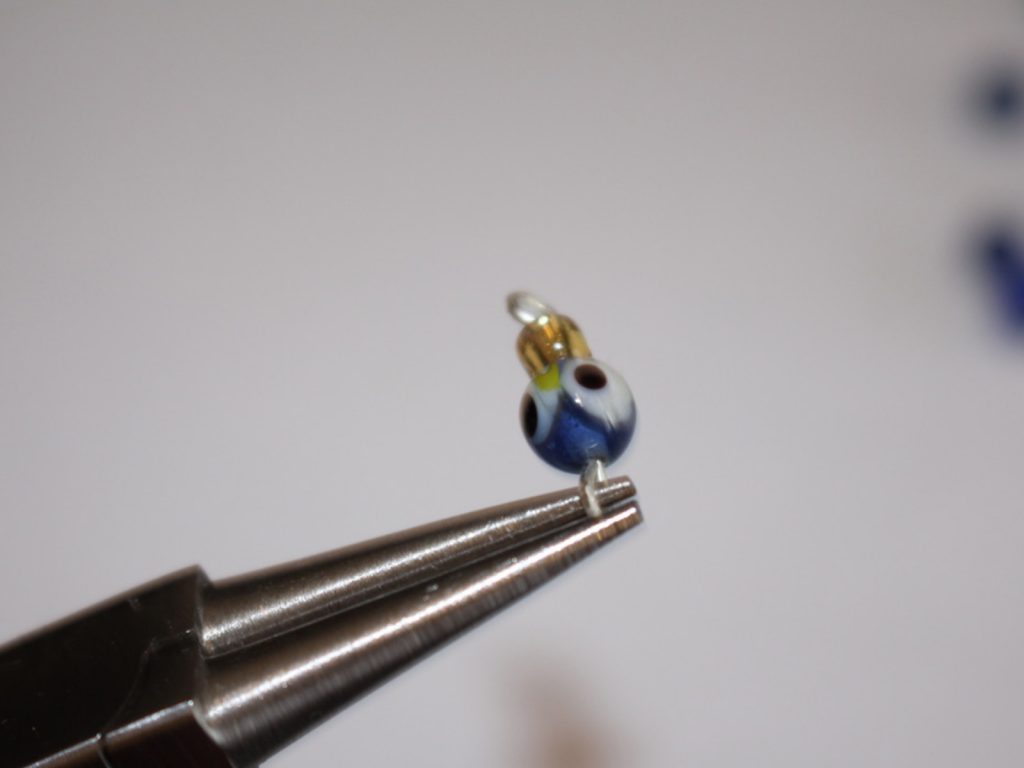
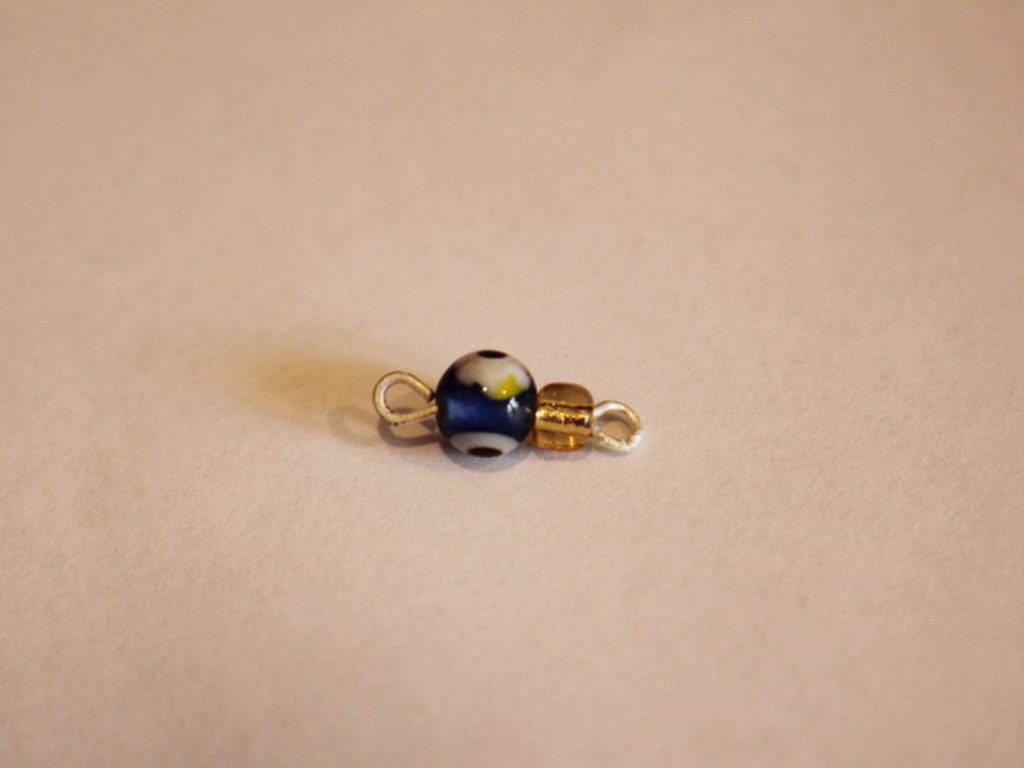
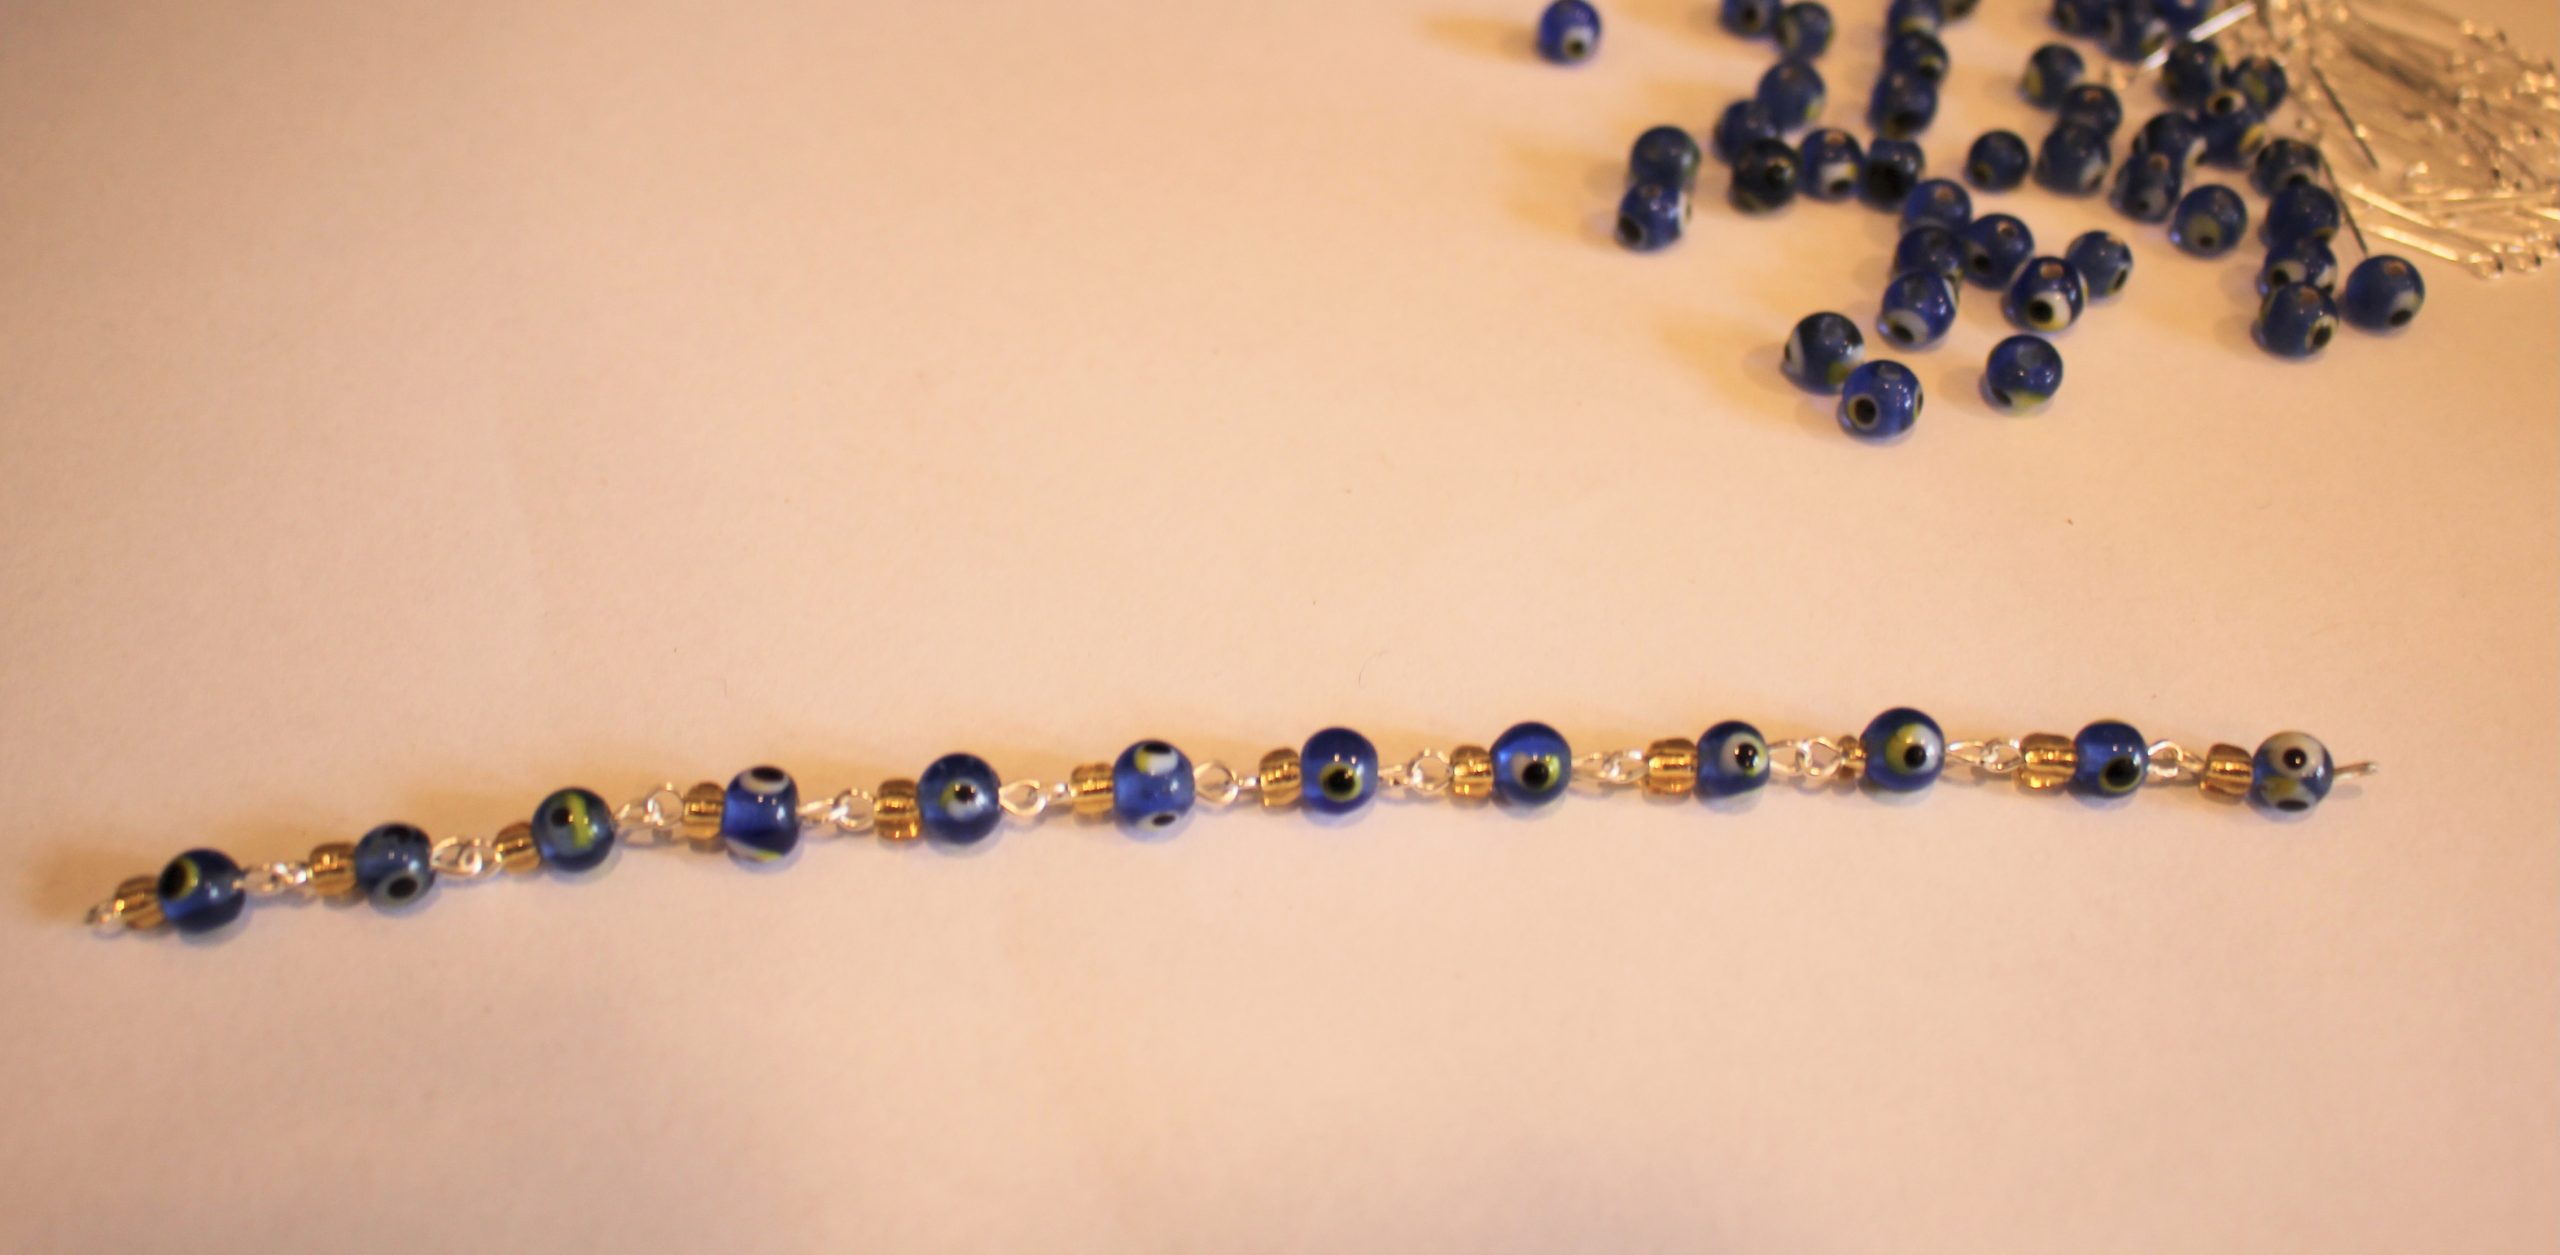
4: Repeat steps 1-3 to create another beaded chain link.
5: Attach the two beaded links together.
6: Repeat steps 1-5 until you have a chain long enough to fit your wrist, make it one link shorter than you think you’ll need, the charm connectors will add extra length to your finished bracelet.


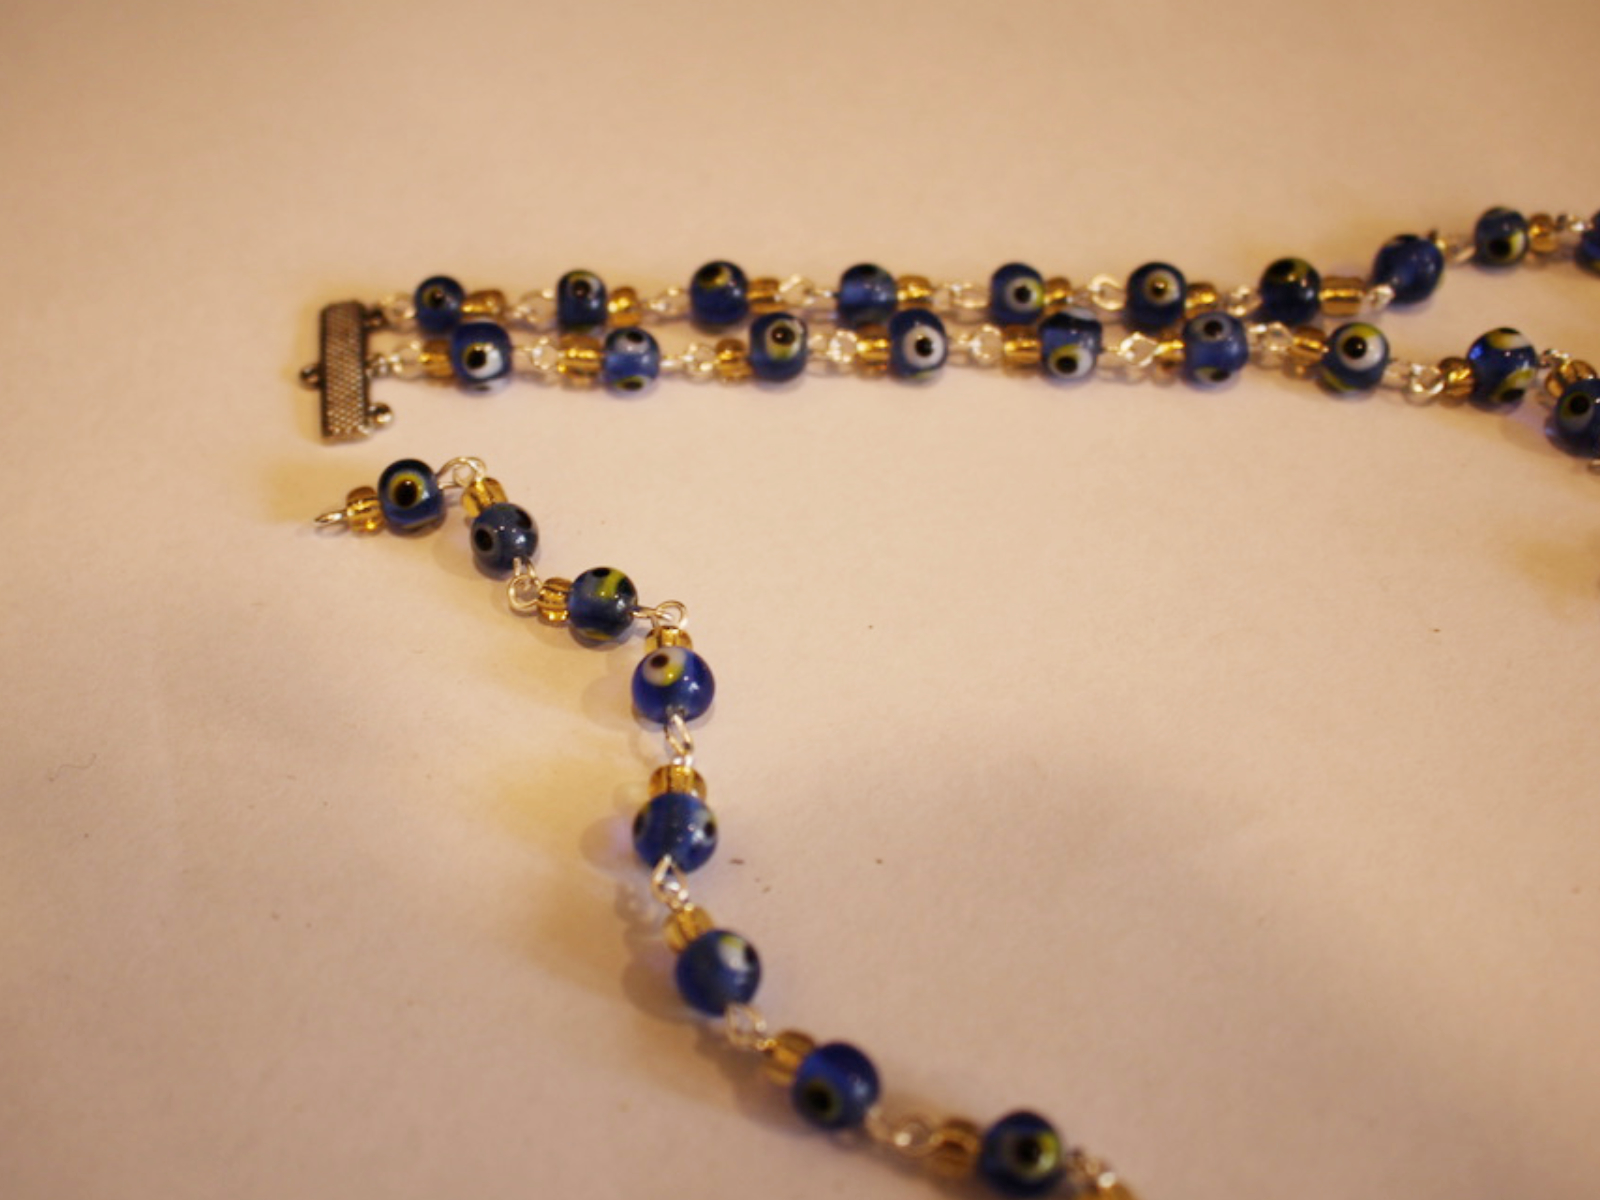
7: Make another two chains in the same way.

8: Attach each of the chains to one of the charm connectors using three of the small jump rings.


9: Attach the other end of the chains to the other charm connector using the remaining three small jump rings.

10: Add A jump ring to one side of the bracelet and attach the lobster clasp.
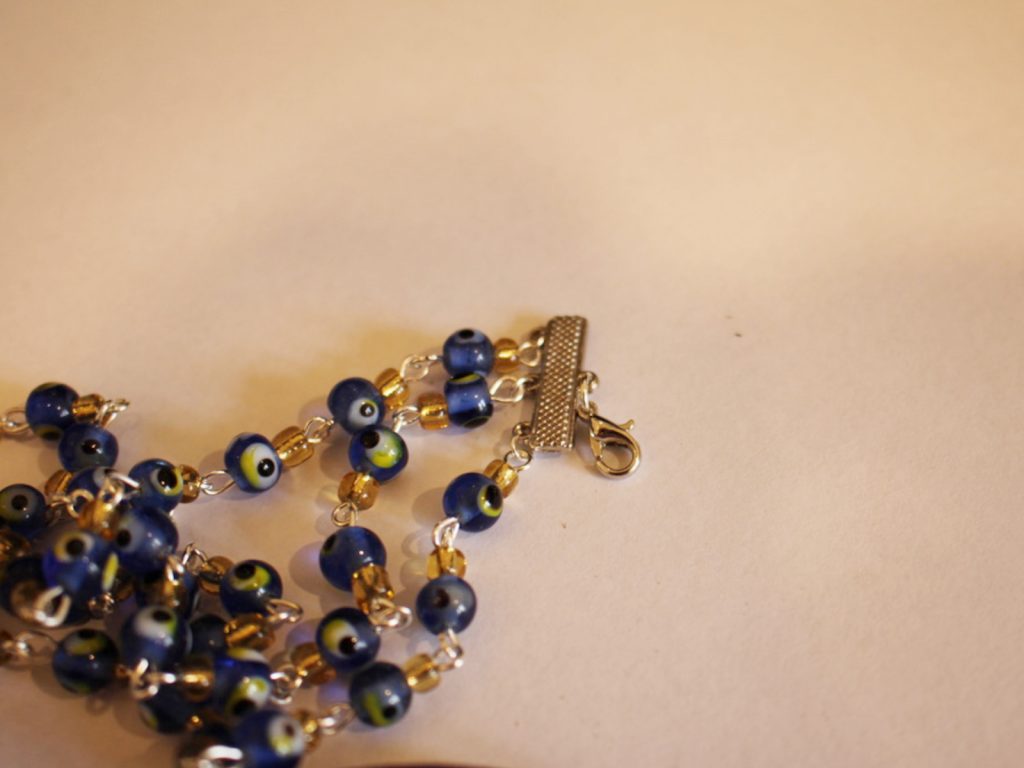

11: Add another jump ring to the other side and attach the small piece of chain.
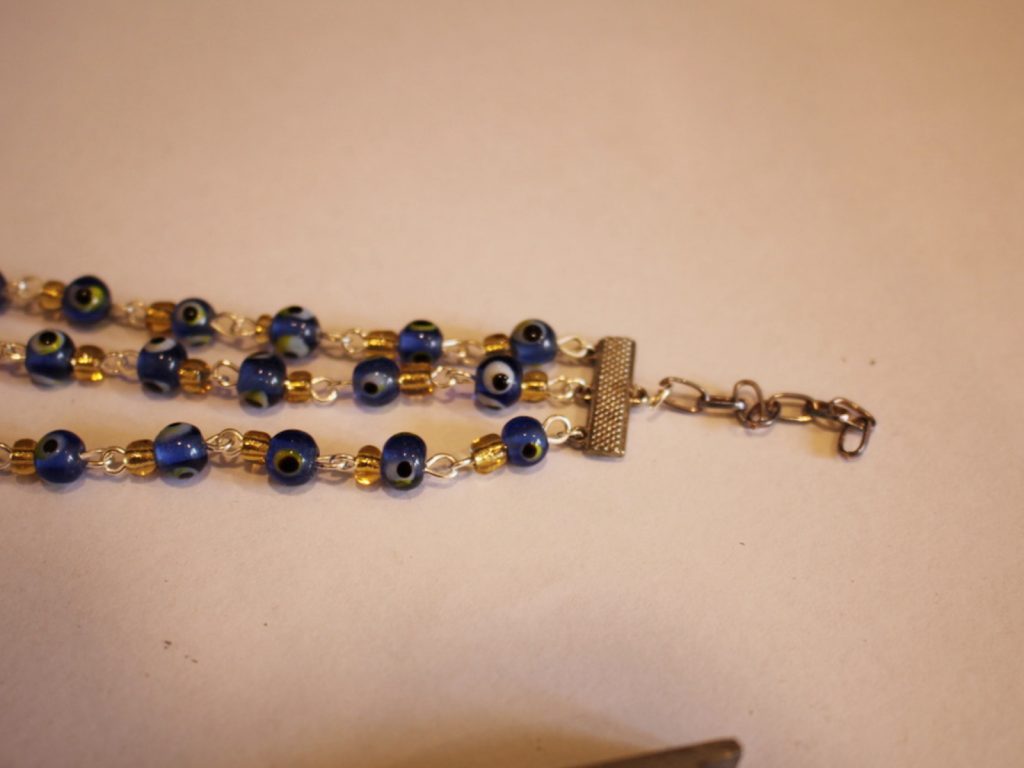
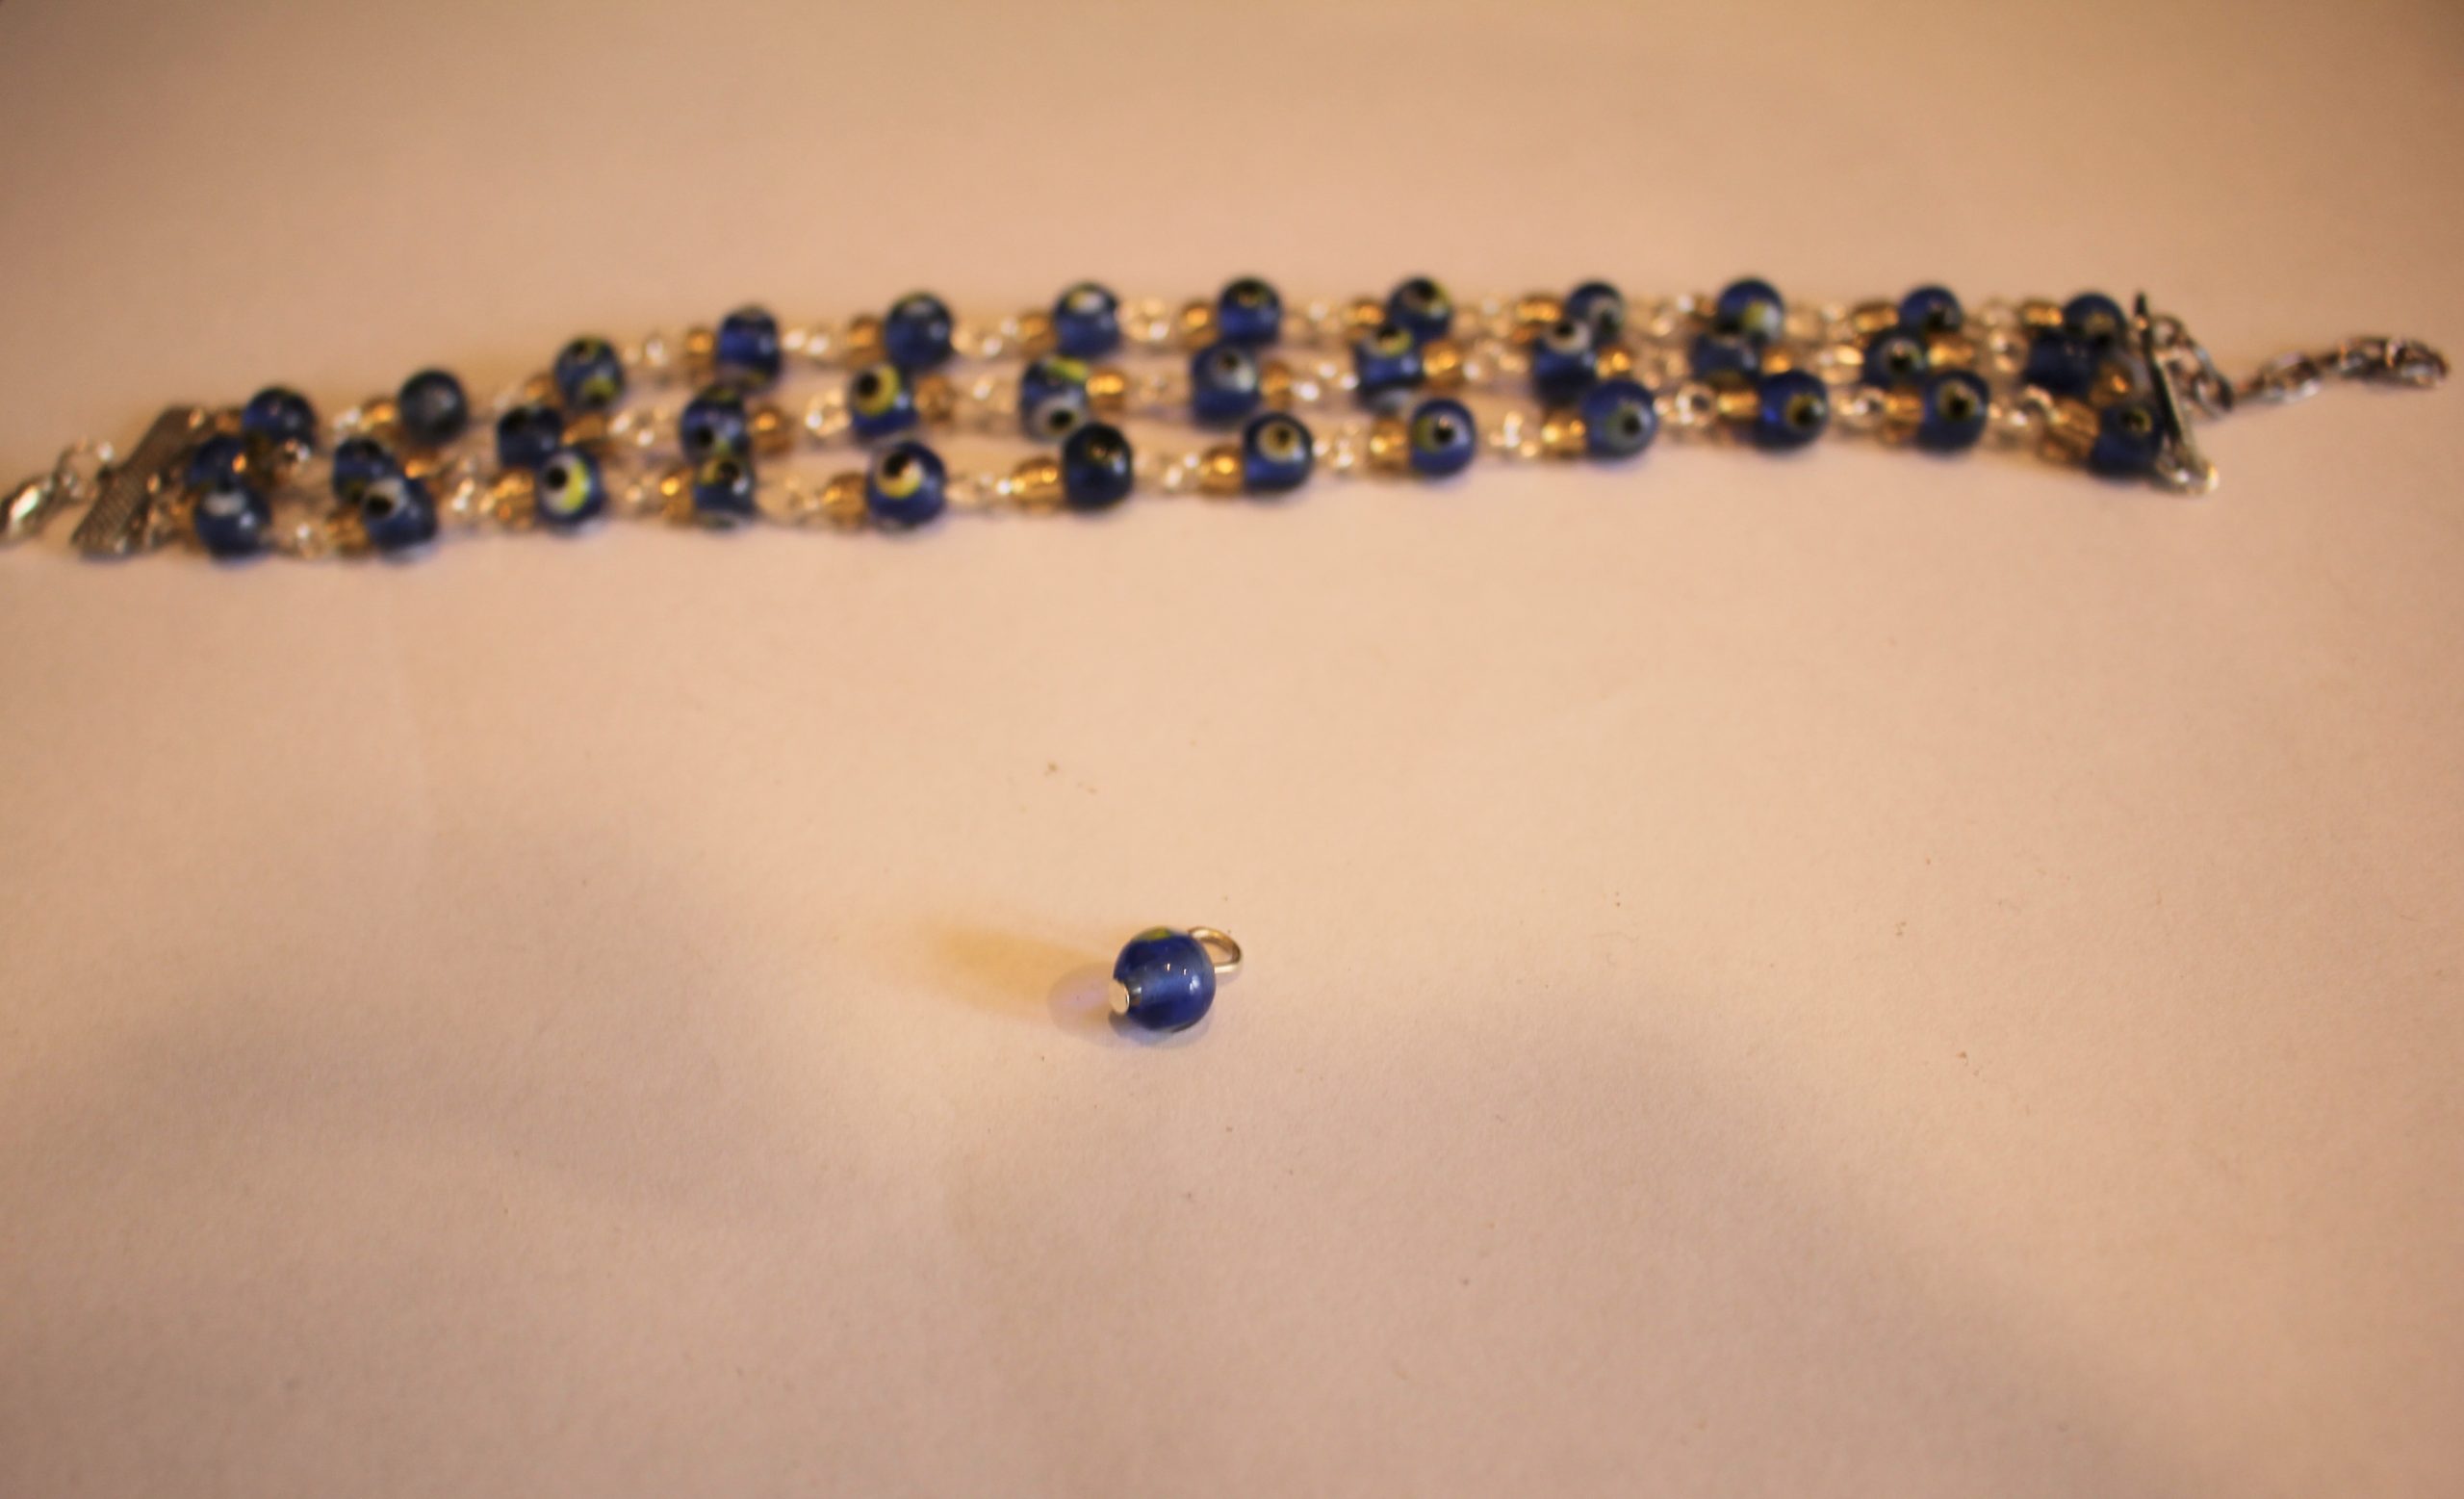
12: Add one more bead to the head pin and create a loop at the top as you did in step 3.
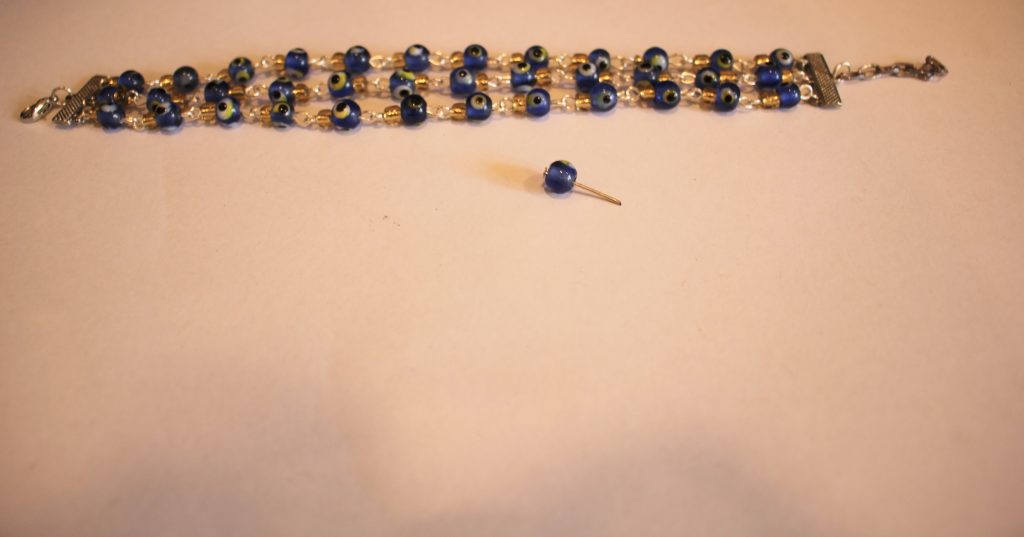

13: Attach the charm you just made to the end of the small chain to finish your bracelet off!


So, now your triple chain bracelet stack is finished and ready to wear! What kind of beads will you use in your design? I think that this bracelet would look great with three different types of gemstone beads layered on top of each other. Gemstone chip beads would be perfect for this DIY. You can buy some




And here are some other multi-strand bracelet tutorials you can follow:
-
Here’s how to make a bead chain lariat
Bead chains are pretty cool, and a fun way to use any random beads you have lying around. I recently made this kitschy hodgepodge lariat necklace using the bead chain technique. This tutorial features affiliate links.
Here are the tools and materials you need to make your bead chain lariat:
1: Pliers. I used by round nose and flat nose pliers for this design.


2: An assortment of beads. I used a random assortment of plastic, timber and glass beads.

3: A bunch of eye pins.

4: Two head pins.

5: A lobster clasp.

6: Two medium jump rings.

7: Two smaller jump rings.

Follow these steps to make your bead chain lariat:
1: Add some feature beads to one of the head pins. I used this silver plastic heart bead and some glass seed beads.

2: Bend the pin at a right angle and use the round nose pliers to form the top into a loop.


3: Set this pin aside.
4: Begin adding beads to the eye pins.

5: Once each pin is beaded, bend the top to form a loop using round nose pliers. This will secure the beads in place.

6: Repeat this step for the other pins, attaching the pins together by opening one of the loops and sliding it through another to form the chain.


7: Once you have a chain long enough to fit your neck, attach the two ends together using one of the larger jump rings.


8: Create a few extra links and attach them to the middle of the necklace, finishing with the first head pin you beaded.


9: Split the top of the chain opposite the lariat chain you just attached.

10: Attach the clasp to the chain using one of the smaller jump rings and add another jump ring to the other side.


11: Bead the other head pin, looping it at the top as you did the others. Attach this pin to the chain behind the clasp using the other larger jump ring.


Now your necklace is finished! So fun!


This tutorial contains affiliate links.