-
Here are some romantic handmade jewelry ideas for Valentine’s Day.
Valentine’s day can be kind of cheesy and generic, but these handmade jewelry ideas will bring some sentimental value to your Valentine’s day gift for your lover! Here is a list of tutorials that you could follow to make some amazing and thoughtful Valentine’s day gifts.
Love heart earrings and a matching necklace


This one is kind of obvious, but what is more lovely for Valentine’s day than a set of love heart themed jewelry? Here are two tutorials that show you how you can made a pair of beaded love heart earrings and a matching pendant necklace. Here are the links:
Turn an old sentimental piece of costume jewelry into something new

This tutorial shows you how to transform an old costume ring into a pendant necklace. This idea is perfect for the sentimental lover who will appreciate being able to wear a piece of jewelry from their past in a new way. Here is the link.
For something a little sexy, why not make this bra chain harness?

This is perfect for adding a little spice to your V-Day celebrations. This harness is shiny and sexy! Find the link here.
If you are short on time, here is a super easy bracelet DIY
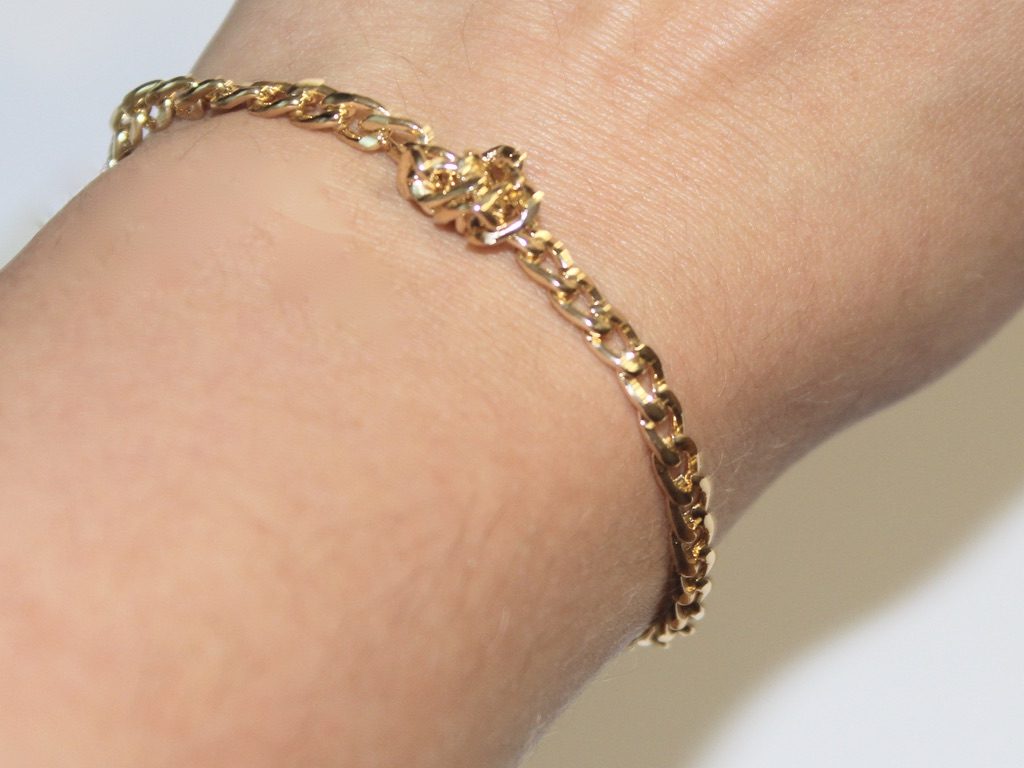
Make this bracelet for a quick but special handmade piece. This bracelet is super easy to make but looks great. Put it together when you have a few minutes and are in need of a handmade gift for your loved one. Here’s the link.
Make this peach anklet for the cheeky fun lover in your life!

The peach emoji has become synonymous with the butt. Celebrate your lover’s great bum with this peach charm anklet! Find the link here.
-
Do you love florals? Why not make these cute beaded flower stud earrings?!

These earrings are a little fiddly to make but the results are so cute! I have made a bunch in different colours so I can mix and match in my multiple piercings.
You will need the following tools and materials to make your flower stud earrings:
1: Cutting pliers.

2: Thin wire.

3: A glue on earring stud with an earring back.

4: Seven glass e-beads beads, six in one colour and one in another colour. I used six white e-beads and one blue bead in a similar size.


5: Some nail polish. I didn’t have any clear polish so I used this sparkly polish that is mostly clear 🙂

6: Araldite glue.

7: A skewer.

8: Scrap paper for mixing glue.

Follow these steps to make your flower stud earrings:
1: Add the six white beads to the thin wire. Move the beads closer to one end of the wire.

4: Take the long end of the wire and thread it through the bead closest to the other end.

5: Pull the wire tight to create a circle shape and loop the short wire around so that the end can’t be seen anymore.


6: Wrap the long wire through the bead again to tighten the circle.
7: Add the blue bead to the wire.

8: Fold the wire to place the blue bead in the centre of the circle.

9: Loop the long wire through one of the white beads and pull it tight.


10: Pull the long wire towards the back and trim it.

11: Put a dab of nail polish on the ends of the wires to secure them and set it aside to dry.

12: Once the nail polish is dry you can start preparing the glue.
13: Squeeze out the Araldite glue in equal parts onto the scrap paper and mix it with the skewer.



14: Add glue to the back of the flower and the front of the stud finding.


15: Add the pieces together and set it aside to dry.
Once your earring is dry it is finished and ready to wear! It’ll be spring all year round with these adorable studs!

Here’s a selection I made in different colours.

-
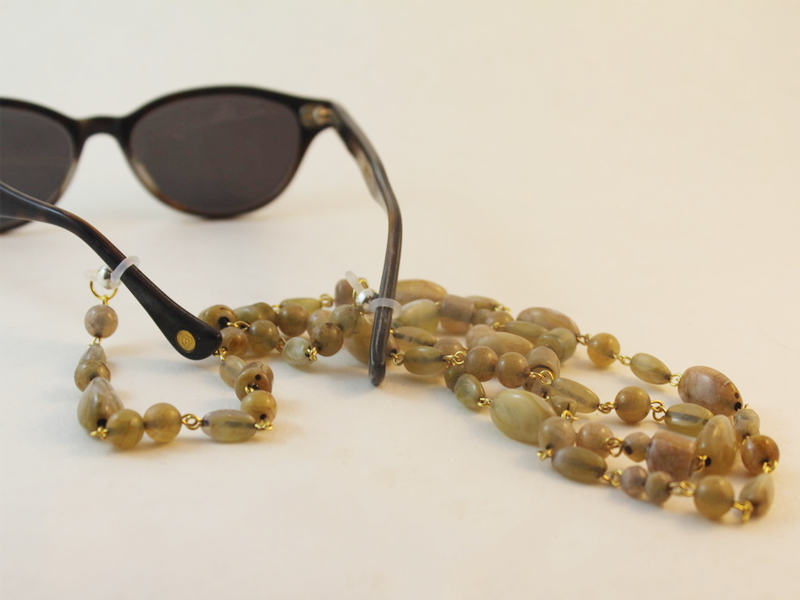
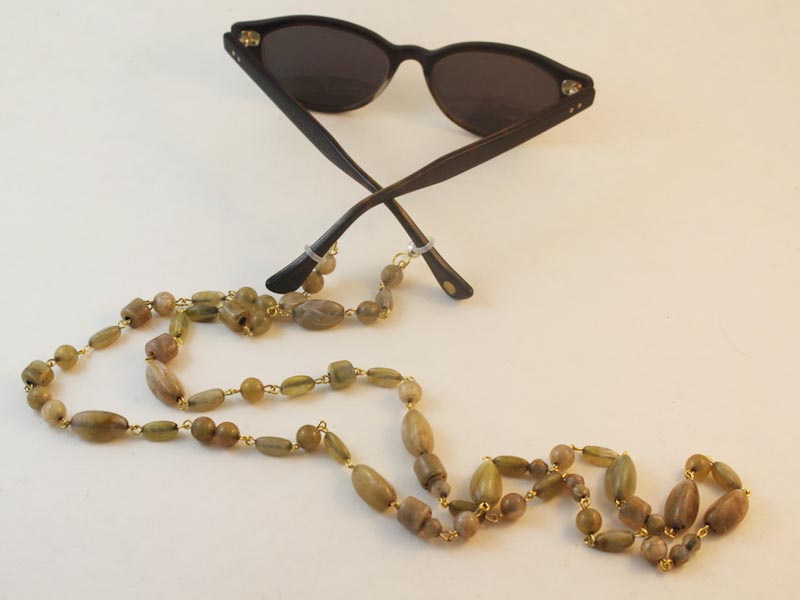
Glasses chains are HOT! Make your own cool sunglass chain holder for summer.

Glasses chains are really hot right now! If our other glasses chain tutorials aren’t for you why not try this one out? Contains affiliate links.
You’ll need the following tools and materials to make your glasses chain:
1: Pliers. You’ll need your flat nose and round nose pliers to make this glasses chain.


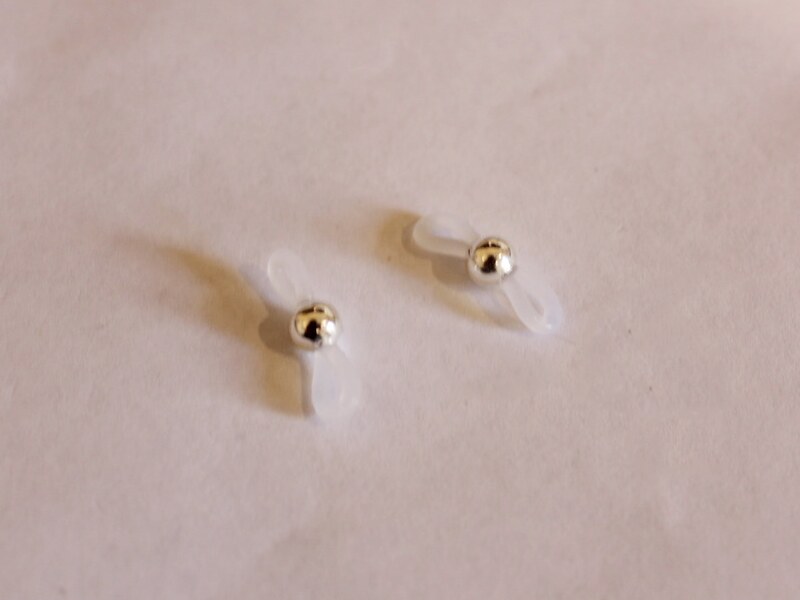
2: Two glasses holder findings.
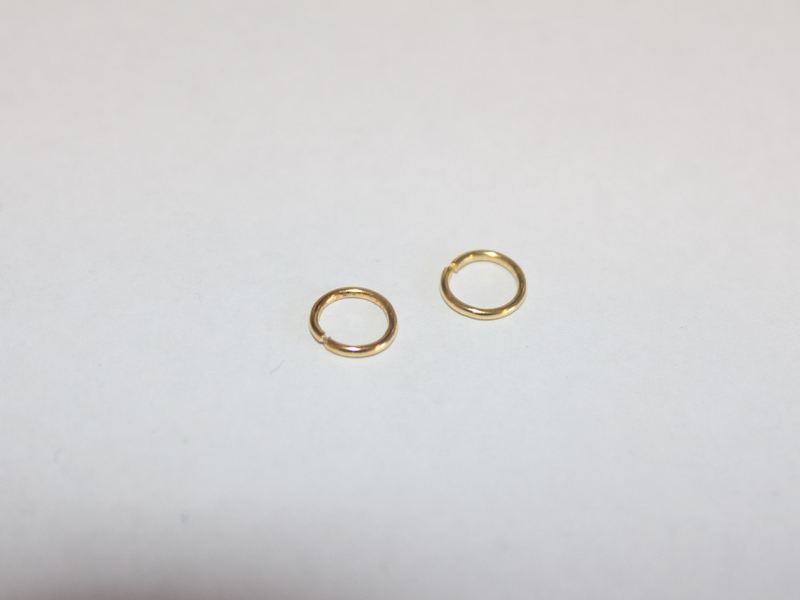
3: Two large jump rings.
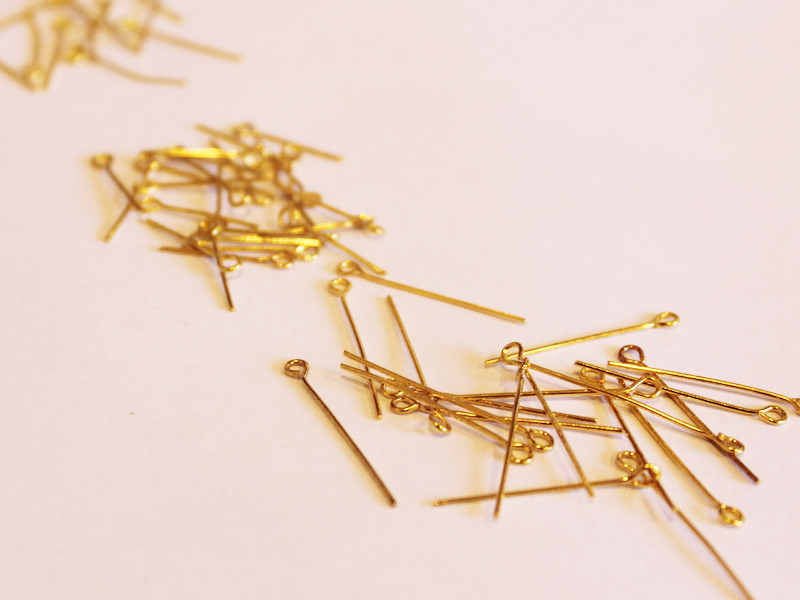
4: Eye pins.
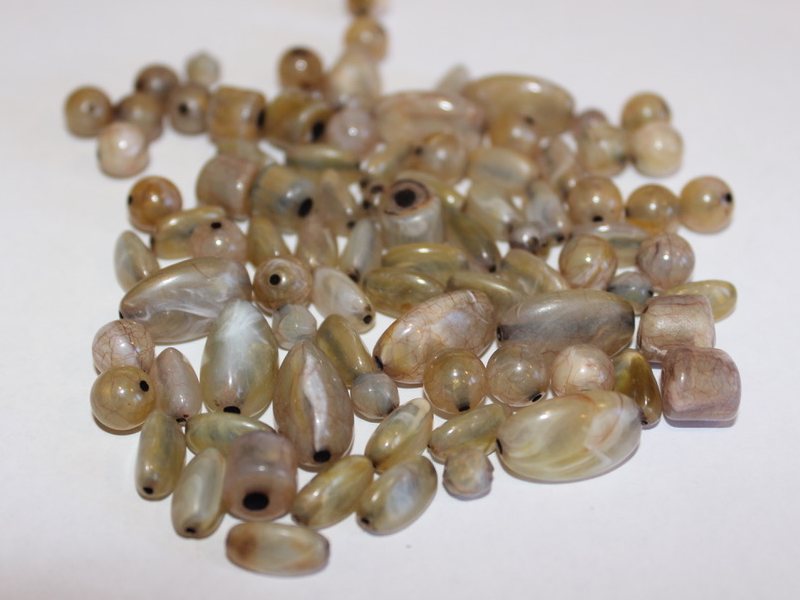
5: Beads. I used these vintage plastic beads recycled from a necklace I inherited.
Follow these steps to make your beaded glasses chain:
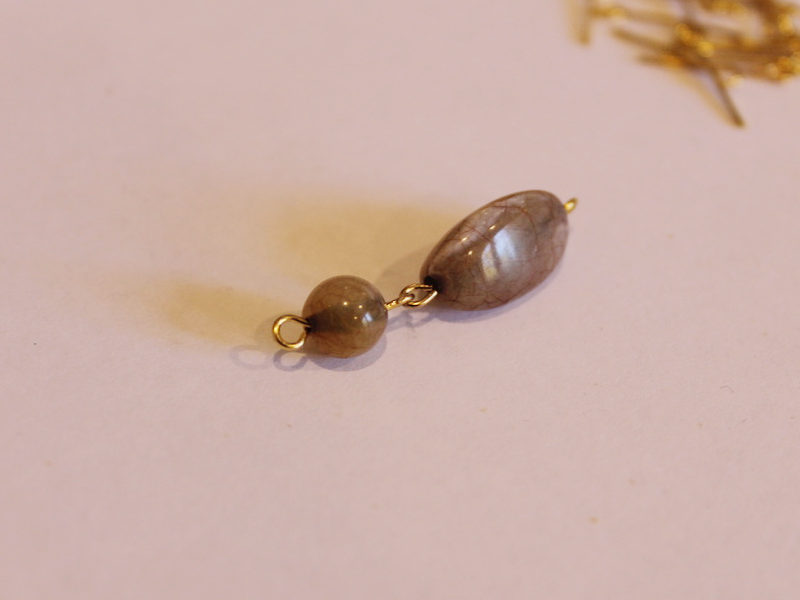
1: Add beads to the pins and loops the ends to secure them in place.
2: Start linking the beaded pins to form a chain.
3: Continue making the beaded chain links until your chain is at your desired length.
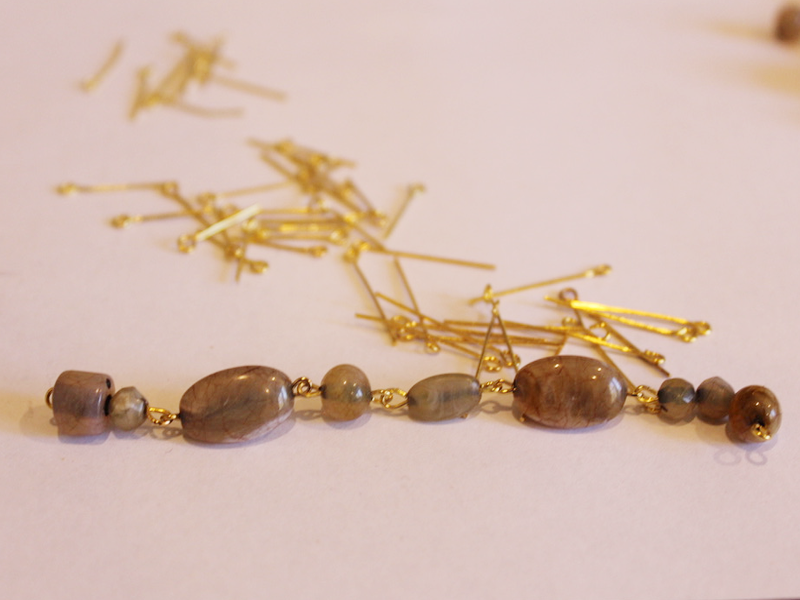
4: Attach a glasses holder to each end of the chain using the jump rings.
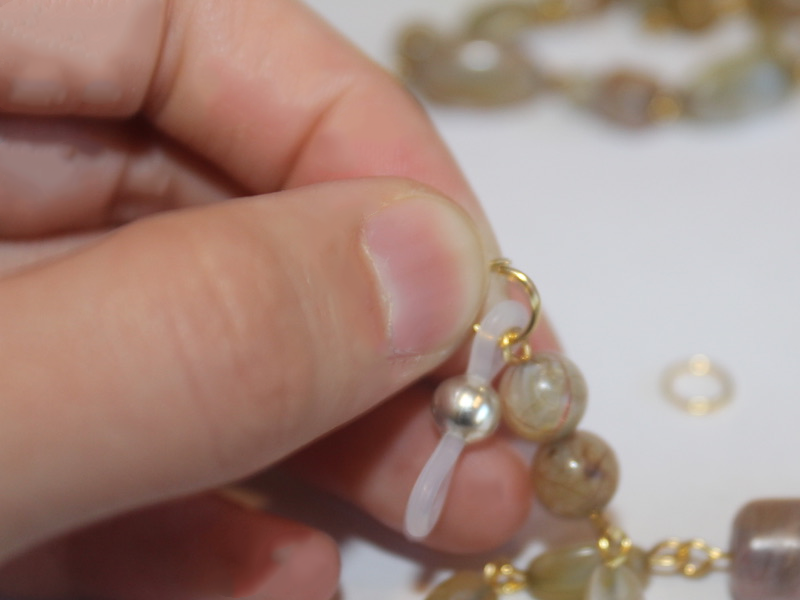
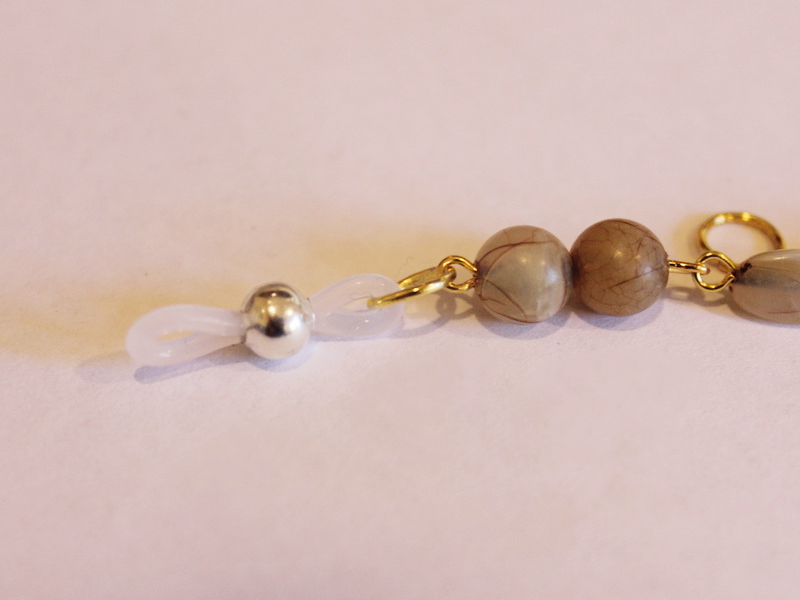
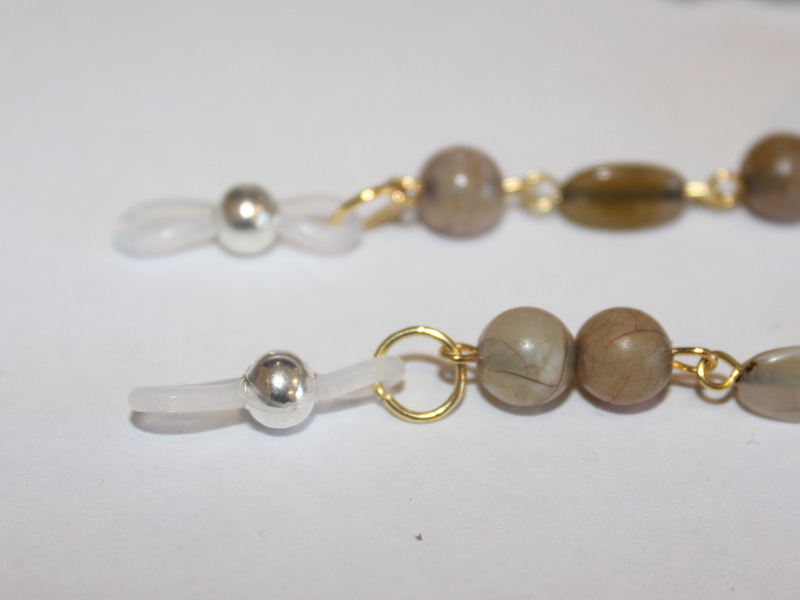
Now your glasses chain is finished and ready to use! Wonderful for keeping your glasses safe during summer activities.
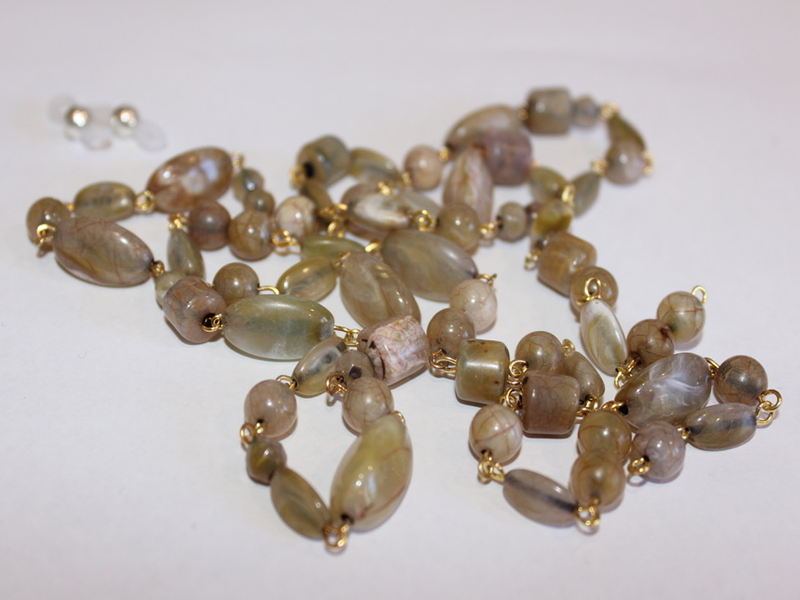
-
Make a beaded chain bracelet… this is my new fave!
This beaded chain bracelet is my new favorite thing, I’ve been making all kinds of accessories with this technique.

You will need the following tools and materials to make your beaded chain bracelet:
1: Pliers. You’ll need flat nose pliers, round nose pliers. You might need your cutting pliers depending on the length of your eye pins.

2: Some eye pins.

3: Some beads. I used these glass beads.

4: A toggle clasp.

5: Two jump rings.

Follow these steps to make your bead chain bracelet:
1: Add beads to the eye pins.

3: Create a loop at the end of each pin to secure the beads in place.


4: Start linking the pins together to form a chain.


5: Attach the toggle clasp components to either end of the chain using the jump rings.


Now your bracelet is finished!
Here are some other pieces I made with different beads.


-
These are amazing! Here’s a tutorial to make some beaded fringe earrings.
These beaded fringe earrings look so pretty! Use a variety of glass beads to make your own versions of the design. Contains affiliate links.

You will need the following tools and materials to make your beaded fringe earrings:
1: Pliers. You will need your flat nose pliers and round nose pliers.
2: Sixteen head pins.

3: Two eye pins.

4: Two earring hooks.

5: Beads of your choice. I used some different colored glass beads and four pink plastic beads.


6: Four jump rings.

Follow these steps to make your beaded fringe earrings:
1: Add beads to twelve of the head pins.

2: loop the tops of the pins to keep the beads in place.


3: Add the different colored beads and the pins in a pattern to the eye pin.

4: Add the earring hook halfway along the beaded eye pin.

5: Finish beading the eye pin and create a loop at the other end of the pin to secure the beads and charms in place.


6: Repeat steps 3 to 5 for the second earring.

6: Add the plastic beads to the remaining four head pins.

7: Loop the ends of the four extra charms.

8: Attach the four charms to either end of the top of the earrings to finish them off.


Now your fringe earrings are finished and ready to wear!
I also made a pair using black and white glass beads.

If you like the look of fringe jewelry, check out this beaded fringe necklace.
This tutorial contains affiliate links.