-
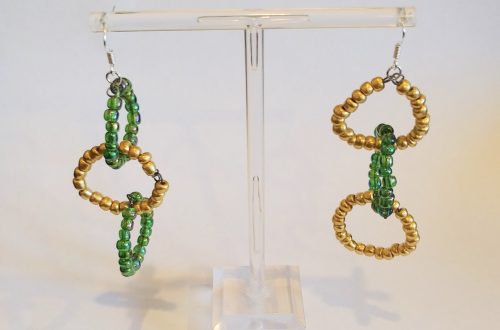
I’m not sure what to call this design, but it sure is cute! Here’s a new beaded earring tutorial.
These earrings are made from four pieces of bracelet length memory wire, attached together to form an eye shape. These cute earrings can be beaded up in lots of different colors to suit your preference. This tutorial contains affiliate links.
You’ll need the following tools and materials to make your earrings:
1: Pliers. I used my cutting pliers and round nose pliers.


2: Bracelet length memory wire cut into four equal half circle pieces.

3: Earring hooks.

4: Four small jump rings.

5: Two big jump rings.

6: Beads. I used orange and clear glass beads.


Follow these steps to make your new earrings:
1: Curl one end of one of the wires to form a loop using the round nose pliers.

2: Add beads to the wire and leave a 1cm section unbeaded.

3: Use the round nose pliers again to curl the other end of the wire and secure the beads on the wire.

4: Repeat steps 1 to 3 for the remaining three wires, beading two wires in one colour and two in the other.


5: Start attaching the wires together. Take one of the clear beaded wires and one of the orange ones and attach them together using one of the small jump rings.

6: Now attach the other side together to form a squashed circle/eye shape.

7: Repeat steps 6 and 7 for the other earring.

8: Add the earring hooks to each of the beaded eye shapes using the large jump rings. I made mine asymmetrical so that one has an orange top and the other has a clear top.


Now your earrings are finished! How cute is this design?


-
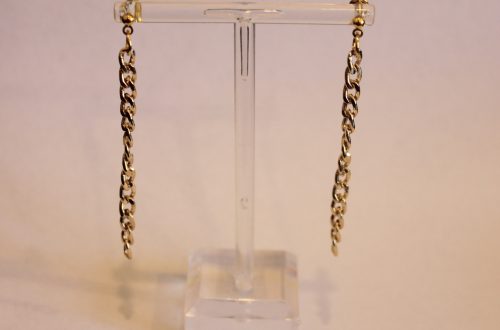
These arched and chain embellished earrings are so cool. Here’s how to make them.
We have made some different arch and chain earrings before, this one flips them around so that the arch sits at the top of the earring leaving the chain to dangle down gently. I really like the way these earrings move when you wear them. This tutorial contains affiliate links.
You’ll need the following tools and materials to make these earrings:
1: Pliers. I used my cutting pliers, round nose pliers and flat nose pliers.

2: Some bracelet length memory wire cut into half circles.

3: Two short pieces of chain.

4: Earring hooks.

5: Six jump rings.


6: Two head pins.

7: Beads. I used gold-tone e-beads and faceted blue plastic beads.


Follow these steps to make your own arch and chain dangle earrings:
1: Create a loop at one end of one of the pieces of memory wire using the round nose pliers.

2: Add beads so that approximately half of the wire is beaded.

3: Add one of the earring hooks.
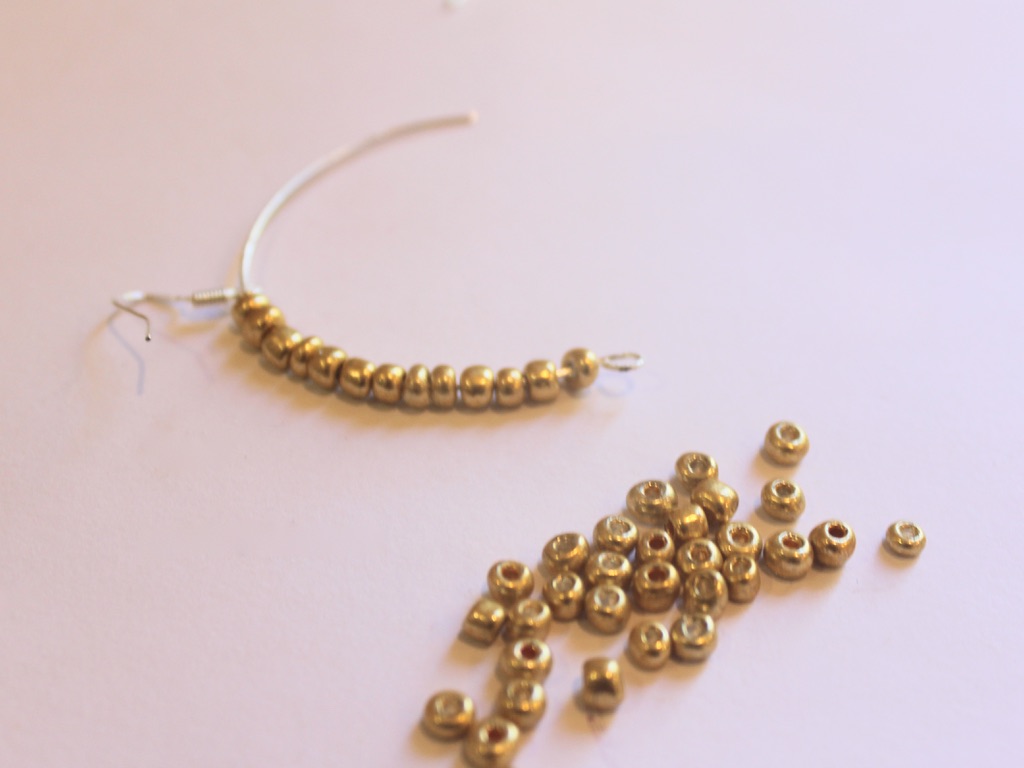
4: Add more beads to the wire until there is about 1cm left without beads.

5: Curl the end of the wire so that the beads and earring hook are secured in place. I squeezed my wire a bit at this point so that it formed a more narrow arch.

5: Repeat steps 1-5 for the second earring.

6: Add a jump ring to one end of the small chains.

7: Attach the end of the chain to the bottom of the beaded arch.

8: Repeat steps 6 and 7 for the other end of the chain to form a loop.


9: Repeat steps 6 to 8 for the other earring.

10: Add the faceted beads to each of the head pins and loop the tops using the round nose pliers to secure the beads in place.


11: Attach the newly formed bead charms to the chains with the remaining jump rings.

Now your dangling arch earrings are finished and ready to wear! So so cute!
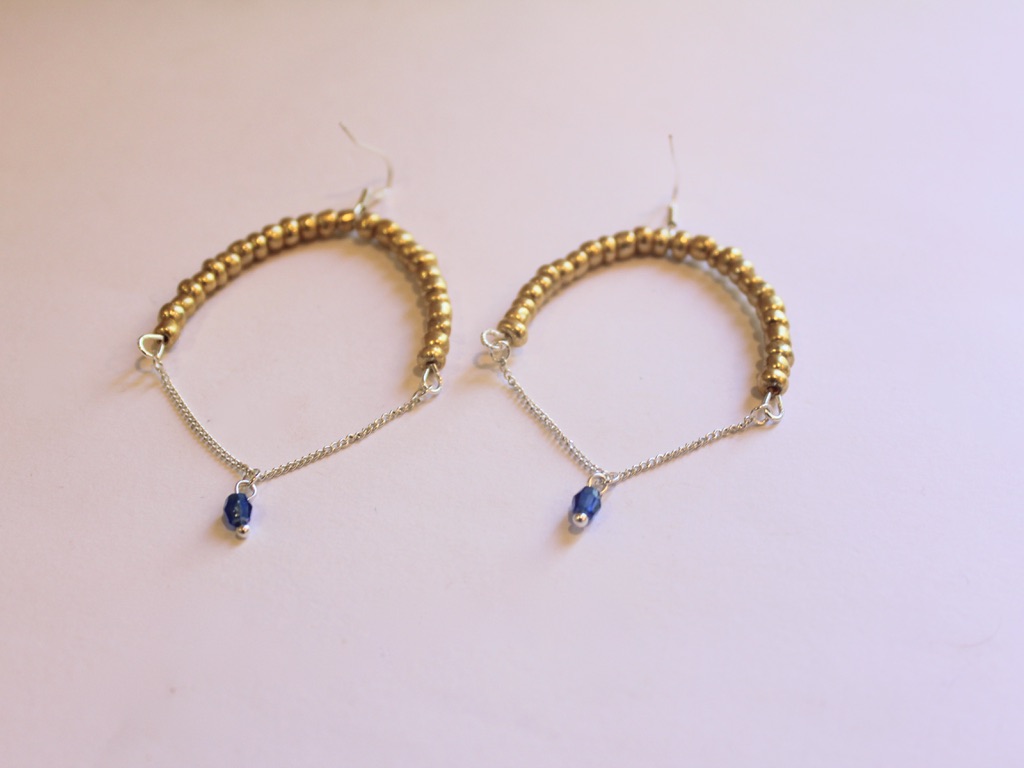
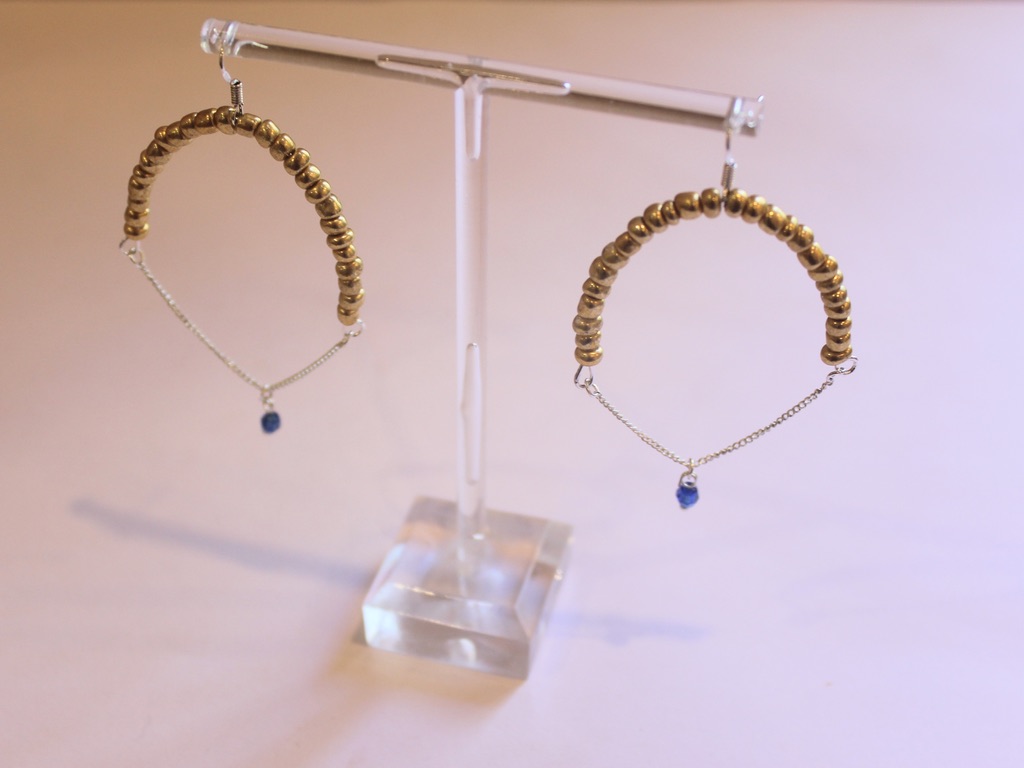
If you like this design here’s a different arch earring tutorial we made a little while ago.
This tutorial contains affiliate links.
-
Do you like triangle-shaped jewelry? Here’s a way to make some triangle earrings.
I’m pretty into geometric triangle-shaped jewelry, these earrings use eye pins and chain to form a cool dynamic triangle shaped pair of dangly earrings. This design is pretty much the reverse of these earrings and this pendant that we published previously.
Here are the tools and materials you need to make these earrings:
1: Pliers. I used my round and flat nose pliers for these earrings.

2: Two long eye pins.

3: Two head pins.

4: Two short chains, around 8-10cm long

5: Four jump rings.

6: Earring findings. I used gold-tone post earrings.

7: Beads. I used some rose-quartz chip beads and some purple glass seed beads.


Follow these steps to make your triangle earrings:
1: Add beads to the eye pins in your pattern of choice.


2: Loop the end of the pins using the round nose pliers once you have finished beading them.


3: Add each of the chains to either end of the eye pins to form a loop on earring earring.


4: Add beads to the head pins and curl the tops of the pin to secure the beads in place.


5: Attach the head pin charms to the chains using two of the jump rings.


6: Attach the earring findings to the middle of each beaded eye pin using the last couple of large jump rings.


Now your triangle earrings are finished and ready to wear!
This tutorial contains affiliate links.
-
Need something new in your jewelry box? Make this pair of D-Shaped statement earrings.
These earrings are made using some hard memory wire and some cool statement beads. Dangly and unique, these earrings are worth making.
You’ll need these tools and materials to make these earrings:
1: Pliers. Round nose, flat nose and cutting pliers are useful for this design.
2: Memory wire cut into two half circles.

3: Two long eye pins.

4: Two pieces of chain, not too long.

5: Two earrings. I used these silver charm post earrings.

Here is a fancier pair!
6: Two larger jump rings.

7: Four small jump rings.

AliExpress.com Product – Free Shipping! 1 Box SP Open Jump Rings 3mm-8mm(1500 PCs Assorted) (B08915)8: Beads. I used some green glass e-beads.

9: Two statement beads. I used these silver-tone plastic beads.

Follow these steps to make your D-shaped statement earrings:
1: Use the round nose pliers to make a loop at one end of the memory wire half circle.


2: Add the beads to around halfway on the curve.
3: Add the statement bead to the centre of the curve.

4: Bead the remaining part of the curve with the glass beads again until there is about 1cm left un-beaded.
5: Create a loop at the other end of the memory wire curve using the round nose pliers again.

6: Repeat steps 1 to 5 for the second piece of memory wire.

7: Add beads to the long eye pin and leave 1cm un-beaded at the end. Repeat for both pins.

8: Create a loop at the end of both pins using the round nose pliers.


9: Attach each of the beaded eye pins to the top of each memory wire curve. This will create a tighter curve on each piece of memory wire and form the D shape.


10: Attach the chain to each side of the D shape using the small jump rings. Both D shapes will now have a chain loop attached to them.


11: Add one of the larger jump rings to each of the earring posts.

12: Attach the earrings to the charms by threading the chain through each of the open jump rings. Close the jump rings on the earring posts to secure them together.


Now your earrings are finished and ready to wear!


This tutorial contains affiliate links.
-
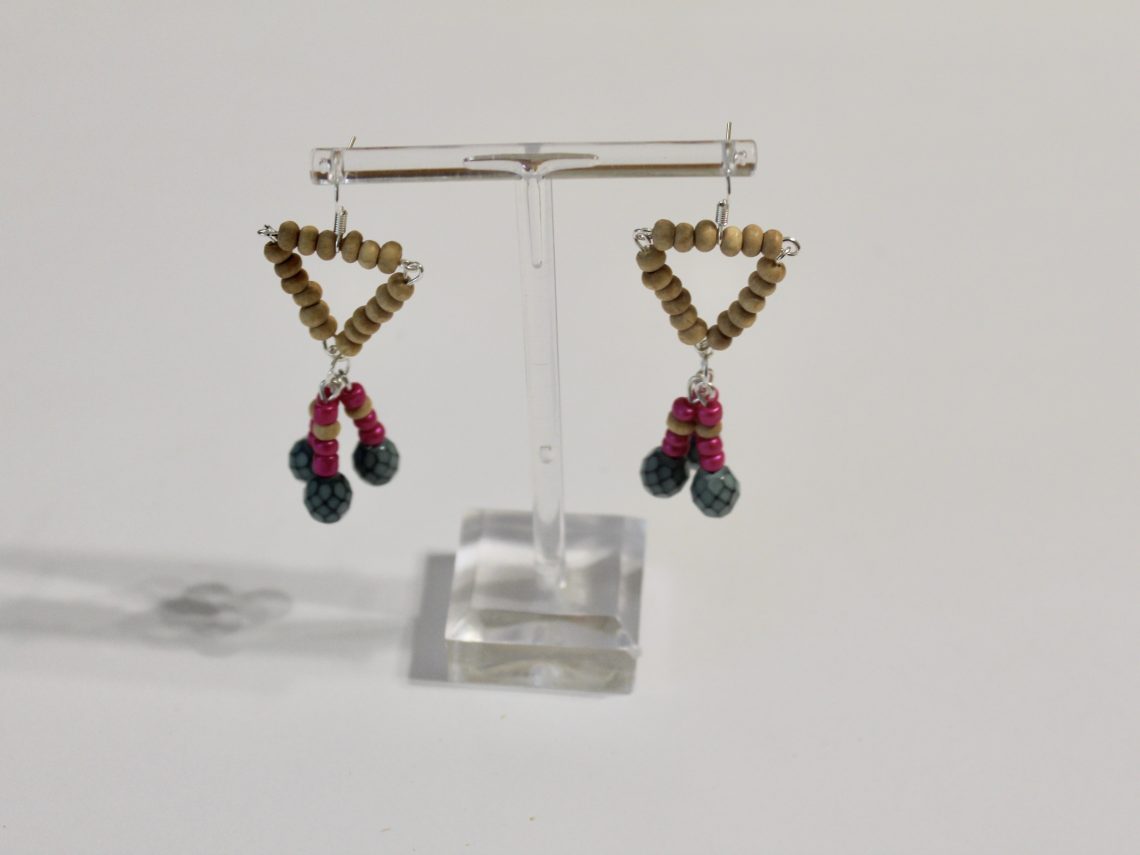
This vid shows you how you can make beaded triangle tassel earrings

This video is a little longer than some of my other video tutorials, but it shows you, in detail, all the steps you need to take to make a cool pair of beaded triangle tassel earrings.
Here are some affiliate links so that you can get all the tools and materials you’ll need to make a similar pair of triangle tassel earrings:
1: Eye pins
2: Earring hooks
3: Head pins
4: Jewelry pliers
5: Wooden beads
6: Pink glass beads
7: Blue faceted beads.
Here are some other tassel earring tutorials:
-
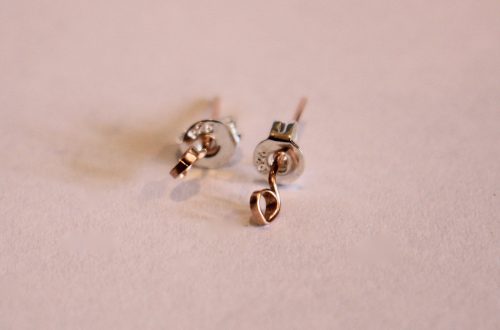
Stud Earrings are Classic! Use some beads to make your own statement studs
These stud earrings are made using some plastic beads and some head pins and they look adorable!
You will need the following tools and materials to make your stud earrings:
1: Two flat bed earring findings.

2: Two large head pins.

3: Two small head pins.

4: Two small jump rings.

5: Two part epoxy glue, I used Araldite.

6: A piece of scrap paper.

7: A skewer.

8. Four beads. I used two large resin beads and two small blue plastic beads.


9: Pliers. You’ll need your cutting pliers, flat nose pliers and round nose pliers.
Follow these steps to make your stud earrings:
1: Add the small beads to the small head pins.

2: Curl the ends of the pins around your round nose pliers to secure the beads in place. Do this for both beads.


3: Add the larger beads to the larger head pins.

4: Bend and trim the pins so that the pins protrude around 1cm from the bead.

5: Loop the ends of the pins using the round nose pliers.


6: Attach the small beads to the larger ones using the small jump rings.


7: Squeeze out the glue in equal parts onto the scrap paper and mix with the skewer.



8: Add the glue to the earring posts and place them on the backs of the large beads and leave them to dry.


Once the earrings are dry you can wear them! How cute are they?!

Note: This article contains affiliate links
-
If you are sick of matching earrings this is the tutorial for you… How to make asymmetrical earrings.
I am seeing loads of cool asymmetrical earrings around lately, here’s how to make a pair of your own.

You will need the following tools and materials to make your asymmetrical earrings:
1: Pliers. I used my round nose pliers, cutting pliers and flat nose pliers.
2: Eye pins of different lengths. I used two eye pins.

3: Three small head pins.

4: One larger head pin.
5: A pair of stud earring findings.

6: Beads of your choice. I used some vintage yellow tube beads, some blue plastic beads and some yellow and blue glass beads.

Follow these steps to make your asymmetrical earrings:
1: Add one of the glass beads and tube beads to the larger head pin.

2: Bend the top of the pin to form a right angle.

3: Trim the pin so that it is only 1cm long from the top of the bead.

4: Curl the top of the pin using the round nose pliers to secure the bead on the pin.

5: Add the longer bead to the longer eye pin and repeat steps 2-4 to secure the bead in place.


5: Attach the two pins together.


6: Attach the top of the charm to the loop of the earring finding.

7: Add the plastic blue beads to each of the small head pins.

8: Curl the tops of the pins to secure the beads in place.


9: Place the remaining glass beads on the shorter eye pin.

10: Repeat steps 2-4 to secure the glass beads on the eye pin. (Skip the wire trimming if your pin is the right length!)


11: Put the small blue charms onto the bottom of the beaded pin.


12: Add an earring finding to the top of the pin to finish the second earring.

Now your asymmetrical beaded earrings are finished and ready to wear!


Here’s another pair of mismatched beaded earrings made using a hammered wire ring.

Note: This article contains affiliate links