-
Stud Earrings are Classic! Use some beads to make your own statement studs
These stud earrings are made using some plastic beads and some head pins and they look adorable!
You will need the following tools and materials to make your stud earrings:
1: Two flat bed earring findings.

2: Two large head pins.

3: Two small head pins.

4: Two small jump rings.

5: Two part epoxy glue, I used Araldite.

6: A piece of scrap paper.

7: A skewer.

8. Four beads. I used two large resin beads and two small blue plastic beads.


9: Pliers. You’ll need your cutting pliers, flat nose pliers and round nose pliers.

Follow these steps to make your stud earrings:
1: Add the small beads to the small head pins.

2: Curl the ends of the pins around your round nose pliers to secure the beads in place. Do this for both beads.


3: Add the larger beads to the larger head pins.

4: Bend and trim the pins so that the pins protrude around 1cm from the bead.

5: Loop the ends of the pins using the round nose pliers.


6: Attach the small beads to the larger ones using the small jump rings.


7: Squeeze out the glue in equal parts onto the scrap paper and mix with the skewer.



8: Add the glue to the earring posts and place them on the backs of the large beads and leave them to dry.


Once the earrings are dry you can wear them! How cute are they?!

Note: This article contains affiliate links
-
If you are sick of matching earrings this is the tutorial for you… How to make asymmetrical earrings.
I am seeing loads of cool asymmetrical earrings around lately, here’s how to make a pair of your own.

You will need the following tools and materials to make your asymmetrical earrings:
1: Pliers. I used my round nose pliers, cutting pliers and flat nose pliers.
2: Eye pins of different lengths. I used two eye pins.

3: Three small head pins.

4: One larger head pin.
5: A pair of stud earring findings.

6: Beads of your choice. I used some vintage yellow tube beads, some blue plastic beads and some yellow and blue glass beads.

Follow these steps to make your asymmetrical earrings:
1: Add one of the glass beads and tube beads to the larger head pin.

2: Bend the top of the pin to form a right angle.

3: Trim the pin so that it is only 1cm long from the top of the bead.

4: Curl the top of the pin using the round nose pliers to secure the bead on the pin.

5: Add the longer bead to the longer eye pin and repeat steps 2-4 to secure the bead in place.


5: Attach the two pins together.


6: Attach the top of the charm to the loop of the earring finding.

7: Add the plastic blue beads to each of the small head pins.

8: Curl the tops of the pins to secure the beads in place.


9: Place the remaining glass beads on the shorter eye pin.

10: Repeat steps 2-4 to secure the glass beads on the eye pin. (Skip the wire trimming if your pin is the right length!)


11: Put the small blue charms onto the bottom of the beaded pin.


12: Add an earring finding to the top of the pin to finish the second earring.

Now your asymmetrical beaded earrings are finished and ready to wear!


Here’s another pair of mismatched beaded earrings made using a hammered wire ring.

Note: This article contains affiliate links
-
Here’s another cute way to upcycle your broken headphones, a double strand necklace!
If you aren’t sick of my headphone recycling tutorials yet here is another way you can upcycle them into beautiful jewelry. This one gives you all the steps you need to take to make a double strand headphone necklace.
You will need the following tools and materials to make your double strand headphone necklace:
1: Pliers. You’ll need cutting pliers, flat nose pliers and round nose pliers
2: A pair of broken headphones. I used the top part of the headphones that I used in the finger knit bracelet tutorial.

3: Four crimp ends.

4: Four small pieces of chain, one pair longer than the other. My headphone cords weren’t quite long enough to fit around my neck so I added some small pieces of chain to the end of each to make them fit.

5: Two beads. I used these chunky wooden beads with big holes.

6: Four larger jump rings.

7: Four smaller jump rings.

8: A lobster clasp.

Follow these steps to make your double strand necklace out of recycled headphones.
1: Cut the headphone cords using the cutting pliers to separate them and remove the ear buds.


2: Add a crimp end to either end of the headphone cords, folding them in place using your flat nose pliers.


3: Add one pair of chains to either end of one of the cords using two of the larger jump rings.


4: Add the second pair of chains to the other cord using another pair of larger jump rings.

5: Add the beads to each of the strands.

7: Secure the chains together using a smaller jump ring on either side of the necklace.


8: Attach the clasp using another smaller jump ring.

9: Add the remaining jump ring to the other side of the necklace to finish it.
Now your double strand necklace made from recycled headphones is finished! I love coming up with creative ways to save broken products from the trash.

-
Anklets are set to be HOT in the summer months. Here’s one to add to your accessories collection.

According to this article, anklets are set to be the jewelry item that defines summer in 2019. This anklet is sparkly and summery, perfect for evening drinks or beach holidays!
You will need the following tools and materials to make your beaded anklet:
1: Pliers. You’ll need flat nose pliers and round nose pliers.


2: Eye pins.

3: Two jump rings.

4: A lobster clasp.
5: Two head pins.
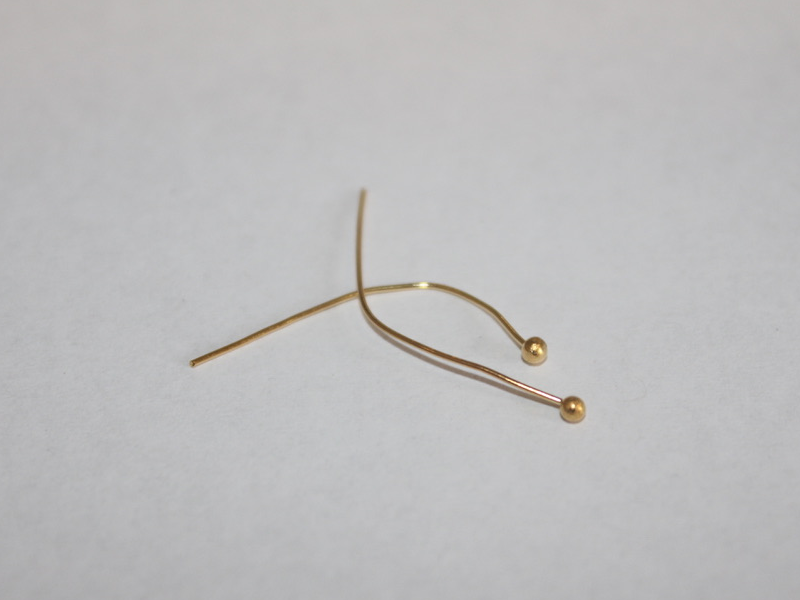
6: Beads. I used some blue faceted plastic beads recycled from an old necklace, some glass seed beads and some other blue glass feature beads.


Follow these steps to make your beaded anklet:
1: Add beads to the pins and loop the tops. Attach each charm using the end loops to form a chain.


3: Continue making these charms and attaching them in a pattern until your chain is long enough to fit comfortably around your ankle.

4: Add a jump ring to one end of the chain and add the lobster clasp.

5: Add the remaining jump ring to the other side of the chain.

6: At this stage your anklet is ready to wear, but you can perform these extra steps to add some extra charms.
7: Add beads to the two head pins.

8: Curl the tops of the pins using the round nose pliers.


10: Add the charms to the jump ring that attaches the clasp to the anklet. Close the jump ring to secure the charms in place.


Now your anklet is finished with some cute little charms! How adorable is this design? Why not make a whole bunch and have a #ankleparty 😉

-
Make a beaded chain bracelet… this is my new fave!
This beaded chain bracelet is my new favorite thing, I’ve been making all kinds of accessories with this technique.

You will need the following tools and materials to make your beaded chain bracelet:
1: Pliers. You’ll need flat nose pliers, round nose pliers. You might need your cutting pliers depending on the length of your eye pins.
2: Some eye pins.

3: Some beads. I used these glass beads.

4: A toggle clasp.

5: Two jump rings.

Follow these steps to make your bead chain bracelet:
1: Add beads to the eye pins.

3: Create a loop at the end of each pin to secure the beads in place.


4: Start linking the pins together to form a chain.


5: Attach the toggle clasp components to either end of the chain using the jump rings.


Now your bracelet is finished!
Here are some other pieces I made with different beads.


-
These are amazing! Here’s a tutorial to make some beaded fringe earrings.
These beaded fringe earrings look so pretty! Use a variety of glass beads to make your own versions of the design. Contains affiliate links.

You will need the following tools and materials to make your beaded fringe earrings:
1: Pliers. You will need your flat nose pliers and round nose pliers.
2: Sixteen head pins.

3: Two eye pins.

4: Two earring hooks.

5: Beads of your choice. I used some different colored glass beads and four pink plastic beads.


6: Four jump rings.
Follow these steps to make your beaded fringe earrings:
1: Add beads to twelve of the head pins.

2: loop the tops of the pins to keep the beads in place.


3: Add the different colored beads and the pins in a pattern to the eye pin.

4: Add the earring hook halfway along the beaded eye pin.

5: Finish beading the eye pin and create a loop at the other end of the pin to secure the beads and charms in place.


6: Repeat steps 3 to 5 for the second earring.

6: Add the plastic beads to the remaining four head pins.

7: Loop the ends of the four extra charms.

8: Attach the four charms to either end of the top of the earrings to finish them off.


Now your fringe earrings are finished and ready to wear!
I also made a pair using black and white glass beads.

If you like the look of fringe jewelry, check out this beaded fringe necklace.
This tutorial contains affiliate links.
-
I am seeing fancy hair clips everywhere, here’s how to make a pair of rhinestone embellished clips.

Continuing the rhinestone trend on DIY Jewelry Hub with these rhinestone embellished clips!
You will need the following tools and materials to make these hair clips:
1: Two hair clips. I used these alligator clips that I had at home and wasn’t using. I added a lick of color using some old nail polish.

2: Two short rhinestone strands. Cut them to the length of the clip you intend to glue them too.

3: Glue. I used superglue but you will probably get a better result using Araldite glue.

or
Follow these steps to make your rhinestone clips:
1: Add a dab of your chosen glue to the top of the clip and stick one end of a rhinestone strand in place, with the long side draping towards the body of the clip.


2: Continue adding glue down the clip and put the rest of the rhinestone strand in place.

3: Set the first clip aside to dry and repeat steps 1 and 2 for the second clip.
Once they’re dry those sparkly hair clips are ready to wear!

Here’s another pair that I made using some resin charms.

here are some more DIYs for rhinestone crystal embellished hair accessories:
- A rhinestone and chain embellished barrette
- This rhinestone crystal hair comb
- Rhinestone crystal headband
- Statement rhinestone headband
This tutorial contains affiliate links
-
This necklace is special! Make one of your own today.
This necklace looks amazing, it’s a really cool way to use your favorite drop beads.
You will need the following tools and materials to make your necklace:
1:Pliers. You will need your flat nose pliers and round nose pliers.
2: Two pieces of chain to form the length of your necklace.

3: Two pieces of wire or two eye pins, one longer than the other.

4: A toggle clasp.

5: Four jump rings.

6: Beads of your choice. I used some frosted blue glass beads and a turquoise droplet bead.


Follow these steps to make your necklace:
1: If you are using wire, make a loop at the end of the longer piece of the wire.


2: Add the beads to the wire until there is only 1cm left without beads.


3: Create a loop at the other end of the wire.


4: Create a loop at the end of the shorter piece of wire.


5: Add the turquoise bead to the wire.

6: Create a loop at the other end of the wire using the round nose pliers to secure the bead on the wire.


7: Bend the longer beaded wire into a U shape and attach the drop bead to the inside of the U.


8: Attach each piece of chain to either side of the beaded U shape using two of the jump rings.


9: Attach each component of the toggle clasp to either end of the chain to finish the necklace. Secure them in place using the two remaining jump rings.


Now your necklace is finished!

Here’s another one I made with a longer U and a glass feature bead.


-
Make your next hairstyle special with a customized Bobby Pin
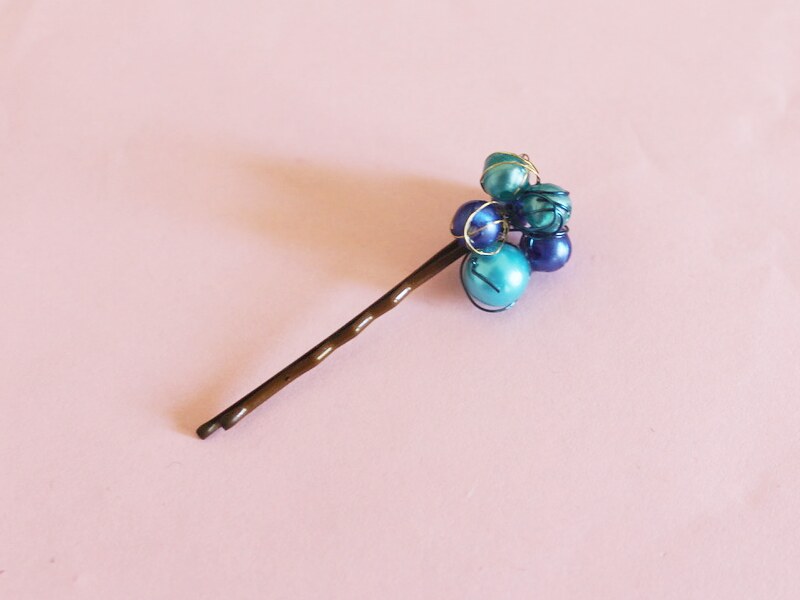
Do your up dos need something special? Why not make this beaded bobby pin to add something amazing to your hair styling.
You will need the following tools and materials to decorate your bobby pin:
1: Cutting pliers for cutting the wire.

2: Pieces of thin wire cut to approximately 15cm long. You can cut as many as you like.
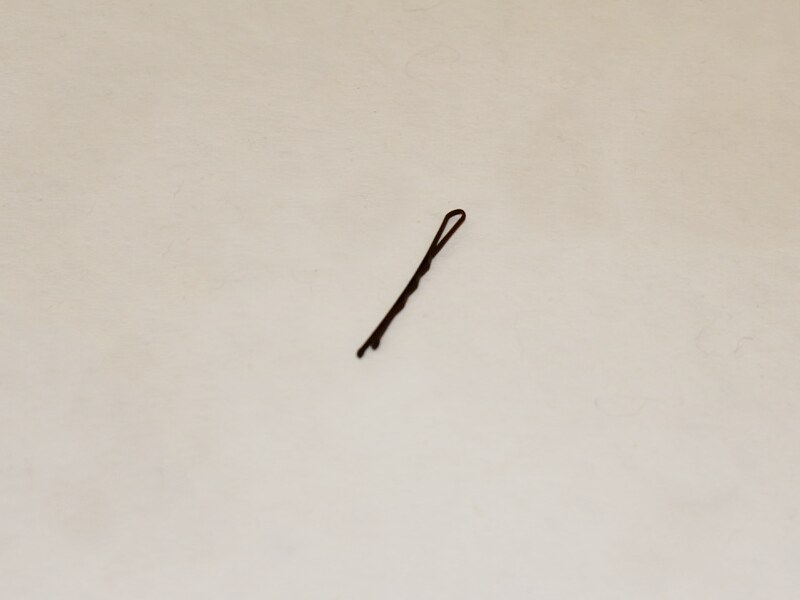
3: A Bobby Pin.
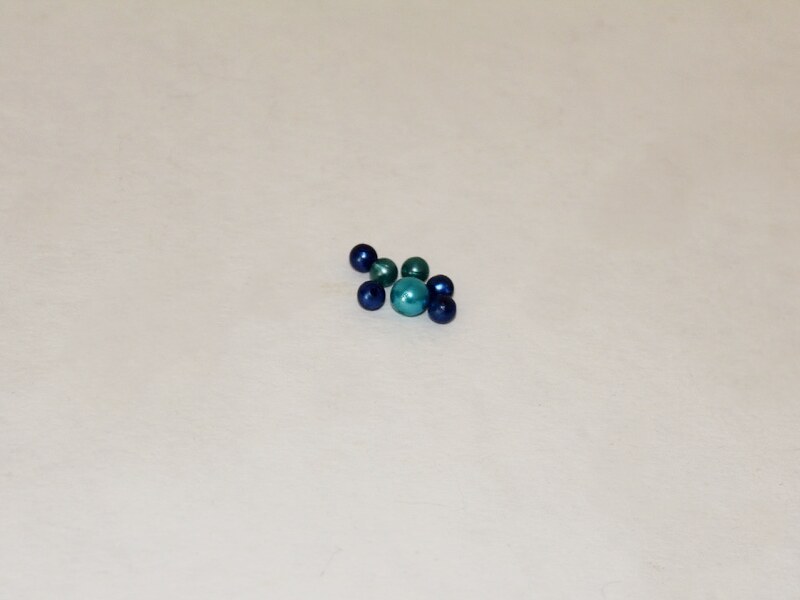
4: Beads of your choice. I used these plastic beads.
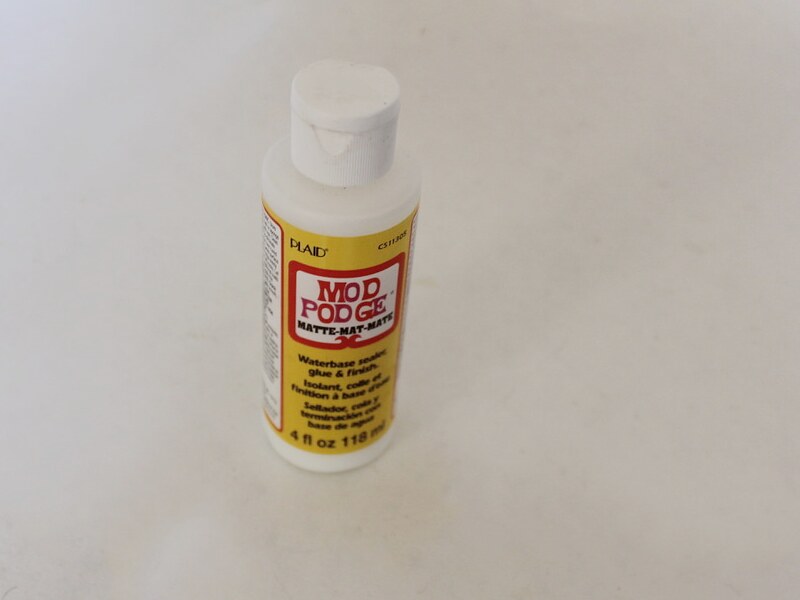
5: Water based glue. I used Mod Podge.
6: A Skewer.
Follow these steps to decorate your bobby pin:
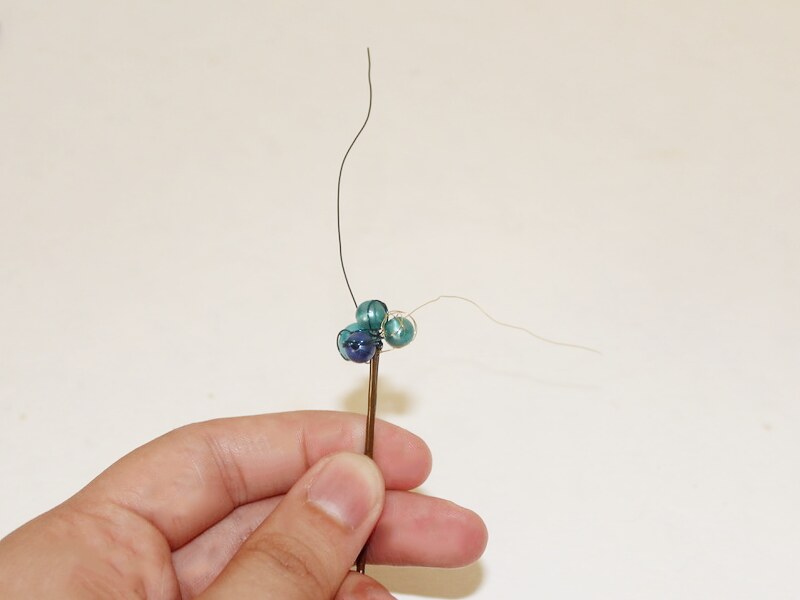
1: Put a piece of wire between both sides of the bobby pin, up near the bent part of the pin.
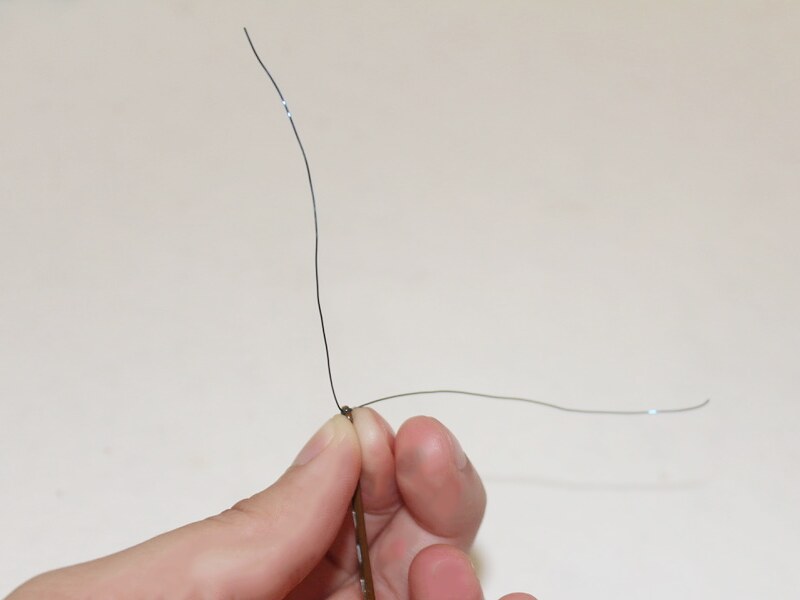
2: Wrap the piece of wire around the top of the pin where it bends over.

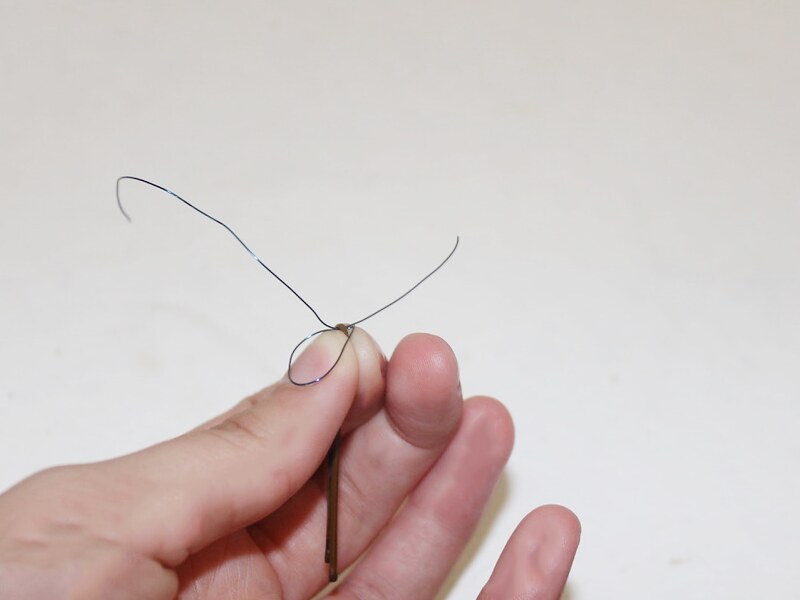
3: Add more pieces of wire in the same way. Add as many as you like depending on how many beads you want clustered on your bobby pin.
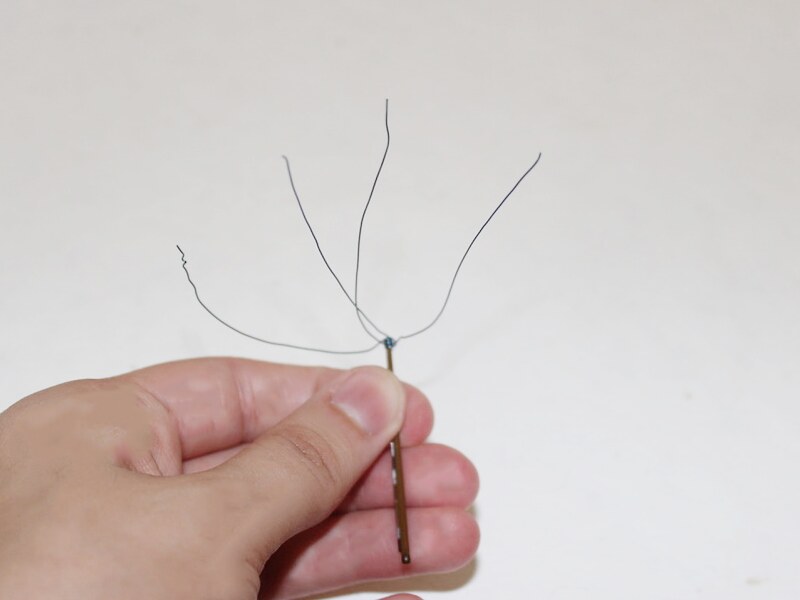
4: Add a bead to one of the ends of the wire.
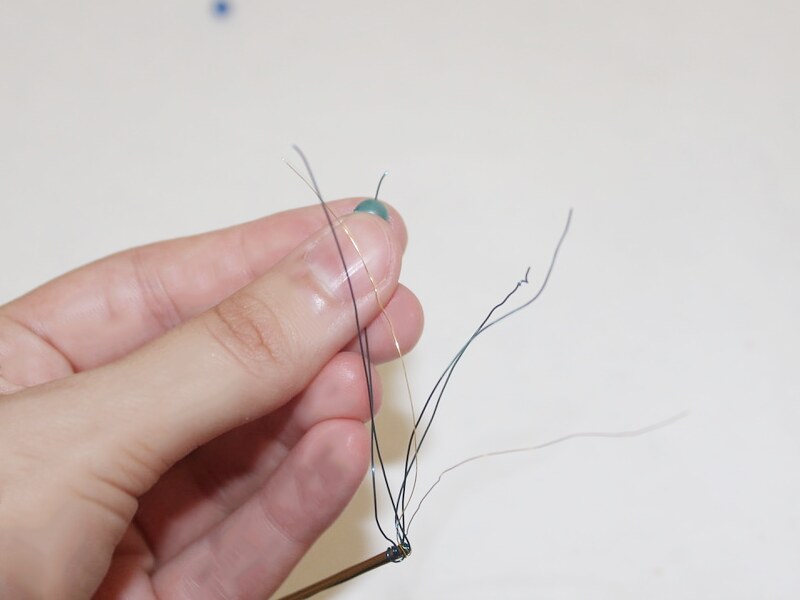
5: Wrap the wire around the bead so that it sits close to the pin.
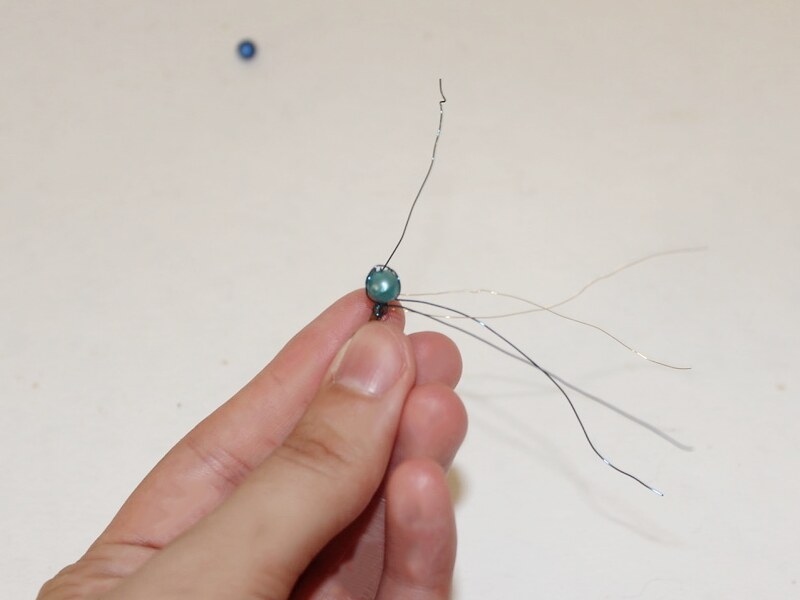
6: Repeat steps 4 and 5 until all the pieces of wire have been beaded and you have formed a cluster of beads on the bobby pin.
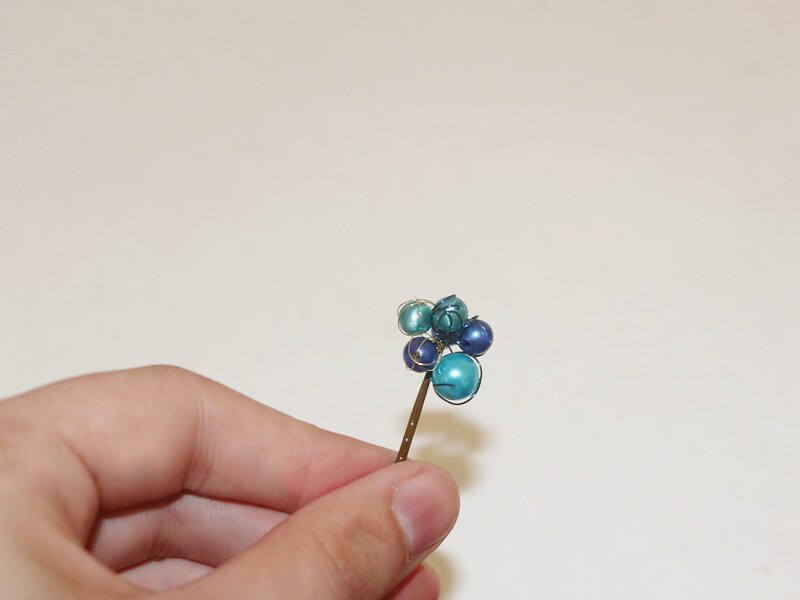
7: Add some PVA glue to the ends of the wire to secure the beads in place.
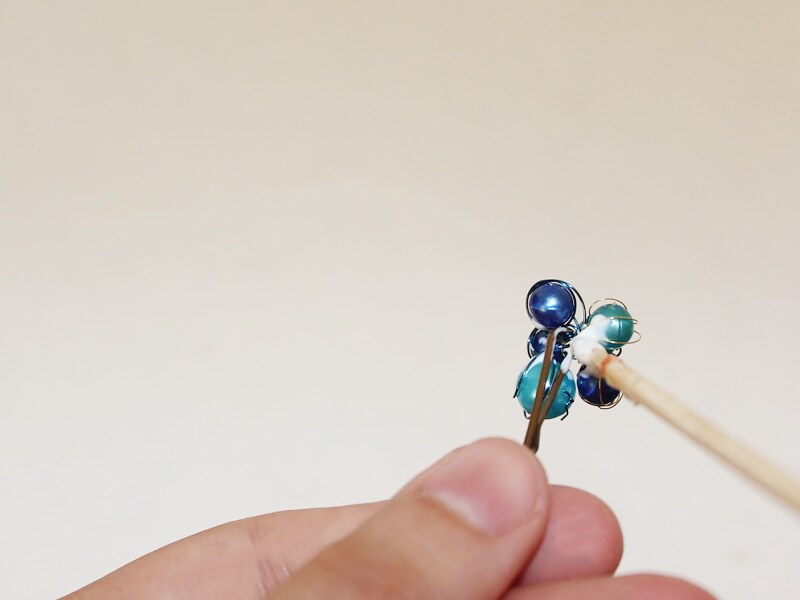
Once the glue is dry your bobby pin is finished and ready to wear!
-
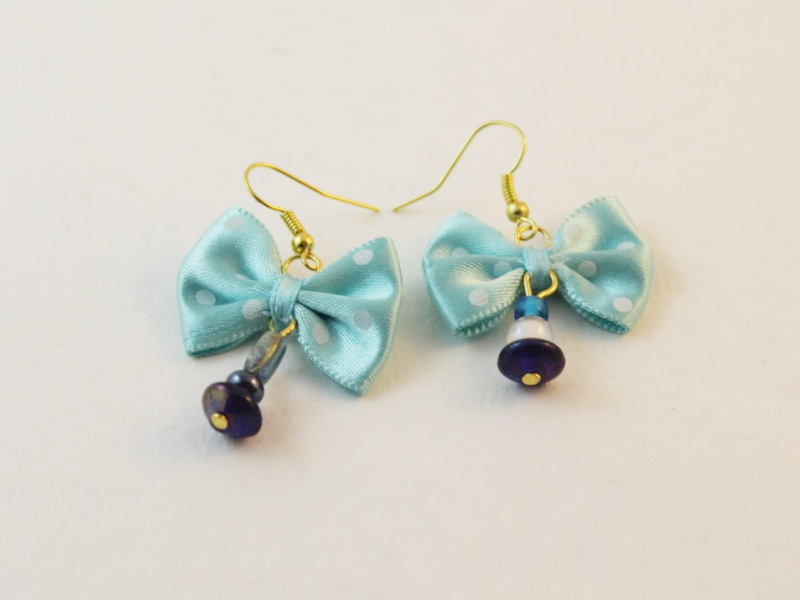
Seeking Some Kitschy Cute? You Need To Make These Adorable Bow Earrings!
Sometimes, there is nothing I like more than some adorable kitsch to top off my outfit. These earrings are SUPER cute and very easy to make. Dangle some beautiful earrings from the bottom of some precious little bows and you’ll be looking as sweet as can be.
You will need the following tools and materials to make these cutie pie bow earrings:
1:Pliers. You will need your round nose pliers and cutting pliers to make these bow earrings.
2: Two pre-made fabric bows.

Here are some bows to purchase to make your own lovely bow and bead earrings.
3: Two earring hooks.
You can grab a whole load of earring hooks to create with right here:
4: Two jump rings.

5: Two head pins.

6: Beads of your choice. I chose from this assortment of blue and clear glass beads.

Feeling the blue? Get stuck into this assortment of blue glass beads:
The Steps:
1: Add your chosen beads to each of the head pins. I decided to use blue beads in different shapes for a mismatched look.

2: Bend the pins at a right angle to the beads using the round nose pliers.


3: Trim each pin approximately 1cm (0.4 inches) from the beaded section using the cutting pliers.


4: Use the round nose pliers again to create a loop at the top of each beaded pin. This loop will help to keep the beads in place and allows you to attach the bead charm to the bows.


5: Take a jump ring, open it slightly and carefully push it through the middle section of the bow.

6: Add an earring hook to the ring and secure it in place by carefully closing the jump ring using your pliers.


7: Take one of the bead charms and add it to the opposite end of the bow’s center section. You can do this by carefully it pushing the open charm loop through the middle section of the bow.

8: Close the bead charm loop again using your pliers.

9: Repeat steps 5 to 8 for the second earring. Once you’ve got the second one done your earrings are ready to wear. throw them on to add an adorable and unique element to your daily style.