-
Knitted Style: Craft Chic Bow Earrings with Our Easy Tutorial!
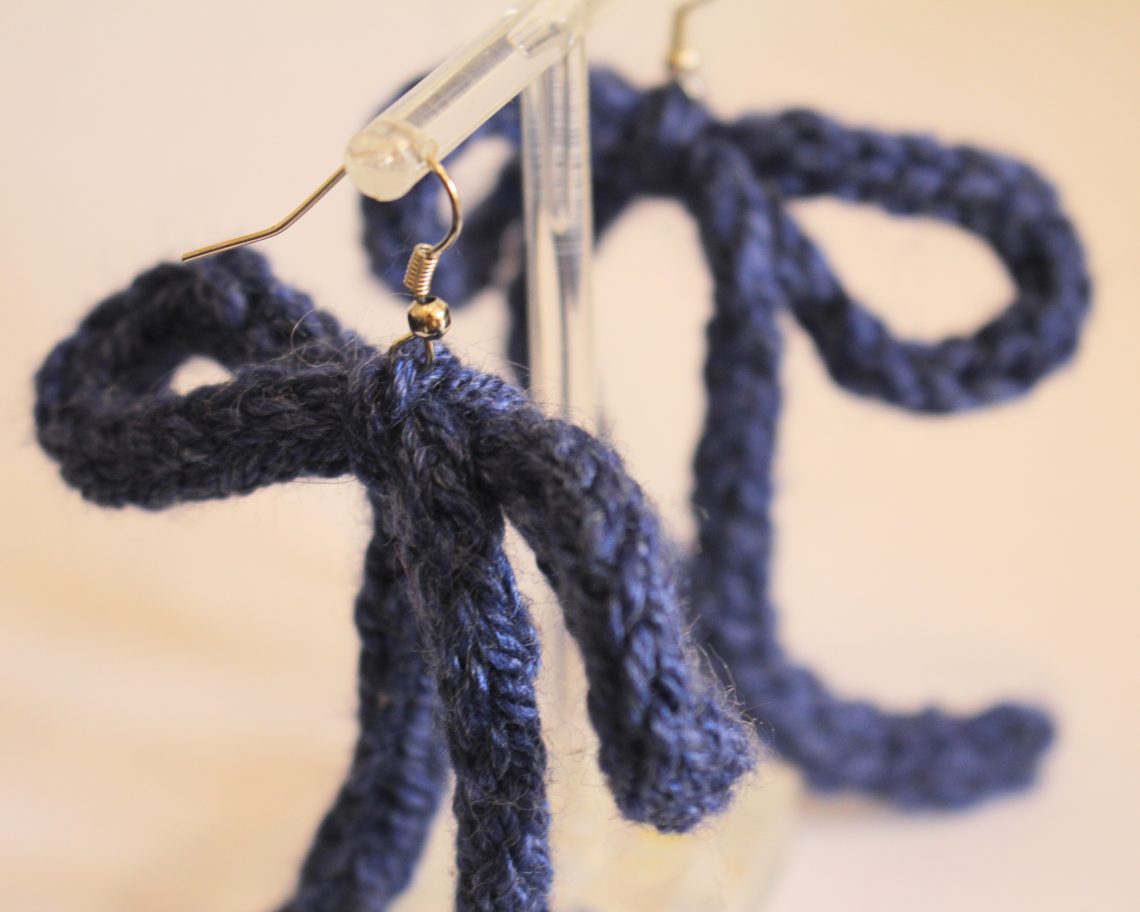
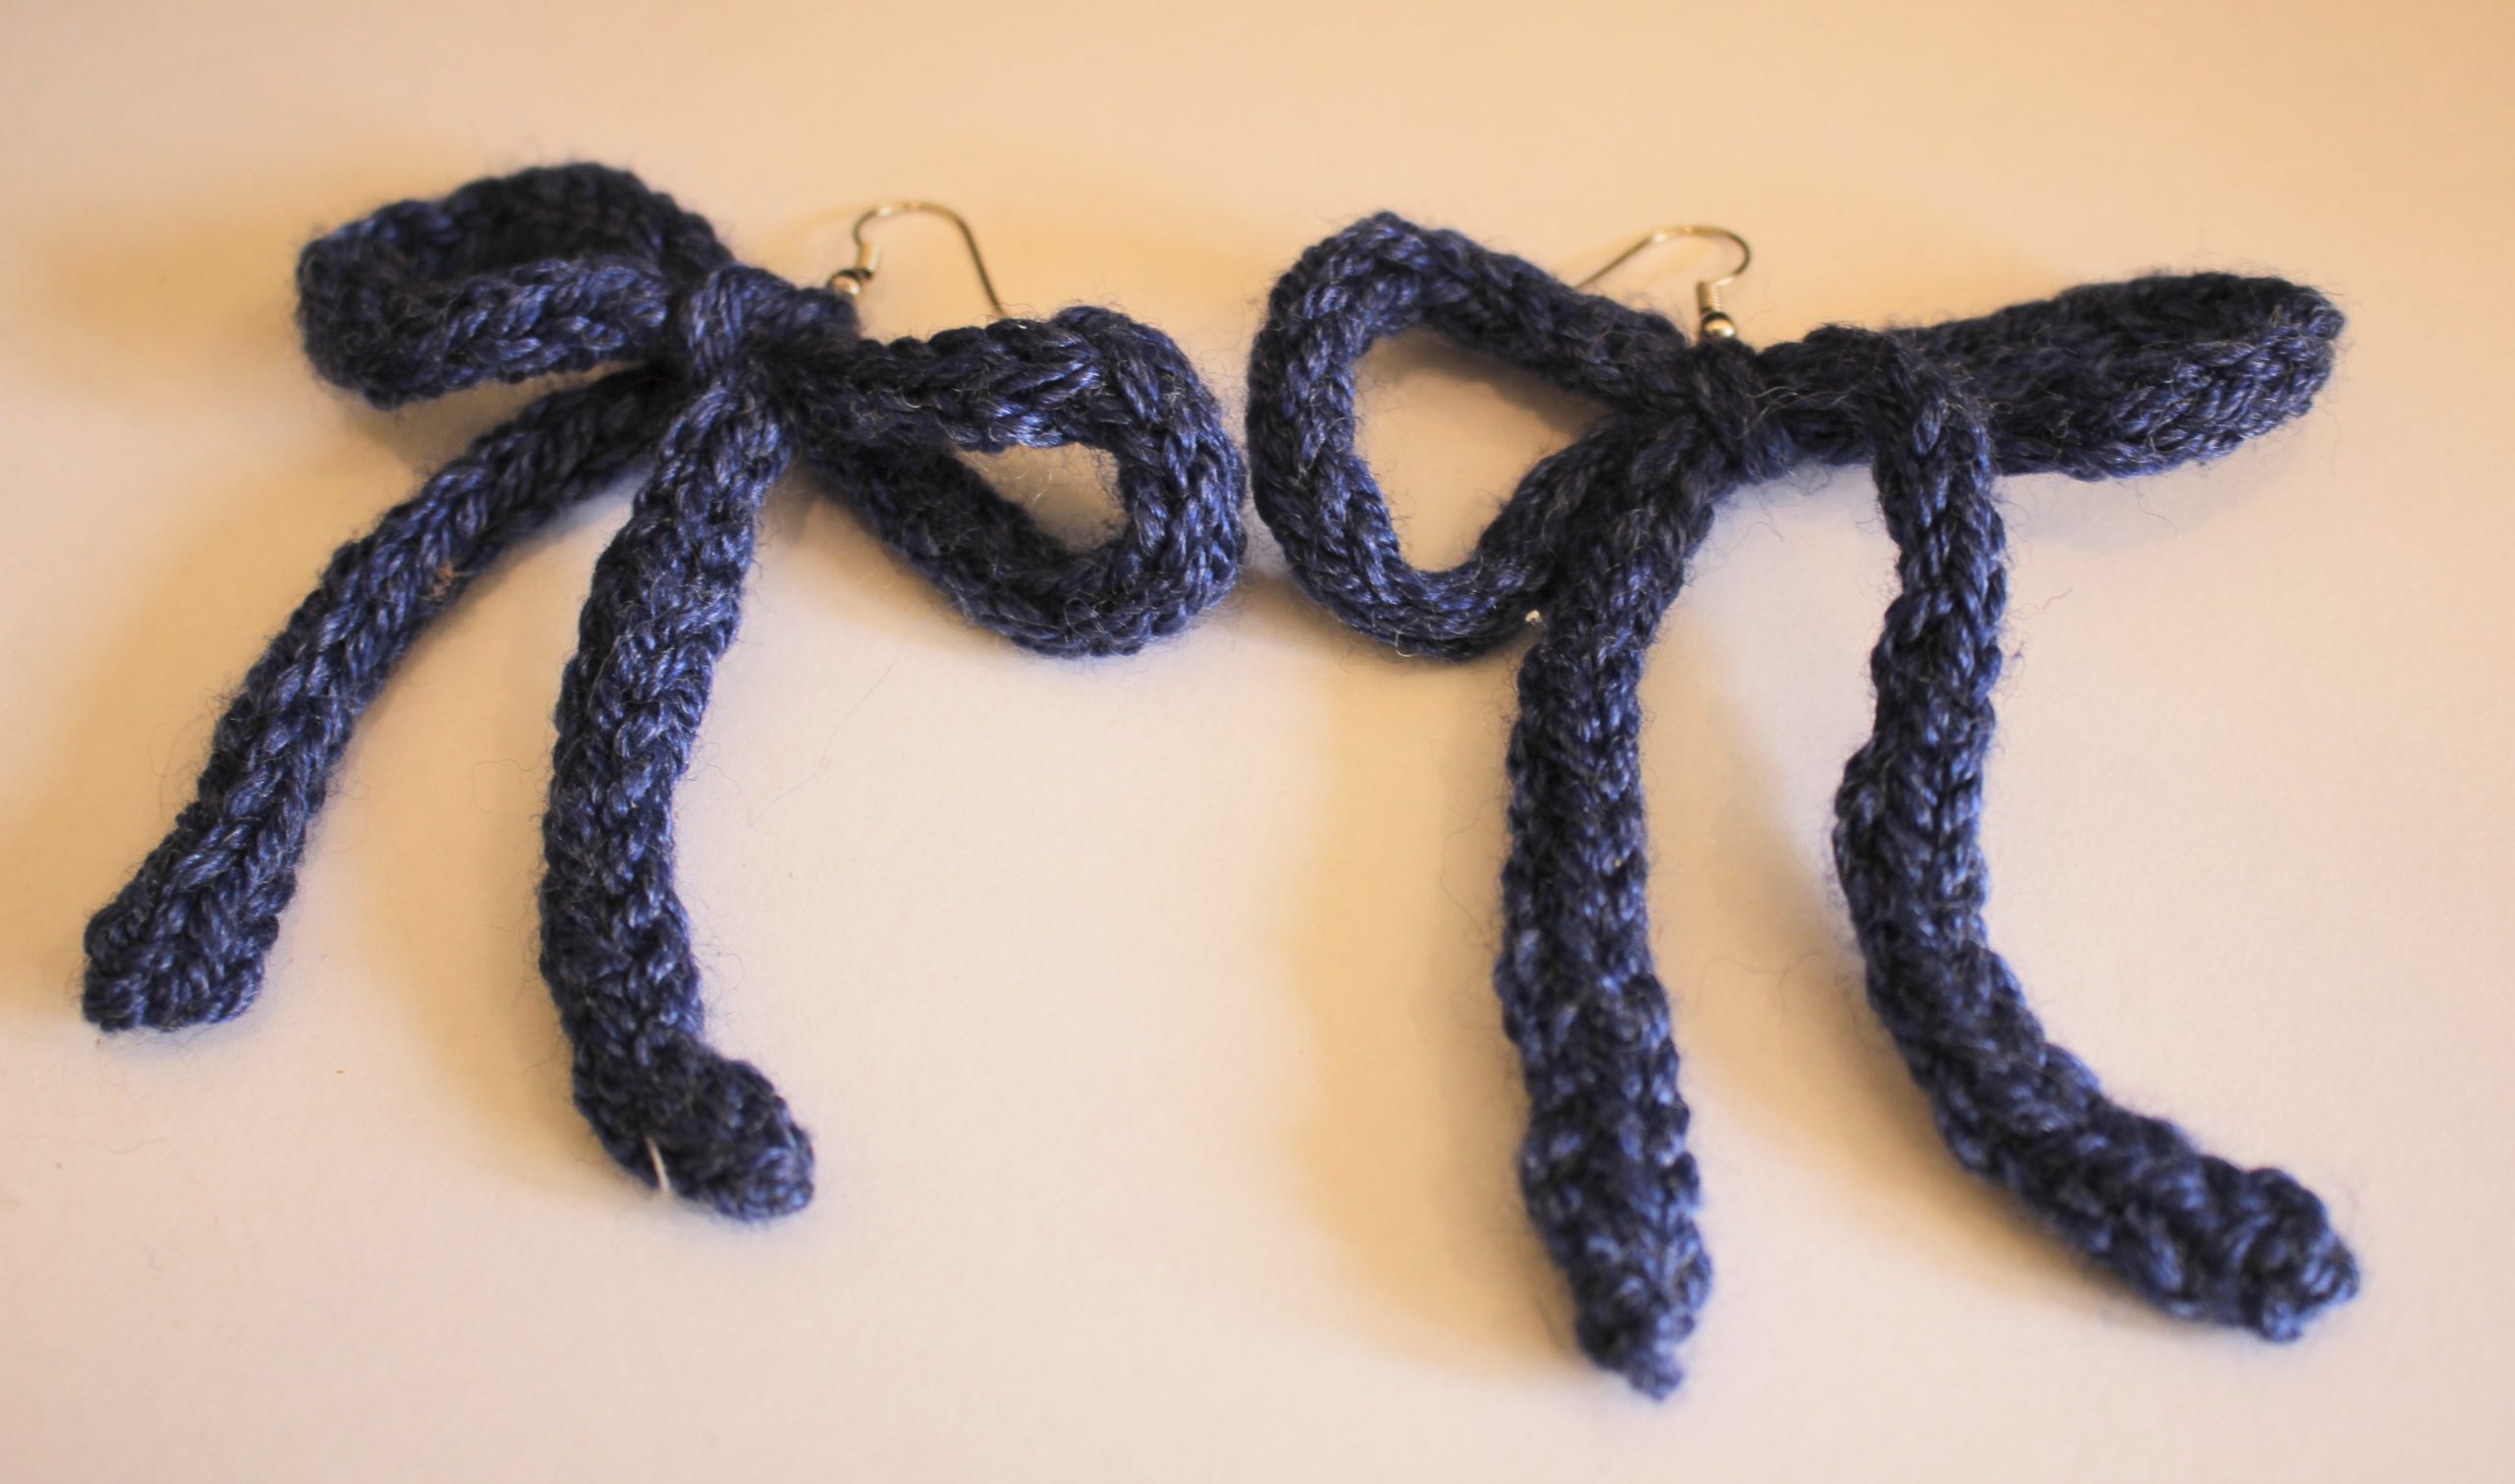
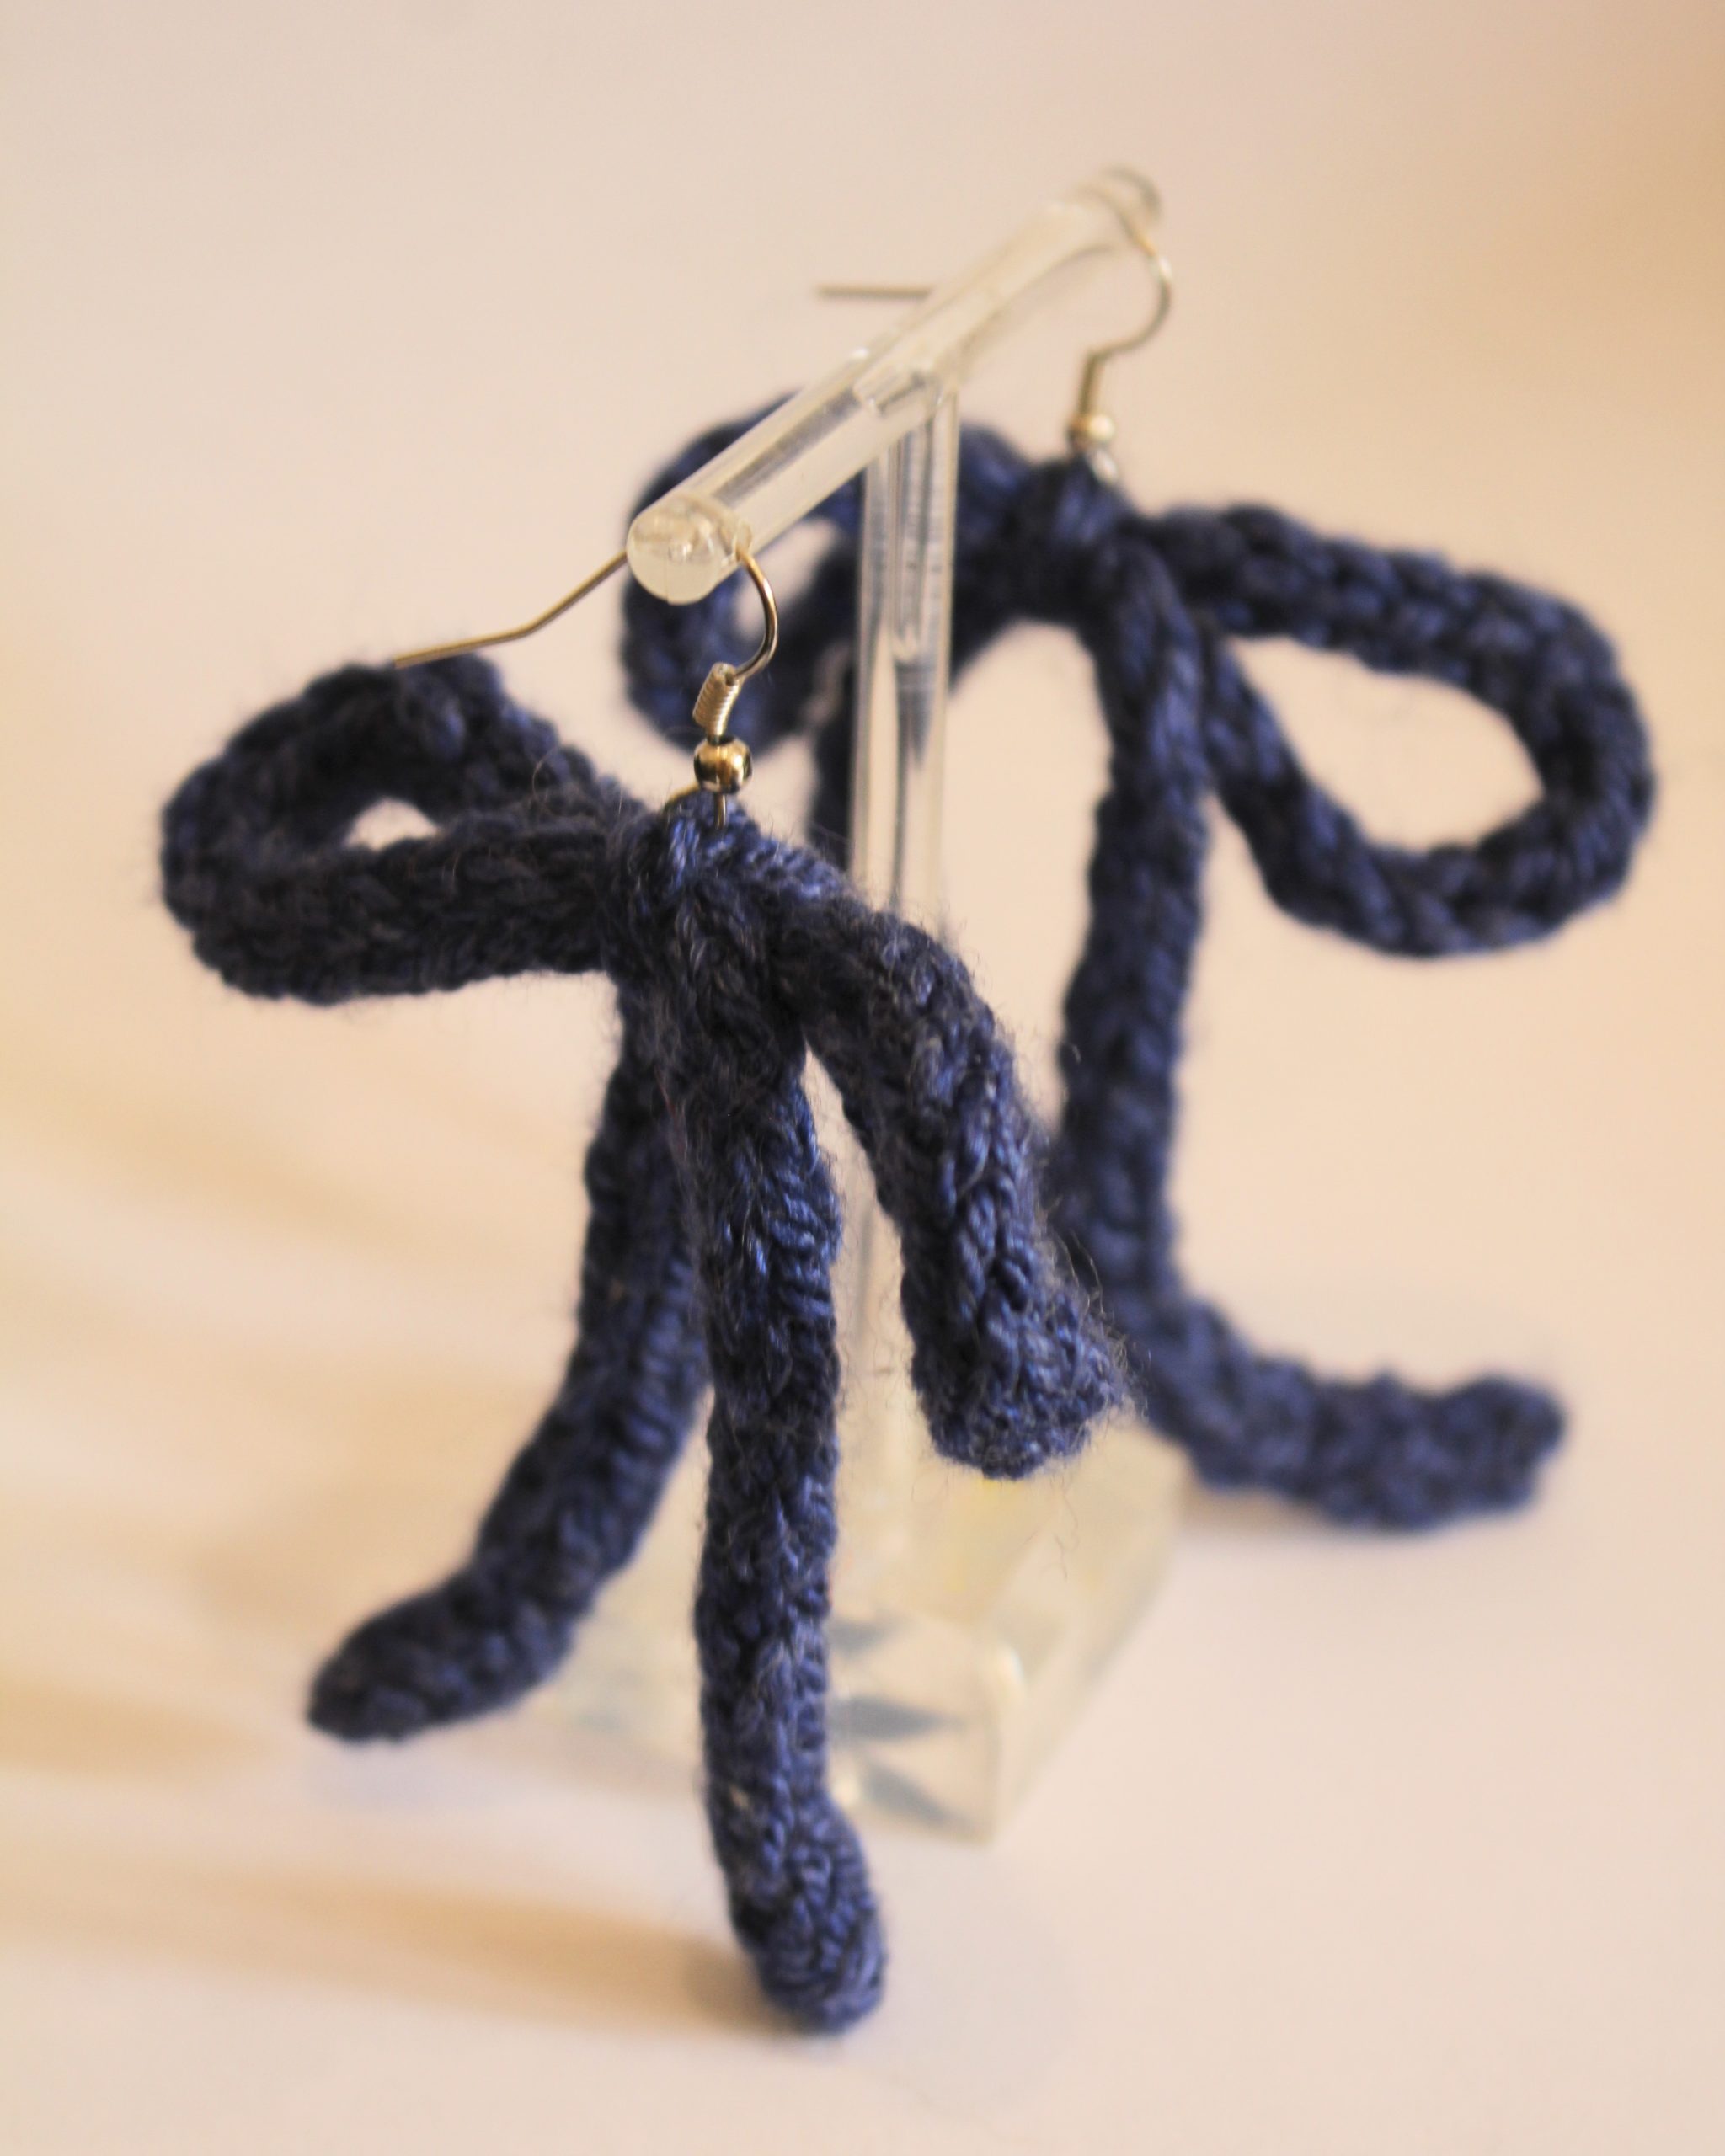
Do you love bows? This tutorial shows you how to make some gorgeous bow earrings using two pieces of knitted i-cord and some earring hooks! Simple but adorable and sweet. Is this the perfect winter earring?
Please note that this tutorial contains affiliate links.
You will need the following tools and materials to make these earrings:
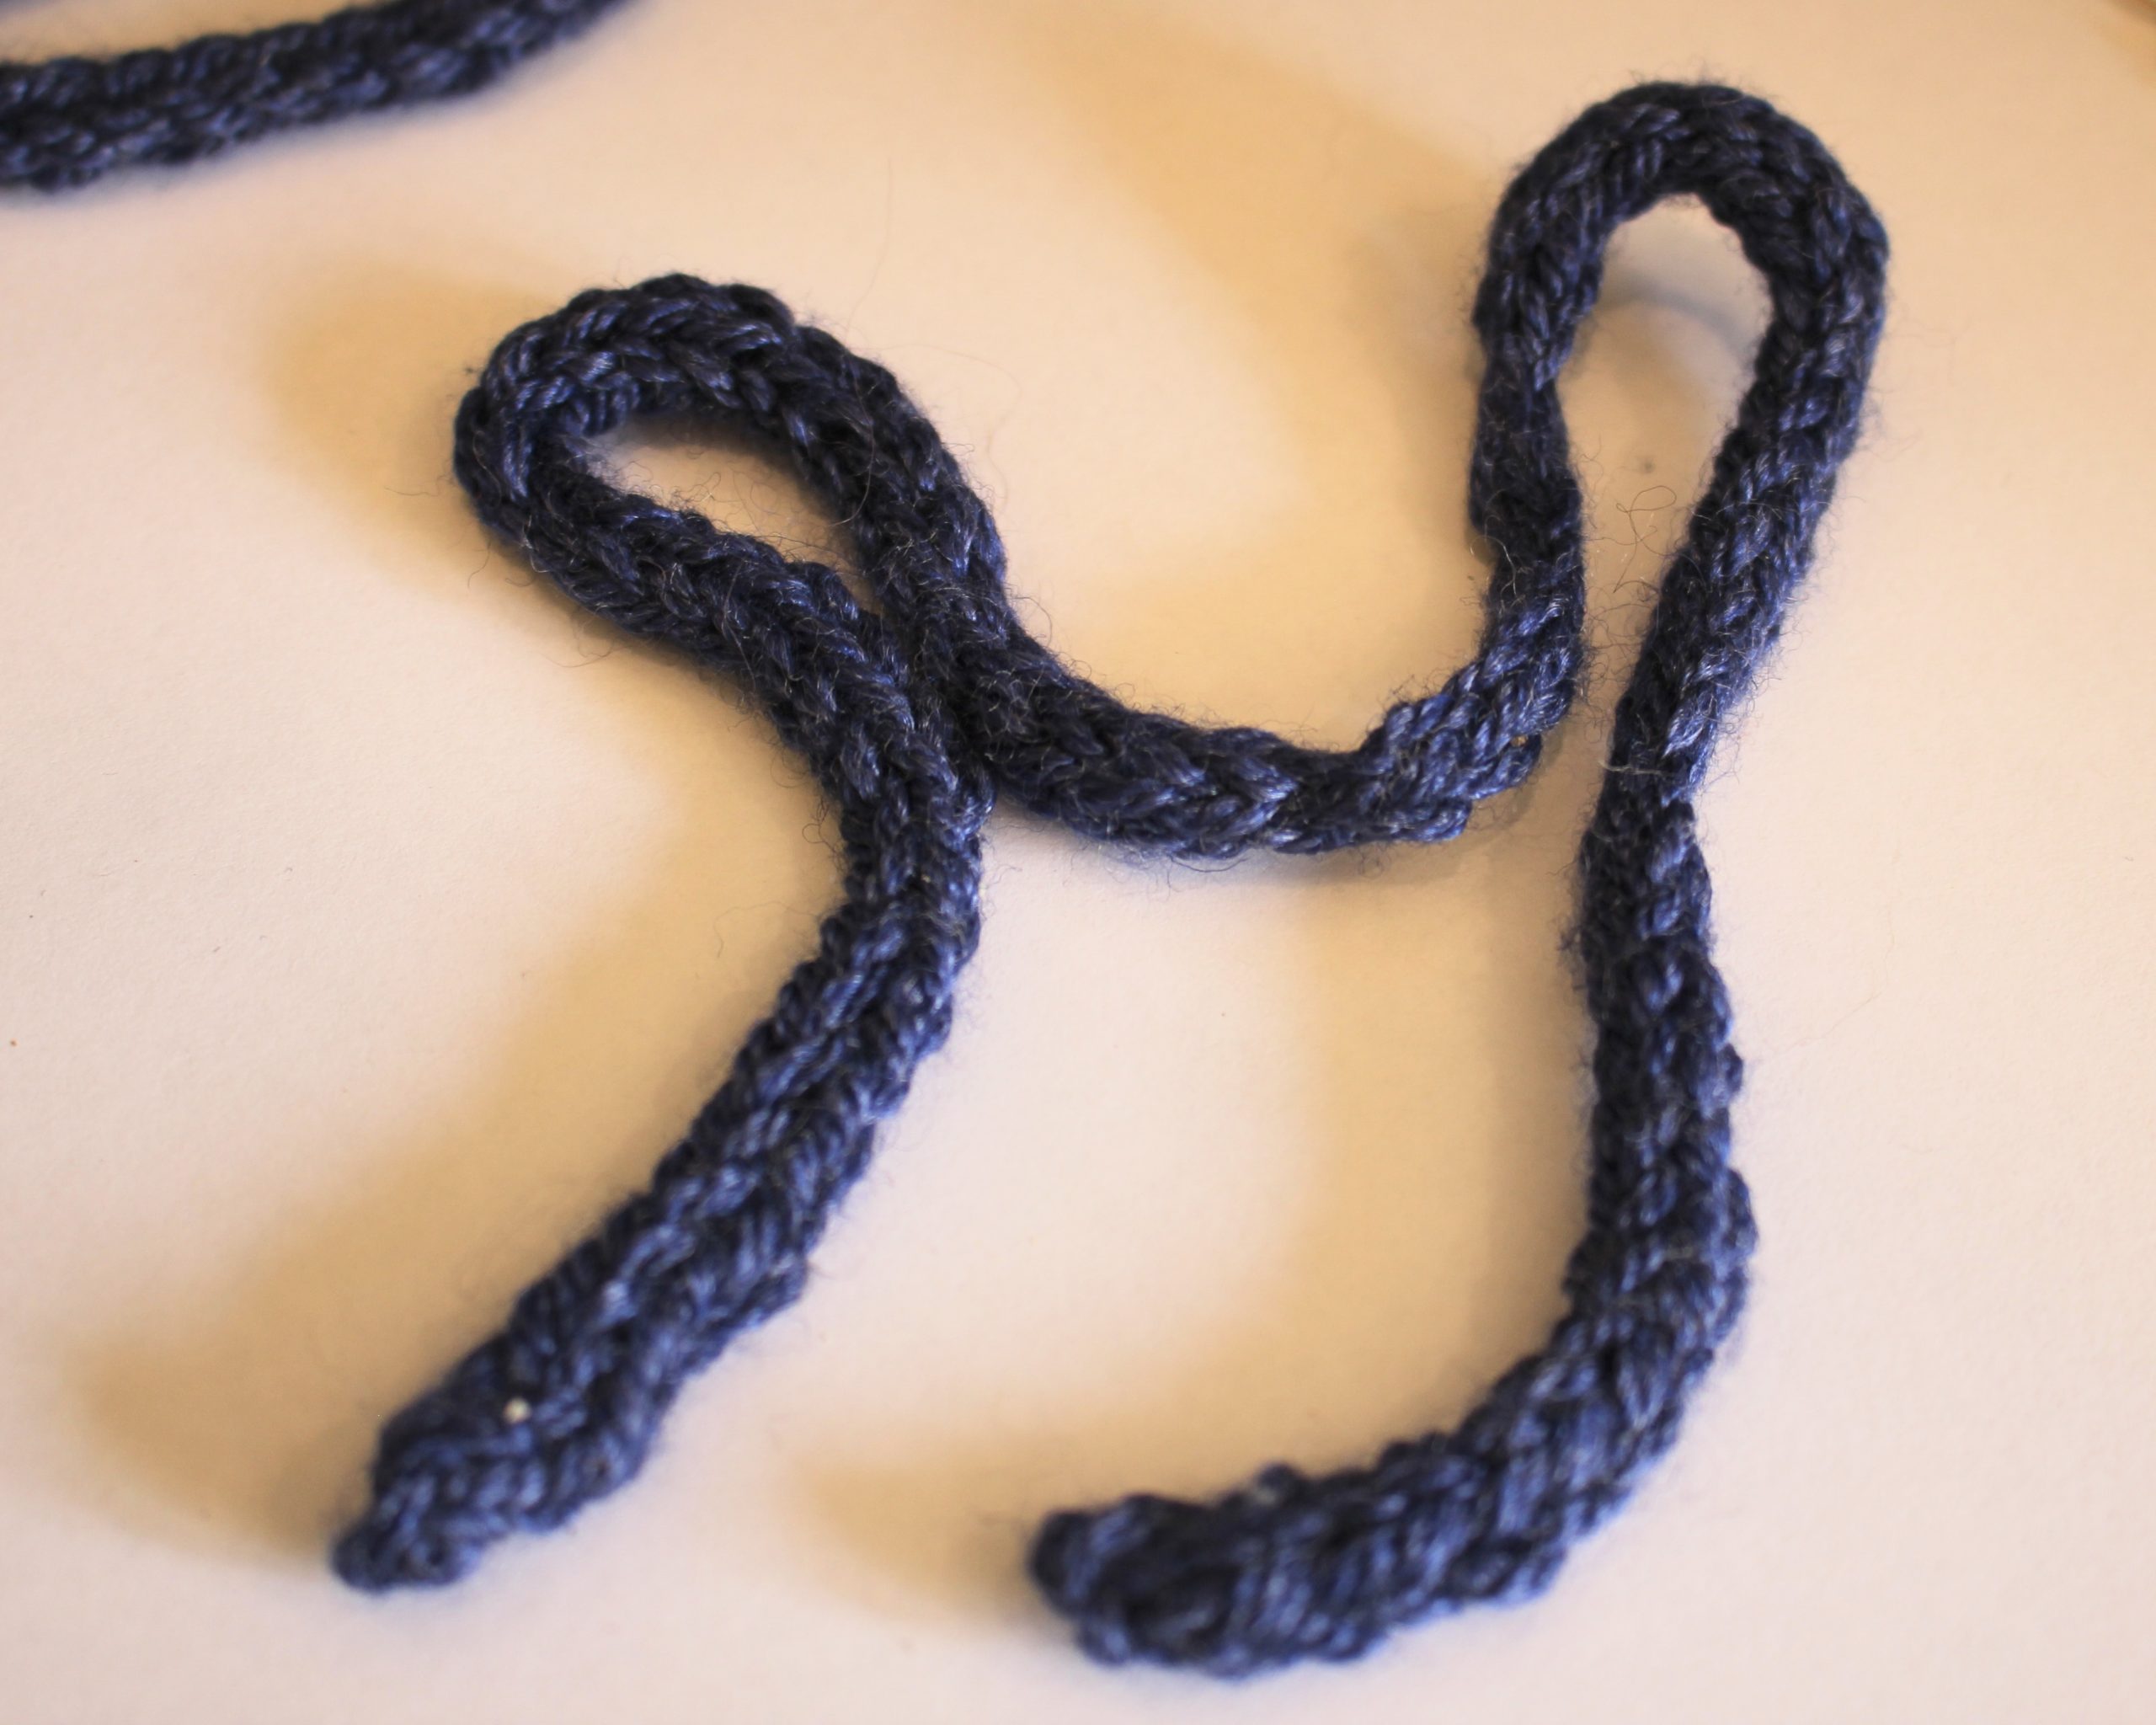
1: Two knitted i-cords about 30cm long. I used blue cords.

If you don’t want to make your own, you can get pre-made i-cord here:
If you want to make your own, you can get some similar blue yarn here:
This video shows you how to make them.
2: A pair of earring hooks.
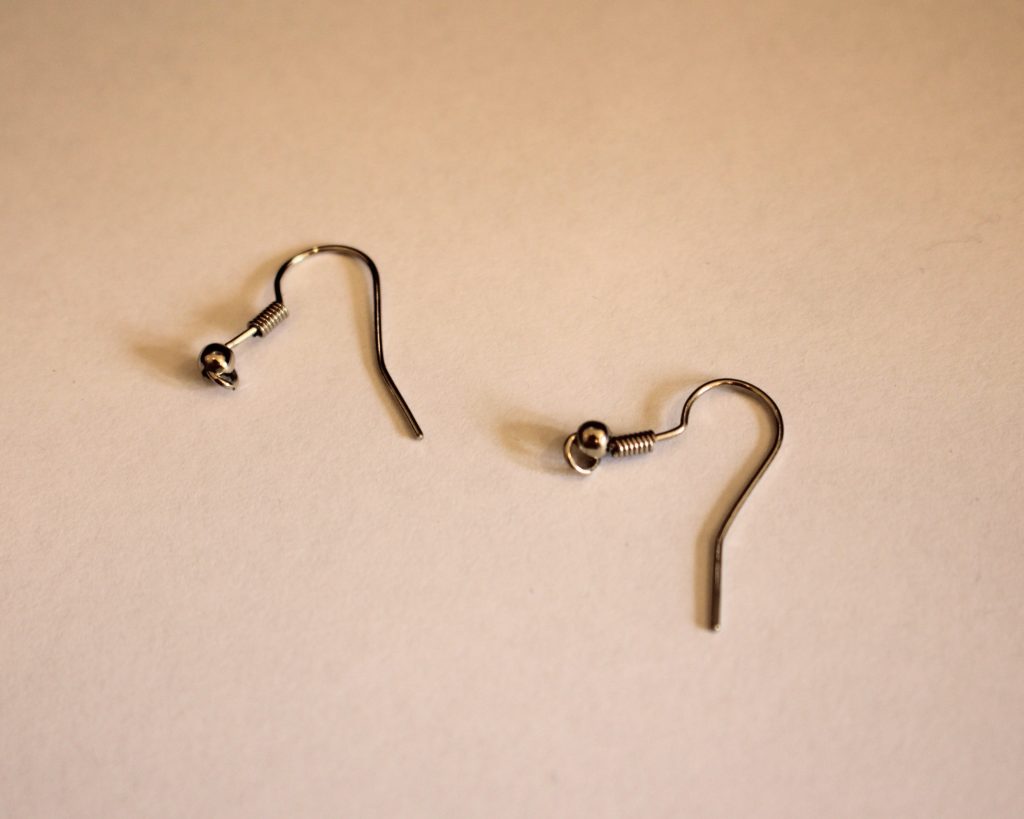
You can get some sterling silver earring hooks here:
3: A pair of pliers for opening and closing the loops at the bottom of each earring hook.

You can get some pliers here:
Follow these steps to make your earrings:
1: Form one of the cords into an M shape.

2: Take the two loops of the M and tie them around each other to form a bow.

3: Adjust the bow to the size you like.
4: Repeat for the second i-cord.

5: Take one of the earrings and push the open ring into the top of the bow so that some of the fibre strands are looped into it.

6: Close the loop using the pliers.

7: Repeat steps 5 and 6 for the second bow.

Now your have a pair of adorable dangly bow earrings! So sweet!


-
Want to upcycle an old container to store your jewels? Here’s a tutorial to show you how.
Do you ever finish a good moisturiser or yummy snack and look at the packaging and think, I could use this for something? Well I do! If you want to upcycle an old jar into a cool container to store your jewelry, follow along. Please note that this tutorial contains affiliate links.
You’ll need the following tools and materials to make your upcycled jar:
1: An empty jar. I used this glass and plastic jar that was leftover from an old moisturiser.


2: Air dry clay. I used terracotta colour clay but you can also use white.

3: A pen, rolling pin, jar or something else that is round that you can use as a rolling pin.

4: A cookie cutter shape. I used this fan shape.

5: A tub filled with water.

6: Paint brushes.

7: Acrylic paint. I used brown and red paint.

8: Paint pens.

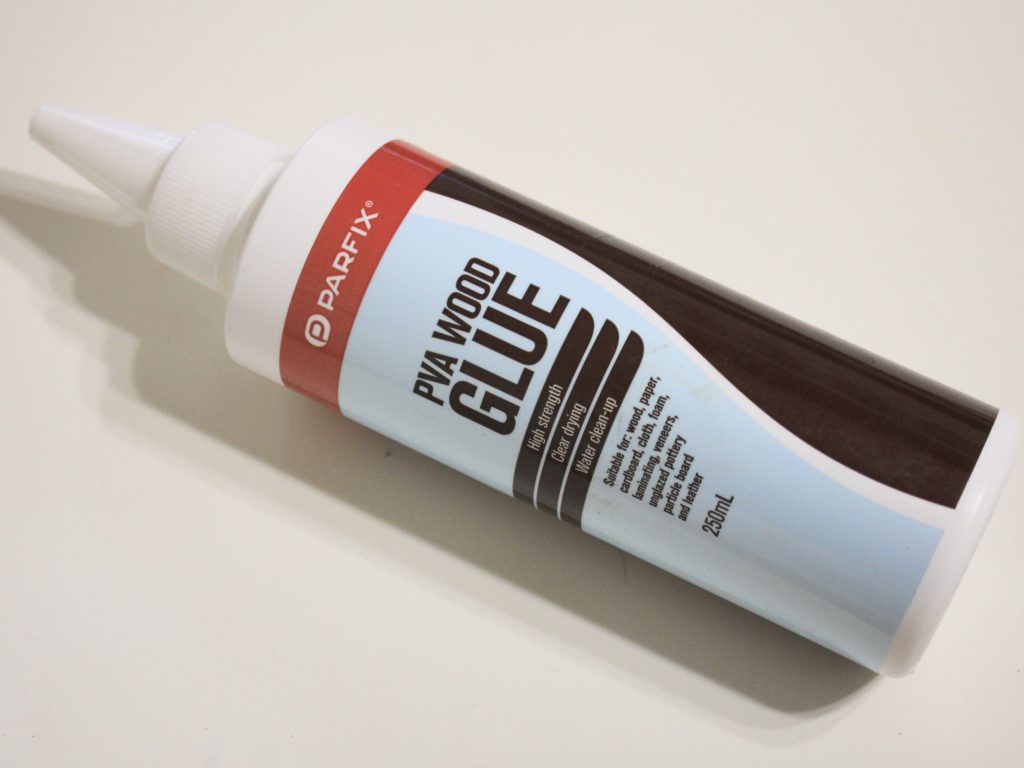
9: PVA glue.
Follow these steps to upcycle your old jar into a trinket container:
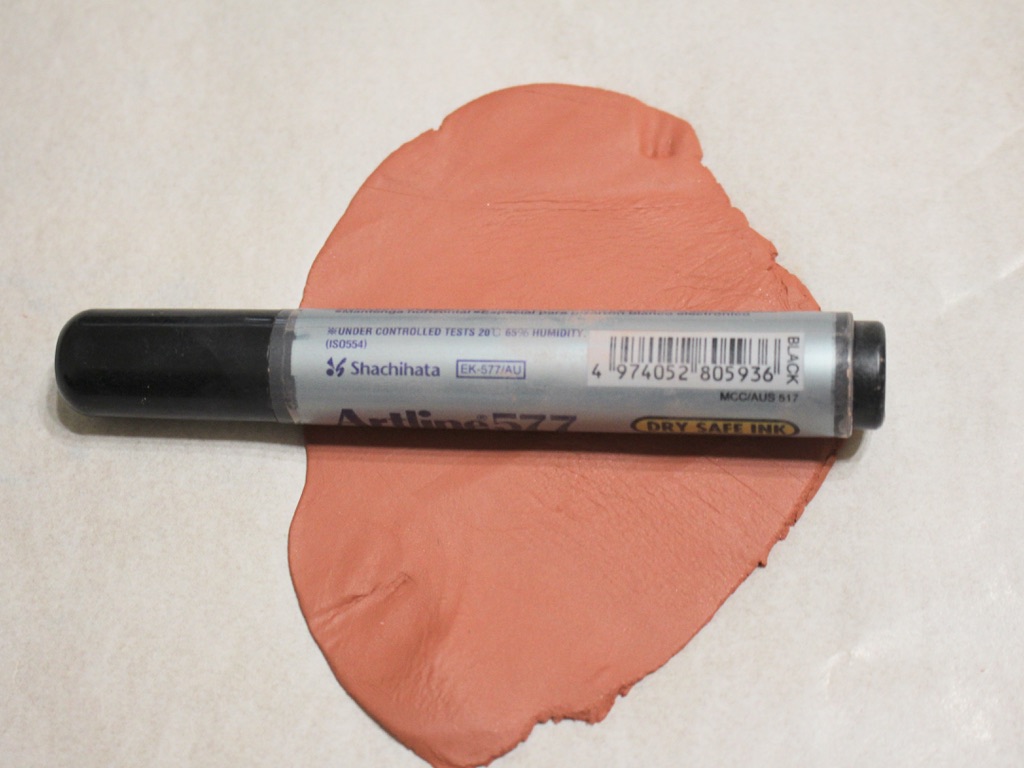
1: Take a lump of clay and roll it out flat using the marker pen or rolling pin.


2: Drape the flattened clay over the lid of the jar.

3: Press the clay around the sides of the lid.

4: Pinch off the excess clay using your fingers and fill in any gaps.

5: Smooth out the clay using wet fingers.

6: Flatten the excess clay again and cut out a shape using your cookie cutter.


7: Add some texture to the clay on the top of the jar and one side of the shape.

8: Press the two pieces of clay together.

9: Smooth out the clay again using wet fingers.
10: Set the lid aside to dry.
11: As the lid dries, some cracks might occur. Fill in any cracks using some extra air dry clay. Wait for it to dry before adding the paint.

12: Once the clay is fully dry, add some acrylic paint to the surface, do a couple of layers for good coverage.


13: Add extra decoration using paint pens if you like. I used a pastel red paint pen.

14: Add a layer of PVA glue over the painted surface to seal it. Once the glue is dry, the lid is finished and your upcycled jar is ready to be used.


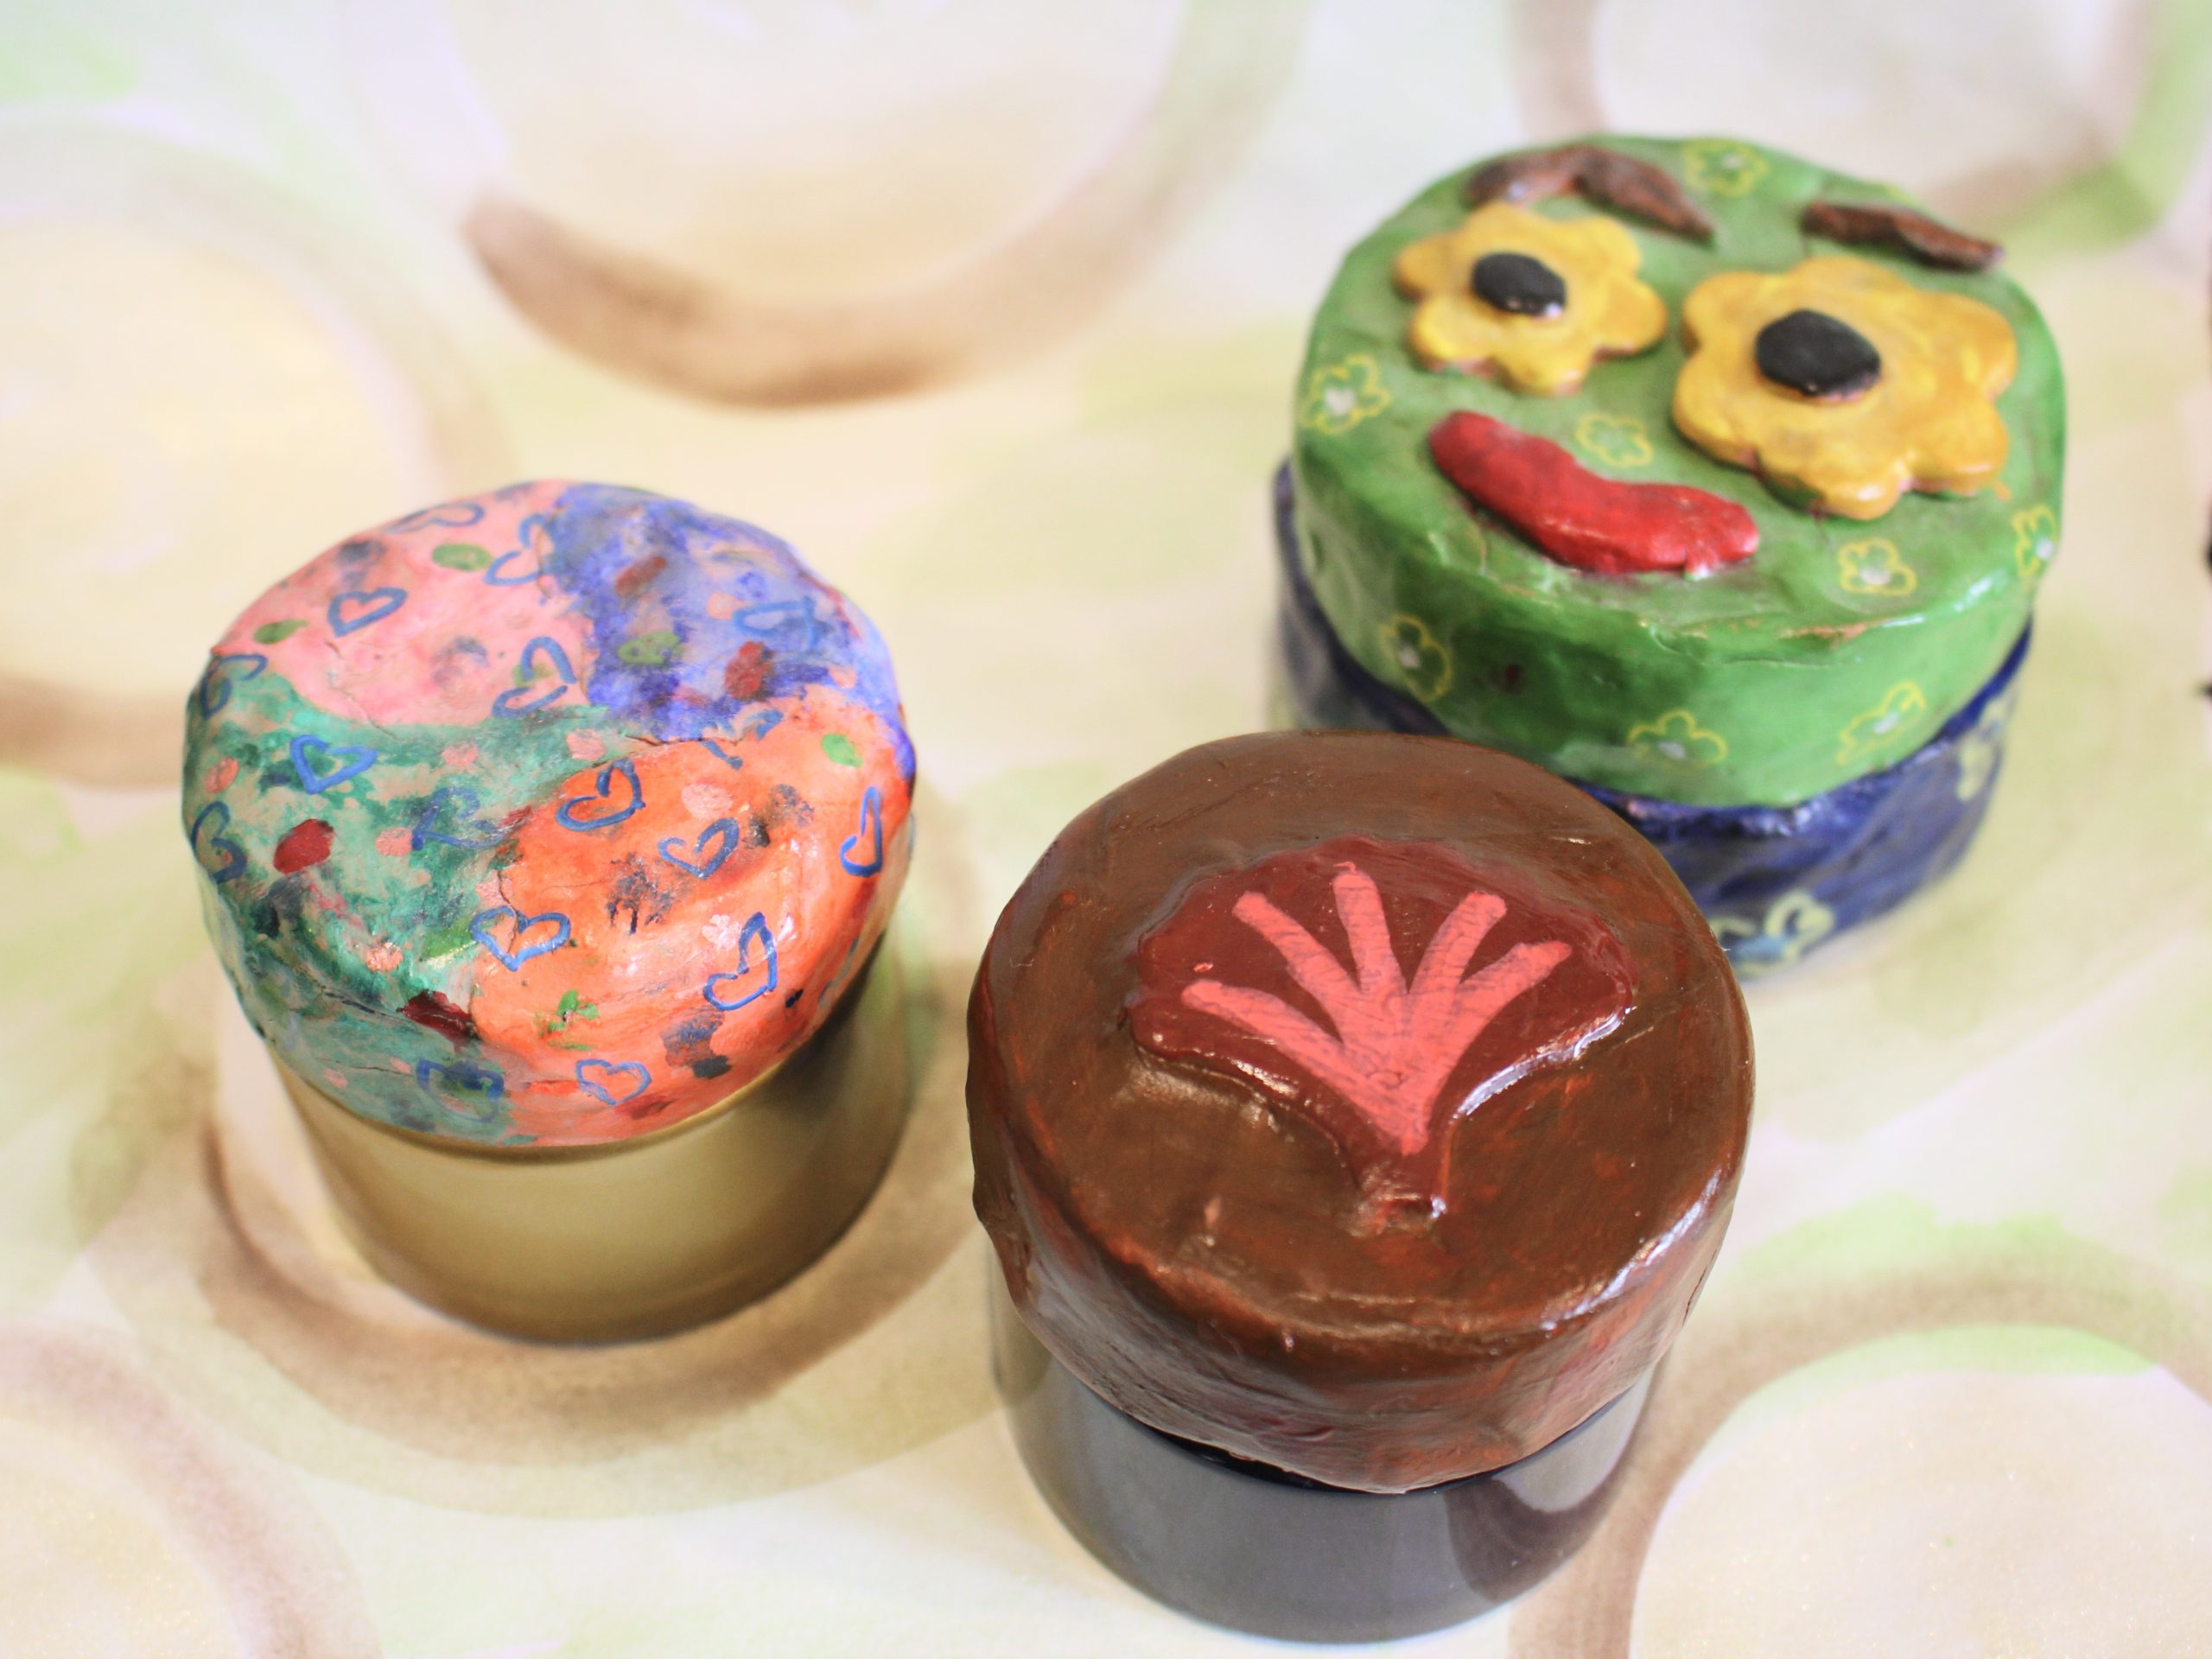
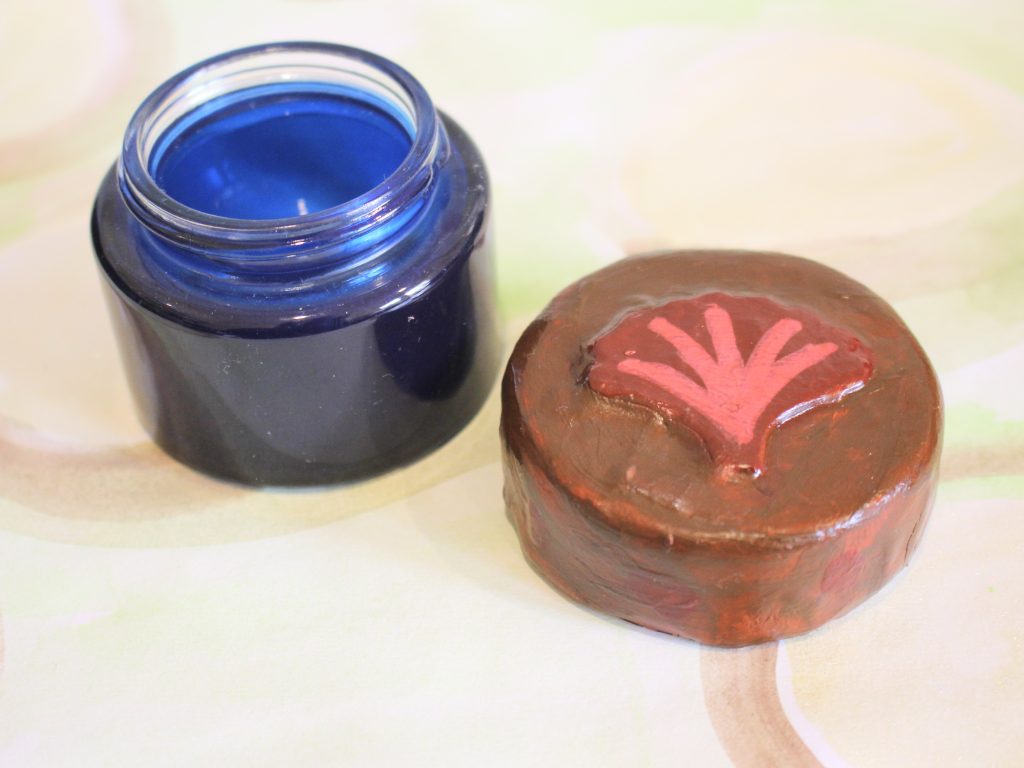
Here is the finished jar with some other upcycled jar designs I made previously. How cute! These jars are great for storing silver jewelry to protect it from oxidisation.

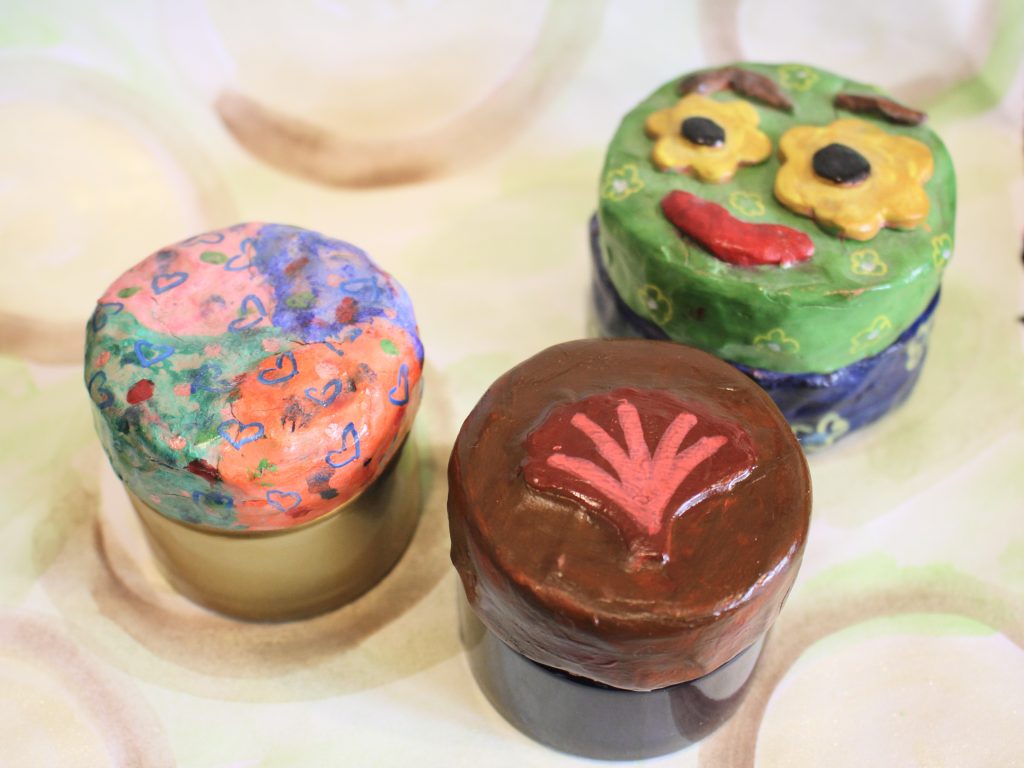

If you’re looking for more DIY jewelry storage options, check out these tutorials:
-
Looking for fun ways to store your jewelry? Why not make a cute little ring dish?
I love having my jewelry out on display so I can admire it even when I’m not wearing it. I usually keep my special pieces in little bowls and dishes so they can add some sparkle to my home. This tutorial shows you how to make an adorable trinket dish using air dry clay. Please note that this tutorial contains affiliate links.
You’ll need these tools and materials to make your trinket dish:
1: Air dry clay. I used terracotta colour but you can also use white clay if you prefer. White clay will give a base for more vibrant paint colours when you come to decorate your designs.
2: A dish filled with water. This allows you to smooth out the clay.
3: A pen or something else round like a bottle, or a mini rolling pin for rolling out your clay. I used a marker pen.
4: Paint. I used some pink acrylic paint, you can use any colour you like.
5: Paint markers. I used a metallic blue paint marker.
6: Some PVA glue for adding a shiny top coat to the dish.
7: Paint brushes.
Follow these steps to make your adorable trinket dish.
1: Grab a chunk of clay.

3: Roll it out flat, trying to keep it in a circular shape. Keep the thickness of the clay consistent by using a rolling pin or something similar to flatten the clay.


4: Take one side of the clay circle and pinch it. This will form a fold in the clay and start to form a bowl shape.

5: Pinch the other side of the clay to finish forming the bowl shape.


6: Dip your finger in water and use it to smooth out the edges of the bowl.


7: Set the bowl aside to dry, depending on how dry the air is where you live, this could take a few hours to a couple of days. I accidentally left mine in the rain so it took a little longer to dry!

8: Once your bowl is dry, you can add paint. I painted mine with pink acrylic paint. I suggest doing a couple of coats of paint, waiting to do the inside and the outside so that the paint doesn’t smudge while its drying.


9: Once you are happy with your paint coverage, add extra decoration using paint markers. I added metallic blue dots to mind.


10: Coat the bowl with PVA glue to give it a glossy topcoat that also protects the clay from moisture.


Now your trinket bowl is finished and ready to use! Here’s mine with some silver rings inside.


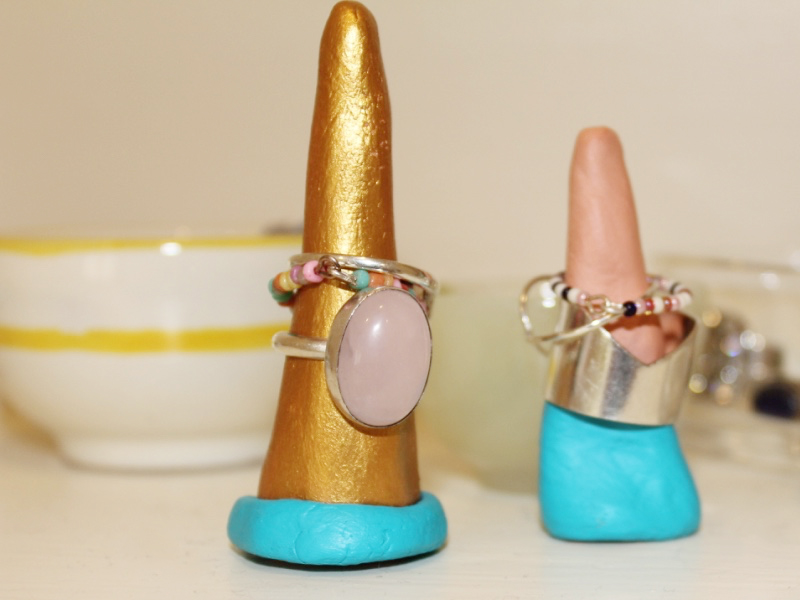
If you liked this tutorial, you can also learn how to make a ring stand out of air dry clay here.
Here are some other air dry clay tutorials you can follow:
-
Here’s how to make a sweet daisy chain necklace using tiger tail wire!
Daisy chains are a classic beaded jewellery technique, and they look amazing! Here’s how to make one using some tiger tail wire and a selection of glass beads. Please note that this tutorial contains affiliate links.
You’ll need these tools and materials to make this daisy chain necklace:
1: A length of tiger tail wire, you’ll need quite a lot as the daisy chain technique uses some extra wire. I cut mine about 4x the length I wanted for my necklace, approximately 1.5m long. I suggest using your best guess rather than taking an exact measurement.

2: Some beads. I used a variety of glass beads including recycled orange e-beads, some gold tone beads and some blue seed beads.

Blue seed beads: https://amzn.to/3S8agp8
3: Four crimp beads.

4: A clasp and jump ring. I used a gold-filled parrot clasp.

5: Pliers. I used cutting pliers, round nose pliers and cutting pliers to finish my necklace.

Follow these steps to make your beaded daisy chain necklace:
1: Add two crimp beads and the clasp to the end of the wire.


2: Fold the wire around the clasp and back through the crimps.

3: Squash the crimp beads to secure the clasp to the end of the wire.


4: Begin adding beads. I made mine a pattern of blue beads and orange flowers so started by adding 15 blue seed beads.

5: Add six beads for your first flower.
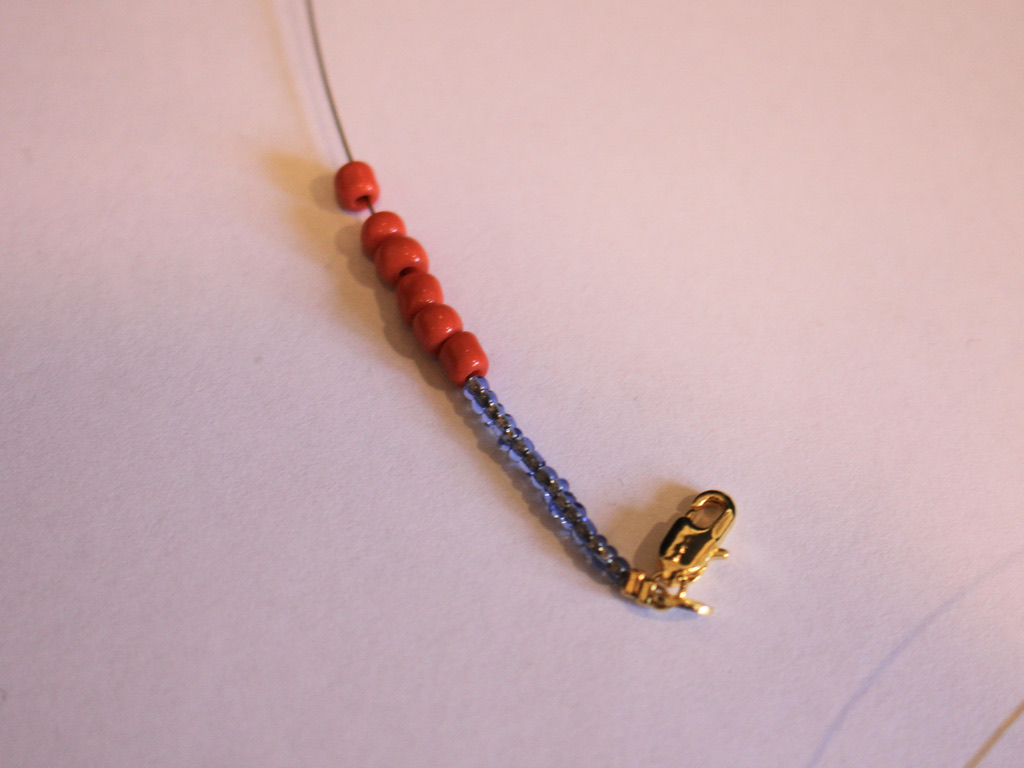
6: Take the end of the wire and thread it through the first flower bead to form a circle shape.


7: Pull the wire tight and add another bead to make the centre of the flower, I used my gold e-bead.

8: Put the bead in the middle of the circle and then thread the end of the wire though a flower bead directly opposite the first one you threaded it through to make the flower. This will keep the middle bead in place at the centre of the flower.


9: Repeat steps 4 to 8 to create a pattern of beads and flowers until you have a length you like and that is comfortable for a necklace.


10: Once you have reached your desired length, add the remaining crimp beads to the wire.


11: Add the jump ring to the end of the wire as well.
12: Loop the wire around the jump ring and back through the crimps and beads at the end, then pull the wire tight.

13: Squash the crimps using the flat nose pliers.

14: Trim the excess wire using your cutting pliers.

Now your necklace is finished and ready to wear! Whats colours will you make yours in?


If you love making flowers out of beads, here are some more floral tutorials for you.
-
How to add cute square charms to a pair of hoop earrings!
These hoop earrings are really cute! Each hoop has a little dangly beaded square charm which moves prettily as you wear them! This is a really special way to upgrade a basic hoop finding. Please note that this tutorial contains affiliate links.
Grab these tools and materials to make your earrings:
1: A pair of hoop findings.

2: Eight eye pins.

3: Four head pins.

4: Four small jump rings.

5: Four large jump rings.

6: Glass beads. I used yellow glass e-beads.

7: Some accent beads, I used four blue seed beads and four silver-tone beads.


8: Pliers. I used my flat nose and round nose pliers for this pair of earrings.


Follow these steps to make your elevated hoop earrings:
1: Add beads to one of the eye pins.

2: Bend the end of the pin to form an angle.

3: Curl the end of the pin around the round nose pliers to make a loop. This secures the beads in place.


4: Repeat steps 1-3 for the remaining seven eye pins. Now you will have eight beaded pins.

5: Take four of the pins and join them together to form a chain.


6: Do this again for the second set of pins.

7: Attach the ends of each chain together to make a square shape.


8: Set the two squares aside.
9: Add two of the accent beads to the head pins.


10: Wrap the end of the pin around the round nose pliers to create a loop.


11: Repeat steps 9 and 10 for the other three pins, using up the rest of the beads.

12: Attach two of the charms you just made to the bottom corners of each of the squares using the small jump rings.


13: Add the larger jump rings to the top corners of the squares.


14: Using the larger jump rings, slide a charm onto each of the hoops.


Now your elevated hoop earrings are finished and ready to wear! How fun is this design? I love how they move and wiggle as I wear them!

Here are some other ways you can incorporate beaded squares into your jewelry:
-
How to make a cute statement necklace with cord!
This cute necklace features a beaded ladder pendant threaded onto a recycled cord necklace. This is a cool way to use recycled materials and make a cool pendant that stands out from the usual jewellery you see! Please note that this tutorial contains affiliate links.
You’ll need these tools and materials to make your cord statement necklace:
1: Some eye pins. The number depends on how many ‘rungs’ you want to make. I used 10.

2: Two head pins.

3: A piece of cord. I used this one that I had already attached some crimp ends and a clasp to. If you don’t have one already made up, you’ll also need two flat crimp ends, two jump rings and a lobster clasp.

4: A couple of large jump rings.

5: Some beads. I used these green e beads and some glass floral beads. I had to use an extra e-bead on one of the charms because the bead hole was bigger than the end of the head pin. You won’t need this extra bead if you’re pins are the right size!


6: Pliers. I used my flat nose and round nose pliers. Keep your cutting pliers on hand just in case.
Follow these steps to make your cord statement necklace:
1: Add the glass beads to the head pins.

2: Bend the pins to form a right angle and then loop the tops to secure the beads in place.


3: Set the charms aside.
4: Add beads to one of the eye pins, leave about 1cm without beads.

5: Bend the end of the pin to form a loop which will secure the beads in place.


6: Repeat steps 4 and 5 for the rest of the eye pins, so you have ten pins beaded.

7: Attach two of the pins together, do this by slightly opening one of the loops and sliding the other pin through. Close the loop again to secure them together.

8: Repeat step 8 to attach another two pins so that you have a chain of four pins.

9: Take the ends of the chain and attach them together to form a square shape.

10: Attach another three pins together.


11: Attach the three pins to the bottom of the first square you made. This will form the second square.


12: Repeat steps 10 and 11 for the remaining three pins, now you will have a ladder shape with three rungs.


13: Take the charms you made at the start and attach each one to the bottom corners of the ladder.


14: Add a jump ring to each corner of the top of the ladder.


15: Now slide the ladder charm onto the cord necklace.

Now your necklace is finished and ready to wear! So so unique and cute! I think this is a great summer piece perfect for your boho hippie look!


-
Here’s another way you can use memory wire to make jewelry…
Did you like our D-shaped earrings tutorial? Well here is how you can use a similar technique to make a beaded D-shaped pendant. This design includes a beaded chain accent as well. I really like this design and have made a few versions of it! Maybe you’ve seen some on my Instagram, @hfgjewelsbalmain ?
This tutorial contains affiliate links.
You’ll need these tools and materials to make this D-shaped beaded pendant necklace:
1: Pliers. I used cutting pliers, flat nose pliers and round nose pliers.
2: Half a coil of bracelet length memory wire.

3: One long eye pin.

4: Two pieces of chain.

5: A lobster clasp.

6: Six small eye pins.

7: A couple of jump rings.

8: Beads. I used six shiny blue plastic beads and a selection of pastel-tone glass seed beads.


Now here are all the steps to follow to make your D-shaped beaded pendant:
1: Add the blue beads to each of the small eye pins.


2: Create loops at the top of each pin to secure the beads in place.


3: Attach three of the bead charms together to form a short chain.

4: Repeat for the remaining three charms so that you have two small chains.

5: Set the bead chains aside.
6: Create a loop at one end of the memory wire.


7: Add the beads to the memory wire until there is only 1cm left without beads.


8: Create another loop at the other end of the memory wire to secure the beads on.


9: Add beads to the long eye pin and create a loop at the other end as you did with the memory wire.


10: Attach either end of the long eye pin to the loops at the end of the memory wire to form the D shape.


11: Attach each of the bead chains to either side of the D charm.


12: Attach a piece of chain to each of the bead chains to form the full length necklace chain.


13: Attach a lobster clasp to one side of the necklace using one of the jump rings.


14: Attach the other jump ring to finish the necklace.

Now it is finished and ready to wear! How will you customise this design?


Here are some other versions I have made:


This tutorial contains affiliate links.
-
Want some lightweight earrings? This ribbon design has you covered.
These lightweight earrings are really cute! Made out of beads and ribbons they’ll pack a visual punch without weighing your lobes down. They can also be made with materials you might already have at home. I don’t know about you but I have loads of ribbons that I have saved from gifts and shopping bags.

You’ll need the following tools and materials to make these lightweight ribbon earrings:
1: Pliers. You’ll need your flat nose and round nose pliers.
2: Two pieces of ribbon. I used this thin (approx 1cm wide) blue satin ribbon. Each piece was approximately 7cm long.

3: Two large jump rings.

4: Two flat end crimps.

5: Two earring hooks.

6: Two small head pins.

4: Beads. I used four green glass beads.

Follow these steps to make your lightweight ribbon earrings:
1: Fold the ribbon around so that it forms a folded loop. You can achieve this by layering the ends over each other facing the same way up.

2: Add the flat crimp to the ends of the ribbon and squash them using the flat nose pliers.


3: Add the glass beads to each of the head pins.

4: Curl the ends of the pins to secure the beads.


5: Add the beaded pins to each of the jump rings.

6: Close the jump rings around the bottom of each ribbon loop.


7: Attach each of the earring hooks to the crimps at the top of each ribbon charm.


Now your cute ribbon earrings are ready to wear!

Note: This article contains affiliate links
Here are some other ribbon earring DIYs
-
How to make a beaded chain ring. This is the cutest idea!
Do you like the look of delicate rings? This chain ring design is fun to make and even more fun to wear! This tutorial contains affiliate links.
You’ll need the following tools and materials to make your beaded chain ring:
1: Pliers. Round nose pliers and flat nose pliers are useful for this DIY.
2: A short piece of chain, make sure you have enough to fit around your ring.

3: An eye pin.

4: A bead. I used this blue wooden flat bead.

Follow these steps to make your cute beaded chain ring:
1: Add the bead to the eye pin.

2: Secure the bead to the pin by looping it around the barrel of the round nose pliers.

3: Attach one side of the newly formed charm to one side of the chain.

4: Wrap the chain around your finger to determine how long to make your chain.

5: Trim the chain to the length you chose.

6: Attach the other end of the chain to the other side of the bead charm.

Now your beaded chain ring is finished! How adorable is this design?


Here is another one I made using a plastic love heart bead.

This tutorial contains affiliate links.
-
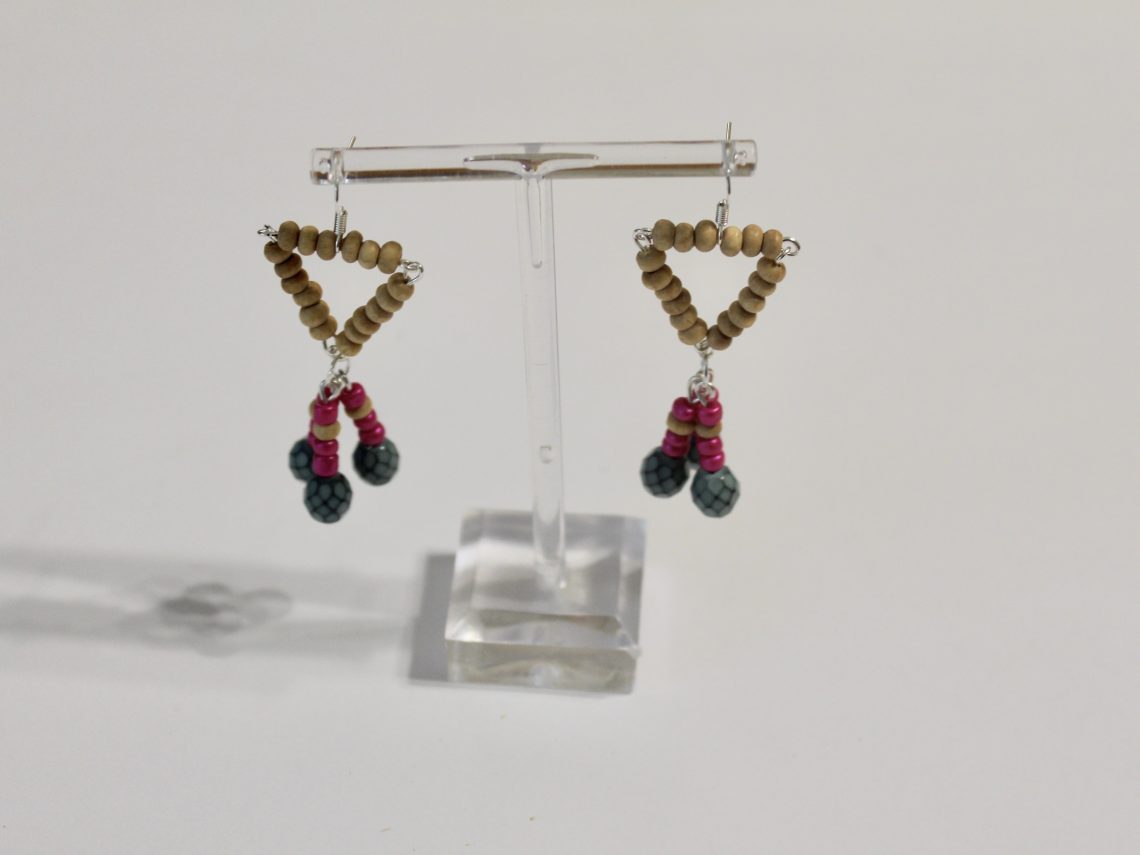
This vid shows you how you can make beaded triangle tassel earrings

This video is a little longer than some of my other video tutorials, but it shows you, in detail, all the steps you need to take to make a cool pair of beaded triangle tassel earrings.
Here are some affiliate links so that you can get all the tools and materials you’ll need to make a similar pair of triangle tassel earrings:
1: Eye pins
2: Earring hooks
3: Head pins
4: Jewelry pliers
5: Wooden beads
6: Pink glass beads
7: Blue faceted beads.
Here are some other tassel earring tutorials: