-
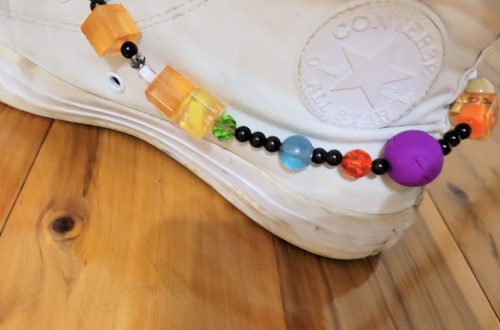
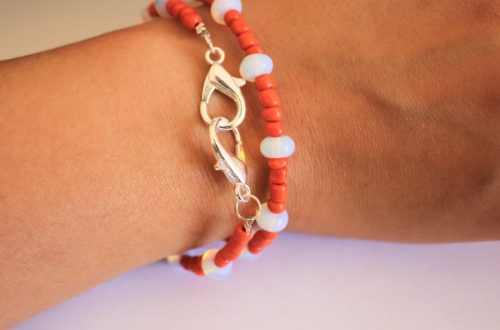
How to make a beaded lanyard using string and funky beads!
I recently caught up with a friend, she’s a teacher and she was really excited that she found some funky beaded lanyards, and it made me think… I could probably make one myself! So here’s the tutorial, here’s how to transform some string, clasps and funky beads into a useful lanyard! Please note that this tutorial contains affiliate links.
You’ll need these tools and materials to make your own beaded lanyard:
1: Scissors

2: Cotton twine, cut about 15cm longer than the length you want your lanyard.

3: Three large lobster clasps.

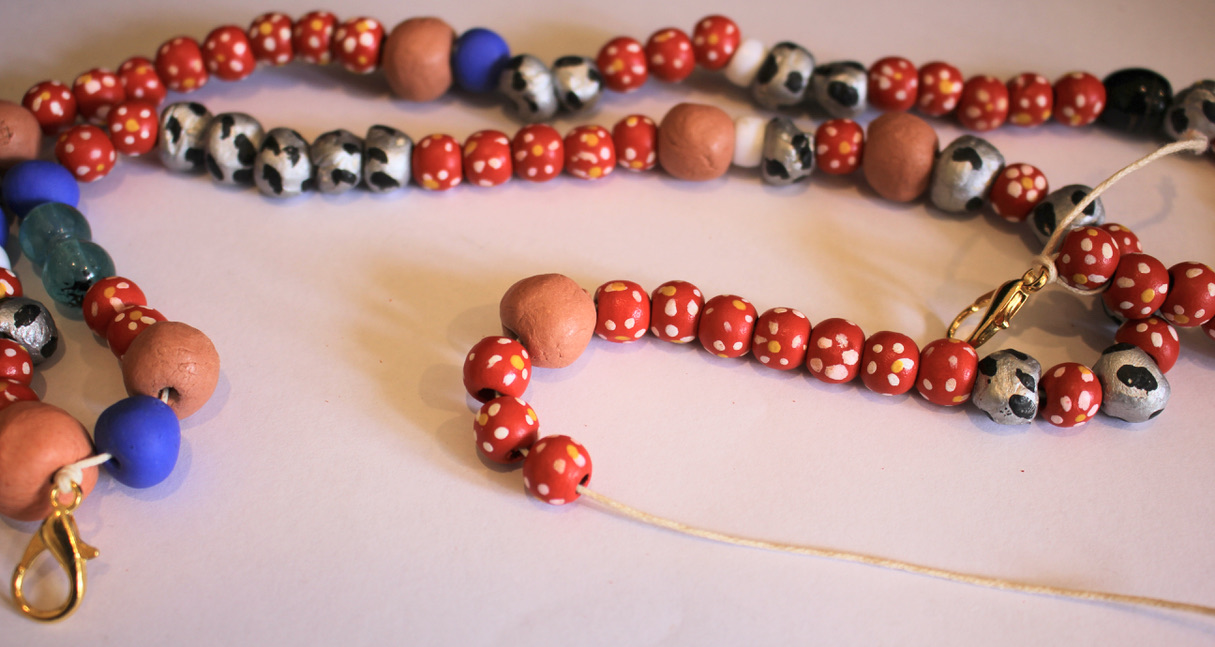
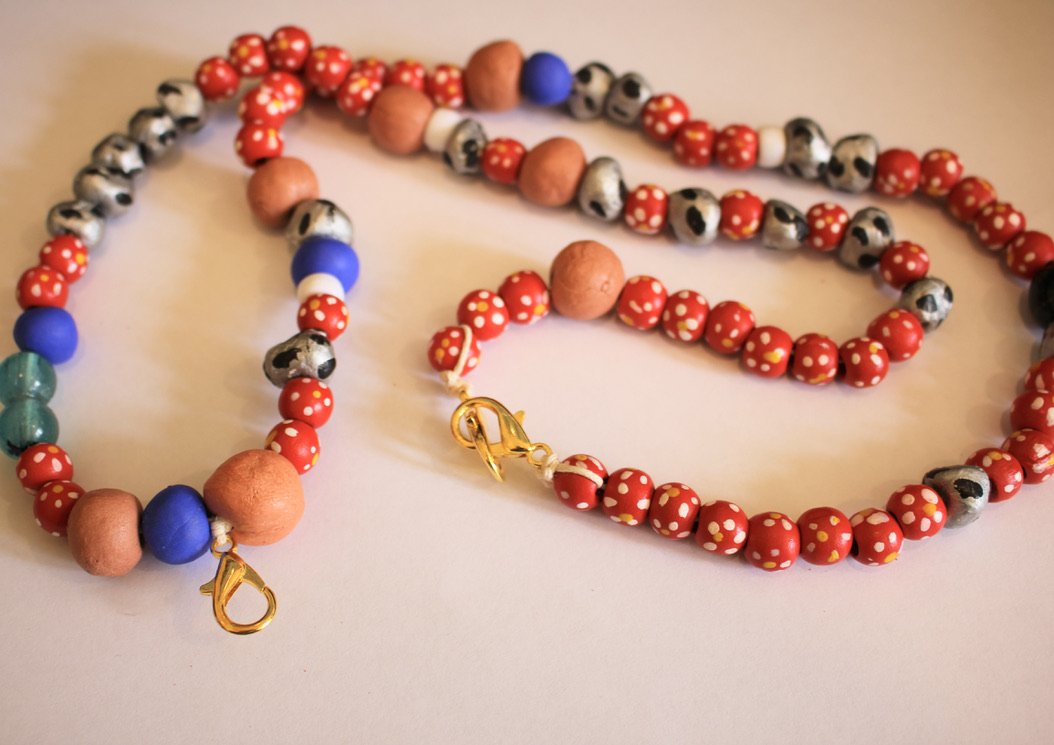
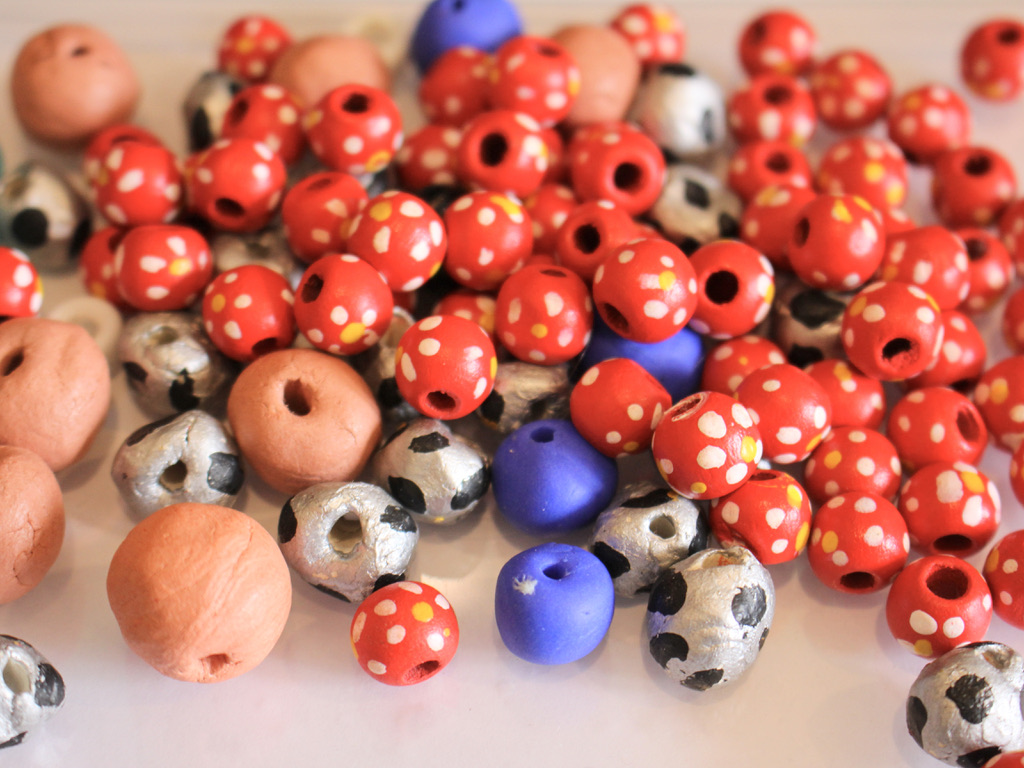
4: A selection of beads with holes large enough to fit on the string. I used some painted timber beads, glass beads, plastic beads, and some beads I made from polymer clay, resin and air dry clay.
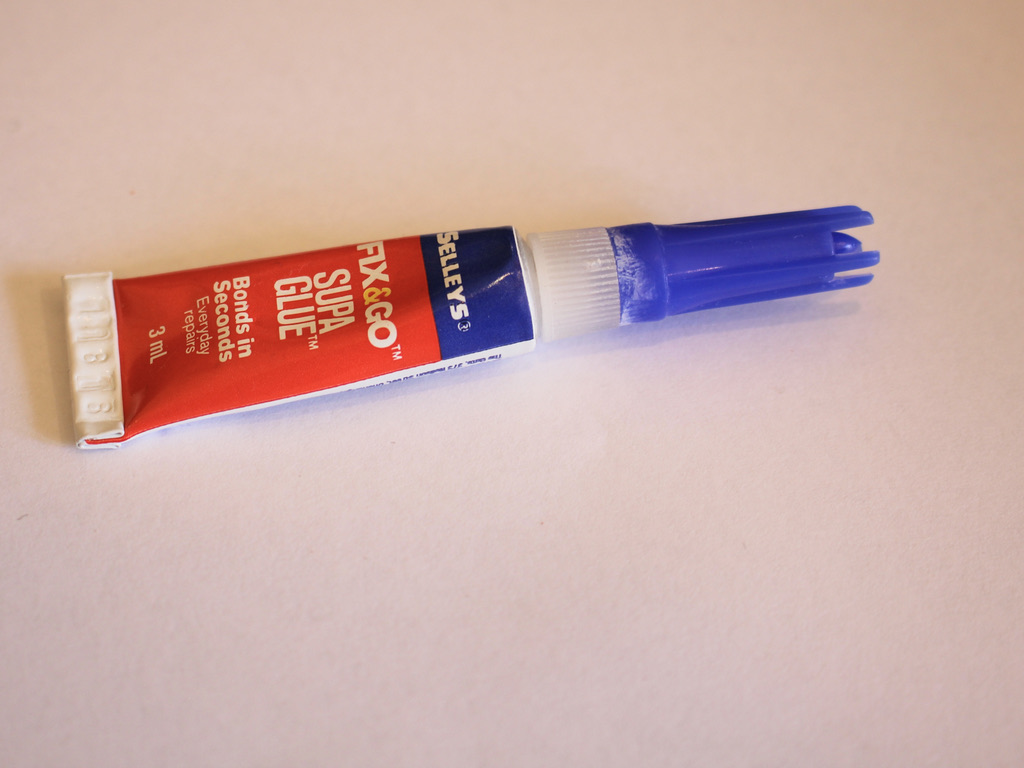
5: Superglue
Follow these steps to make your own beaded lanyard:
1: Take one of the clasps and add it to the middle of the piece of string.

2: Create a knot at the top of the clasp.
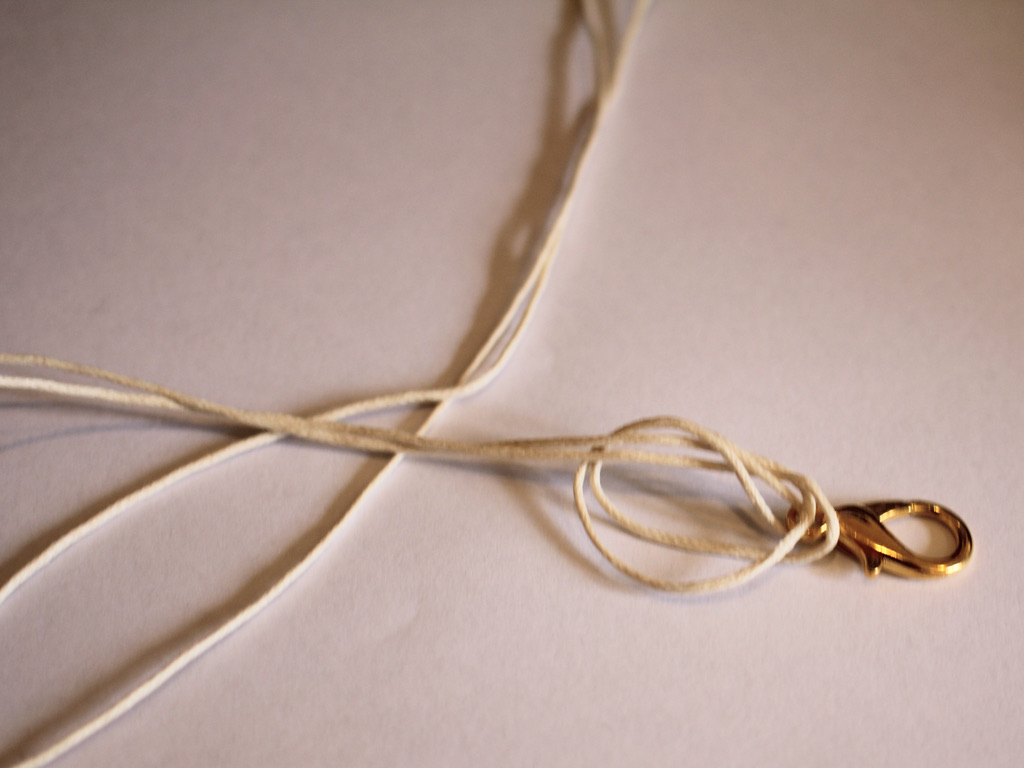

3: Add beads to one side of the lanyard until you get the length you like.


4: Add another clasp to the end of the lanyard and loop the end of the string back through the last bead and pull it tight.
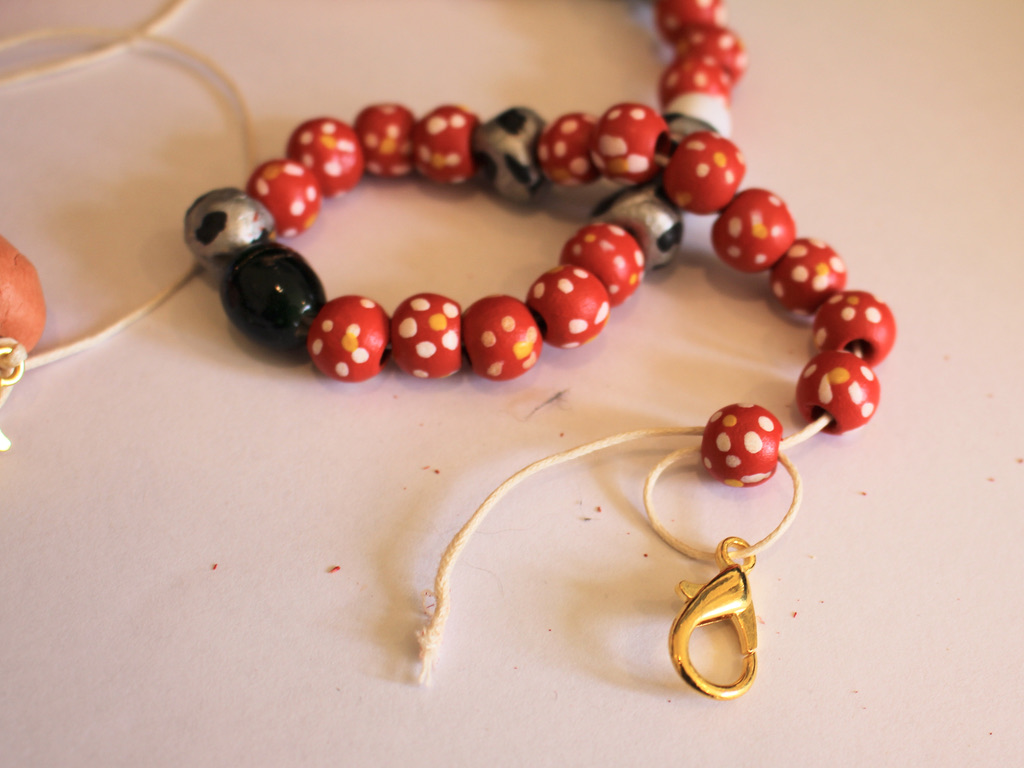

5: Tie a secure knot to the end of the string securing the clasp tightly to the last bead.


6: Repeat steps 3 to 5 for the other side of the lanyard.

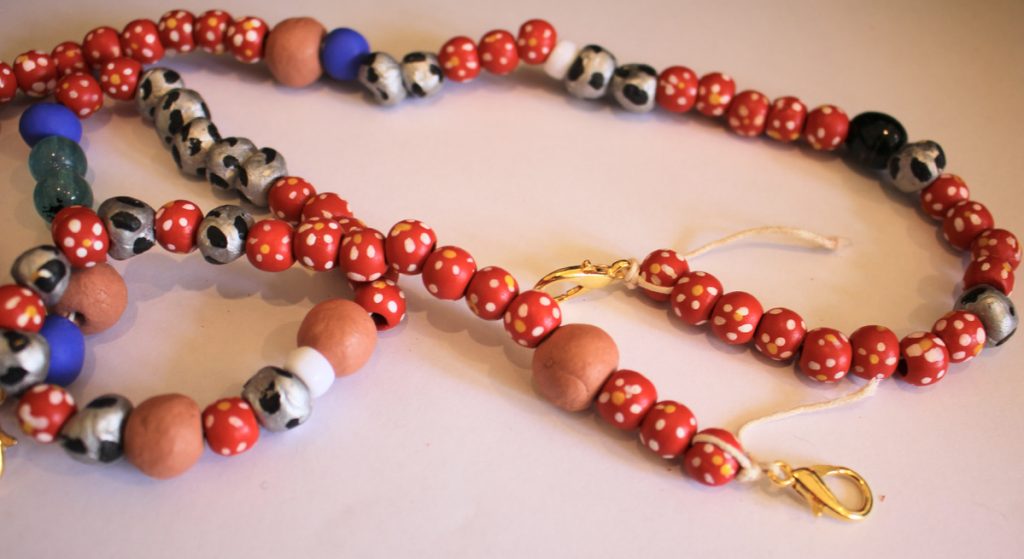
7: Trim the excess string on either end of the lanyard.


8: Add a dab of superglue to each of the knots at the end of the lanyard. Set it aside to dry.

Clip the ends of the lanyard together and now your beaded string lanyard is finished and ready to use!


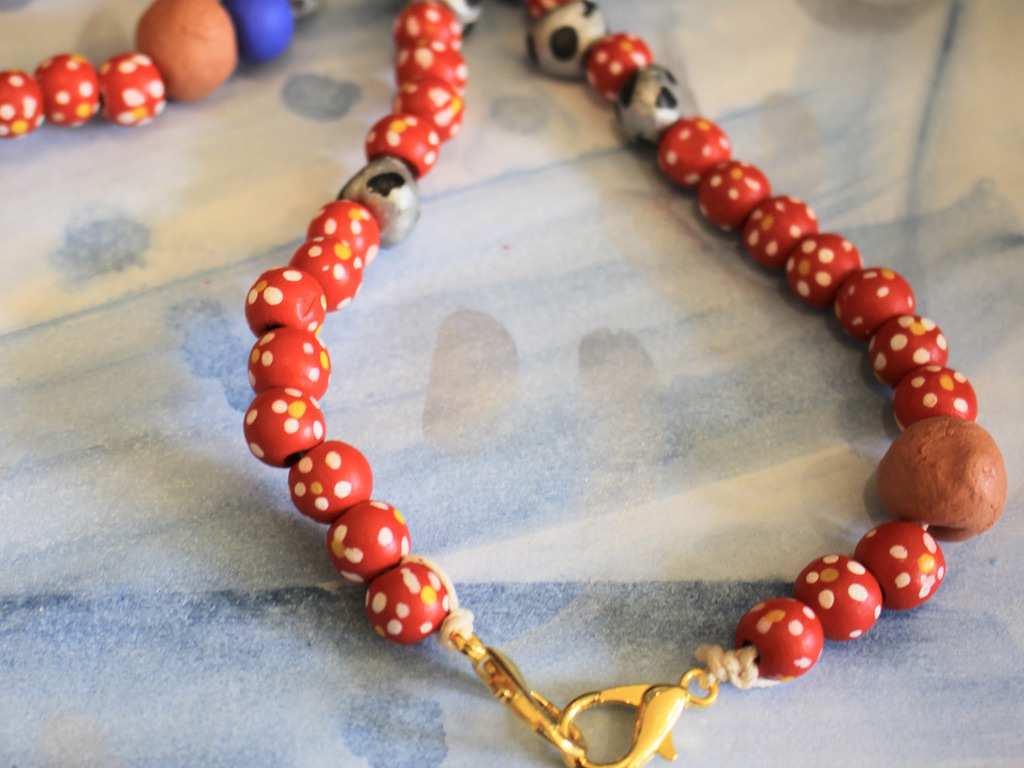
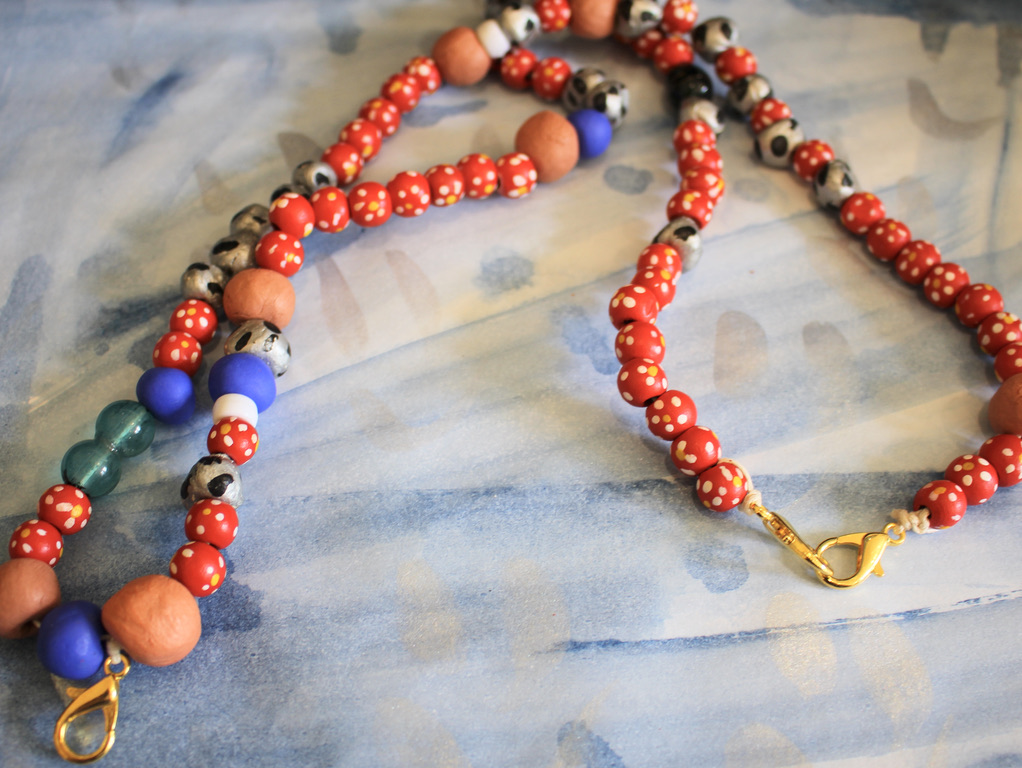
If you want to make your lanyard with handmade beads, here’s a tutorial you can follow to make your own.
-
Here’s how to make some crescent moon shaped earrings with wire :)
These earrings look one way when you lay them down… but then when you hang them from your ears they turn into beautiful crescent moons. So cute! Please note that this tutorial contains affiliate links.
Here are the tools and materials you will need to make your own crescent moon earrings:
1: Pliers. I used my cutting pliers, round nose pliers and flat nose pliers.

2: Some bracelet length memory wire cut into four half circle lengths.

3: Four small jump rings.

4: Two larger jump rings.

5: Six small head pins.

6: Earring hooks.

7: Beads. I used mixed glass seed beads and six pink freshwater pearl beads.

https://rover.ebay.com/rover/1/705-53470-19255-0/1?mpre=https%3A%2F%2Fwww.ebay.com.au%2Fitm%2F1kg-SUPER-MIX-Glass-Seed-Bugle-BEADS-Mixed-Assorted-Sizes-Colors-BULK%2F322739925149%3Fhash%3Ditem4b24cc709d%3Ag%3AXHgAAOSw791ZuJjX%26frcectupt%3Dtrue&campid=5338747881&toolid=10001&customid=5338747881 
Follow these steps to make your cute crescent moon earrings:
1: Add each of the pearls to the head pins and curl the tops using your round nose pliers to secure the pearls in place. Once you have made all your pearl charms you can set them aside.


2: Take one of the memory wire pieces and create a loop at one end using the round nose pliers. I curled my wires in towards the inside of the curve.


3: Add beads to the wire until there is about 1cm left without beads.


4: Loop the other end of the wire to secure the beads on.

5: Repeat steps 2 to 4 for the remaining three pieces of memory wire.

6: Take two of the pieces of memory wire and attach them at one end using one of the small jump rings.

7: Attach the bottom of the memory wire pieces together using another of the small jump rings to form an oval shape.

8: Repeat steps 6 and 7 using the remaining beaded memory wire pieces and small jump rings.

9: Add three of the pearl charms to one of the larger jump rings and attach it to the end of the memory wire ovals. Repeat this for the remaining three pearls and attach them to the other memory wire charm.


10: Add an earring hook to the top of each of the ovals to finish the earrings off.


Now you can hang them from your ears and have some fun!


-
Combine gold wire and pearls with these amazing statement earrings
These earrings use different materials to create a loop of gold wire and rainbow beads with a sweet dangly pearl in the centre. This tutorial contains affiliate links.
You’ll need the following tools and materials to make your earrings:
1: Pliers. I used my cutting pliers (left), flat nose pliers (right) and round nose pliers (middle).
2: Two pieces of 0.8mm wire approximately 7-10cm long. I used gold fill wire.

3: Two pieces of tiger tail wire, around 10-15cm long.

4: Four small jump rings.

5: Two head pins.

6: Two larger jump rings.

7: Post earrings with charm loops.

8: Beads. I used mixed glass beads.
9: Two pearl beads.

10: Eight crimp beads.

11: Something round to form your wires around. I used a bead container.
Follow these steps to make your earrings:
1: Take one of the pieces of tiger tail wire and add two crimp beads and a small jump ring to the end.

2: Loop the end of the wire around the jump ring and through the crimp beads. Pull it tight.

3: Squash the crimps using flat nose pliers.

4: Add beads to the tiger tail wire until you have a length you like.

5: Once fully beaded add another two crimp beads and another small jump ring to the end of the wire.
6: Pull the end of the wire around the jump ring and back through the crimps and last few beads.

7: Squash the crimp beads at the end and trim the excess wire.

8: Repeat steps 1 to 8 for the second bead strand.

9: Add each of the pearl beads to the head pins and use round nose pliers to curl the tops, this secures the beads on to the pins.


10: Add the pearls to each beaded strand.

11: Bend the wires around your round thing to form an arch shape.


12: Add a loop to either end of the wire using the round nose pliers.


13: Attach a bead strand to each of the wires using the jump rings.


14: Add an earring post to each earring, attaching it using the remaining two larger jump rings.


Now your earrings are finished and ready to put on! Perfect for adding some color to neutral outfits!


-
How to make a three strand chain anklet. Super cute and simple!
This cute anklet is made from three different kinds of chain for a textured look. Combine your fave types of chain to create your own custom look. This tutorial contains affiliate links.
You’ll need the following materials to make your three chain anklet:
1: Pliers. I used my flat nose pliers and round nose pliers.


2: Three lengths of chain that are long enough to fit comfortably around your ankle. I used chunky gold tone curb chain, copper tone rolo chain and antique gold tone curb chain.


3: Two large jump rings.

4: A lobster clasp.

Follow these steps to make your three chain anklet:
1: Open one of the jump rings.
2: Add each of the chains to the open jump ring.
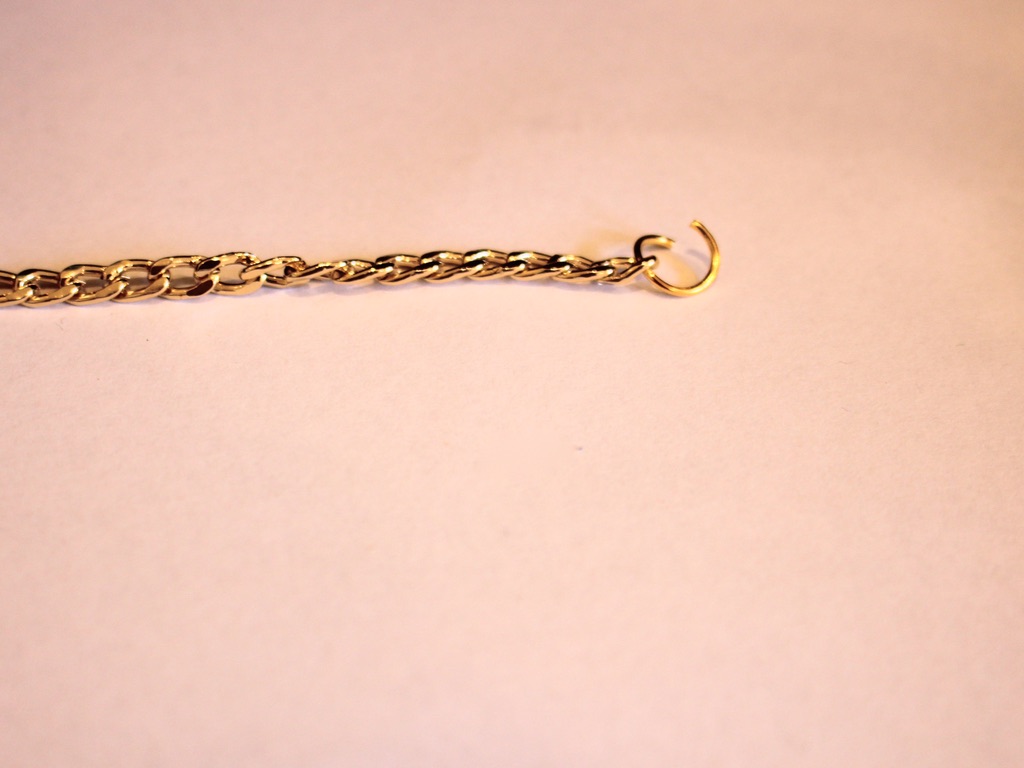

3: Close the jump rings to secure the chains together.


4: Open the other jump ring and put the other end of each chain onto the jump ring in the same order as the other end.
5: add the lobster clasp to the second jump ring before closing it.
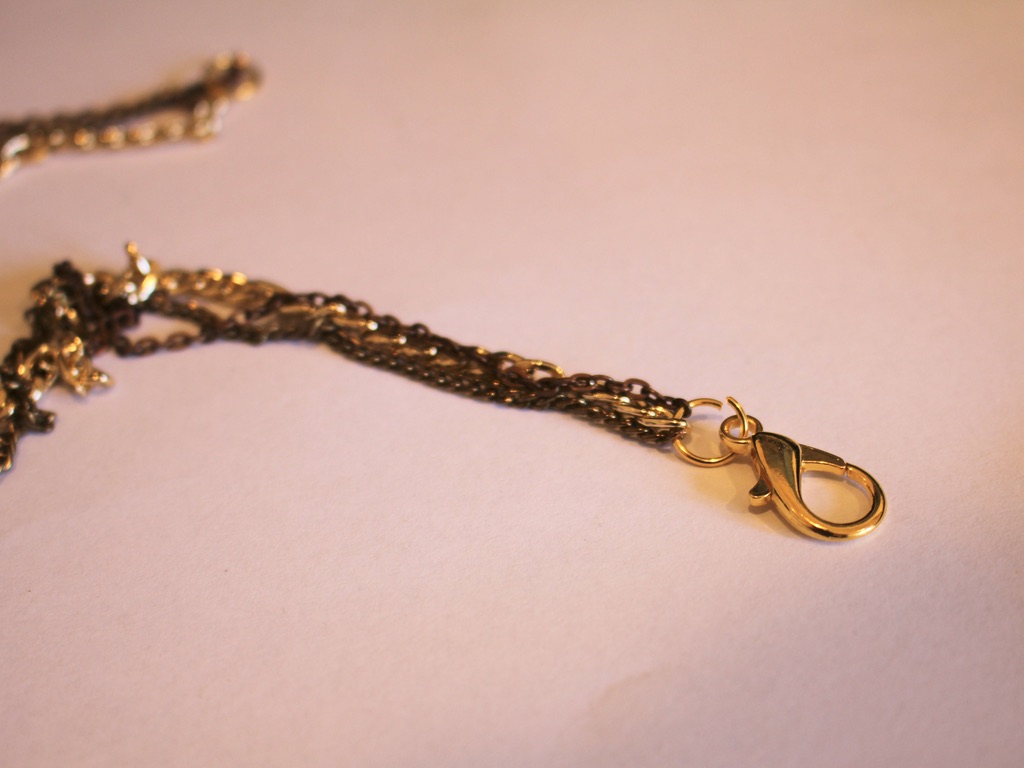
Now your anklet is finished and ready to put on! Throw one together before your next social distanced hang.


-
Here’s how to make a bohemian waist chain with cute charms!
Summer in the Northern Hemisphere might be held mainly at home, but that doesn’t mean that you can’t dress for the occasion. Make this charm embellished waist chain to add some summer fun to your wardrobe! This tutorial contains affiliate links.
You’ll need these tools and materials to make this waist chain with charm embellishments.
The Materials
1: Pliers. I used my round nose pliers (centre), flat nose pliers (right) and cutting pliers (left).
2: A piece of chain that fits comfortably around your waist. I used copper tone chain.

3: Jump rings. I used two.

4: Some head pins. I ended up using a couple more because I added some charms I had made previously (see the second picture below).


5: Beads. I used a mixture of glass beads and a metal butterfly-shaped bead.

6: A lobster clasp. This is a bad picture but I used one that matched the tone of my chain.

The Steps
Follow these steps to make your charm embellished waist chain:
1: Add the jump rings to either end of the chain and attach the lobster clasp. Secure the clasp by closing the jump ring using pliers.


2: Find the middle of the chain and set it aside for a minute.
3: Add each of the beads to the head pins.

4: Bend the head pins to form right angles.

5: Trim the pins so that there is only approximately 1cm left. Use your cutting pliers.


6: Loop the top of the pins using the round nose pliers. This will secure the beads on the pins.


7: Attach the beads to the chain by looping the top of each charm through the chain links. I added my first charm to the centre and then worked outwards.


Now the waist chain is finished and ready to wear in the sun! Don’t forget your sunscreen though, this cool piece of jewelry could leave a weird tan line 😉


Here are some other waist chain tutorials:
This tutorial contains affiliate links.
-
How to make a charm embellished threader earring…
Are you looking for a way to use the charm you made in this tutorial? Why not make a cool single statement threader earring. This earring looks so cool in a second piercing or worn on its own! This tutorial contains affiliate links.
The Materials
You’ll need the following tools and materials to make this earring:
1: Pliers. I used my round nose pliers and cutting pliers.

2: A piece of wire at your choice of length, mine was approximately 6.5cm long. My wire was a piece of rose gold-filled wire approximately 0.65mm wide.

3: A pen or something else round to form your earring wire around.

4: A file or course sandpaper to smooth the ends of the wire.

5: The charm you made in this tutorial.

The Steps
Follow these steps to make your single charm threader earring:
1: Cut your wire to the desired length using cutting pliers.
2: Place your wire on the pen and gently bend it around to form a curve that will allow it to stay in your lobe. I made it so that one side was longer than the other.


3: Create a loop on the short end of the bent wire using the round nose pliers.

4: Open the loop slightly to attach the charm. Close it using your pliers to secure it in place.

5: File or sand the end of the wire so that it isn’t sharp any more.
Now your cute little charm threader earring is ready to wear!


Here’s another pair of charm threader earrings I made using silver wire and a square bending technique. The gemstone beads on this design are made of moonstone (the white round ones) and malachite (The green chip beads). I like to wear these next to each other in my double piercings, they look really cool when paired together.

Here are some other wire threader earring tutorials:
- Minimalist silver threader earrings
- Hammer texture arch earrings
- Rounded threader earrings
- Beaded threader earrings with hammered ends
This tutorial contains affiliate links.
-
Half and Half for the best of both worlds? Here’s how to make a half bead half chain necklace!
This necklace is really cool! It is made using different materials for a half-half look. One side of the necklace is made with delicate chain while the other half features a rainbow of glass seed beads.
The Materials
You’ll need the following tools and materials to make your half and half necklace:
1: Pliers. I used my cutting pliers, round nose pliers and flat nose pliers.
2: A piece of tiger-tail wire.

3: Four crimp beads.

4: Three jump rings.

5: A lobster clasp.

6: Some chain. I used gold-tone rolo chain.

7: Beads. I used some mixed glass seed beads in different colors.
The steps
Follow these steps to make your half and half necklace:
1: Add two of the crimp beads and a jump ring to one end of the wire.

2: Fold the short end of the wire around it and back through the crimp beads.

3: Squash the crimp beads using the flat nose pliers.

4: Add beads and continue beading until you have a beaded section that is around half the length you want your necklace. I checked my length by measuring it against my neck, holding the secured end at the back of my neck and wrapping it loosely around the font of my neck.


5: Add two more crimp beads to the wire and a second jump ring.

6: Bend the wire around the jump ring and pull it tightly back through the crimps and a few of the beads.

7: Squash the crimp beads using the flat nose pliers again.

8: Trim the excess tiger tail wire using the cutting pliers.

9: Open a jump ring on one side of the beaded strand and attach one end of the chain.

10: Measure the chain so that it is the same length as the beaded strand and trim it.

11. Add the remaining jump ring to the other end of the chain, using it to secure the lobster clasp in place.

Now your half and half necklace is finished!


You can even add a charm to the middle to add some extra interest. I added this yellow clay and resin charm to mine.


This tutorial contains affiliate links.
-
I am super into lariat necklaces right now, here’s another way to make one with a double-hole bead.
Lariat necklaces are so elegant and cool. I really like how they look with a low cut top that hints at cleavage! We already have a few lariat tutorials on the site, but this is one that has a bit of a twist. All the materials and steps are listed below! This tutorial contains affiliate links.
You’ll need these materials and tools to make your lariat:
1: A bead with two holes. I used this hematite bead recycled from a bracelet I had as a kid.

2: Two accent beads. I used these round hematite beads.

3: Chain. I used some gold-tone rolo chain.

4: Two head pins.

5: Two short eye pins.

6: Two large jump rings.

7: Two small jump rings.
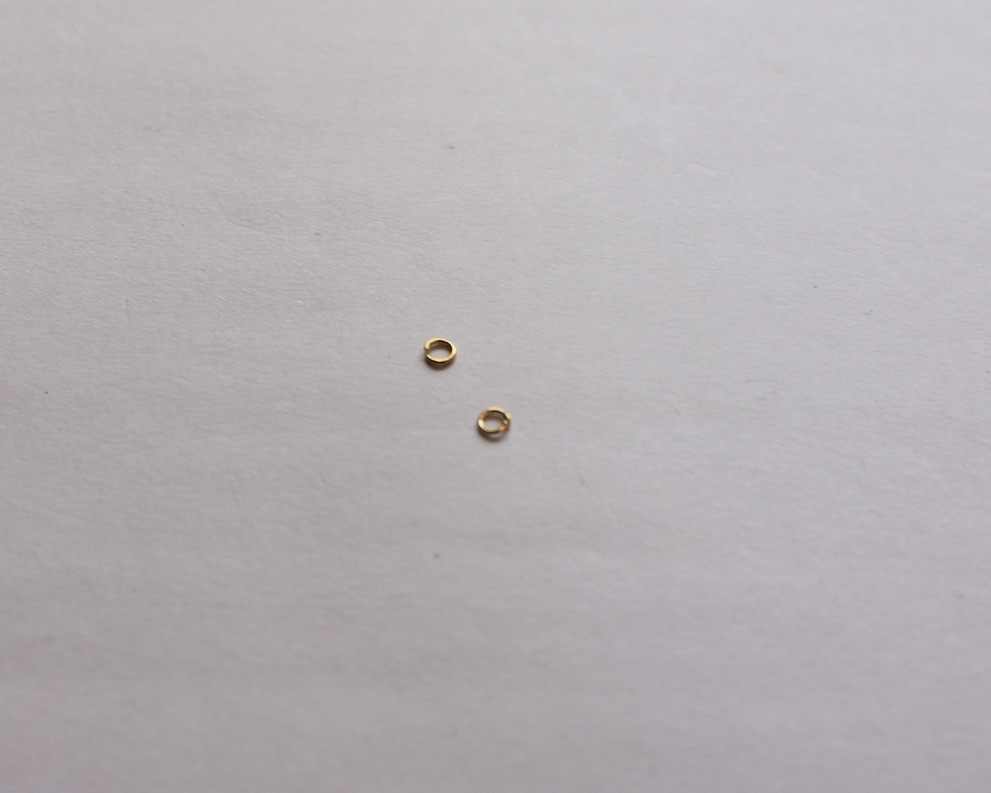
8: A lobster clasp.

9: Pliers. I used my flat nose and round nose pliers to make this lariat necklace.
Now here are all the steps you can follow to make your new lariat necklace:
1: Add one of the eye pins to one of the holes in the two-hole bead.

2: Bend the bead to form an angle.

3: Create a loop on the pin using the round nose pliers to secure the bead on the pin.

4: Repeat steps 1-3 for the second eye pin in the second bead hole.


5: Add each of the accent beads to the head pins.

6: Use the round nose pliers to loop the tops of the head pins.


7: Section out three pieces of chain, one long enough to fit around your neck and two shorter pieces, the shorter pieces will form the centre part of the lariat. I made one longer than the other.
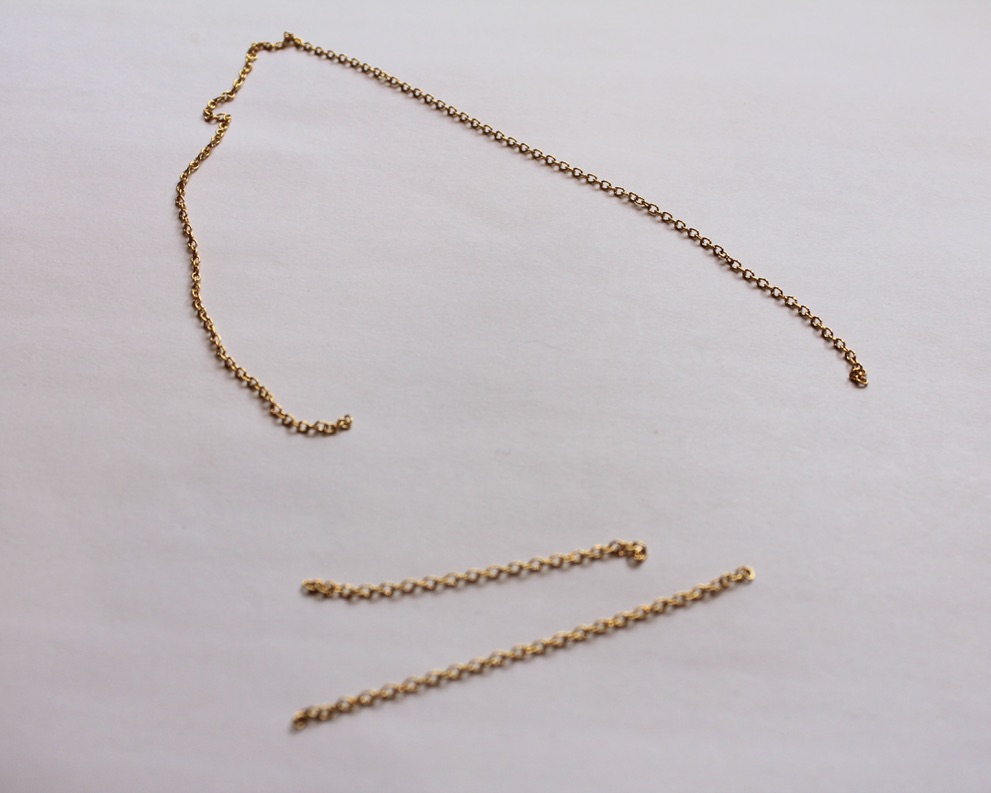
8: Attach one of the short chains to one side of the two hole bead charm.

9: Attach the other chain to the other side of the charm.

10: Attach the long chain to the top of the two hole bead charm.


11: Split the necklace chain in half.

12: Attach the larger jump rings and the lobster clasp to the middle of the split necklace chain.


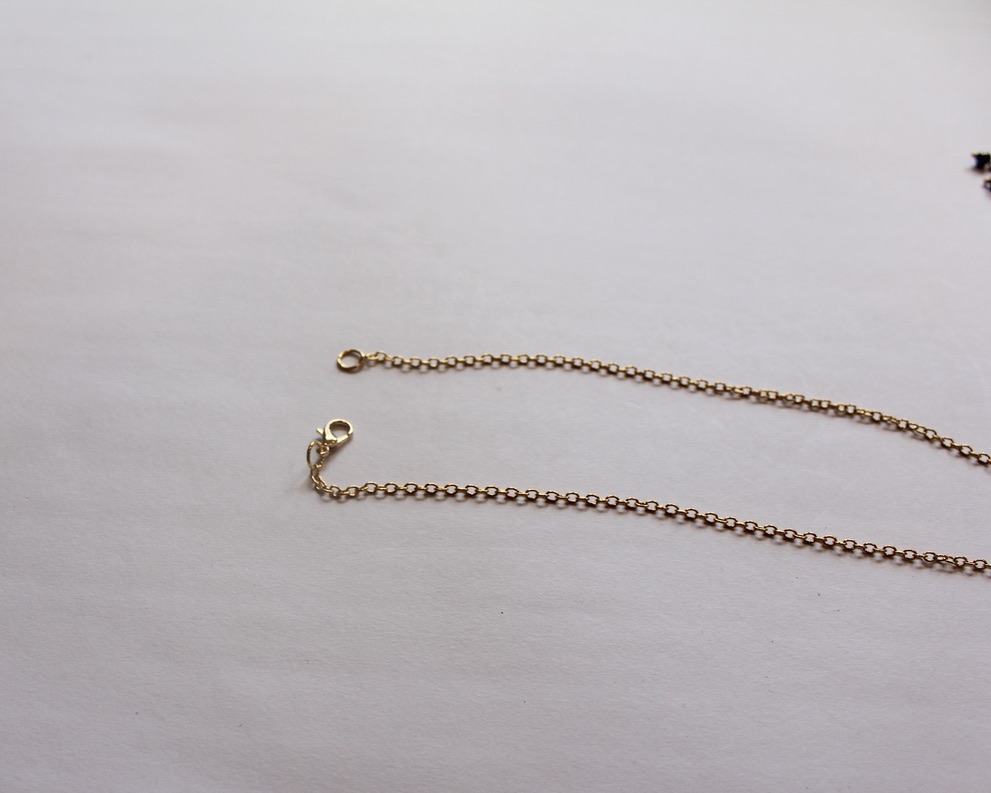
13: Add the accent bead charms to the end of each short chain using the small jump rings to finish the lariat off.


Now your cool new lariat is ready to wear!
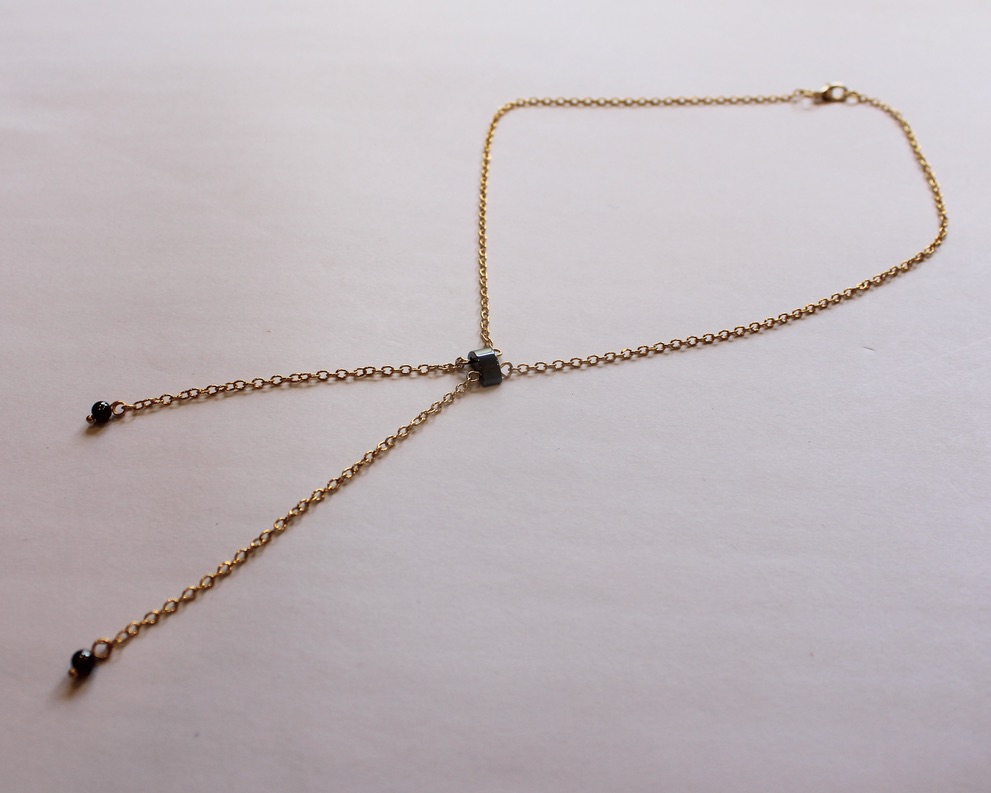
I suggest trying to make this necklace using materials you already have. If you don’t have the right pieces lying around this tutorial contains affiliate links so that you can buy them.
If you love a lariat too, here are some other ways you can make them:
- A bead and chain lariat
- This lariat is made with chunky gold-tone chain
- A lariat with two beaded circle charms
- Triangle charm lariat
- This chain charm that lets you transform any necklace into a lariat
- Make this chain belt that can also be worn as a lariat necklace
- How cool, this long leather strand can be worn as a lariat
- Our original lariat tutorial, a cute pearl lariat
-
Anklets are the coolest!!!!! Here’s how to make a simple chain charm anklet.
This anklet is super simple in design, add a cute charm to a plain chain and you’re ready to go! What kind of charms will you put on your DIY anklet? This tutorial contains affiliate links.
You’ll need the following tools and materials to make your simple chain charm anklet:
1: Some pliers. Use your flat nose and round nose pliers.
2: A piece of chain long enough to fit your ankle.

3: Two jump rings.

4: A lobster clasp.

5: Another jump ring.

6: A charm of your choice. I used an enamel peach charm.

Follow these steps to make your simple charm anklet:
1: Add a jump ring to one end of the chain.
2: Add the lobster clasp to the open jump ring. Close the jump ring to keep the clasp in place.


3: Add another jump ring to the other side of the anklet.


4: Add the remaining jump ring to the top of the charm.
5: Attach the charm to the jump ring that attaches the clasp to the chain.

6: Close the charm jump ring to secure the charm in place and finish off your anklet.

Now it is ready to wear! How cute is this little peach charm anklet? I am really into food and fruit themed jewelry at the moment 🙂

This tutorial contains affiliate links.